
This post is Sponsored by DecoArt. All opinions and crafty goodness are my own.

If you’re anything like me the holiday season means a full calendar. Between family, decorating, cooking, sleeping, working, eating and watch cheesy holiday movies it’s a round-the-clock schedule. Which means we need simple holiday projects that look amazing.
This year I’m working on a new tree that’s full of blush and rose gold… with a few fun flocked elements to soften everything up. Of course, a new tree means new ornaments!
And with a few new tubes of metallic craft paint I knew exactly what I was going to do for quick and easy ornaments that will knock your socks off.
Pssst… looking for even more fun ornament projects? A few of my favorite bloggers have whipped up a few for you! Stick around until the end of this post to check them out.
Supplies:
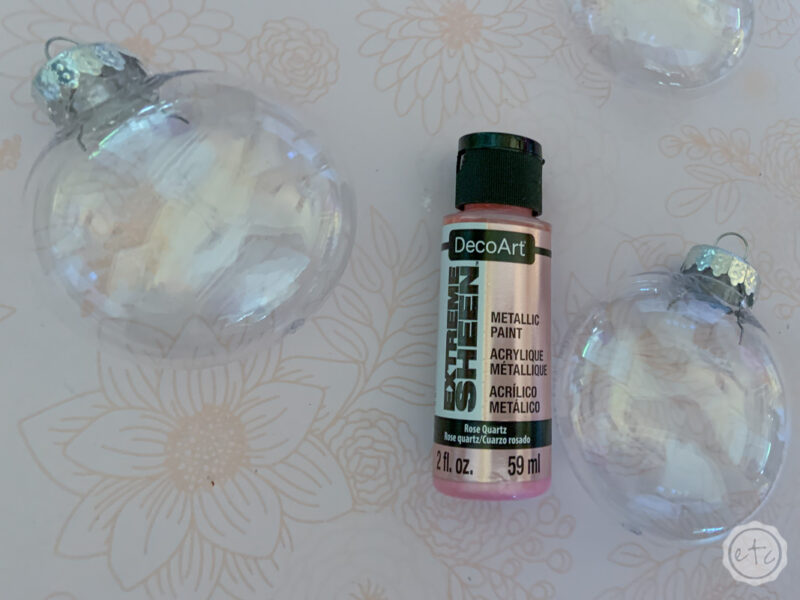
- Clear Ornaments
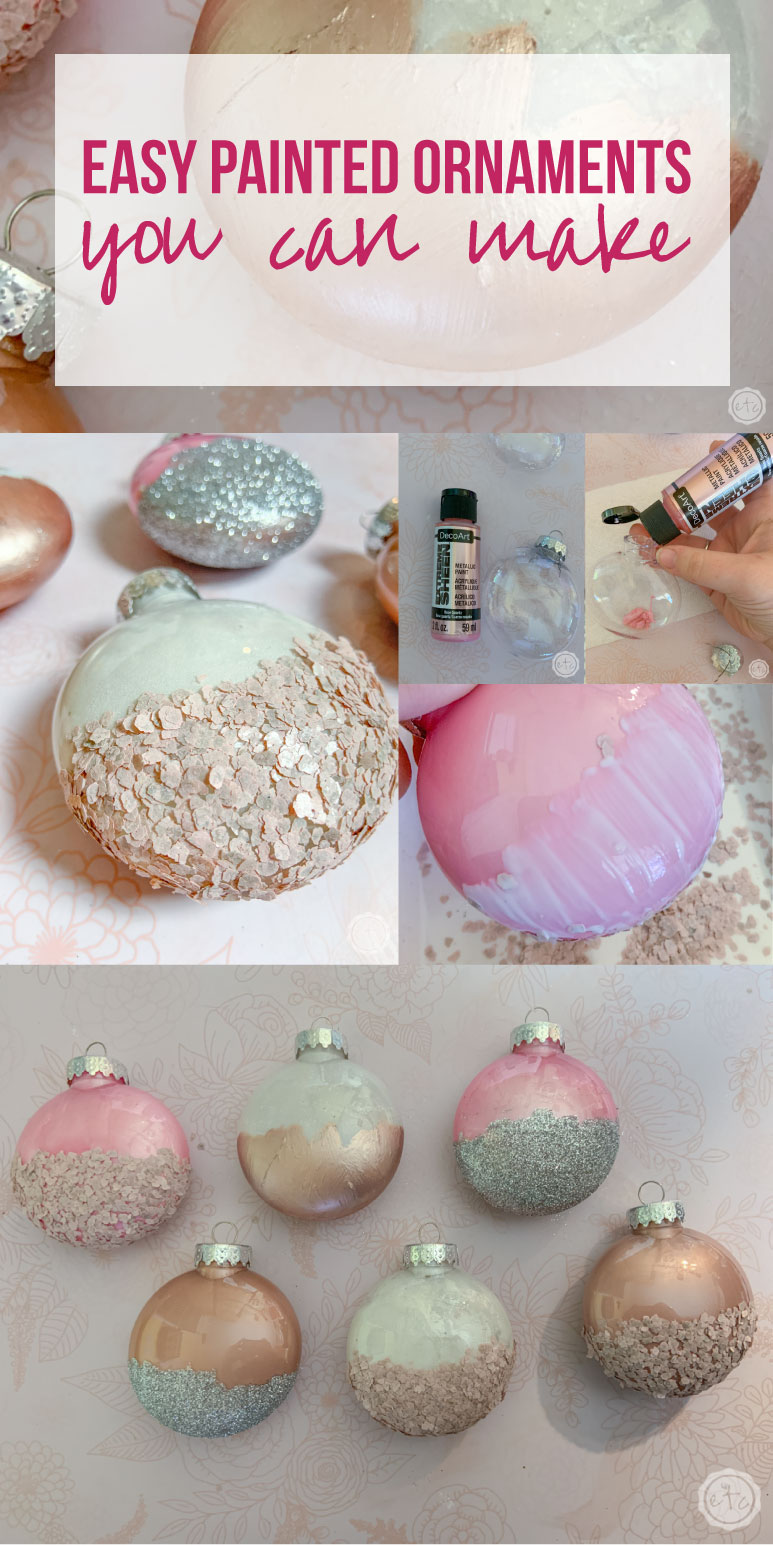
- Acrylic Paint (I used Deco Art Metallic Paint in rose, pink and silver)
- 2 Small Paint Brushes
- Mod Podge
- Glitter/Flakes/Metallic Craft Wax
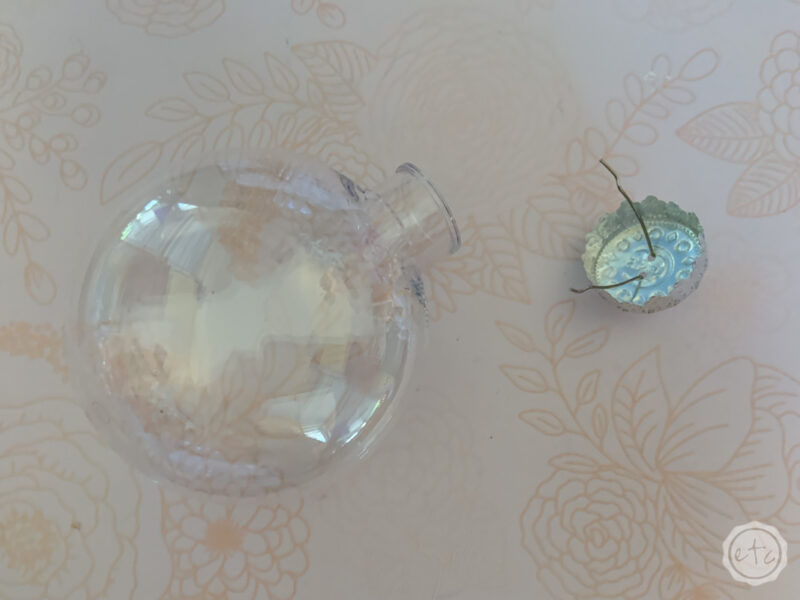
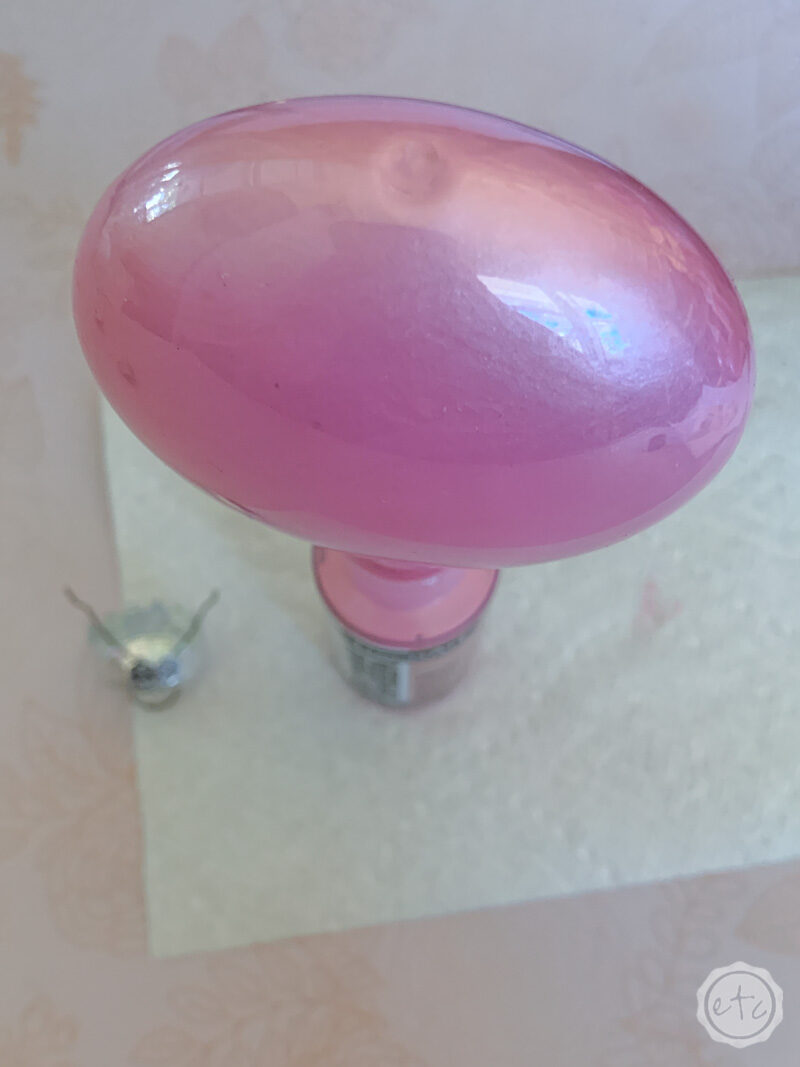
Step 1: Pour Paint into your Ornament
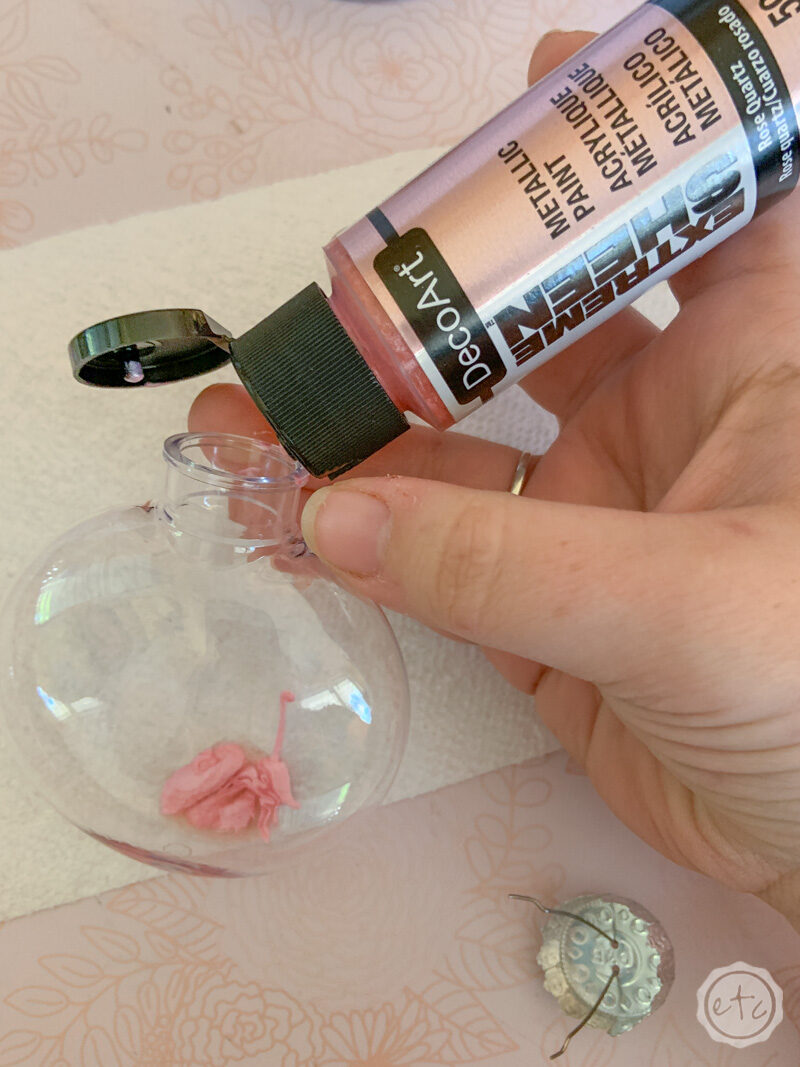
Alright y’all, first things first! Go ahead and pull the top pronged holder of your ornament off and then pour a bit of paint inside. Try not to squeeze too much inside since a big puddle of paint will. not. dry. HOWEVER. you will need more paint then you think to cover all the sides.
So my advice is to squeeze some paint inside and twirl it around. Spread it out as much as you possibly can and then add some more paint. Shake it around, slide it down the side… whatever it takes just make sure the entire inside of your ornament is covered.
Once you are satisfied with the ratio of paint to glass go ahead and tip the ornament upside down onto your paint bottle. Hopefully the majority of the excess paint will drop down out of the ornament and into the bottle.
If you’re only using one color you’ll have to wait about 5 minutes before doing the next ornament… but in my case I simply let the pink ornament sit while I moved on to the rose paint and then the silver.

Step 2: Add Embellishments!
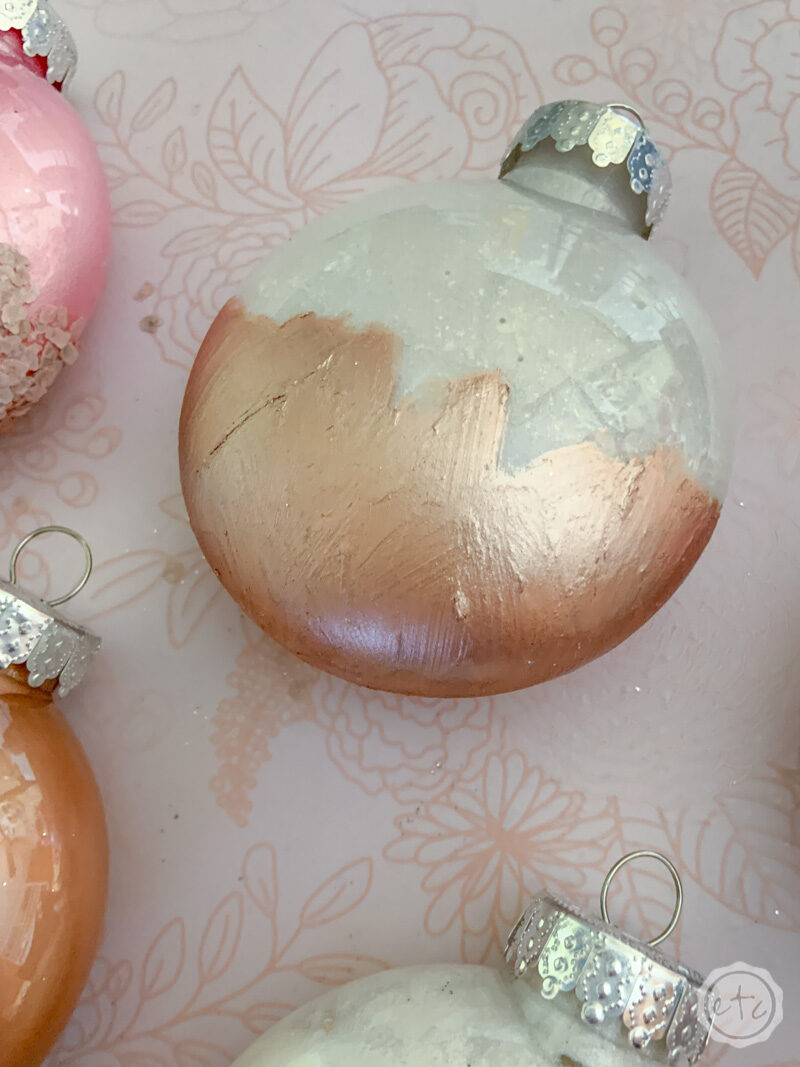
Now you can add a bit of fun to your ornament! I wanted mine to all be a bit different so I pulled out a few fun things I could add to my ornaments: metallic crafting wax, glitter and flakes.
The crafting wax goes on smoothly enough with a paint brush (and the metallic sheen it builds is absolutely delicious). The glitter and flakes on the other hand need a bit of a glue before they’ll stick.
Luckily that’s an easy enough fix!

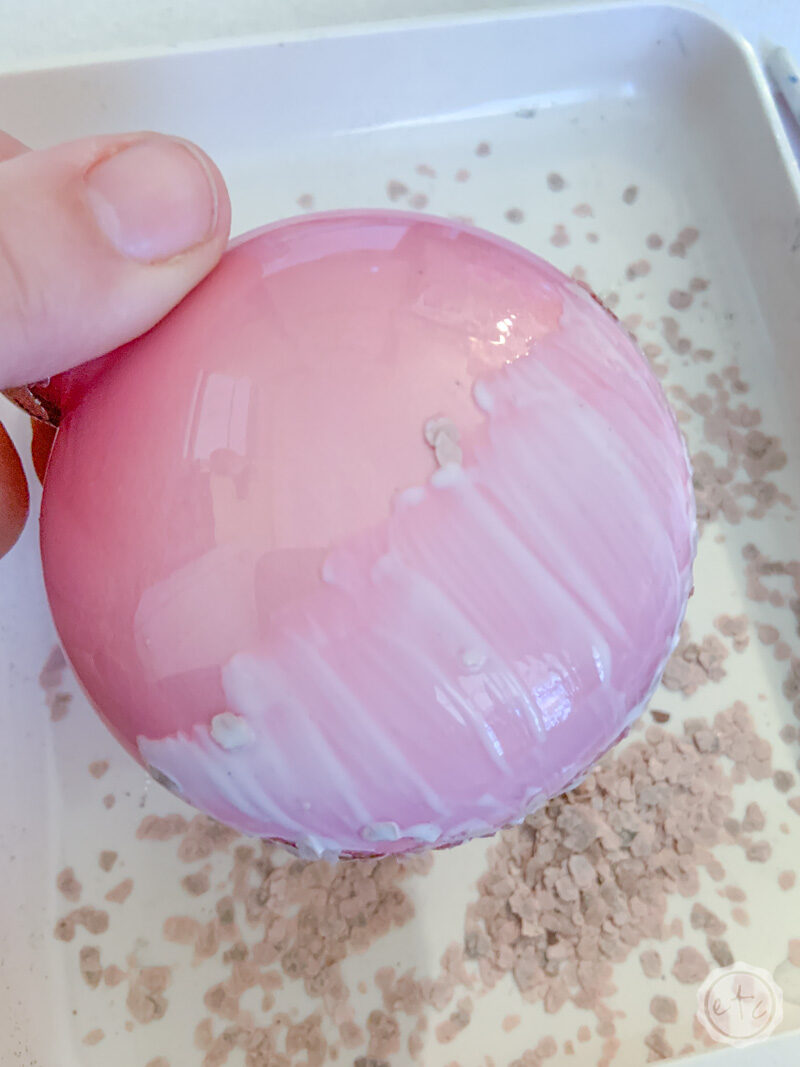
Simply paint on a bit of mod podge and then cover with your favorite medium!
Keep in mind that depending on your medium you may need more or less glue. For example, glitter is pretty tiny and doesn’t need a lot of glue to stick firmly to your ornament. A thin layer will definitely do it.
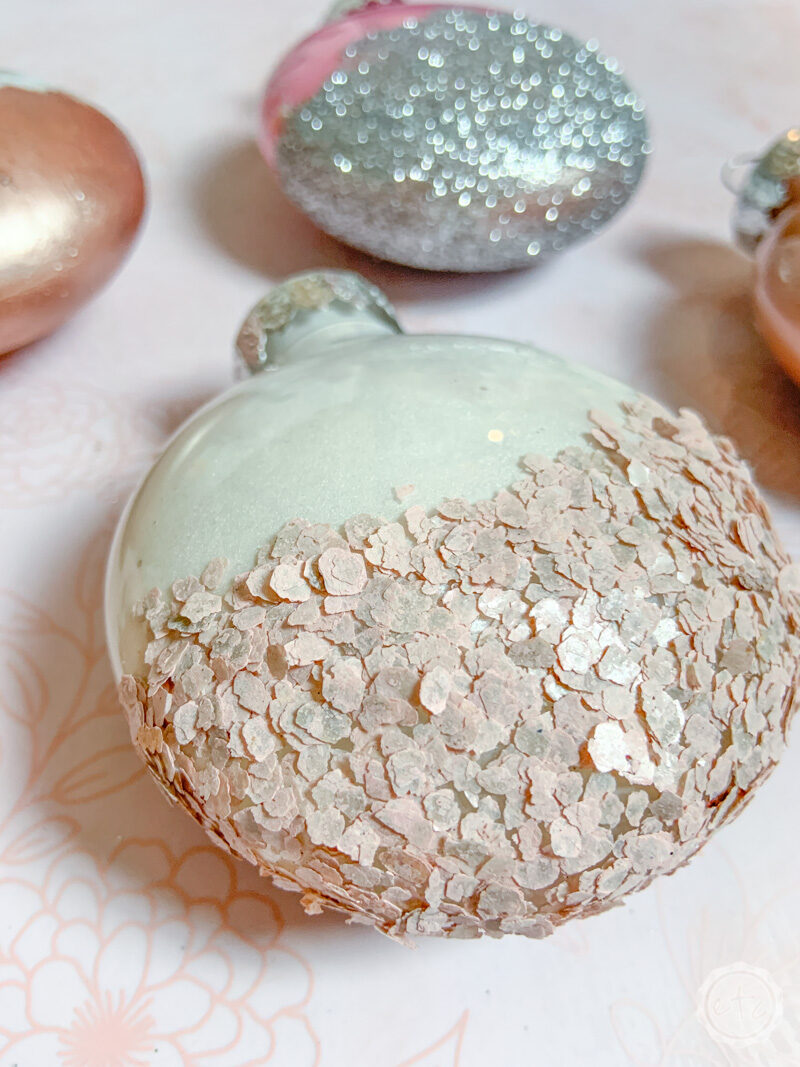
The flakes need a little more help… make sure you put plenty of glue on for these babies since they’ll need a lot of glue to actually stick to the ornament. Of course, once the glue is dry the flakes might just be my favorite. Look how stunning they are!
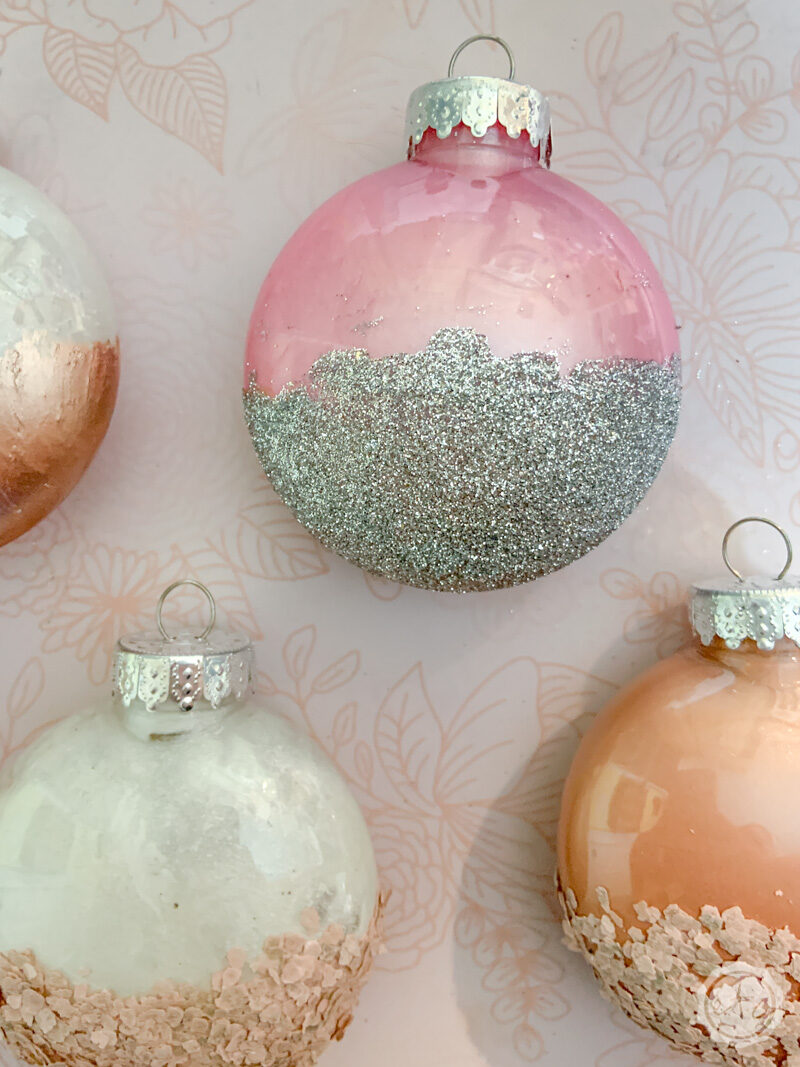
Now I have 6 beautiful ornaments that coordinate perfectly without being matchy matchy. I think they’ll look great on my tree!
Of course, you could always use your Cricut to add the year to these babies or even a little quote. How absolutely adorable would that be?! Maybe a quick saying like “Merry Christmas” to the other side!
Ready for the grand finale?

Looking for more rose gold holiday goodness? These posts are for you!

Ready for a few more projects? All of my amazing blog friends whipped up fun ornaments this week as well… so that you have more ideas than you know what to do with!
Even better? We’ve got all kinds of fun diy’s, crafts and recipes coming your way over the next few weeks… so don’t forget to check back.
This fun 12 Days of Holiday Ideas event is hosted by Shirley of Intelligent Domestications and Erlene of My Pinterventures to bring you all kinds of fun holiday inspiration!
Enjoy!


Very fun, Betsy! I love the colors AND those wax thingies!
What a cool variety of beautiful ornaments. It’s amazing what paint can do.
Gosh, I’m loving the extreme sheen metallic paint. Your ornaments are absolutely beautiful! Love how you decorated them with glitter and sparkle.