

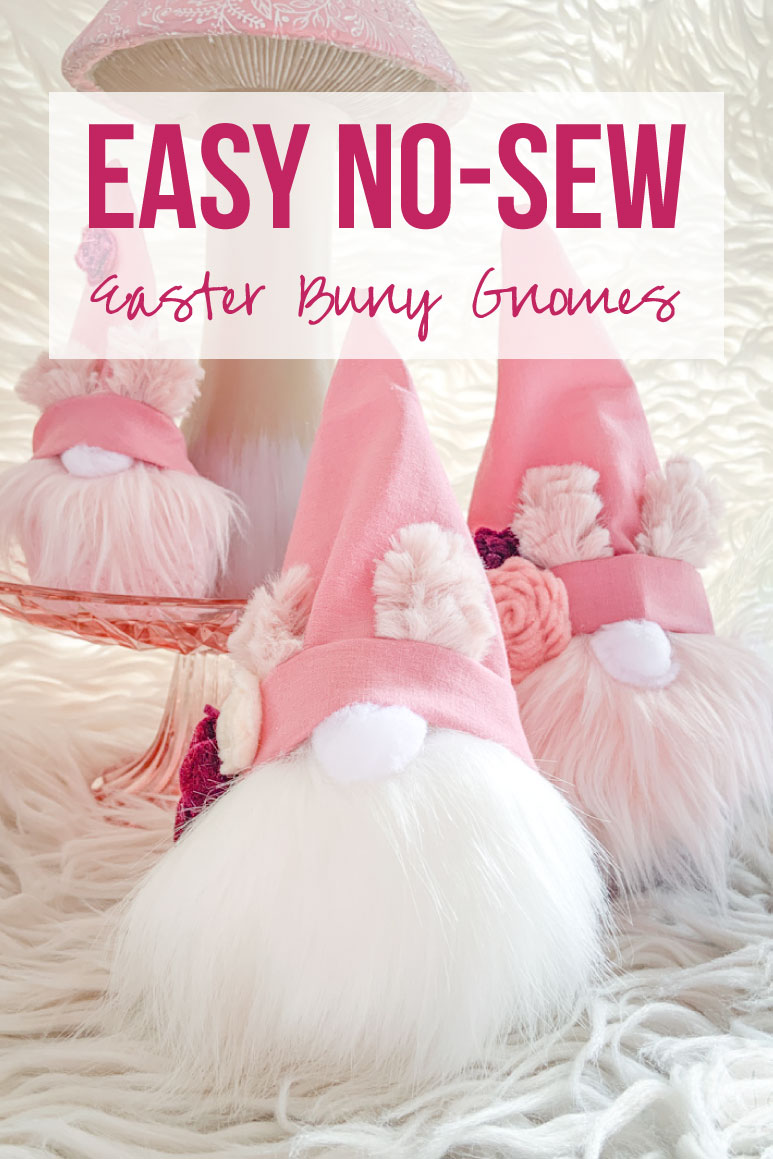
With Easter quickly approaching I am having a blast busting out the fuzzy fabric to make a few fun Easter projects! And what better way to kick things off then with a few special Bunny Gnomes.
I absolutely adored the gnome ornaments we made for Christmas (not to mention the large gnomes I mixed in with the DIY present boxes on my front porch) and now that those are safely tucked away for the season I was just a little depressed. So I decided to make a few free standing gnomes with bunny ears for the new season.
These little gnomes are soooo cute… and they don’t take a lot of skill. If you can use a hot glue gun you can make these gnomes. Trust me y’all, they’re a piece of cake.
Ready to get started?
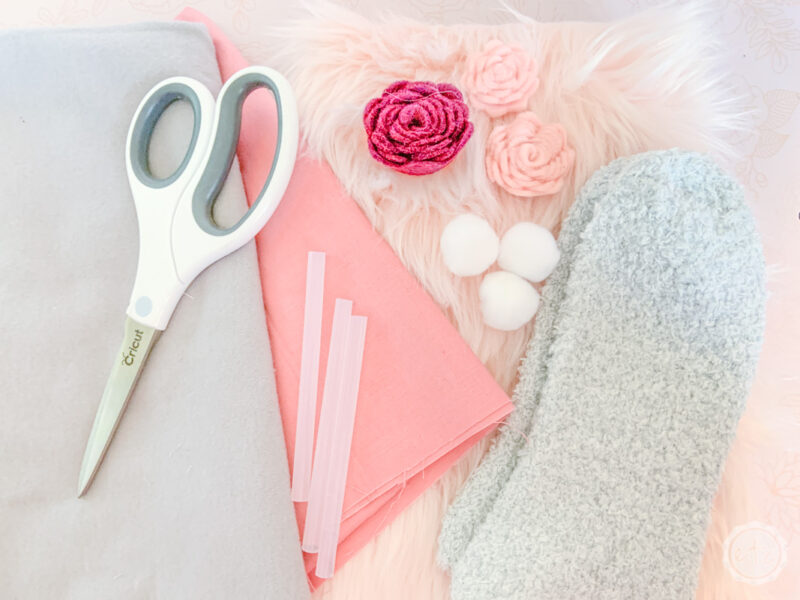
Supplies:
- 1 Fuzzy Sock (or large pom pom) Per Gnome
- Blush Faux Fur (for Beard, 1/8 of a yard made 5 gnomes)
- Pink Cotton Fabric (for Hat, 1/4 of a yard made 5 gnomes)
- Pink Fuzzy Fabric (for Bunny Ears, 1/8 of a yard was way more than needed)
- Cardstock
- Hot Glue/Hot Glue Gun
- Scissors
- Exacto Knife
- White Pom Poms
- Felt Flowers
- Rice
UPDATE: These little no sew gnomes were just the beginning… since last Easter I’ve whipped up a few spooky no sew gnomes for Halloween and an entire new set of fun (and festive) no sew gnomes for Christmas.

Step 1: Make the Gnomes Body
First things first, we have to make the body of our little gnome! For this project I grabbed a few fuzzy socks: they’re soft, cheap and come ready to rumble so I don’t have to sew.
Score.
I used a few different patterned fuzzy socks to make my gnomes: solid gray, solid pink, gray with white polka dots and gray and white buffalo check. I like that this gives the gnomes a little texture and pattern while staying in the same family. Plus my socks came in a pack with coordinating colors so it made it easy to make coordinating gnomes.
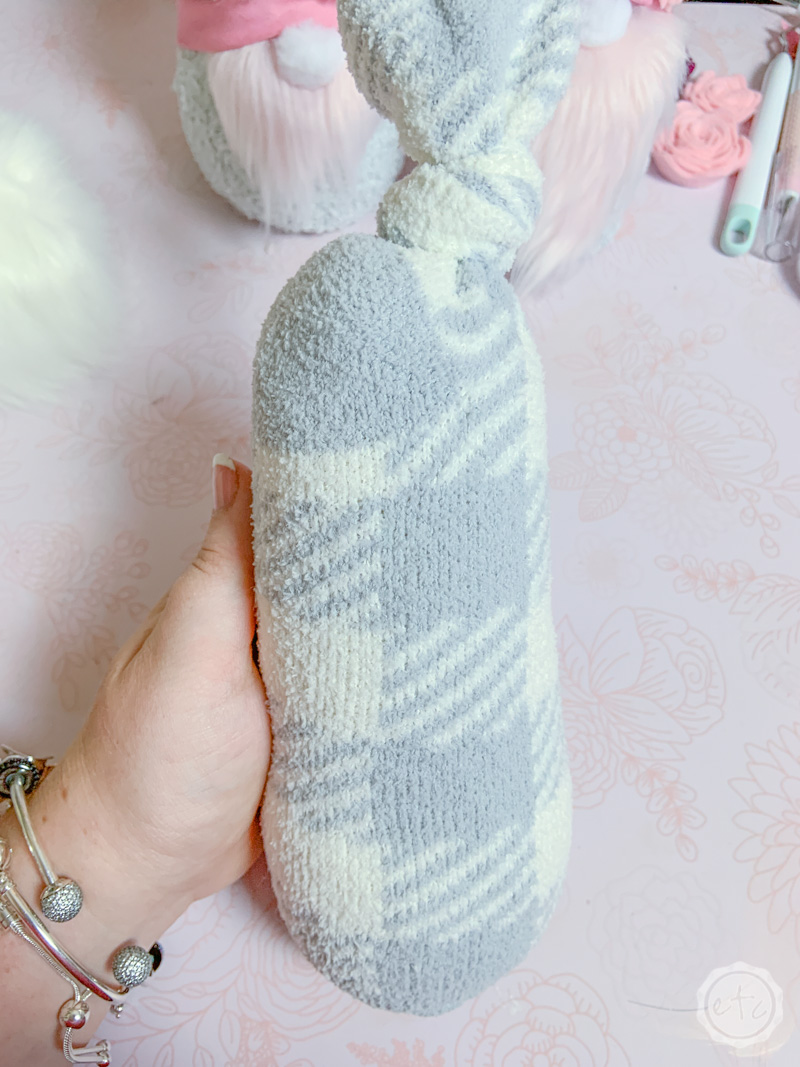
Making the body is super easy y’all. Simply fill your fuzzy sock with rice until you have a little gnome body. You can make your gnome short and fat or tall and skinny by adding more or less rice (and if you want an entire forest of gnomes I suggest making lots of different shapes and sizes so your gnomes are all different!).
After you’ve added enough rice that your gnome body is full go ahead and tie a secure knot in the top of the sock. If you are making a tiny gnome you may have to cut some of the excess material off the top of the sock… but a little bit on top is fine.

Step 2: Cut & Glue on your Gnomes Beard
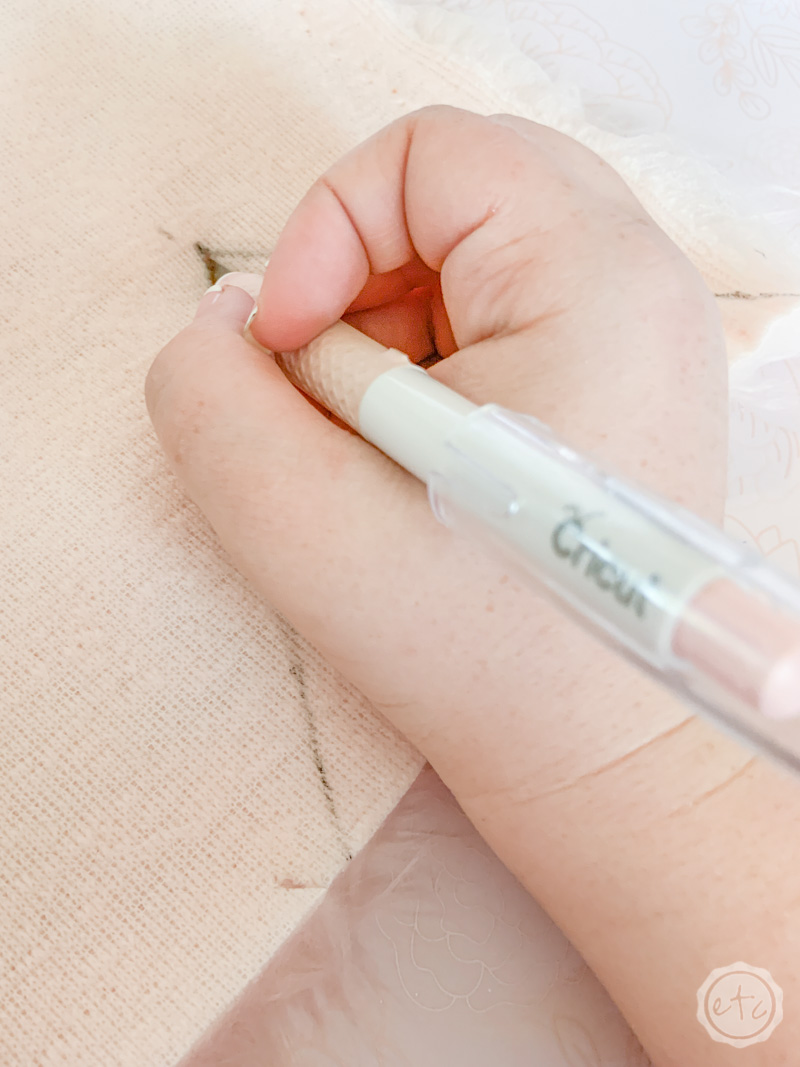
Ready for a little faux fur action? Let’s make this little beard! Luckily this part is pretty easy. I measured the little guy’s beard by holding the faux fur up to the gnome and marking how much fabric it took to go from the left side of the gnome to the right.
Then I measured to the bottom of the gnome and marked that on the back of my faux fur as well. This gave me 3 points so that I could draw lines to cut on.
Score.
Of course, when it comes to faux fur you should never use scissors. Scissors cut off the fur in an unnatural way. Instead use an exacto knife on the back of the faux fur… the knife will only cut through the backing of the material leaving our faux fur in one long piece for our little gnomes beard.
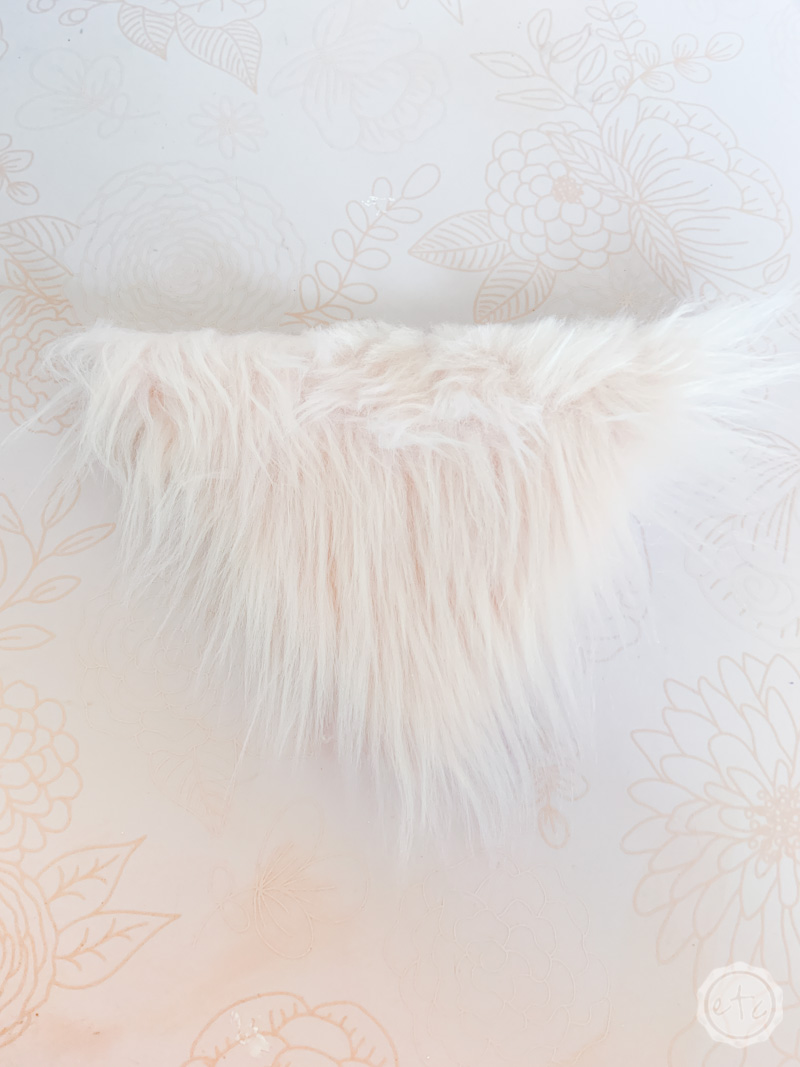
Just take a look at that little beard! See how the bottom has long fur white the top looks sheared off? That’s because the top was cut with scissors while I used my exacto knife for the sides.
Gnome beard for the win.
Now if you are doing a tall skinny gnome you can probably glue the beard directly onto the gnome as is but for a wide/fat gnome you’ll want to cut a little slit in the top middle of the beard so that it can bend around the gnomes body.

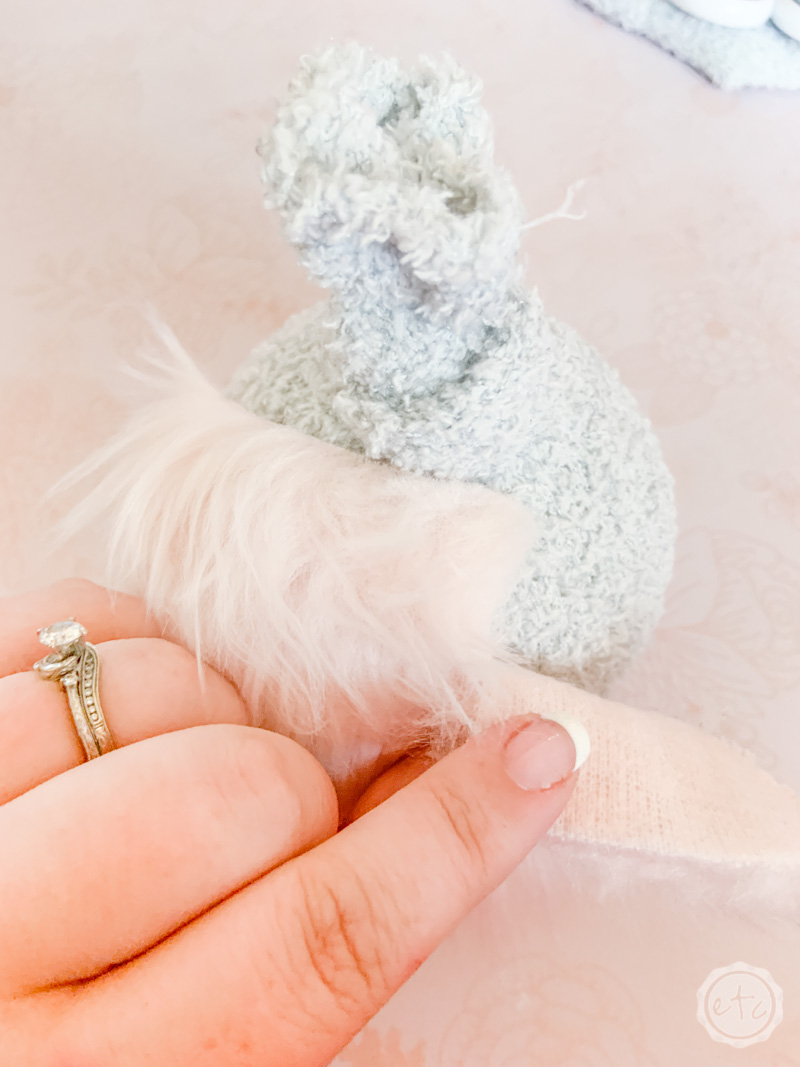
Now just glue the beard directly onto your gnomes body using hot glue! You want it to be directly under the knot with the bottom of the beard touching the bottom of the gnomes body (for that long lustrous gnome beard look).
Since this gnome is fat I simply glued on the left side of the beard first and then glued the right side on overlapping in the middle.
Once the beard is on it’s time to move on… let’s make a little gnome hat!
Step 3: Cut & Assemble Gnomes Hat
Alright! Now that we have our beard glued onto the body of our gnome it’s time to make his little hat. Start by wrapping your fabric around the little gnomes body… this is not the most scientific way of measuring but since each little gnome is different it’s the best way I’ve found to ensure the little hats fit.
I put the fabric right around his little body, just under where I glued the beard on (you want the beard line to be hidden. Then once you have it snug you’ll add enough fabric for a seam (typically about an inch more of fabric).
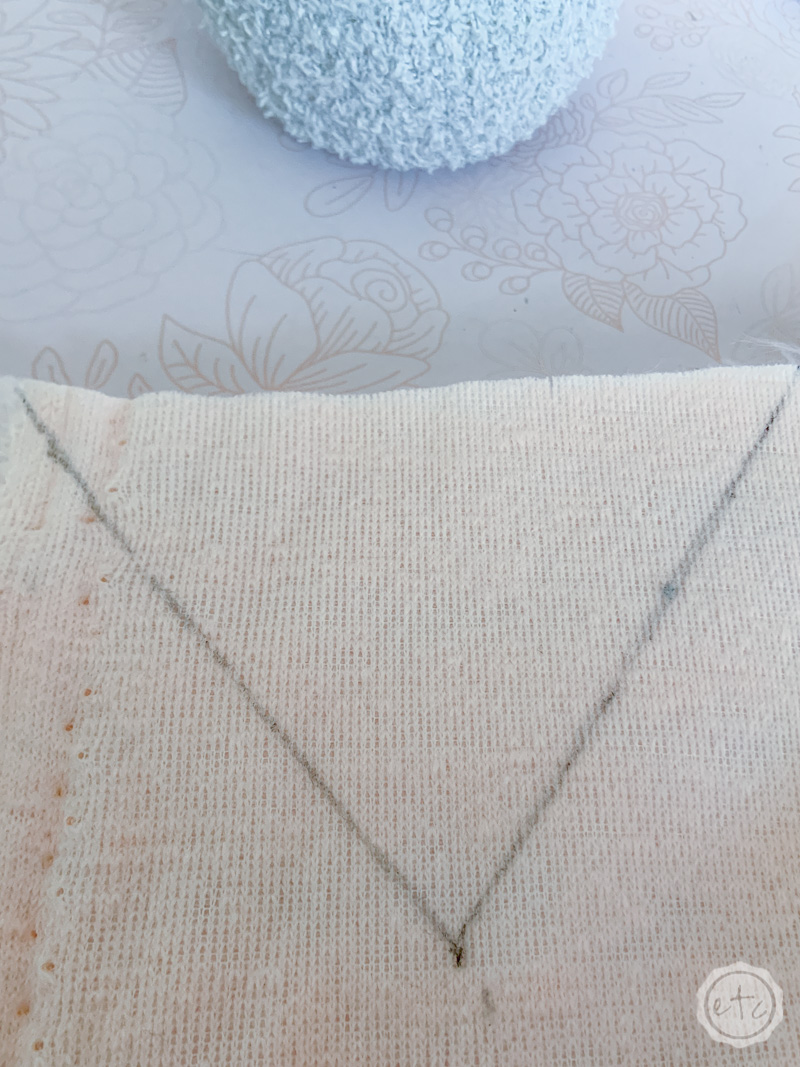
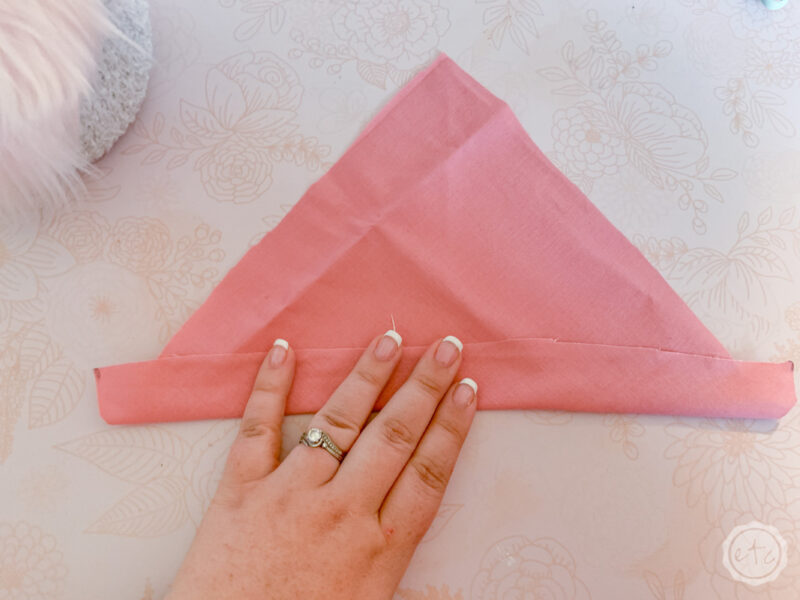
I went ahead and cut a notch in my fabric where it needed to be cut so I knew exactly how big to make the hat. Then I moved the gnome and laid the fabric down flat on my workspace. Fold the fabric over so that the notch you cut is even with the edge of the fabric. Like in the picture below.


Now you can cut out your little hat! Go ahead and cut in a straight line up from the notch in your fabric for about an inch. This will end up being the cuff of your hat so if you want a wider cuff cut in a straight line for about 2 inches. Then cut a diagonal line to the edge of your fabric creating a triangle (like in the picture above).
This should make both sides of your little gnome hat identical. Now go ahead and unfold your fabric and lay it flat on the workspace like in the photo below.
We’re going to start making the cuff of our hat so take your hot glue and draw a straight line at the top of cuff portion of your triangle (the top of your inch long cut… all the way from the left to the right like in the photo below).
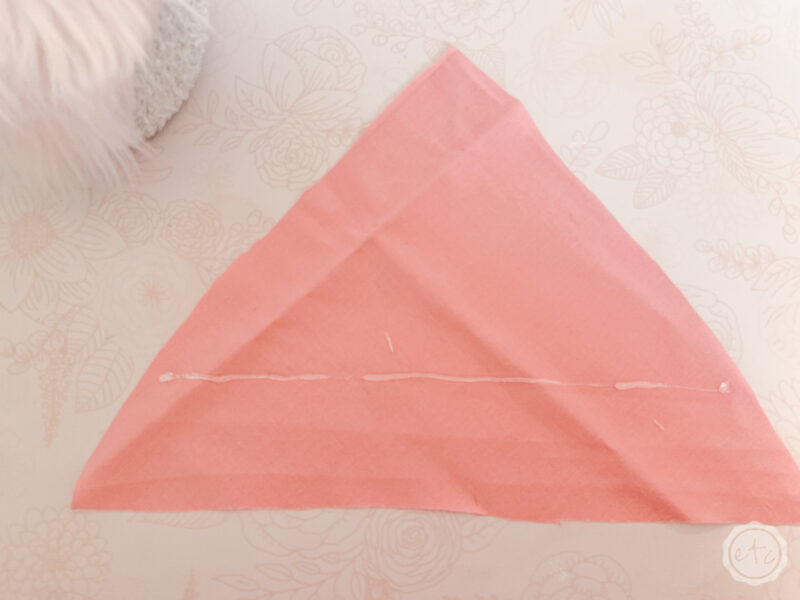
Now before the glue dries fold up the bottom of the fabric and smooth it out creating a seam. Now flip the fabric over and repeat this process: place the second line of glue about half way between the top of the cuff and the bottom and then fold over the bottom and press it down into the hot glue.
This will create your cuff (like you see in the picture below). By placing the second line of hot glue half way down the finished cuff should have a bit of space behind it (where you’ll later tuck in the bunny ears).

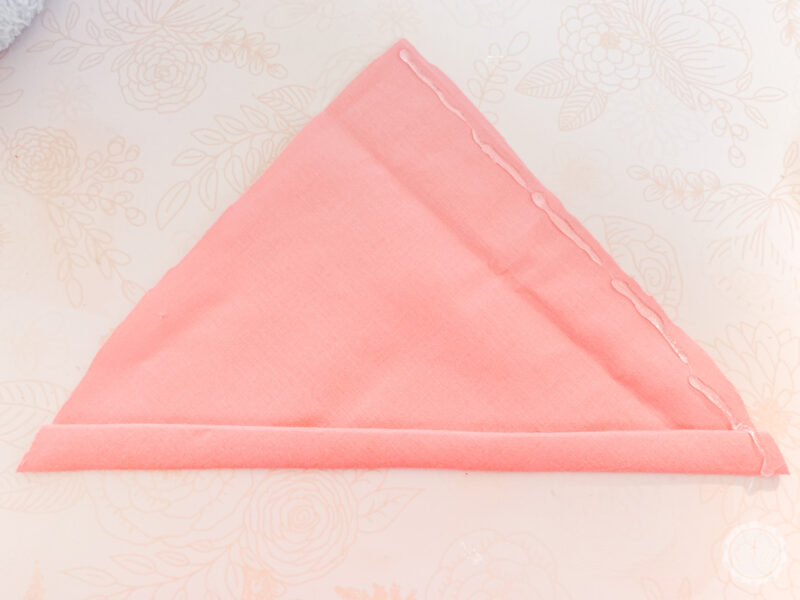
We’re almost done! Now it’s time to create the actual hat. Place a line of glue down the right side of the face of the fabric (like the photo above) and then fold over the fabric and align the two sides.
Press firmly from the top of the seam to the bottom so that the glue dries properly. At this point you should have a little hat like the photo below: with the nice cuff inside the hat and the messy seams on the outside.


Which means the last step is to turn the little hat the right side out! This will give you a hat with a cuff (for bunny ears) and a weird tail in the back. Go ahead and tuck that tail up inside the hat (like the photo below).
Now we’re ready to put our little hat on our gnome!


Step 4: Glue Gnomes Nose & Hat to Body
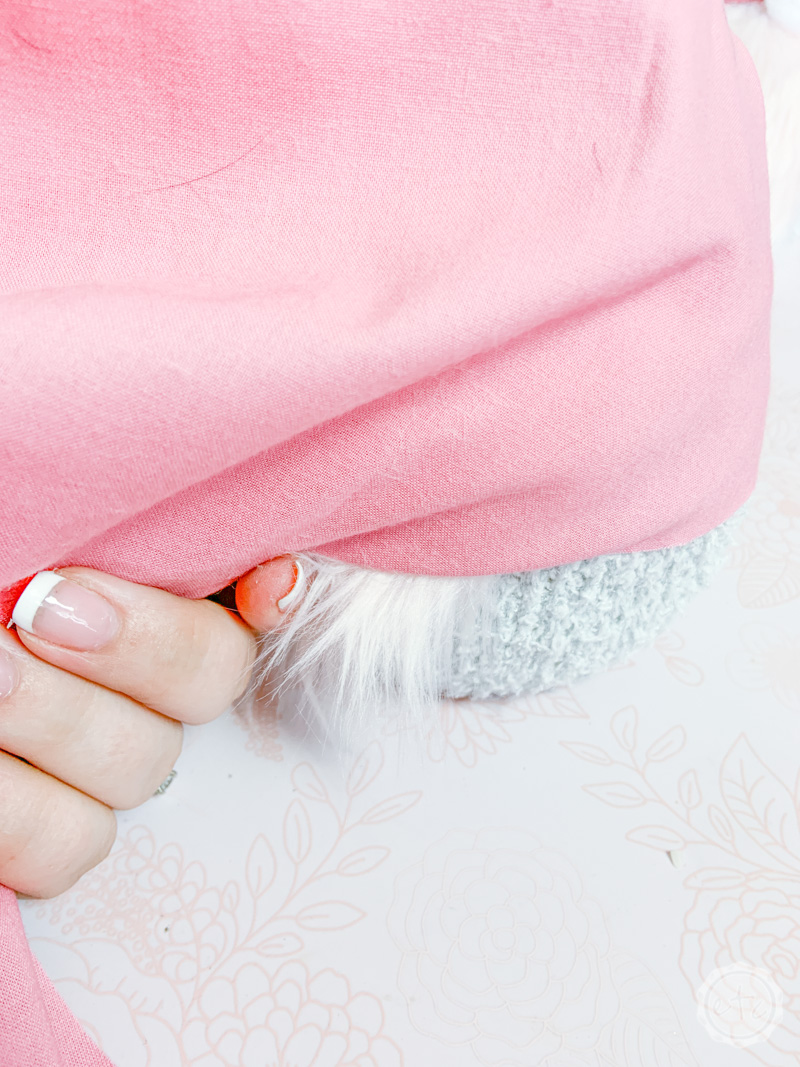
Ready to put this baby together? Go ahead and pull that little pink hat snug down over your gnomes beard. Looking good!
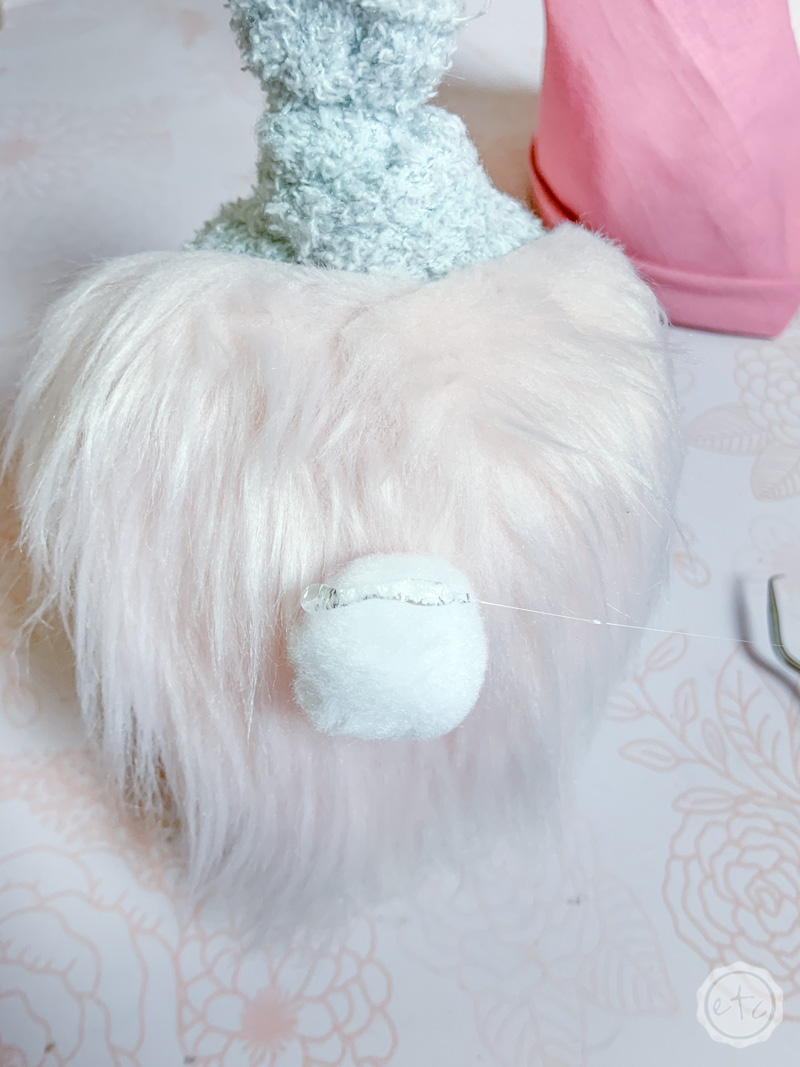
Now find the middle… that’s where you want to put your little gnomes nose. It should be in the middle of the beard and hat with half the nose underneath the hat and the other half peeking out.
Once you’ve marked the spot remove the hat and glue your little white pom pom in place (that’s your nose!). Make sure when you’re placing the little nose down that you’re very careful not to drip hot glue… it does not come out of the faux fur easily!
Once you have the nose in place go ahead and place a line of glue across the top of the gnomes nose and then place the front of the hat in place... then pull the hat down snug onto the gnomes head.
Now all that’s left is to work your way around the gnome adding hot glue under the hat to secure it in place.
Step 5: Put Together Bunny Ears
Okay y’all if you’re simply looking for gnomes then you’re good to go, add a flower, don’t add a flower, leave off the bunny ears and enjoy your gnomes. BUT if you’re here for the Easter Bunny party then let’s get cracking making these little gnomes into bunnies.
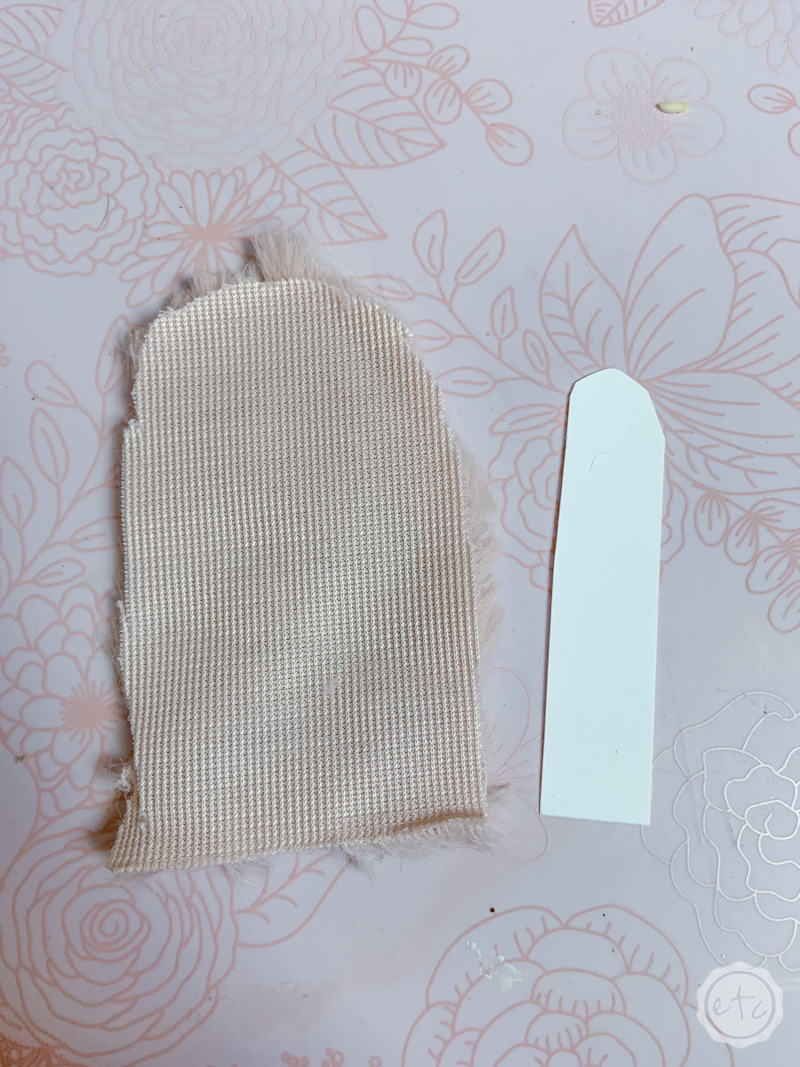
The ears area really easy to make. Simply cut our your fuzzy fabric into a small rectangle and then round the top edges. You want the ear to be about 1.5 inches wide and 2-3 inches tall.
Try to make the height of your bunny ears match the height of your gnome. Tall gnome with a tall hat? 3 inch tall ears sounds great. Tiny little baby 2 inch tall gnome? Maybe only half an inch tall on those baby ears.
Once you’ve cut out a piece of fabric for the ear, cut out a piece of cardstock for the inside of the ear and glue it down using a bit of hot glue. This cardstock will give the fabric some backbone so that the ears will stand up… and it will give you something to glue too!
Now that your cardstock is in place put a dab of glue at the top and fold the top of the fabric over smoothing it into place.


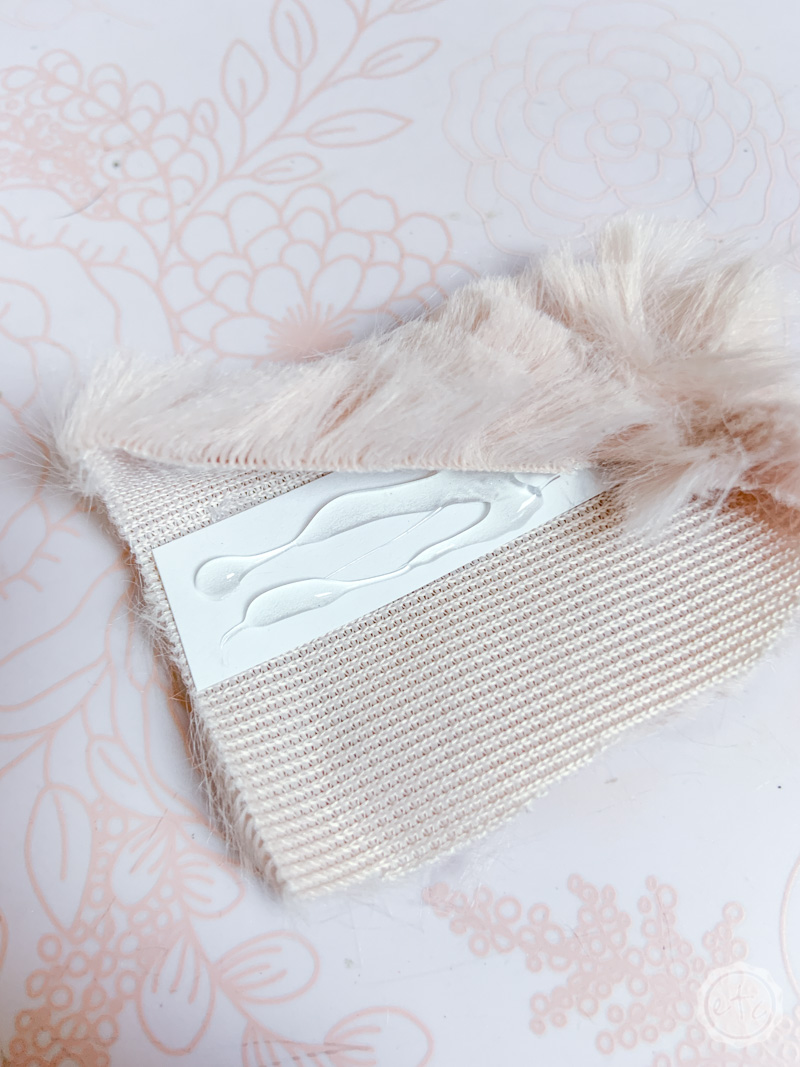
Now we’re going to do the sides: put a bit of hot glue down and then fold over the left side. Then add a bit more hot glue (onto the fabric if needed) and fold over the final side.
Your bunny ears are done!
Volia!

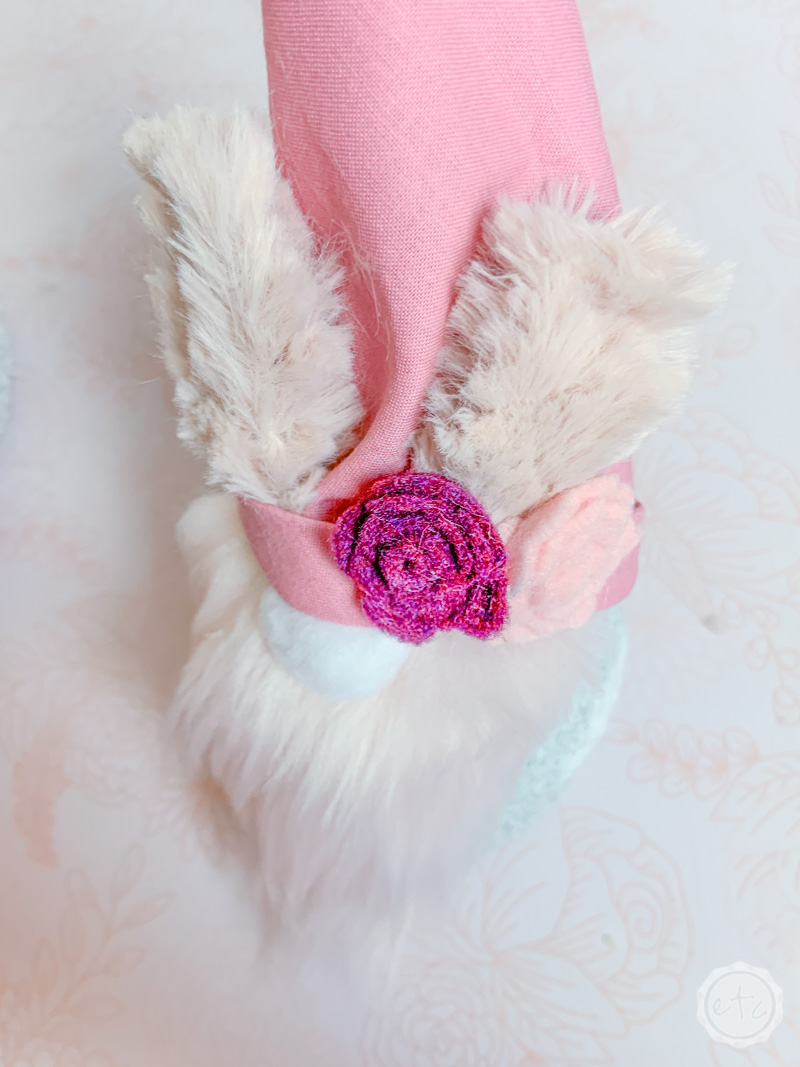
Now all that’s left is to add your ears to your bunny gnome… go ahead and slide the ears into the cuff on your gnomes hat. Make sure you like the height (you can always trim a little off the bottom of the ear if it’s too tall). Now you have two choices: you can simply place the ear into the cuff and let it sit there or you can add a bit of hot glue to the inside of the cuff and glue the ear in place.
If you glue the ear in place it definitely won’t fall off and the entire little ear will be sturdier. But if you simply place the ear inside the cuff you can remove the bunny ears and this guy goes back to being a simple gnome when Easter’s over.
Your call!

Step 6: Add Flowers!
The last step is completely optional… add the little felt flowers that you see on the gnome above! These little flowers are super easy to make (check out the full felt flower tutorial here) and you can make a million of them with one felt sheet.
If you’re feeling festive my ultimate bow collection has so many different felt bow varieties to pick from… just check out the cute snowflake and antler bows I made for my Christmas gnomes!
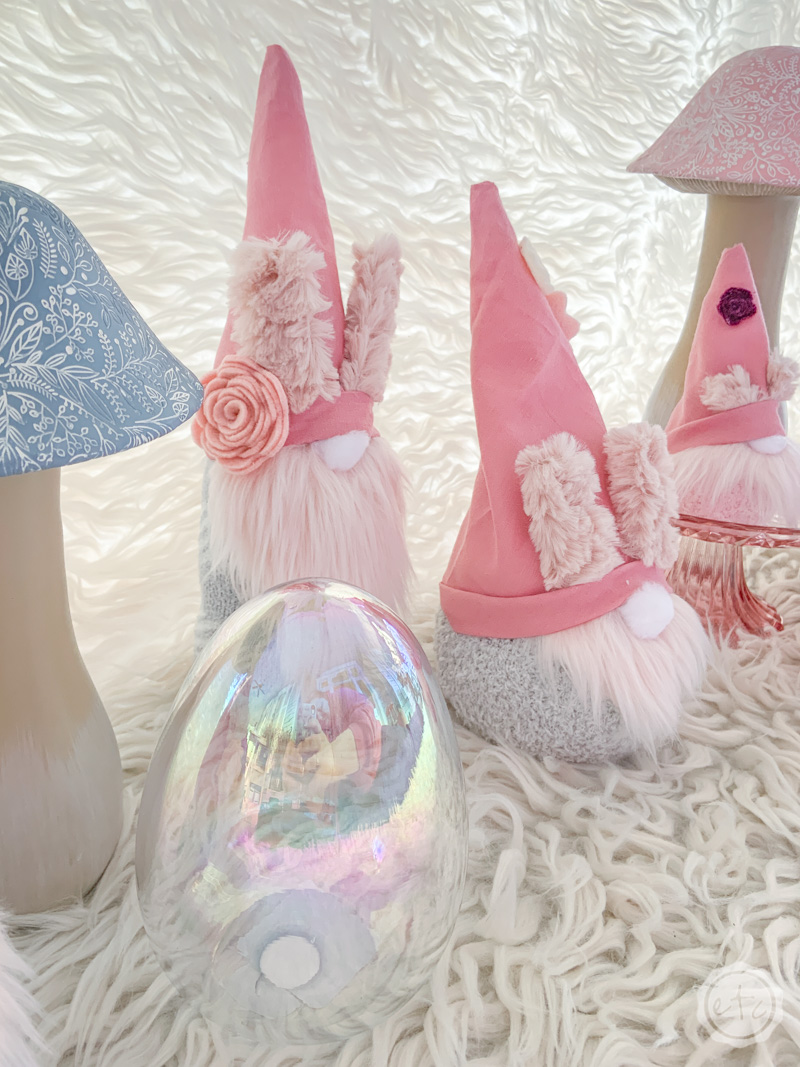
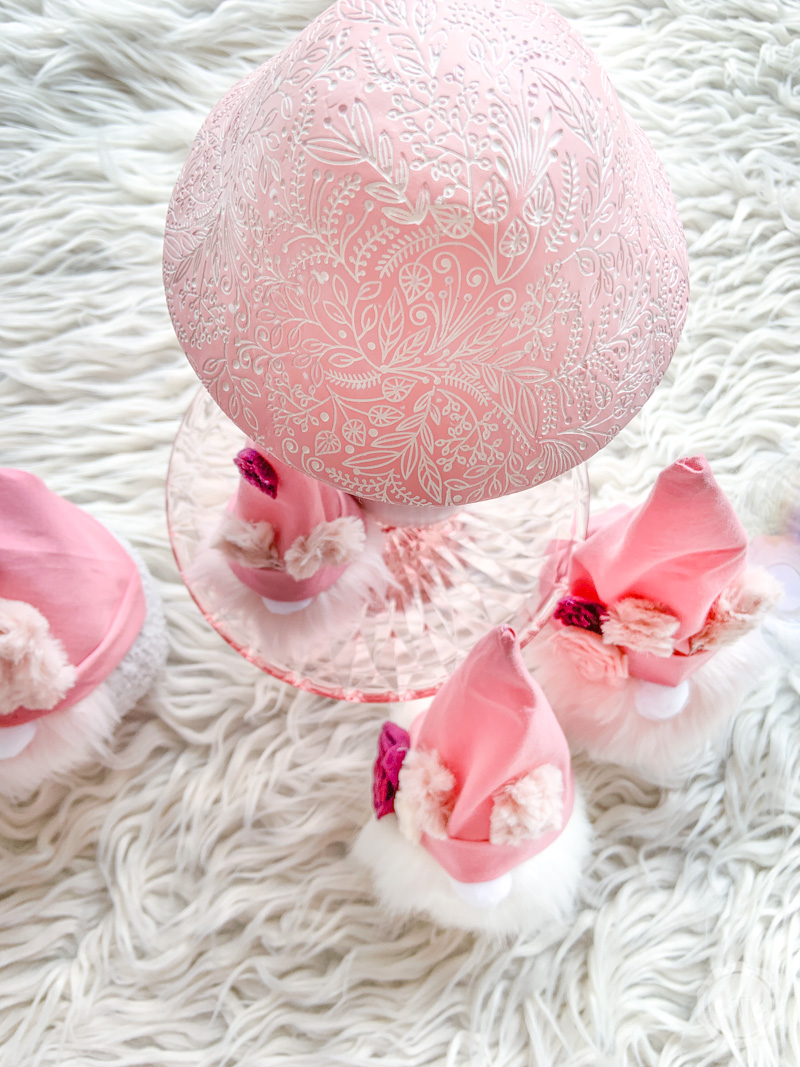
I made a few in 3 different colors (purple, pink and peach) and used hot glue to add them in a different spot to each of the little gnomes hats. I think they give these little guys a bit of spring time flair!
Check it out:

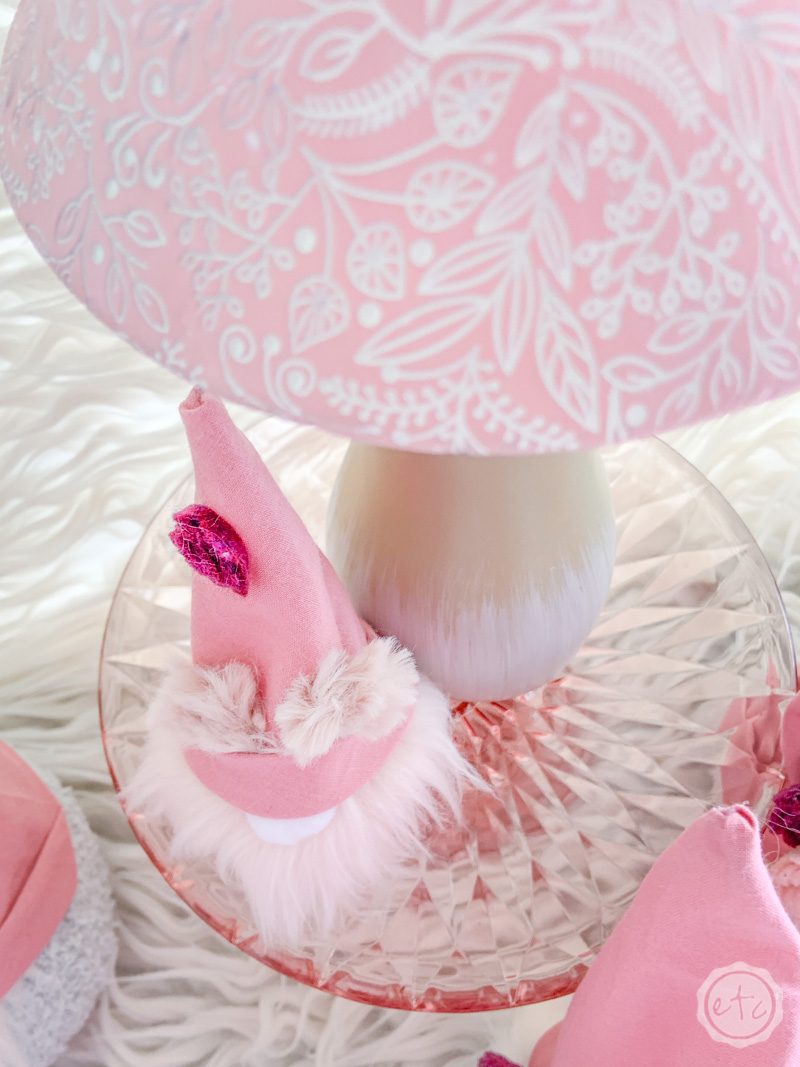
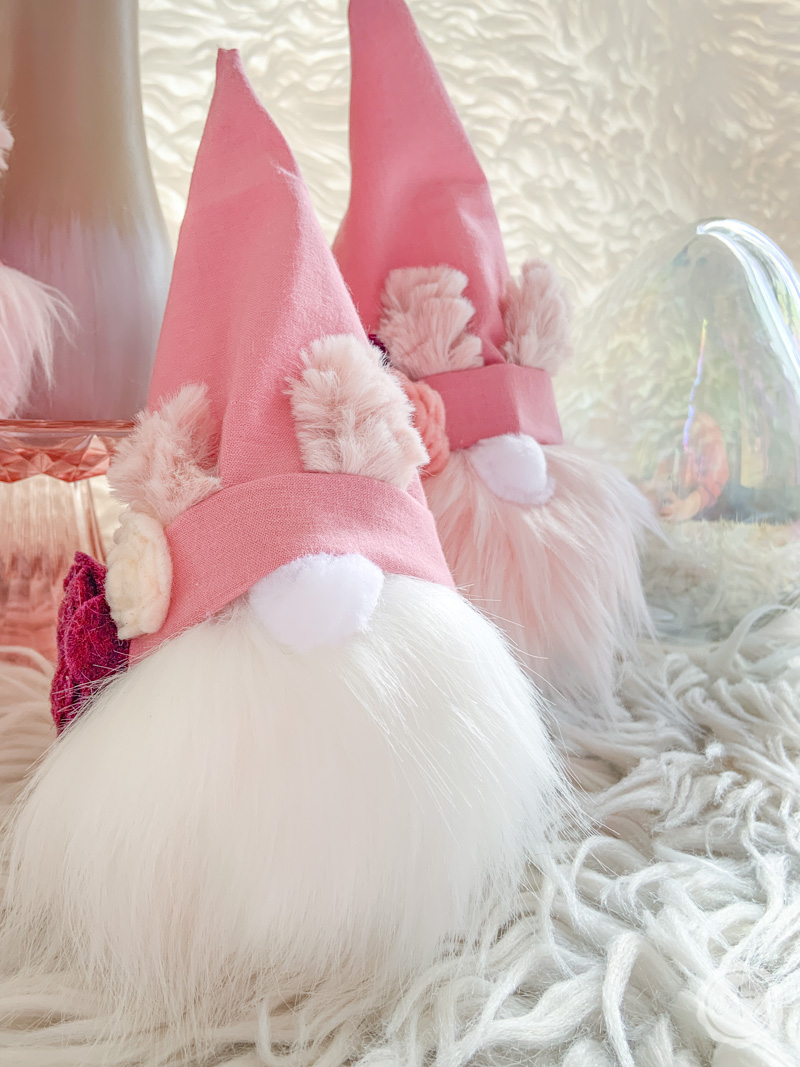
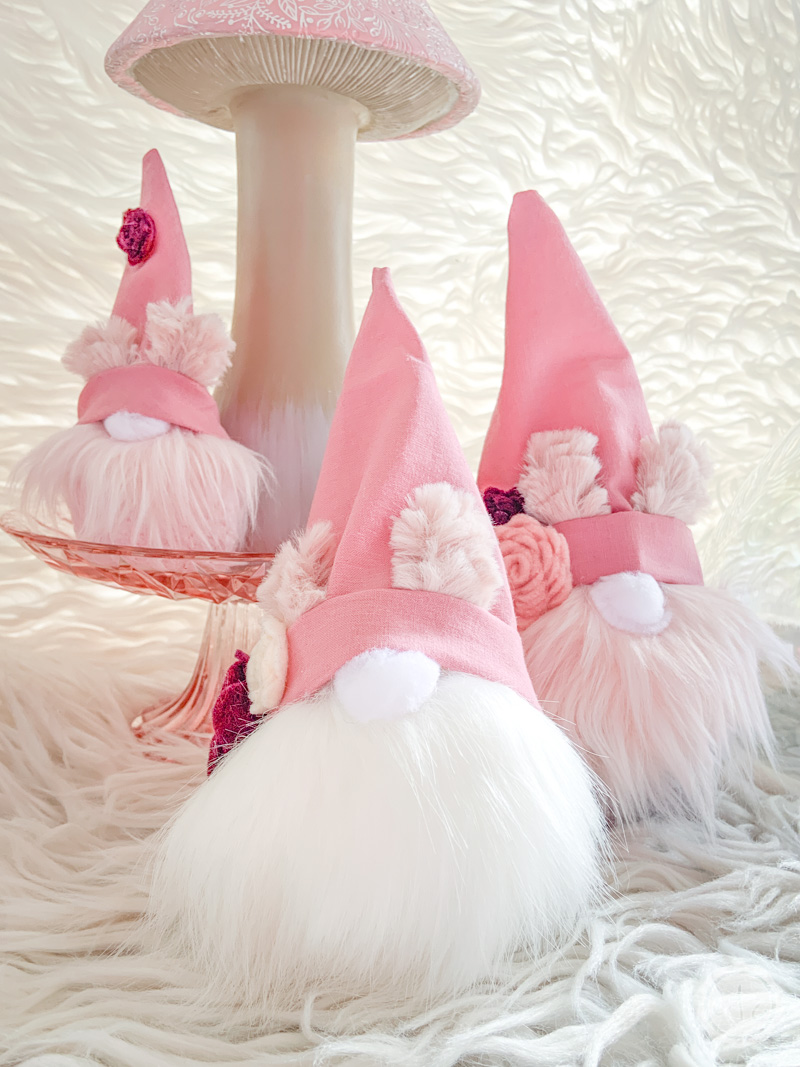
Notice something different about this little white bearded gnome? He’s a puff ball! For a little spice I made one gnome completely out of fur… and I’ll be honest this little guy turned out adorable.
Plus he’s super easy because he doesn’t need a beard or a body… the pom pom is already a giant bearded body (bet you didn’t think that was a thing). Simply add a nose and a hat and this guys ready to rock!



Get Your FREE PDF Guide!

Don't forget to snag your free PDF Guide to buying your first Cricut!


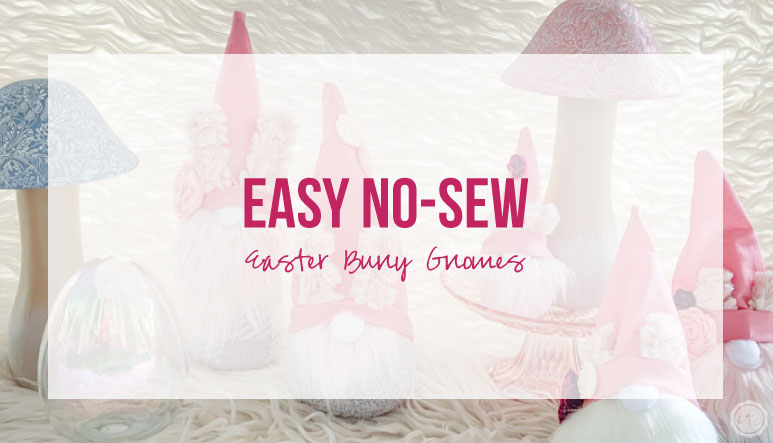


So sweet! Can you tell us about the mushrooms? Did you make them?
I didn’t make the mushrooms! I bought them at Michael’s last year… they’re so cute!