


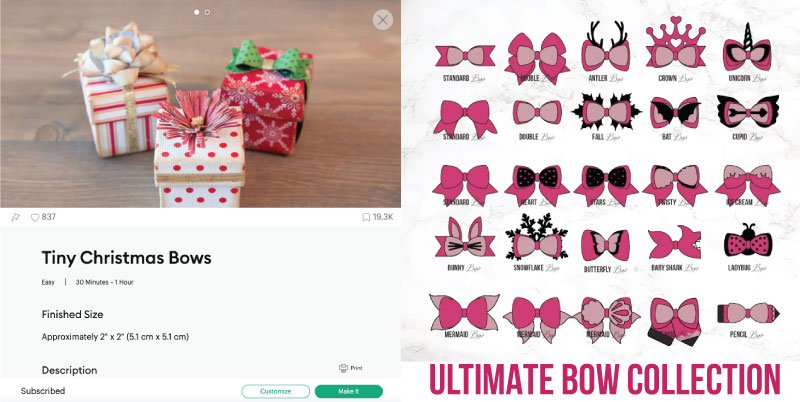
A few years ago I put together a simple tutorial on how to make felt bows and y’all loved it. You loved it so much I put together my ultimate bow collection (which is a collection of 25 bow cut files including bows for the holiday’s). So this morning when I decided to sit down and whip up a few no sew holiday gnomes I knew exactly where to get bow cut files from!
I picked two of the bows from that collection (my snowflake and antler bows) as well as a few simpler bows from the Cricut access library and whipped up an entire collection of adorable little holiday bows for my adorable little Christmas gnomes. Of course, you can use these bows for lots of little things: hairbows, headbands, wrapping presents, earrings. The list goes on and on!
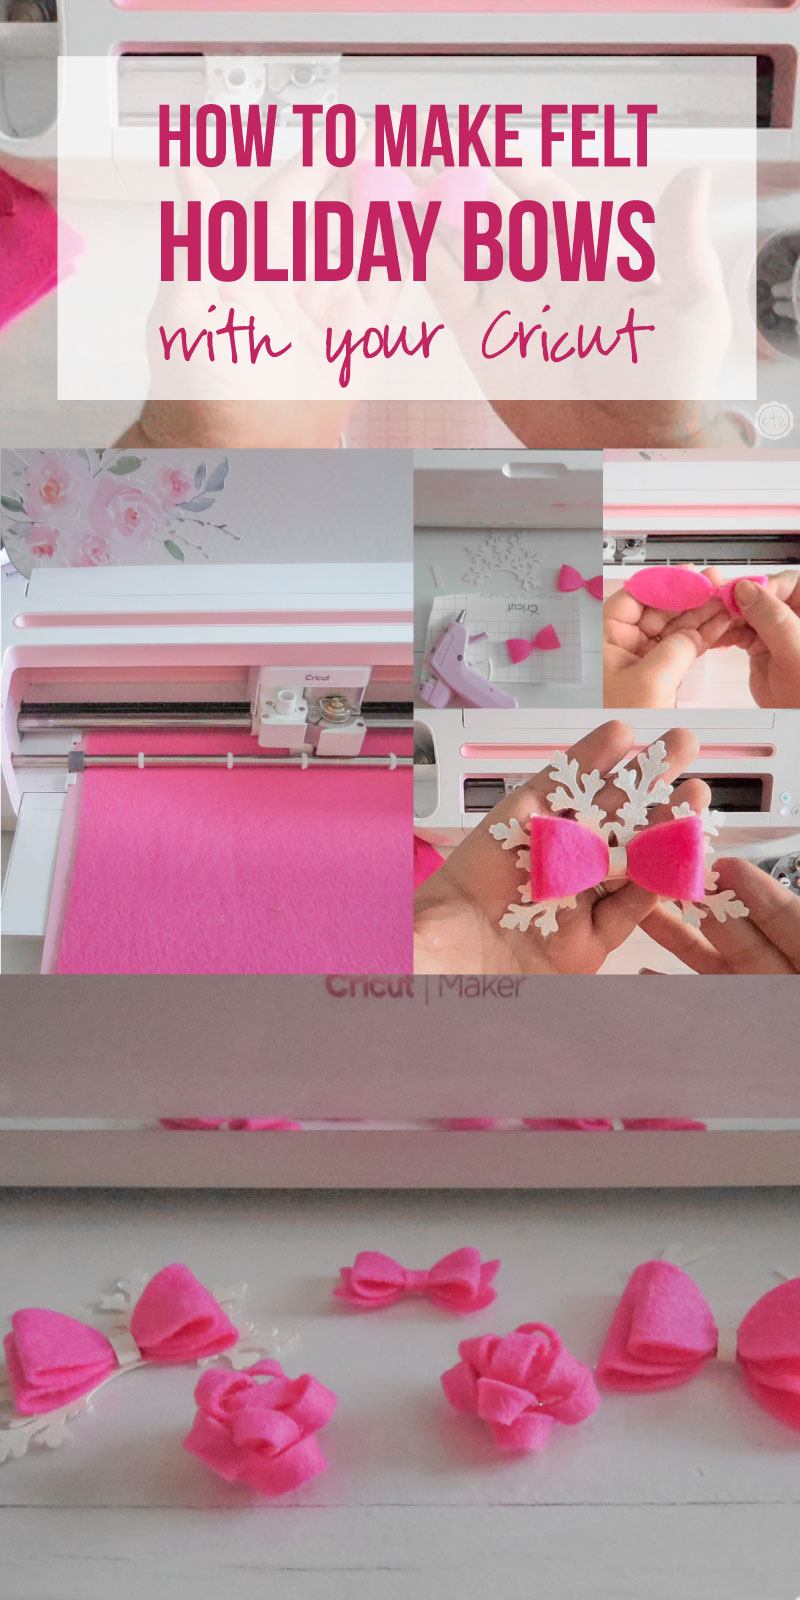
The concept for making alllll felt bows is pretty much the same so I’m going to walk you through making the snowflake bow and then show you the end results. It’s about to get felty in here!
Let’s get started.
Supplies:
- Cricut Maker
- Rotary Blade
- Fabric Grip Mat
- Felt
- Faux Leather with Glitter
- Hot Glue/Hot Glue Gun
- Ultimate Bow Collection Files (Regular, Snowflake and Antler Bows)
- Cricut Access Files (Present Bow, Regular Bow)
- Cricut Access
- Brayer
You can cut any of the bows from my ultimate bow collection with a Cricut machine or by hand. If you’re cutting these files by hand go ahead and cut out all of your files by printing the designs and cutting them onto the felt. Then skip to step 3 to learn how to glue them together.
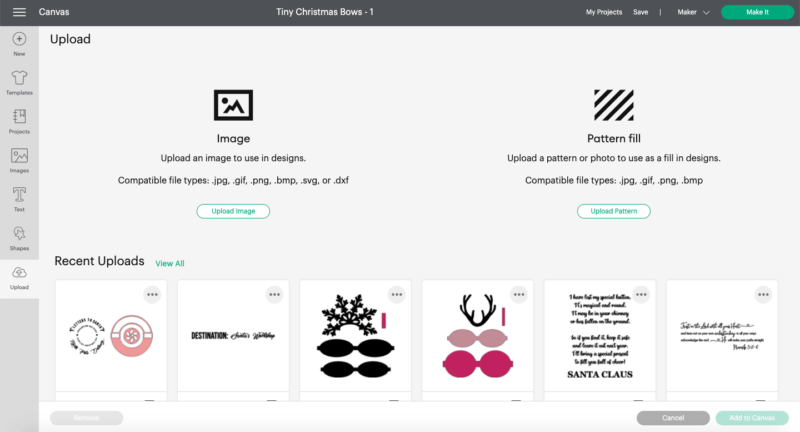
Step 1: Upload Cut Files
Since I’m making a few bows (from my ultimate bow collection and from the Cricut Access Library) my first step is to get allllll of my bow files onto one canvas in Cricut Design Space.
To do this I simply searched for the “Tiny Christmas Bows” I wanted to use and instead of hitting make it I selected customize. This opened all 3 of the tiny Christmas bows on a canvas. Then I saved this canvas to my projects.
From here I was able to easily upload the snowflake bow file SVG and the antler bow file SVG into Cricut Design Space (you can follow this tutorial on how to upload an SVG to Cricut Design Space if you need a little help on this step).
Now we have all of our cut files on one canvas but before we move on I’m going to go ahead and re-color my cut files. They’re already the perfect size for hairbows (or gnome bows) but for this project I’m using a hot pink felt and a white glitter leather so I’m going to make everything one color (for the hot pink felt) I picked a light pink. Then I’m going to select the snowflake and antler pieces as well as the tiny strips that come with those cut files and make them a different color.
This will tell Cricut I want to cut these pieces out of a different material and to put them on a different cutting mat. If you simply want to cut everything out of felt you can simply select everything and make it allllll the same color. Typically I try to coordinate my colors with the materials I’m cutting (pink felt, pink cut files) but the white glitter leather means white cut files and those are hard to see in Cricut Design Space… so I just selected a different color instead. Do whatever works best for you here!


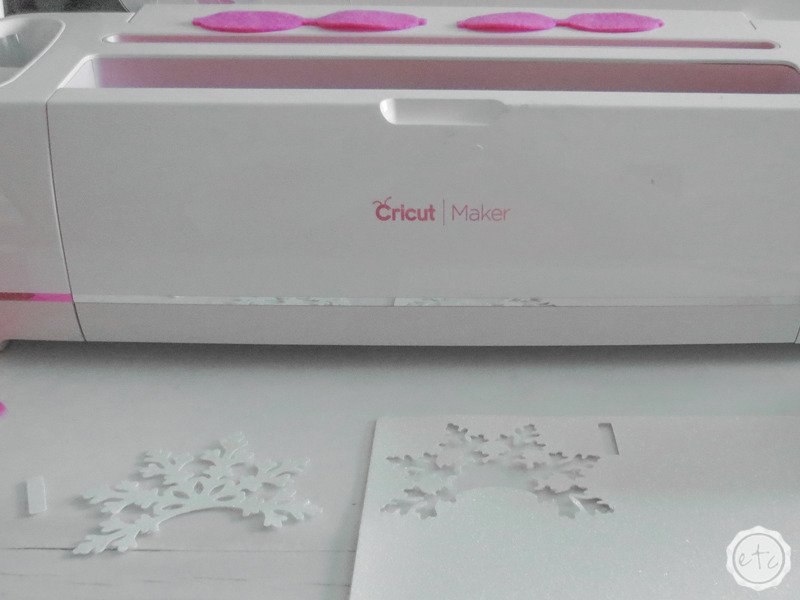
Step 2: Cut your Felt
Now that we have our cut files ready to go it’s time to actually cut our felt! I loaded my felt onto a fabric grip mat and used my brayer to make sure it was really bonded to the cutting mat.
You don’t want that felt to shift around while it’s cutting!
Then load your rotary blade into your Cricut Maker (or your deep point blade into your Cricut Explore Air 2/3) and hit go! The felt should cut really easily and in no time you’ll have lots of little felt pieces.
These are even easier to weed then vinyl… just remove them from the cutting mat!
Score!
Unfortunately at this point I learned that one of the bows from the cut file from the Cricut Access library wouldn’t work with felt. The one with allllllll the slices just didn’t hold up to the rotary blade. It stinks but not all cut files are created equal… and this one was designed to work with paper, not felt. That’s ok. I just scraped that bow and concentrated on the cut files that worked perfectly: the two from my ultimate bow collection, the tiny regular bow and the cute present bow.

Once you have allll your felt pieces cut out go ahead and load your faux leather onto a fabric grip mat and use the brayer to reallllllly bond it onto the mat. This faux leather is a pain in the rear and although it will cut it doesn’t always cut cleanly. In this case I used my scissors to clean up the edges a bit.
If I were re-doing this project I would have used this metallic shimmer leather (which I know cuts wonderfully on a Cricut since I used it to make these stocking tags last year) and skipped this glitter leather altogether. But in the end it was worth it… and the little bit of scissor work wasn’t hard. Just frustrating.
Either way now we have all our cut files ready to rock so let’s get to work on assembling these little bows!

Step 3: Glue your Bow Together
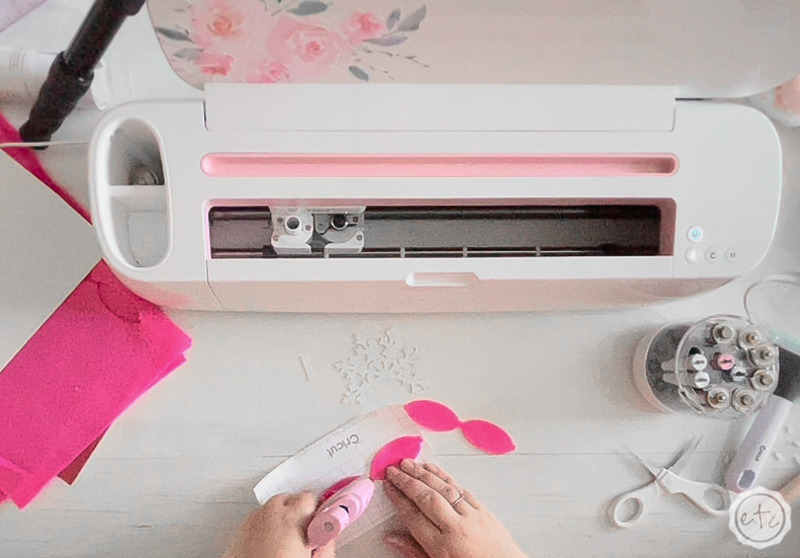
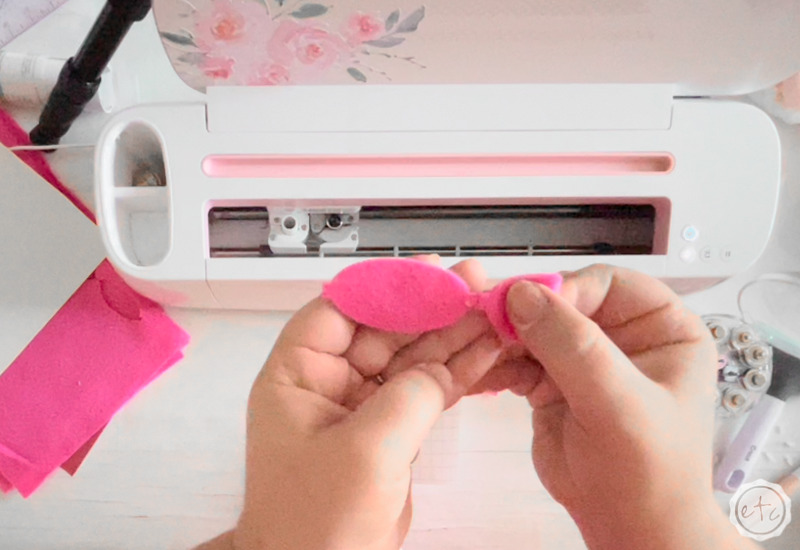
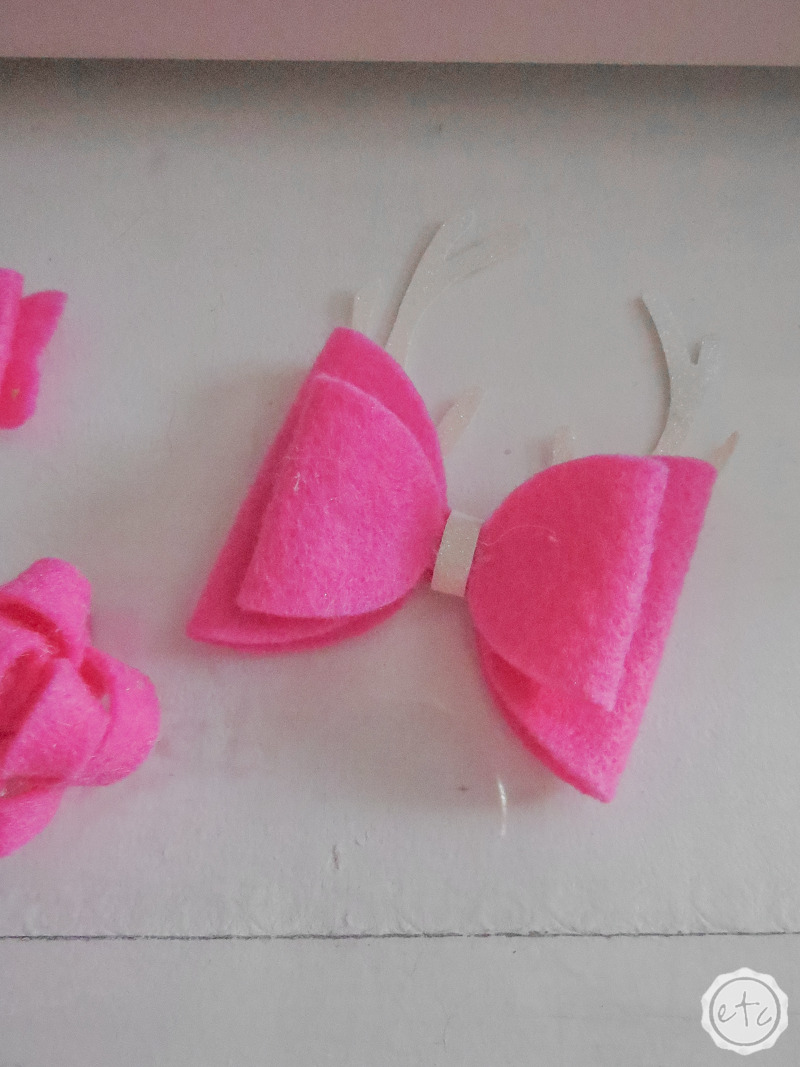
Go ahead and plug in that hot glue gun because it is time to assemble our bows! I always start with the actual bow shapes since these are same no matter which bow you’re making. Essentially we’re going to add a dab of hot glue to the middle of our bow and then fold the two ends inwards to meet in the middle.
This will give us that traditional bow shape.
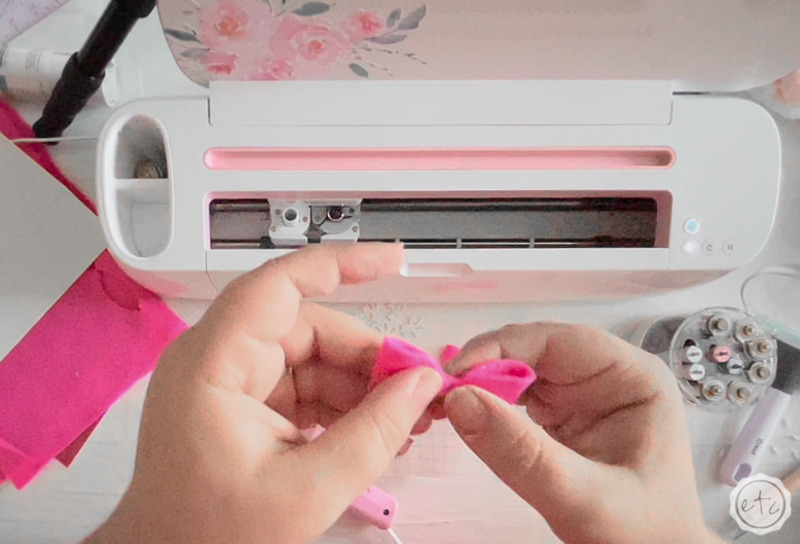
Watch the specific bow you’re gluing though. Some of the bows meet in the middle and some overlap a little… both methods work you just want to watch the sides of your bow and made sure they’re even as you’re gluing.
Then you know your bow will turn out perfect every time.

Now that we have our bow loops made we’re going to go ahead and glue the layers together… for our snowflake bow we have a double bow, the antler bow is also a double bow and the cute little simple bow from the tiny Christmas bow collection has tail ends that go behind the bow.
We’re going to use a little dab of hot glue to attach all of these layers together.


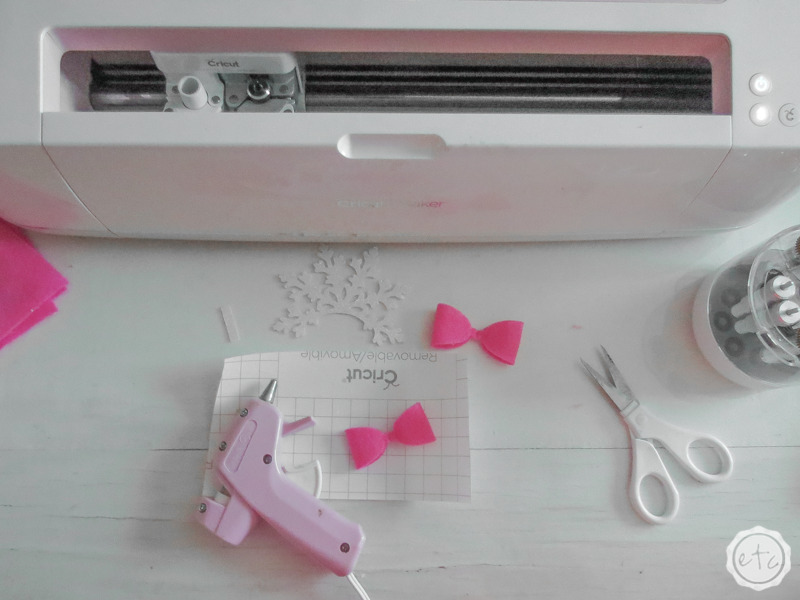
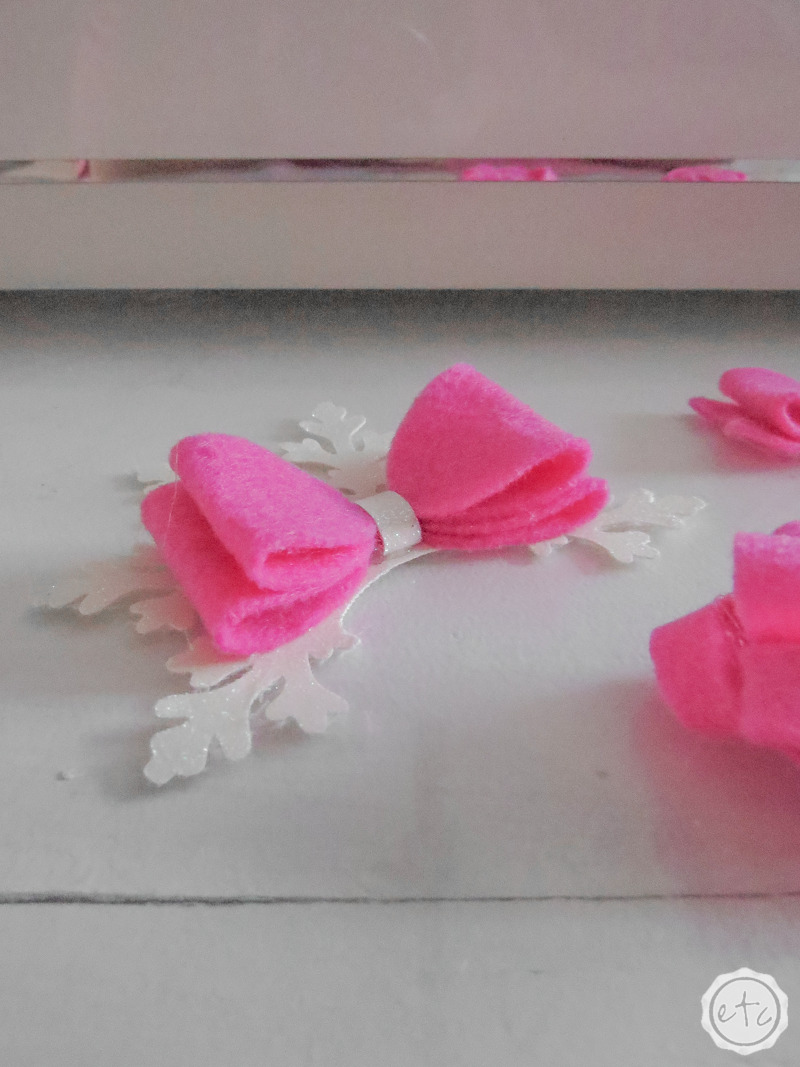
Ready for the wrap? At this point we can take the tiniest piece of our puzzle… that long skinny rectangular piece and wrap it around our bows.
I add a dab of hot glue to the back and secure the strip (glitter side up!) then tightly wrap the rectangle around the bow and secure it with another dab of hot glue on the back.
Perfect!
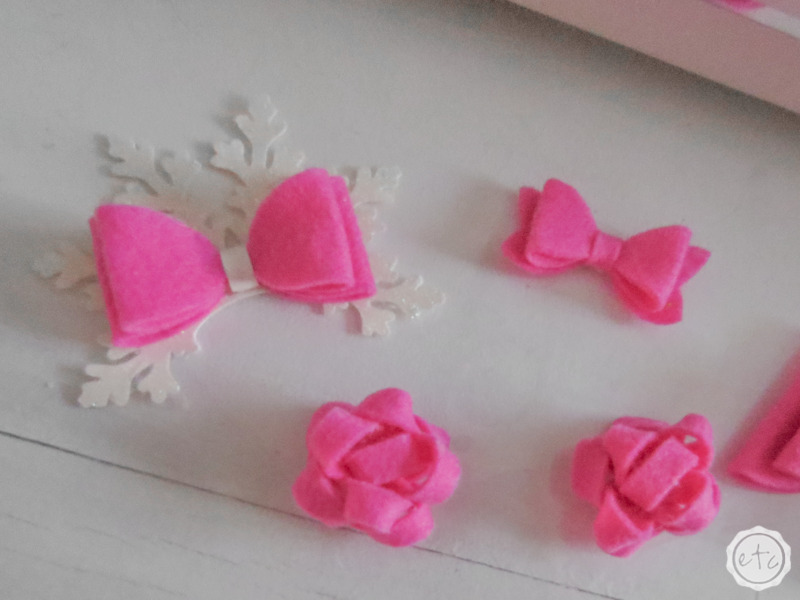
For our little simple bows we’re finished… but for our larger bows we have one more step.

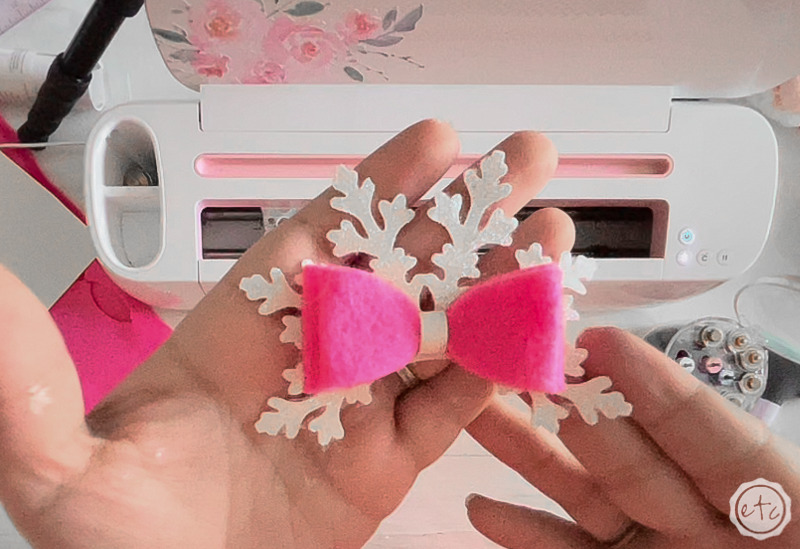
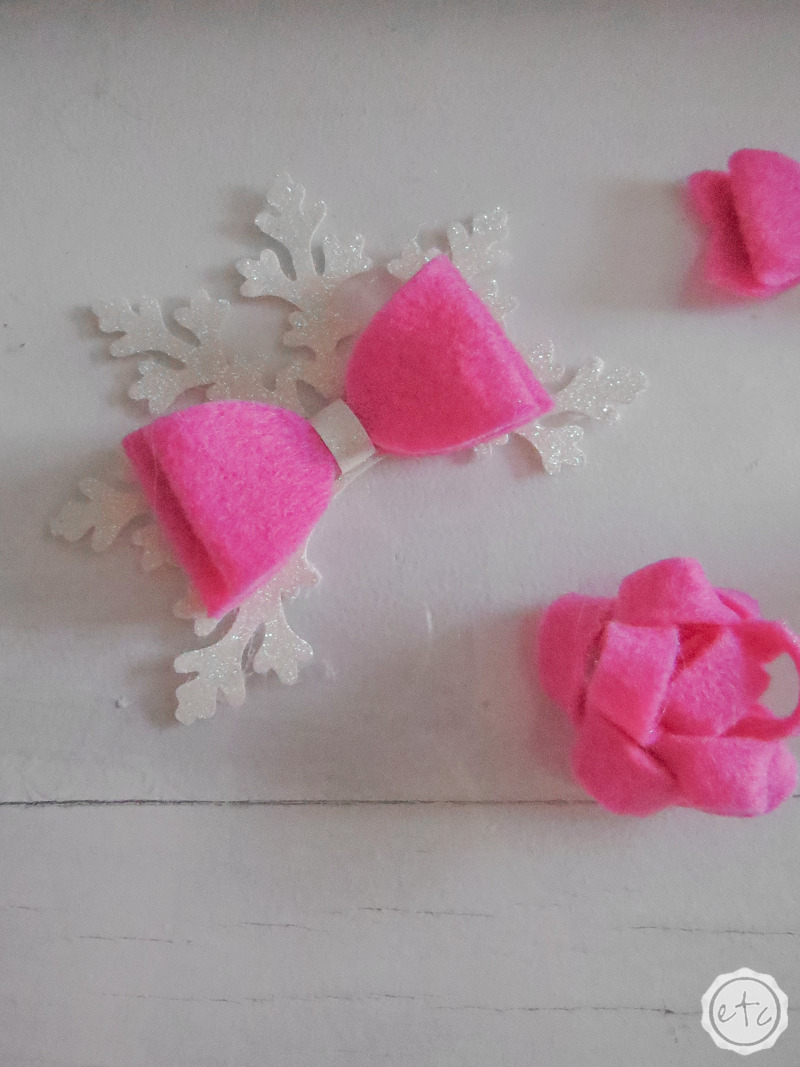
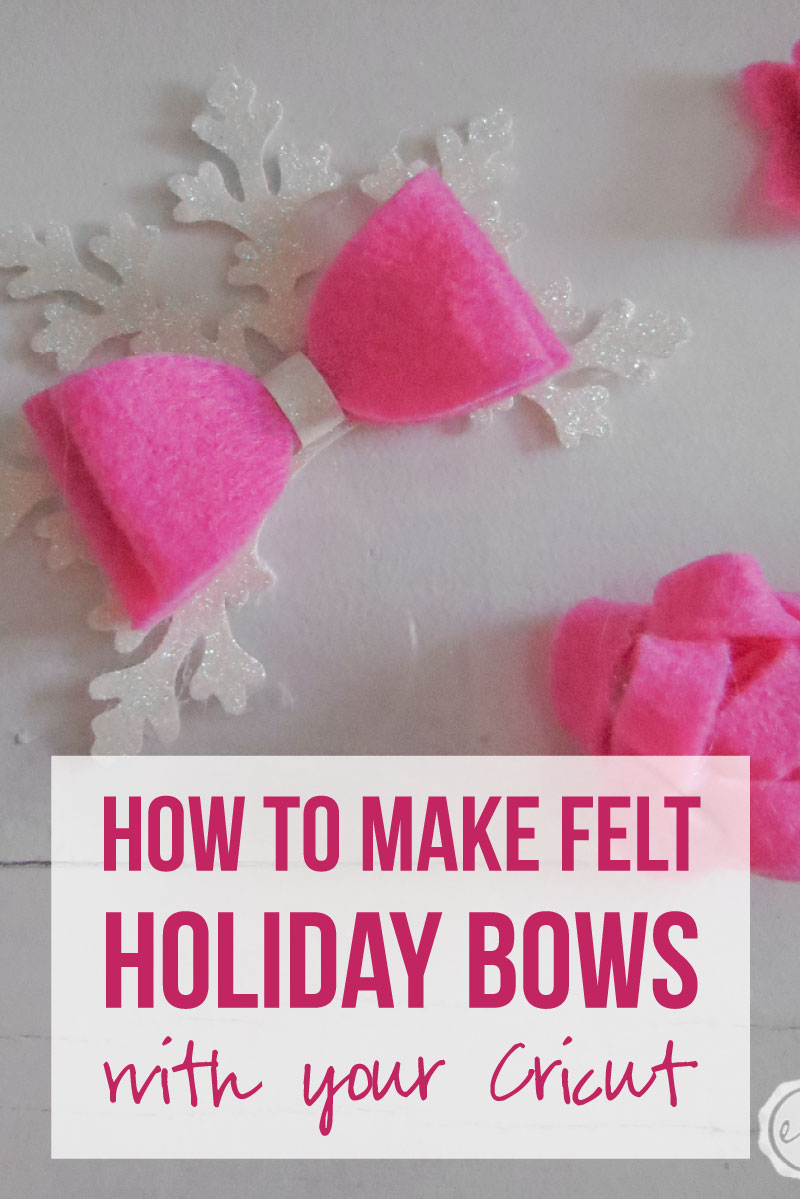
Adding the snowflake (or antlers!).
This is an exciting step but it’s as simple as adding a bit of hot glue and gluing the bow onto your snowflake. Make sure that everything is straight and hold it tight for a couple of seconds to let the hot glue dry.
Then you’re finished!
You can make a few more bows, add a clip so that these bows can be used as hairbows or even add them to adorable Christmas gnomes.
Whatever you like!
Before I leave you to see the final results I’m going to mention the little present bows… they were hot glued together in layers just like the normal bows. BUT the long strips you cut to make the present bows have to be twisted first… twisted, glued, twisted, glued, twisted glued. It’s an easy process but hard to explain in words so if you need a more through explanation go ahead and check out the video up above where I’ll show you the whole process.
Now… the bows!


Leave a Reply