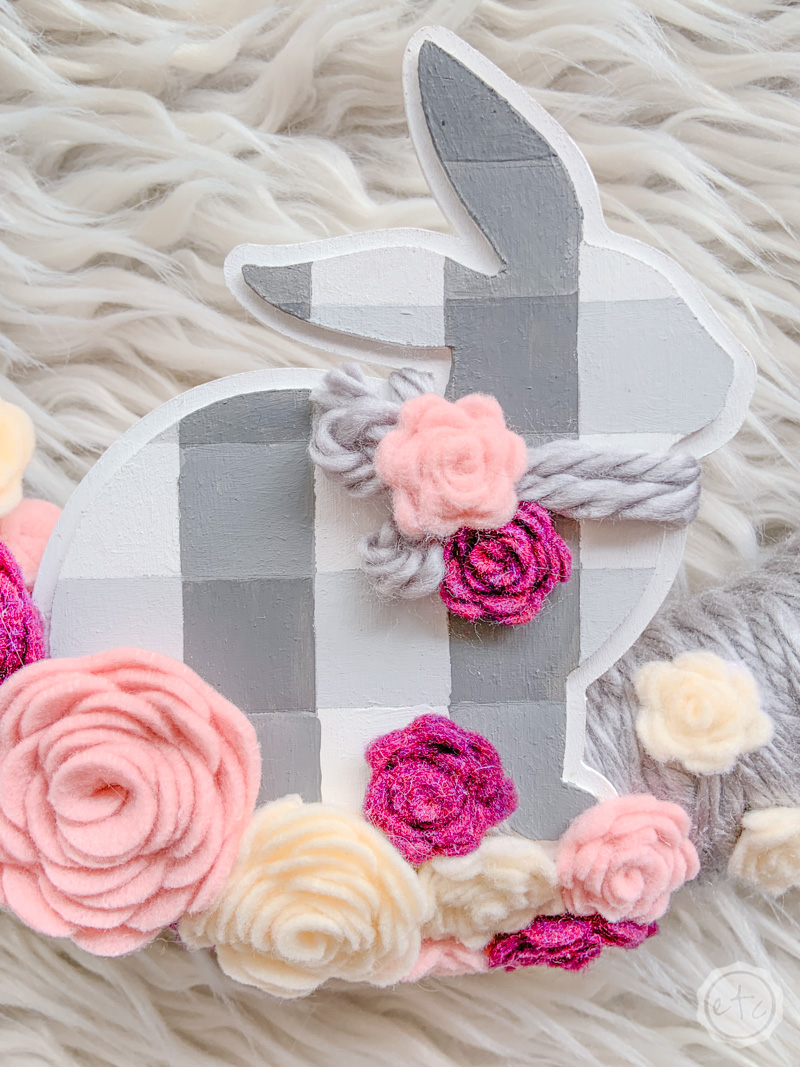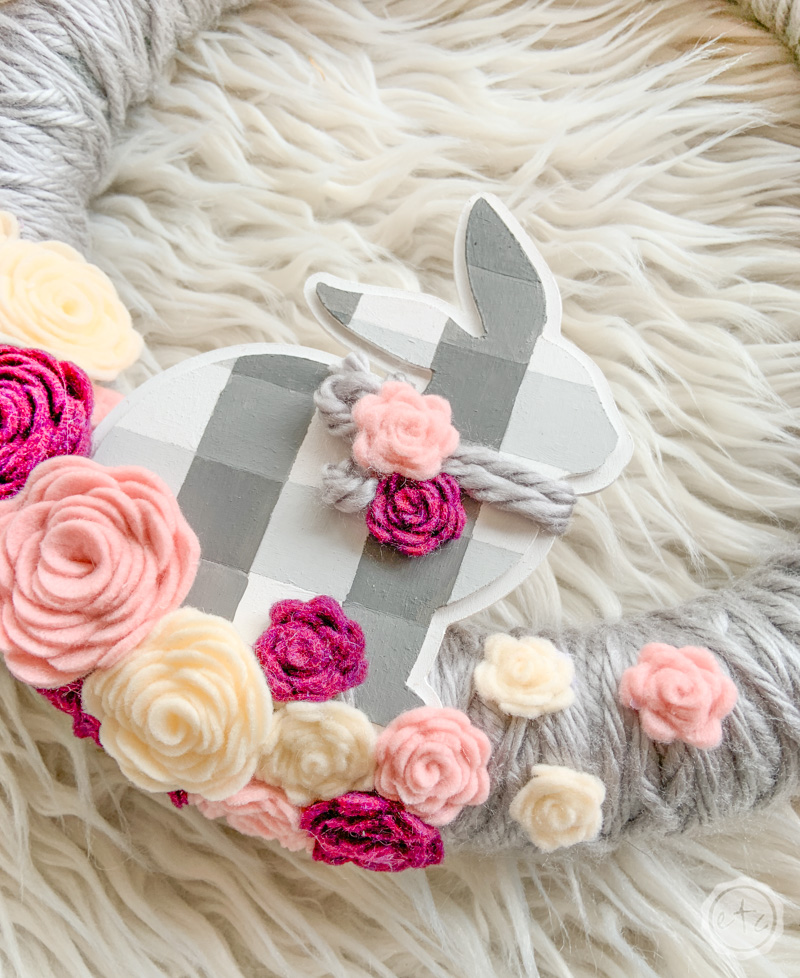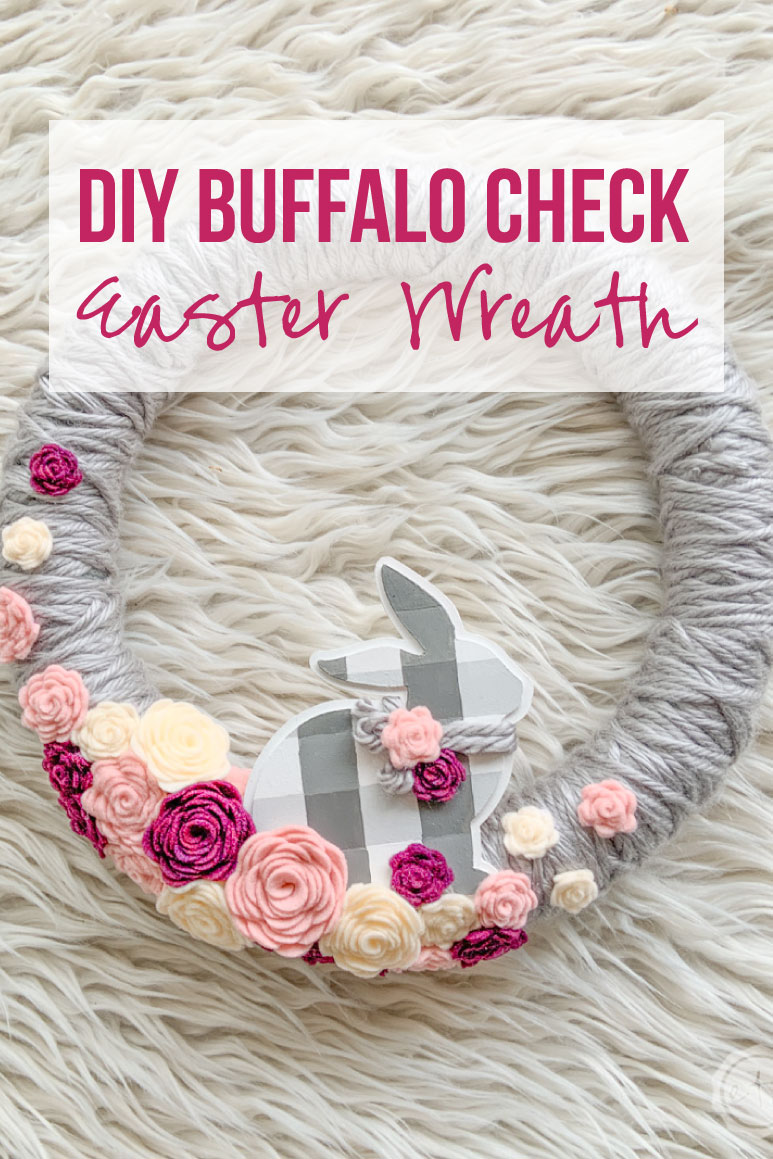

Ready for a quick and easy Easter craft?! This little wreath is inexpensive and so much fun to make. A few felt flowers, one buffalo check bunny and you’re ready to rock.
Let’s get started.
Supplies:
- Wreath Form
- Gray Yarn
- Scissors
- Hot Glue/Hot Glue Gun
- Power Drill and Drill Bit large enough to match your yarn)
- Basswood Buffalo Check Bunny (Follow the DIY tutorial here)
- Felt Flowers (3 colors: 2small, 4medium and 2large)

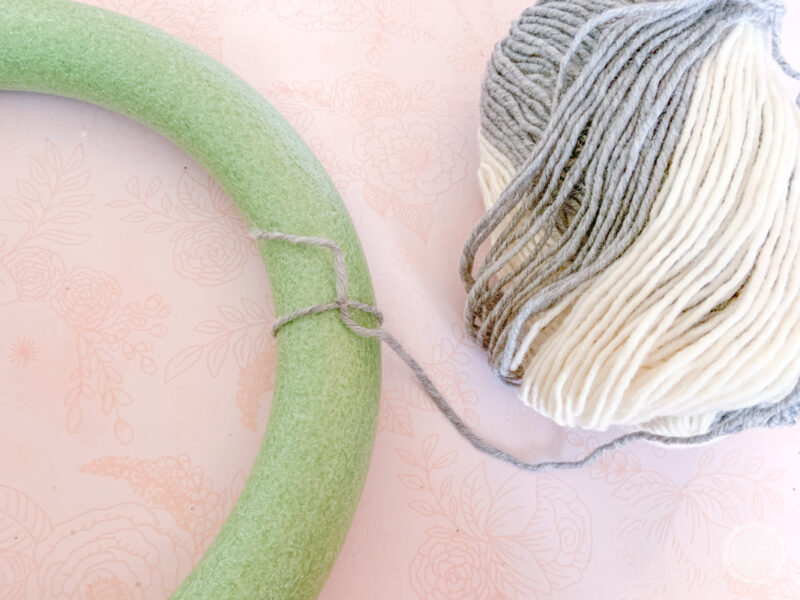
Step 1: Wrap Yarn Around your Wreath
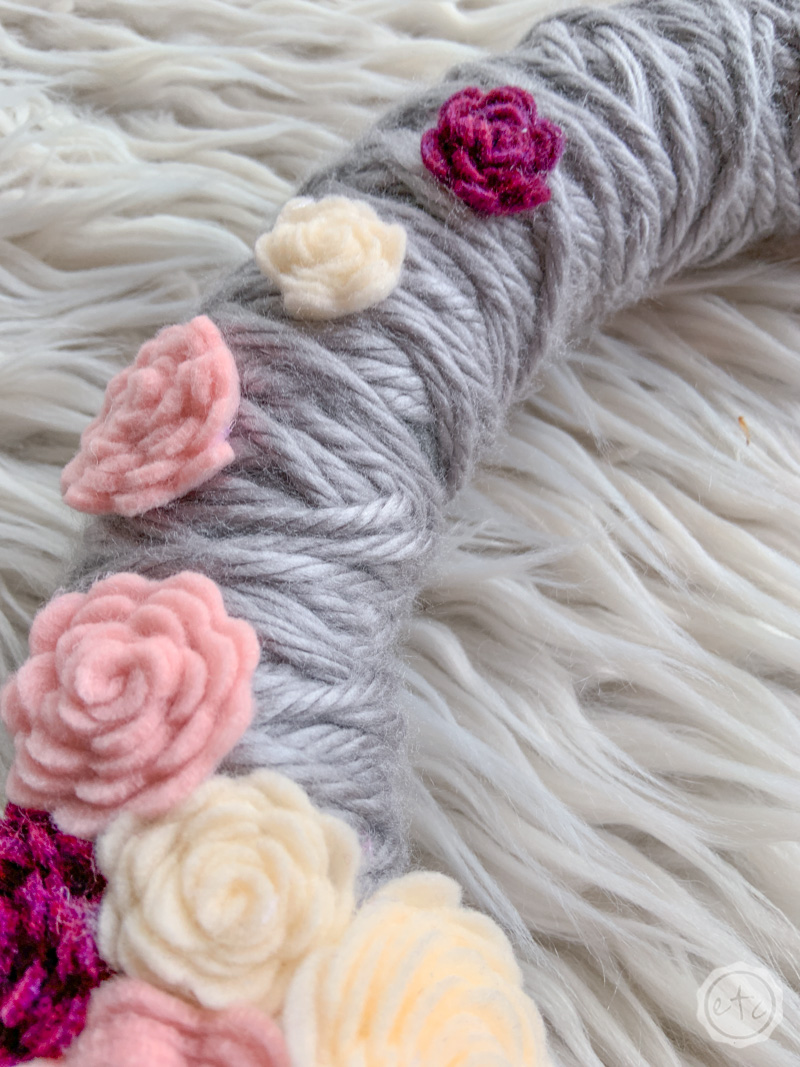
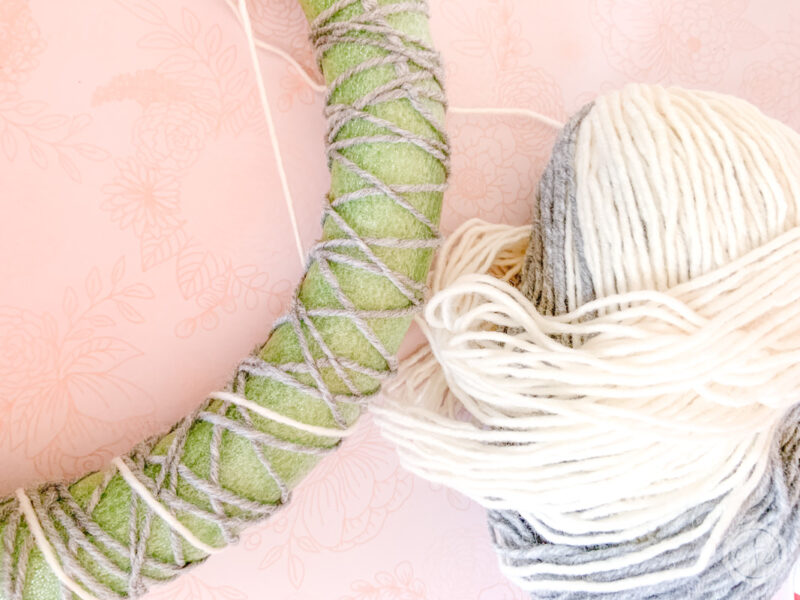
This first step is probably the easiest… start by tying your yarn snugly around your wreath form. Then wrap, wrap, wrap your yarn. You want the entire wreath form to be covered, that means you can’t see any green through the finished yarn.
Just one continuous wrapped wreath.
There isn’t really a rhyme or reason to this since I wanted it to look very carefree and whimsical, just wrap until you can’t wrap anymore!
And if you’re trying to figure out why my finished wreath has no white yarn that’s because I decided the wreath would look better with only gray yarn… so I took this yarn off and started over with a large chunky gray yarn. It looked much better matched with the felt flowers and cute little bunny.
Step 2: Add your Bunny
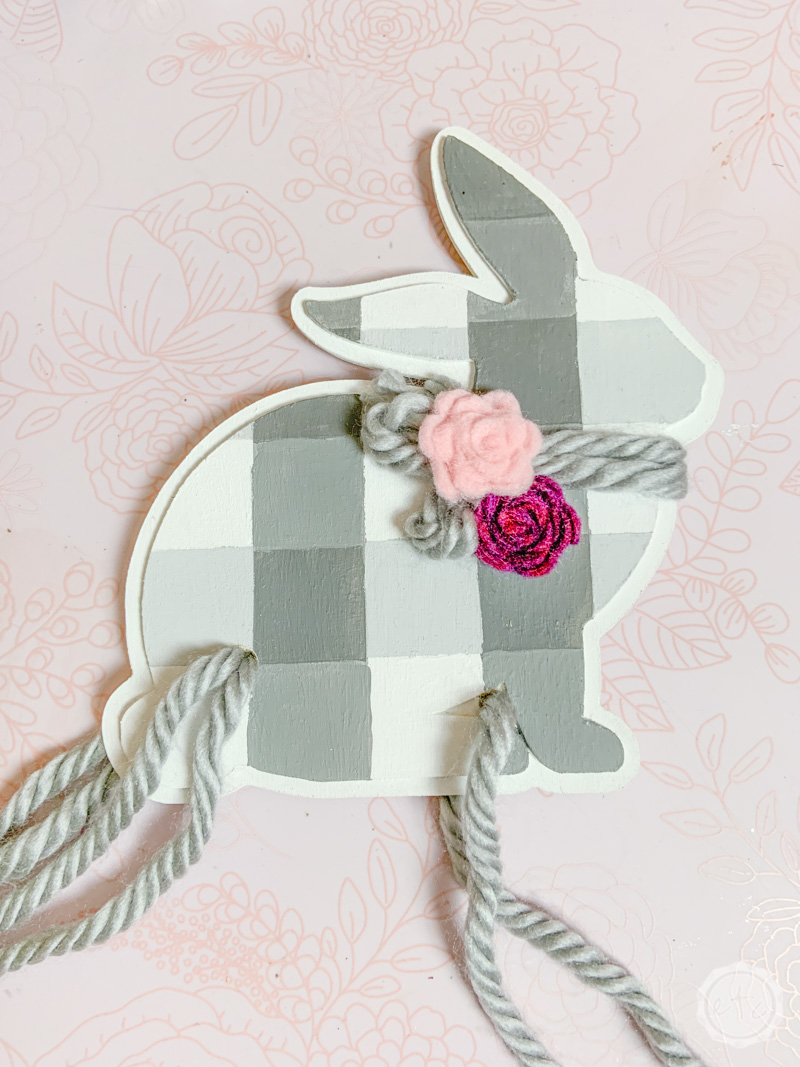
Okay y’all now that our wreath is wrapped go ahead and add your little buffalo check bunny! This little guy was cut out of basswood on my Cricut Maker and then painted with a fun buffalo check pattern.
Once you have your bunny ready to rock we have to get him ready to fasten to our wreath. I did this by drilling two holes in the bottom of the bunny. The first one I put in the little negative space between the bunnies front paws and the second I put a little higher up by his tail.
This way the little guy will sit evenly on the wreath form.
Once your holes are drilled go ahead and put two pieces of yarn through the back hole and one through the front hole. Each piece of yarn should be about 8 inches long although this doesn’t have to be precise as we’ll cut off the extra.

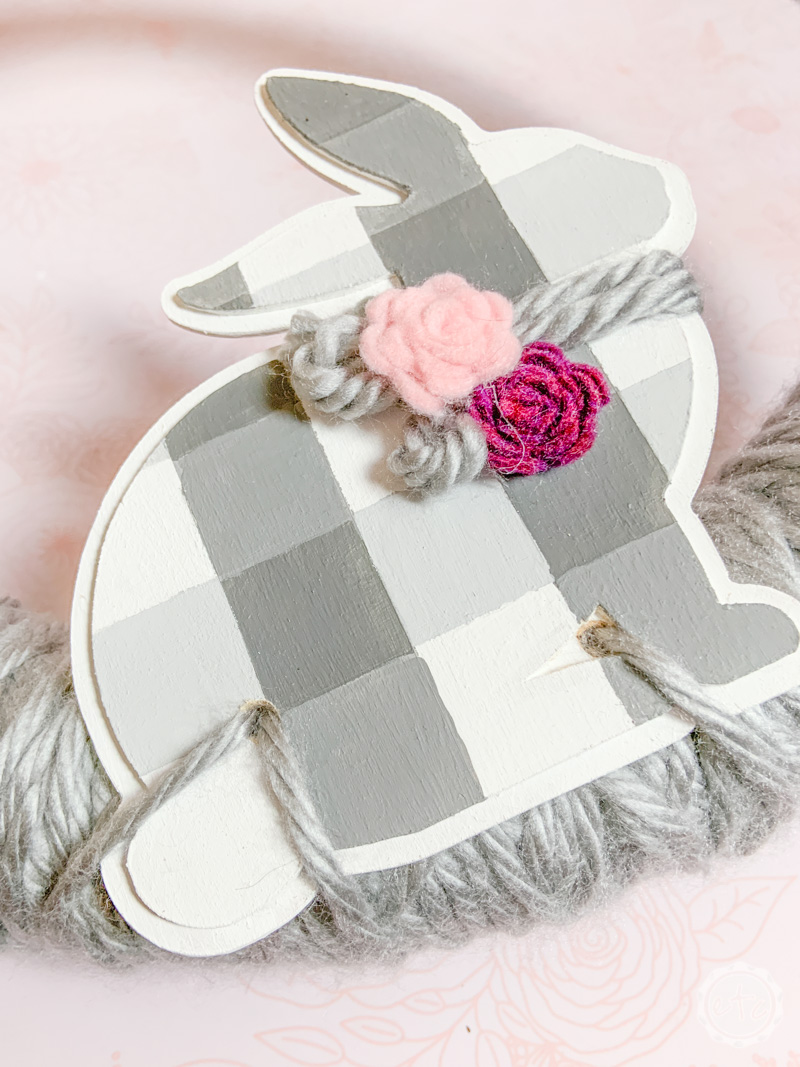
Now go ahead and position your bunny so that he’s siting straight on the bottom of your wreath. Then pull the yarn tight around your wreath form and tie all 3 yarn pieces tight in the back.
Go ahead and trim the ends of the yarn ties and then weave them into the yarn on the wreath so that they’re hidden and not too obnoxious.
Then it’s time to move on to flowers!

Step 3: Add the Flowers!
Now it’s time for the fun stuff… adding a few felt flowers. Go ahead and plug in your hot glue gun now so that it can start heating up. Then it’s time to get started on your flowers!
I always have felt flowers lying around (since I use them on all. the. crafts.) but if you don’t have any it’s ok… they’re really easy to make. This wreath used 3 different colored felt pieces to make all the needed flowers.
Just make sure to whip them up in different sizes so that they aren’t all the same! For these little flowers just grab your Cricut Maker and follow my rolled felt flower tutorial… easy peezy lemon squeezy.
Once you have the flowers ready to go I like to lay all of the flowers out on the wreath so that I know I like the arrangement. I started with the larger flowers in the middle moving on to the smaller flowers as I neared the sides of the bunny. You can see the first arrangement in the picture above, the flowers are simply placed on the wreath to see how it looks.
I try to keep the flowers as separate in color as I can (peach, pink, purple) but with only 3 colors occasionally two of the same color will end up next to each other… that’s ok too.
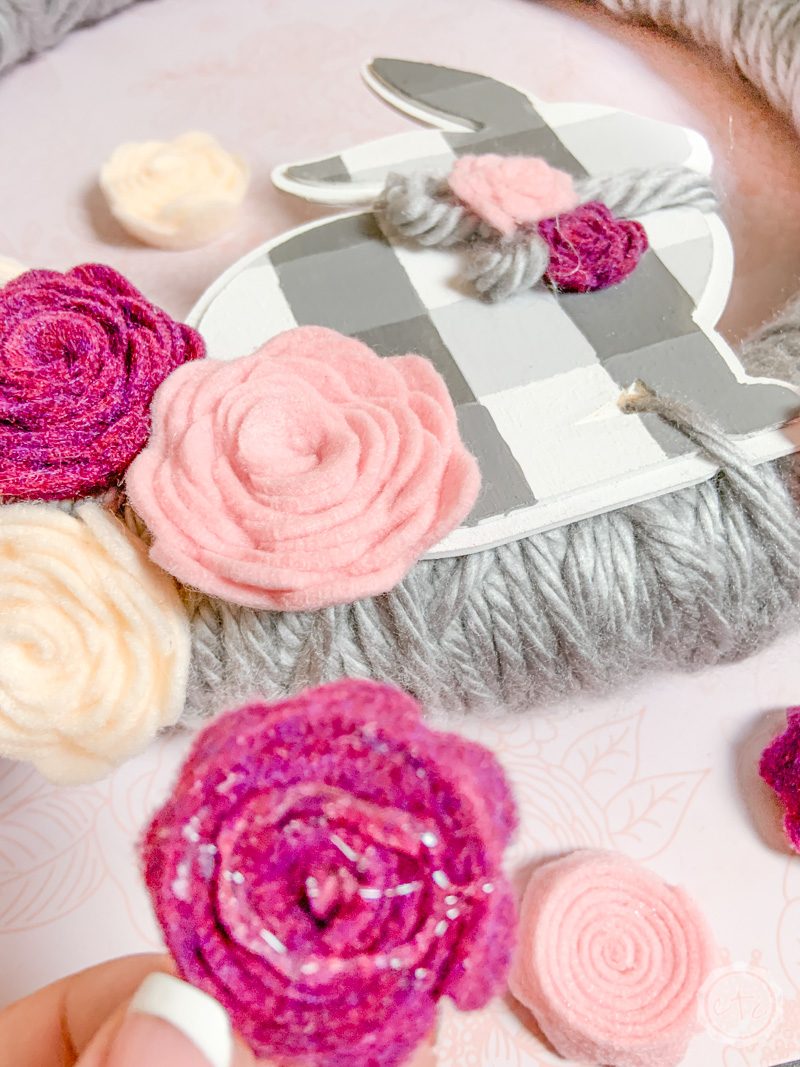
Once you have all of your flowers laid out go ahead and start adding glue! Pick each flower up one at a time and add hot glue on the back before placing them back.
Make sure to snug them close together as you glue them down so that there isn’t a bunch of space in between each flower… then just keep gluing! At the edges I glued the tiniest flowers a bit apart so that they are trailing off.
Then you’re done! It’s time to hang up your wreath and enjoy!

