


It’s that time of year… when the school year is coming to a close! Summer’s about to start but at the same time we have to take a moment to thank the people who teach our kiddos most of the year!
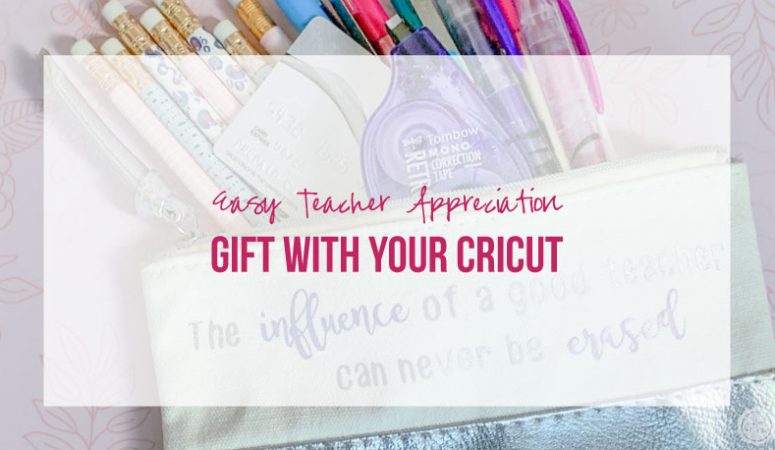
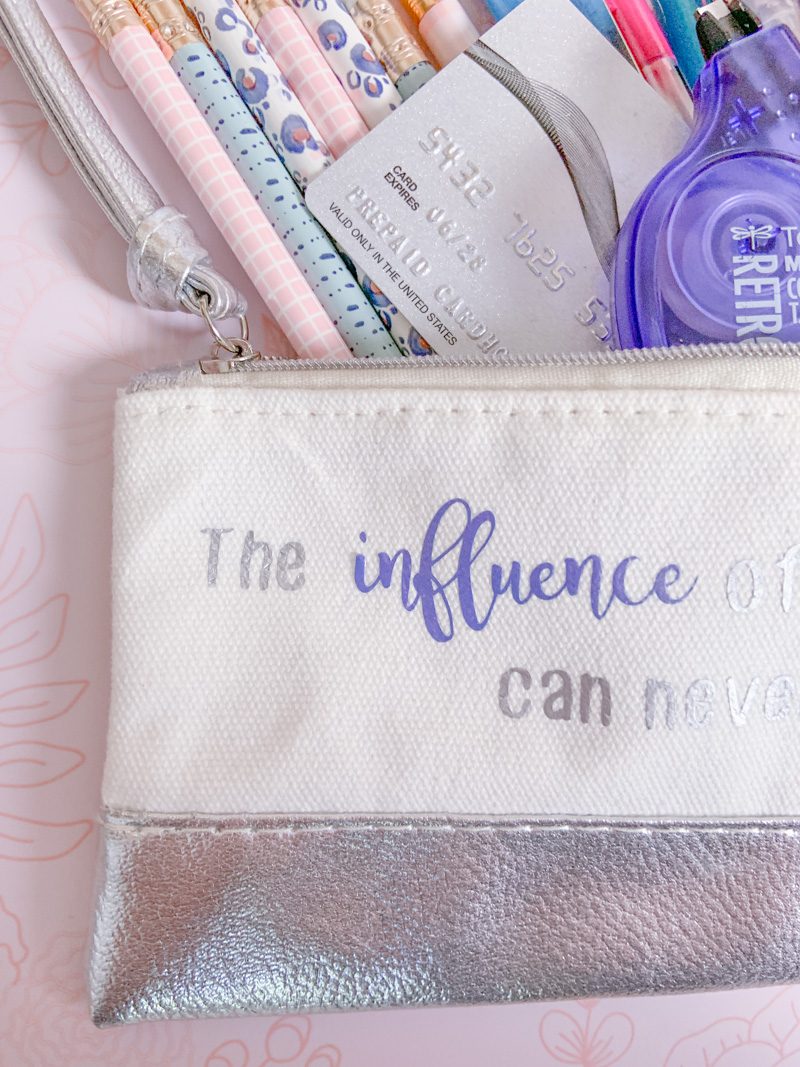
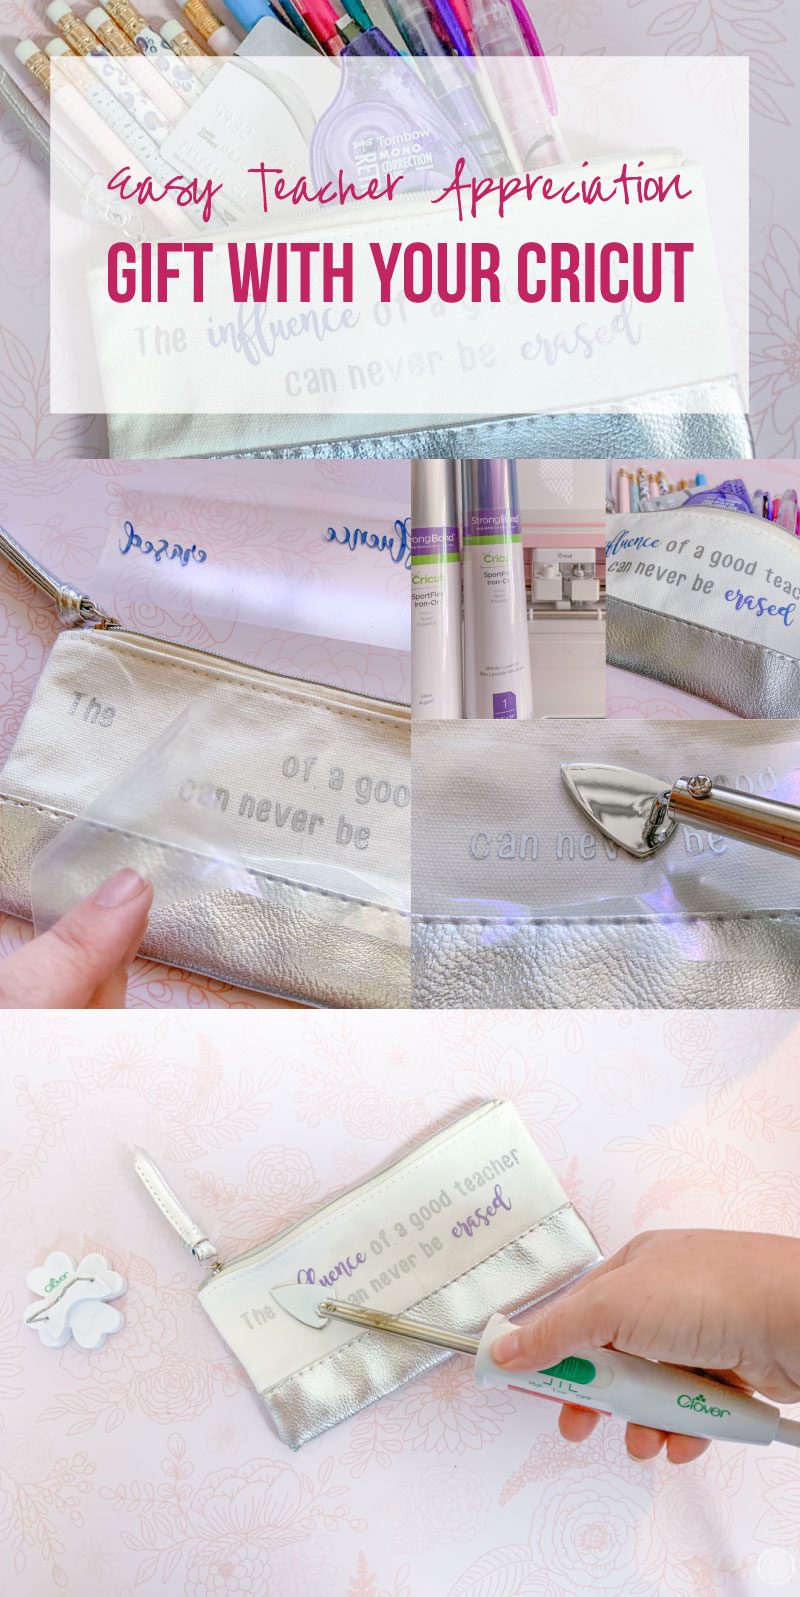
I don’t have kiddos yet but I do have a brother who’s a teacher so when we came together as a group and decided to whip up a bunch of Cricut Projects for teacher gifts I knew I had to whip something up! Will (my little bro) said he loved getting school supplies so I decided to whip up a little pencil pouch to fill with pencils, erasers, highlighters, white out and the best part: a gift card!
Materials:
- Cricut Cut Files (Free at the bottom of this post!)
- Cricut Maker
- Fine-Point Cutting Blade
- Strong Grip Cutting Mat (that’s the purple one!)
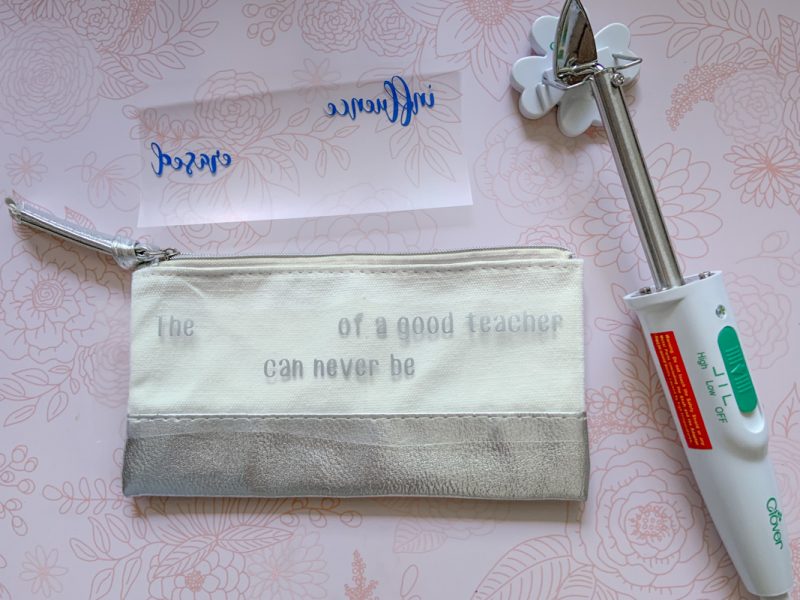
- Blank Pencil Pouch
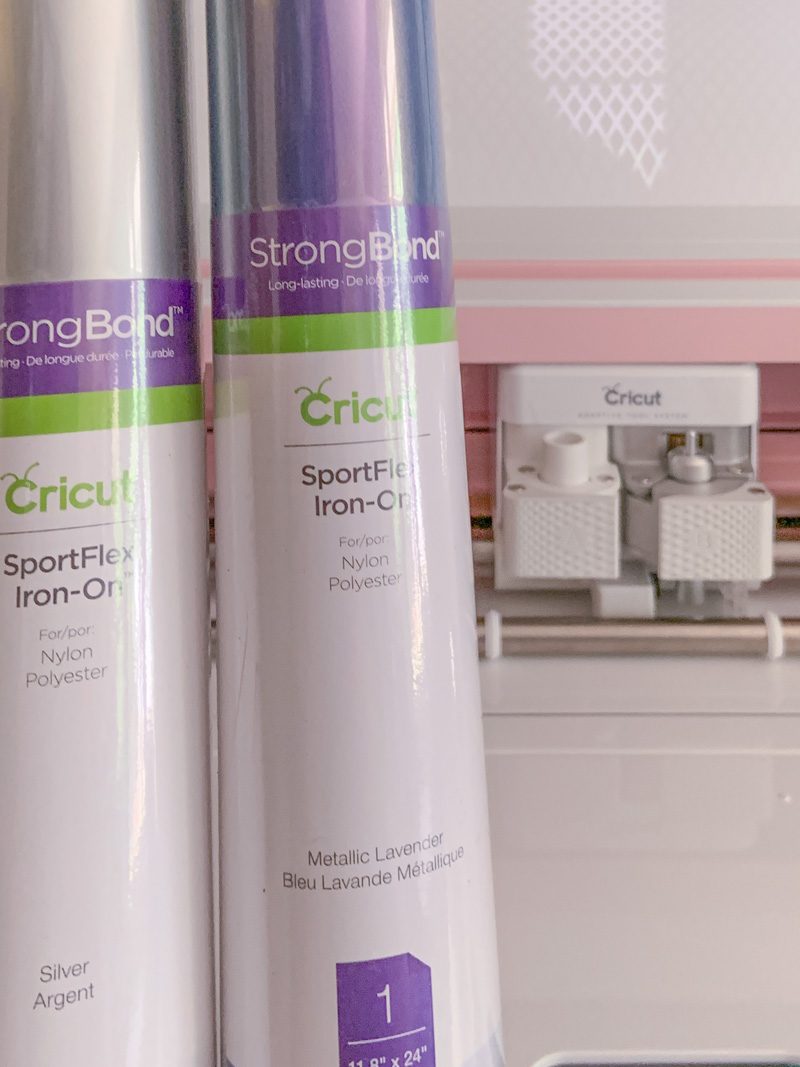
- Silver Iron On
- Metallic Lavender Iron On
- Small Craft Iron
- School Supplies
- Gift Cards
- Cricut Weeding Tool
- Cricut Brayer
Prep Your File
Alright y’all… the first step is always the easiest! You can grab the cricut cut file for free at the bottom of this post and then open it in Cricut Design Space. Then all you need to do is cut your iron-on!
A couple tips… my pencil pouch needed words that were no bigger than 7 inches wide by 2 inches tall but your pencil pouch may have different dimensions! So make sure to measure your pencil pouch and re-side the cut file if need be. Easy peezy.
The cut file is set up to cut two different vinyl colors (silver and metallic lavender) but if you want all your letters to be the same color go ahead and attach all the layers together before you cut.
Now all you need to do is click MAKE IT!
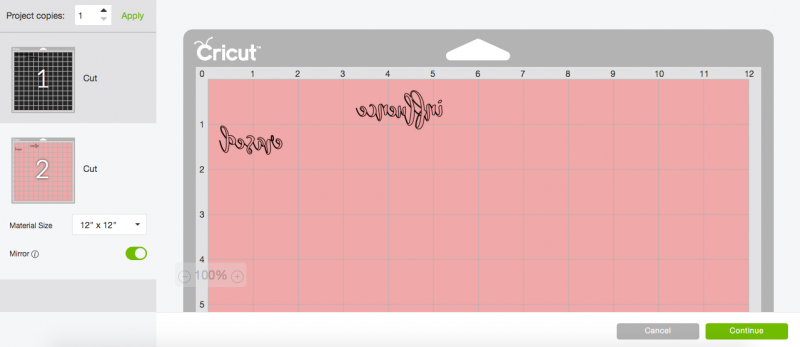
Mirror Your Design
Once you click “make it” you’ll have the chance to review your mats. Make sure to click the little “mirror” toggle on the left so that your design will flip around.
All your little letters will turn over and be backwards!
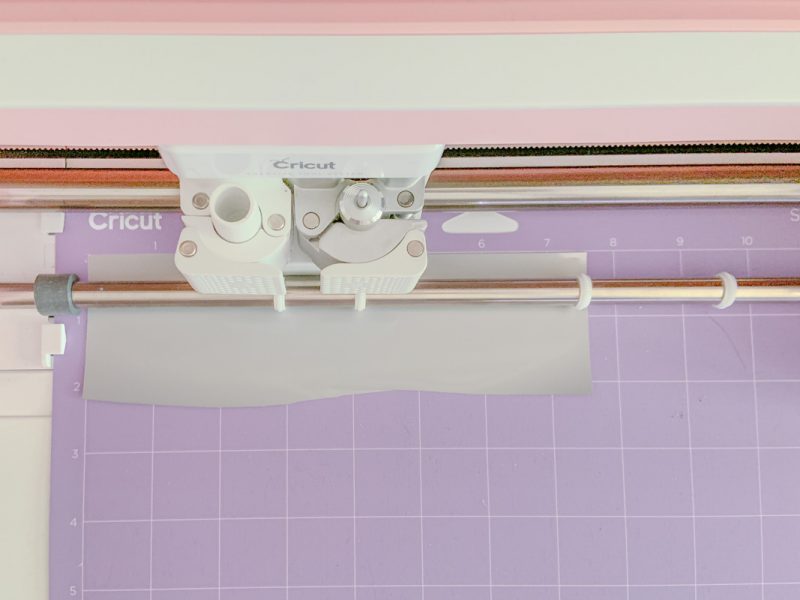
Load Your Mat
Now we’re ready to rock and roll. When it comes to iron on there is a definite top and bottom… there is a thin layer of clear film like plastic over the top of the iron on (think of this as a built in transfer tape!).
You’ll want to place the iron on top down against your cutting mat. Typically that thin clear plastic makes the top shiny so look for that shiny layer.
Now hit CUT!
This is a small design so it should cut pretty dang fast… then you can cut the purple iron-on for the second half of the project! A little tip? Since these iron on pieces are so small I used the same mat for the silver and purple iron on… when it comes time to load your second mat simply flip your same mat 180 and place the iron-on in the left hand corner.
Once your design is cut make sure to weed all the excess iron on material off your design leaving the clear plastic film and the words for your design.


Iron Your Design onto the Pencil Pouch
Now it’s time to iron your design onto the little bag! I absolutely love using this little craft iron since it fits in small spaces and lets you control exactly where the heat goes… it does take a couple minutes to heat up though so plug this baby in, set it to high and grab a cookie.
After about 10 minutes your little iron will be super hot and ready to rock. Just a tip… do not touch anything but the handle since the entire metal wand and iron heat up!
Start by pre-heating your little pencil pouch! I like to heat the front of the pencil pouch (where the design will go) as well as the back of the material. Which is super easy since this is a bag and you can reach inside and heat the back of the pencil pouch super easy.

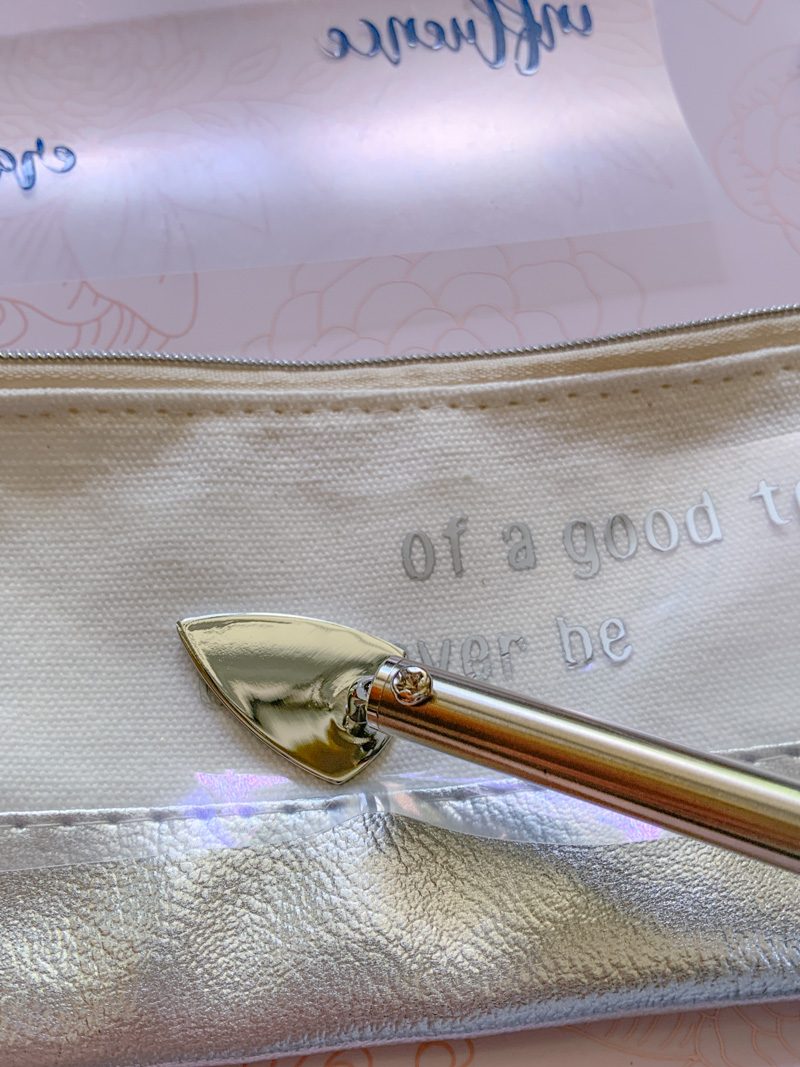
Since this little iron can’t cover the entire area in one fell swoop like my easy press I like to arrange the design on my surface and then start in the middle. Hold down the film and place the iron in the middle of the design… hold it in place for about 8 seconds and then slide the iron slowly from the middle to the right side of the pencil pouch.
Hold the iron in place for about 8 seconds on each letter before moving on… and once you hit the right side of the pencil pouch go back and do the left side. While you can iron from left to right I like to go from the middle out so that I know everything will stay in place.


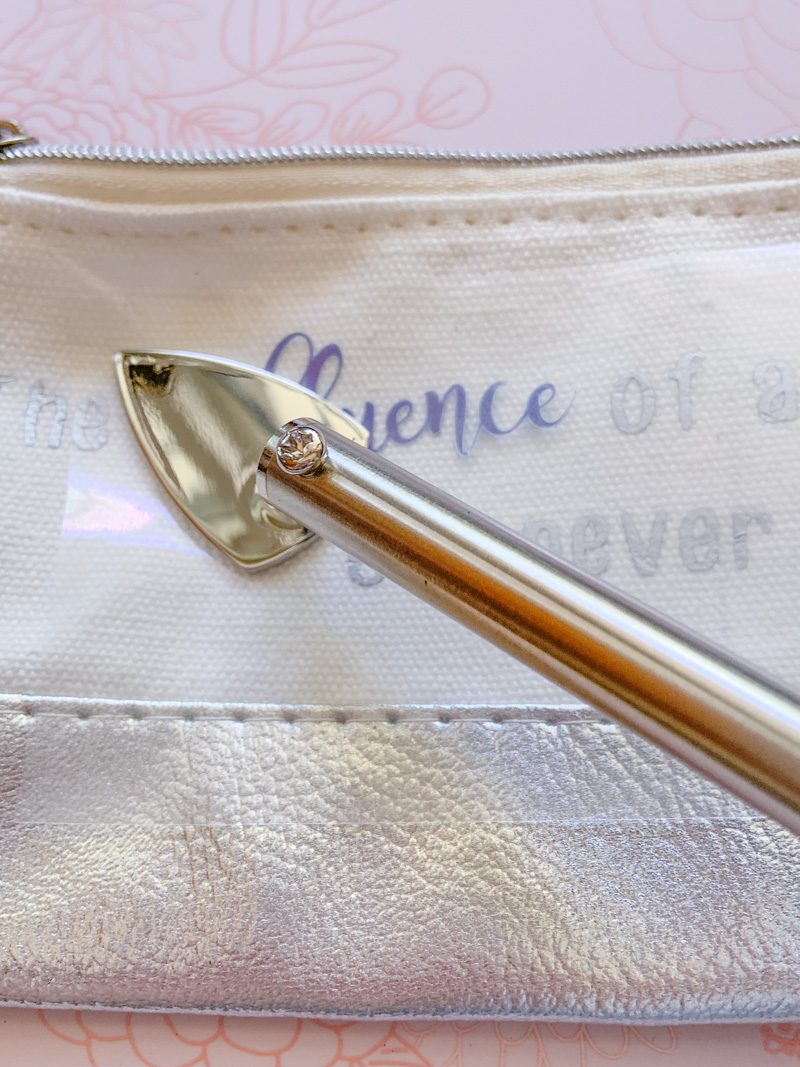
Once you iron the silver letters in place go ahead and remove the plastic film… pull slowly from left to right and it should peel cleanly off leaving the iron on in place. If you start to pull and the letters come with the plastic don’t worry just place it back down and hit it with your iron for a few more seconds.
Once the silver letters are in place it’s time to move on to the purple letters!


Just line up the purple layer with the silver letters and then repeat the process: iron on each of the purple letters and then peel off the plastic film!
Fill Your Pencil Pouch!
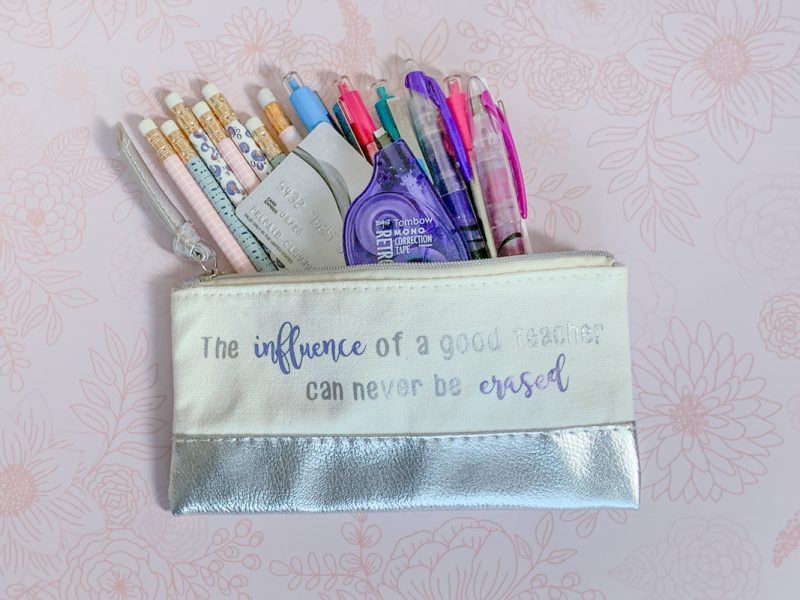
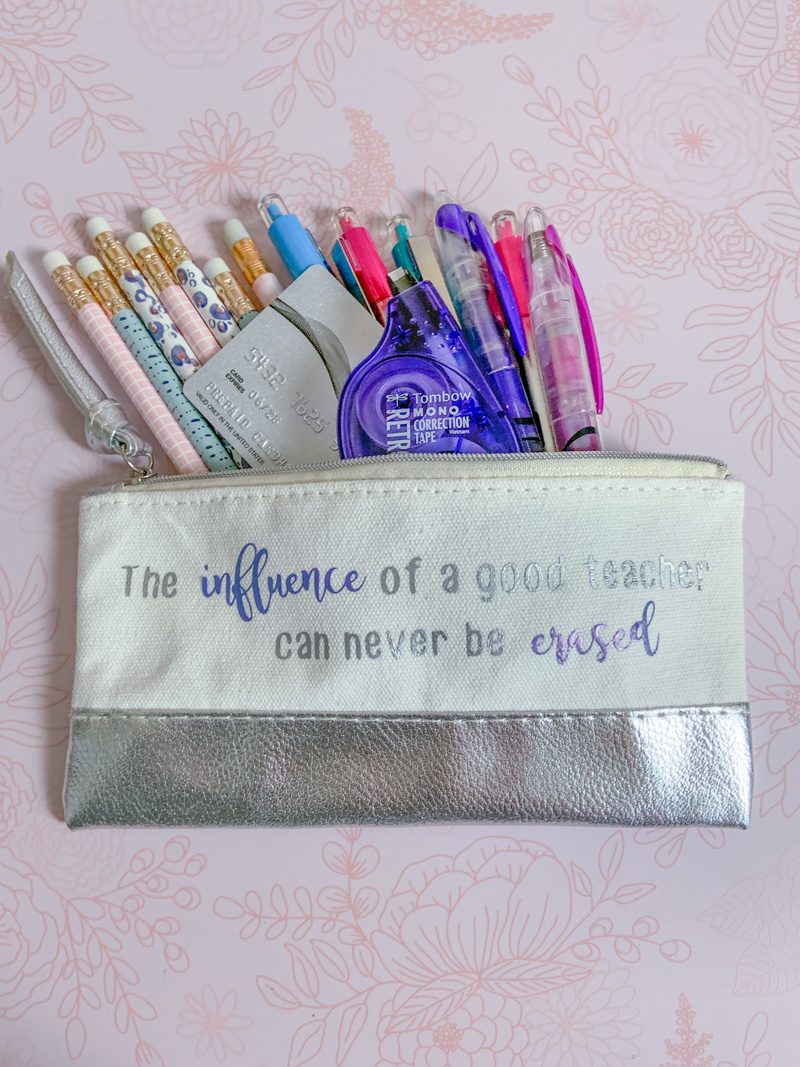
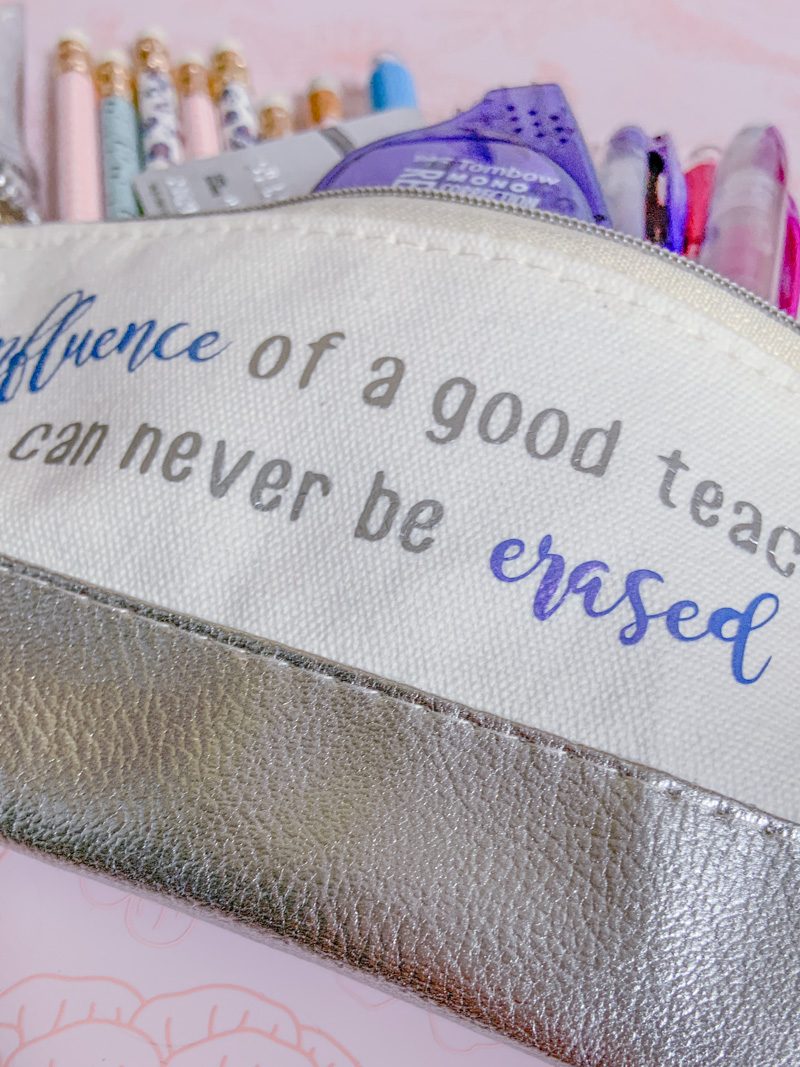
Now that your little pencil bag is finished it’s time to fill with supplies! I loved the play on words with “eraser” and made sure to include pencils, erasers and white out! Then I added a few more school supplies: pens, highlighters etc.
Then it was time for the best part: a little gift card! I always like to include a visa gift card so that the teacher can decide what to use it on themselves… makes it more exciting!
I love how this little pencil pouch turned out and I think it makes a sweet little teacher appreciation gift. It would be an adorable addition to a larger selection of school supplies if you wanted to gather supplies for the classroom as well.
It just turned out so cute!


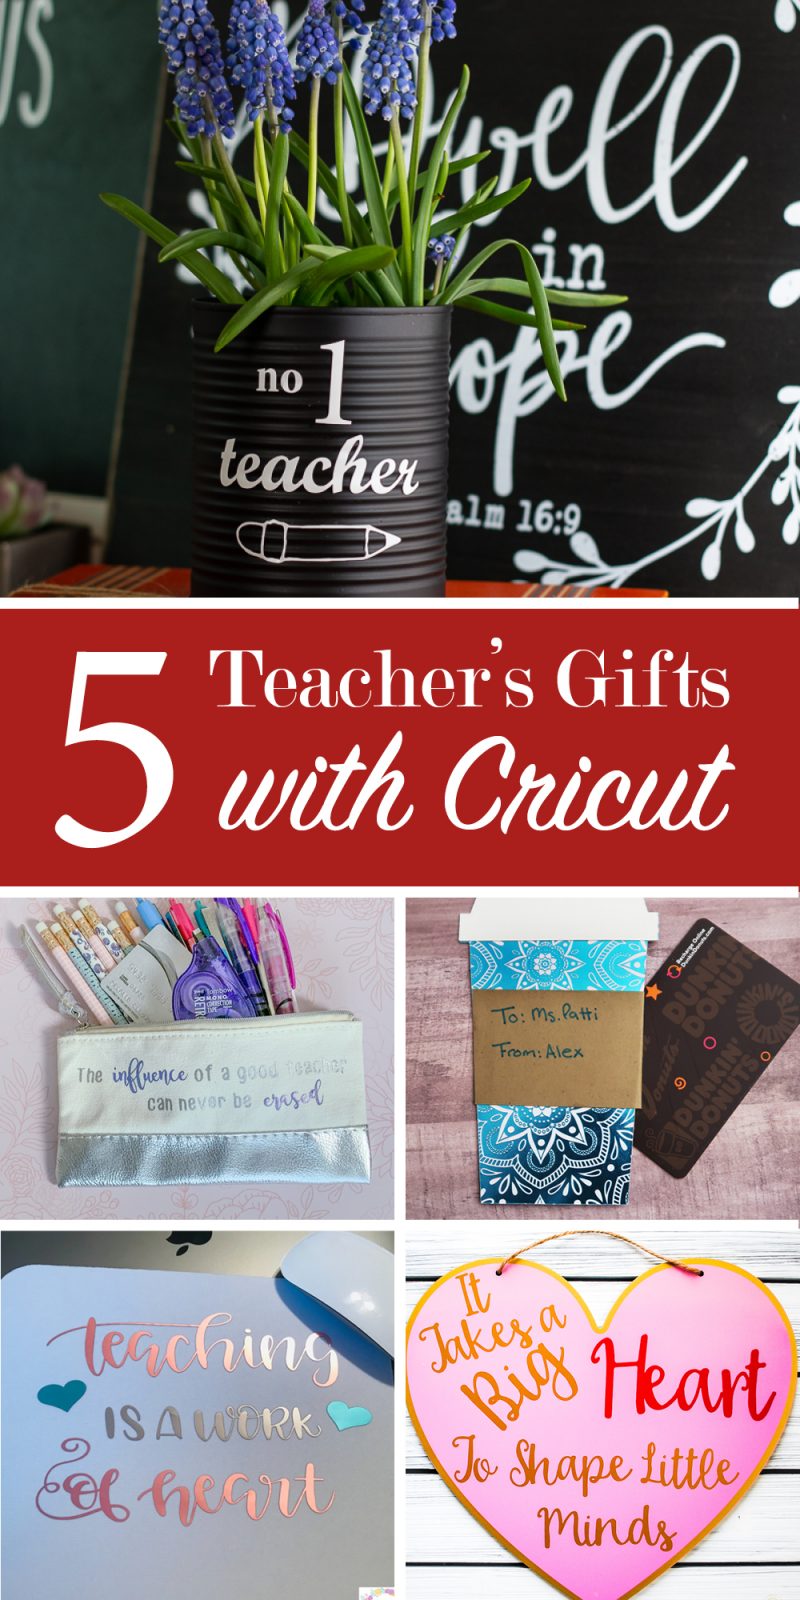
Ready for a few more teacher appreciation gifts? Here are a few fun ideas from my blogger friends that are adorable and easy to whip up!
Click on the links below to check out all of the projects
Number 1 Teacher Gift from The How-To Home • Pencil Pouch School Supplies from Happily Ever After, Etc • Coffee Cup Gift Card Holder with free SVG file from Weekend Craft • DIY Mouse Pad for Teacher Appreciation from Cookies Coffee and Crafts • Simple Teacher Gift from Upright and Caffeinated


This is such a cute idea!!! And I LOVE that little crafting iron! I need to get one!!