


With summer quickly approaching it’s time to start on the summer projects… and what says summer and sun more than mermaids? So I’m whipping up another mermaid project… a little resin mermaid tail that will pull my super cute mermaid sign together.
I can’t wait to see both pieces come together for a super cute resin and vinyl mermaid sign!
BUT if you’re not looking for an adorable sign you could always use this mermaid tail for any number of other projects: jewelry, decor… even a cake toppers! We are using food safe resin and how cute would a 3D Mermaid Tail cake topper be with these mermaid tail drink stirrers?!
Super cute!
But let’s not get ahead of ourselves… first let’s make the mermaid tails and then you can decide what to do with them!
Supplies:
- Total Boat Makerpoxy Epoxy Resin
- Mermaid Tail Mold
- Resiners Airless Lite
- Respirator/Mask (resin graded filters)
- Gloves
- Wagner HT400 Heat Gun
- Freezer Paper
- Silicone Mat
- Baking Pan
- Heart Shaped Silicone Mixing Cup
- Small Mixing Cups
- Silicone Measuring Cup/Larger Mixing Cups
- Reusable Silicone Stir Sticks
- Toothpicks
- Paper Towels
- Pink Craft Paint
- Iridescent Flakes
- Glitter
Just getting started with resin? Download my free resin supply list and make your first project today!
Step 1: Mix your Resin
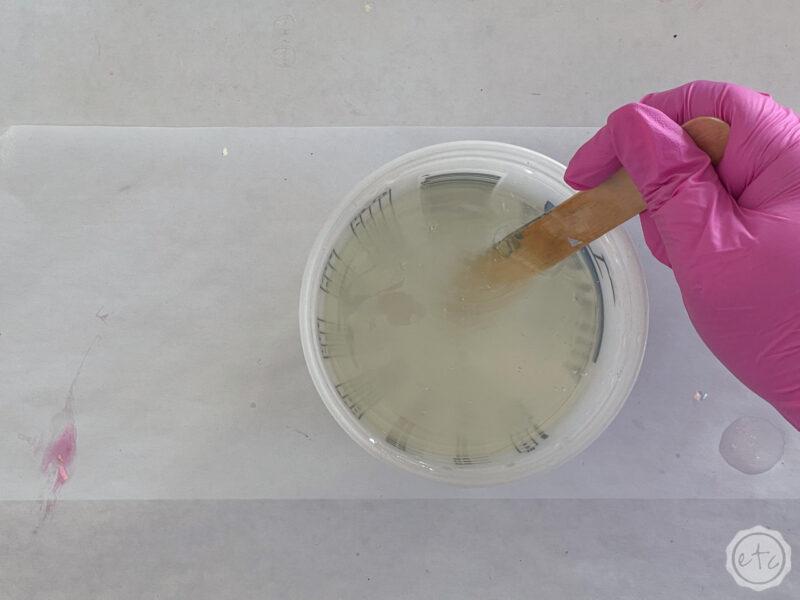
Ready to get this party started? I’m using MakerPoxy for this mermaid tail since it’s easy to work with and is fairly bubble free… perfect for a detailed mold like this one. We don’t want all the air bubbles to settle in the details of the mermaid tail and leave us with imperfections on the surface of our piece.
It’s a 1:1 ratio resin which means you’ll use 1 part a to 1 part b… for this project we need about 50ml so we’ll put 25ml of a and 25ml of b into a mixing cup. Then slowly stir your resin for 3 minutes… make sure you’re scraping the sides and bottom of your container to thoroughly mix all parts of the mixture together. Then let it sit for a couple of minutes so that as many bubbles as possible can rise to the surface.
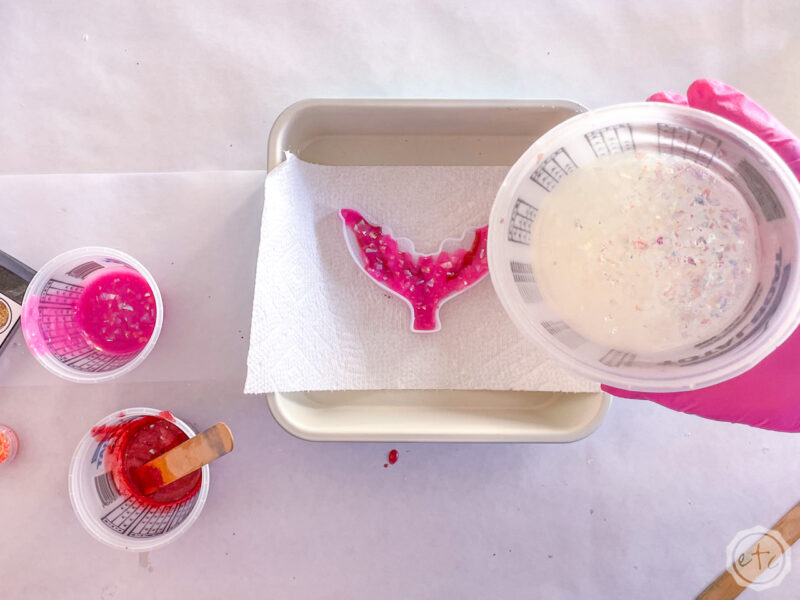
Once everything is mixed and looking fairly clear we’ll separate our resin into 3 different cups so we can mix in our colors. Light pink with glitter, dark pink with iridescent flakes and clear with iridescent flakes!
Or any combination you like… your mermaid tail could be blue/green and iridescent if you like! Make sure to slowly stir your 3 colors together… especially the ones with iridescent flakes as they tend to add a bunch of air and therefore air bubbles.
Yikes.
Once everything is mixed go ahead and pop any bubbles that have risen to the top with your heat gun… or place everything in your bubble removing machine. As long as you remove as many bubbles as possible.

Bonus Tip: If you’ve never mixed resin before it’s not nearly as intimidating as you’d think! I’ll walk you through all the steps here in my How to Mix Resin for Beginners Tutorial.

Step 2: Pour your Resin
Let’s pour!
Once all of the bubbles are removed and you have all 3 of your colors ready to go we can start to pour. I started by pouring a bit of the darker pink, then a bit of the lighter pink and then filling in the rest of the space with the clear.
Of course, you can do a different combination if you like… just make sure your cup is up higher than your mold and then pour your resin in a thin stream. This will help to eliminate any bubbles still in the cup!
Make sure to cover every bit of your little mermaid tail and pop any bubbles with your heat gun as soon as you see them. You’ll want to fill the entire mold right up to the top and then set the entire mold aside (under a cover) to cure for 24 hours.
Don’t forget the cover! Even if you use a cardboard box it’s worth it to keep the flies and dog hair from settling in your resin. Don’t ask me how I know.
But if you need help removing hair from resin you can find that tutorial here.


Step 3: Un-Mold your Mermaid Tail
This is usually my favorite part but that new bubble machine is always a lot of fun! Let’s crack this baby open!
Start by pulling the silicone away from the resin on the very edge… then slowly pull it down the sides and off the mermaid tail completely. If your mold is like mine the tail will release pretty easily.
This mold is pretty glossy but you can always add a topcoat of resin for a bit of extra sparkle!

Step 4: Enjoy!
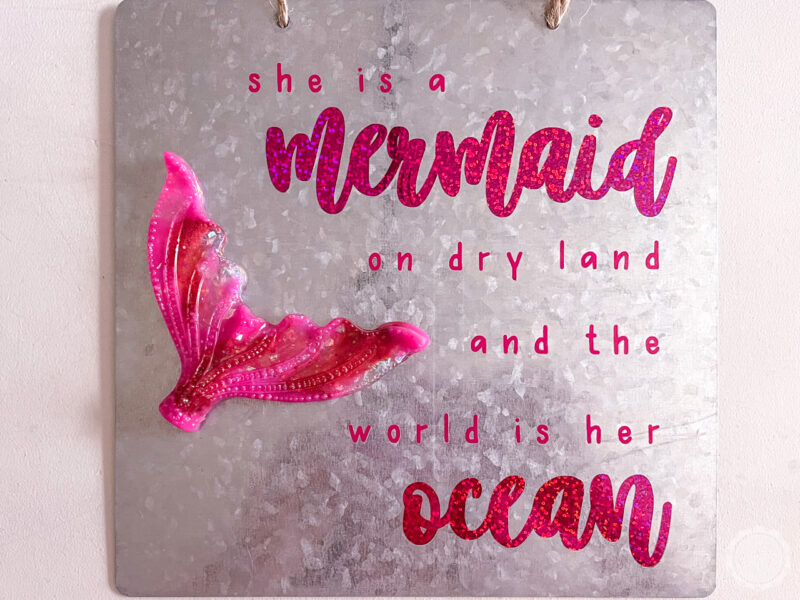
Now’s the time to decide what you want to do with your very own resin mermaid tail! I added mine to this adorable Cricut sign… but I’m thinking of whipping up another one for a cake topper.
I think that would be the cutest idea!
Although I’ll definitely have to change the color scheme to go with my sparkly mermaid tablescape!
Either way here’s the finished mermaid tail in all it’s sparkly glory! Enjoy!


Leave a Reply