
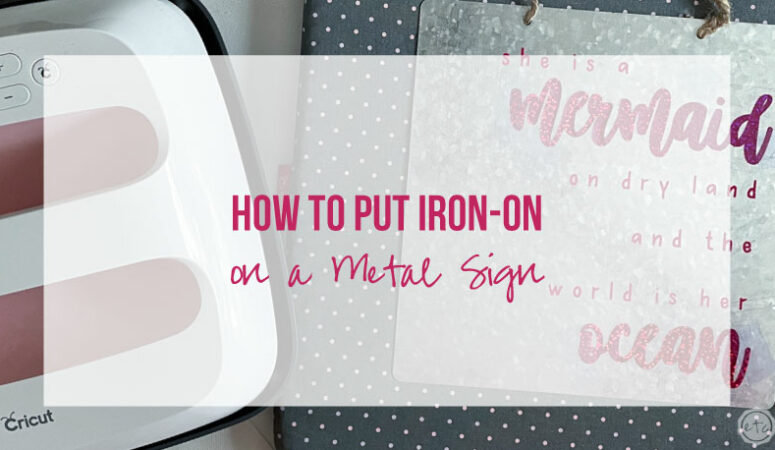


Putting iron-on on fun and different materials is one of my favorite Cricut Tricks! So even though I covered putting iron-on on metal just a few months ago I’m breaking out the easy press again for a fun and easy mermaid themed sign for summer!
After all… glitter/holographic iron-on is perfect for a fun, summery mermaid sign!
Luckily you can put iron-on on plenty of different surfaces… and all of them are fairly easy! So let’s get started with today’s project so that you can check out all the other fun options.
Although this sign has a resin mermaid tail to finish it off so it may not be easily beat by a different project.
Supplies:
- Cricut Maker 3
- Cricut Access
- Cricut Roll Holder (for smart vinyl)
- Fine-Point Cutting Blade
- Weeding Tool
- Scraping Tool
- Smart Vinyl
- Transfer Tape
- Acrylic Rule
- Metal Sign Blank

Step 1: Upload and Cut your SVG
Before we get started on our sign we need to actually upload our cut files… so start by grabbing the FREE SVG at the bottom of this post and saving it to your computer. Then you can upload it into Cricut Design Space and pop it onto a new blank canvas.
Your SVG will be ready to go in two different colors (since I’m cutting the words mermaid and ocean out of holographic iron-on and everything else out of sportsflex iron-on) but you may need to re-size the SVG depending on what size sign you’re making. This design needs to fit on an 8 inch by 8 inch square sign so I made it 7 inches tall… and let the width coordinate since it’s not a perfect square.
There’s extra blank space on the left where our resin mermaid tail will eventually sit!
At this point I went ahead and welded the two layers independently of each other… so I have one solid design to cut out of sportsflex and one to cut out of holographic. Once everything is welded we’re ready to cut!
I’m using my Maker 3 but this is a vinyl design so you could really use any machine you like. Normally I would use my Maker 3 to cut my design so that I don’t need a cutting mat… but I don’t have the right colors in smart vinyl. Not a problem.
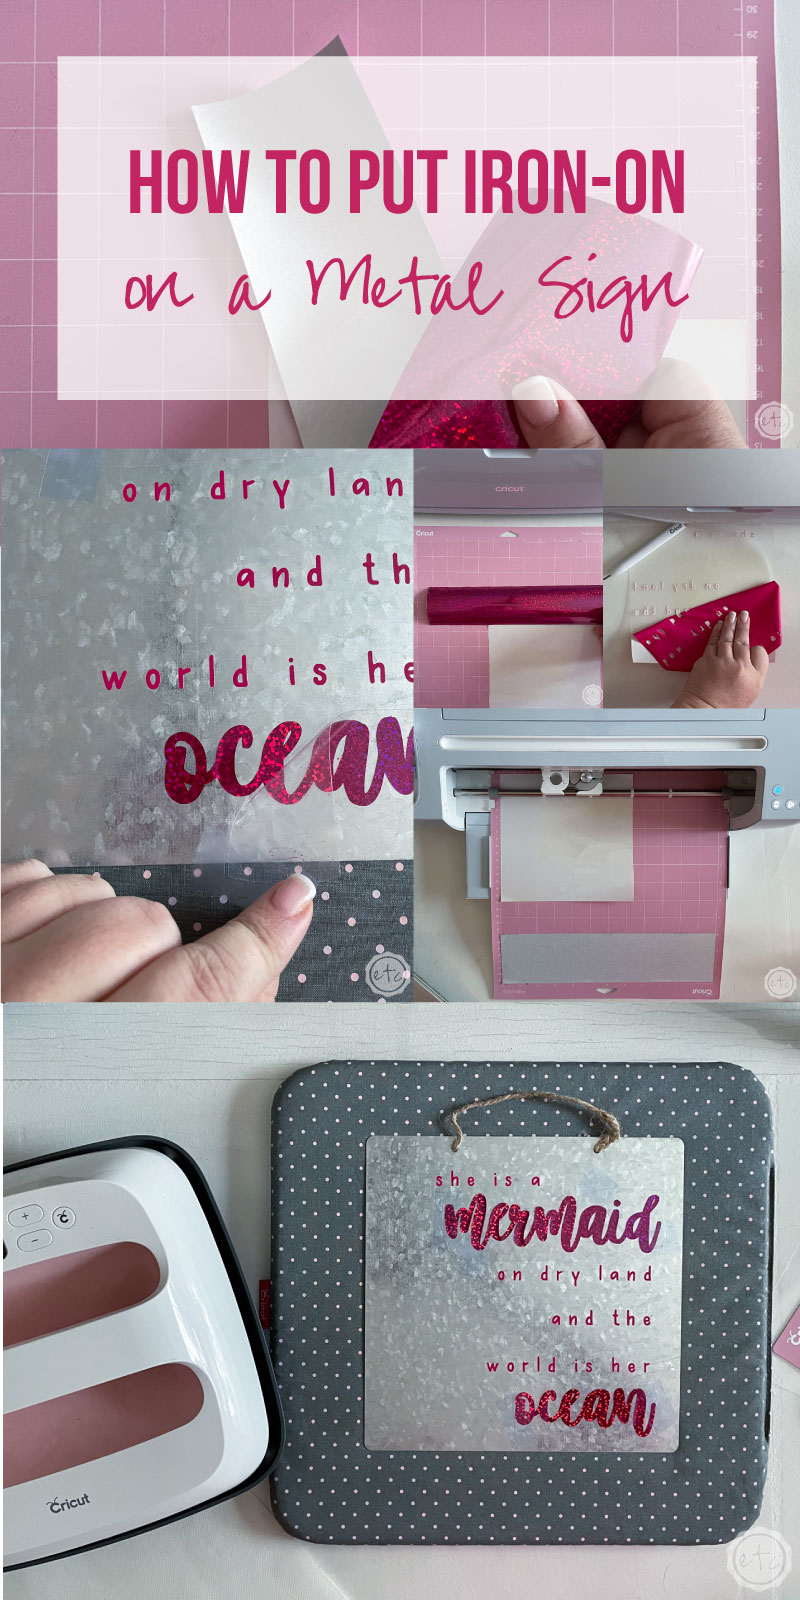
I simply loaded both of my vinyls face down (matte side up, shiny side down) onto a cutting mat and fed them into the machine one at a time. Just make sure that both designs are mirrored since we’re cutting into the back of our iron-on!
Once everything is loaded go ahead and hit cut!

BONUS: If you need a little help uploading your SVG don’t worry! You can follow along with my How to Upload an SVG to Cricut Design Space Tutorial… it’s super easy but I’ll walk you through all the steps so that you’re good to go.


Step 2: Weed your Design
Once your entire design is cut it’s time to weed! This is a small design and most of the vinyl will come off when you remove the outside vinyl… but go slow and steady so you don’t accidentally rip any of the letters.
Once you’ve removed all the vinyl from around the letters you’ll want to use a weeding tool to remove any vinyl from the inside of the layers… the inside of the e, the middle of the o… you get the idea.
At the end of the day the vinyl on your carrier sheet should match the design you cut in Cricut Design Space.


Step 3: Apply your Iron-On
It’s time to heat up that easy press! The Cricut Heat Guide says we want 300 degrees for 30 seconds… so set the Easy Press and let it heat up… in the mean time you can lay the first layer of your design down on the metal sign.
In this case that’s the sportsflex layer of our design with the majority of our words. Make sure they’re straight and in the right place (I used the silicone mold for my eventual mermaid tail to make sure all of the spacing looked right) and then use a bit of heat resistant washi to hold everything in place.
Once your easy press is heated up to the full 300 degrees you can place it straight down over the iron-on and hold firm pressure for the full 30 seconds.
Then remove your easy press, wait for the clear carrier sheet to be cool to the touch and then do a cool peel!
I find that with metal it often helps to run over everything with your brayer while the iron-on is still hot… it really helps the iron-on to bond to the metal before you do the cool peel.


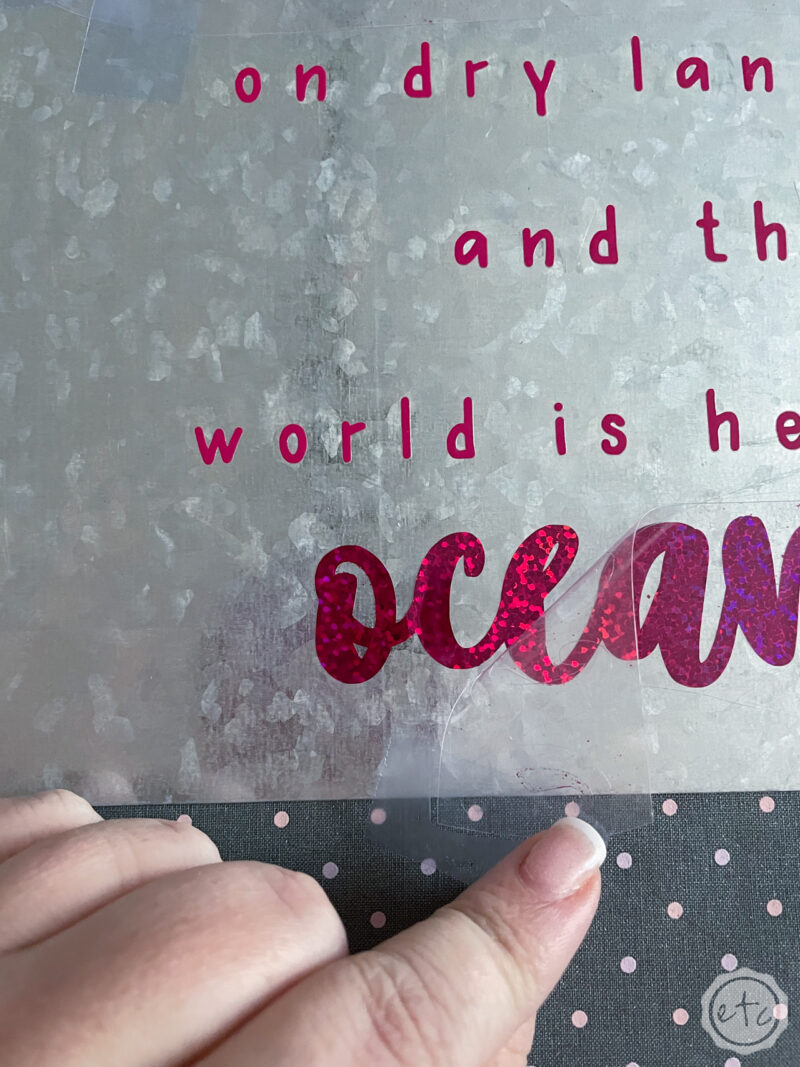
Once you’ve removed the carrier sheet from the sports flex you can add your holographic iron-on to the metal. A bit of heat resistant washi tape will hold these babies in place… and then you’ll want to cover the entire design with a heat resistance sheet.
Other wise your iron-on that’s already been applied will come into direct contact with your easy press and that does not work well!
You’ll end up with burned iron-on.
YUCK!
But with a heat resistant sheet in place you can heat up the entire design for another 30 seconds, wait for the carrier sheet to cool and then reveal your holographic iron-on firmly in place.
Beautiful darling!

I absolutely love how this little sign turned out! Of course, if you don’t want to pour a resin mermaid tail you could easily add a vinyl mermaid tail to the sign.
But the resin tail is just so cute! Plus there’s something about a 3-dimensional resin piece that I find brings everything to life.
If you’re ready to see the finished project (complete with resin mermaid tail!?) check it out here!
In the meantime enjoy your Cricut sign… it’s pretty darn cute!


Leave a Reply