


I absolutely love a cute infusible ink sign… especially on metal. Unlike iron-on or vinyl, infusible ink actually bonds into the metal. It doesn’t sit on top! So it’s sturdier and meant to last much longer… once bonded you won’t be able to remove infusible ink from the metal surface. You’d have to cover it up if you want it gone!
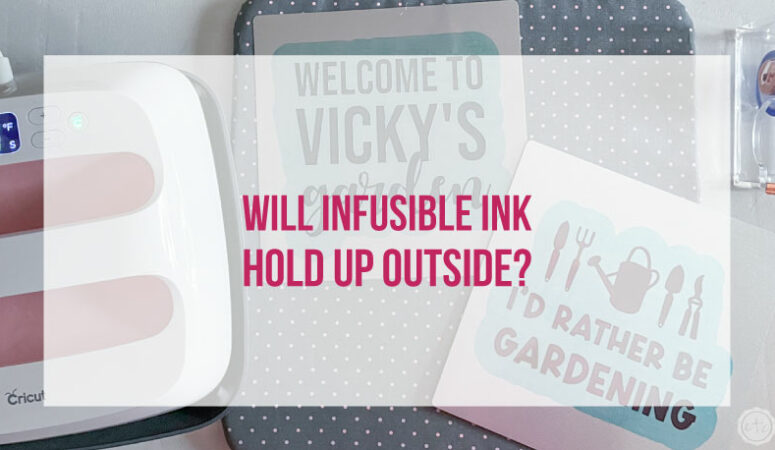
But in spite all of this one of the questions I receive most often is “Will an infusible ink sign hold up outside?”
So today we’re going to make a cute garden sign and hang it outside to test the ability of infusible ink against the elements.
Let’s get started!
Supplies:
- Cricut Maker 3
- Cricut Access
- Fine-Point Cutting Blade
- Brayer
- Cricut Fabric Grip Mat (that’s the one I use… it’s pink and holds everything)
- Cricut Easy Press 9 x 9
- Easy Press Mat
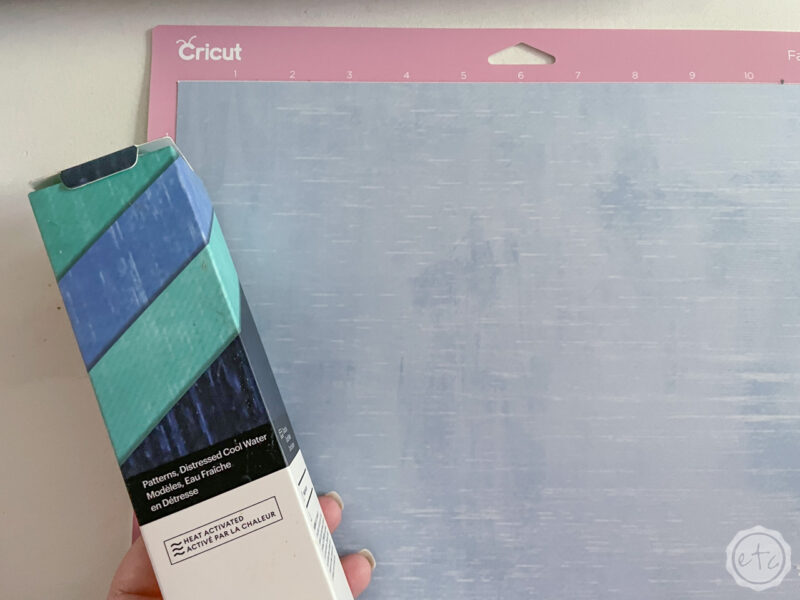
- Infusible Ink Transfer sheet
- Cricut Sheet Aluminum (compatible with sublimation)
Step 1: Upload and Cut your SVG
Before we get started on our sign we need to actually upload our cut files… so start by grabbing the FREE SVG at the bottom of this post and saving it to your computer. Then you can upload it into Cricut Design Space and pop it onto a new blank canvas.
For this project I’m cutting a blue background and our letters out of black infusible ink… so our SVG is also separated into two different colors. From here we can re-size the SVG just a tad… our sign is 8×8 so we’ll want our overall design to be about 7×7.
I’m using my Maker 3 but this is a simple design so you could really use any machine you like… as long as it can cut a 7×7 design. Which leaves the Joy out but pretty much any other machine would work.
Once your design is re-sized go ahead and click make it… then prep your cutting mats. Remember that we’re working with ink so you’ll need clean dry hands and to mirror your designs in Design Space.
Once everything is loaded (and mirrored) go ahead and hit cut!

BONUS: If you need a little help uploading your SVG don’t worry! You can follow along with my How to Upload an SVG to Cricut Design Space Tutorial… it’s super easy but I’ll walk you through all the steps so that you’re good to go.

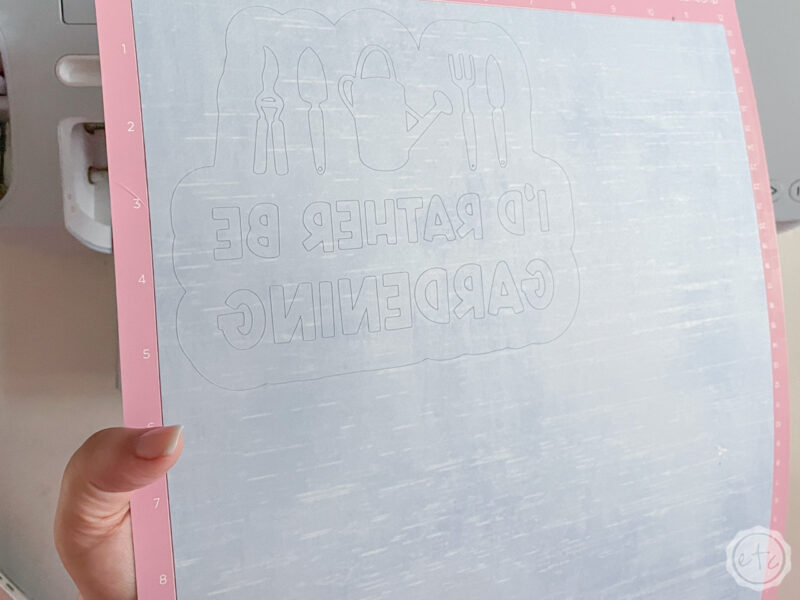


Step 2: Weed your Design
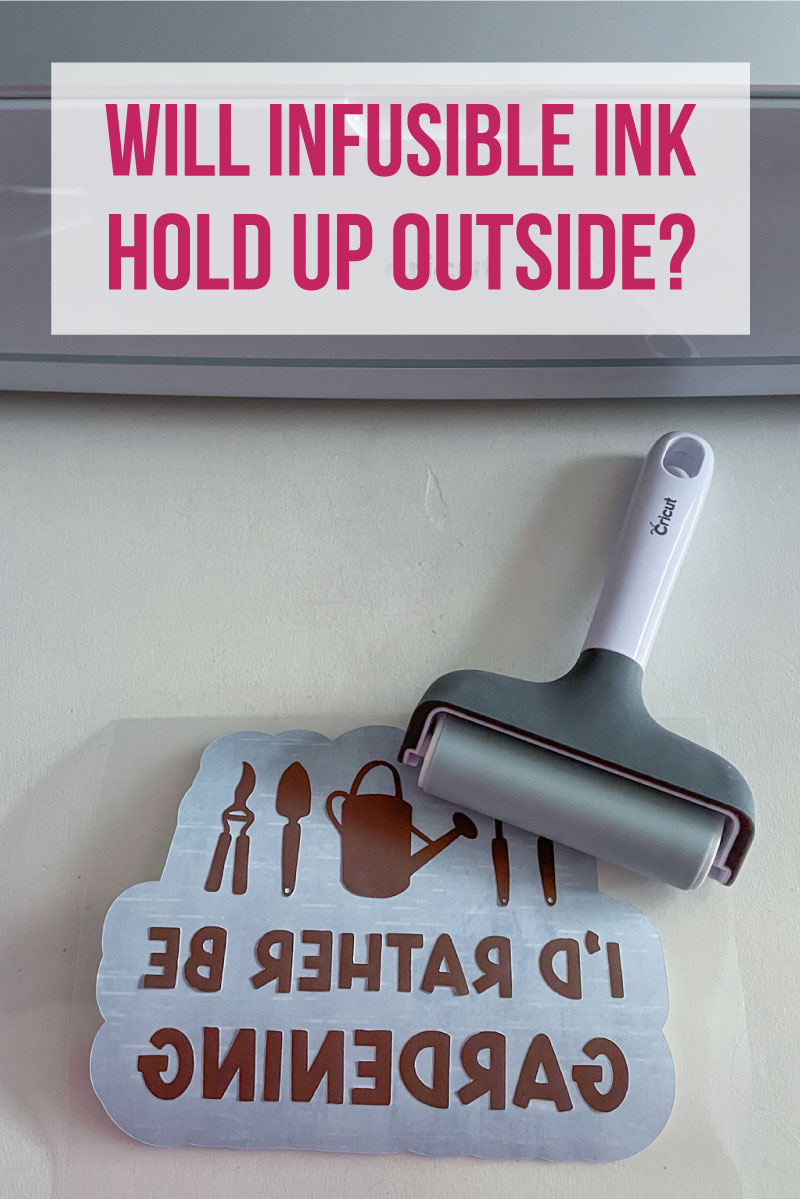
Once your entire design is cut it’s time to weed! Infusible ink is one of the easiest materials to weed… you want to use your fingers and not a weeding tool as the material is easy to rip. Simply take the outside portion of the design and remove it from the carrier sheet… volia!
Here’s where things get a smidge tricky. When you’re heating up infusible ink you’ll only want to apply heat once so after we weed the negative spaces out of the light blue background we’ll want to press the corresponding black infusible ink pieces into place.
So we have the entire design in one spot!
All in all this isn’t a difficult process… just a little time consuming. Go slowly and try to keep all of the pieces as flat as possible and you’ll be done in no time.


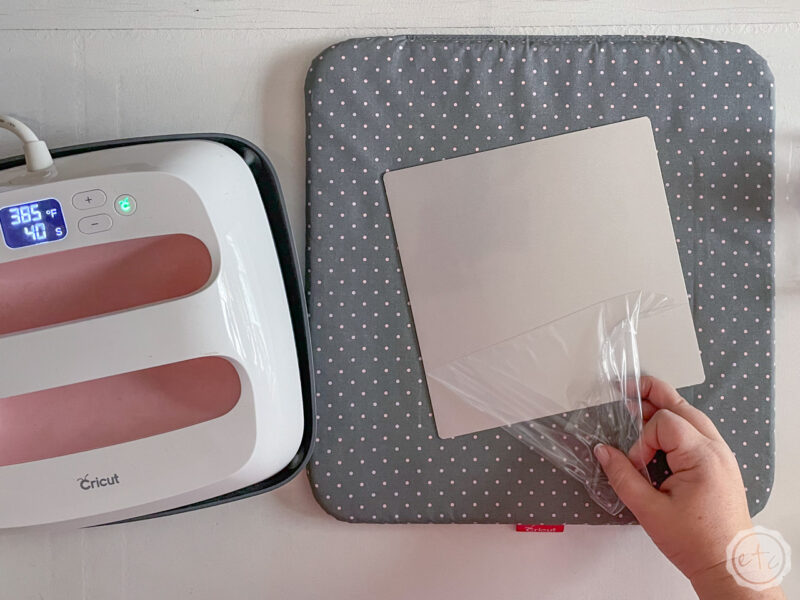
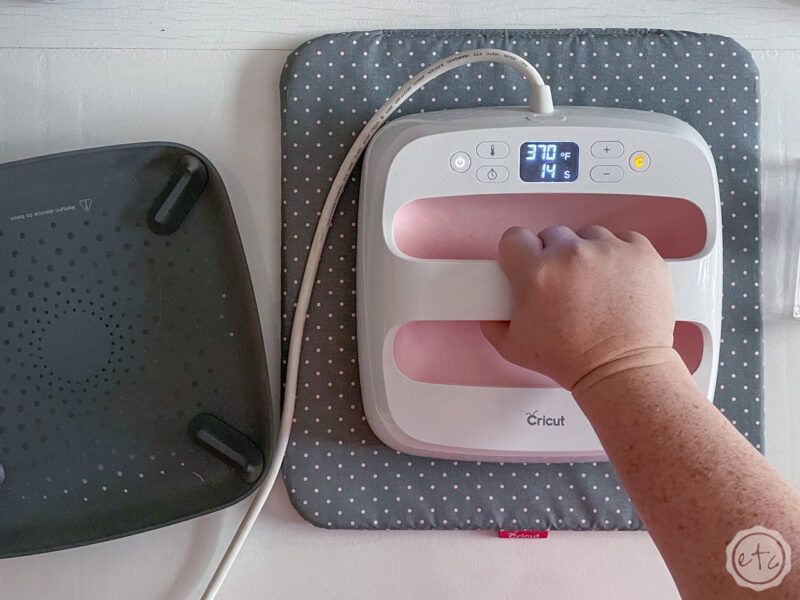
Step 3: Prep your Aluminum Blank
Now that everything’s weeded let’s go ahead and start our easy press… it will need to heat up after all! Set it to 385 for 40 seconds and let it start to warm up. In the mean time we can set up our aluminum blank.
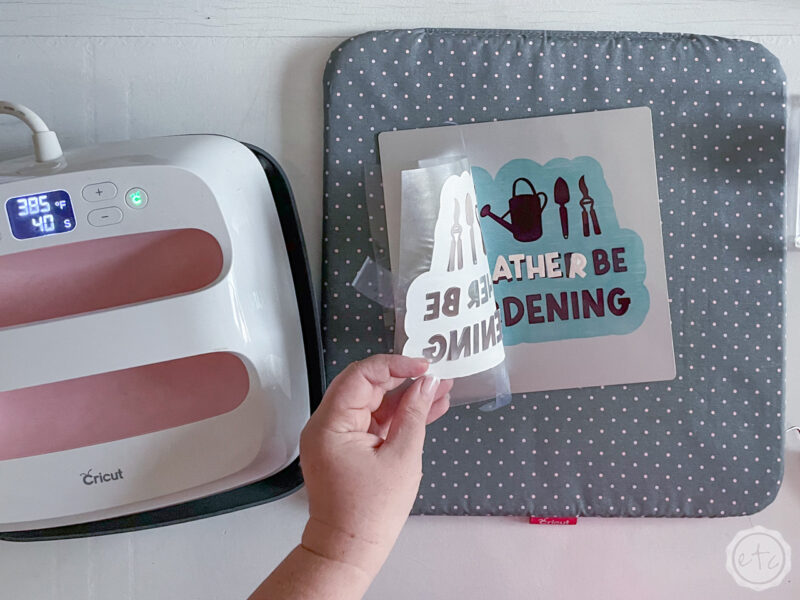
It will have a clear plastic film on one side and a yellow plastic film on the other… only the clear side is compatible with our infusible ink. So go ahead and remove the clear film so that we can set this baby up!
Once the film is gone go ahead and line your infusible ink sheet up on the sign. You can use a brayer to smooth your ink into place since we don’t want any air bubbles… then tape it down using a bit of heat resistant washi tape. We don’t want it to move or shift while we’re heating it up… or we’ll get a hazy look which is not the goal.
Excellent!

Step 4: Apply the Easy Press
We’re so close to done! Now that everything is heated up and taped down let’s set everything in place. Lift your easy press straight up and set it down over your infusible ink… hold constant pressure but stay as still as possible. Remember we’re trying to avoid hazy ink!
After the full 40 seconds lift the easy press straight up and set it back on it’s stand.
Typically some of the infusible ink pieces have shifted when you remove the heat… that’s good it means the ink has been released from the carrier sheet. BUT the metal will still be extremely hot so let it cool and then you’ll be able to fully remove the carrier sheet.

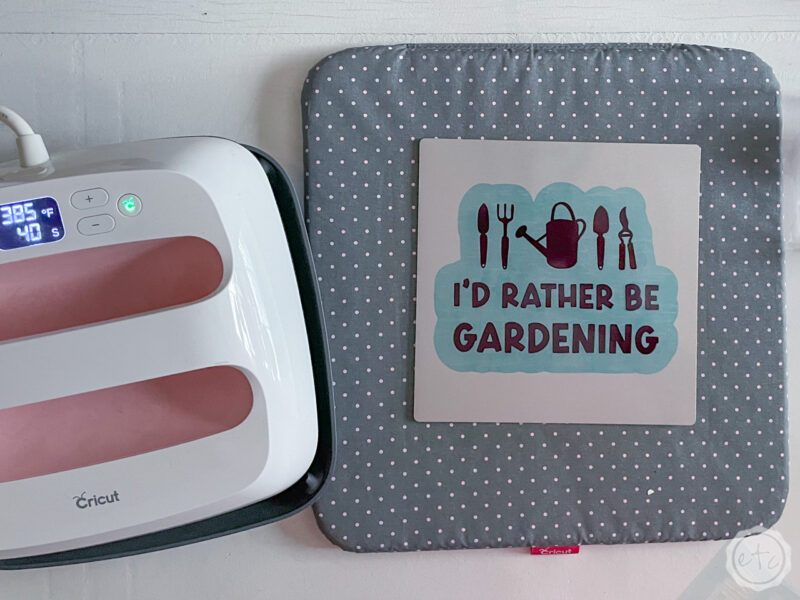

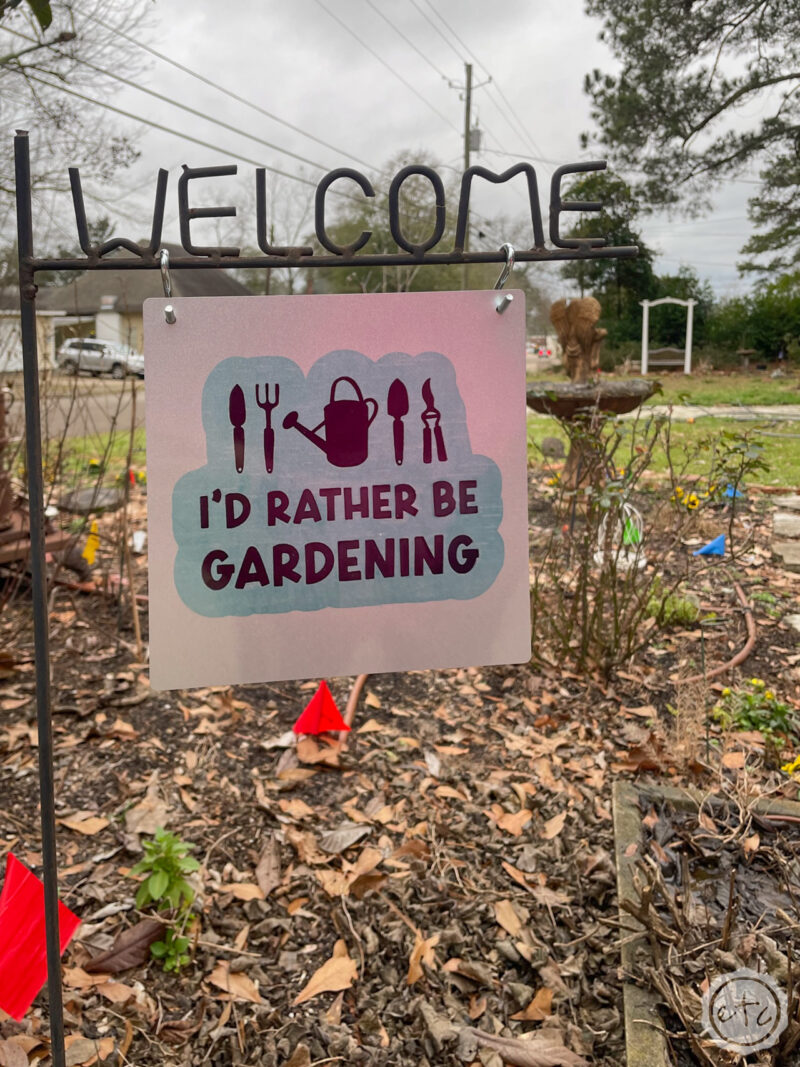
Step 5: Place Outside and Enjoy!
Now that everything’s done I popped a few holes in the top of our little sign and placed it in the garden. So far it’s held up beautifully to the cold and rain we’ve had this February… we’ll just have to keep checking on it over the months.
To see how infusible ink truly holds up outside!


Leave a Reply