


When it comes to infusible ink there are so many possibilities… I love making metal signs and t-shirts… even sequined pillows! But the number one rule when working with sublimation is to only heat your ink ONCE. Which typically means combining all of your ink and materials onto one carrier sheet and pressing everything in one go.
But that’s not possible when you’re laying iron-on OVER infusible ink… so does heating the infusible ink twice make a huge difference? How can we protect the first layer while adding the second? Let’s get started on a little metal sign and we’ll go over all the steps.
Spoiler alert: it really is as easy as you’re thinking.
Supplies:
- Cricut Maker 3
- Cricut Access
- Cricut Roll Holder (for smart vinyl)
- Fine-Point Cutting Blade
- Weeding Tool
- Scraping Tool
- Brayer
- Cricut Fabric Grip Mat (that’s the one I use… it’s pink and holds everything)
- Cricut Easy Press 9 x 9
- Easy Press Mat
- Infusible Ink Transfer sheet
- Cricut Sheet Aluminum (compatible with sublimation)

Step 1: Prep and Cut your Design
In this case we’re doing a fairly simple design “Welcome to Vicky’s Garden” for a little garden sign. I simply typed out my words in Cricut Design Space and welded them all together into one layer. This text layer will be cut out of our iron-on and be our top layer.
To get the bottom layer (which will be our infusible ink) we’ll make an offset of the top layer… you may want to adjust the offset until there are no little spaces in between the letters or words. We want one smooth outline of our entire text block.
Once you’re happy with the offset go ahead and click apply… and change the color of the offset so that Cricut knows to cut each layer out of a different material. At this point all that’s left to do is size our design… the metal blanks we’re using are 8×8 so let’s size our design to 7×7 and click make it!
You’ll need a cutting mat for the infusible ink (and to mirror the design) but I grabbed a roll of smart iron-on for the top layer so we can pop that right into the machine! SCORE!

BONUS TIP: If you need a bit of help making the offset of our letters I have an entire tutorial on creating an offset path here.


Step 2: Weed your Design
Once your entire design is cut it’s time to weed! Our infusible ink layer is the easiest to weed… you want to use your fingers and not a weeding tool as the material is easy to rip. Simply take the outside portion of the design and remove it from the carrier sheet… volia!
For the iron-on we’ll need a bit more weeding. You can remove the outer portion of iron-on with your weeding tool and then start to remove the inside of the letters as well. The inside of the e, the middle of the o… you get the idea.
When you’re finished the iron-on and infusible ink sheet should now match the design you cut in Cricut Design Space.


Step 3: Apply Your Infusible Ink
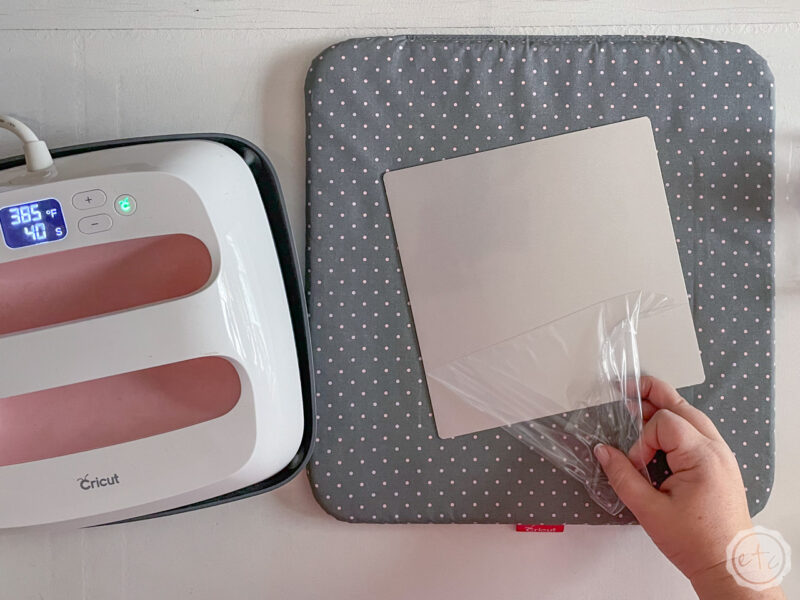
Now that everything’s weeded let’s go ahead and start our easy press… it will need to heat up after all! Set it to 385 for 40 seconds and let it start to warm up. In the mean time we can set up our aluminum blank.
It will have a clear plastic film on one side and a yellow plastic film on the other… only the clear side is compatible with our infusible ink. So go ahead and remove the clear film so that we can set this baby up!
Once the film is gone go ahead and straighten your infusible ink sheet on the sign. You can use a brayer to smooth your ink into place since we don’t want any air bubbles… then tape it down using a bit of heat resistant washi tape. We don’t want it to move or shift while we’re heating it up… or we’ll get a hazy look which is not the goal.
Excellent!
Now that everything is heated up and taped down let’s apply this first layer. Lift your easy press straight up and set it down over your infusible ink… hold constant pressure but stay as still as possible. Remember we’re trying to avoid hazy ink!
After the full 40 seconds lift the easy press straight up and set it back on it’s stand. Let the metal sign cool and then you can remove the carrier sheet!


Step 4: Apply your Iron-On
Alright y’all ready for the layering portion of today’s project? Go ahead and line your iron-on up over the infusible ink layer of our project… smooth it out and secure it with a bit of heat resistant washi.
If the carrier sheet from you iron-on completely covers your infusible ink design you’re good to go… if not you’ll want to add a protective layer (either a heat shield or a sheet of parchment paper… even cardstock) over the infusible ink so it doesn’t come in direct contact with the easy press.
Then use your easy press to apply the iron-on… 40 seconds of constant, not-moving pressure and you’re good to go!
The infusible ink will be a smidge lighter after being heated up a second time but since we protected it with a layer of parchment paper most of the ink was preserved.
Meaning this little sign is done!


I love how this little metal sign turned out… and to continue the experiment I made a second sign completely out of infusible ink. No layering, simply merging the two layers into one sheet of infusible ink the way infusible ink likes to be.
I’m going to hang each sign outside in the garden and see which one holds up to the elements the best.
All infusible ink? or Infusible ink and iron-on!
We’ll see!


Leave a Reply