


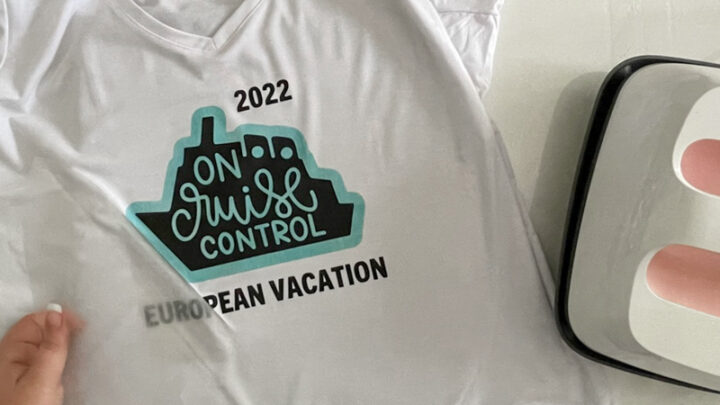
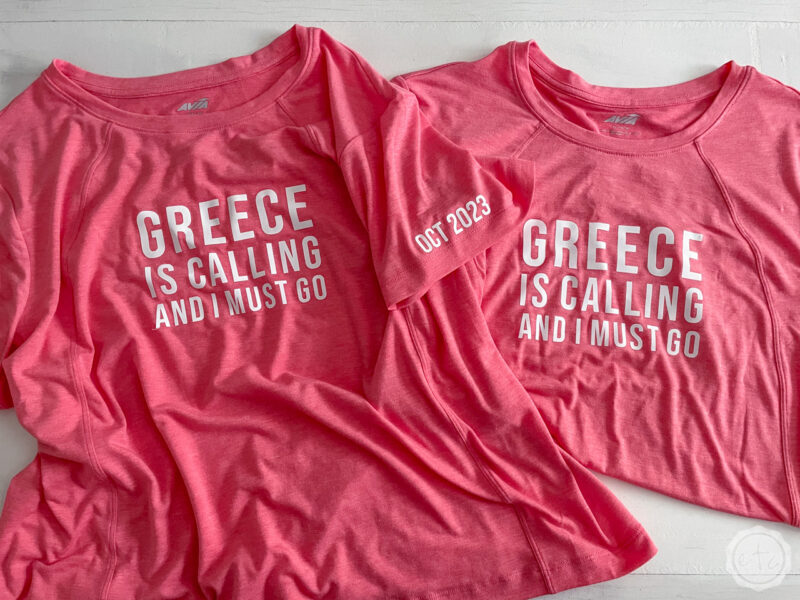
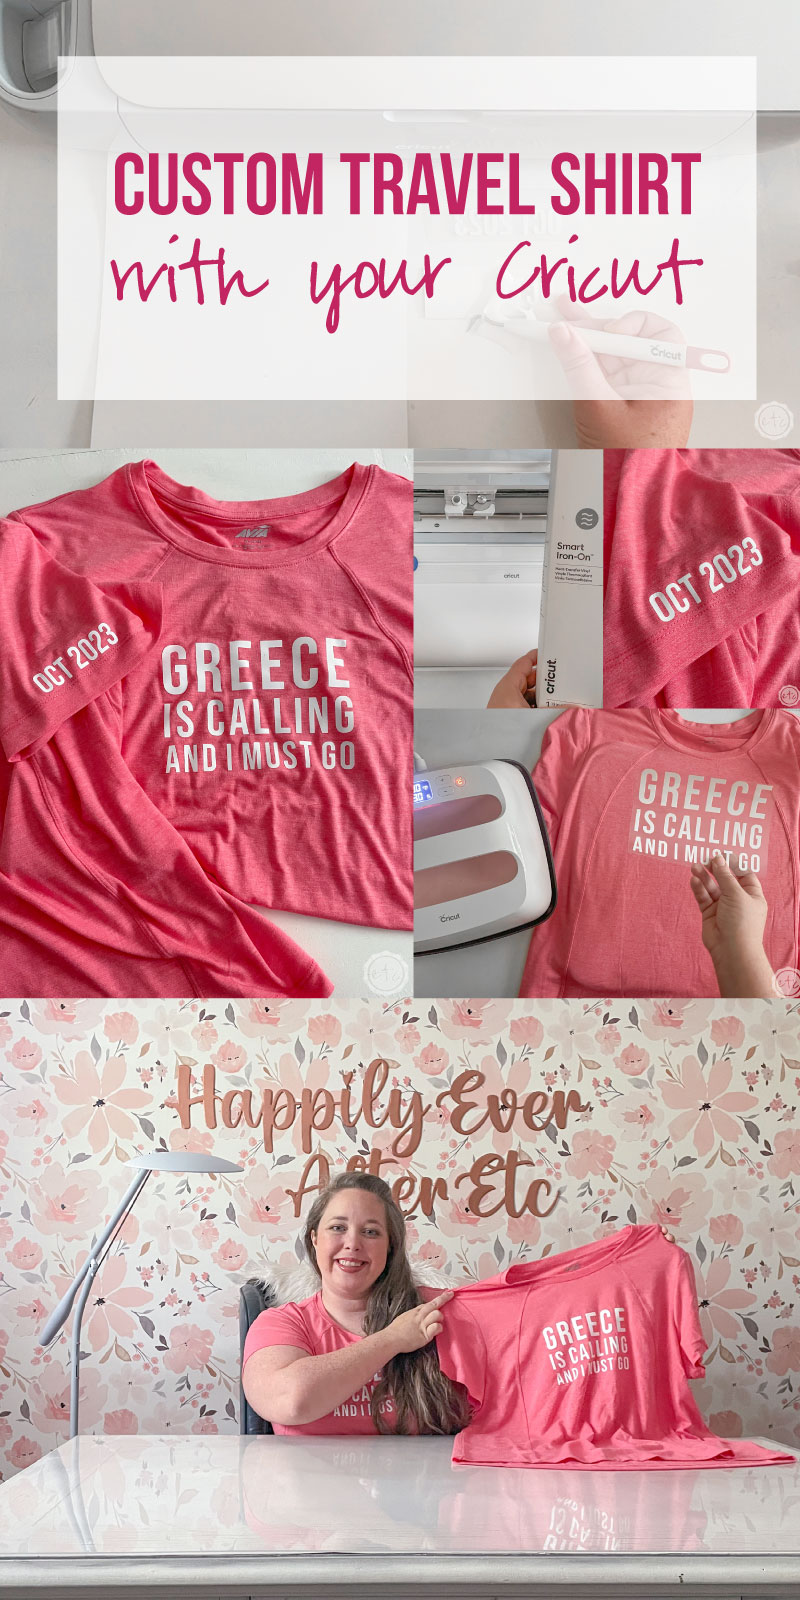
After months, after years, after a lifetime of dreaming Mom and I are finally heading to Greece! There are a few other stops on our cruise (Italy, Turkey and Croatia) but Greece is definitely the main attraction. I am so excited for this trip… but when I sat down to make a cruise shirt for this specific trip I decided to skip the cute cruise saying (like this “oh ship it’s a family trip” shirt or this “we’re stuck on cruise control” shirt) and go specifically for a Greece travel shirt.
The best part is that the entire design is editable so regardless of where you’re going you can use this design for your next trip.
I’m so excited!
Let’s get started!
Supplies:
- Cricut Maker 3
- Cricut Roll Holder (for smart iron-on)
- Fine-Point Cutting Blade
- Cricut Standard Grip Mat (that’s the green one!)
- OR Cricut Fabric Grip Mat (that’s the one I use… it’s pink and holds everything)
- Cricut Easy Press 9 x 9
- Easy Press Mat
- Heat Resistant Tape
- SVG Cut Files (on Cricut Design Space)
- Weeding Tool
- Brayer
- Smart Iron-On
- Blank T-Shirt

Step 1: Prep your Cut Files
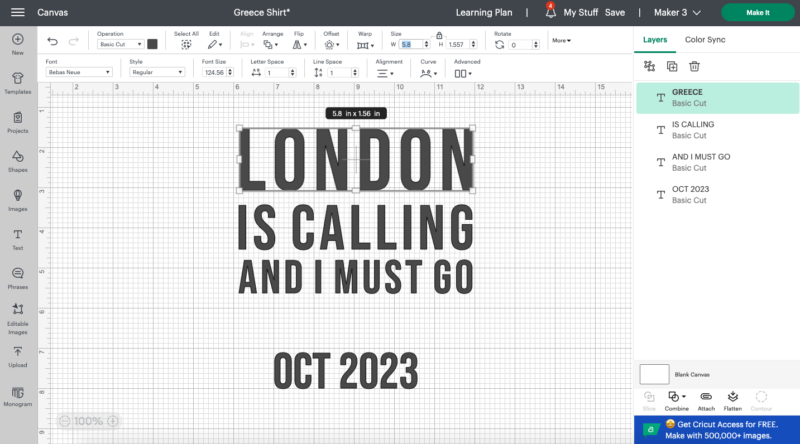
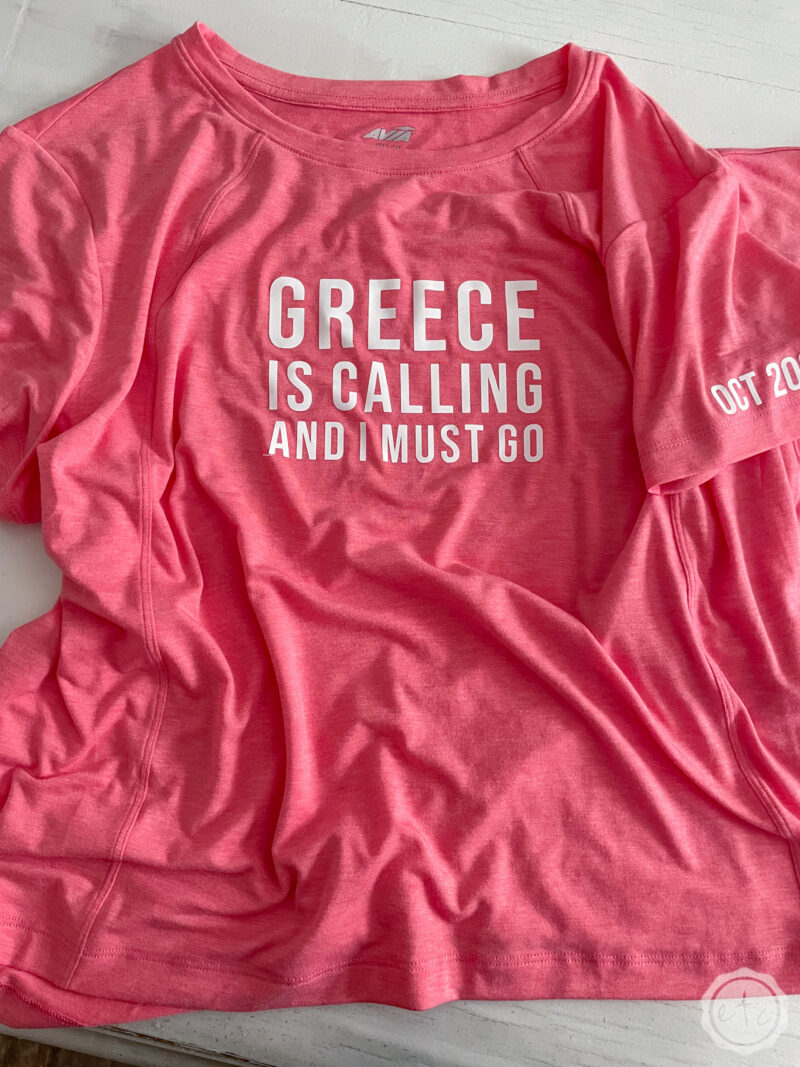
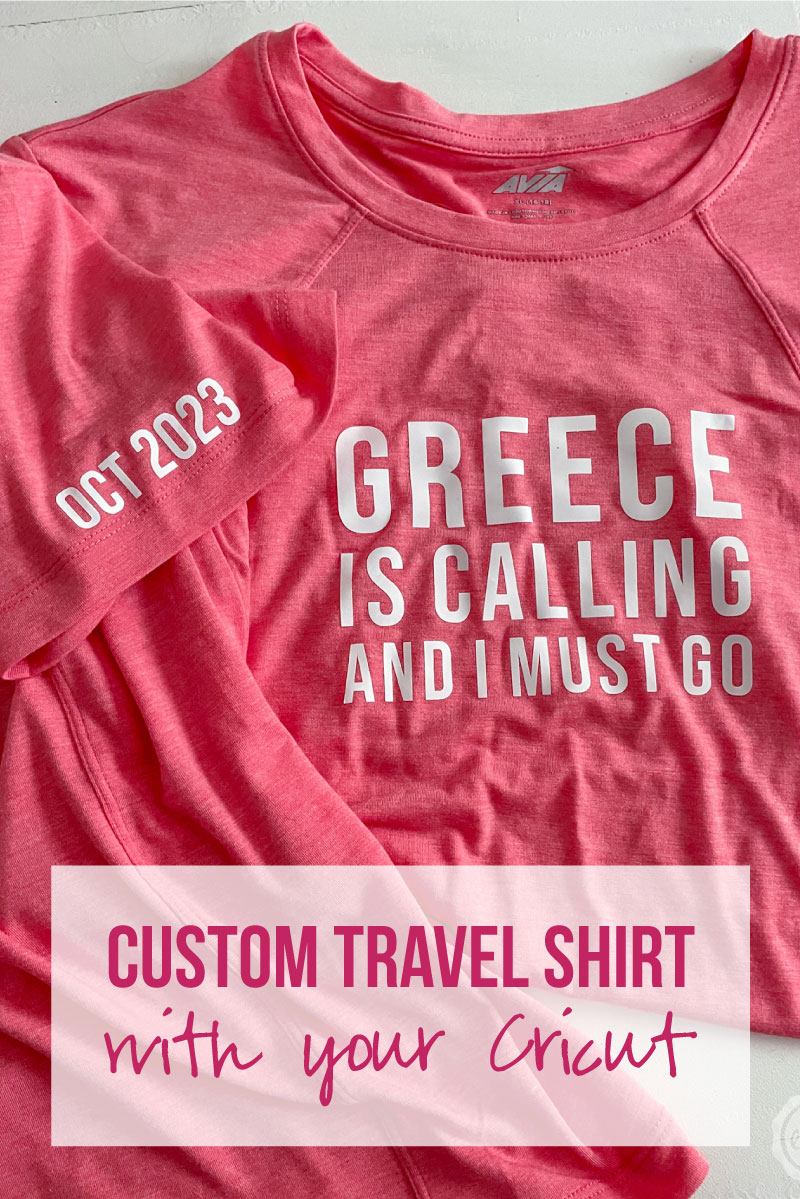
So here’s the thing… if you’re going to Greece then you’re good to go! I used the Bebas Neue font for this project so once that’s downloaded on your computer you can go ahead and cut the design files exactly as they’re shown. Just grab the design files from Cricut Design Space and you’re good to go.
BUT if you’re going anywhere else you may want to change the wording just a bit… it’s a fairly simple process since the text is editable. Go ahead and change Greece to the new location: London, Italy, France… Dallas, Texas… wherever you’re going!
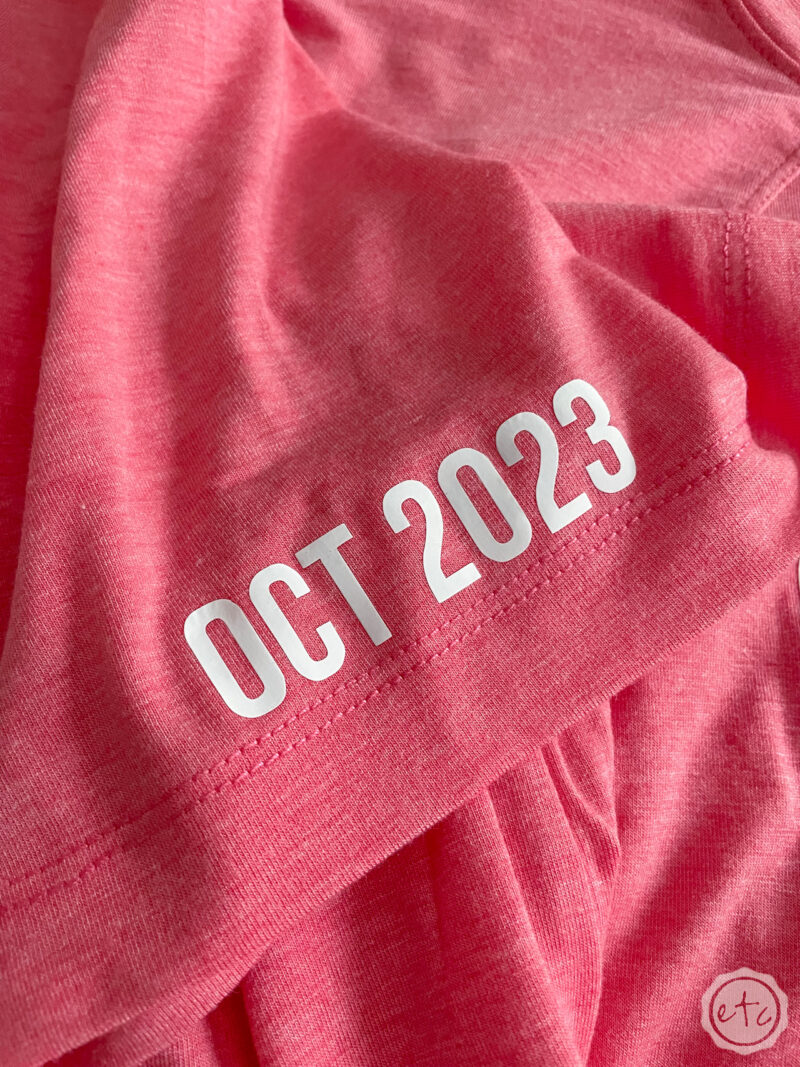
Then select the entire word and change the size to 5.8. Now all four lines of your shirt will be the same width and look *chefs kiss* perfect! If you want to add the month and year go ahead and change those before welding the main design together. Then weld the month and year together and we’re good to go!
Let’s cut this baby out!

Step 2: Cut your Design
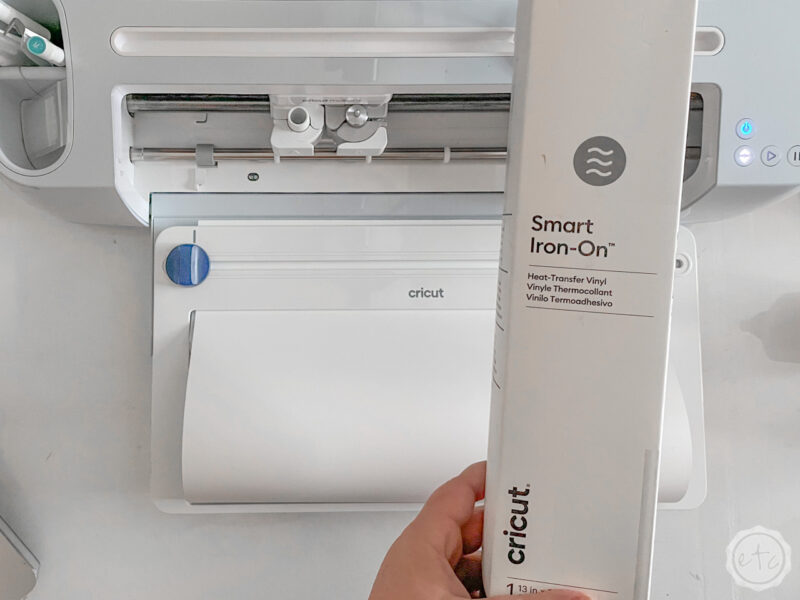
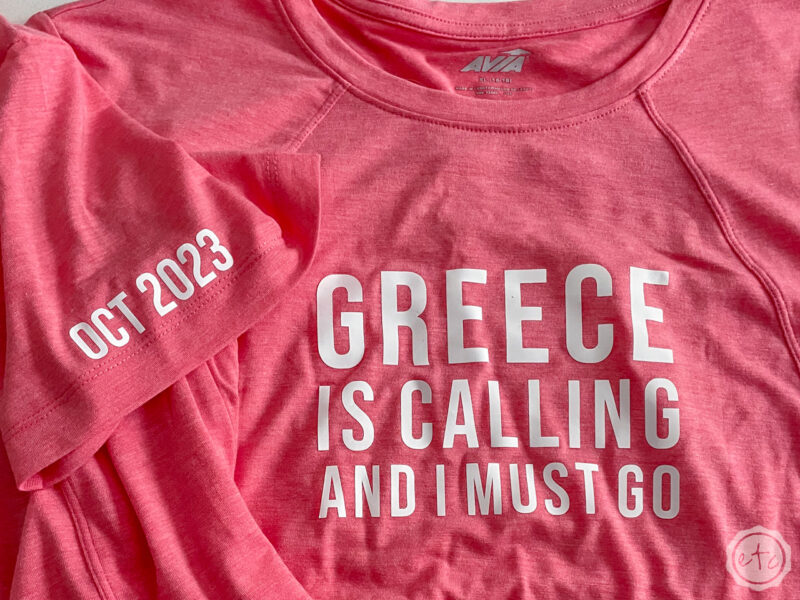
Now that our cut files are ready to go it’s time to actually cut everything out! I’m using white smart iron-on so that it will super visible on my pink shirt. PLUS with smart iron-on we don’t need to use a cutting mat… score!
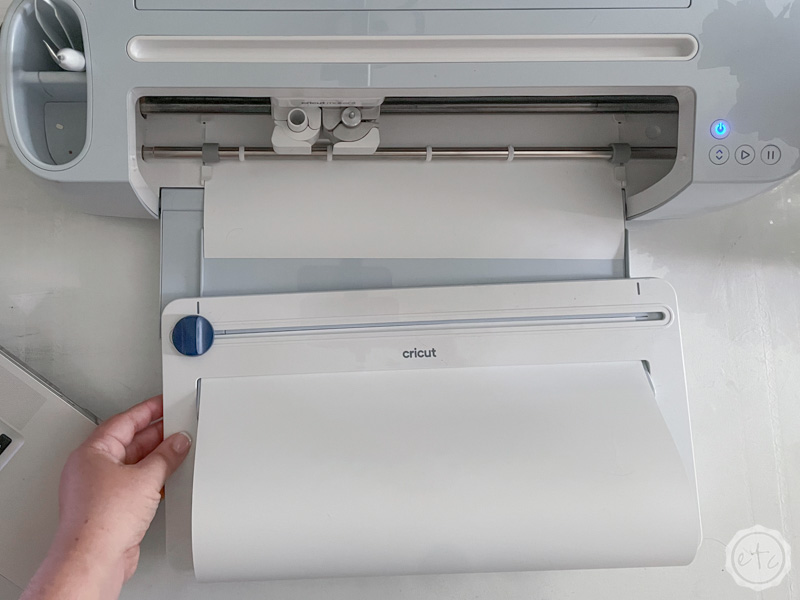
Instead we’ll load the iron-on into our Cricut… face down so that our design cuts into the back of the material. We’ll need to mirror the design in Cricut Design Space and we’re good to go.
You can go ahead and click “cut!”
Bonus: I always use my roll holder with smart materials but it’s definitely optional. You don’t need it but it definitely makes everything a lot easier.
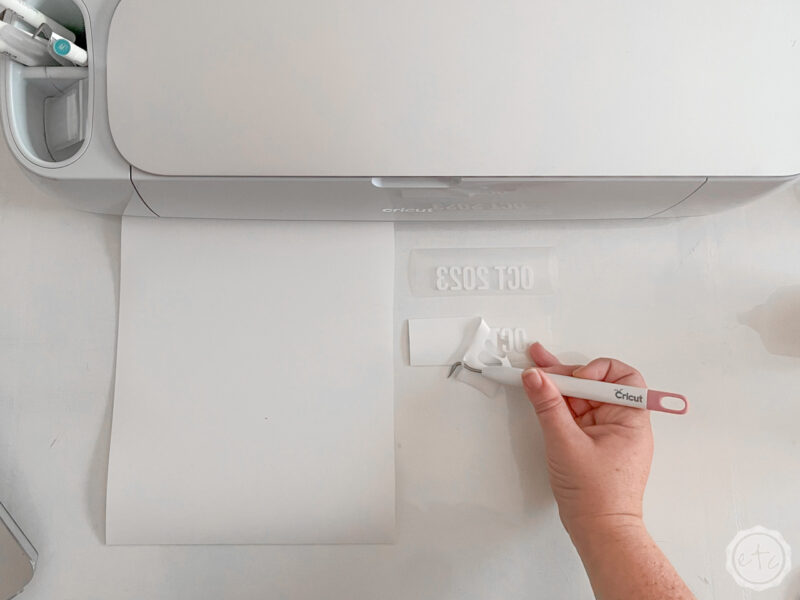
Step 3: Weed your Design
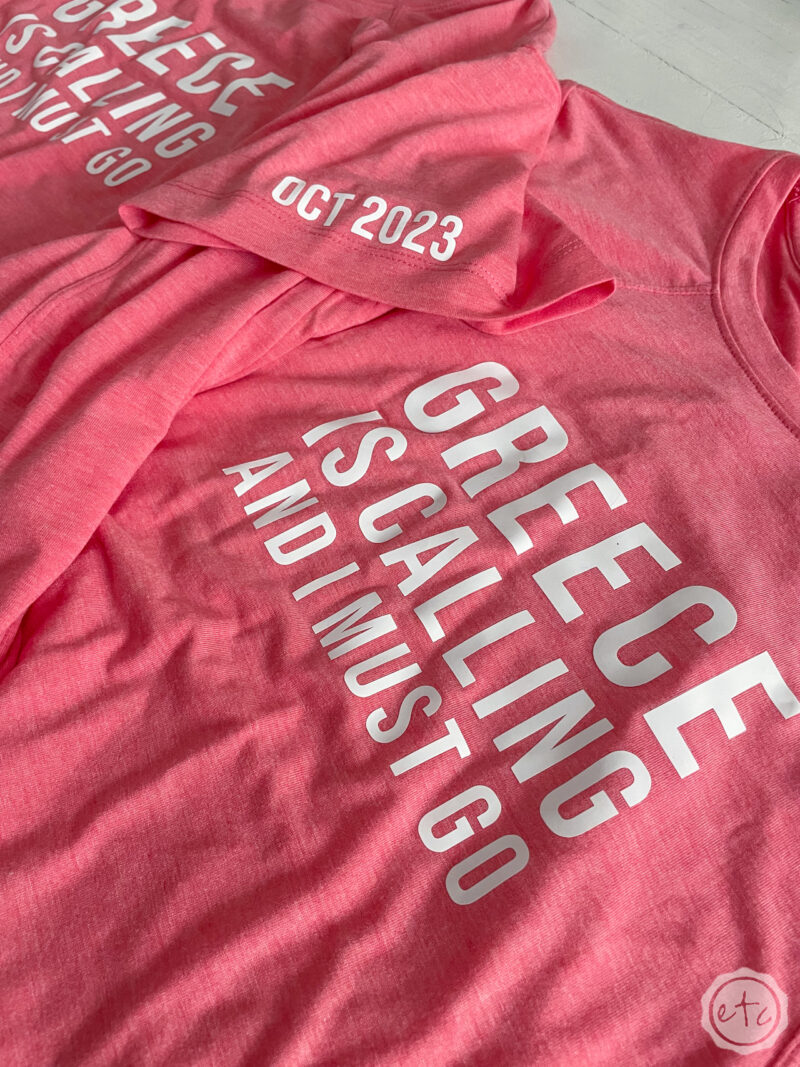
We’re cooking with gas now. Since I’m making a shirt for my Mama and a shirt for myself I doubled my design… so we have two pieces to weed. Either way the process is the same.
Go ahead and cut your designs apart so that they’re easier to handle. Then take your weeding tool and start to remove the extra iron-on around your letters. Make sure to remove the inside of the o’s, the spot inside the e’s and any negative space you don’t need.
At the end of the day your iron-on should look exactly like the design in Cricut Design Space… perfect!
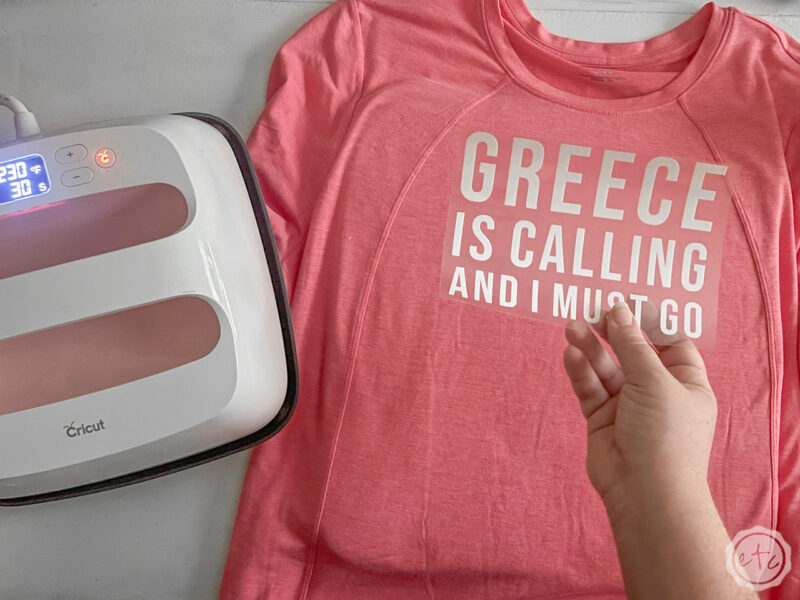

Step 4: Apply the Design with your Heat Press
Last but not least we need to actually put our design on our shirt. So set your easy press to 315 degrees and 30 seconds and let it heat up.
It needs to pre-heat… kind of like an oven.
Then carefully line up your design in the center of your shirt. I like to place mine about four fingers down from the neckline (I know… we use super precise measurements over here) then smooth it onto the shirt. The clear carrier sheet should hold the design in place but if you need a little extra hold you can use a bit of heat resistant washi tape so it doesn’t move.
Once it’s at 315 degrees you’ll place your easy press over the design and hold constant pressure for the entire 30 seconds. Then wait several minutes for the design to cool down before removing the carrier sheet.
If you’re adding the date to the sleeve this is the perfect time… line it up, heat it up, peel off the carrier sheet! Then we’re all set.
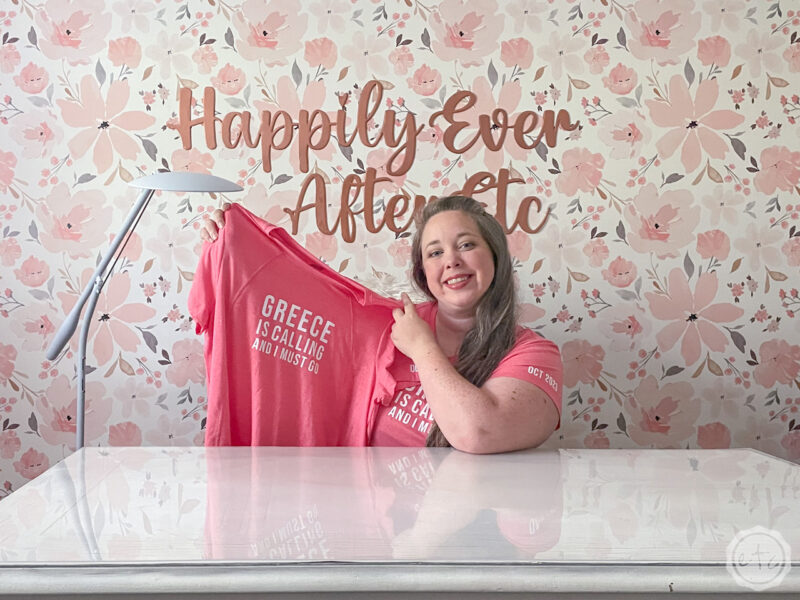
Your shirt is done and you’re ready to go.
Greece here we come!
I can’t wait to wear these shirts on our trip… if you’d like to follow along with our excursions and adventures make sure you’re subscribed on YouTube. Mom and I like to video all of our cruise trips!
Looking for more Cruise DIY’s? Check Out These Projects:


Leave a Reply