
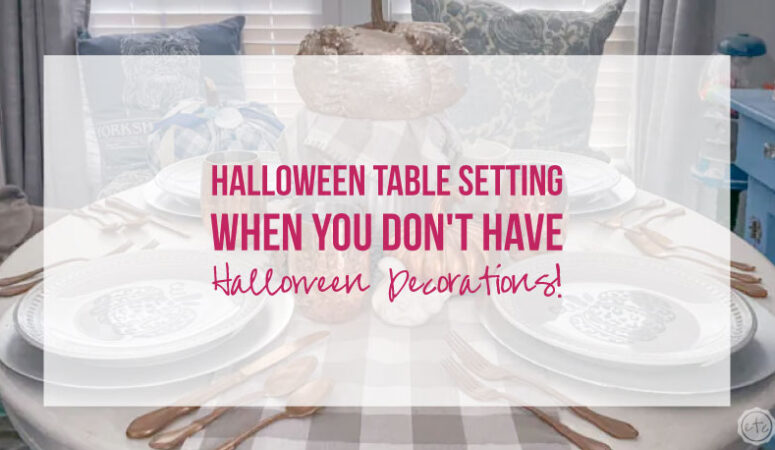


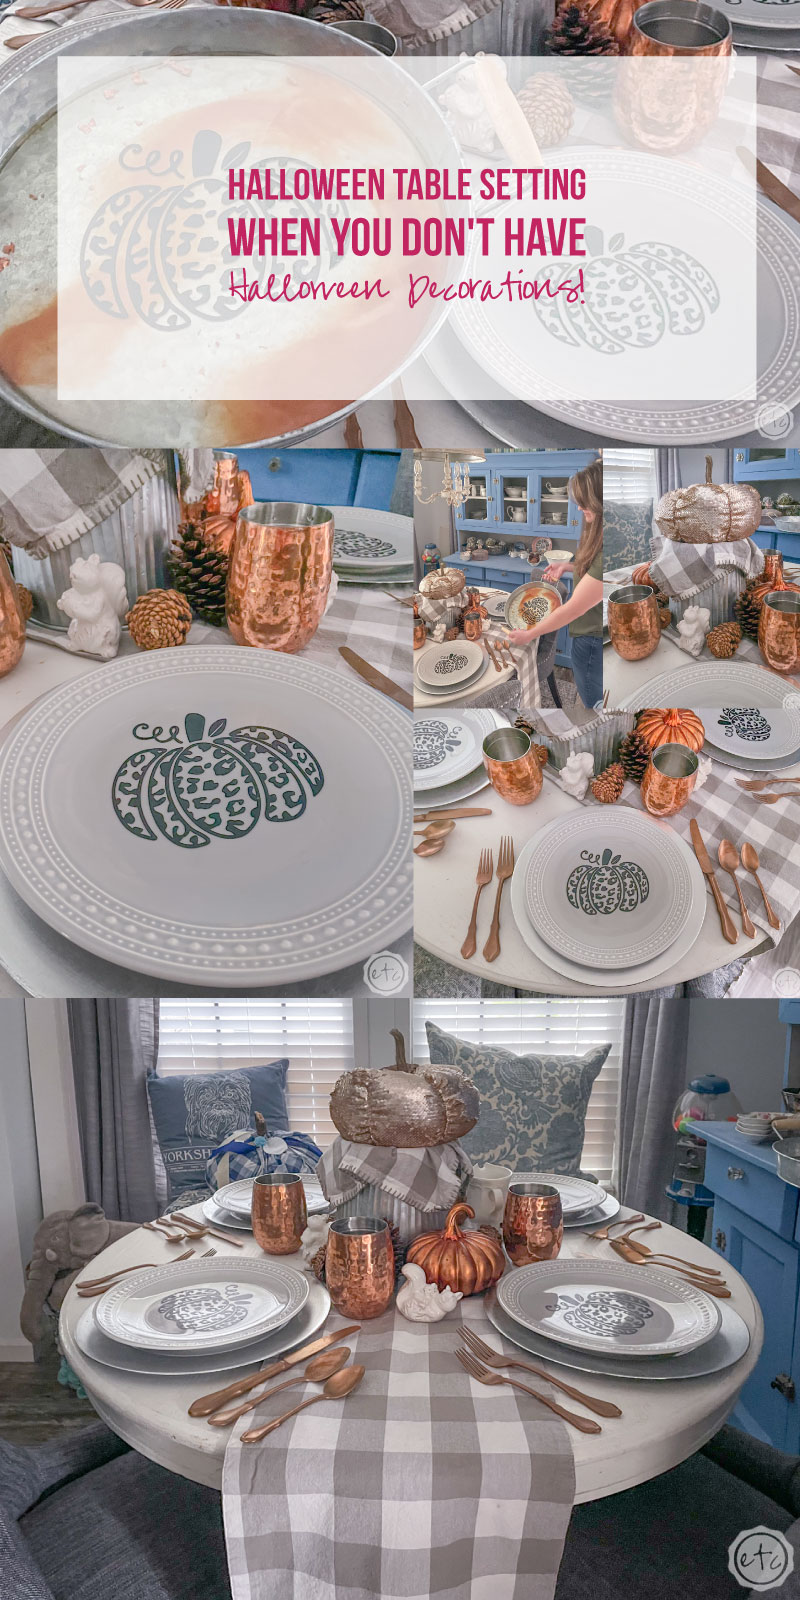
Setting a pretty table is a fun way to show your creativity, welcome your guests and set the tone for anything from a festive celebration to a casual meal. I love to set beautiful tablescapes for myself and my friends… but while certain holidays are easy to decorate for (I have countless Christmas and Valentines Day Table Settings) I’m not a huge fan of Halloween so I have NO supplies for a spooky Halloween Table Setting.
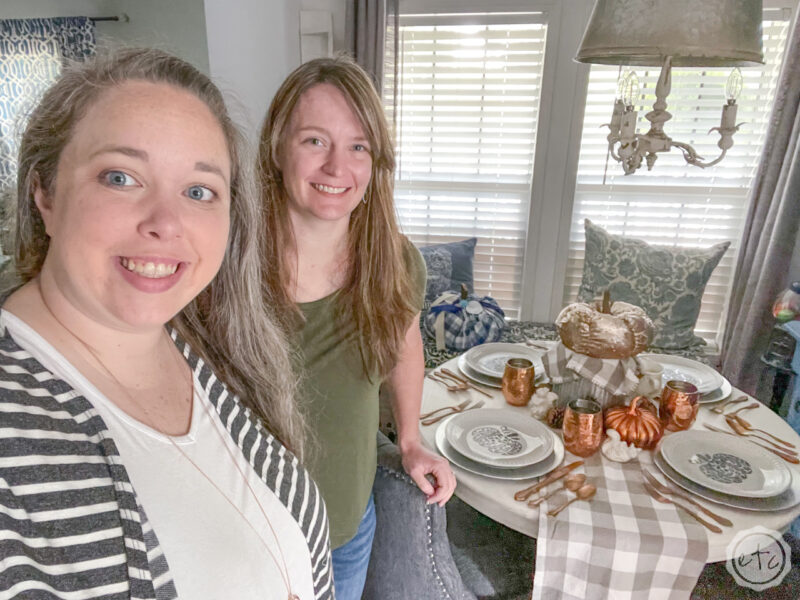
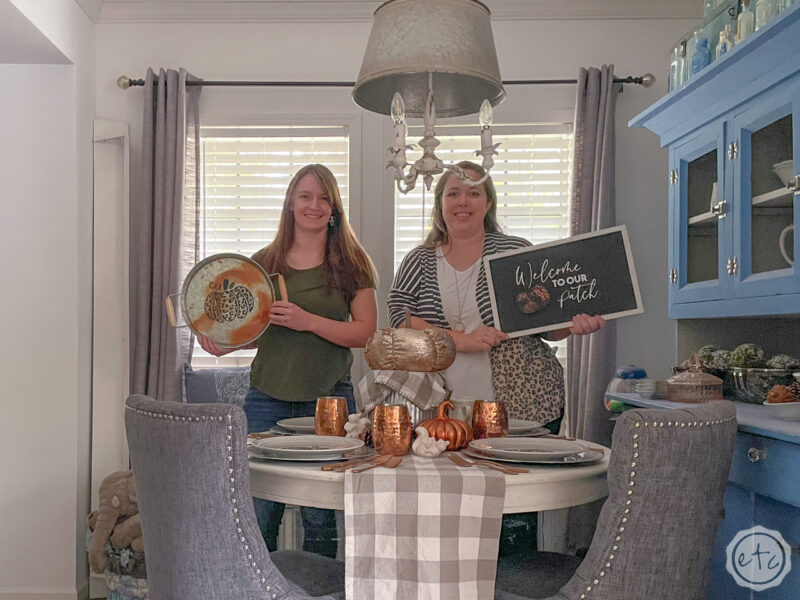
The last few years I’ve simply set the table for fall instead of Halloween take this Blush and Rose Gold Fall Tablescape or this Copper and Blush Fall Tablescape. I love Fall and will definitely continue to decorate more broadly for Fall than specifically for Halloween BUT today we’re flipping the script. My best friend Rachel is here and we’re going to break out the Cricut to turn a few pretty gray plates into cheetah print pumpkin plates for our new Halloween Table Setting.
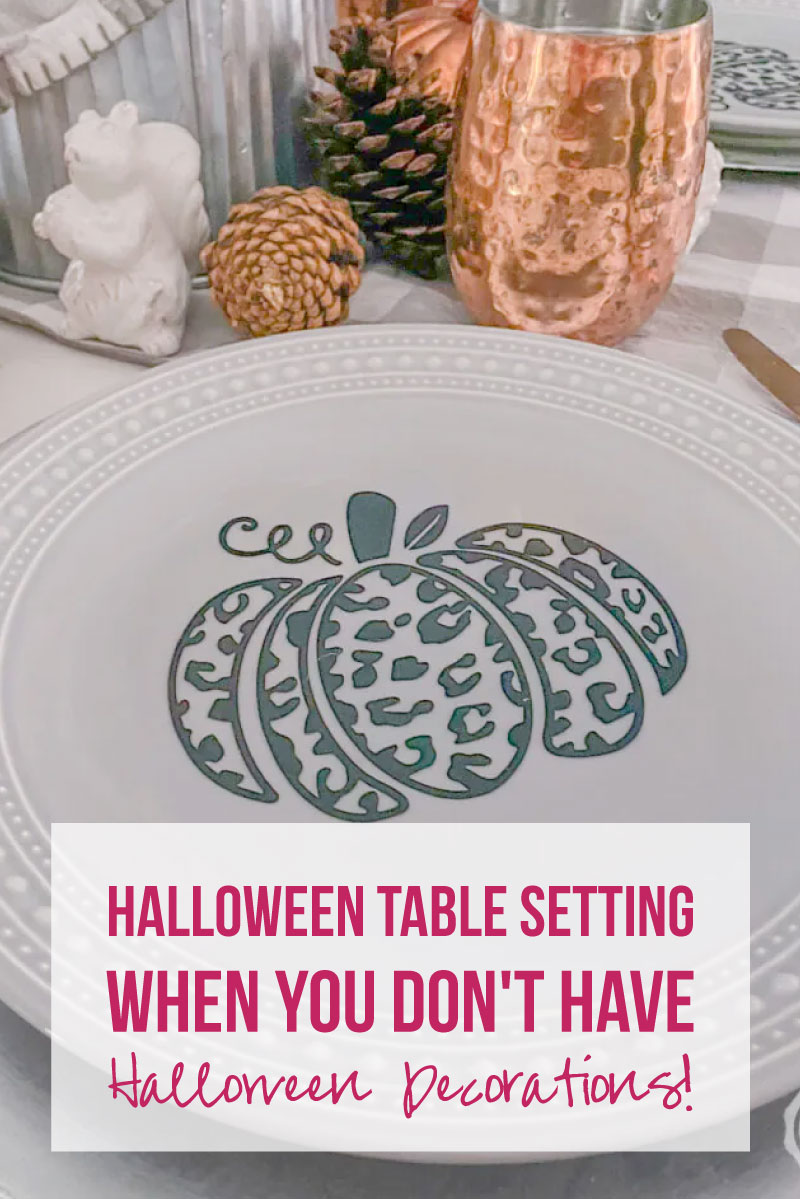
We used removable vinyl and decorated our cute little plates with their very own pumpkins. Technically you could add any SVG to any plate for any occasion and if you’d like more instructions you can follow the full tutorial here: How to Use Vinyl to Make Plates for any Holiday.
In the meantime let’s get started with our cute spooky Halloween tablescape!
Supplies:
- Gray Dinner Plates
- Metallic Silver Chargers
- Copper Flatware
- Gray and White Gingham Table Runner
- Gray and White Gingham Napkins
- Galvanized Cake Stand
- Copper Moscow Mules
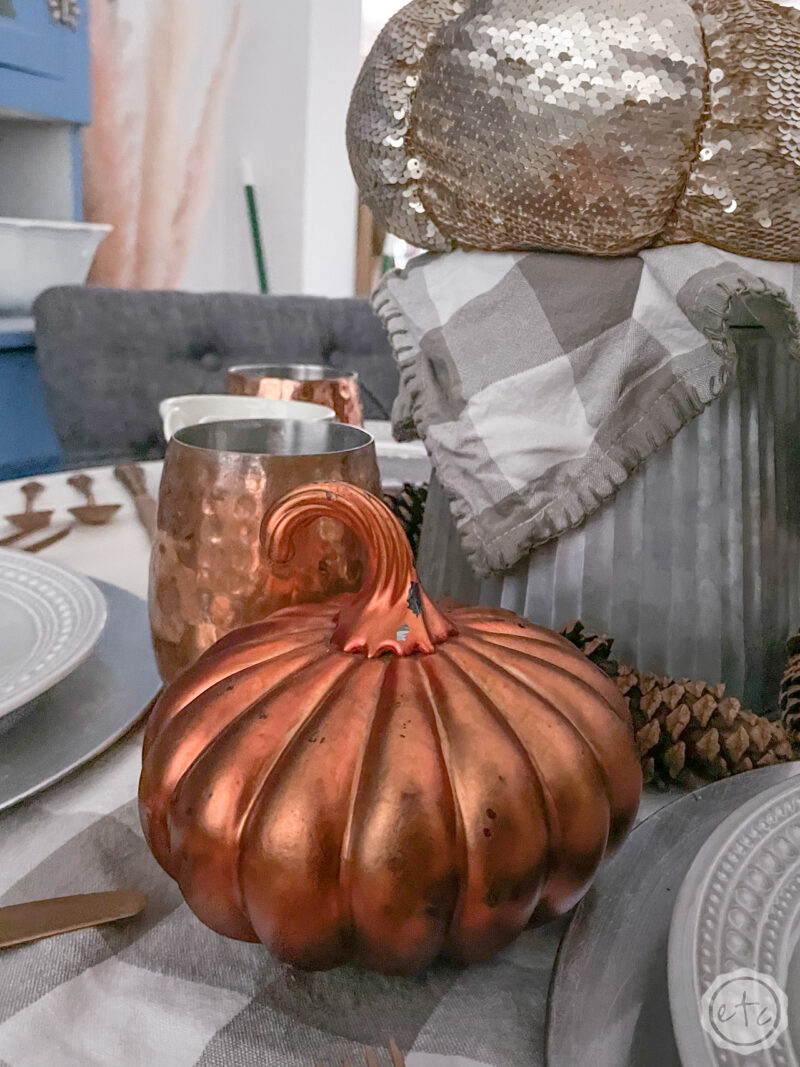
- Copper Pumpkins
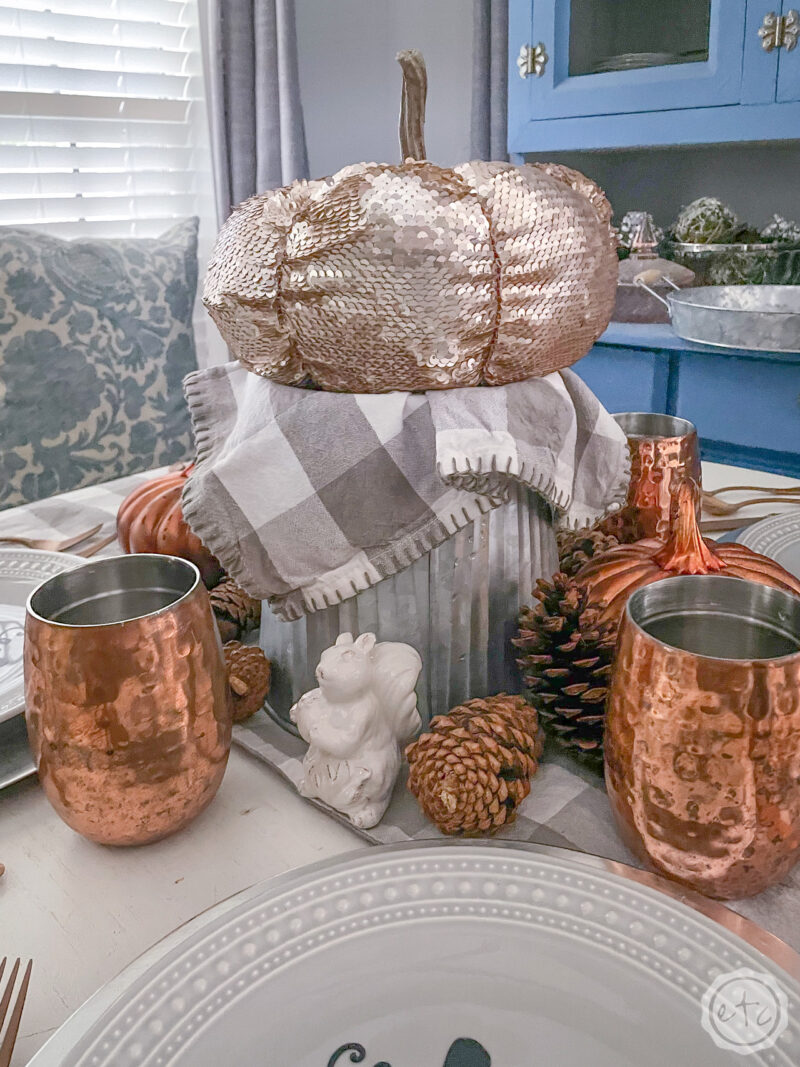
- Champagne Sequin Pumpkins
- Squirrel Salt & Pepper Shaker
- Pumpkin SVG for Dinner Plates
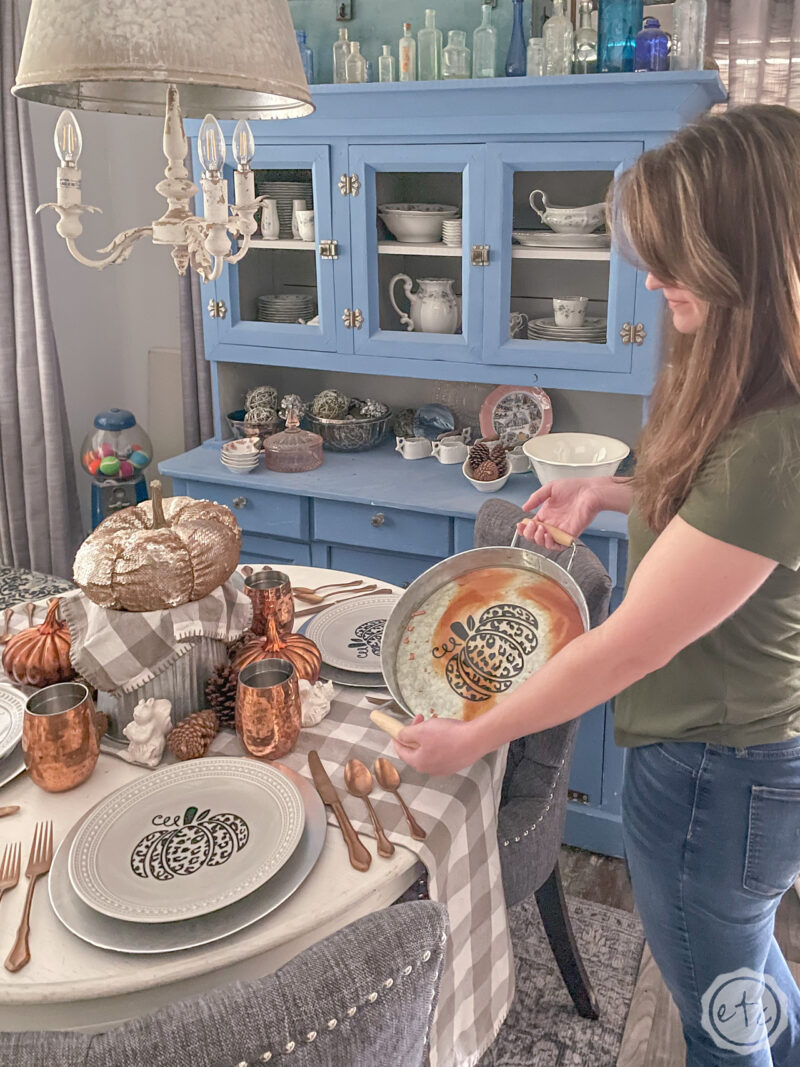
- Pumpkin SVG Serving Tray
Start with One Piece: Pumpkin Plates
In most cases I’ll start my centerpiece off with one jumping off point: that might be a centerpiece, a special salad plate, a color palette etc. Regardless of whatever it is you’ll have one piece that is your main inspiration for the rest of the table.
In this case I already had a copper and orange pumpkin serving tray I made last year to match a set of fall coasters. It’s super cute and definitely looks Halloween to me! I wanted to use it as a jumping off point for this table since I didn’t have any specific pieces that were already Halloween themed.
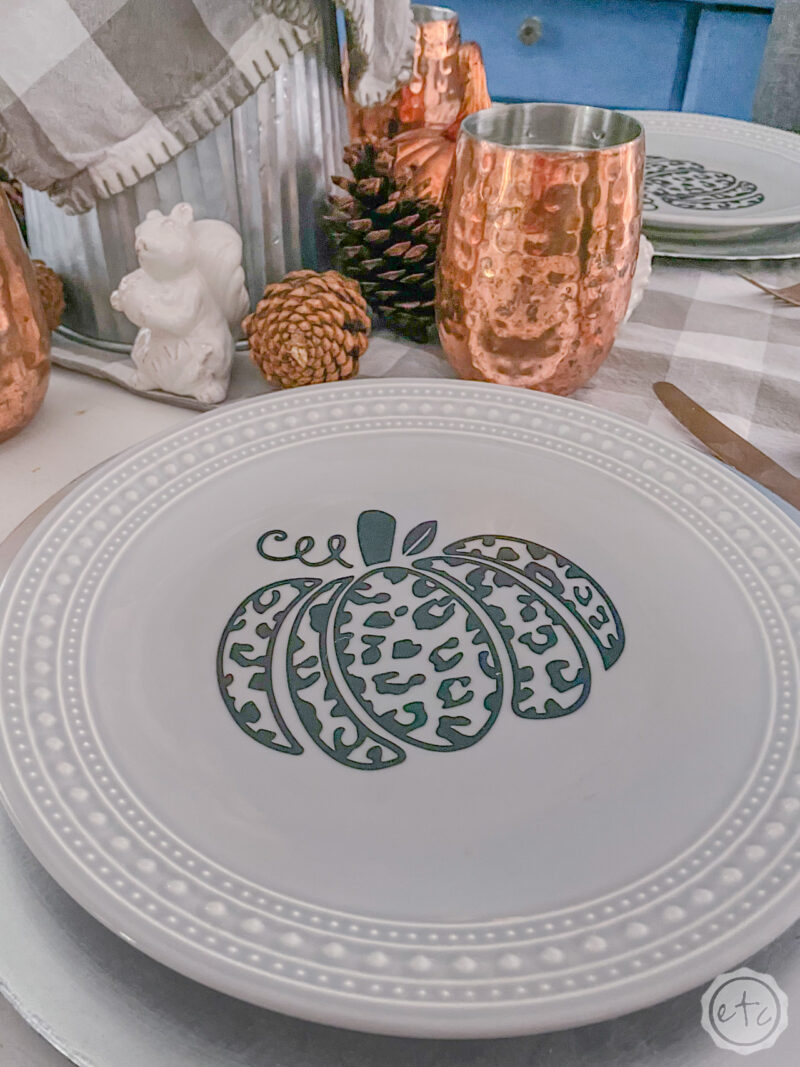
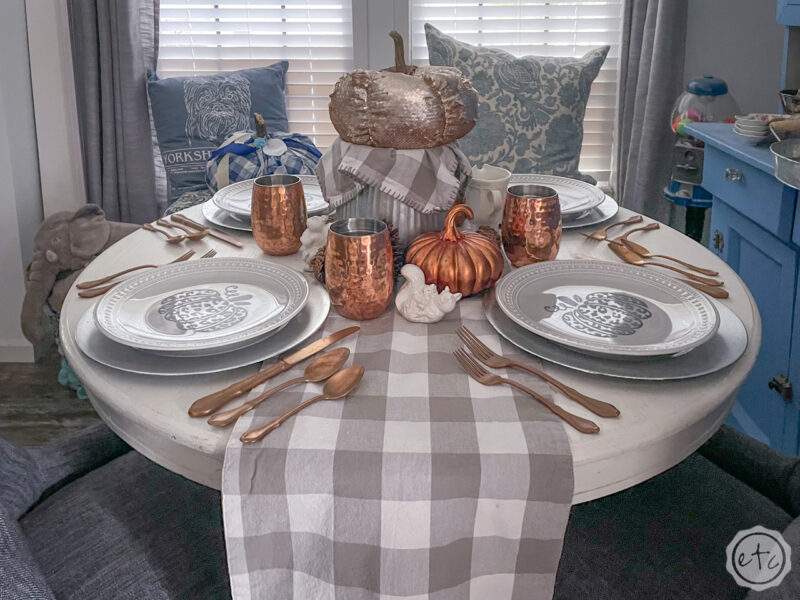
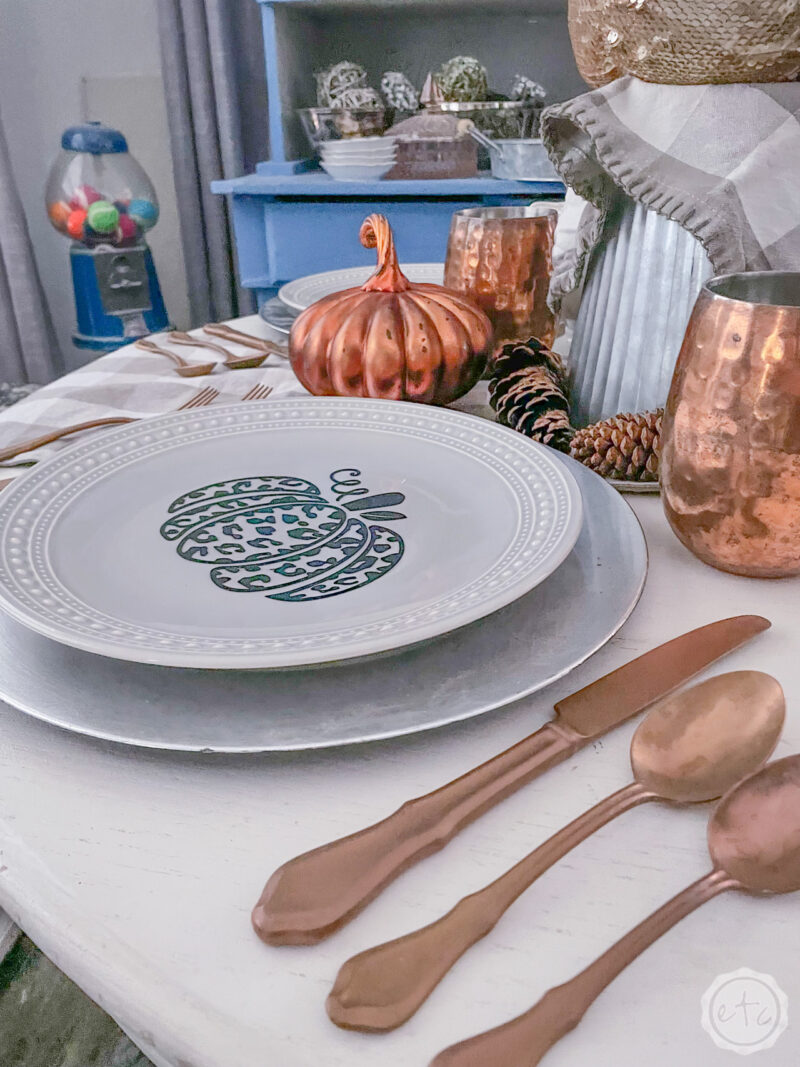
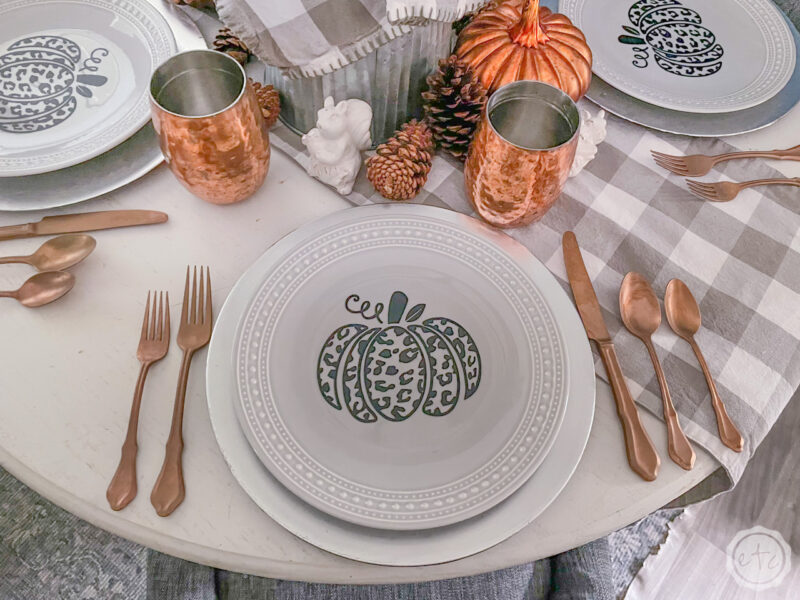
So I whipped up 4 cheetah print pumpkin vinyl decals to put on my plates… then it was just a matter of deciding what plates to use. In my cabinets I have solid pink plates, white, blue, sea foam and gray. Technically I could have used any of them but a few were easy to take out of the running… pink isn’t very Halloween after all.
I decided to go with a neutral gray plate for my vinyl decals with a silver charger underneath to replicate the galvanized tray and tie everything together. I used a removable vinyl so I can change out the decals for other seasons and since everything is food safe I put it right on the dinner plates. If you’re unsure if your vinyl is food safe you can leave the dinner plates off the table and put your decals on the chargers instead!

If you’re looking for more with this cute cheetah print SVG you can check out the matching pillows here or check out the adorable “welcome to the patch” sign I whipped up with the same SVG here! That’s the best part of a SVG design… you can use it for numerous projects: coasters, serving trays, dinner plates, pillows, decorative signs! The possibilities are endless… and that’s not even a cheesey saying. The possibilities are truly endless! If you want to download the cheetah print pumpkin SVG I used for these plates head to the bottom of the post… I’ll leave a link for you!

Step 2: Add in Decorative Elements
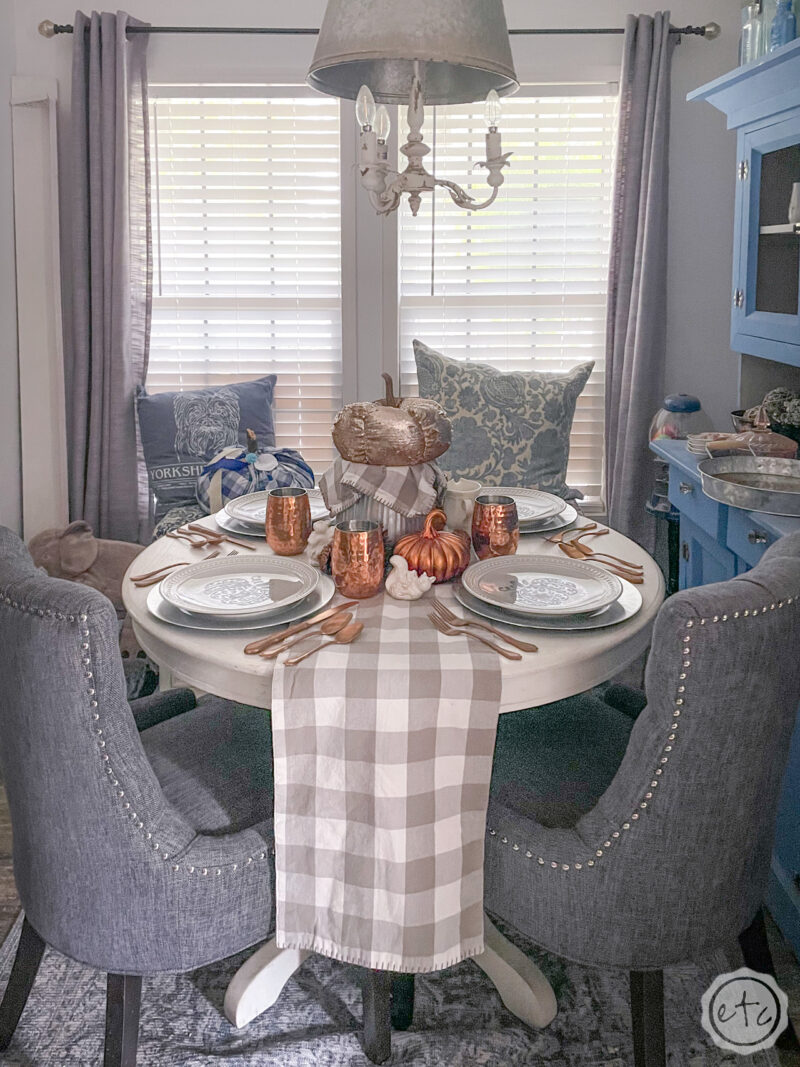
Since we kept the base of the table fairly neutral with silver chargers, gray plates and a gray and white table runner let’s add in a bit more fun with a few decorative elements. Since we have pumpkins on our plates let’s start with a few pumpkins on the table.
And since we have copper and rusty orange on our serving tray let’s aim for a coppery feel to our pumpkins as well!
Tie the whole thing together.
I have 2 copper pumpkins so those were perfect… as well a s sequined champagne colored pumpkin that was the right size for the top of my little galvanized cake stand!
Step 3: Add in a pop of color
I am loving the copper! The pumpkins are so cute and I love how warm they make the table with all the cool gray’s.
So let’s add a bit more of that warm autumn color to help tie in the tray. In this case I have a set of copper moscow mules that feel very fall as well as a set of copper flatware that is always a showstopper.
We don’t want toooo much copper or things will go orange very quickly… let’s add in a bit of white with our squirrel salt and pepper shakers and a few real pine cones to help ground everything.
Then we’re ready to go!
Enjoy!
Rachel and I are quite happy with our little Halloween table! Of course, we could have picked a spookier design for Halloween but I loved the idea of using the same pumpkin as our serving tray. It just turned out so cute!
We are off to have lunch with a few friends so we’ll see y’all for the next tablescape! Rachel helped me set a fall table and a Thanksgiving table before she headed for home so if you’d like to see more of her style stay tuned… it’s always interesting to see how other people decorate your space!


Leave a Reply