


There comes a time every year when the magic of the season is over and all the pretty Christmas decorations have to be packed away. This is probably one of the saddest days of the year… because I both love my pretty Christmas decorations and hate the state of my Christmas closet.
It’s messy y’all.
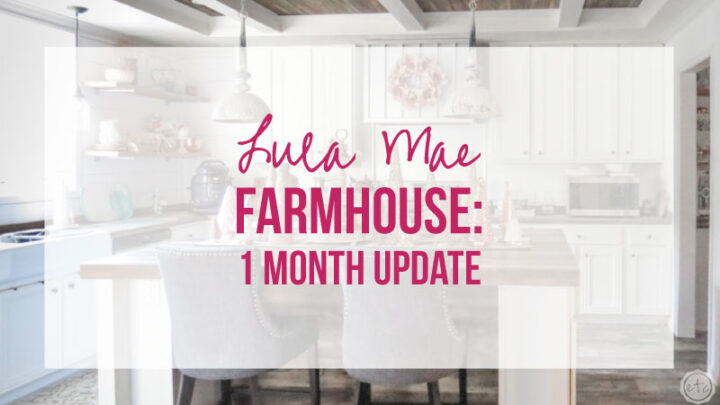
To be fair I only moved into my new house in October (check out the 1 month update here)… and immediately started unpacking. Which was quickly followed by putting up Christmas decorations.
So this closet is pretty much exactly the way my brother, 3 younger cousins, friends and moving guys left it the day they helped me unpack the moving truck.
Super organized.
Since I didn’t want to put everything back into the messy boxes in the messy closet I decided to take a minute and organize this closet the right way. I wanted to make a plan and then get this baby in working order.
And since I’m a glutton for punishment I figured I’d write it all down so that you can execute the same plan in your Christmas closet.
Let’s do this!

Step 1: Organize your Items
Okay so the first step is always the worst… take it all out. Every last box, every last bin, the wrapping paper, the ornaments… everything.
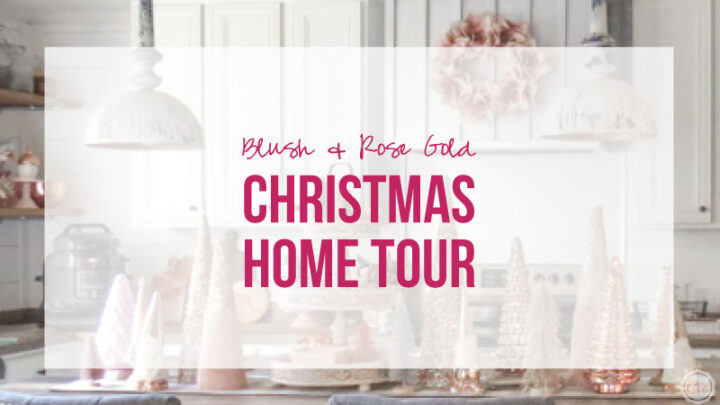
In my case I had a closet full of older decorations (the blue and silver decor you can see here… things I love but I’m just not ready to use since the incident). Instead I’ve been decking the halls with blush and rose gold… and at this point allllll of that was still up in the house.
So let’s get it all together.
Pull everything out of the bins (or if it’s already up gather it all in one central location) then organize everything by type. Put all the outdoor items in one pile, kitchen decorations in another ornaments in another etc.
This step is important because it let’s you know what size bins you need for each section (2 small ornament bins were enough for my rose gold tree in the living room but my childhood ornaments needed 4 larger totes!). It also empties out the closet.
Which makes filling the closet back up in an organized fashion possible.
Once you have all of your items organized into their respective categories it’s time to move on… to containers!
Step 2: Bins
Alright y’all let’s talk bins.
If we’re going to organize your closet you’ll need something to organize allllll those items in.
If you’re working on a budget you can use cardboard boxes… they’re usually free if you look at businesses.
However bugs can get into cardboard, it can get soggy, it’s not as strong… and really it’s just not the same as a nice, sturdy, protective tote.
Plus I found a snake skin in one of the cardboard boxes with my Christmas village… so the cardboard had to go.
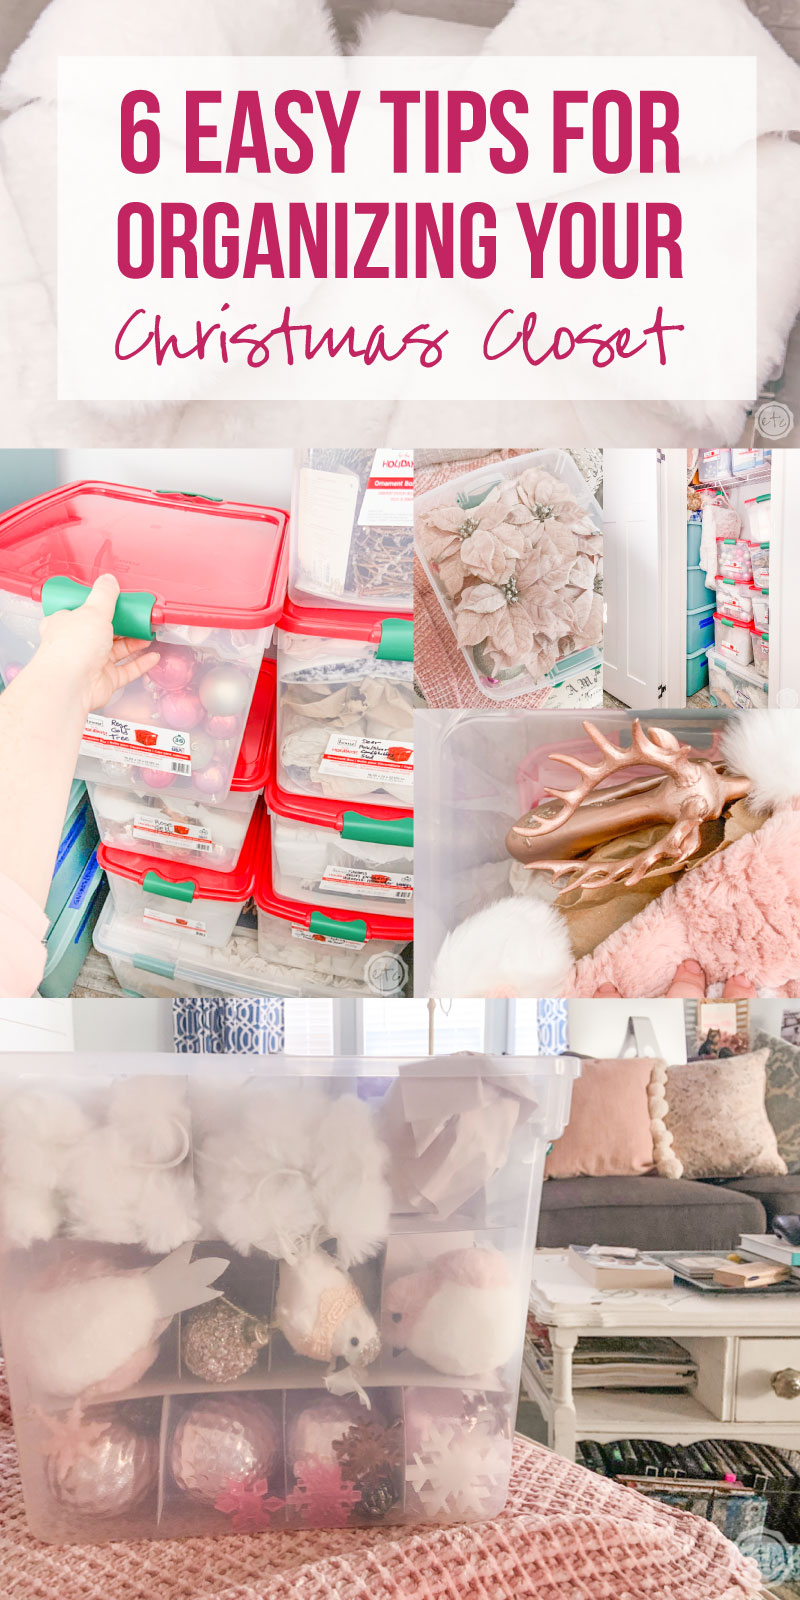
So now the only decision is what bins to buy. You can buy all one type of bin or you can buy a few different types of bins… it’s completely up to you. The main things to think about are: How big is your closet? How big is your budget? How big are the items you need to store in each tote?
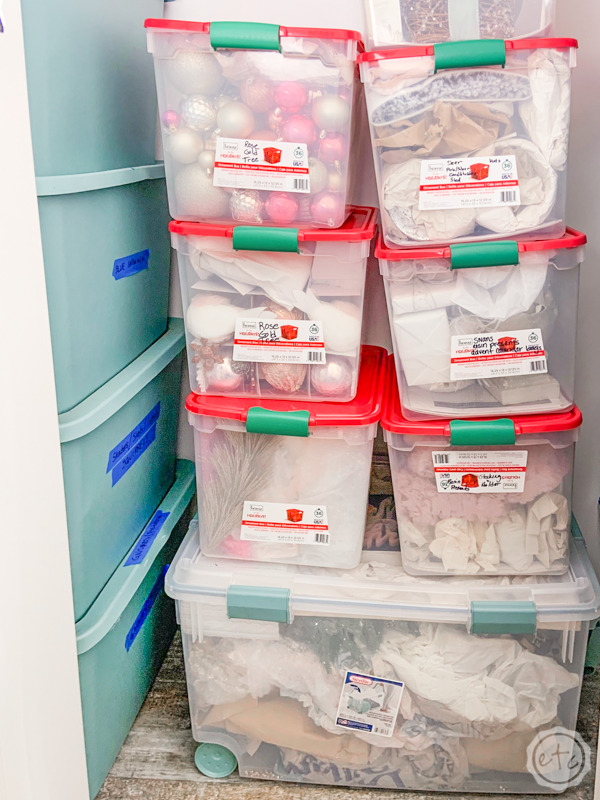
In my case I wanted to buy all small bins: they don’t get too heavy so I can handle them myself and they fit under the bars in my closet so I can stack them all the way to the ceiling if I want.
BUT the smaller bins won’t hold my larger decorations (like the large mercury glass trees from this tablescape) so in the end I decided on a few bins in different sizes. 8 medium ones (to stack 4 on either side), one big one for the bottom… and 16 little ones to stack on the larger bin and on the top shelf.
Supplies:
- Small Clear and Red Ornament Organization Bins
- Medium Teal Totes (find similar ones here)
- Large Clear Tote with Wheels (find similar ones here)

Step 3: Organize the Bins (Ornaments)
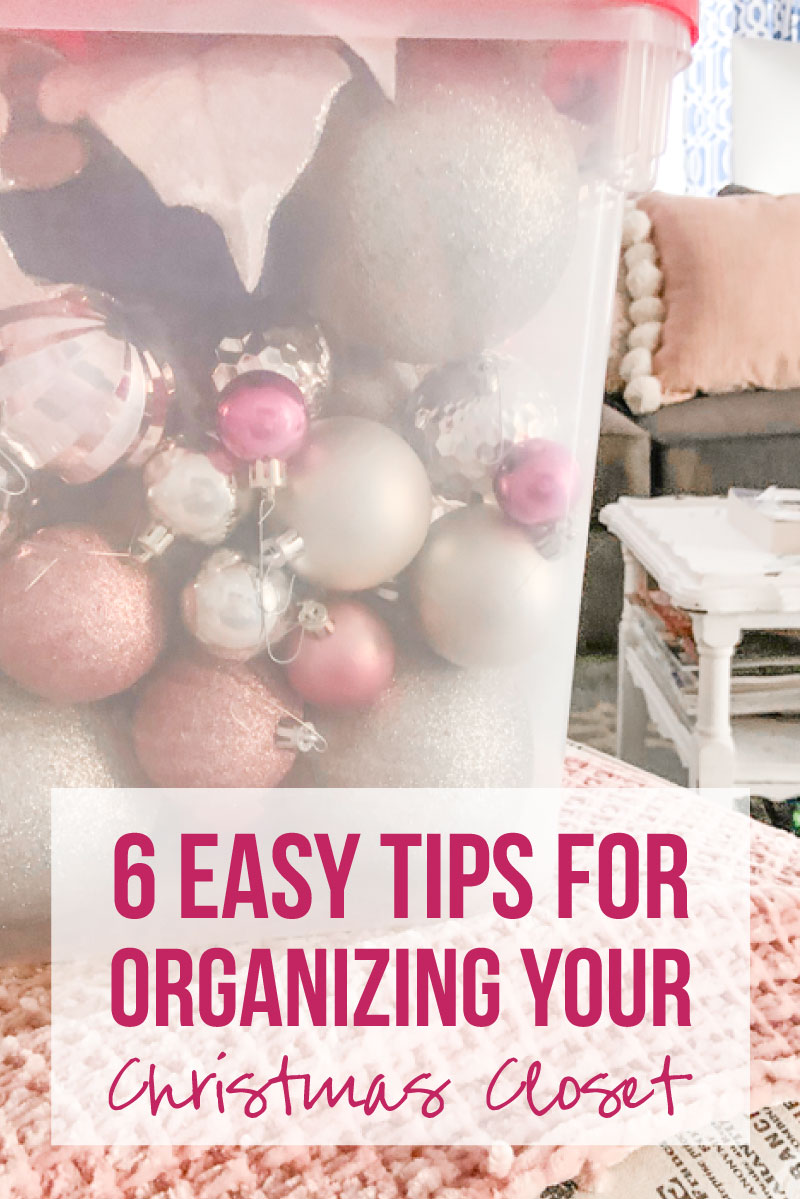
Now that you’ve picked the perfect bins let’s start using them. I started by taking down my Christmas trees and organizing the ornaments in the smaller bins. These have ornament dividers so was an easy step.
For my breakable ornaments each ornament got their own spot. I filled an entire small tote with these breakable ornaments for the tree in the living room and another tote with the breakable ornaments for the tree in the bedroom.
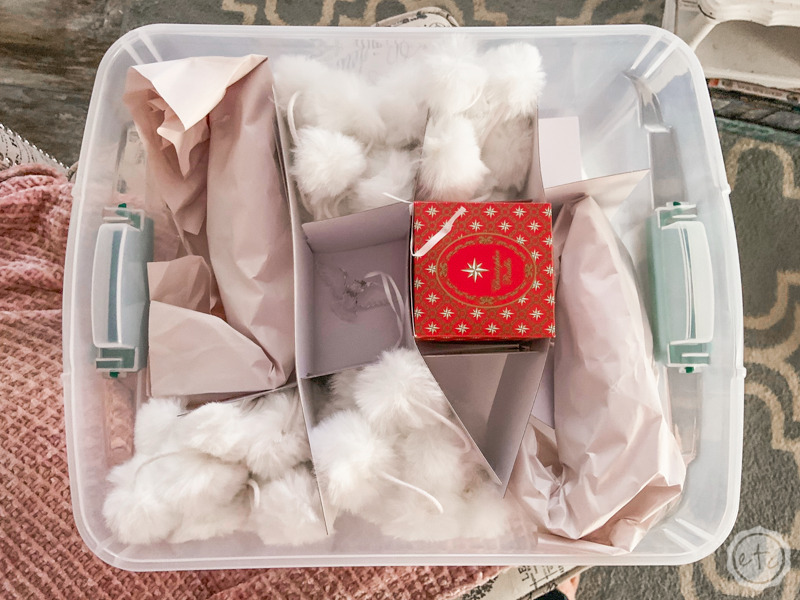
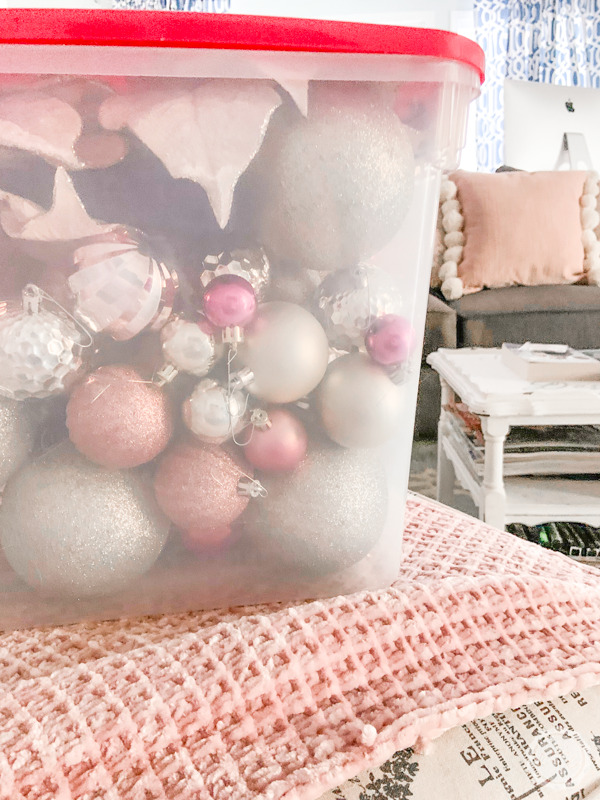
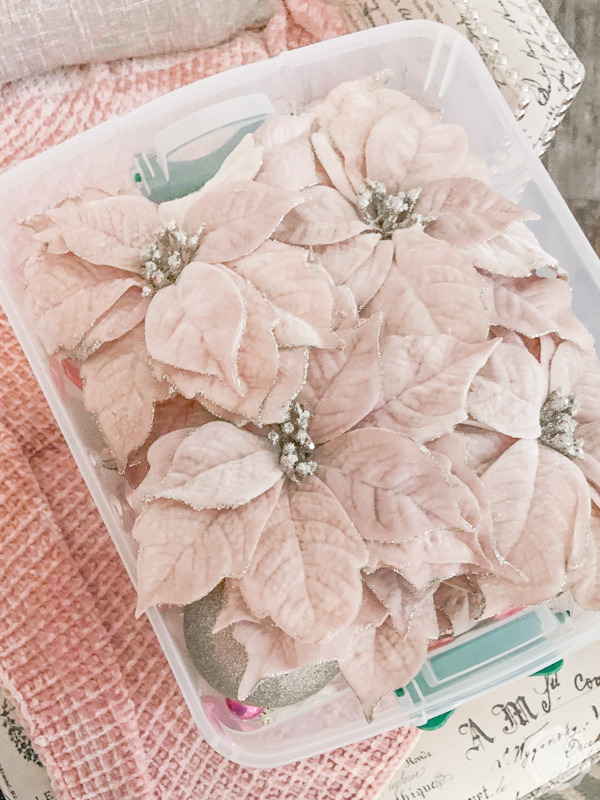
Then I removed the dividers and filled an entire tote with the shatterproof ornaments for each tree… since these won’t break the dividers simply get in the way. And since the dividers weren’t in these bins I added other (soft) tree decorations to the top… like the large blush poinsettias.
One last tip?
You can change the size of the dividers by folding in one tab… this way you can fit longer (skinny) ornaments on the top level without them breaking. Of course, even with these folded back divider sections are pretty big (essentially two spaces!) so I wrapped a few long skinny ornaments and put 3 in each section.
Perfect.
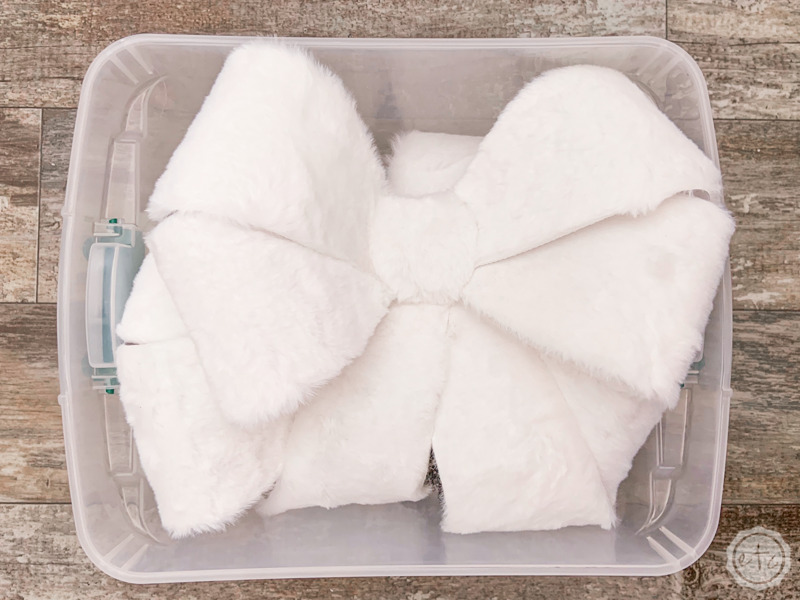
Step 4: Organize the Bins (Decor)
After we have the ornaments it’s time to start on the rest of the decor. In this case I start going room by room. Make sure to wrap anything breakable and not to over-fill the bins so that they’re too heavy.
You’ll have strange sized pieces in these bins (like these little deer) so try and be smart about how you wrap them. In this case I wrapped them in paper and then used the area above them in the tote to store my embossed Santa hats… since they’re soft they’ll act as cushion to protect the deer.
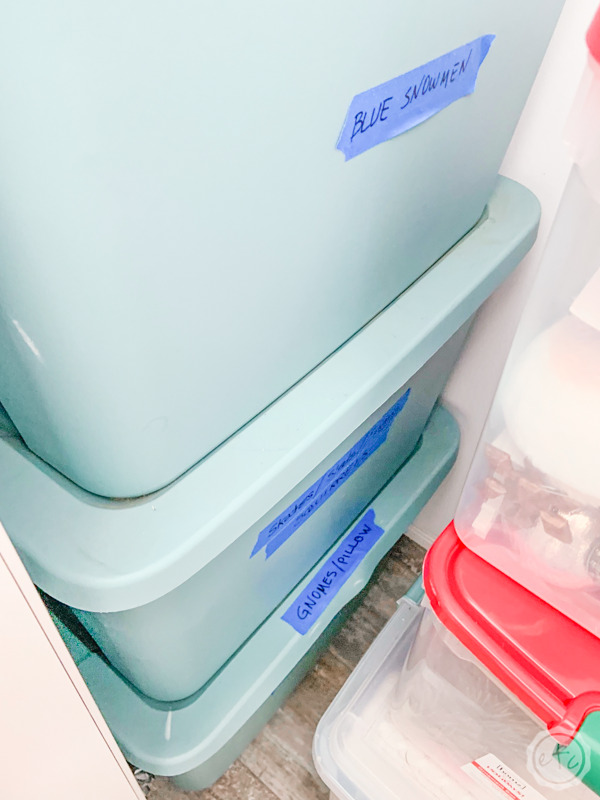
Once you’re done make sure to label these bad boys… unlike the tree boxes it will be harder to put one big label on each tote. Instead of saying “Christmas Decor” try labeling these babies specifically.
Rose gold deer and Santa hats.
Then you’ll be able to find exactly what you’re looking for.


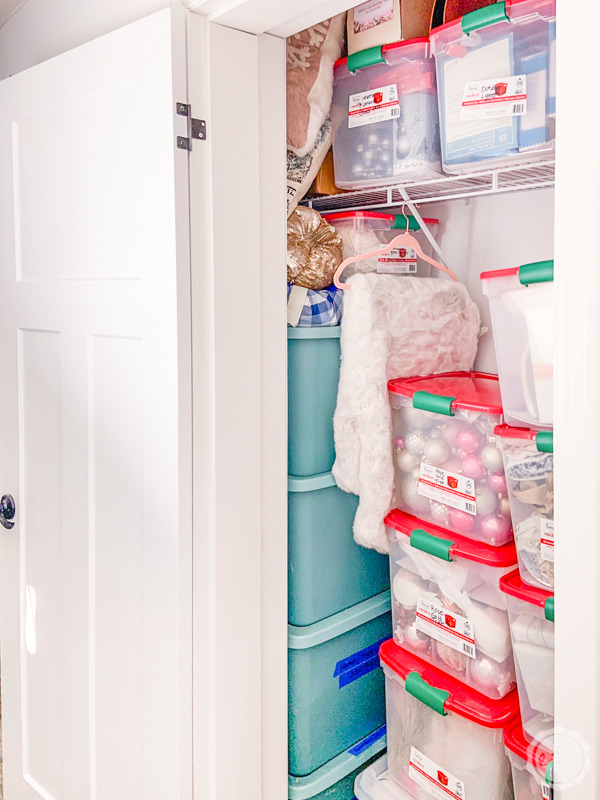
Step 5: Put it in your closet in an organized way
Now it’s time to put these totes all into the closet. There are a couple ground rules here that should be basic common sense: the bigger and heavier a bin is the closer to the ground it should be.
Then we can get a little creative.
In this case I wanted to put the items I use every year in the center where they’re easy to access. So I put the larger totes filled with my older decorations on either side the closet. Then I stacked my smaller bins in the center.
Once the bins were in place I put a few smaller, soft items on top: pillows and pumpkins.
No pumpkins aren’t Christmas but dang it I didn’t know where else to put them!

Step 6: Make a closet map
Once everything is put away and looking neat go ahead and make a closet map.
This can be as fancy as a cricut project with a laminated protective cover or as simple as a notebook piece of paper with a drawing… the main goal here is to know exactly where everything is.
So that next year if I want the winter wonderland cloche I used as a centerpiece on this table I know exactly where it is.
In the meantime my closet is filled, my house is empty and y’all and I’m tired. I need to pull out my decor for the rest of the year and start working on setting up this new little house of mine (I don’t even have decor up on the walls yet!) but first I think it’s time for a break.
Organizing this closet was hard work!
So I’m going to sit back and enjoy my slightly naked house… now that Christmas is put away it’s time to re-decorate for the rest of the year.
Want to follow my journey to purchase my new home? Check out every post from the beginning:


Leave a Reply