


If you have an antique cast iron bed chances are you absolutely love it! They’re beautiful and iconic while maintaining a classy kind of sophistication… and mine is very special to me because my Mama bought it for me when I moved into my first apartment.
This bed has gone through several moves with me (2 apartments, 4 houses), a change in size (goodbye double mattress, hello queen size bed!) and even an upgrade with the addition of a sleep number mattress.
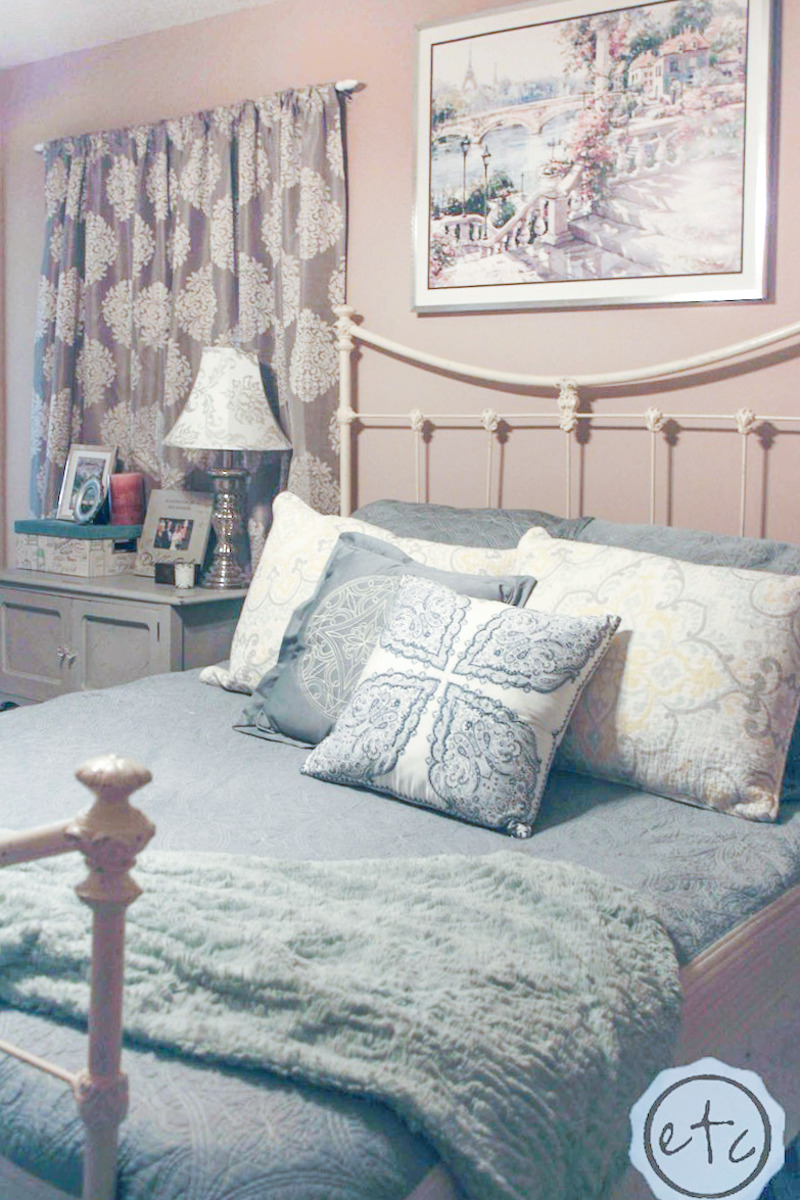
And through all of that I never and I mean never thought I would paint it. I paint a lot of furniture but to paint a real antique like this bed? Not in my wheel house. Unfortunately there comes a time when things just don’t work anymore and they need a little love. So when I moved into my new house the first thing I noticed was that the white walls and bright lighting made my pretty antique cast iron bed look yellow.
And not pretty buttercream yellow, like cat pee yellow.
Yuck.
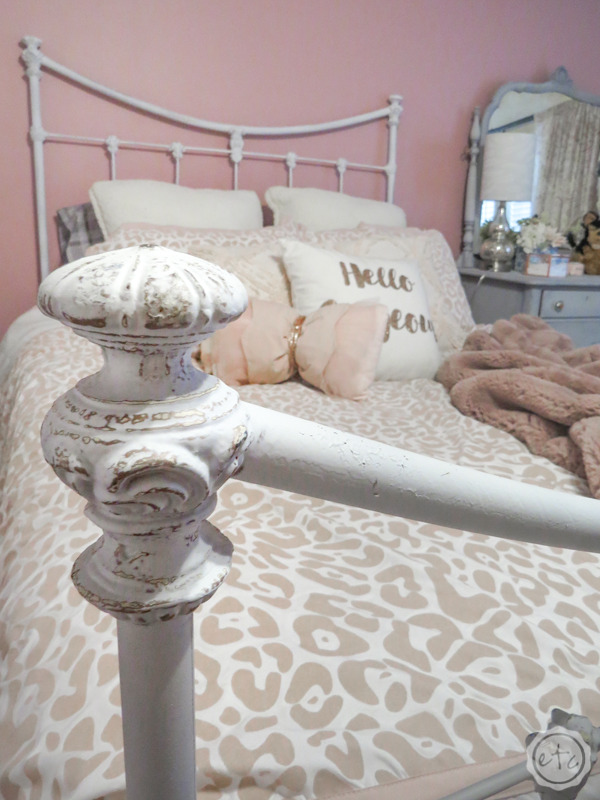
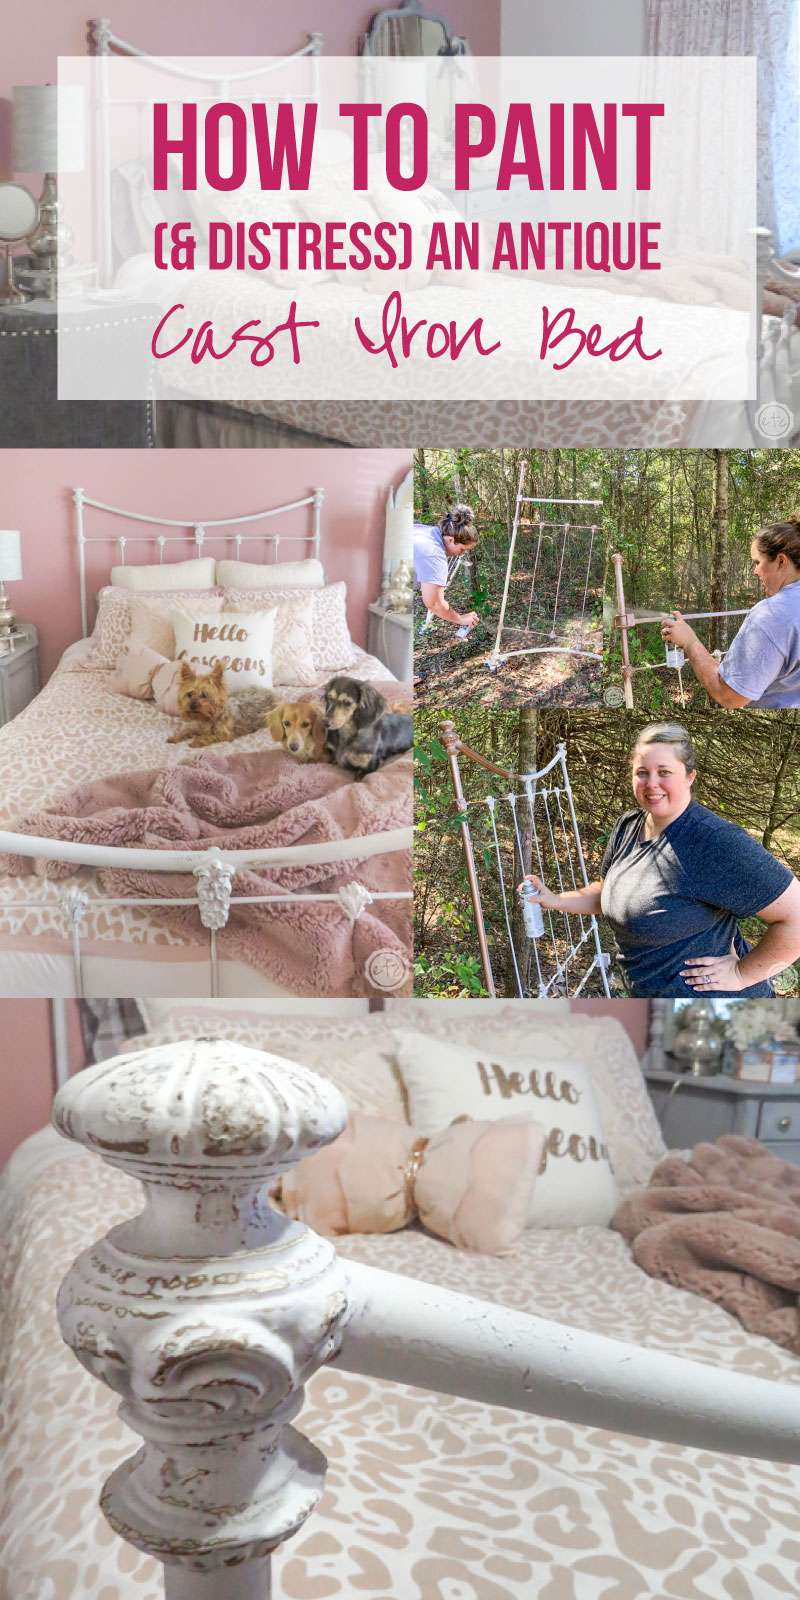
So I decided to give it a little bit of a distressed makeover… we don’t want it to look brand new after all! Instead I decided to give this baby a layered look with a copper undertone and then a coat of white chalk paint. The end result is fantastic.
Let’s get started.
Supplies:
- Antique Cast Iron Bed
- Rose Gold Rust-Oleum Metallic Spray Paint
- Linen White Rust-Oleum Chalk Spray Paint
- Angled Fine Sanding Block
- Spray Can Holder
- Furniture Wheels
Step 1: Prep your Bed
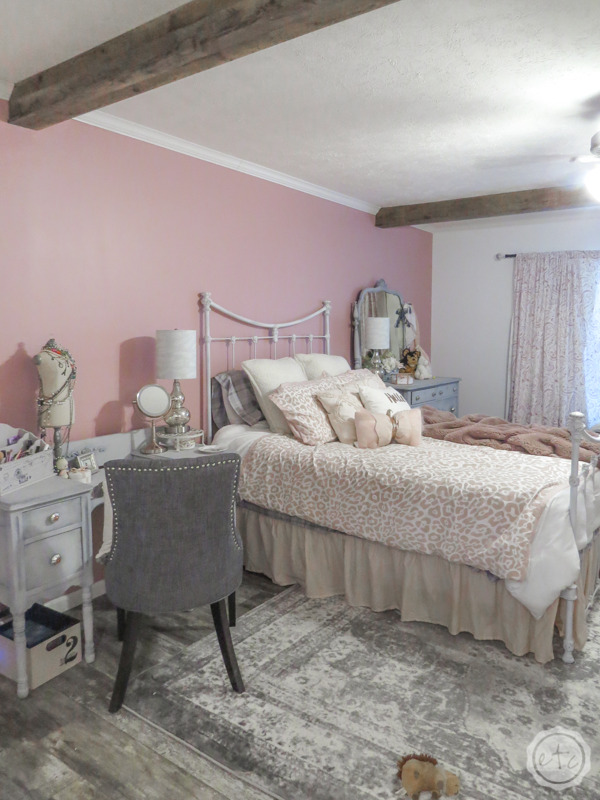
Alright y’all before we jump into the project remember that this is an old bed (you can see it up above in my last house). And if you’re working on a cast iron (real cast iron!) bed the chances are that it’s an old bed too.
Which is a long way of saying we need to clean the surface before we get started.
I’ve been using this bed for years so the surface has already been deep cleaned but if you’re just pulling an antique bed out of an old bard you may need to grab a scouring pad and get to work. If you’re working on a piece that’s been inside than a sponge with some soap and water will do.
Either way make sure that the surface is clean and clear from any dirt, grease or grime that may cause problems with the paint.

Step 2: Spray Layer One
We’re going to jump right in to the spraying now… and since I can’t find my spray can holder please say a quick prayer for my fingers.
Thanks!
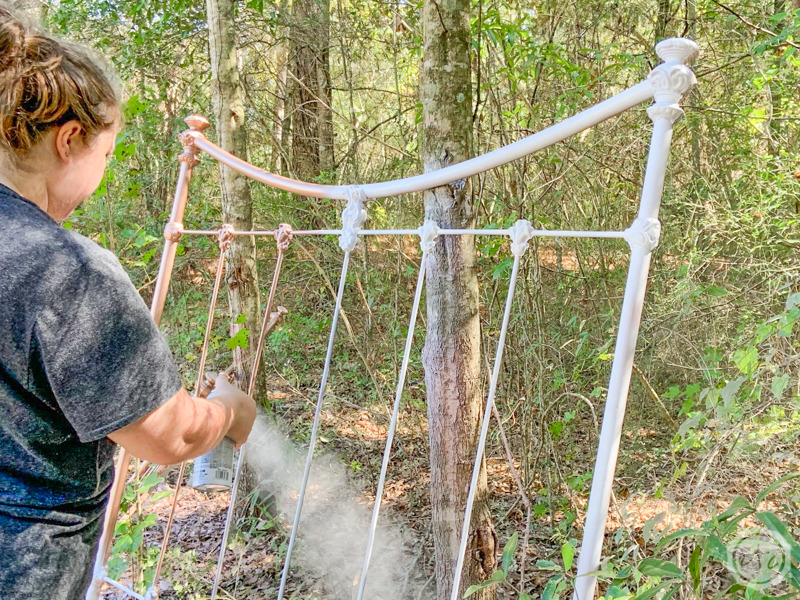
Since I wanted this bed to have a little pop, a little pizzaz, and a little dimension I decided to do the first coat with a metallic copper. When we’re finished this color will peek through the detail work of the bed and give us a little peek of age.
Of course, metallic copper is a little out there so if you’re going for a more traditional color palette you might want to pick a dark gray or even brown… think of a distressing furniture wax and mirror those colors. I personally think the copper turns out a-m-a-zing.
Whatever color you decide the process is the same.


Prop your headboard (and footboard) up on the furniture wheels and lean it against a tree (or something else you don’t mind getting painted). Then hold your spray can about 2 feet away from the bed and spray the entire surface with short bursts of paint.
Since we’re trying to cover each and every inch I ended up spraying this baby in four parts: front and back while being right side up AND front and back while being upside down.
The third and fourth coats won’t need to be as intensive but we’re trying to get all the details in the medallions and endcaps since those details are eventually the only copper that will show through.
Remember to wait until the coats are dry before applying a second coat… on a warm day that will be about 30-50 minutes. Maybe quicker if your brave but remember dry and cured are 2 different things SO just because it’s dry to the touch doesn’t mean it’s cured enough to grab and turn over just yet.
Once all four copper coats are done we’ll move on to the next color.


Step 3: Add a Final Paint Color
Now it’s time for the new pretty, fresh coat of white paint. In this case we’re not trying to make this bed look brand new… I actually want it to look antique when we’re done.
I just don’t want it to look cat pee yellow.
So I grabbed a few cans of white linen chalk paint (in a spray can). This will give us that bright fresh white look we’re going for but in a matte, chalky finish which will help it feel older and more natural.
Of course, you can pick a different color for the finish but I am partial to the white.

Unfortunately we need to do another 4 coats of this white (front and back while being right side up AND front and back while being upside down.) And you’ll need to watch the coverage as the white has a harder time covering the dark metallic copper (than the copper had covering the off white).
Luckily the chalk paint (even in a spray can!) dries really fast so you won’t have to wait as long in between coats for this one.
Once everything is dry you can bring your pieces inside for sanding (or leave them outside if you rather… it’s minimal sanding so it doesn’t make too much dust!). Either way it’s time to start distressing.

Step 4: Distress the Details
Once you’ve finished painting you’ll want to let your bed cure for a full 24 hours before you hit it with the sanding block. That will ensure that everything has a good bond and you’re not trying to sand gummy paint!
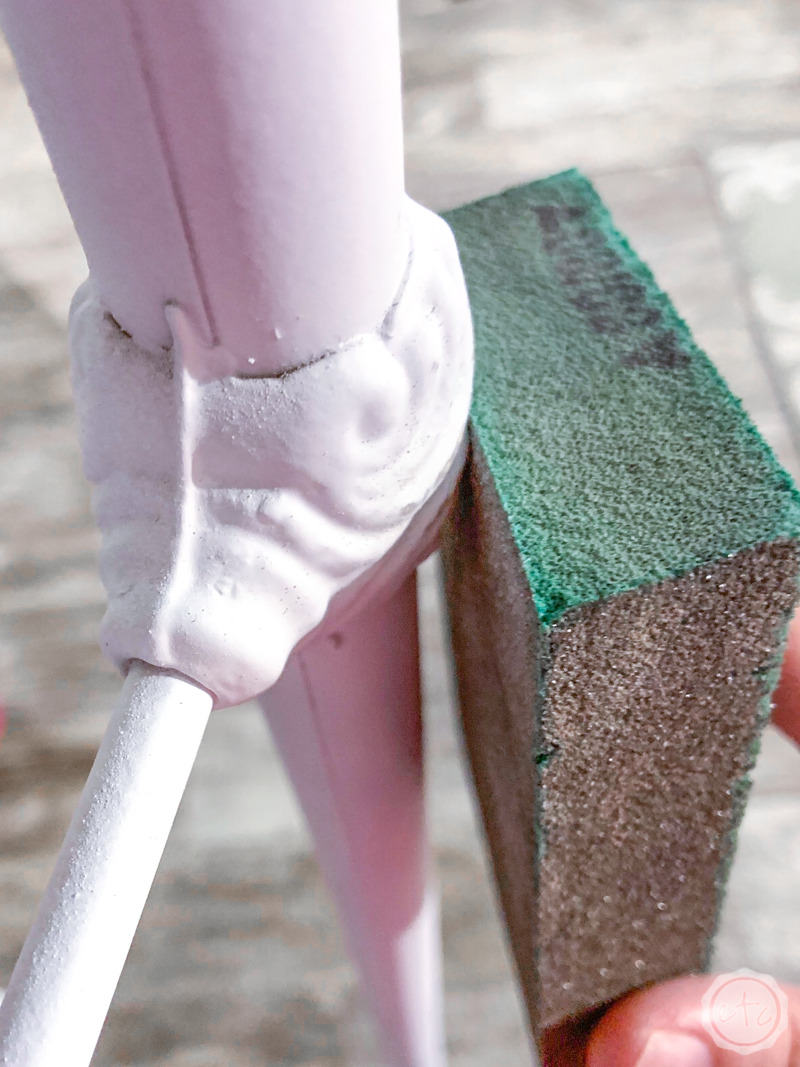
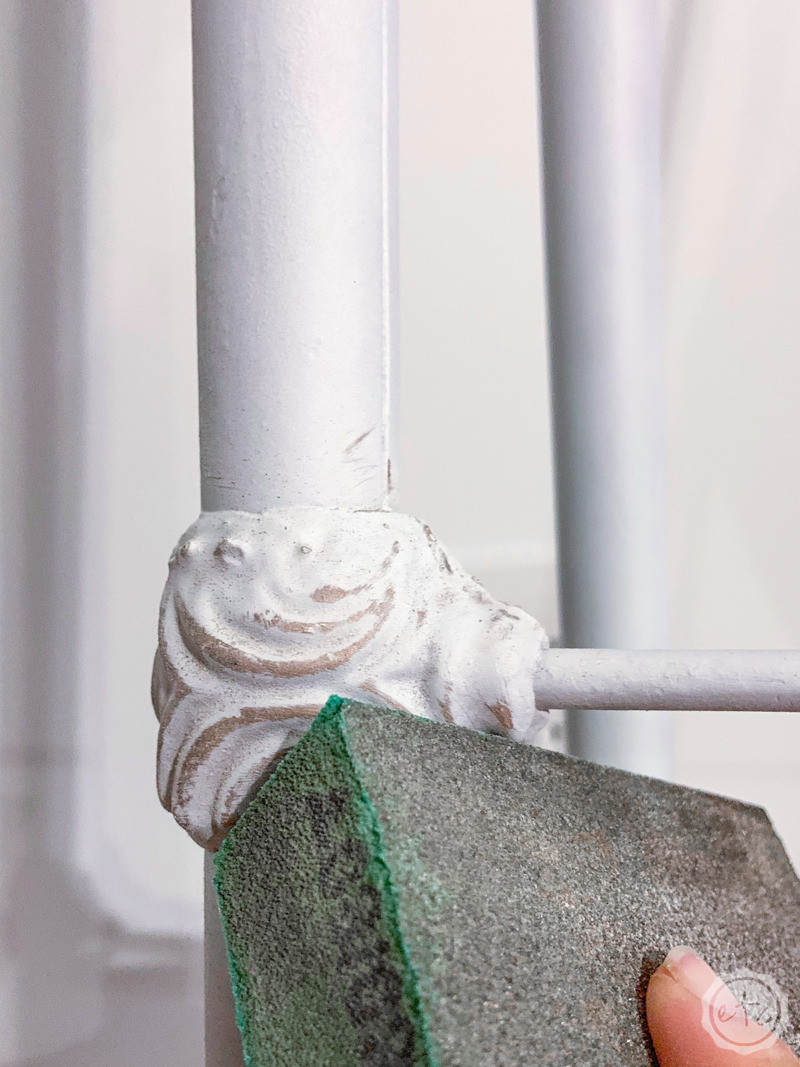
Then it’s just a matter of using that sanding block to really bring out the details on the larger medallions and end caps of the bed.
I really liked an angled sanding block for this because you could get down in the groves really well!
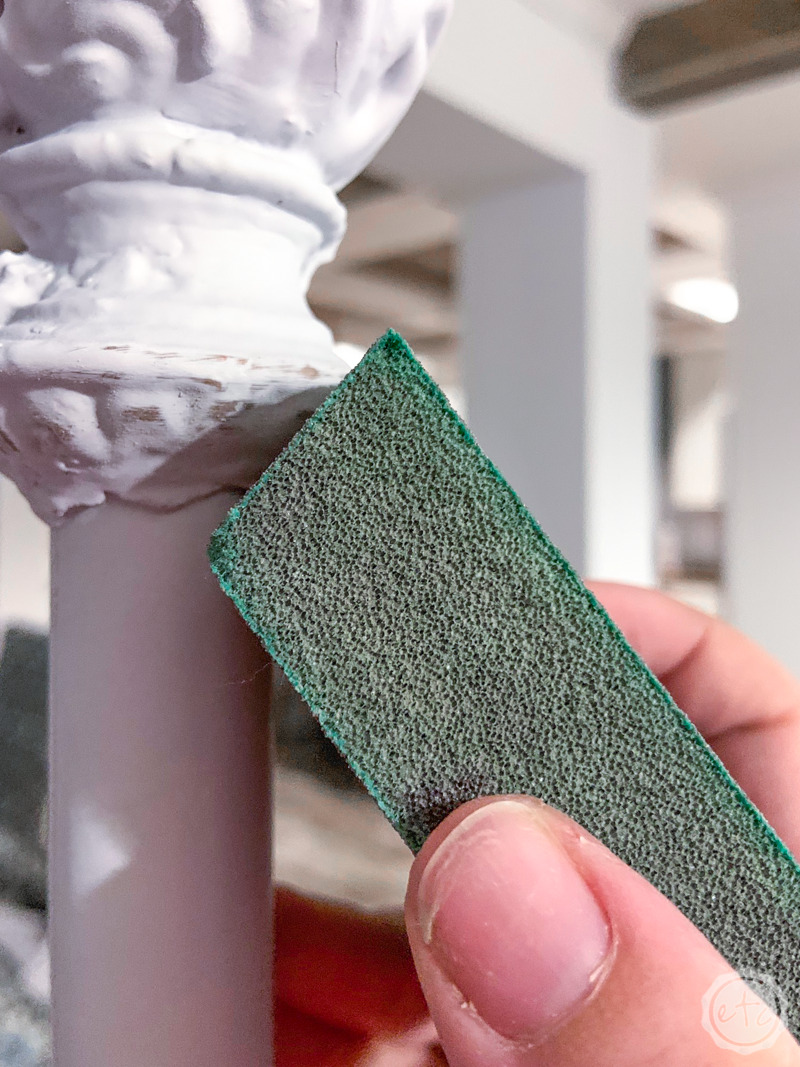
My main tips for distressing a piece like this? Use a light touch! Since the chalk paint was made to be distressed it will sand very easily. You don’t need too much pressure to reveal the copper underneath.
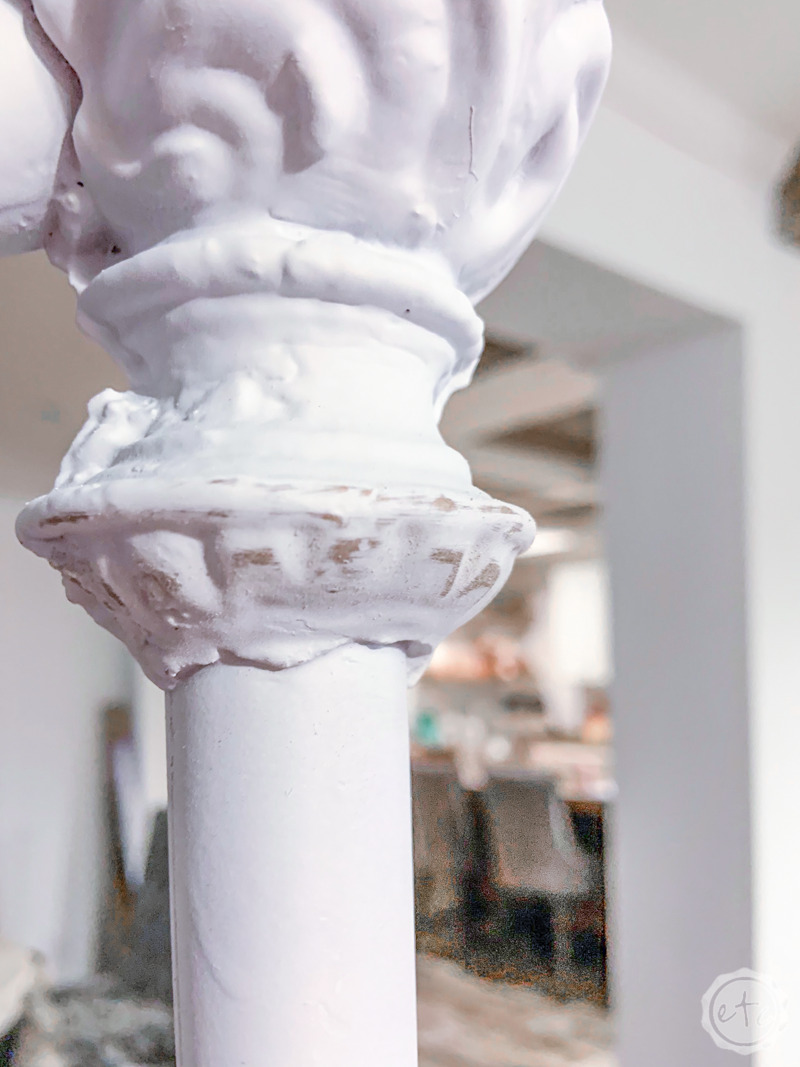
Tip 2: a little goes a long way… we’re not trying to distress the whole bed just show a few fun little sparkling pieces. We’re highlighting areas not making the whole thing two-toned.
Last but not least… brush lightly over the medallions and let the pieces that want to be distressed become distressed. When it comes to sanding pieces like this controlling the distress is a little hard so it’s easier to just let it be what it will be. Just remember that to have a natural look you should distress the areas that are worn down by time (so raised surfaces or areas where your hands would naturally rest or brush).
Direct your sanding block towards those areas and then see what happens!

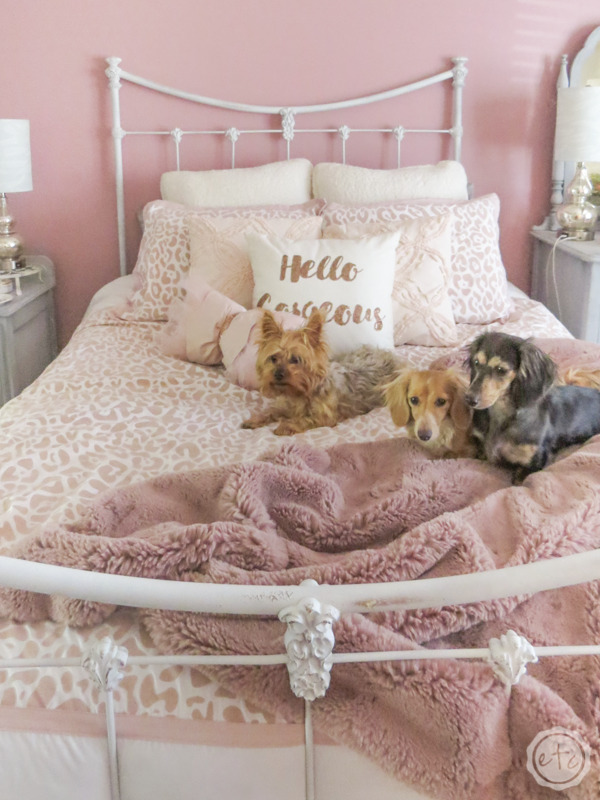
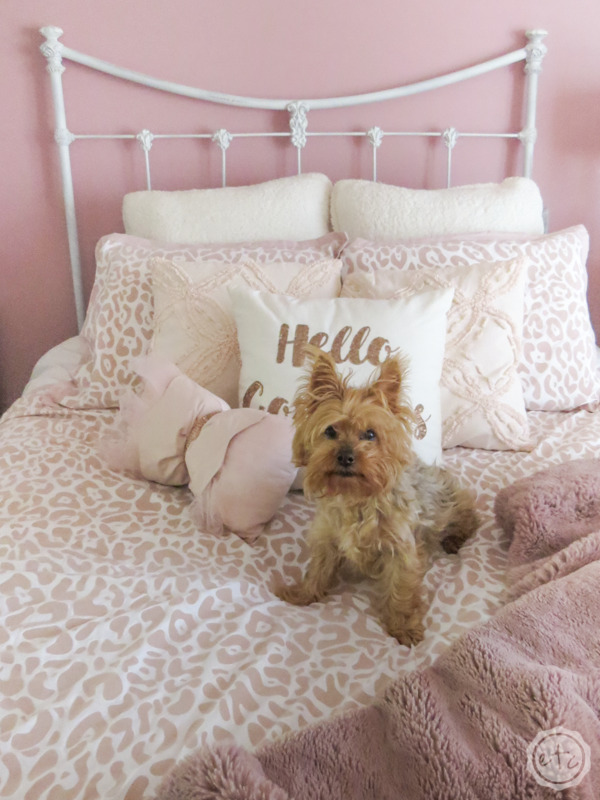
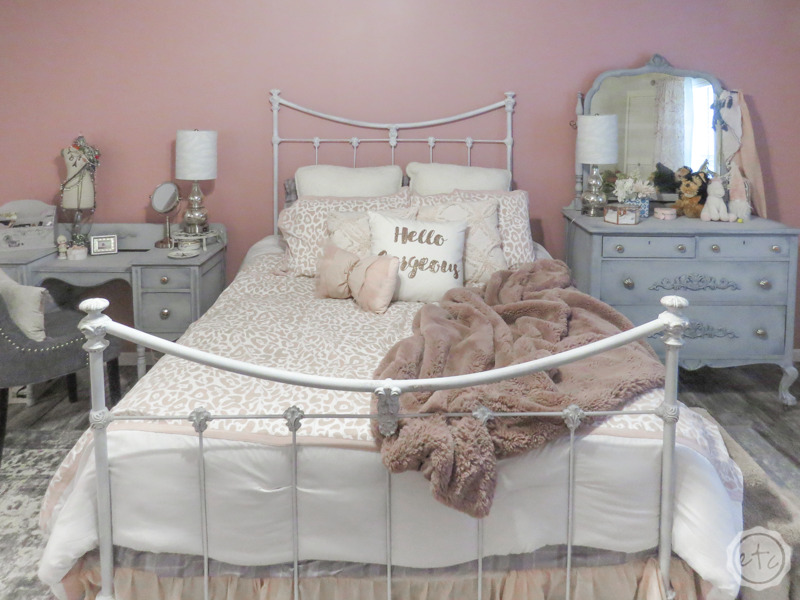
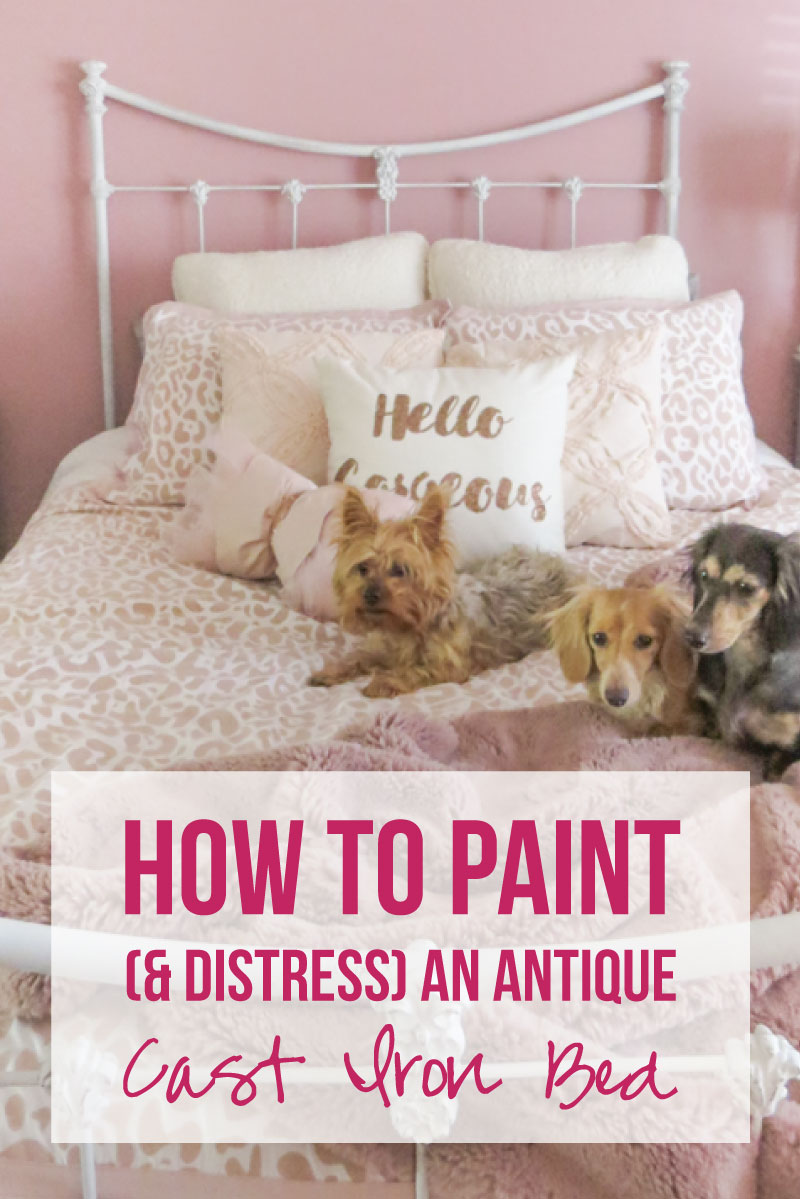
I am absolutely in LOVE with the finished result!
And the best part?? It looks amazing in my room! Stay tuned… I’m still working my way room by room through the new house. So I’ll have an update on this bedroom soon enough!
Don’t forget to pin!


Leave a Reply