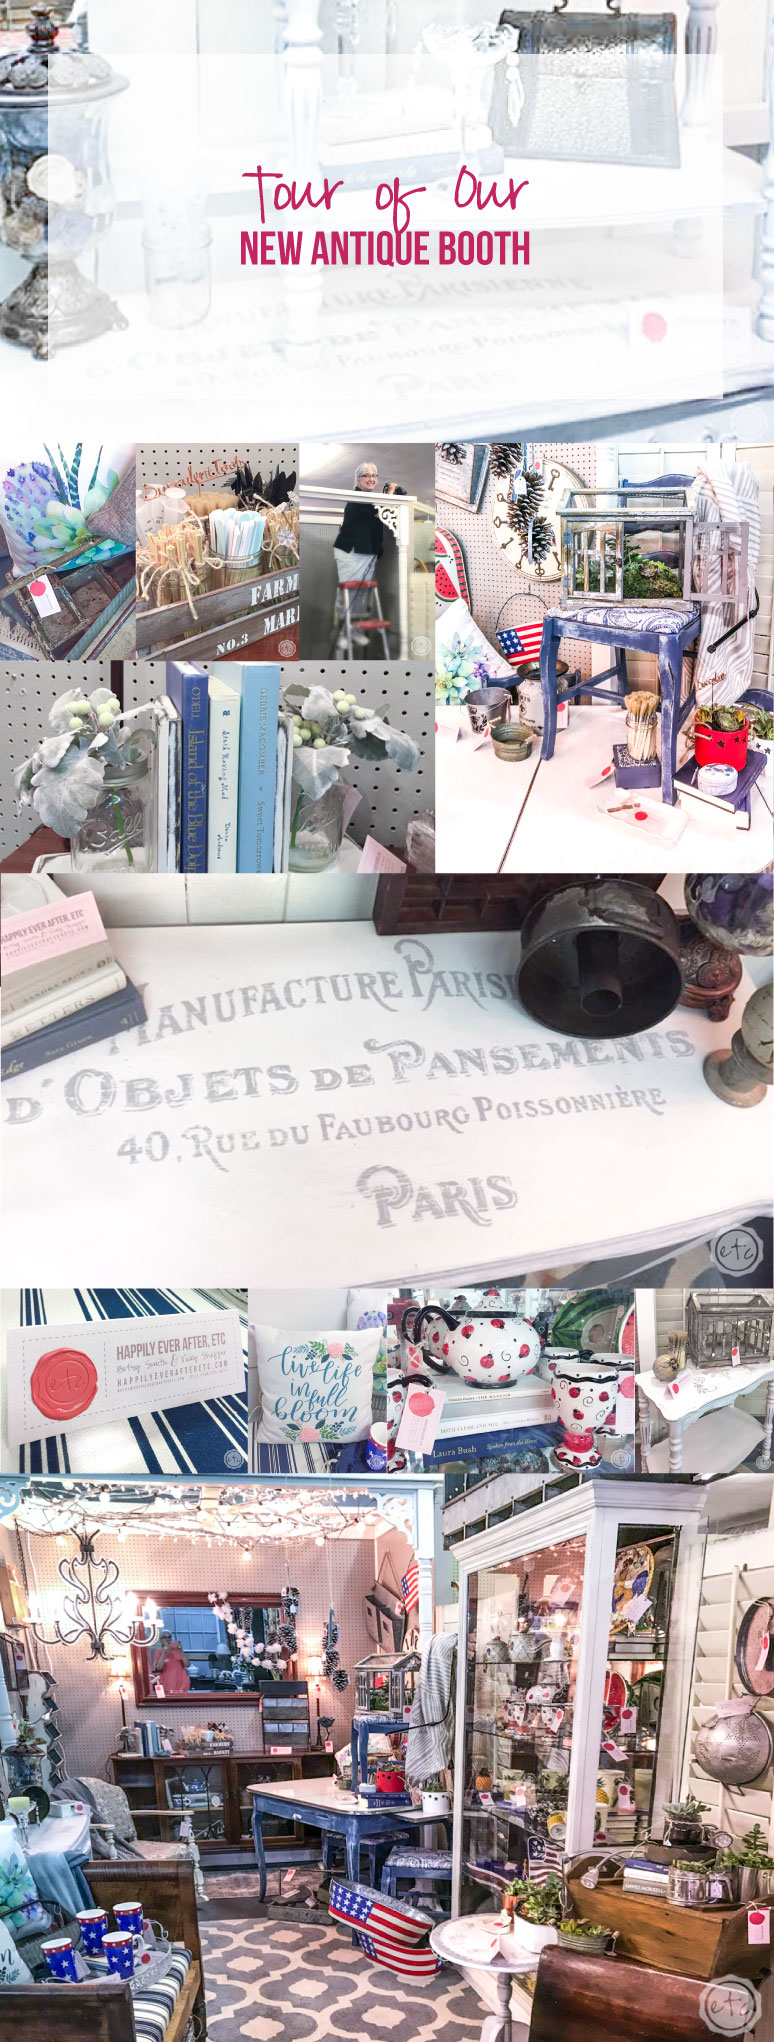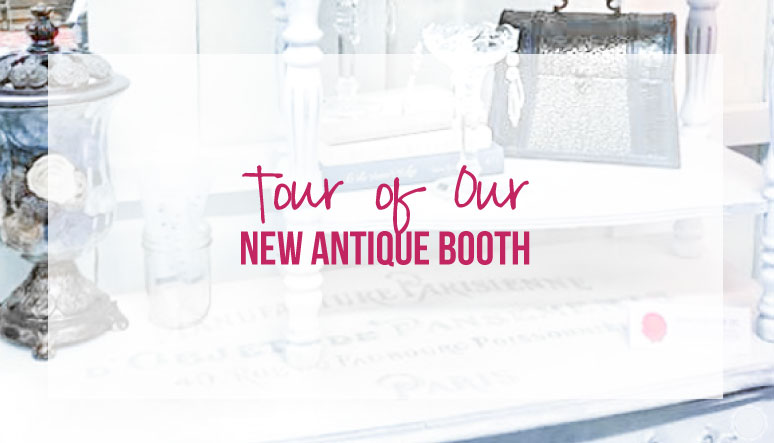

If y’all have been following along on Instagram then you’ve already had a tour of our new antique booth… piece by piece! It has been a month since we started renting this space and it has come a long ways (if I do say so myself!).
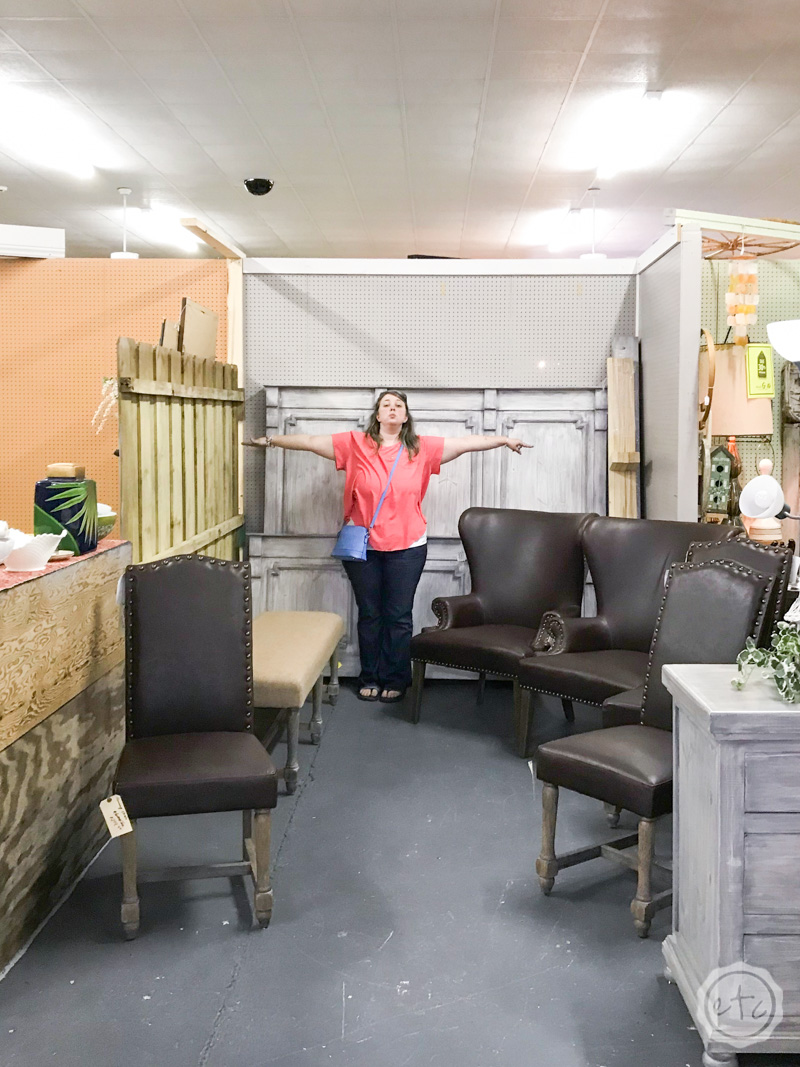
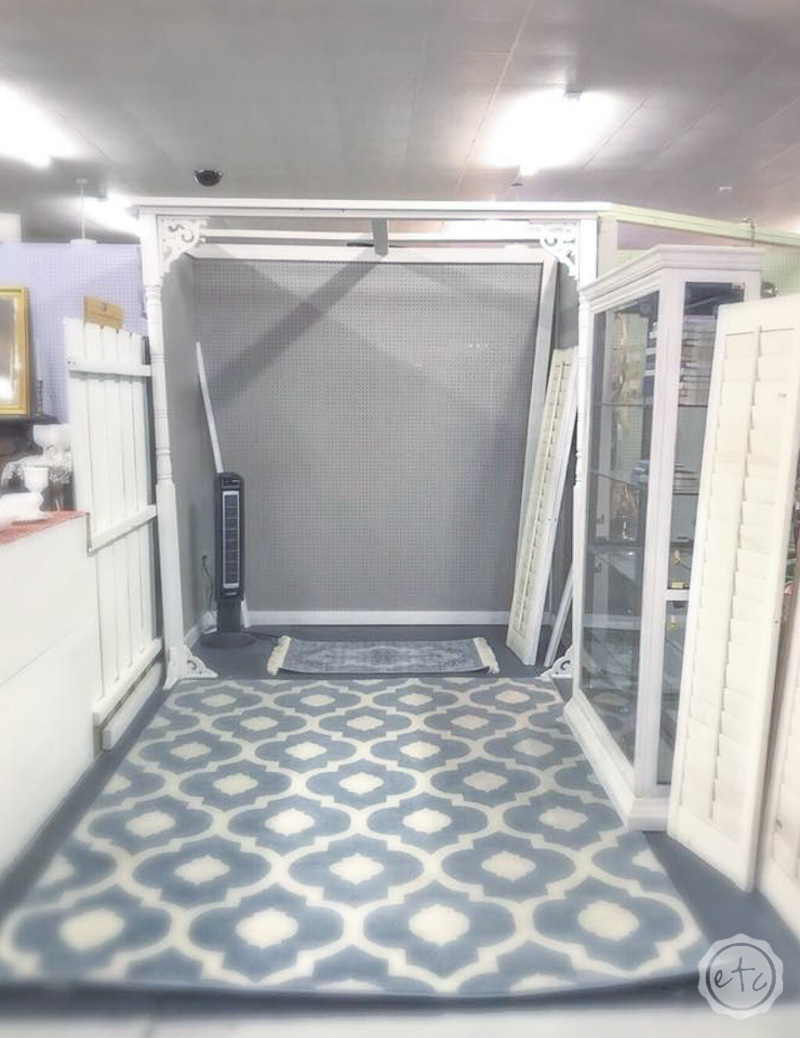
We started with a blank booth… not a darn thing except for a pegboard on the back wall and on one side at the back. This is the very first photo we took of the space (my Mom told me to put my arms out so we could get a good sense of how wide the space was… also I am running this booth with my Mom).
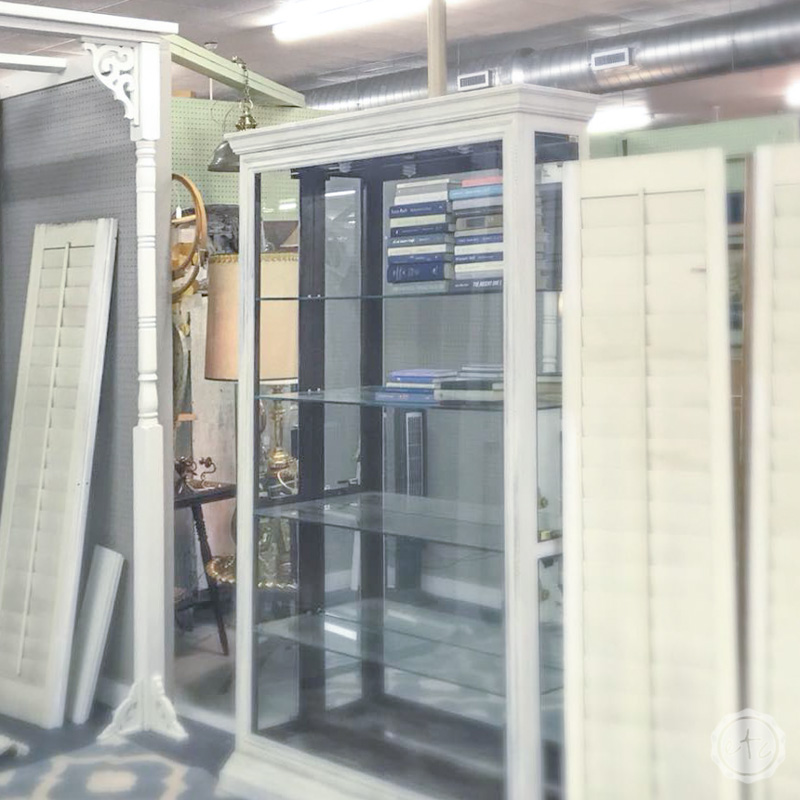
The gray pegboard is the only thing we kept in this space! All of the furniture in the booth at the beginning was being stored here until the booth rented so the folks over at Highlands Antique Mall had it re-located before we moved in. He also had a large display cabinet (that we bought from another vendor) moved into the booth for us… which was a-m-a-zing.
The very first step on the road to fabulous was adding a section of pegboard on the left of the booth to match the small piece on the right. That little pegboard section looks tiny but it’s actually a full panel… 4 feet by 8 feet. Luckily hauling the pegboard to the mall in my Kia Sportage was the hardest part… it fit but it wasn’t happy about it.
Of course, we had to pick up the pegboard on a day when we left the trailer at home!
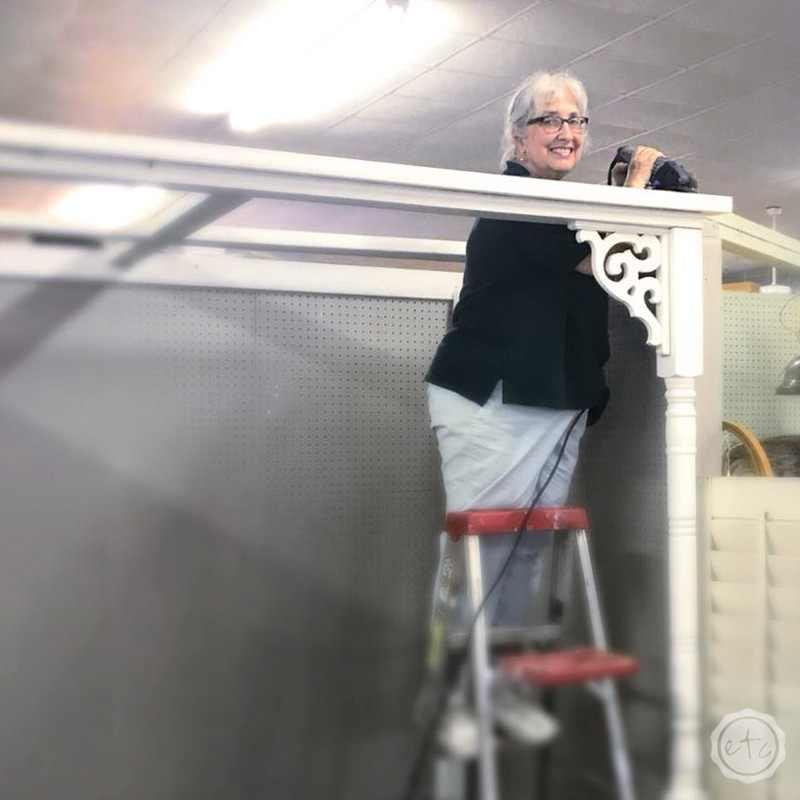
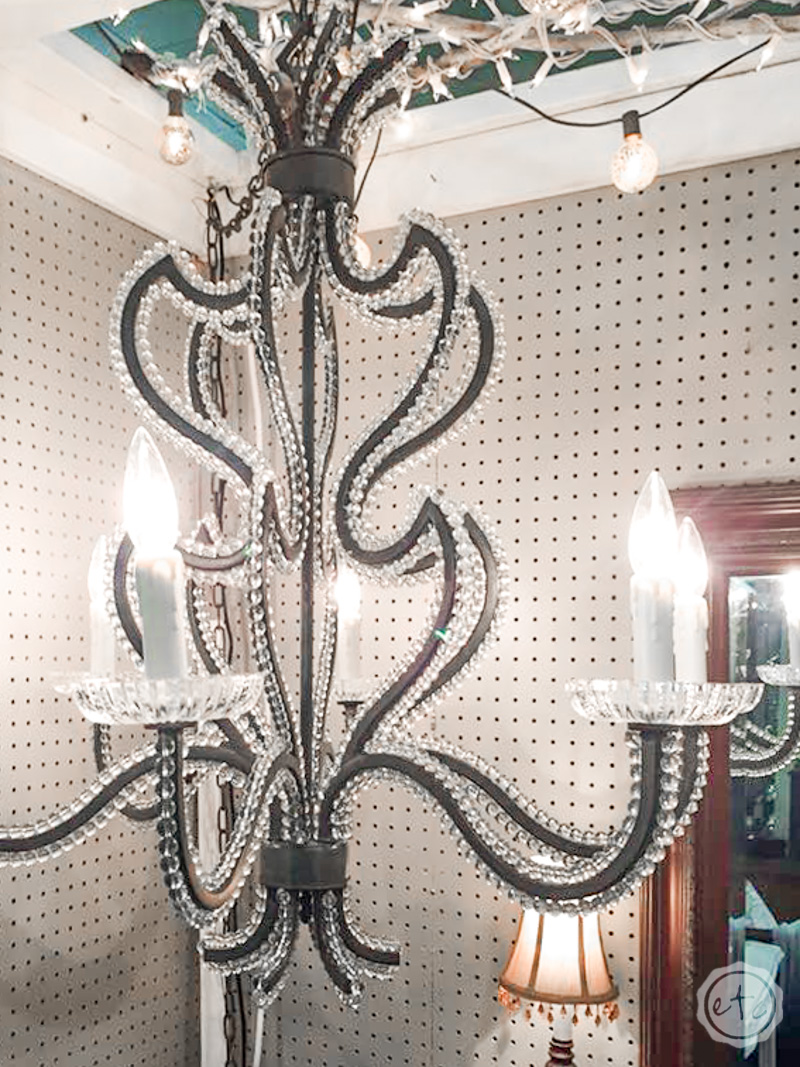
Once the pegboard was up it was time to start on our “arbor” putting up columns with a rectangular structure on top to hang our chandelier and create a small space at the back of the booth to place a vignette and hopefully draw people into the booth.
Just take a look at Mom up on that ladder with a power drill! She was super motivated to do all of the “projects on the ladder” and was up there drilling and cutting… she’s pretty darn good at it to! Plus she was super impressed with my Ryobi power drill because of it’s 30 minute super fast speedy charger. I have 3 batteries so if one’s low you can grab the second while it’s charging. It’s awesome.
Mom’s use to having to charge her power drill overnight. Psssh. Not anymore Mom. Not anymore.

I mean just look at her up there on the ladder using a saw. It’s a little Dremel saw max and it makes simple cuts so easy! Of course, I was still a little worried about her using a saw on a ladder (I do get my clumsiness straight from her after all) but she was absolutely fine.
I still wouldn’t try it myself though. I’m not quite that coordinated.

Once the arbor was up and the display case was painted (there is a very cute story to go along with that display case… I will share it soon! Stay posted) we spent a day painting branches, securing them on top of the arbor and stringing lights along all of the large branches.
It is such a difference! The lights make the entire booth so much brighter and the chandelier wasn’t even hung at this point.
I am absolutely in love with how the arbor turned out and even though it took several long days to put together I think it was completely worth it.
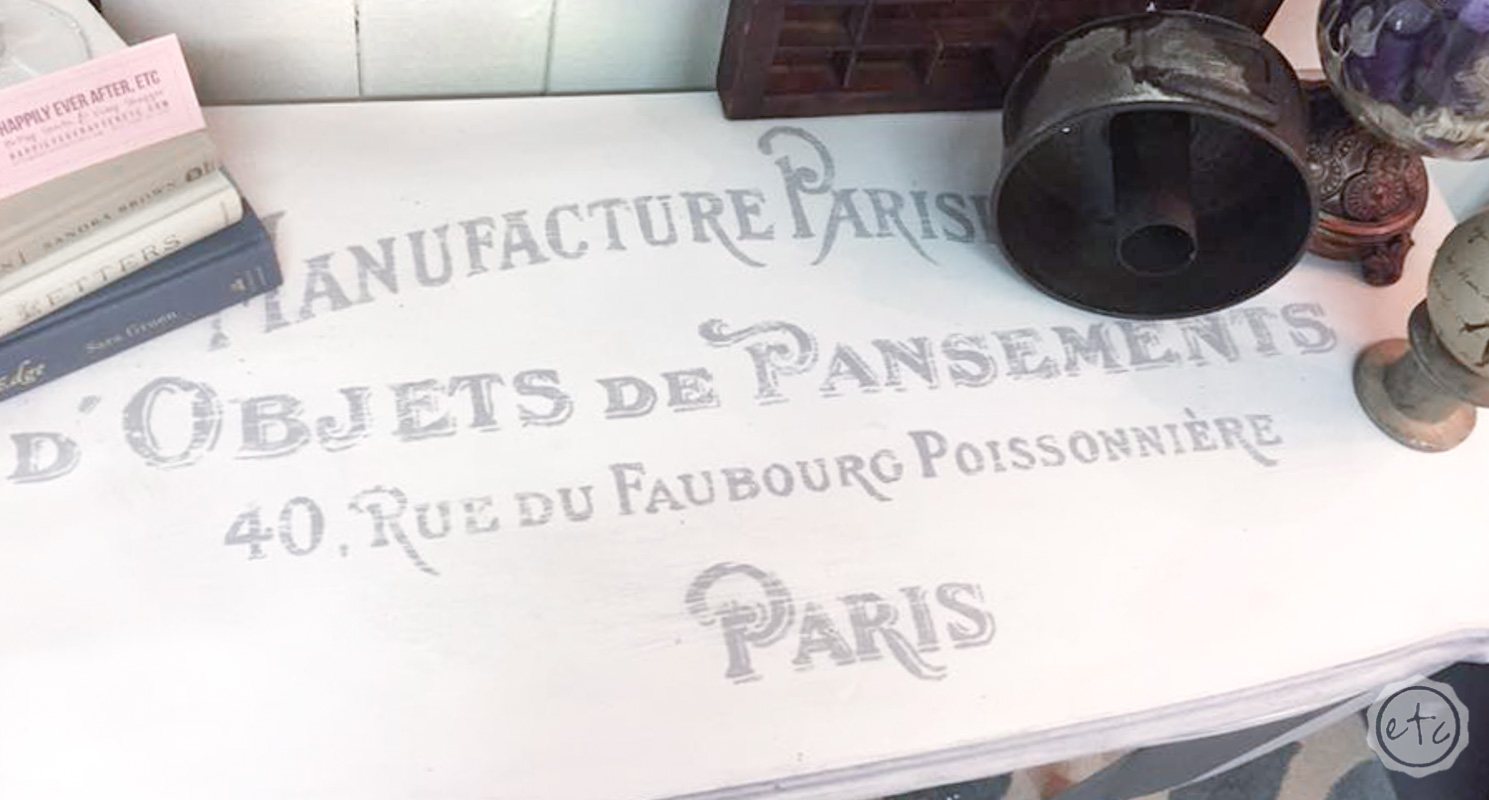
Ready to see the three step process from the side? You can see the pretty display cabinet I painted much better from this direction. I’ll do a post on painting the cabinet as well but for those inquiring minds out there I used linen white chalk paint and minwax special dark wax with a clear matte sealer over the entire piece.


Doesn’t it look B-E-A-UTIFUL?! I may be biased but I think the entire booth looks fabulous… if only it were a tad bit bigger but we’ll get there one day. In the meantime we finished doing the “architectural” part of the booth and finished up all of the painting, stenciling, sanding, sealing, hemp oiling, upholstering, staple removing, planting etc that needed to be done before we could move pieces into the booth.
We’re planning to work a couple pieces ahead so that we don’t have to put an entire booths worth of pieces together at once ever again but you know what they say about the best laid plans…
I’ll be doing individual posts on how to achieve all the finishes we used on these fun pieces but in the meantime here are a couple sneak peeks into the action behind the pieces:
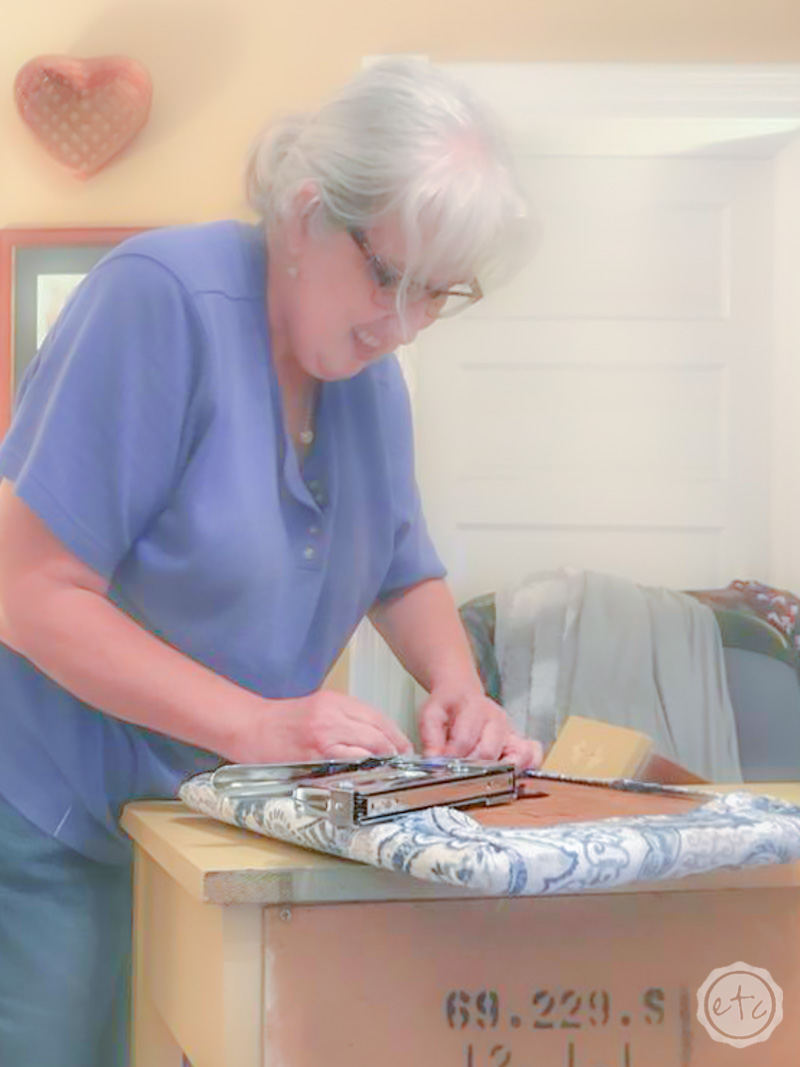

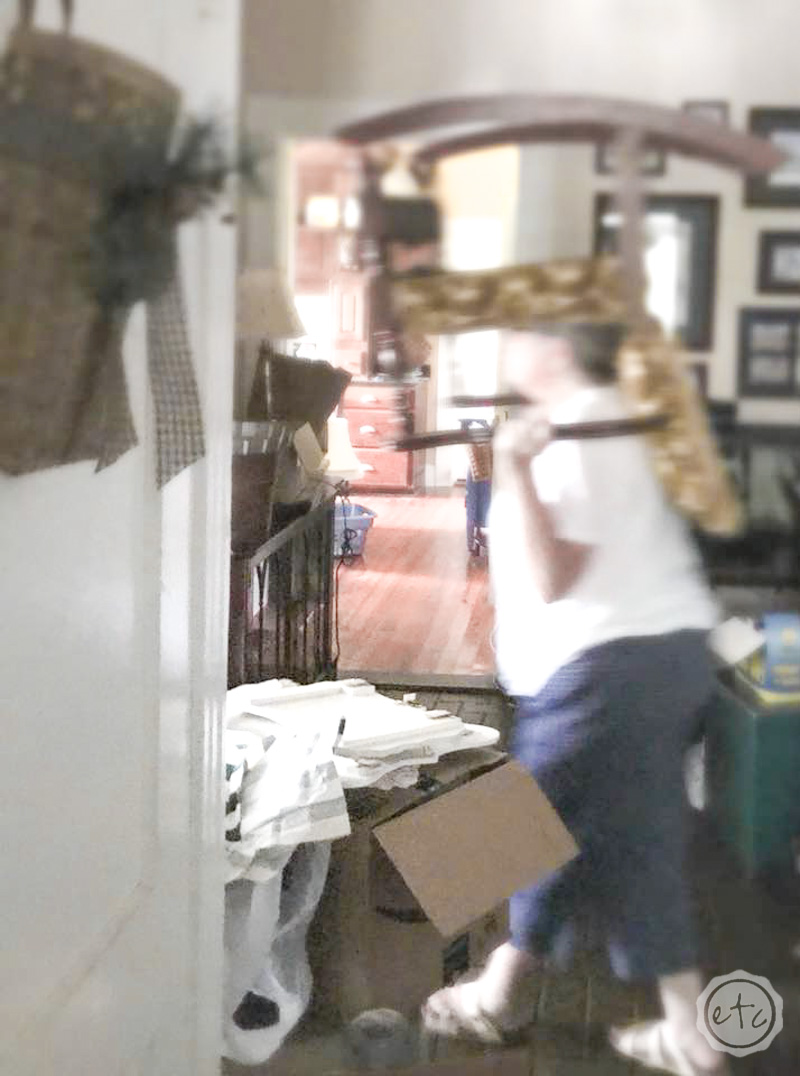
I still have to get Mom use to taking more pictures of me as I work on things since she doesn’t usually think of that as we go. That’s why there is only one photo of me up above and a bunch of Mom…
Oh well, she’ll get there! It took the hubs a while to remember to take photos of me and not just the items but he finally got the hang of it. When we put up the back splash in the kitchen I came into the room to find him laying out Instagram flat-lays with all of the logos up… so basically he’s the best.
At this point the architecture of the booth was finished and all of the pieces were ready… which means it’s moving day!

Are you ready for the big reveal? Grab some popcorn and settle in because we’ve got a couple pictures to go through.
Enjoy!
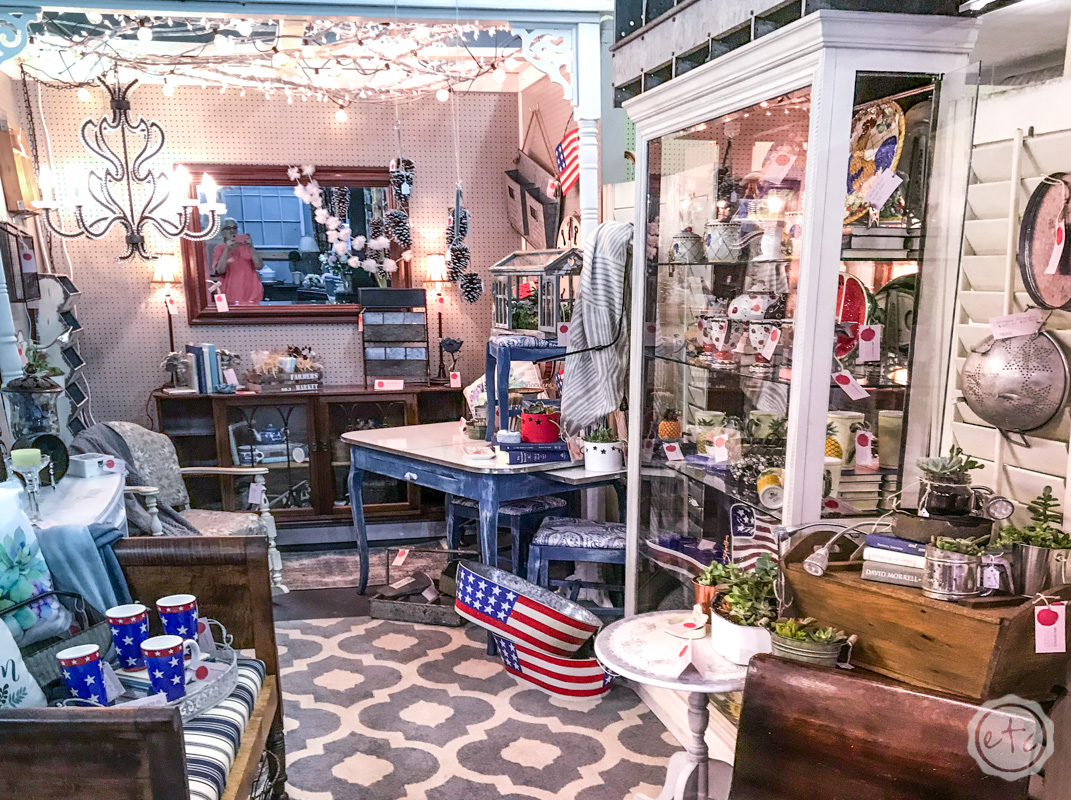


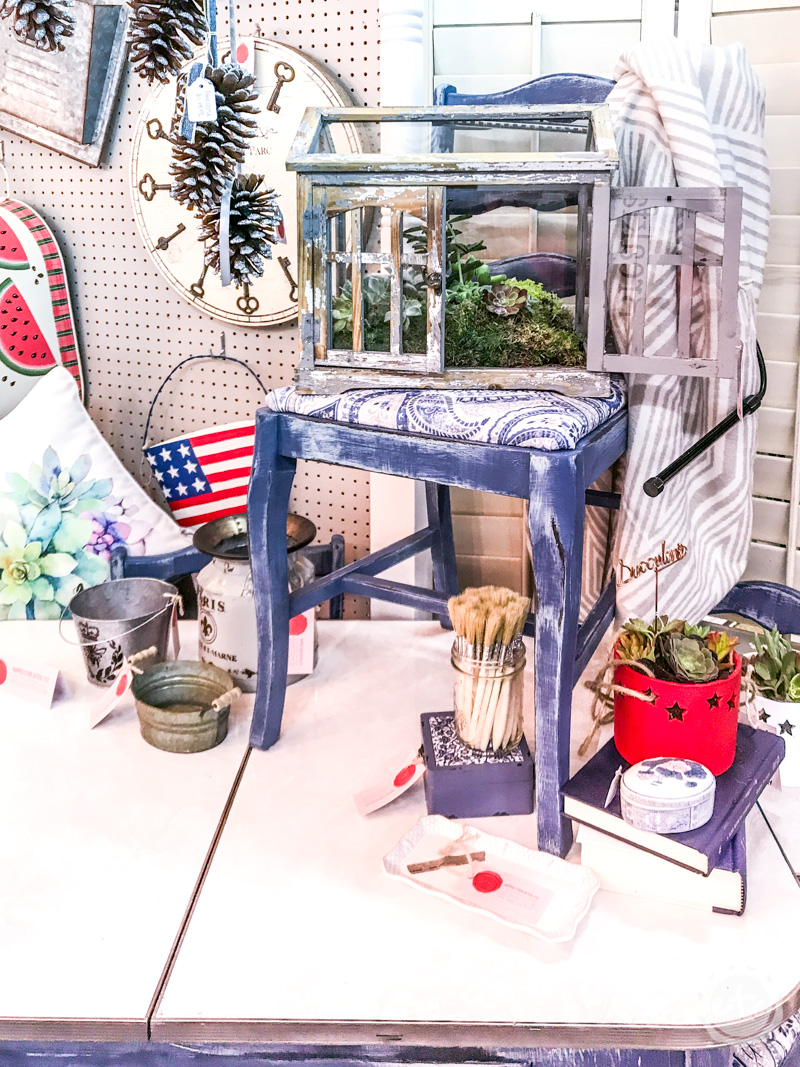


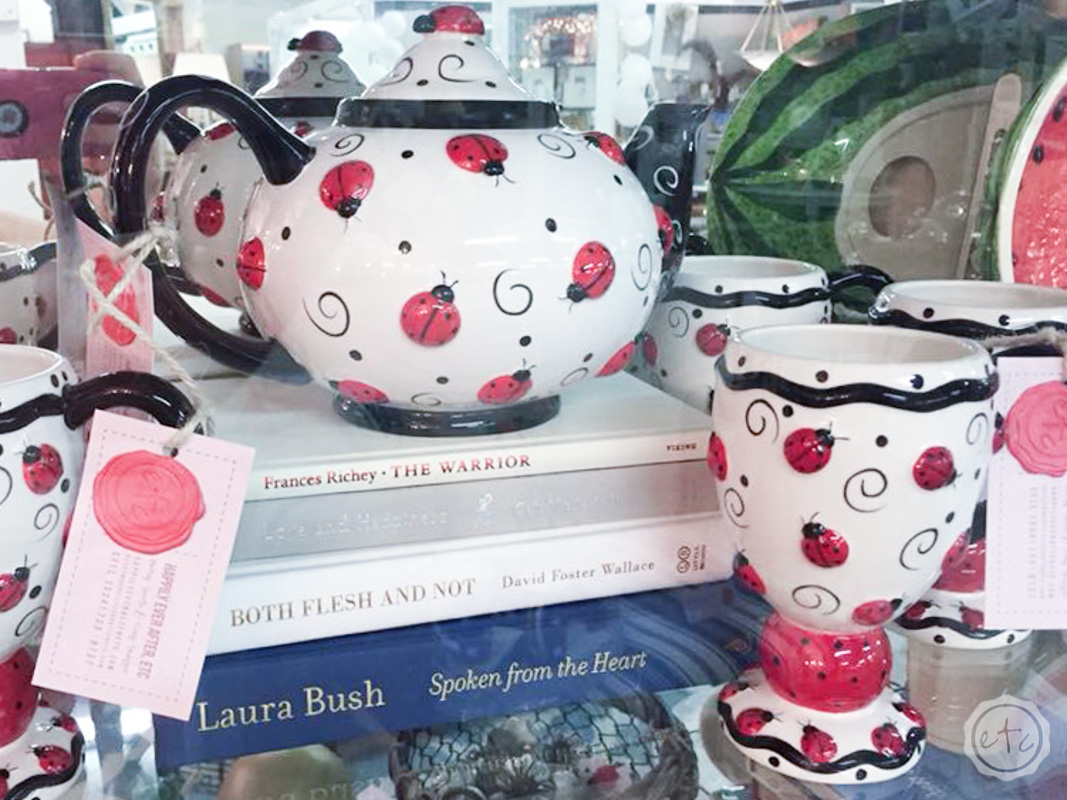

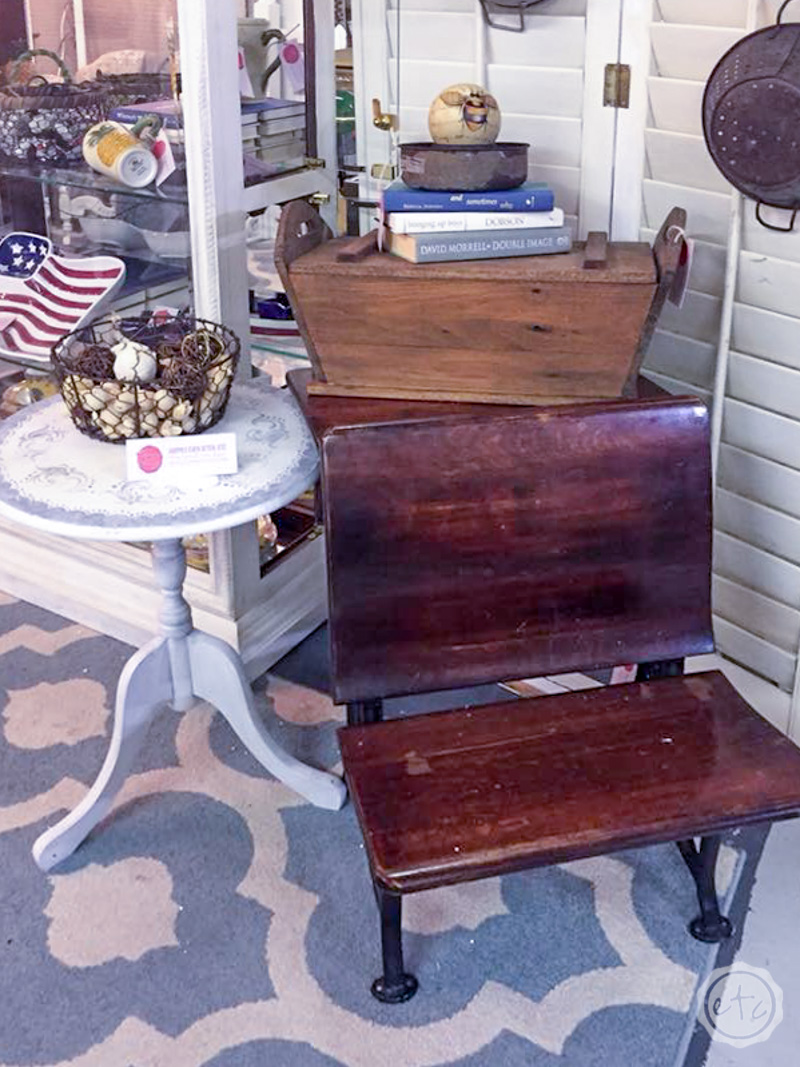

I hope you loved it! I can’t wait to see where the booth takes us in the next few years… I already have a host of projects on my camera ready to be turned into tutorials and blog posts for y’all. I mean just check out that little white french desk!
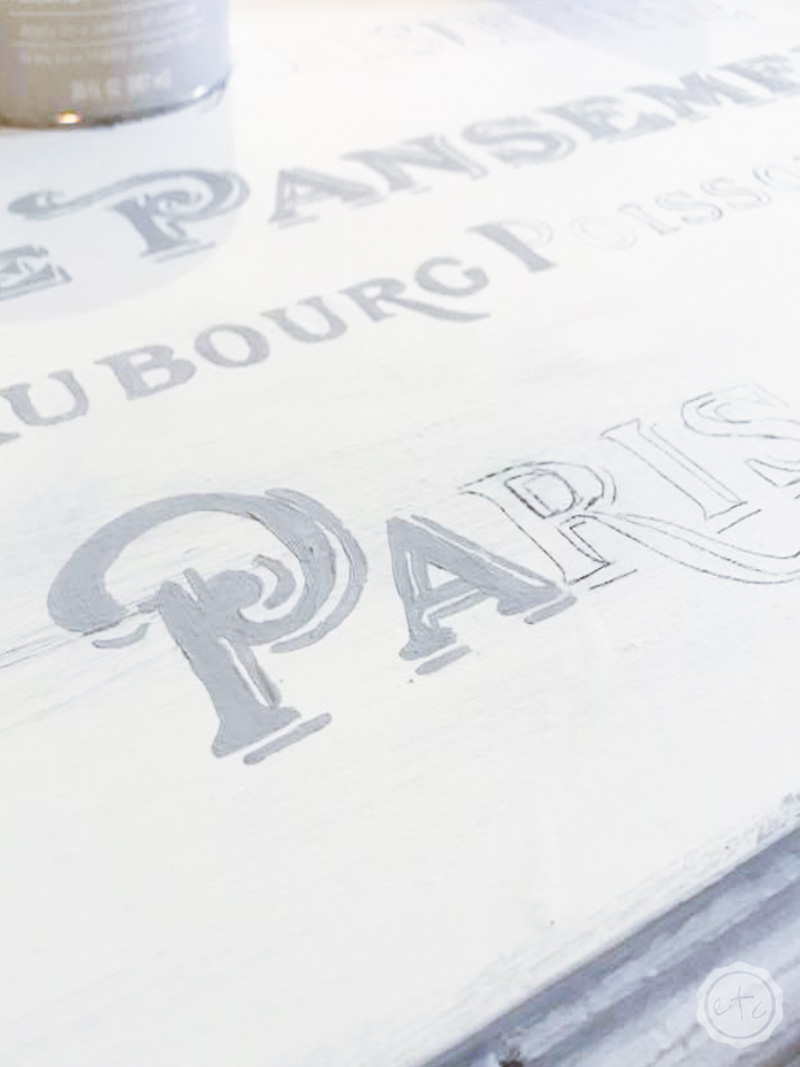
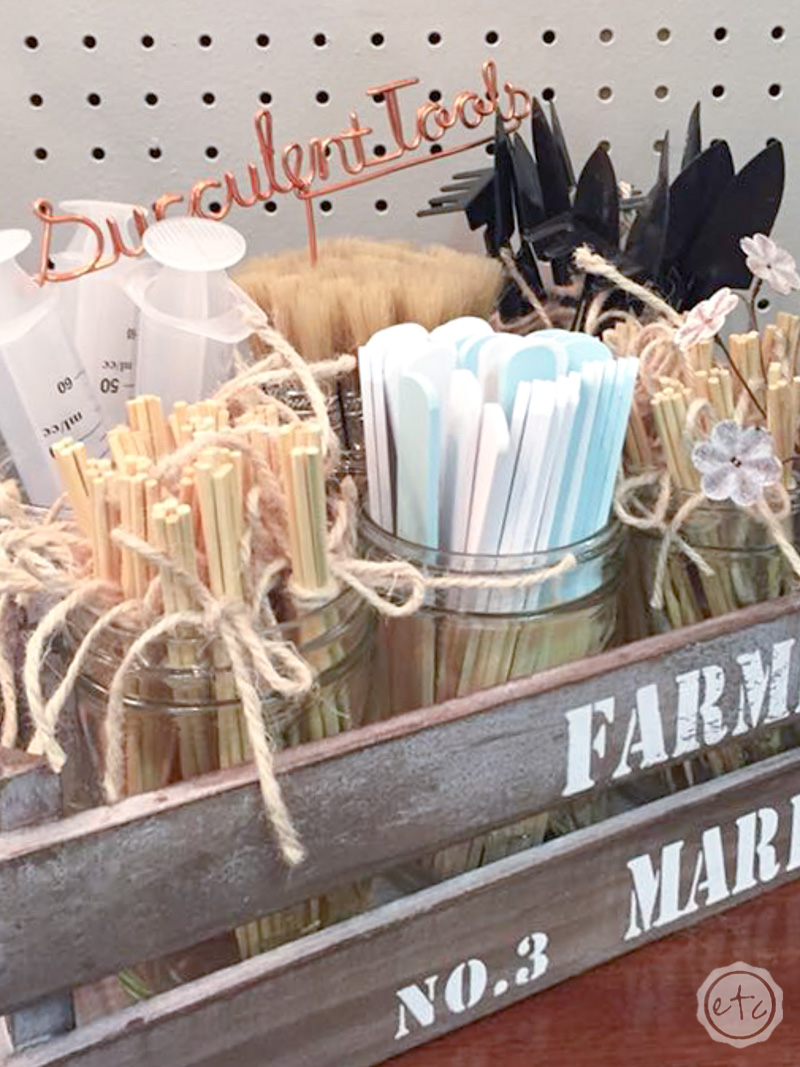
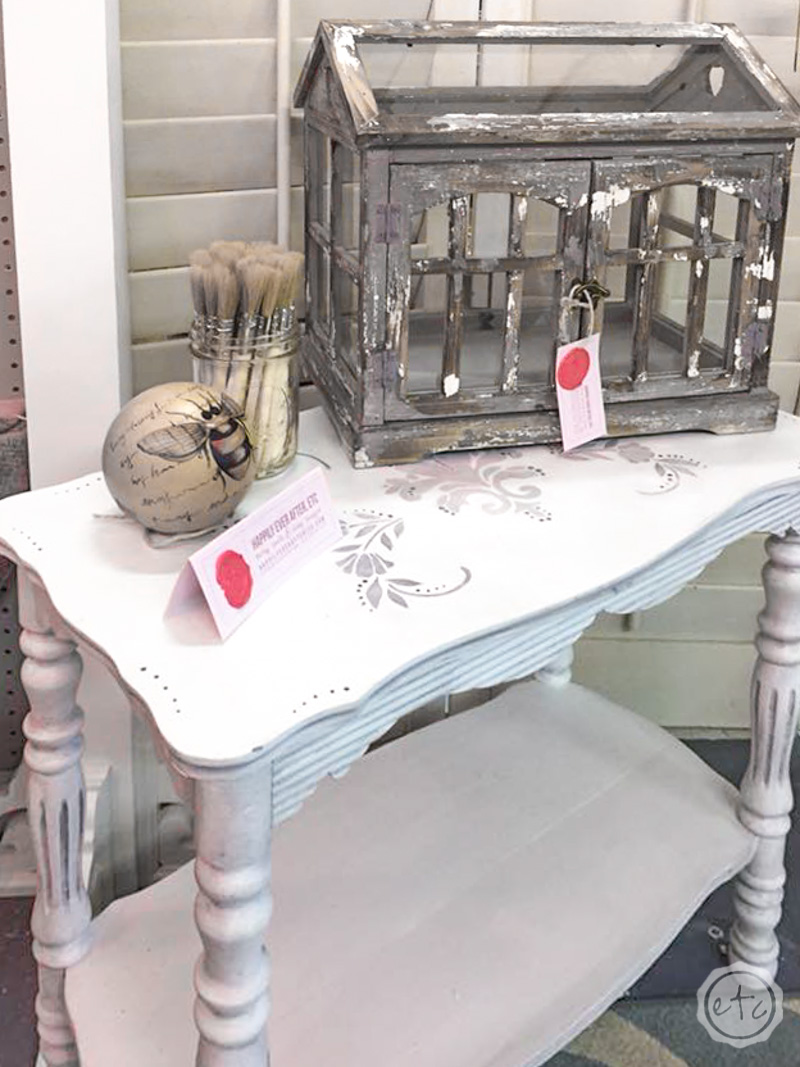
Didn’t that stencil turn out amazing? That baby was hand painted and the words were hand done… I think it turned out kind of amazing. Plus all of the succulents that were planted for the booth? We’ve already sold one of the large terrariums filled with gorgeous live succulents… and I have four more to create different planters out of.
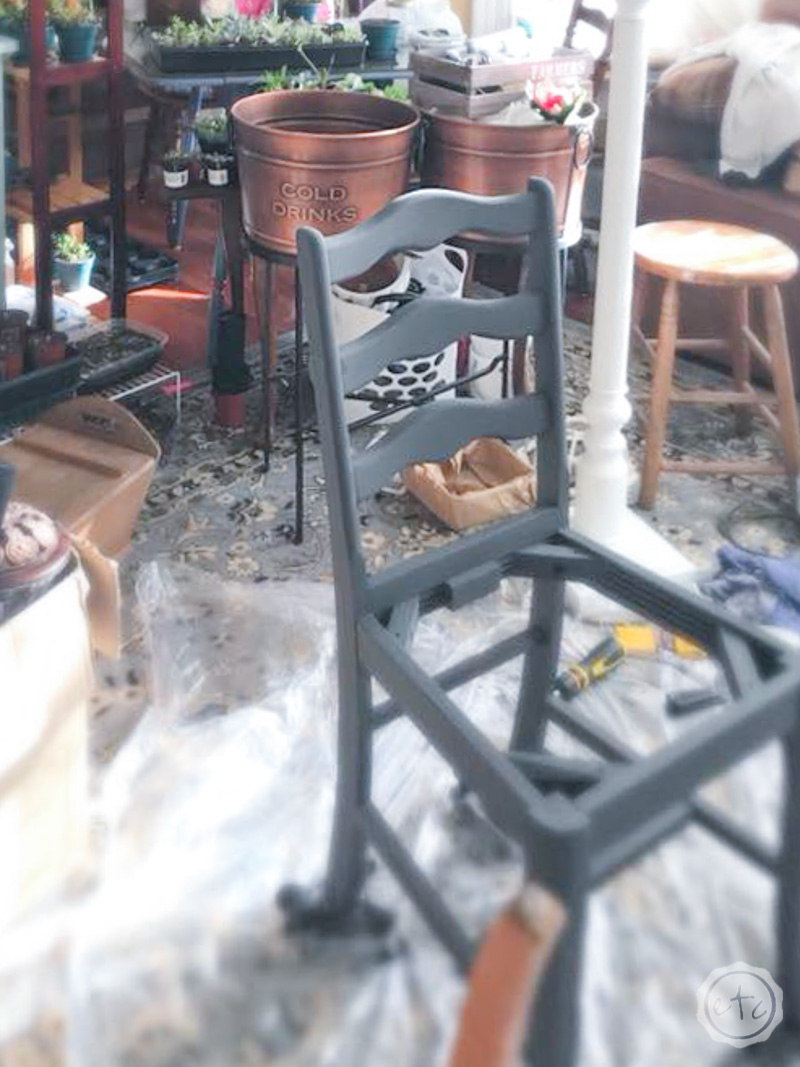
Of course, the problem is that once you learn how to plant succulents you just want to keep planting! Painting is the same way until it’s 3 am and you’re still on the floor painting the fourth chair in a set… ahem. It’s all worth it in the end though!
Let me know what you think of our antique booth down below and if you’re in the area stop by the Highlands Antique Mall in Dothan, AL and check out our booth.