


If you’re like me you can never have too many tote bags! I literally think I should get rid of half my bags every time I see them taking up the entire front hall closet… and then I get ready for a conference or a trip to the booth and realize I actually use these things!
So when I started my watercolor obsession I needed a new bag to keep supplies in. I’m setting up a little work station in the living room but until I have a permanent place to work a portable solution is the easiest thing to do.
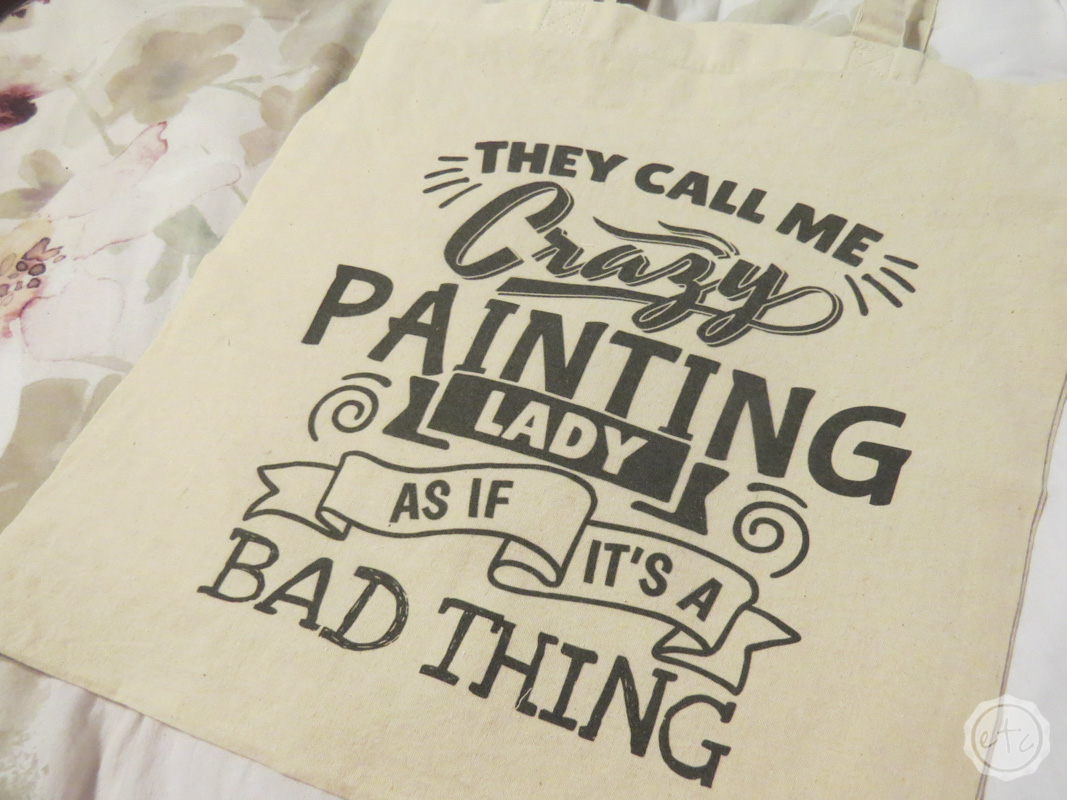
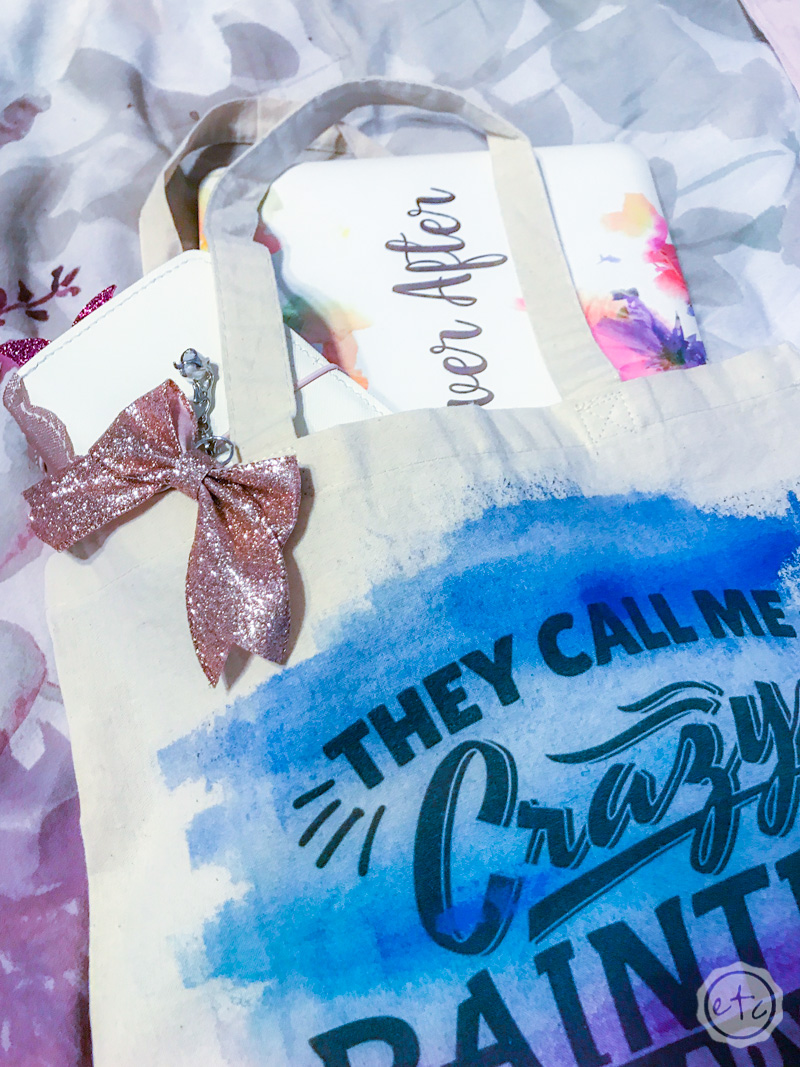
And this little canvas tote was the perfect solution!
I absolutely love the quote on it! Especially since I’ve been called the paint lady at work for years! Of course, the best part of this little bag is that it’s a canvas tote which means (to me anyways) that it’s a blank canvas!
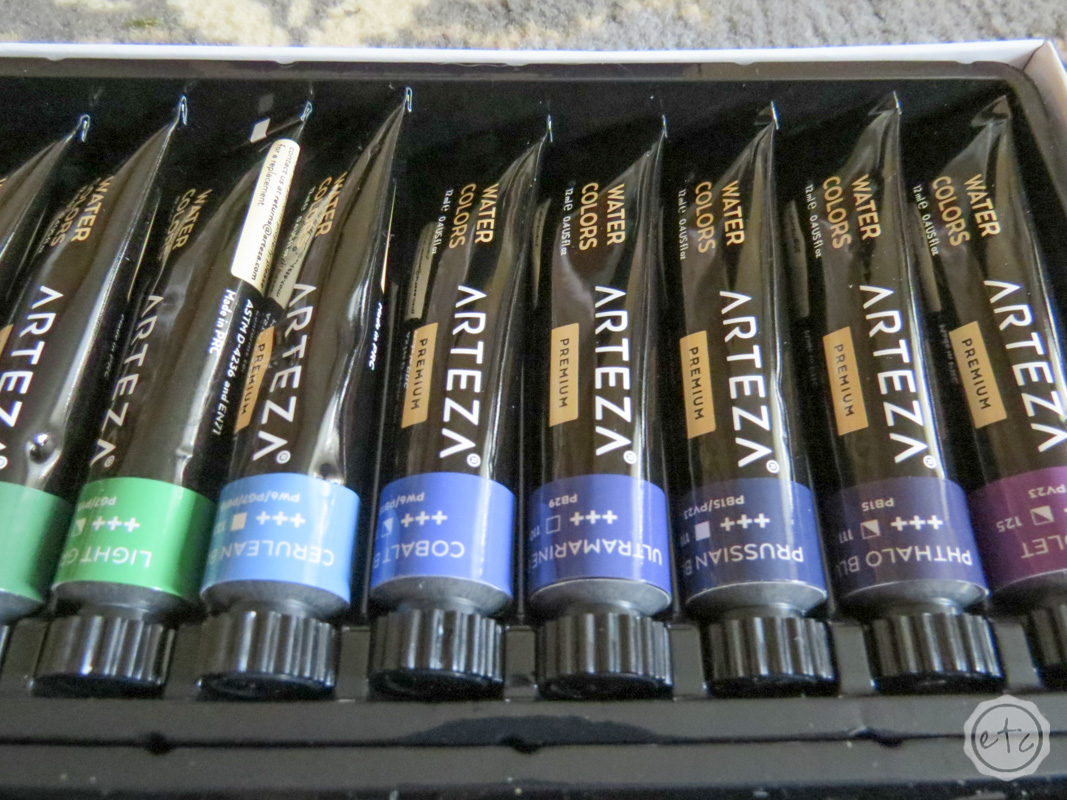
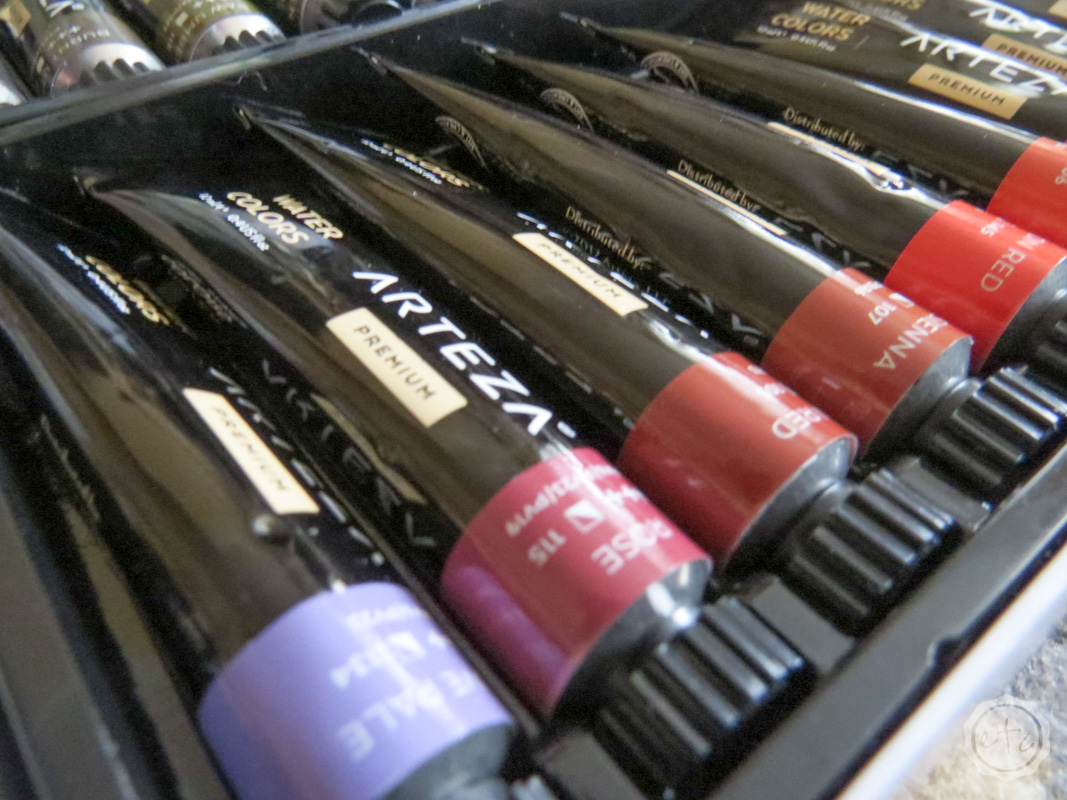
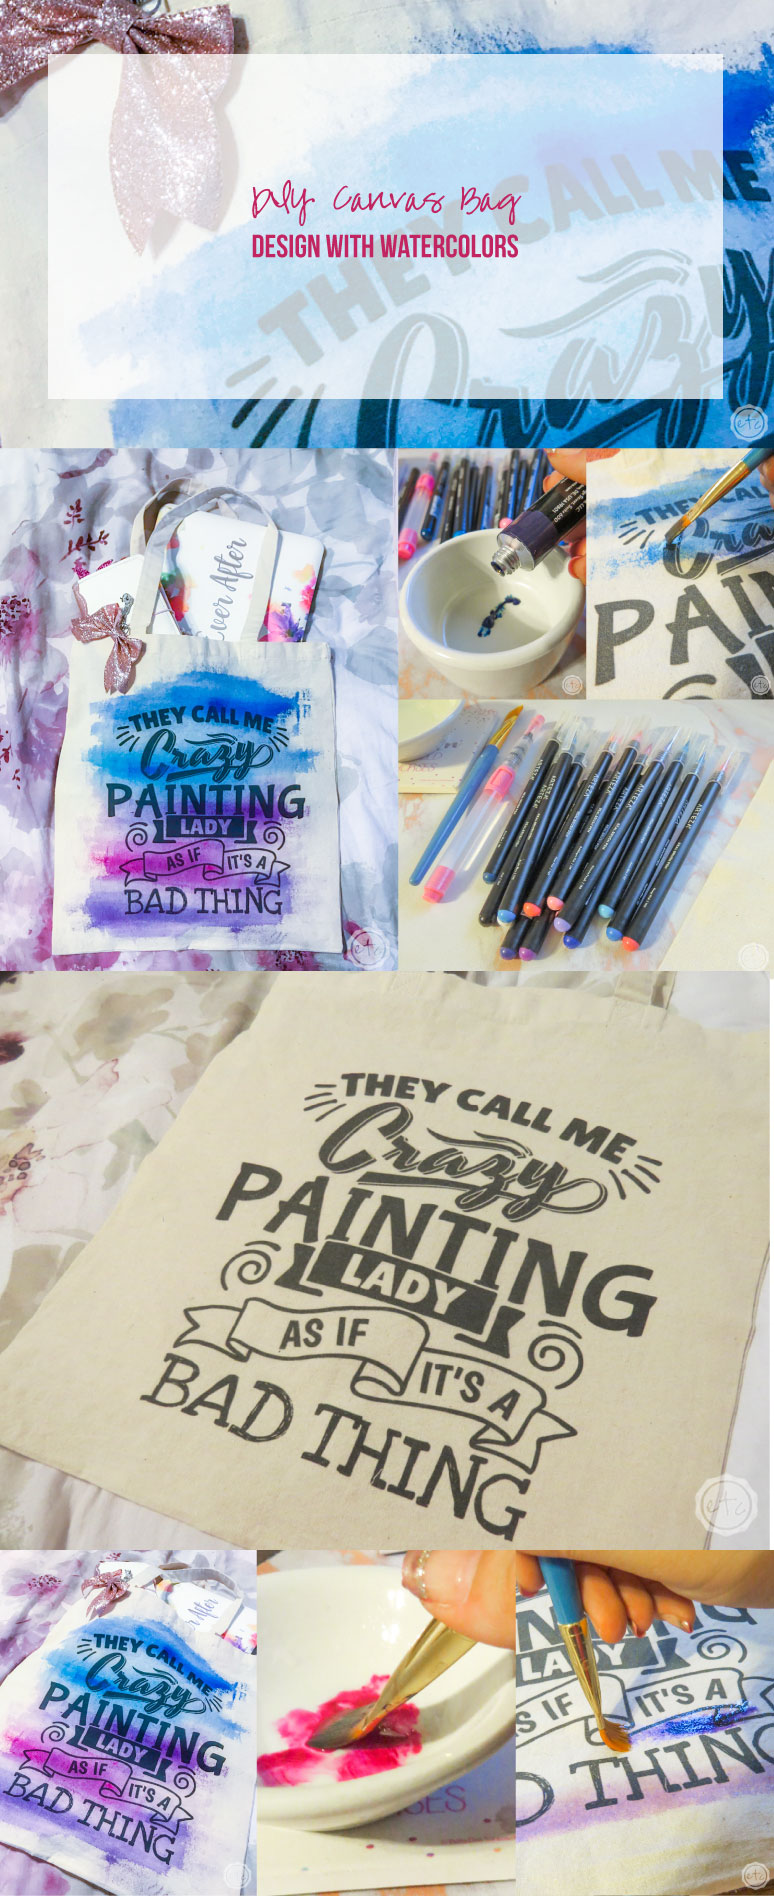
I knew I wanted to paint it right away so I broke out my Arteza watercolor pens and thought about a design. Since this particular bag is fairly text heavy I decided to go with a simple ombre watercolor background so that it wasn’t toooo busy. Plus it’s a super easy effect so if you’re just learning watercolor (or painting at all) you can totally do this.

Step 1: Prep Work
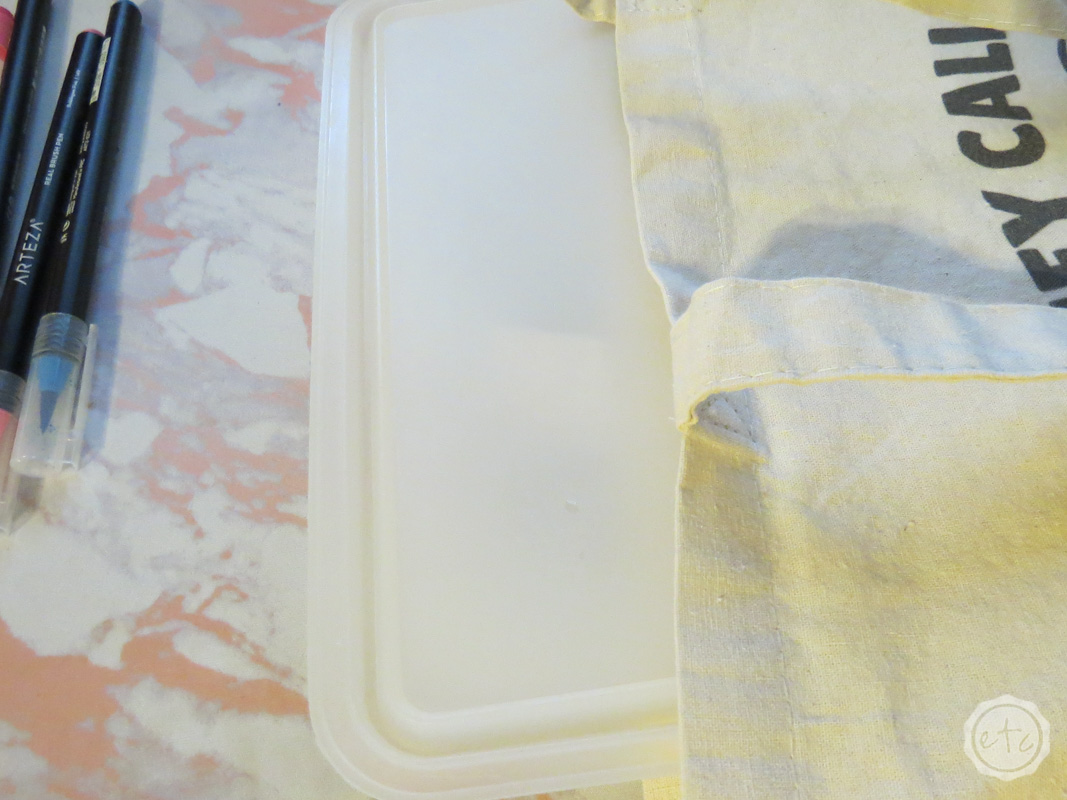
Alright y’all, when you’re working with watercolors (well… really any paints at all) you have to get ready first. Since this little canvas tote is canvas on the front and back I knew I needed to put something inside the bag or the color would bleed through and paint the back… and anything under the bag.
Cardboard would work in a pinch but since we’re using quite a bit of water to blend the colors the cardboard would get wet quickly. Plastic is the best solution but if you don’t have a plastic mat in the right dimensions try grabbing a large tupperware lid… perfect fit!
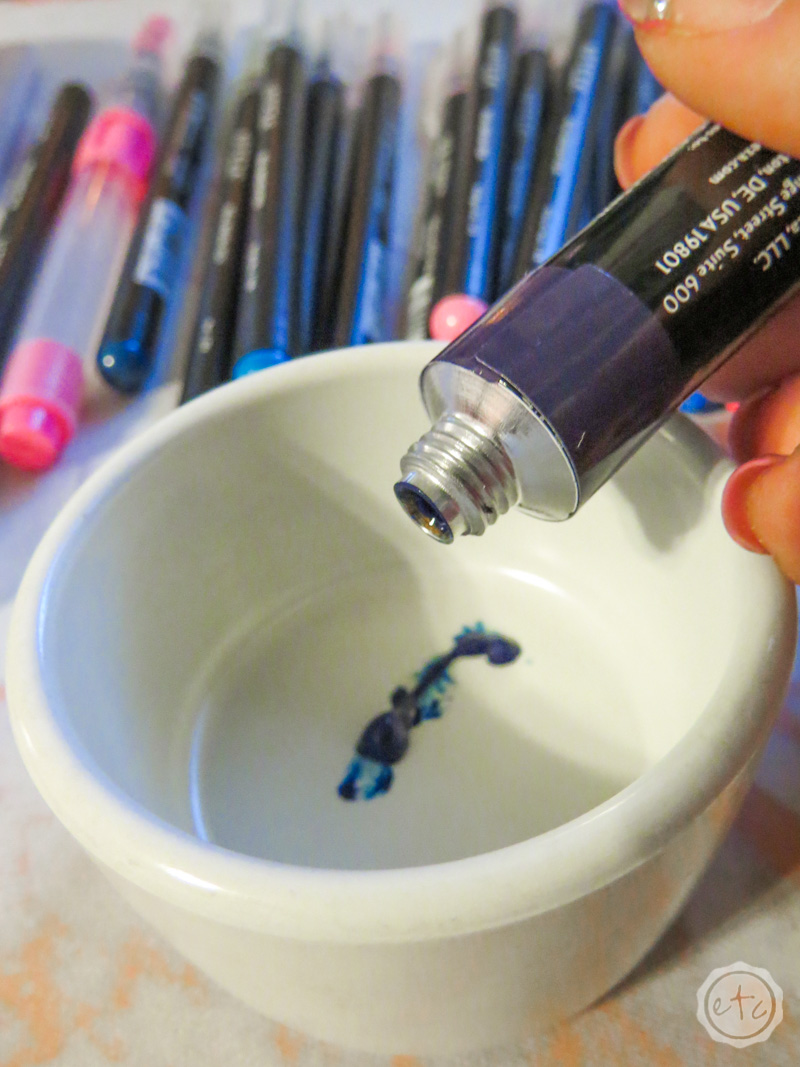
Make sure you have a bit of water to clean your brushes as well as water for blending and you’re good to go!
Supplies:
Canvas Tote
Watercolor Pens
Watercolor Paints
Plastic Lid/Mat
Water
Brushes


Step 2: Paint!
I’ve used these watercolor pens for months (I shared a few cards with y’all a couple months back that used these same colors!) so I knew they would be perfect for adding specific colors to spots. I technically could have used them for the entire bag but since we’re covering such a large area I decided to break out the big girl paints.
When working with watercolors the first step in an ombre is to lay down a layer of water over the surface you’re trying to ombre. So I basically painted a layer of water on the bottom portion of the bag… then I placed a bit of color down in the middle of the water!
I slowly worked that color back and forth so that it was darker in the middle and lighter on the top and bottom.

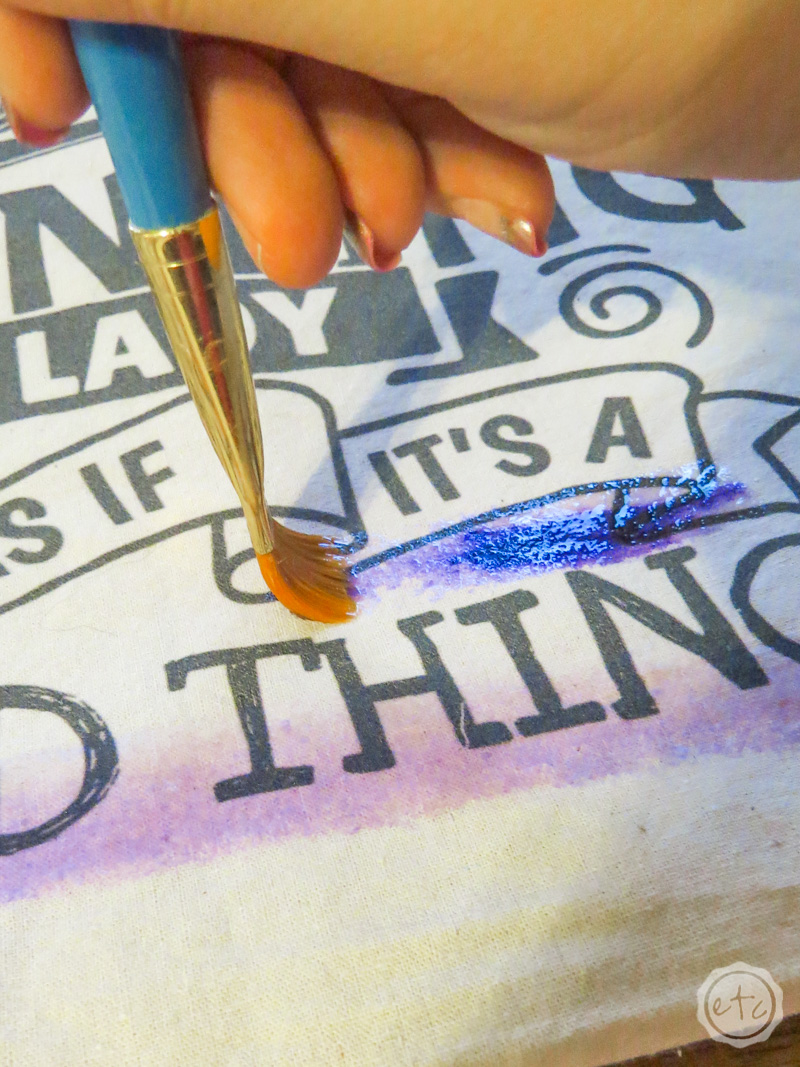

You’ll start to get this kind of splochy effect at first… and that’s ok. We’ve got to build the color to get to the final effect!
Keep adding color in denser amounts and fading it into the color above or below. Make sure to pick colors that will work well when mixed… I decided to fade purple into blue which works well since they’re near each other on the color wheel. If I was fading yellow into green you would have a murkier color in the middle… it’s possible just be careful when mixing not to over work the mixing areas so you’re colors stay crisp.
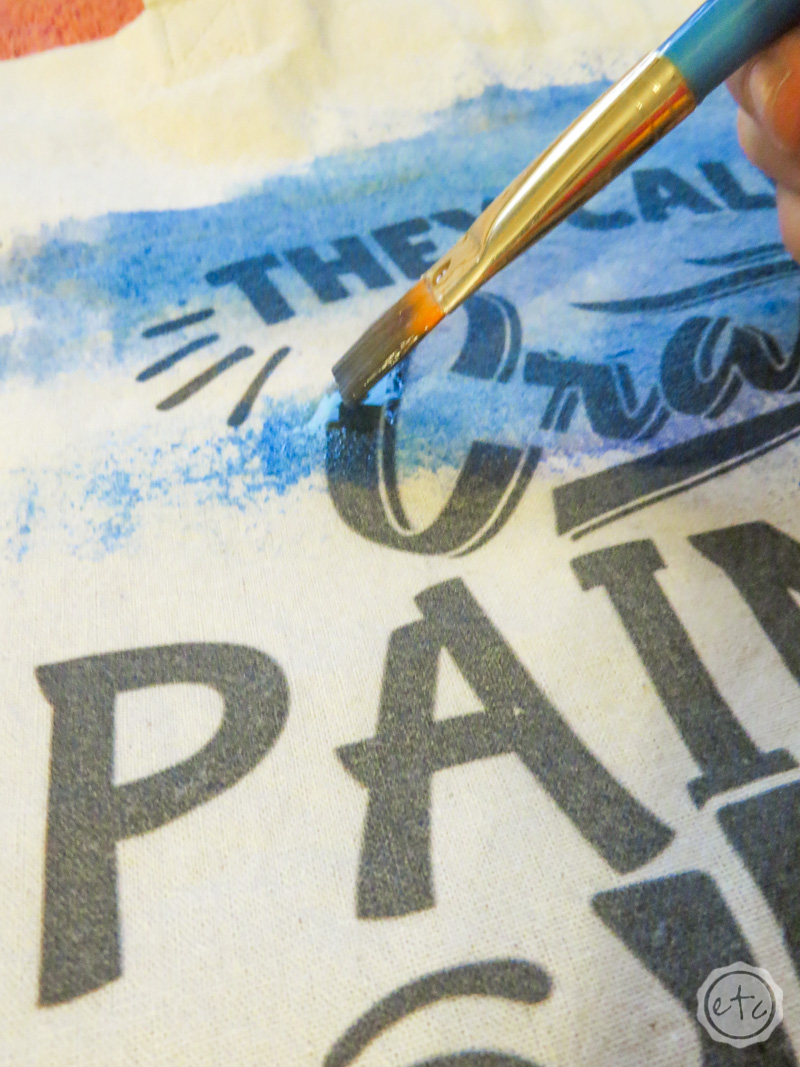
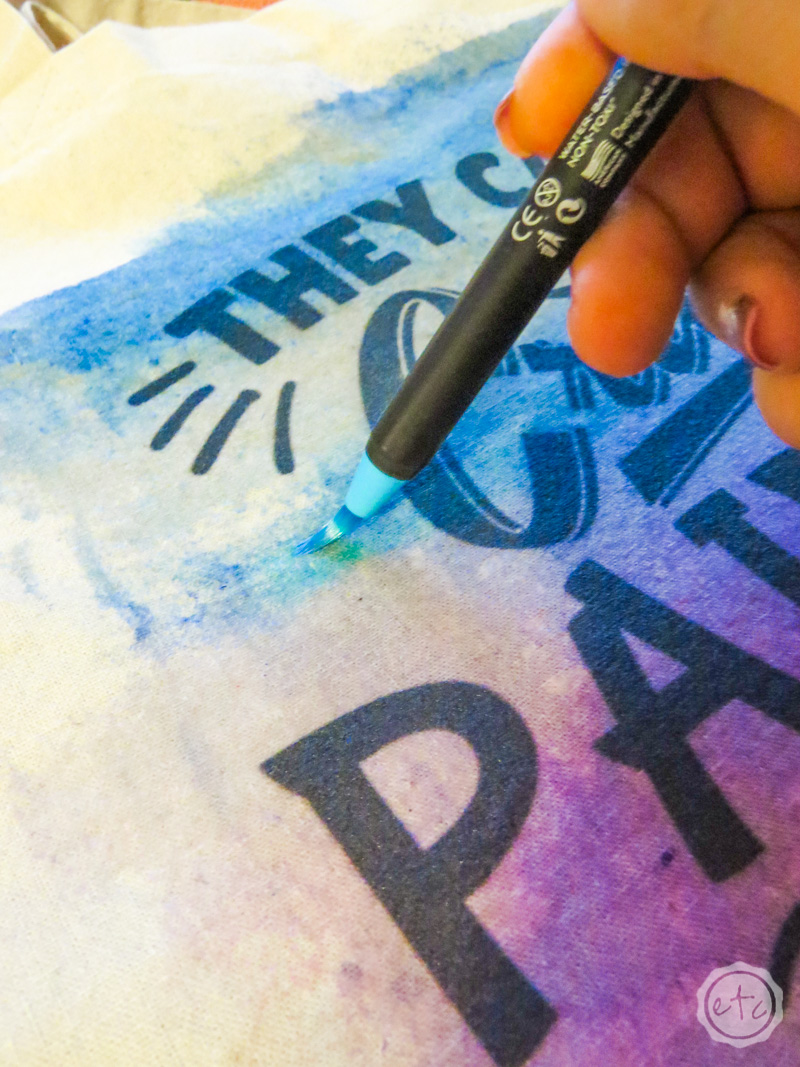
As I was building the color I went in with a few of my watercolor pens and added pops of color where they would look best… like this brighter blue at the top. The pens are great for adding color because there are so many colors to pick from… 98 colors is alot! Of course, you can mix your watercolor paints to make more colors but sometimes you don’t want to mix. Sometimes you just want to have the aqua blue ready to go and this pen made that soooo easy.

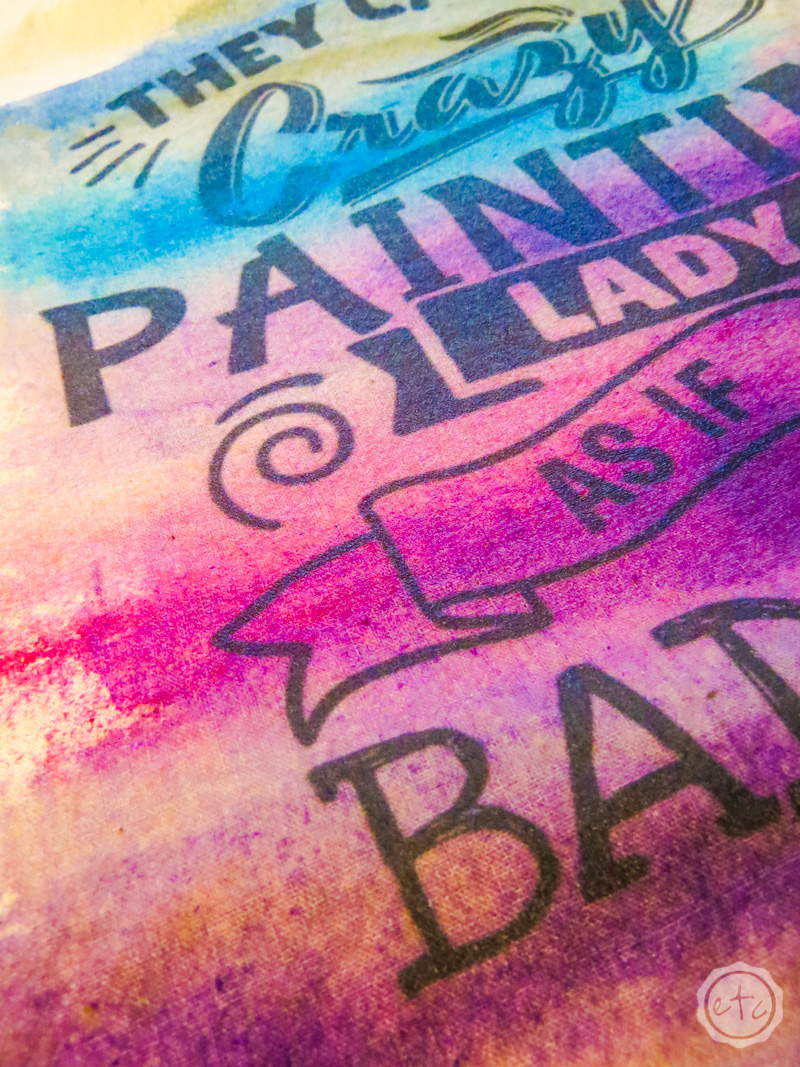
Once the main colors are added I decided I needed a little pop of color and added a bit of rose on the bottom half of the bag… don’t be afraid to add a fun color! Rose is still close to purple so it blended in well and was a fun accent.
Since we’re working with watercolor they blend beautifully as long as you keep that surface area wet!

Now we’re done!
I placed a towel inside to let this little guy dry… if you hang it up to dry all of the water will tend to run down towards the bottom of the bag mixing your colors and pooling on your floors. Just FYI… so adding a towel lets you keep this little guy laying down to dry.
This little guy is going to be perfect for keeping my watercolor paper and books in when I’m not using them but in the meantime I’ve been using it as a makeshift computer bag… it was too cute to leave home!


Leave a Reply