


If you love to set your table for special occasions the odds are that you own LOTS of pretty place settings. Maybe special Fitz and Floyd Christmas plates or frolicking Easter bunnies… summer or Fall? Special plates for a winter tablescape vs adorable mermaid themed plates… or super cute peaches for spring? It’s a slight addiction and I know that I’m not alone here… BUT despite all of the cute plates I do own I don’t own a single Halloween themed plate.
Which is honestly fine since I’m not huge on celebrating Halloween. I don’t need to own plates that I may only use once or maybe twice. Typically instead of individual full sets of new dishes I’ll buy a set of 4-8 salad plates for fun holidays or occasions so that my cabinets aren’t completely psycho… but even so things would quickly get out of hand if I bought new dishes for every single table.
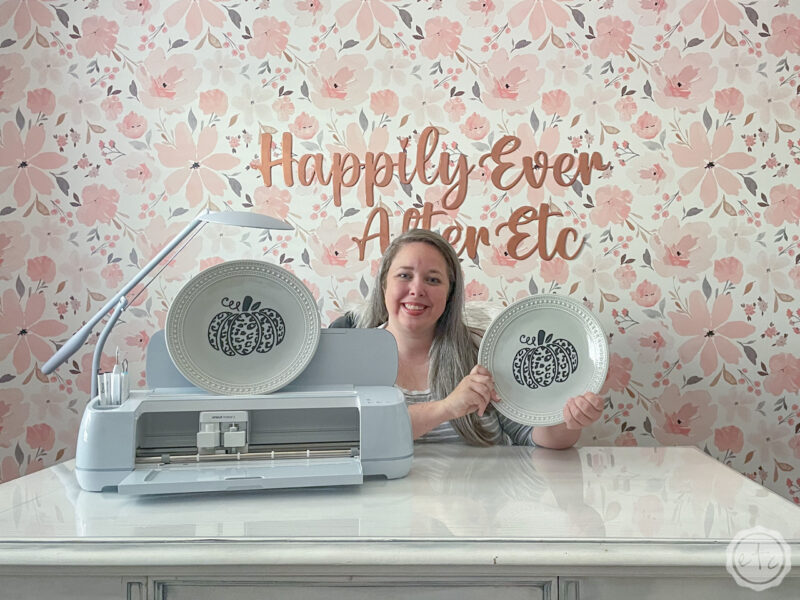
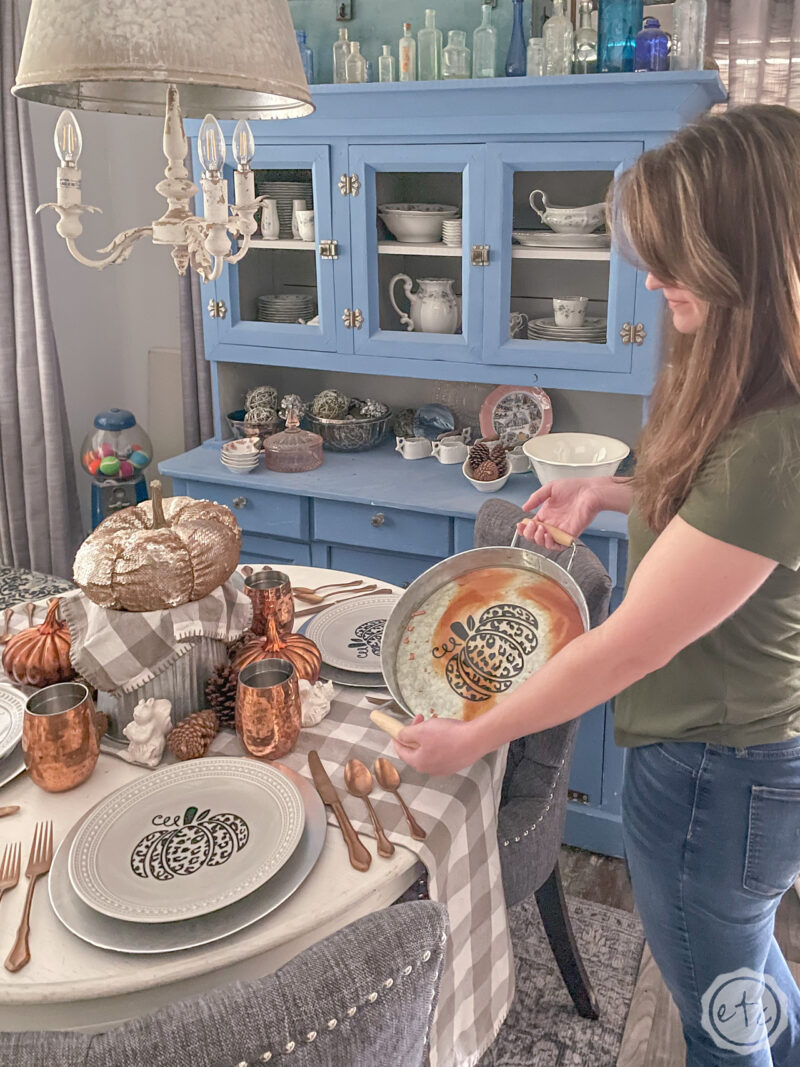
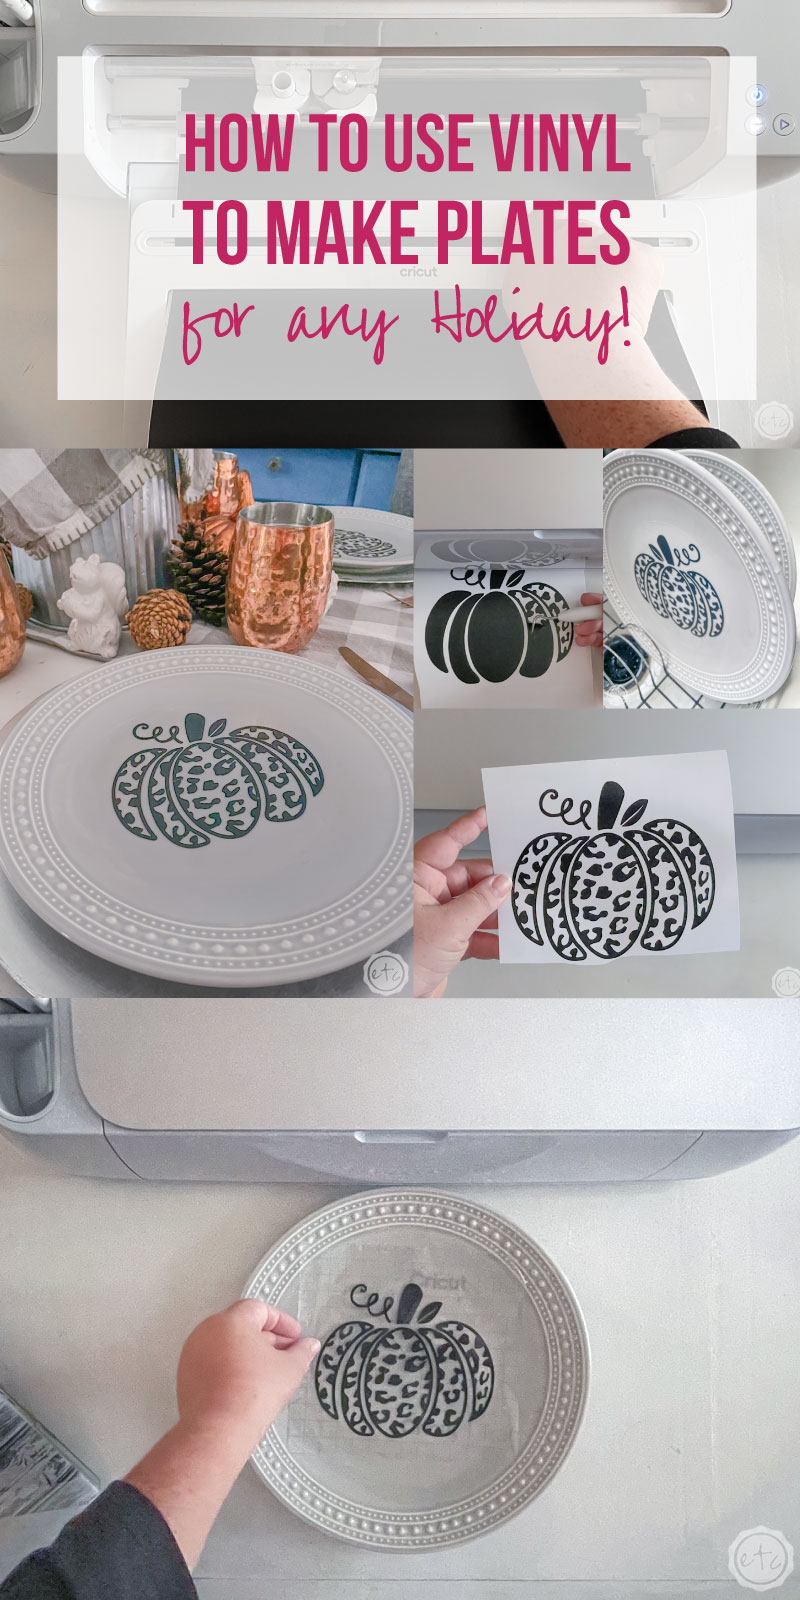
Instead I’m going to show you how I decorated my existing dinner plates for Halloween this year… with removable vinyl. You can use any SVG to spruce up your plates and make new dishes for each and every holiday of the year! I’ll walk you through the entire process and then you can check these specific plates out in action over on this years Halloween table setting.
Let’s get started!
Supplies:
- Cricut Maker 3
- Cricut Roll Holder (for smart iron-on)
- Fine-Point Cutting Blade
- Cricut Standard Grip Mat (that’s the green one!)
- OR Cricut Fabric Grip Mat (that’s the one I use… it’s pink and holds everything)
- SVG Cut Files (FREE at the bottom of this post).
- Weeding Tool
- Brayer
- Smart Vinyl
- Transfer Tape
Step 1: Upload and Cut your SVG
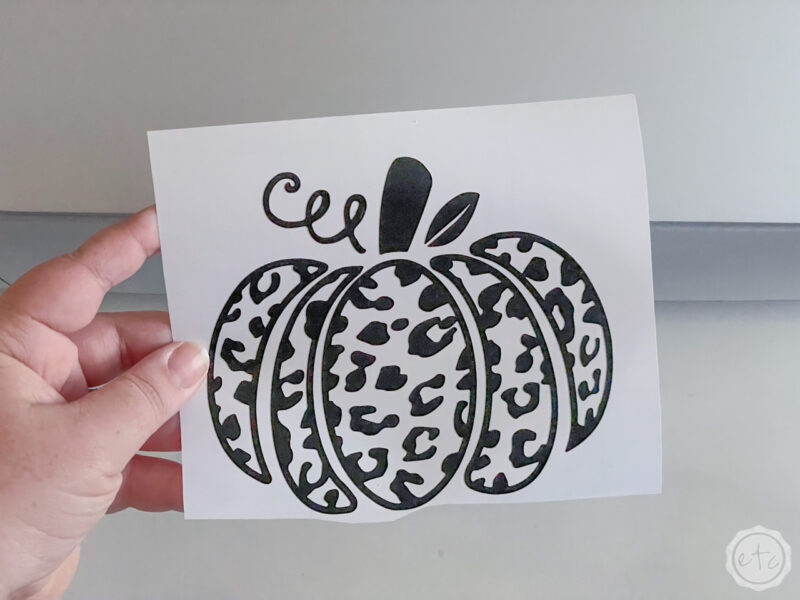
First things first… go ahead and open Cricut Design Space and grab a new canvas! Then you can load your SVG and cut it out of removable vinyl. In this case I used my cheetah print pumpkin design from the free svg’s you’ll find at the bottom of this post.
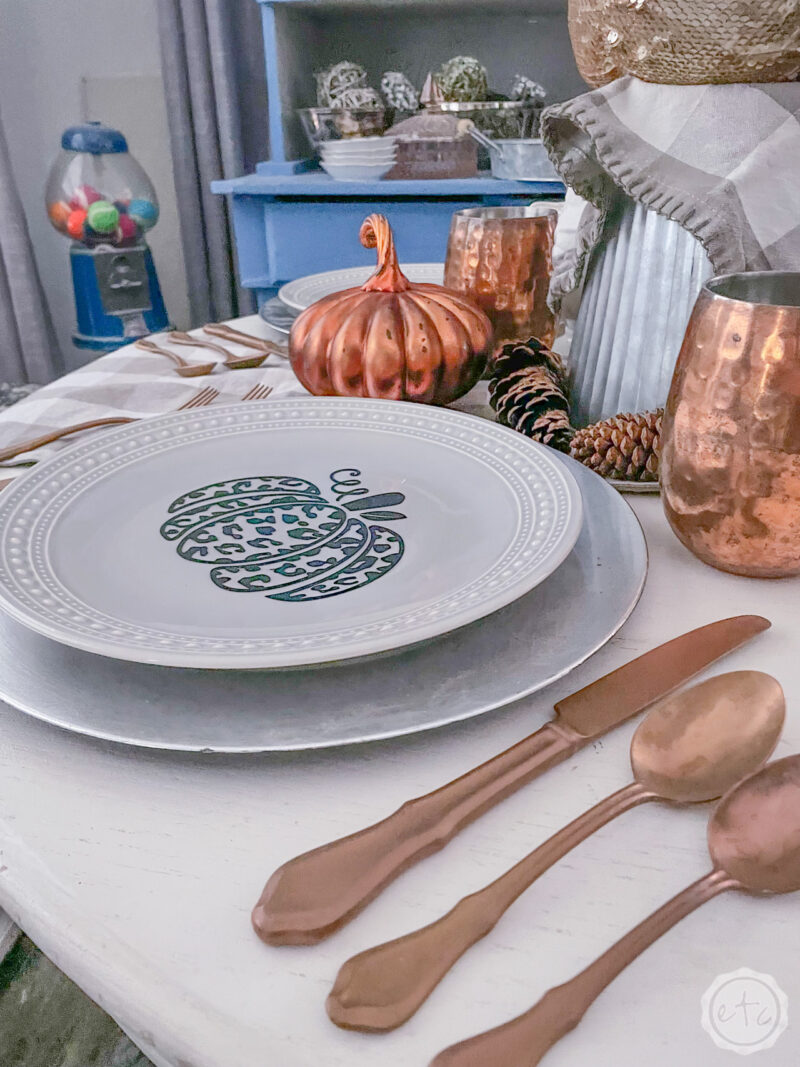
I sized the entire pumpkin design to 6 inches across so that it will fit in the center of my dinner plate without going up the curved sides and hit go.
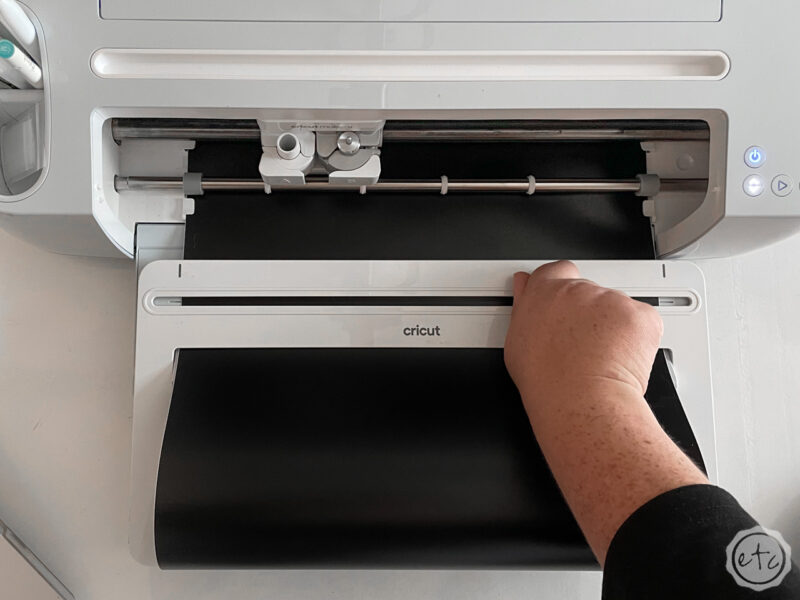
Since I’m using smart vinyl I didn’t even have to load a cutting mat… I simply loaded my vinyl and watched it cut!
So easy!

If you need a little help with your SVG you can follow my full How to Load an SVG into Cricut Design Space tutorial here. I’ll walk you through all the steps to load your new SVG into the software and prep it for your first project.

Step 2: Weed your Design
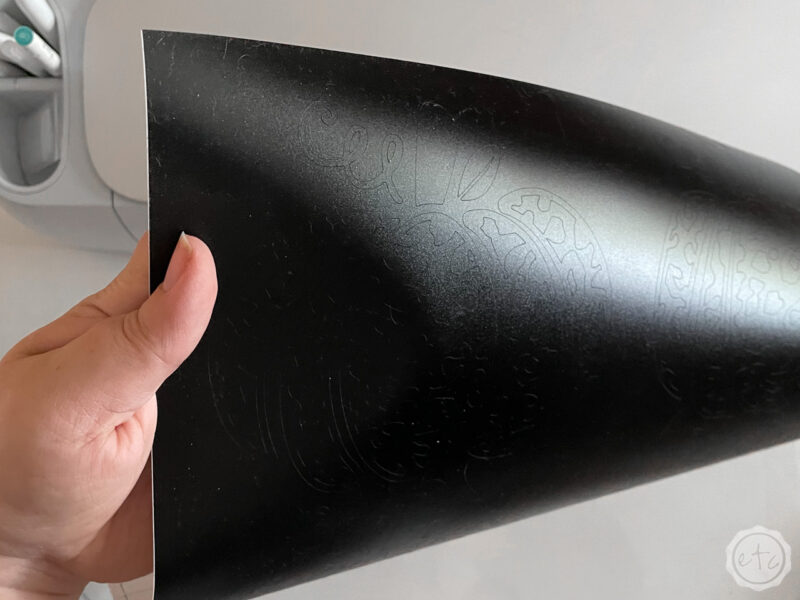
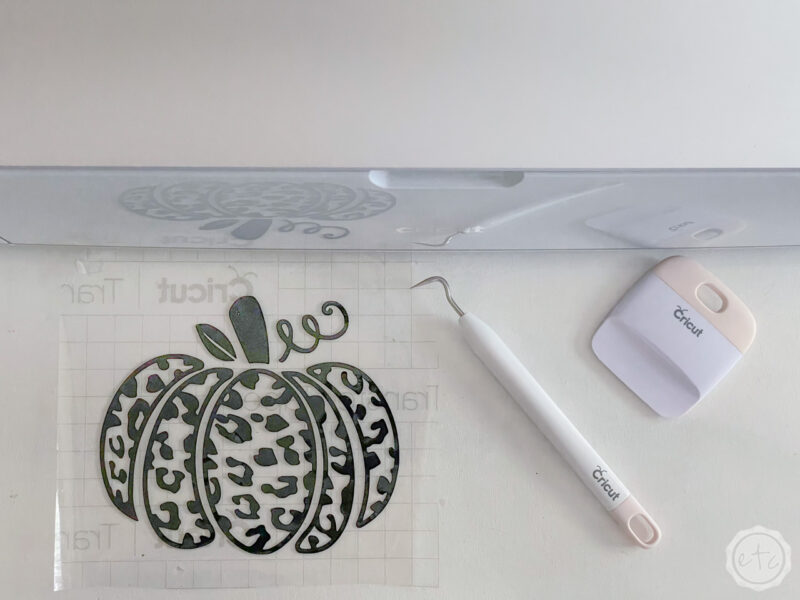
Once everything’s cut let’s go ahead and weed those designs! Since we cut 4 of these pumpkins I stared by cutting all 4 designs free of each other. This just makes it easier to weed.
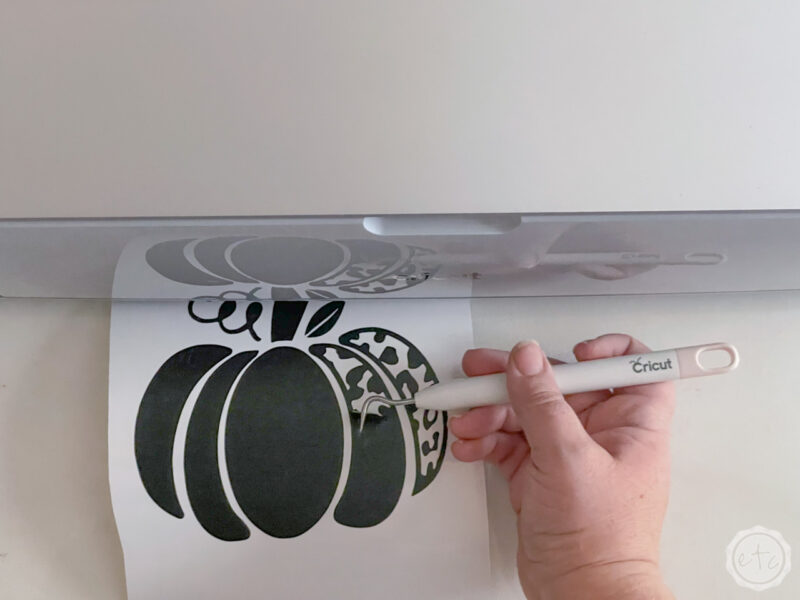
Then start to remove the vinyl from the outside leaving your sweet little pumpkin shape easy to see. From here you can use your weeding tool to remove all the extra bits of vinyl.
Just be careful since the cheetah pattern is organic and it can be hard to tell which spots are design and which are negative space. When in doubt work from the outside in… that way you know which sections connect to the pumpkin and which sections are negative inside pieces.
Perfect!
Step 3: Use Transfer Tape to Move your Design
We are so close I can taste it!
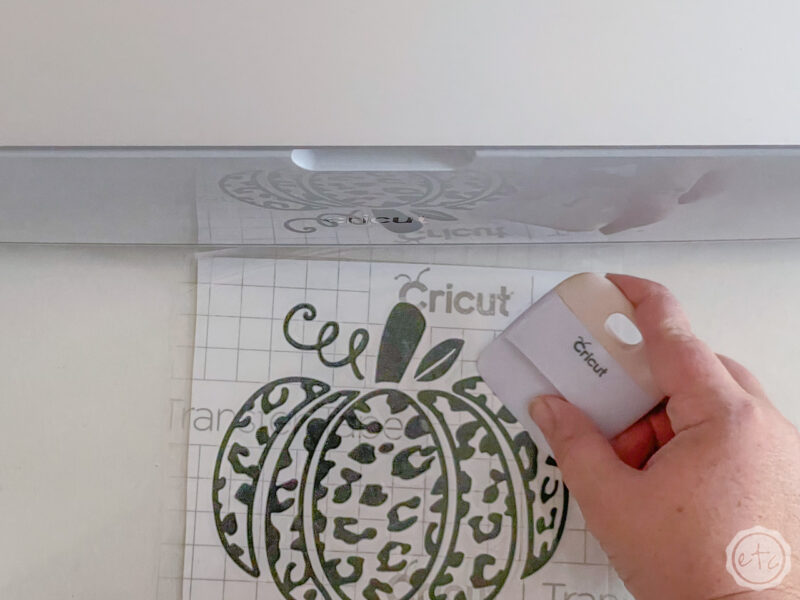
Now that your design is weeded go ahead and grab a bit of transfer tape and cut it to fit over your design… in this case one cheetah print pumpkin. Remove the backing and smooth the transfer tape down over your pumpkin.
You can use a smoothing tool to really smooth the tape down onto the design.
Once it’s all smoothed and ready to go start to remove the transfer tape and the vinyl should peel off the white backing sheet with the transfer tape. Now you have one great big sticky, sticker… aka the transfer tape with your design on it.
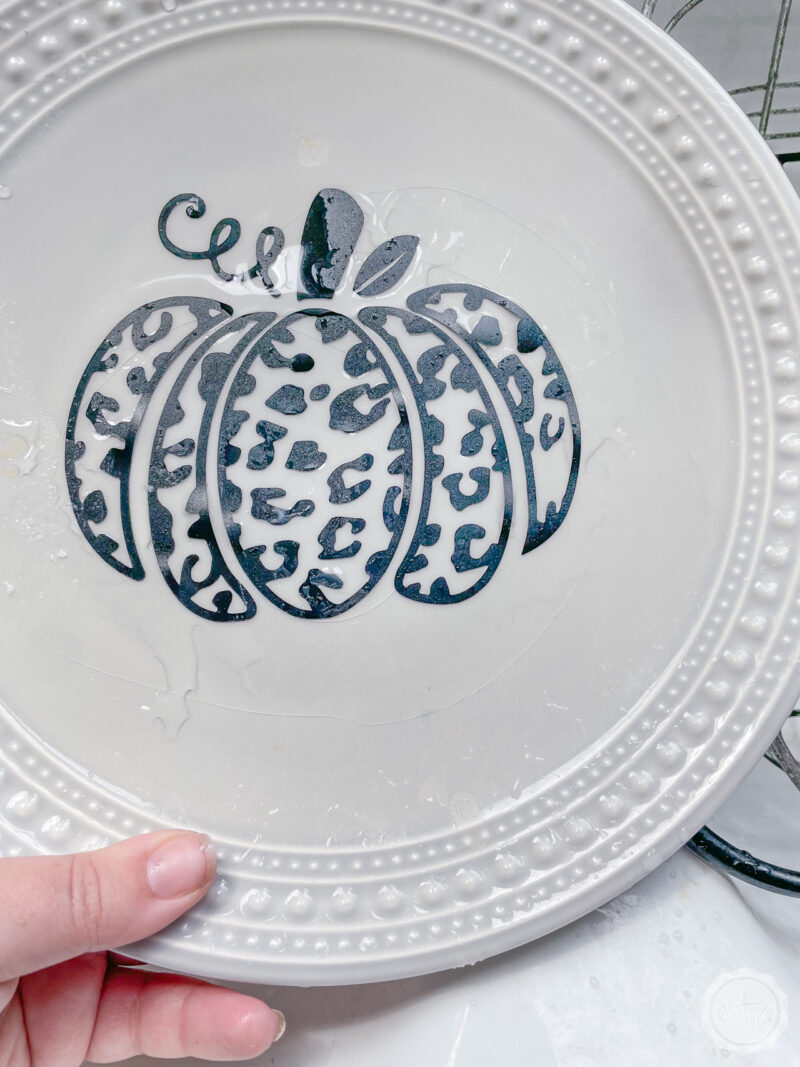
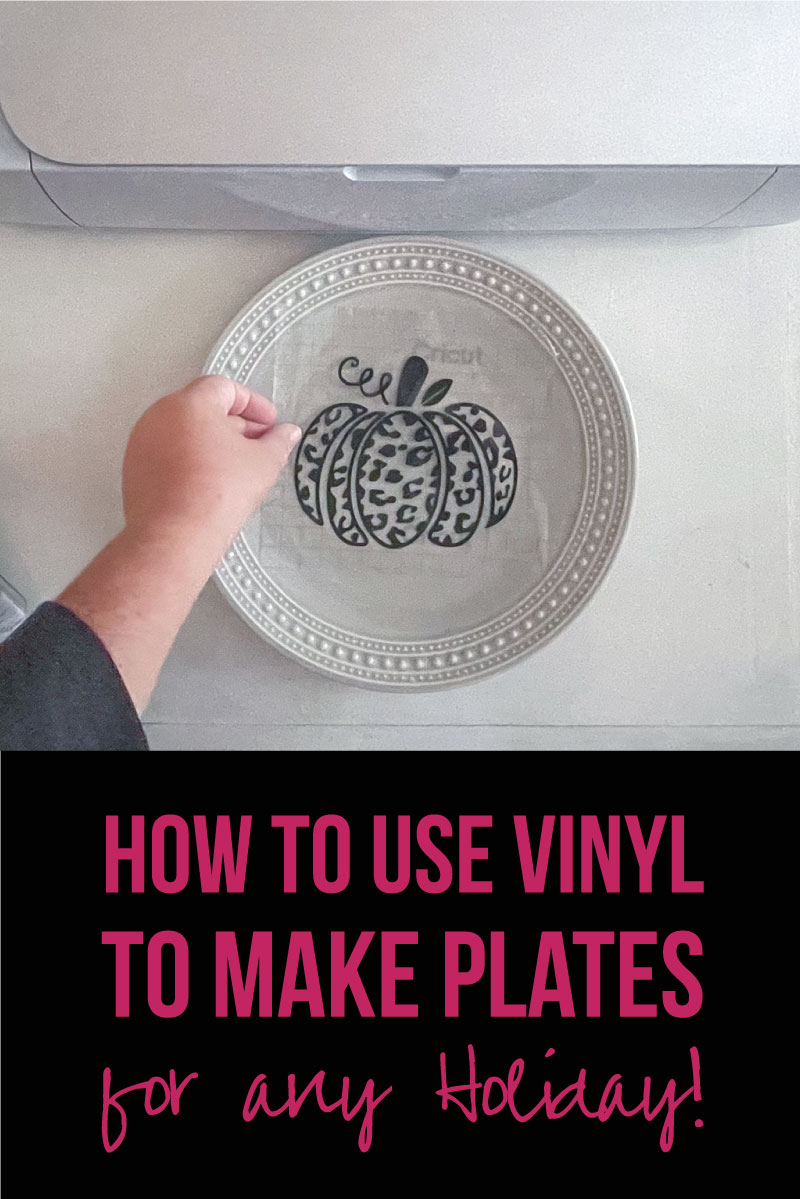
Step 4: Place your Design on your Plate
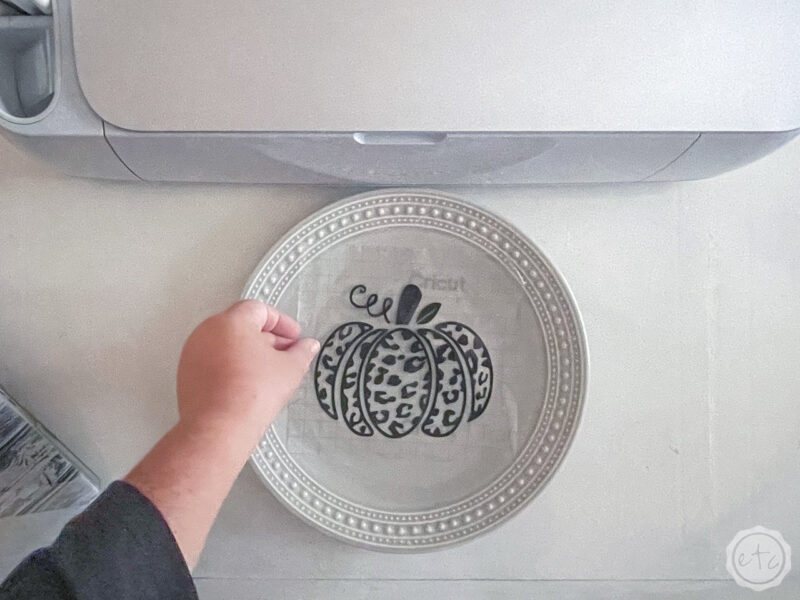
Since our designs are fairly circular and don’t have any text we don’t need to line anything up straight here… instead make sure that your pumpkin is in the exact middle of your plate and then smooth it down.
Carefully make sure there are no air bubbles and every bit of vinyl is smooth to the surface of your plate. Once everything seems bonded go ahead and remove the transfer tape leaving the vinyl decal behind.
Volia!
Cute holiday plate with no commitment! When you’re done with them you can simply remove the vinyl and they’ll go back to normal… then use a different SVG to spruce them up for the next holiday!
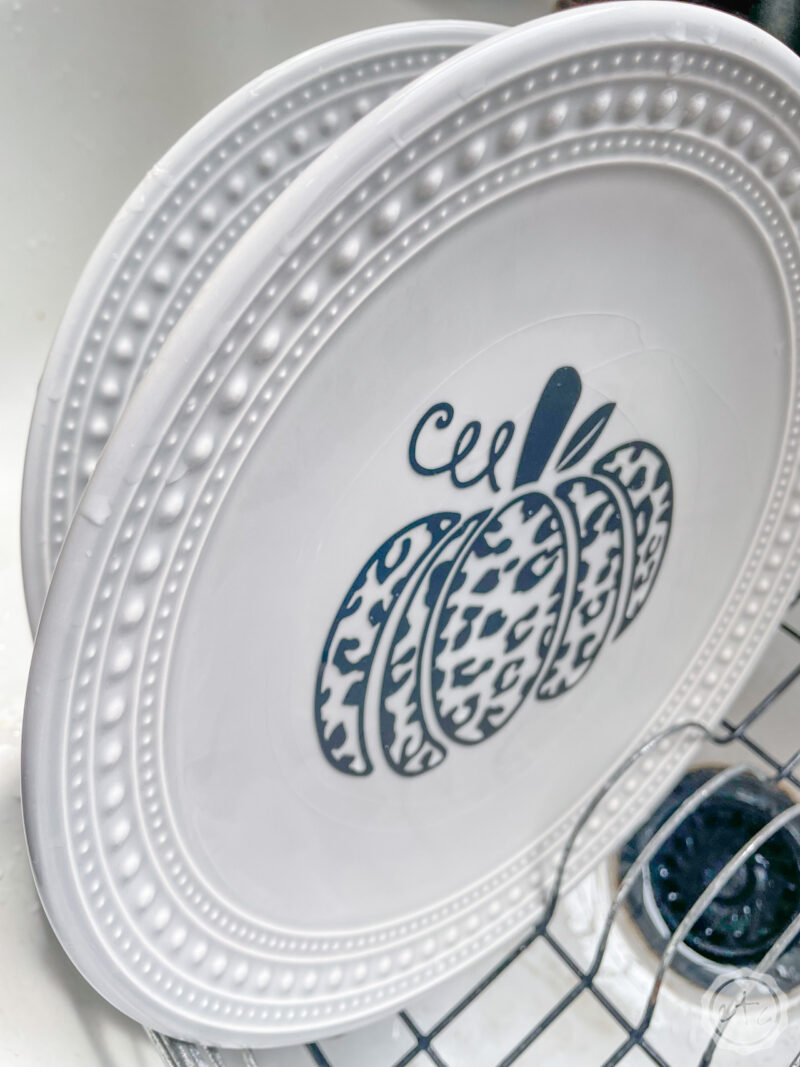
BONUS: Washing & Using your Plates
Since this is removable vinyl it will come off with a little help… and washing can definitely be considered help. I find that gently hand washing these babies will preserve the vinyl for 3 or 4 washes… I wouldn’t expect it to last longer than that.
I also wouldn’t serve anything toooo liquid on these babies or the number of uses you can get out of these decals will greatly decrease. Sandwiches and chips? Just fine! Mashed potatoes and gravey? Probably one and done.
In this case I made tacos on these babies and they help up nicely… only one small piece of vinyl gave up the ghost when I went to washing them. I would call that pretty successful!
Of course, I let them air dry after washing and they’re good to go for another couple washes!
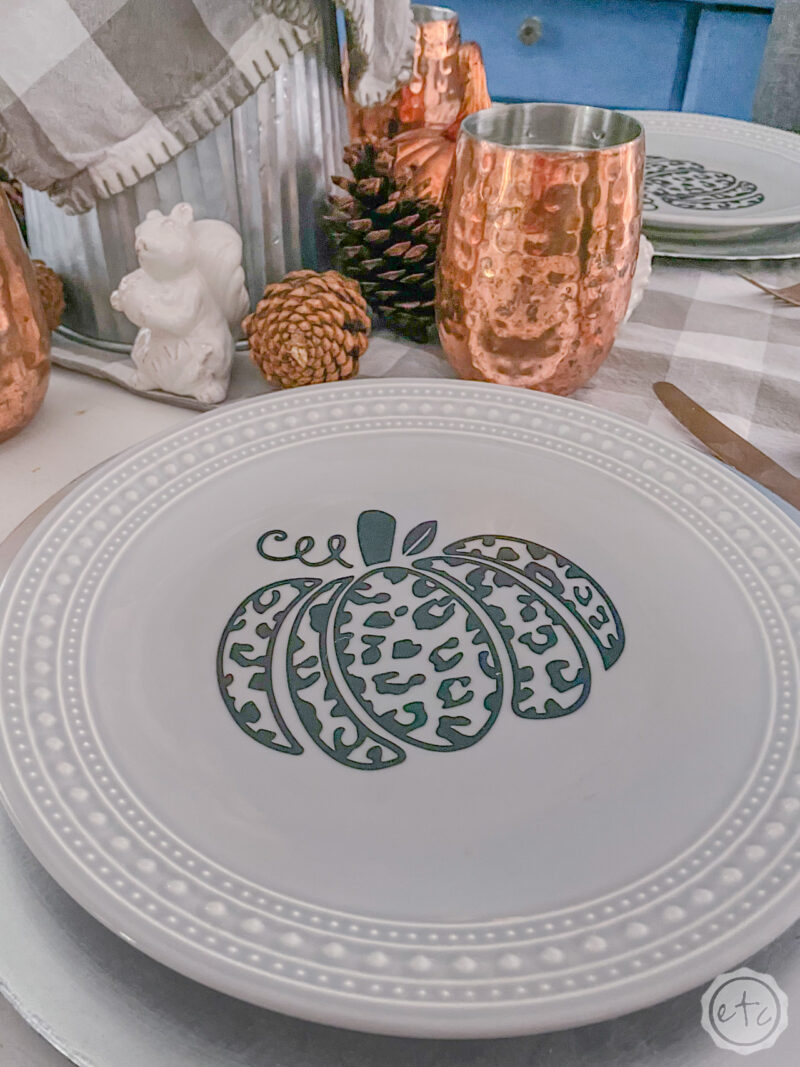
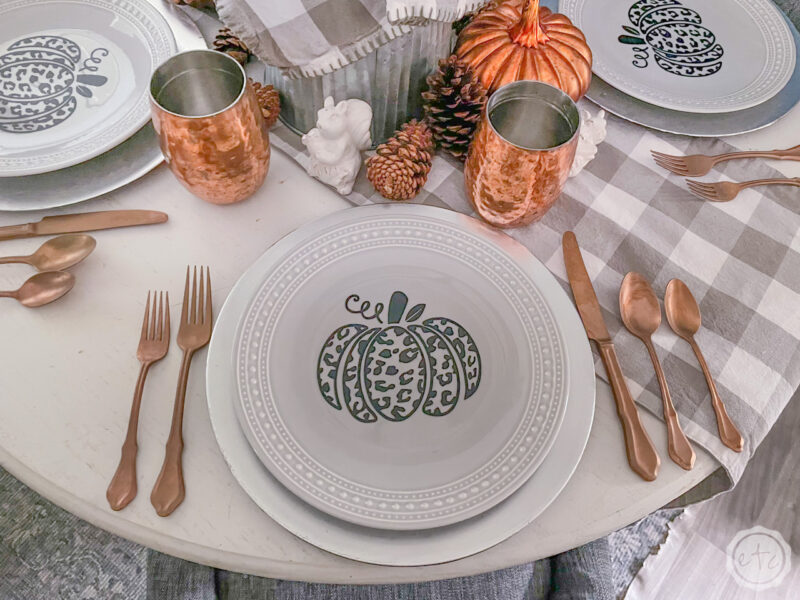
Either way I love how these babies turned out on my Halloween Table Setting and even if they only had one use per decal I think it would be totally worth it.
They’re super cute and specific Halloween salad plates would cost money I don’t want to spend and take up cabinet space I don’t want to use. These used very little vinyl so perhaps my decals cost a few dollars?
PLUS they match the Halloween themed coasters and serving tray I made last year, these adorable fall pumpkin pillows and the cute cheetah print pumpkin sign I made to hang up this year. One SVG: so many decorations!
Let me know what you think down below and I’ll see you in the next tablescape!


Leave a Reply