This post is sponsored by Cricut but all thoughts, opinions and adorable houses are mine.

So you just bought your first Cricut… or maybe it was a gift! Maybe you’ve had it for a year and haven’t even taken it out of the box yet (guilty!) either way when you finally do break that bad boy free from his box like prison vinyl is likely the first project you’ll want to try.
Whether you’re using removable vinyl, permanent vinyl, glitter vinyl, iron-on vinyl… the basic steps are all the same. Now iron-on is a little different (because you’ll need a heat press) but for all of your basic vinyl and transfer tape projects you can use the basic steps in this how to use cricut vinyl tutorial.
For this project I’m going to grab a fun design from the Cricut Access Library… but remember the design itself isn’t the point, learning to use Cricut vinyl is the point! So even though I’m cutting out vinyl to put on teeny, tiny wooden houses you can use the same steps to put vinyl on a wooden sign, or an aluminum sign blank. Of course, if you want to make these specific adorable tiny houses I’ll link all the supplies down below.
Supplies:
- Cricut Maker 3
- Cricut Access
- Vinyl Roll Holder
- Smart Vinyl in White
- Smart Vinyl in Party Pink
- Transfer Tape
- Weeding Tool
- XL Scraper Tool
- Tiny Wooden Houses
- Craft Paint
- Paint Brush
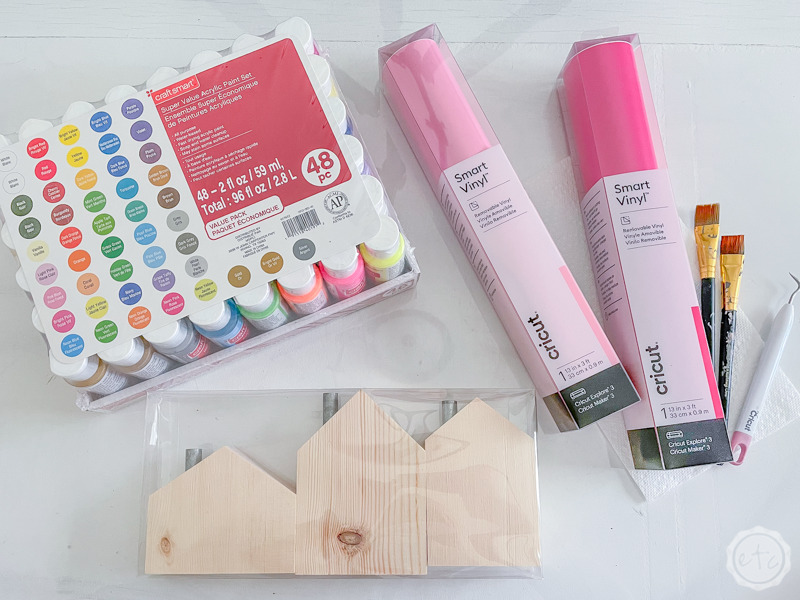
For this project I’ll be using my Cricut Maker 3 and Smart Vinyl (because I’m currently obsessed with cutting matless) but if you have a Maker, a Joy or an Explore Air 2 you can always grab a paper trimmer to cut your vinyl.
Other than putting your vinyl on a cutting mat before putting it in your machine alllll of the steps in this tutorial will be identical.
Enjoy!

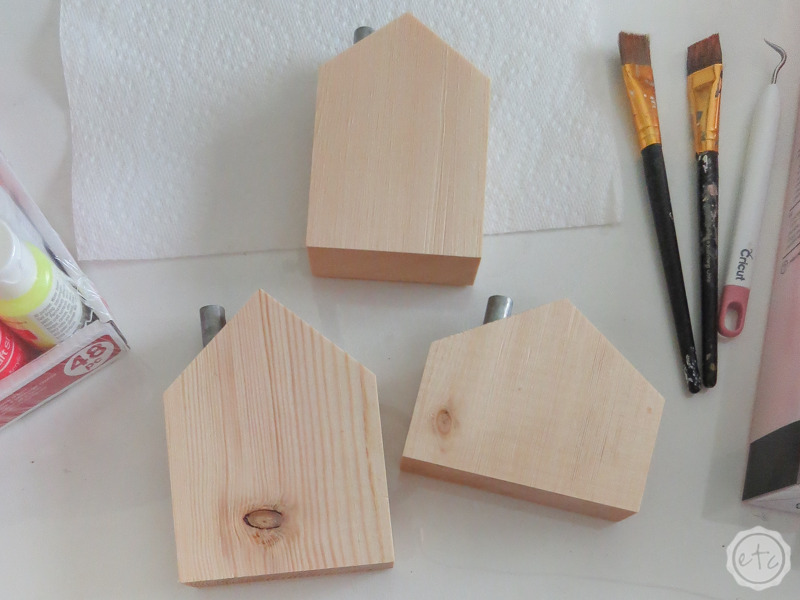
Step 1: Prep your Base
Let’s get started! Now for most vinyl projects (but not all!) you’ll need to prep your base before adding your vinyl. In most cases that means painting your sign and letting it thoroughly dry but not always.
In this specific case prepping your base means to paint your tiny houses!
For other projects that might mean cleaning the glass on a frame or making sure the front of your aluminum sign is lint free.
All in all we want to make sure that our base is clean, dry and ready for vinyl. A little soap and water often goes a long way towards making sure your vinyl will stick.
On the other hand if you’re working with a manufactured base you may need to go the opposite direction and remove a coating in order to apply your vinyl. I’ve found this to be the case in kitchen items: think cutting boards and pot holders. Because they need to protect the surface from grease a lot of these items have a thin coating covering the surface. Instead of soap and water a little rubbing alcohol will usually work to remove that coating and prep these surfaces for vinyl.


Step 2: Prep your Design Files
Once your surface is ready go ahead and grab your design files! In my case I headed to the Cricut Access library and typed in “wooden houses” on the off chance that something would pop up… and it did!
I actually like the tiny wooden houses file so I clicked customize and then copied the files to use… if you’re going to use the files exactly how the appear then you can just work with them right in that design file but I wasn’t a huge fan of the “home sweet home” so I copied the files and opened a new canvas.
I pasted the files and saved them and then headed back to the Cricut Access Library. This time I searched Home Sweet Home and found a version of that saying I liked better… this cute little pillow file! I hit customize and copied that file… then I pasted it in my new canvas with the “tiny wooden houses” file.
Then I simply changed the design I didn’t like for the one I did! Volia!
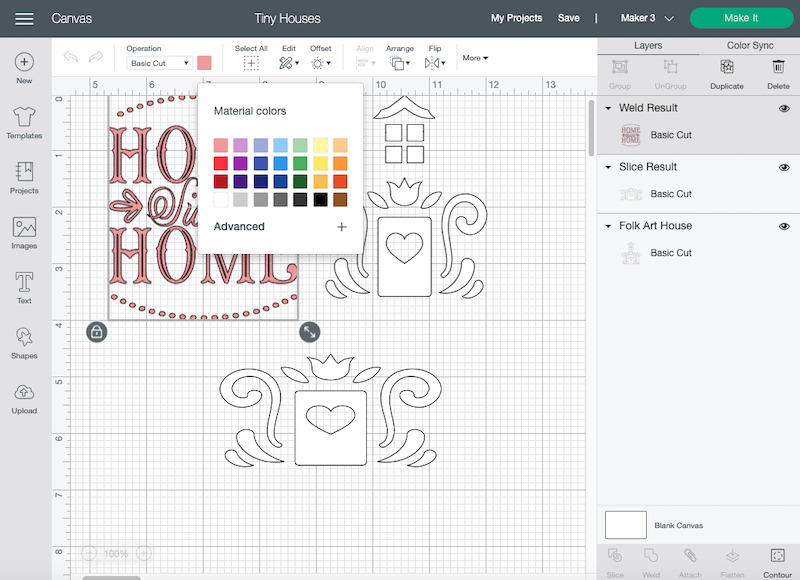
Once your files are ready to go you can use the grid within Cricut Design Space to double check that all 3 house files are the right size for their base. I also like to color coordinate my designs to the color of vinyl I’ll be cutting out so that they appear on separate mats within the system (one for the pink vinyl and one for the white vinyl). Otherwise all 3 designs will appear on the same cutting mat which would make it hard to cut them out of different colors.
If you’re unsure how to do this it’s easy. Simply select which design you want to color and then hit the little color icon in the top toolbar. It’s a little square to the right of the operation tab that shows the current color. This will give you a whole bunch of color options to change it to! Pick the one you like and you’re good to go.
Once you have your design file ready to rock and exactly how you like it (all the right files, sized properly and color coordinated for easy cutting) then we’re ready to move on to the vinyl!

BONUS TIP: Confused about all of the different Cricut words and the operations? Not sure how to change colors or use your toolbars? I’ve written a post just for you! It goes over every single Cricut vocabulary word so you know what they all mean! Still confused? Check out my detailed guide to Cricut Design Space to see an overview of all the toolbars and what they do.

Step 3: Load your Vinyl
Let’s load some vinyl!
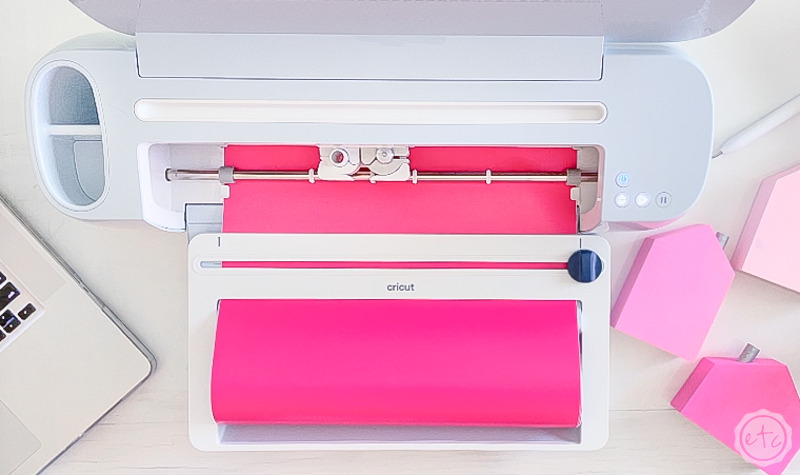
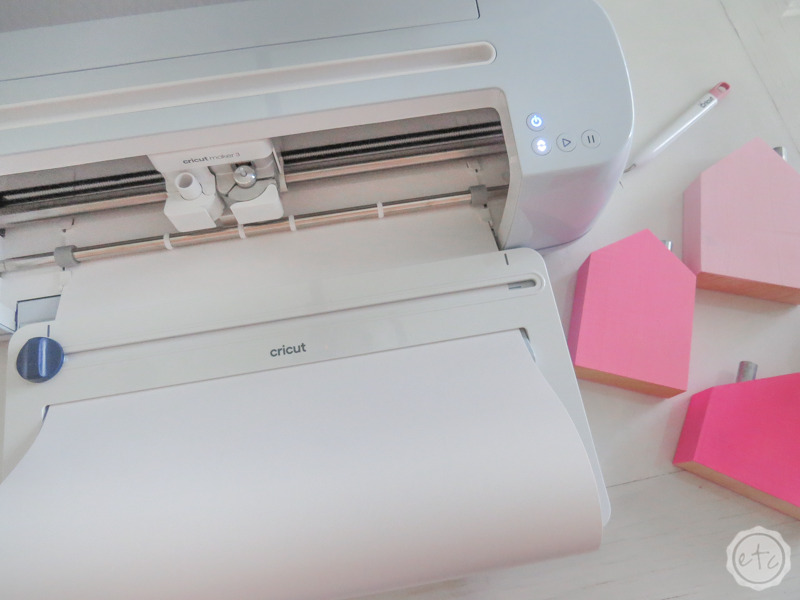
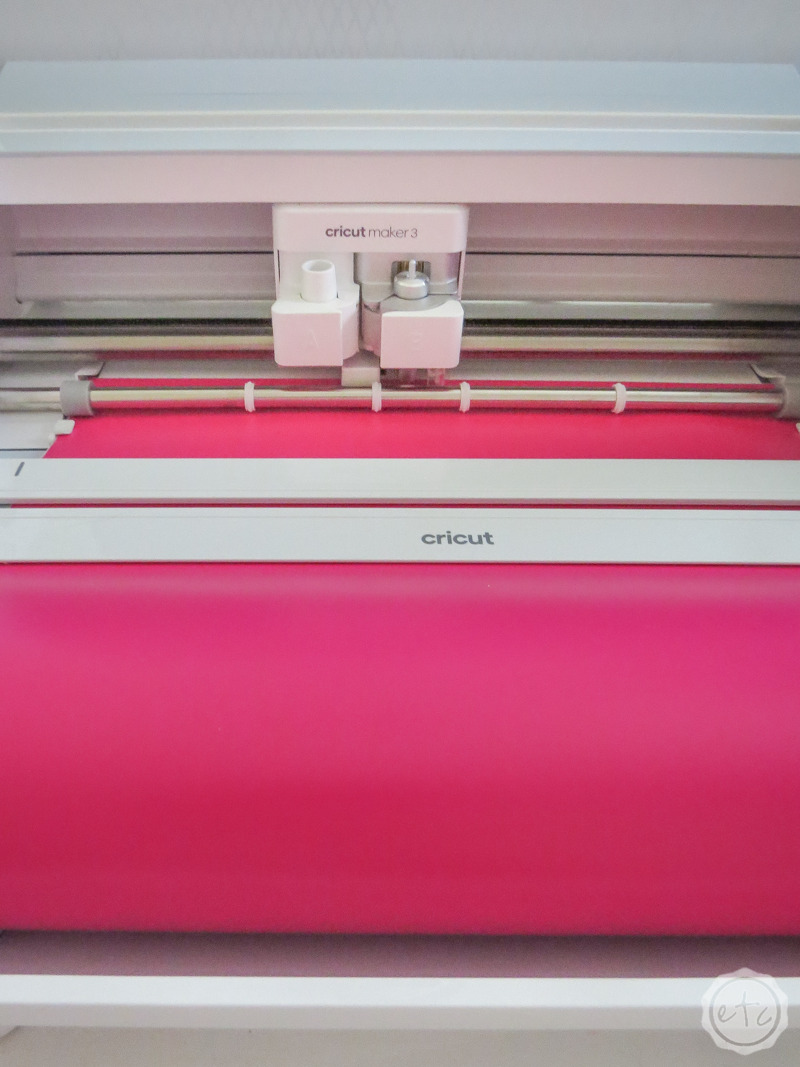
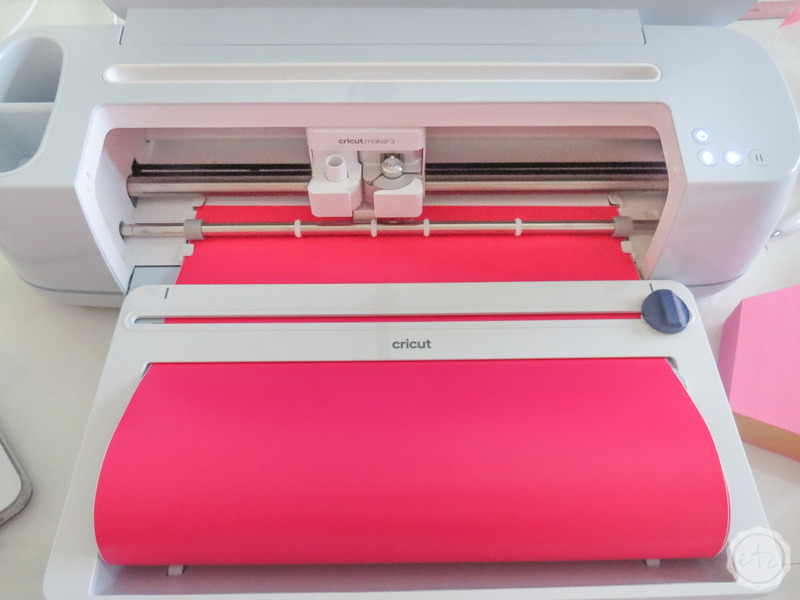
In this case we have two colors: party pink and white. Since I’m using my Maker 3 I simply moved my roll holder into place and then threaded my first color (pink!) through the roll holder and into my machine.
If I was using my Maker, Explore Air 2 or Joy I would grab a standard grip mat and load my vinyl onto it. Since we have smaller designs here you’ll want to cut a piece of vinyl to go onto your mat and then smooth it down with a brayer or scraper.
Then load your mat into your machine!
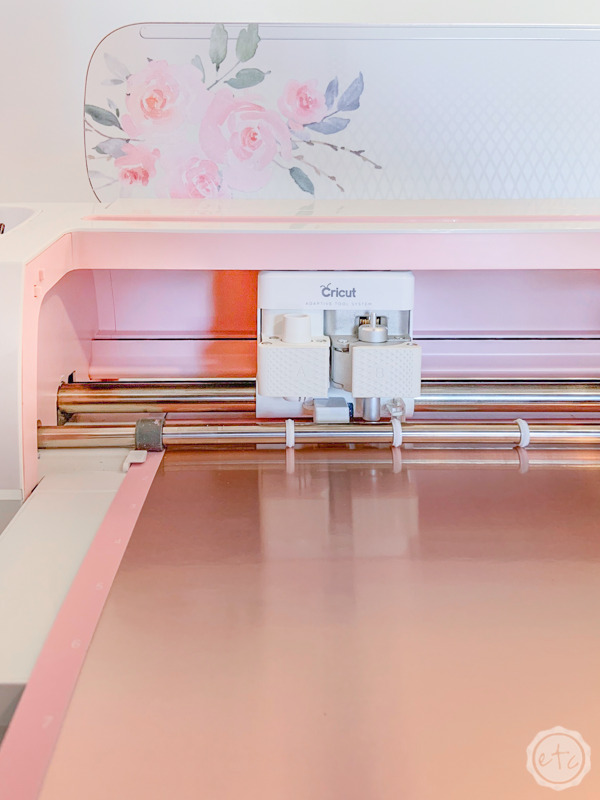
See the difference in the matless setup up above vs the cutting mat loaded with vinyl and my Maker down below? We’ll get the same end results here (perfectly cut vinyl) but if you don’t have a machine that cuts matless (with smart vinyl) then make sure you’re loading your vinyl onto a cutting mat first!
Step 4: Cut your Design
Now that we’re loaded and ready to go let’s do this thing!
Hit make it and follow the prompts… the first one one is this little screen asking you how you’re loading your materials for this project.
I’m using smart vinyl so I clicked “without mat” on the left.
If you’re using a cutting mat then click “on mat” in the middle.
If you have a roll of smart vinyl for your white and a roll of regular vinyl for your pink then click “multiple ways” and you’ll select mat/no mat individually for your colors.
Once you’ve selected your mat click done. Then double check that your cutting mats look good to go!


In this case, you want to make sure that the designs are all together (welded or attached) so that you can transfer them as one piece.
Since we’re using Cricut Access files this is already done for us but if yours aren’t together go back to design space, select the entire design that isn’t together and then click weld or attach in the right hand menu.
Other than that our files should look good… click continue!
Now we’re on our last page… settings! Set your base material to Smart Vinyl- Removable (or just removable vinyl if you’re not using smart materials). From there Cricut Design Space will determine that you need a fine-point blade… go ahead and load that into your machine if it isn’t already and click go!
Your machine will prompt you to load your vinyl (click the load button) and then once it’s loaded it will prompt you to click the go button (either the flashing light on your machine or the prompt on the screen).
Now just sit back and let your machine do it’s thing!
Make sure to switch colors once the first cut is done… and then once both designs are cut you can always cut off the excess vinyl and put it away with the rest of your roll.


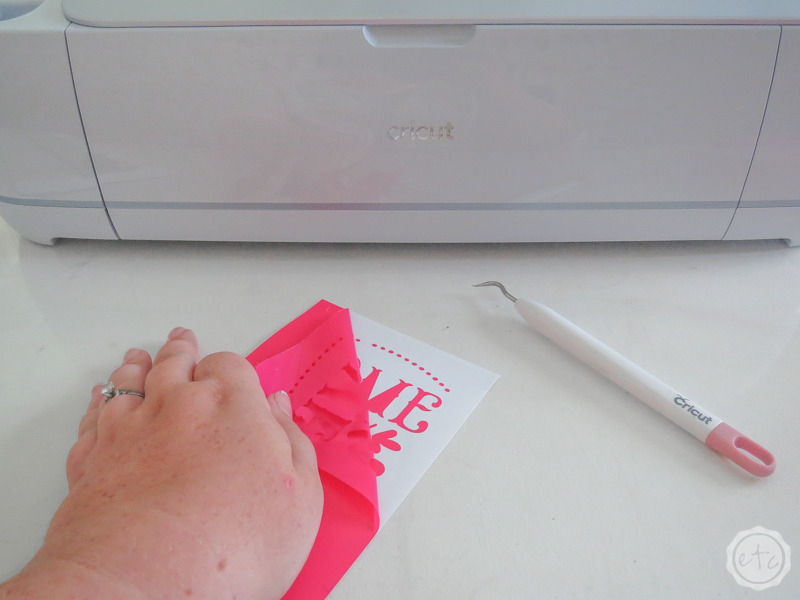
Step 5: Weed your Design
Once your design is completely cut out you can put your machine away… now it’s time to work on the vinyl! We’ll start by weeding our design.
If you’ve never weeded cricut vinyl before it’s pretty easy. I like to start by removing the background. So grab a corner and slowly pull it down and off your piece. In most cases you’ll see the design stay on the white carrier sheet while all the negative parts of the design come free… but sometimes those pesky little parts of the design try to come along for the ride.
So watch as you go and if you see part of the design start to come up make sure to stick it back down.
Perfect!

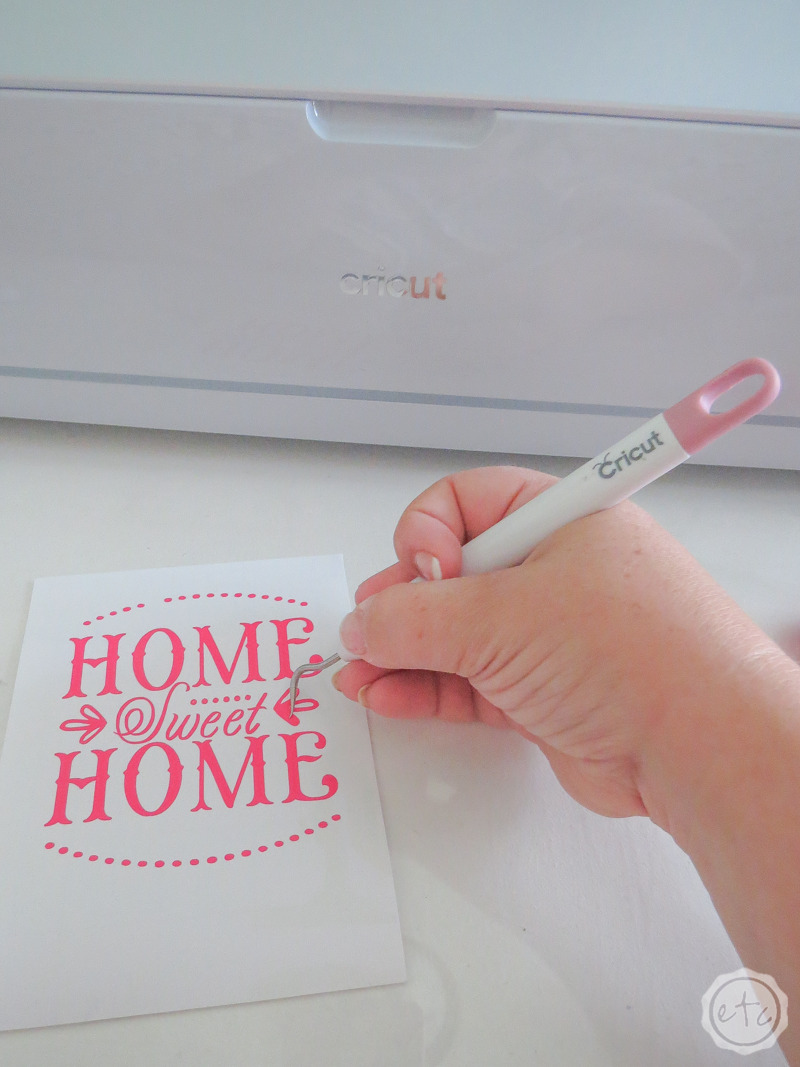
Once you have the background removed you can take your weeding tool and remove allllll the teeny tiny little details. Things like the inside of the o or the heart on the door.
Using a weeding hook to pierce the vinyl and remove it is pretty easy but on some of those little tiny details piercing the vinyl without hurting the design can be difficult. In those cases I simply place my weeding hook on top of the small piece and wiggle it back and forth until I see the small piece separate from the design.
Then I can grab it with my fingers or a small pair of tweezers if it’s really tiny.
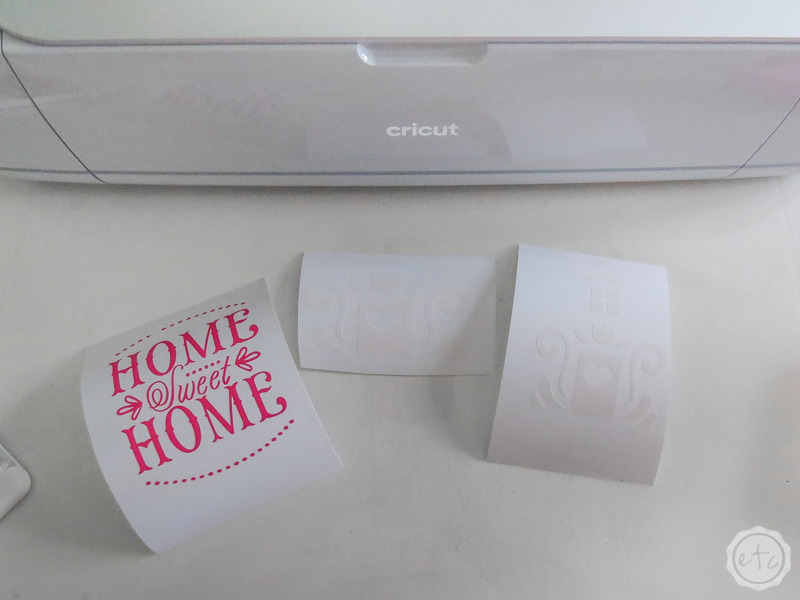
Once you have alllll of your design weeded we’ll move on to the next step!
Step 6: Apply your Transfer Tape
Transfer Tape! If you’ve never used Cricut transfer tape before it’s literally going to be your new best friend. It’s the invention of a lifetime that lets you take alllllll those little circles and move them onto your project in one fell swoop.
It keeps everything lined up and looking pretty!
To start with go ahead and cut a piece of transfer tape that is big enough to cover your largest design… you can re-use transfer tape a few times so by cutting the piece large enough for our biggest design we’ll be able to use it on all 3 designs.
Then simply remove the tape from it’s backing and (using the grid) line up the transfer tape with your design… then press it down. I find that smoothing the tape down from the middle lets you lay it down smoothly without introducing any wrinkles or bubbles.
Score!
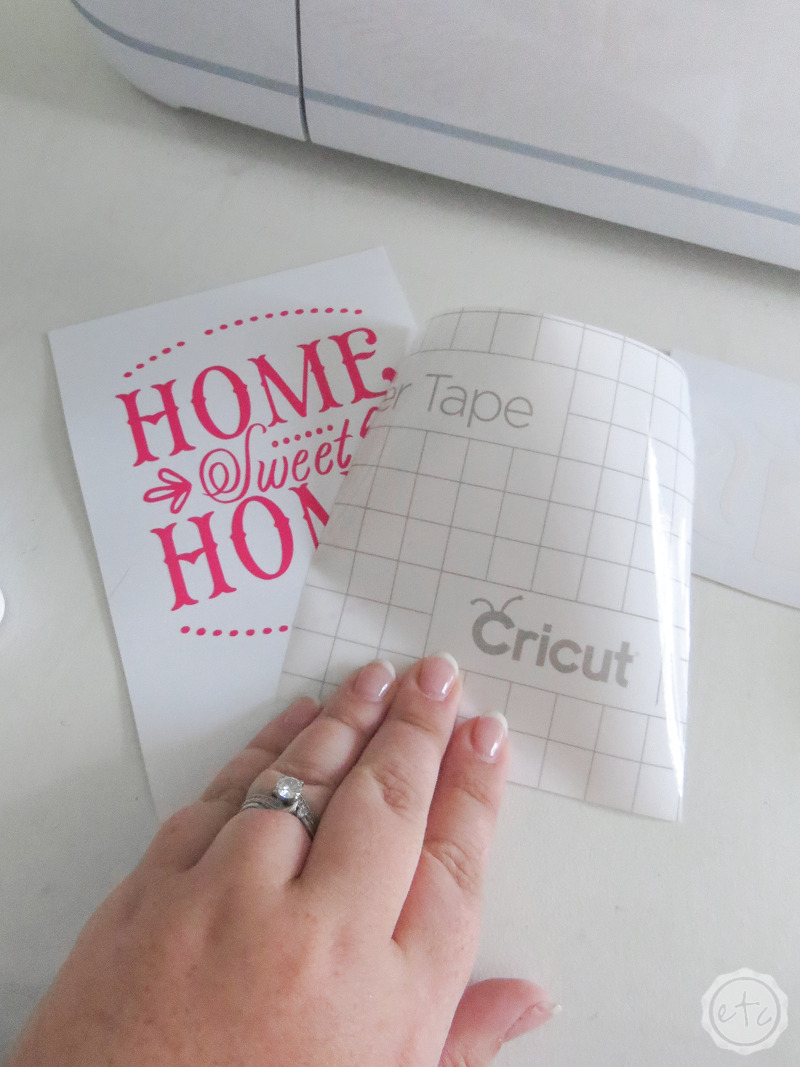
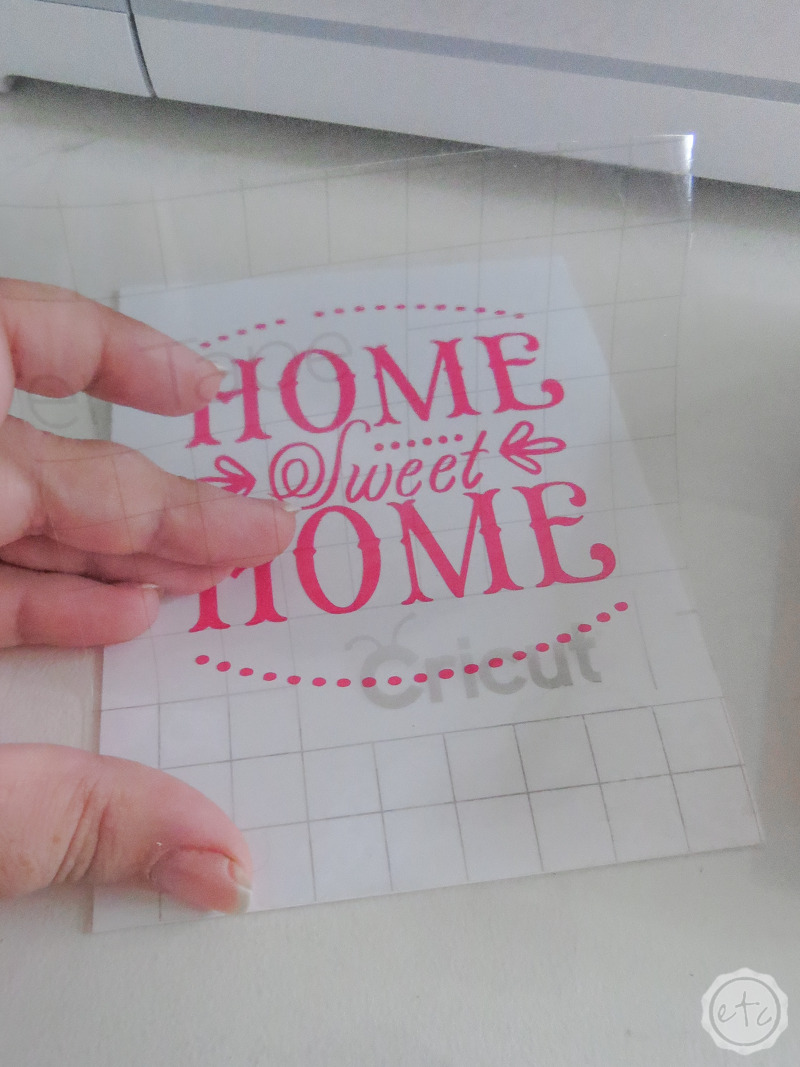
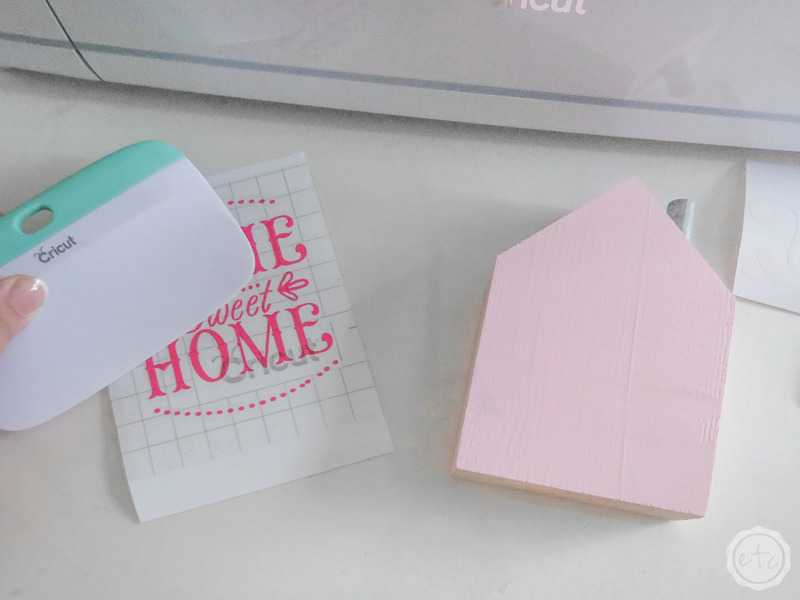
Now that you’ve laid down the transfer tape grab your smoother tool and go over every. single. detail. This is called burnishing… when you really press down the transfer tape onto the design so that everything will lift up together.
Make sure you burnish the design really well so that it comes up without any trouble… although you can always burnish as you go if need be. Pay special attention to the little characters (like the dots) and you’re good to go!
Volia!

Step 7: Peel up your Transfer Tape & Design
Now that everything is burnished and ready to rock let’s peel up that transfer tape and get this show on the road!
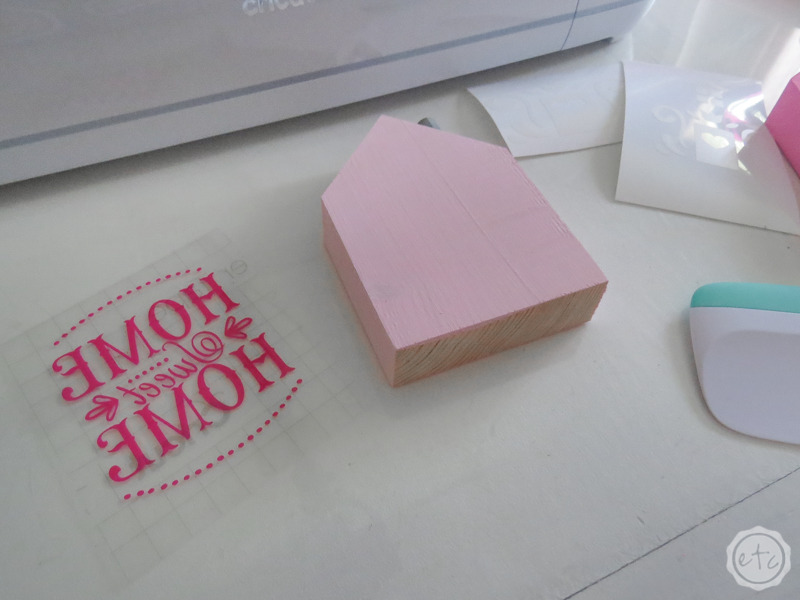
Go ahead and grab the corner… then slowly peel your transfer tape (and your vinyl) off the carrier sheet. Watch the design as you go and if parts of your vinyl design aren’t coming along properly you can always lay the transfer tape back down and re-burnish them onto the transfer tape.
Sometimes I find that the smaller pieces need to be burnished immediately before they’re removed (no matter how well you burnished them before).
After the entire design is finished you’re good to go. Let’s put our little design onto our little wooden house!

Step 8: Apply your Design to your Base
In this case lining the design up is that easy… use the guides to line up your design with the outside of your little wooden house. Then slowly push the design down starting in the middle and working your way out. You definitely don’t want any bubbles or wrinkles in your transfer tape on this step… that will distort the final image!
Once everything is smoothed out and ready to go it’s back to burnishing!
This time we’re going to burnish the vinyl onto our base… so grab your scraper and really push the vinyl down onto the little wooden house.
Perfect!
Then grab the corner of the transfer tape and slowly remove it leaving behind the finished product!
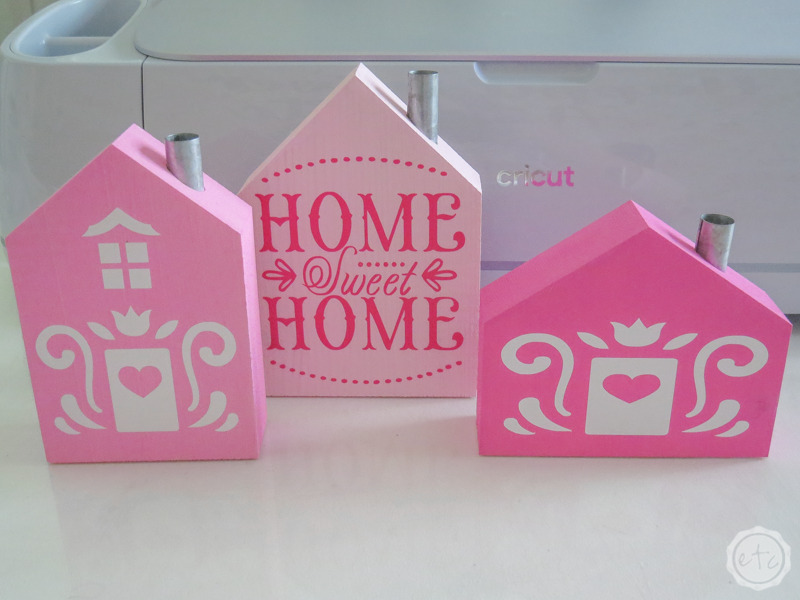
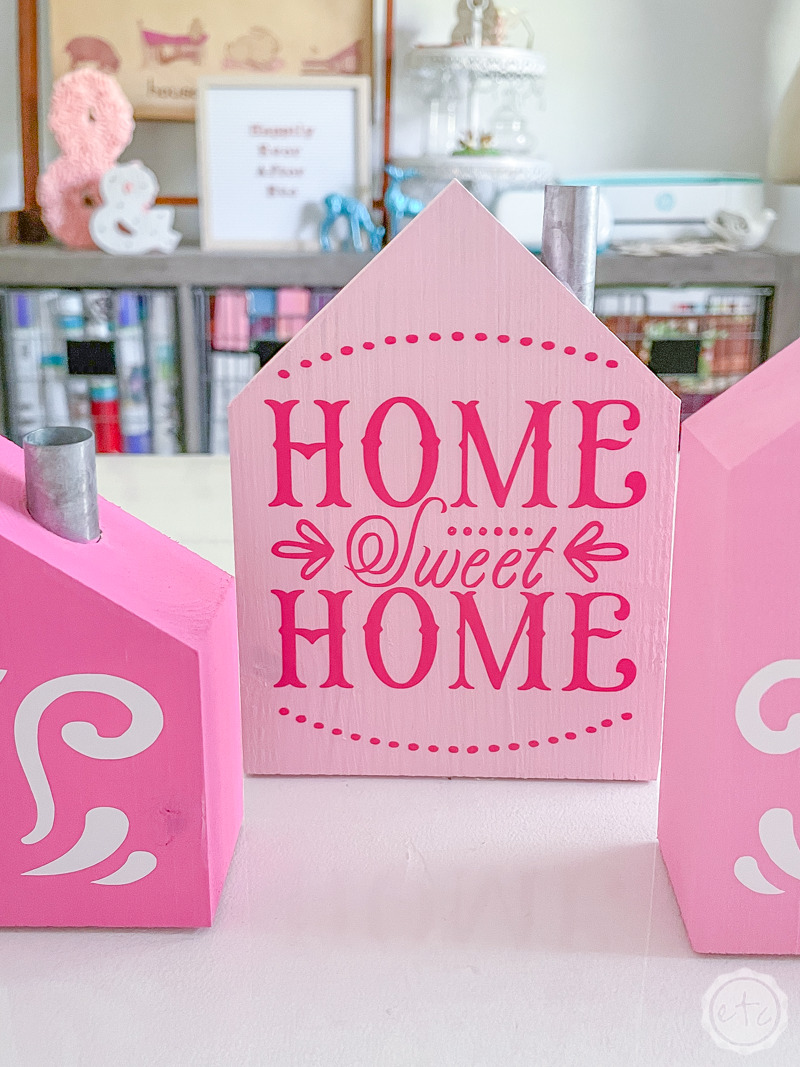
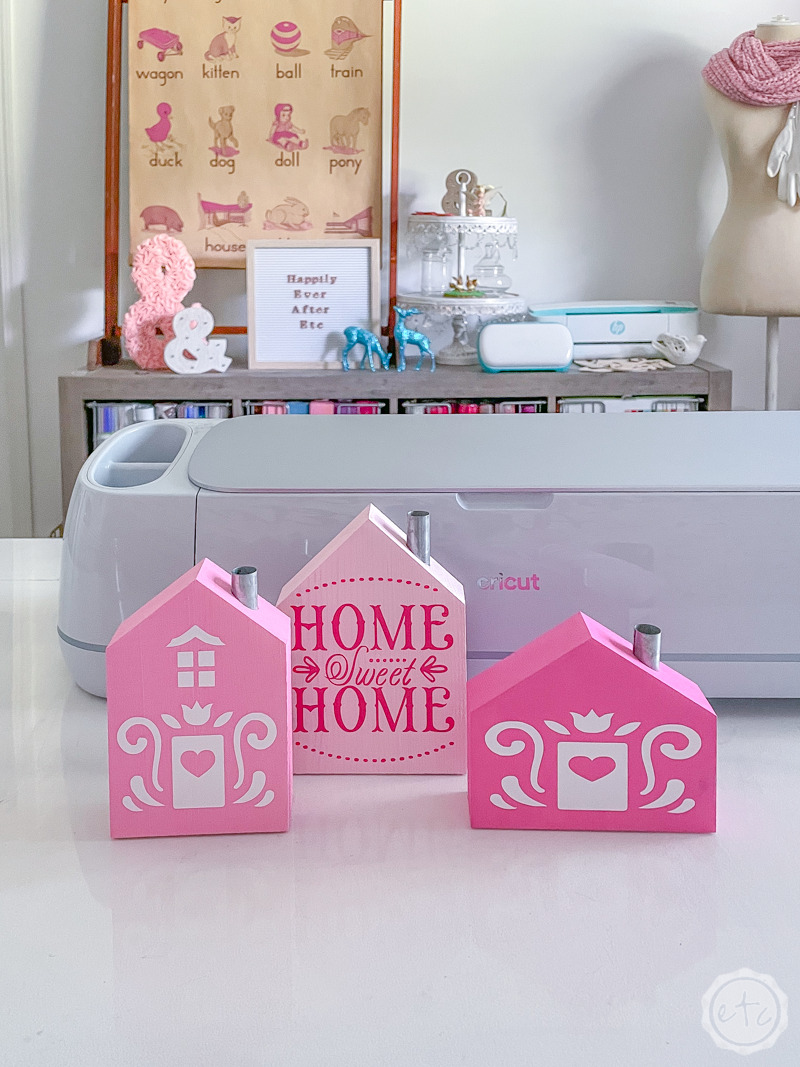
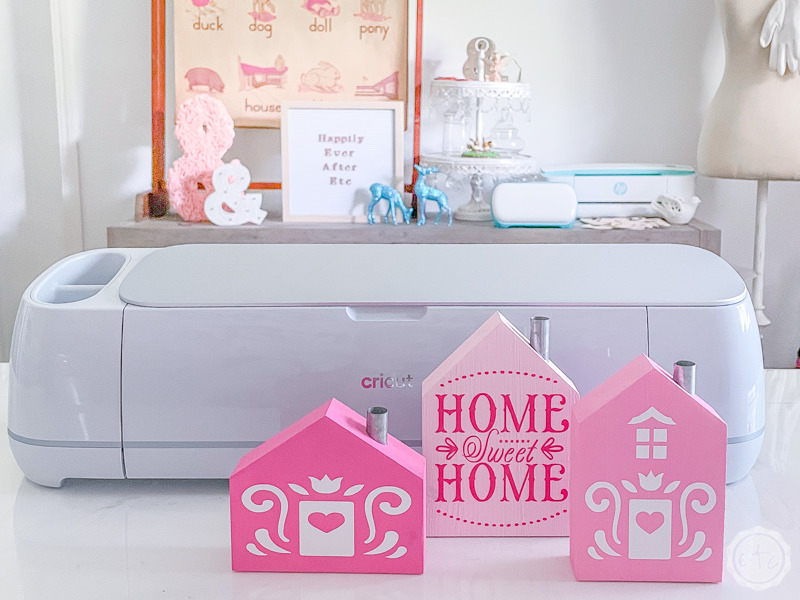
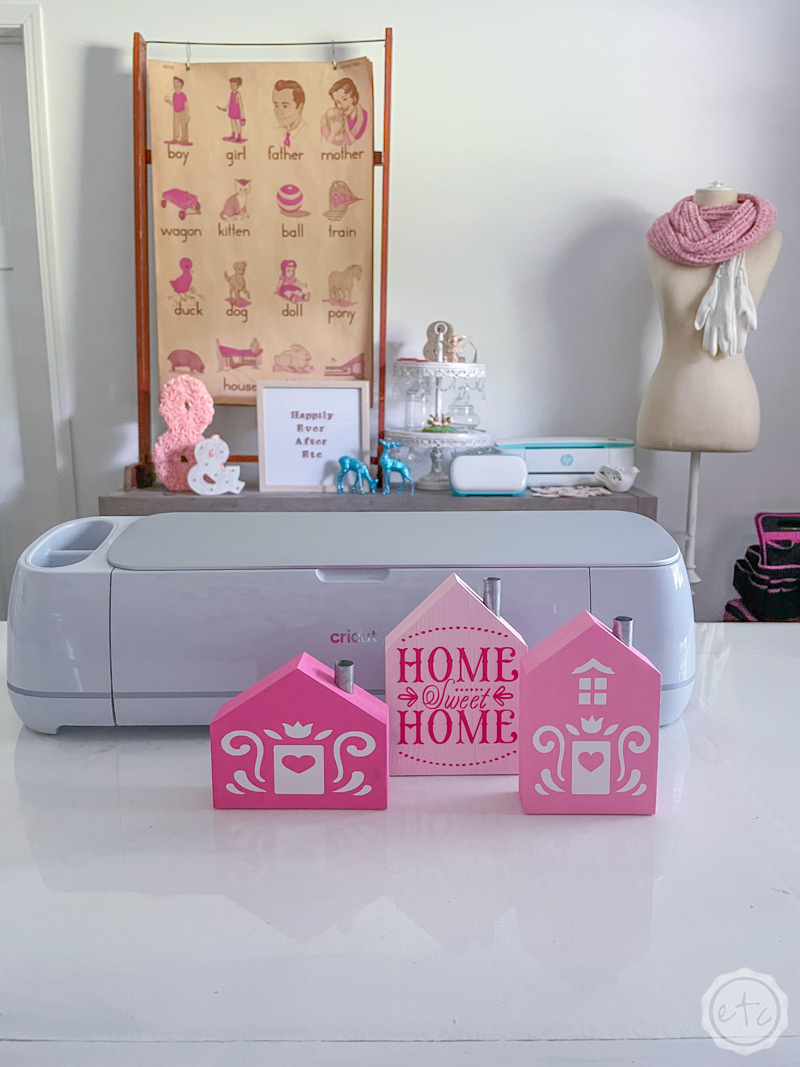
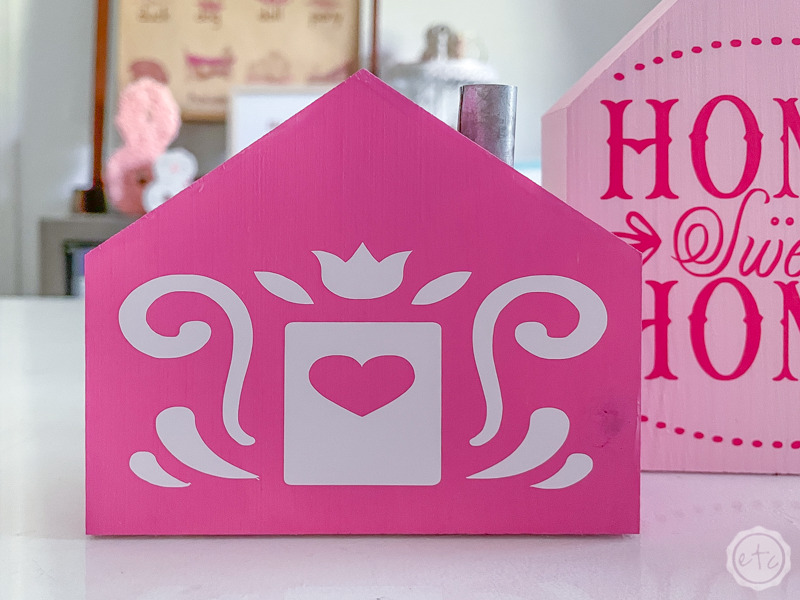
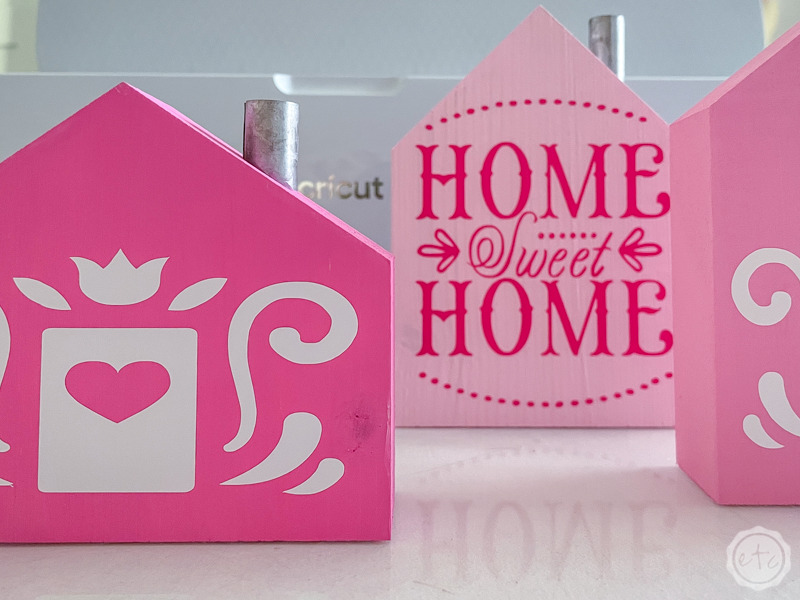
An adorable little wooden house with a fun design!


Step 9: Enjoy!
At this point we’re finished! Go ahead and use your transfer tape to repeat steps 6-8 with the other two houses and transfer the little white doors onto their bases. Then you can set these babies up and enjoy them!
Just think… what else could you make with vinyl? The possibilities are endless!



Get Your FREE PDF Guide!

Don't forget to snag your free PDF Guide to buying your first Cricut!


Leave a Reply