Okay y’all I have had so many questions lately about planners… probably because I am obsessed with mine and spend so many hours talking about it here! Of course, with allllll the different planners out there (and the different planning styles!) there’s no way to cover every single one… but I’ll do my best to talk about the different planning systems, planner accessories and even planner stickers.
If you watch my weekly plan with me videos, have bought one of my fully loaded travelers notebooks (or printable planners!) or just follow my instagram feed you know I’m a planner girl at my core. Just to fill the rest of you in though I am currently using a 5 planner system.
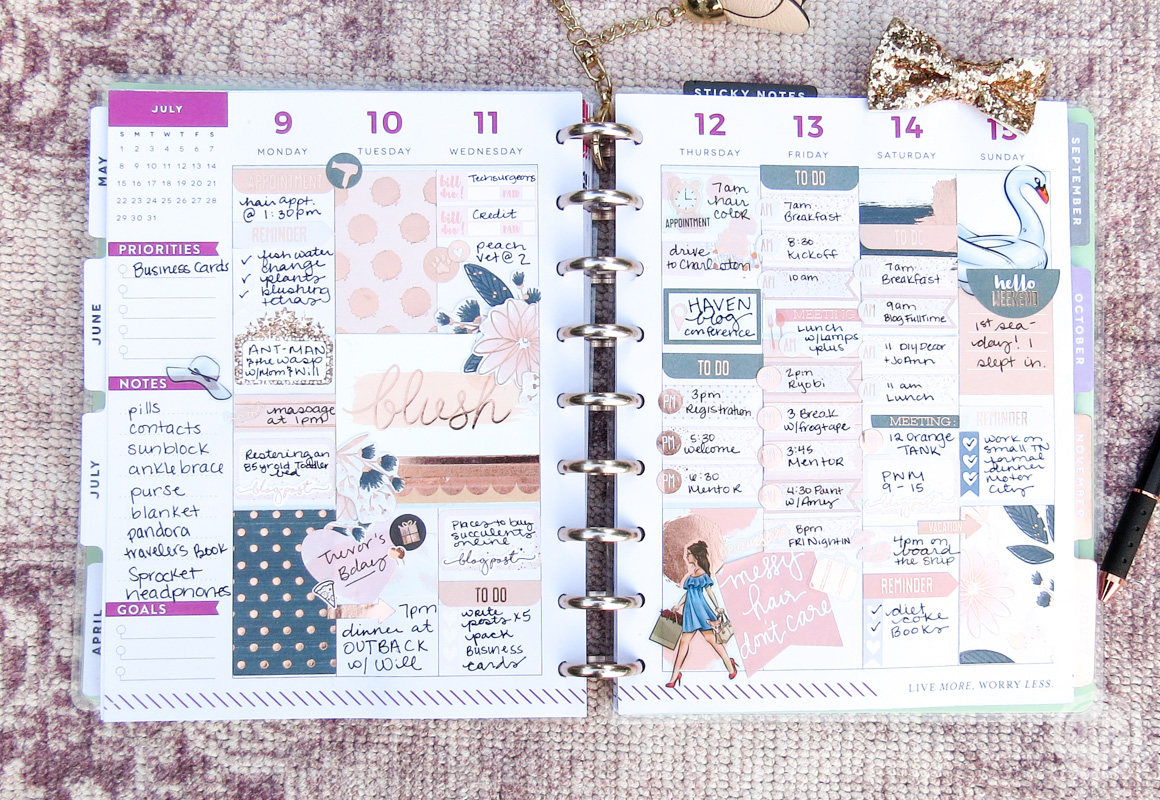
My classic happy planner (that’s 1!) is my weekly planner (this is where I write my appointments, bill due dates, all the normal jazz). I have a pocket sized travelers notebook for my on the go planner… this baby has my shopping lists, basic appointments, budget planner etc. Then I use a large A5 Pelle Studio as my blog/business planner on my desk… this baby has a running to-do list, blog post ideas, sales tracker… all the fun stuff I need to track for my business.
Planner 4 is a planner society pocket sized TN that I use as a product planner. It’s the perfect place to plan out my digital products (like my wedding binders) and physical products (like the fully loaded travelers notebooks for sale in my shop!). Planner number 5 is my large happy planner that I use as a daily journal.
Of course, if you want to get really technical I do use a mini happy planner as a notebook at blog conferences and a Pelle Studio travelers notebook (pocket sized) as a scrapbook for my cruise vacations but those aren’t part of the normal day to day rotation.
It may seem like a lot but as a business owner I wear all-the-hats and staying as organized as possible makes all the gears turn. Think of my 7 planner system as a resume for this list of all the planning info you could ever ask for!
If you can think of anything missing from this list leave me a comment or shoot me an email! I’d love to make this list as comprehensive as possible!
Planning Systems
Before we get into all the accessories and fun little odds and ends we have to start out with the actual planning system. Whether you’re into a ring-bound planner, travelers notebook or spiral bound planner there is a planner that will make sense for you.
The best part about planning is there’s no wrong way to plan. I love rose gold and all. the. little. bits. and. pieces. It makes me happy and therefore I’m more likely to actually pick up my planner and use it… remember that’s the main goal here! A pretty planner is absolutely useless if you use it as a paper weight.
My bestie uses a happy planner (like mine!) but she simply writes in the boxes! No stickers, no paperclips, no fancy foil… but it works for her! Remember that when this post gets long and overwhelming. I’m giving you all the pieces but you’ll have to decide how they work best for you.
Disc Bound Planners
When we talk about a disc bound system it’s because the entire planner rests on round discs. A classic happy planner has 9 round metal discs and the pages are punched to fit neatly over the discs! I absolutely love this system because unlike spiral bound systems it’s easy to punch a piece of paper and add it in.
I often punch invitations, appointment cards, addresses, sticky notes, etc to add to my planner. Punch it and in the planner it goes! I love how these little planners can be so easy to customize.
Of course, once we move away from the discs we get into the actual planner. I use a Happy Planner which is a disc bound system which specializes in bright, fun designs. Another big name would be Arc which is a more streamlined planner system (my hubby actually uses an Arc planner… it’s perfect for someone who wants lines to write on and not a lot of fan-fare).
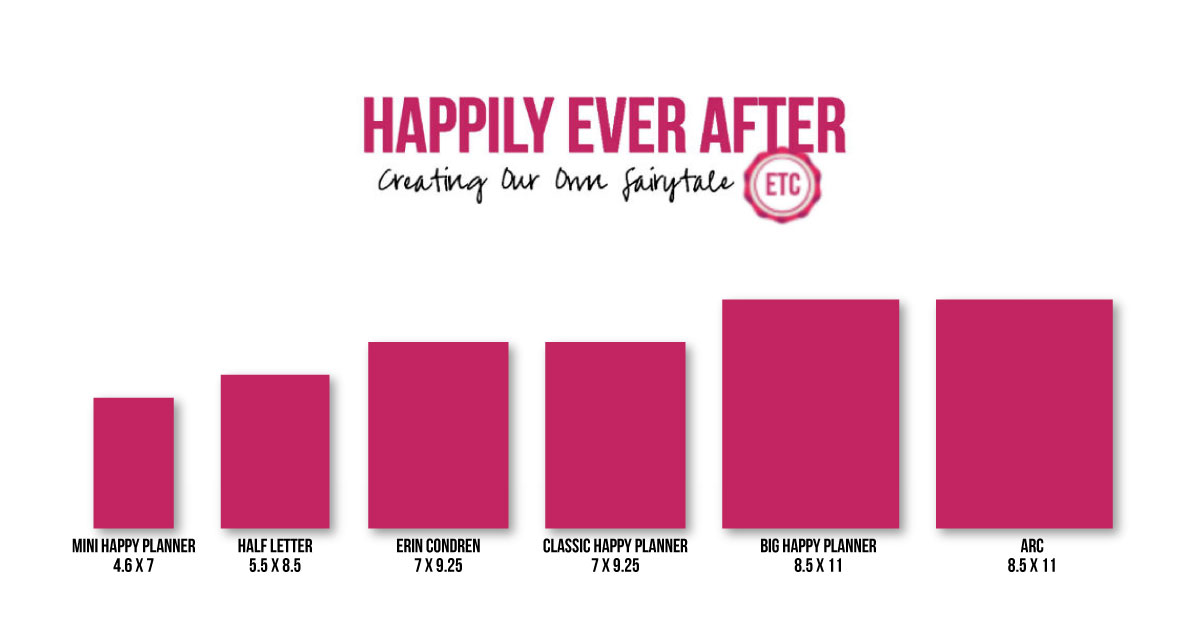
The Happy Planner actually comes in 3 different sizes: mini, classic and big while the Arc system comes in a mini and big size (that are fairly comparable!). So depending on what you’re looking for they cover a wide range of sizes.
Spiral Bound Planners
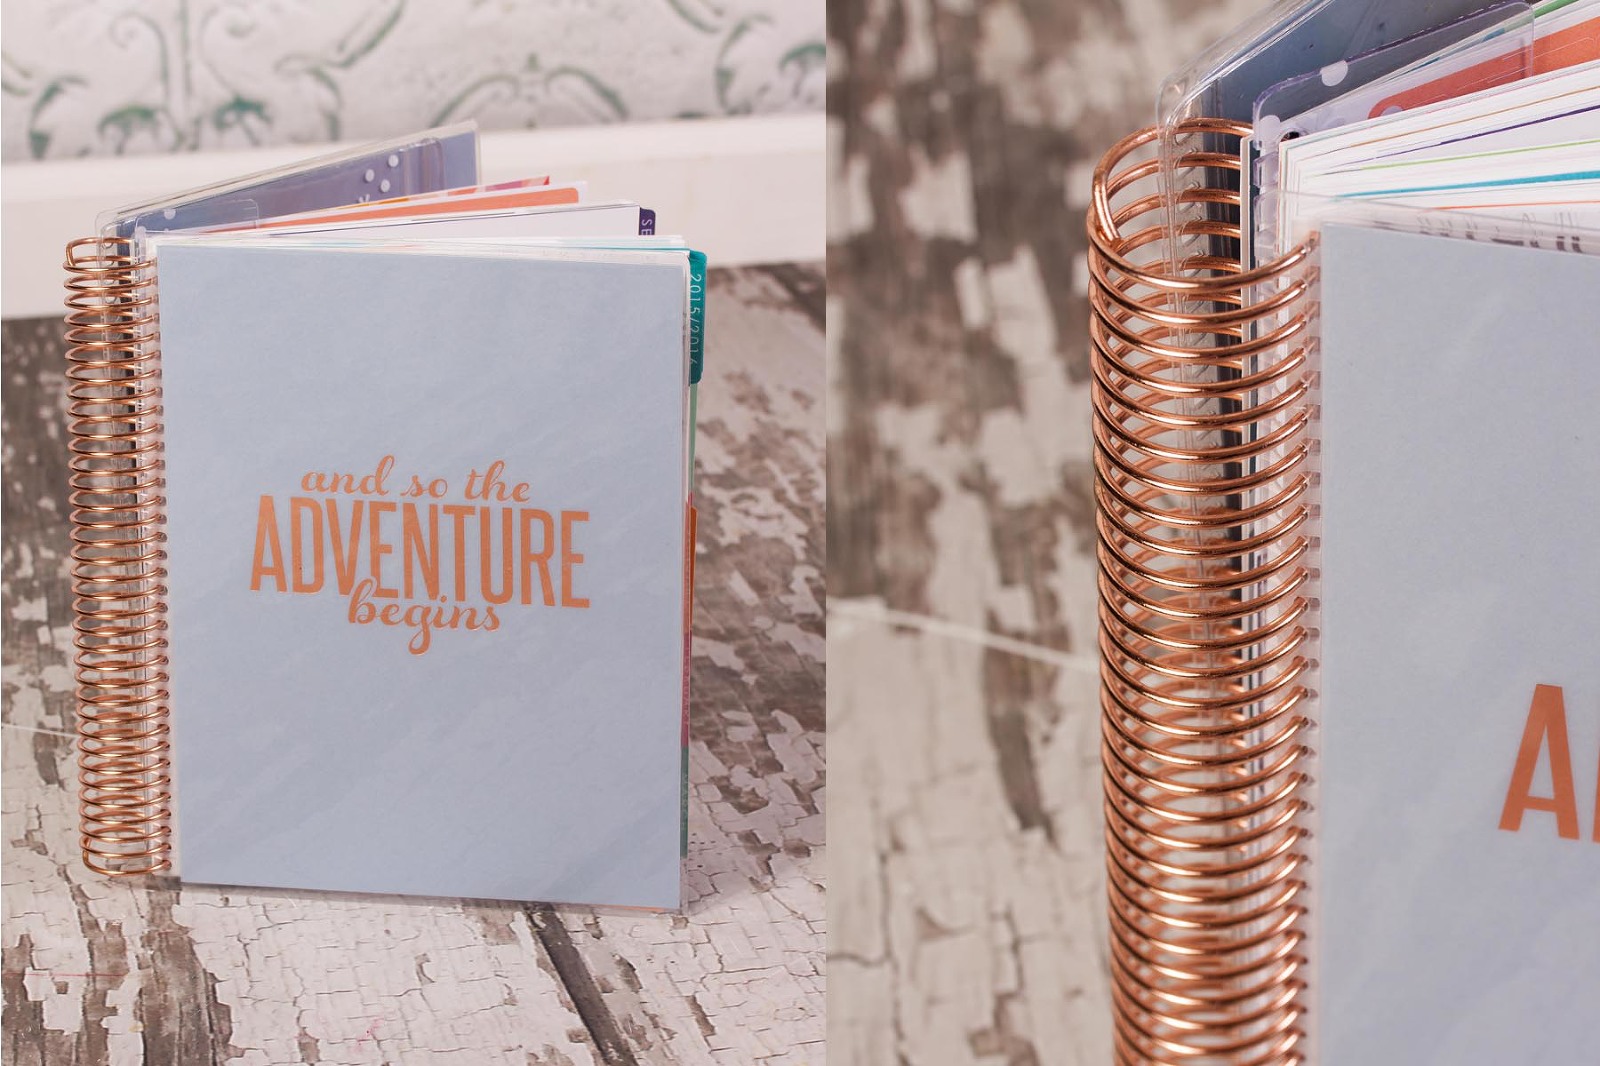
Alright y’all now we’re talking about spiral bound planners… these are just what they sound like. A planner with a spiral coil binding the edges. Erin Condren is a huge name in the planning community and she makes beautiful spiral bound planners… Recollections at Michaels makes a more affordable version.
The best part about a spiral bound planner is it’s all easily contained… you don’t have to worry about pages falling out or flipping from one page to another and having the pages get stuck. A few cons of this type are that you can’t necessarily add pages and the spines are notorious for getting a little dinged up.
If you are the type of person who likes to lay your planner flat on a desk for easy access this is probably a great option! If you are looking for something to travel with just be aware that the corners probably won’t stay as sharp as they once were.
The Erin Condren spiral planner comes in a classic size while the recollections planner does offer a classic and mini so keep that in mind when picking!
Ring Bound Planners
A ring bound planner is probably the most common planner for non-planner girls… I used one of these bad boys all the way through high school and college.
They come in all different shapes and colors now (this rose gold Kate Spade ring bound planner tempts me every time I see it) and are easy to use and find supplies for.
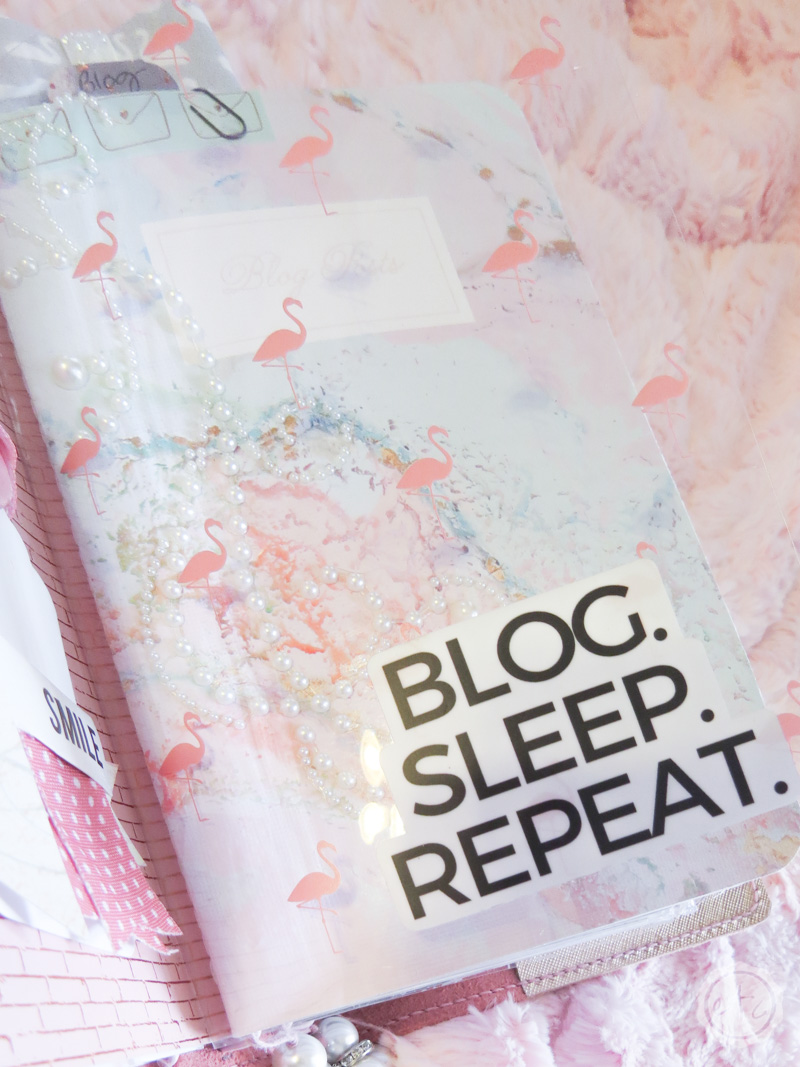
It’s a great gateway planner although with all of the planners out there these days I see more and more of them being used with all the bells and whistles… just check out all the fun little odds and ends in the planner up above! A basic ring bound planner works like a standard binder… typically their are 6 brackets that open and close in the middle of the planner that hold the pages.
A bonus for ring bound planners is that they usually have a durable case (some of them even zip!) so if you’re looking for a planner to take with you this might be the ticket. The ring bound system doesn’t make it quite as easy to move pages around but it is possible. Plus if you’re the type of girl who likes to move her inserts from planner cover to cover (say with the seasons?) it’s fairly easy to pop open the rings and move the entire stack of pages to a new ring bound planner.
The con is that they’re typically smaller than a Happy Planner or Erin Condren and if you’re like me you may get your fingers smushed on a regular basis.
I’m clumsy!
Travelers Notebooks
Okay now we’re talking about my new favorite planner (and by new I mean I’ve been obsessed with these for a couple of years). Travelers Notebooks are the best option for someone who wants to completely customize their planner.
A brand new travelers notebook comes as the cover complete with elastic strings… and that’s it. Typically there are 4 elastic strings in a standard notebook (although some can have as little as one or as many as 6) and you slide your inserts through the elastics to hold them in place.
You can watch a setup I did for one of the TN’s in our shop if you’re confused… it makes complete sense once you watch it but it’s a little confusing to read!
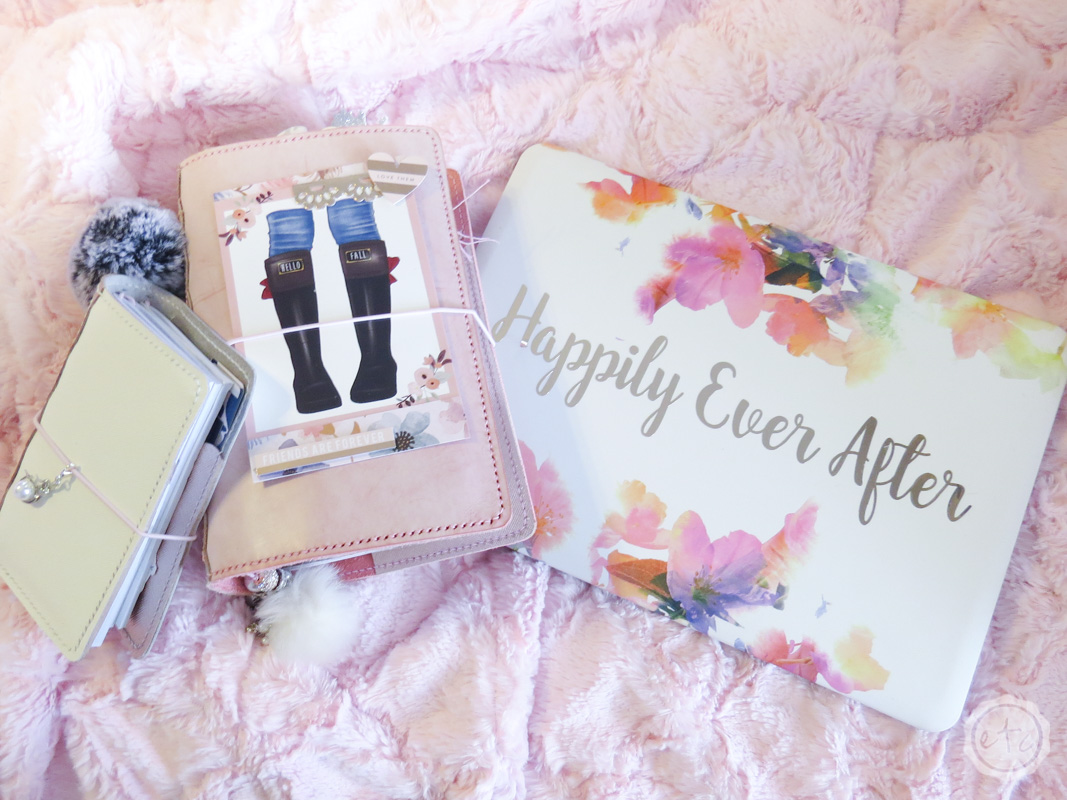
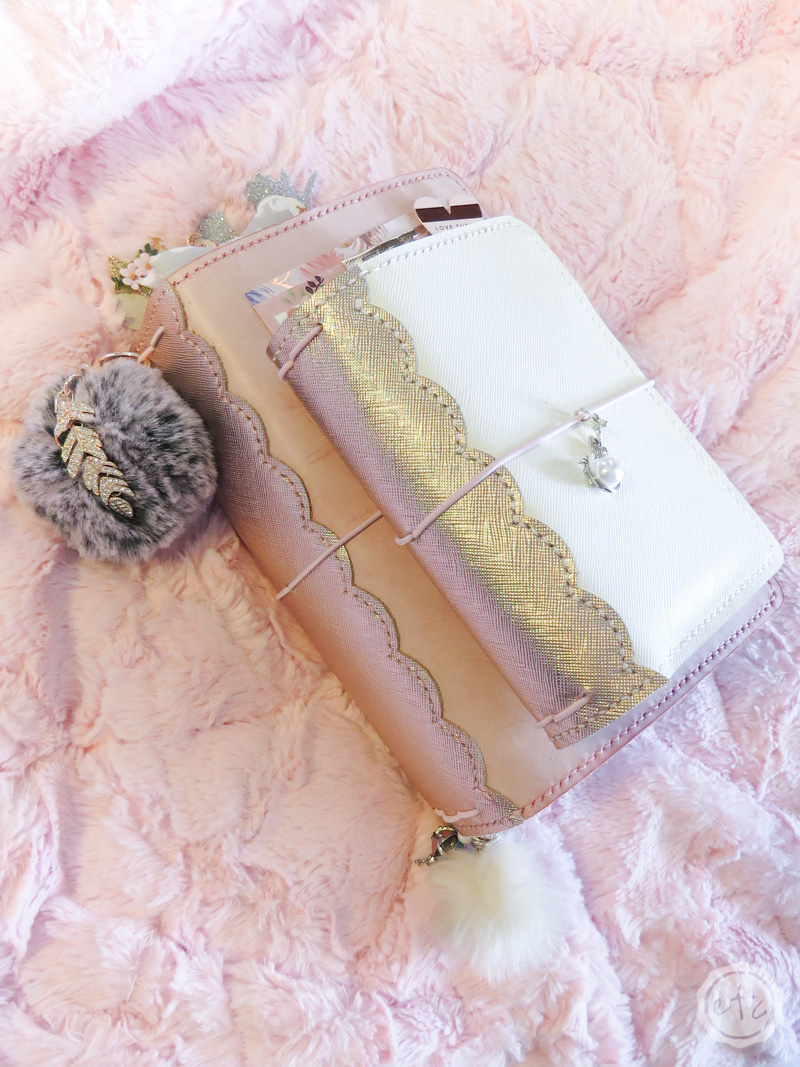
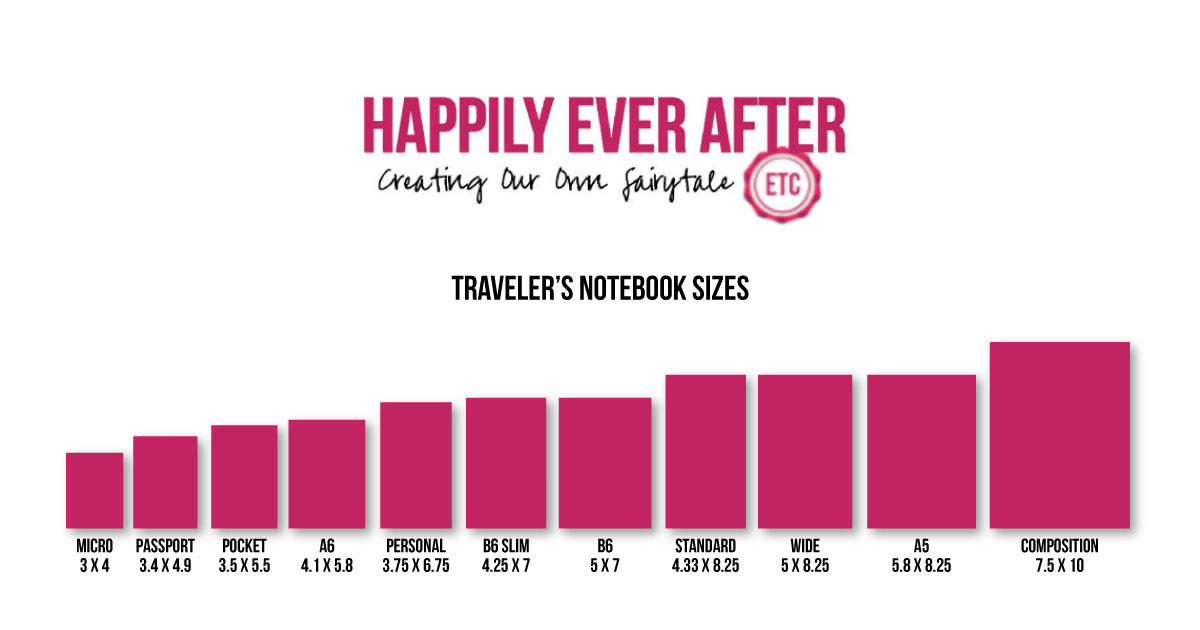
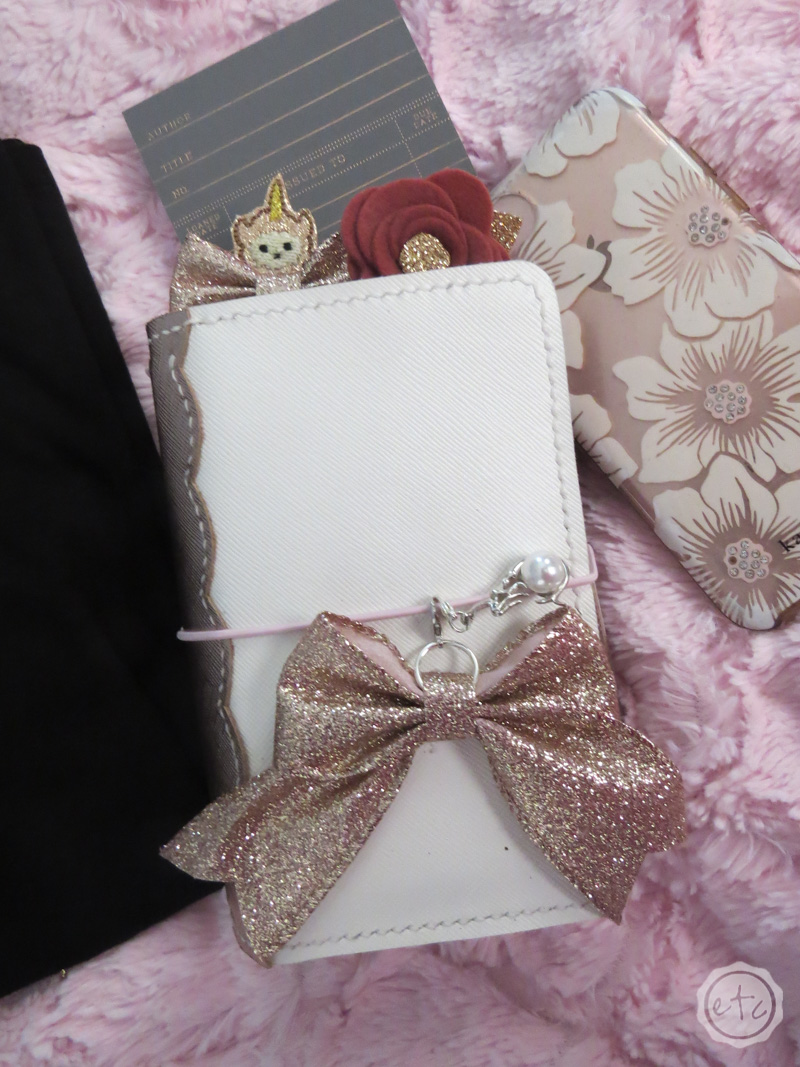
Of course, with travelers notebooks there are almost as many brands as there are sizes. I’ve made a quick graphic to show alllllll the different sizes. Unfortunitely until you’ve tried one it’s hard to say exactly which size you’ll love to plan in… I always suggest making a mock-up with paper before investing in a leather cover so you can see roughly what size you like. For reference my large pink and rose gold Pelle Studio TN in the photo above is an A5 while the smaller white and rose gold Pelle Studio TN next to it is a pocket TN.
See the size difference?
Of course, there are about as many travelers notebook brands as there are apples (I couldn’t think of a comparison that was relevant and had a lot of options… just go with it!). My favorite are Pelle Studio, Foxy Fix, Webster’s Pages… and (of course) the ones I sell in my shop!
I mean just look how pretty!
Planner Accessories
Alright y’all, if you made it through this far you must be ready for all the sparkly shiny a-c-c-essories! You might be a planner girl if you love a good floral paperclip!
Of course, when you look at accessories there are two different categories: form and function. Some of these little guys are super functional, some are super adorable… the best of both worlds is when something is both super functional and super adorable.
That’s when you’ve hit the jackpot!
Bookmarks
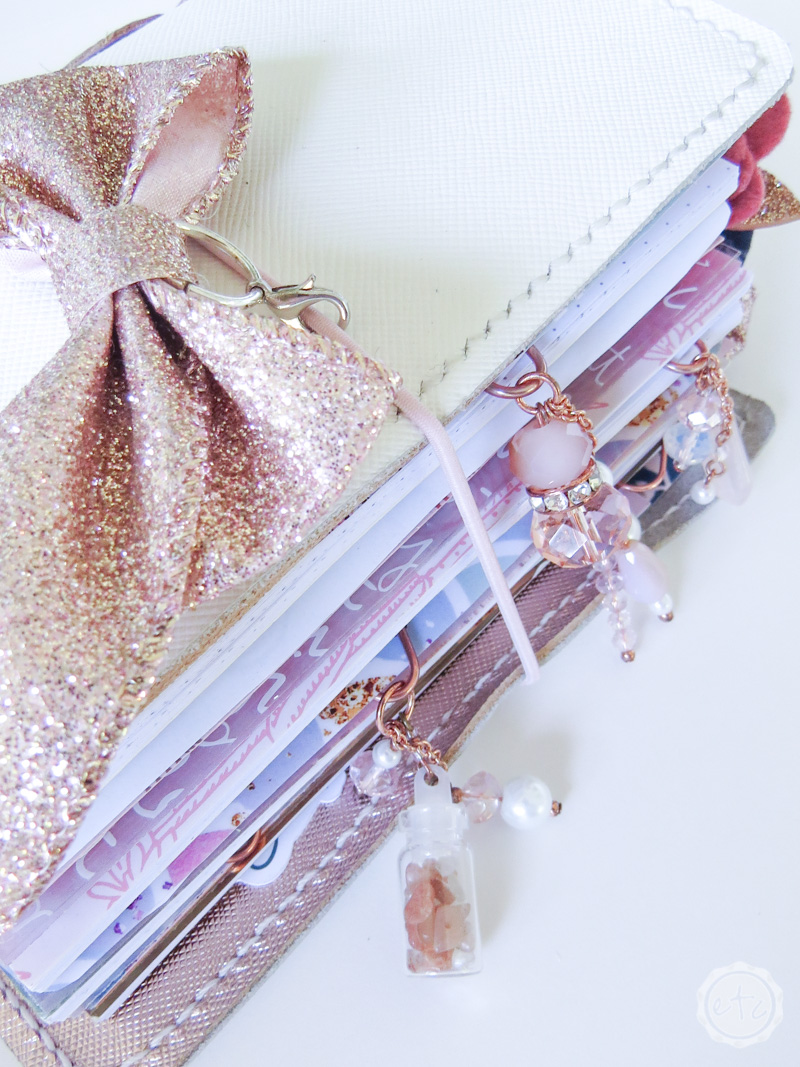
Okay first up in the accessory category…. bookmarks! These little guys don’t need too much introduction since you probably already know what a bookmark is! The most common planner bookmark is placed on a durable leather strap to help you to keep place in your planner just like a normal bookmark would help you keep place in your library book.
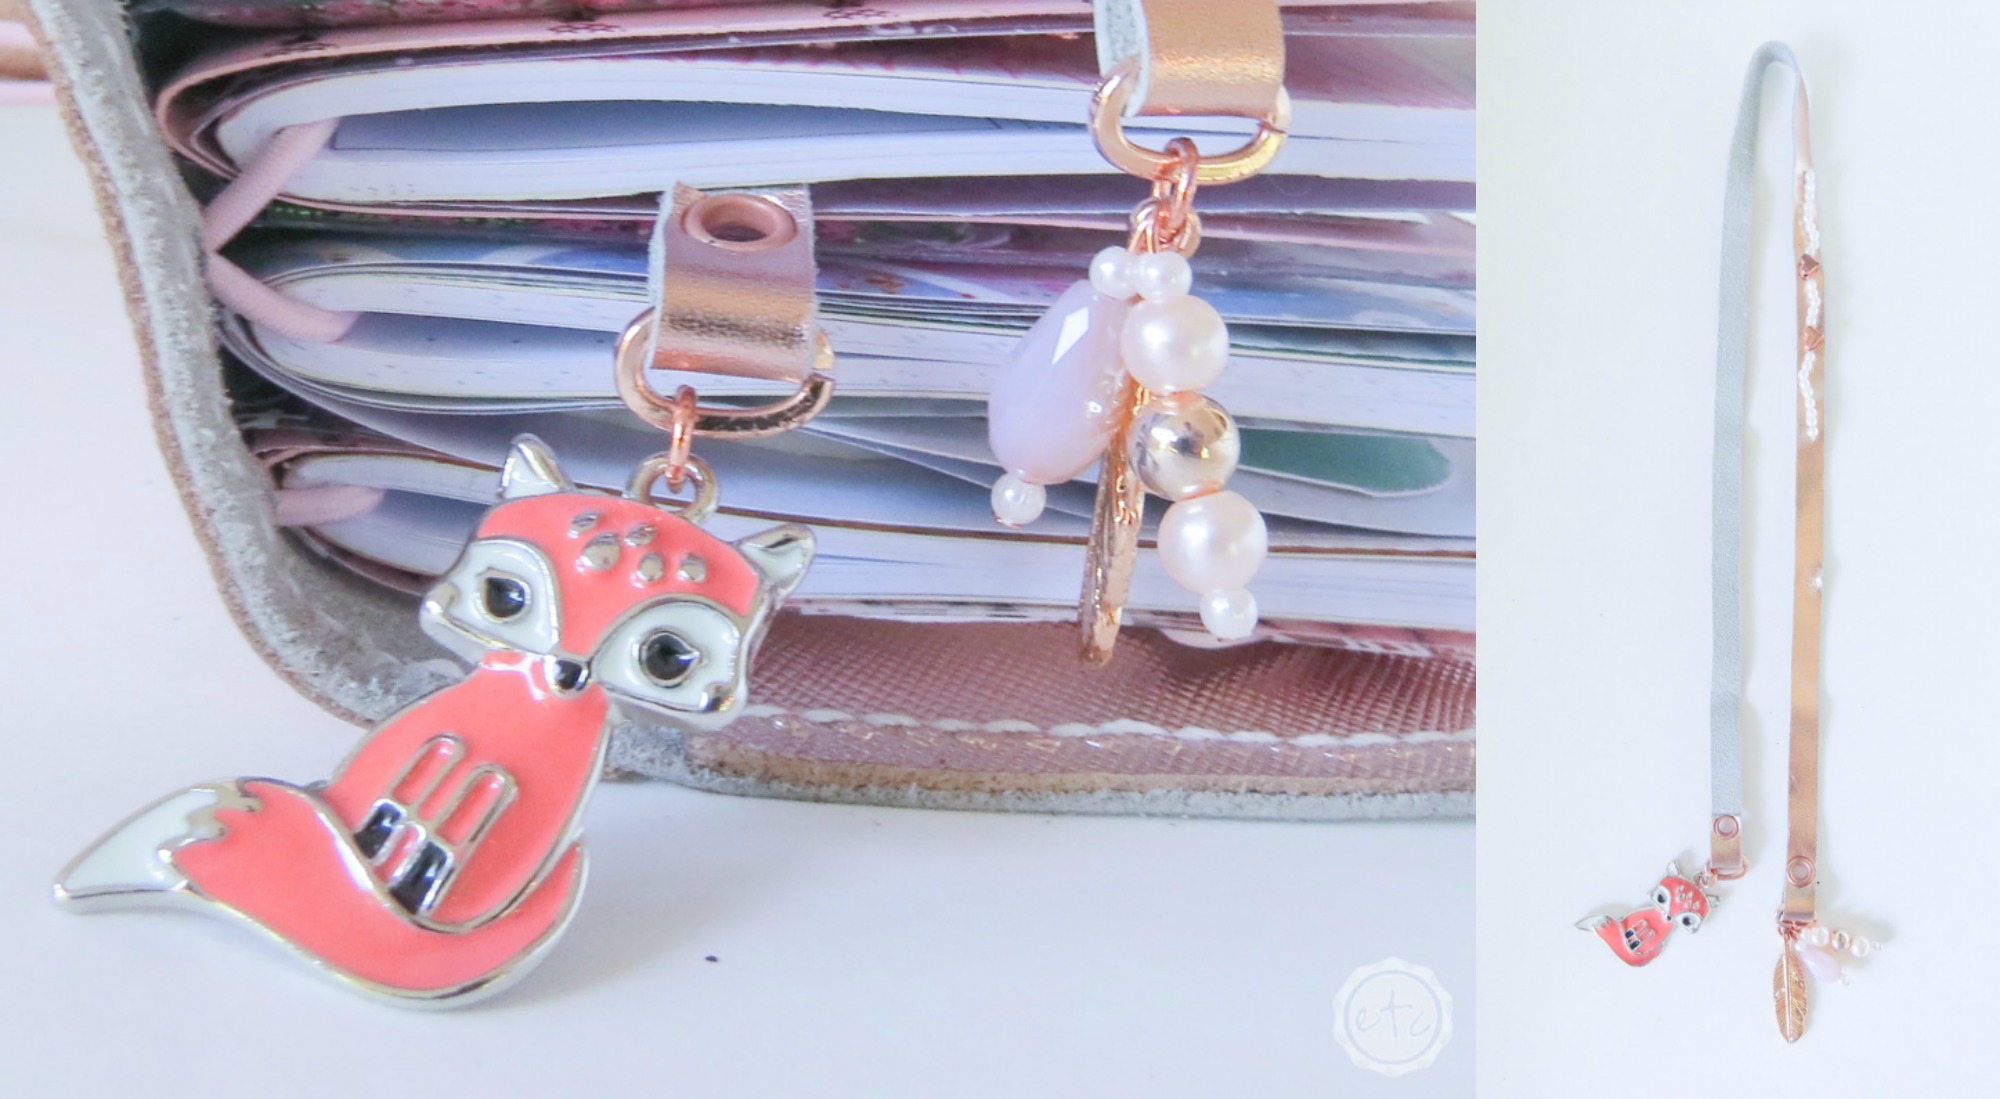
They come in all different sizes and shapes and typically have fun or decorative beads at the bottom to help you find your bookmark. When your planner is closed these little charms are all you will see so it’s always a fun idea to coordinate them with the rest of your planner.
Of course, if you are the type of planner guy (or gal) who likes to stand their planner straight up you’ll (9 times out of 10) have to move the planner charms out of the way first… or your planner will sit crooked on your desk.
If you’re looking for something a little different there are lots of die-cut options out there… bookmarks that sit on the top of your planner and help you find your space. Even if these little guys are laminated I don’t find them quite as durable as the leather option since they stick out the top of your planner and are fairly thin but for a planner that stays inside they would be perfect!
Paperclips
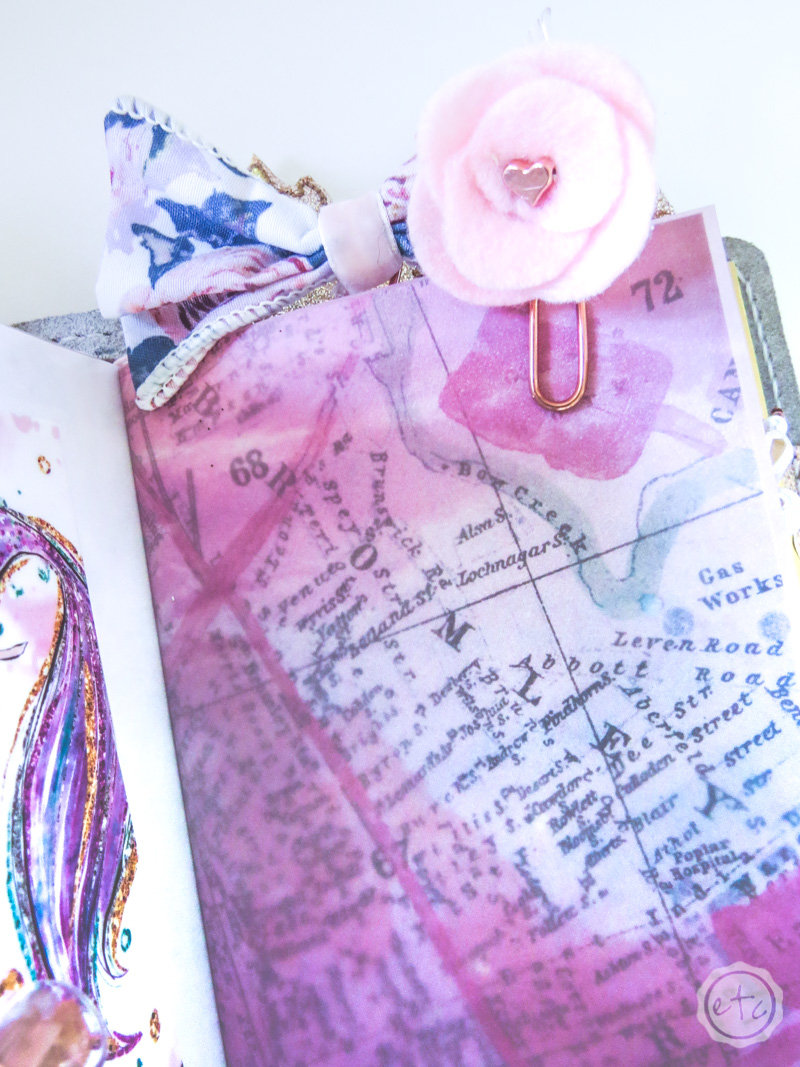
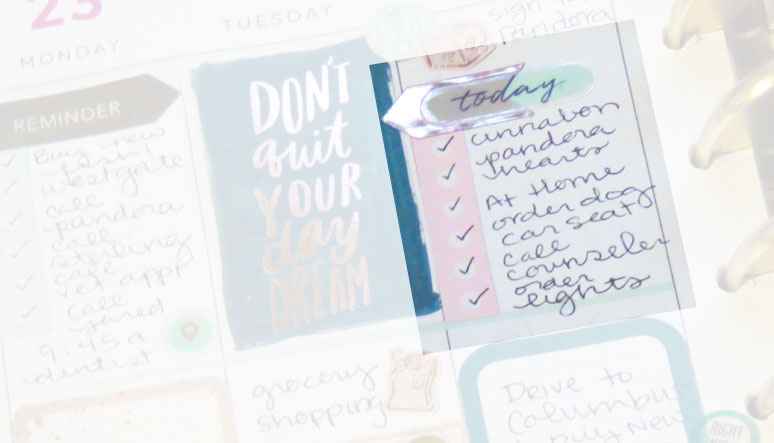
I think there are more planner paper clips in the world then I could ever cover in a single post let alone a single section. Paperclips can be used to mark a certain spot in your planner in order to easily flip to it but I find more often than not paperclips are purely decorative.
Since you can see planner clips even when your planner is closed it’s a fun little way to see all the pretties without interfering with the actual planner pages.
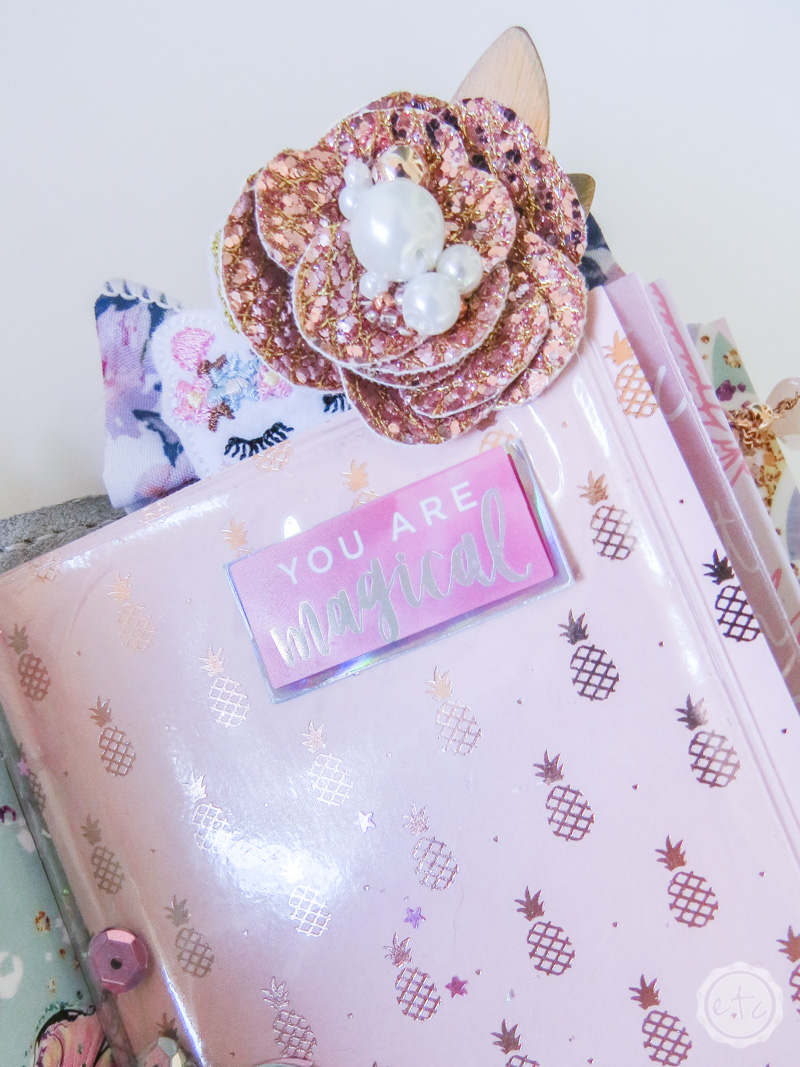
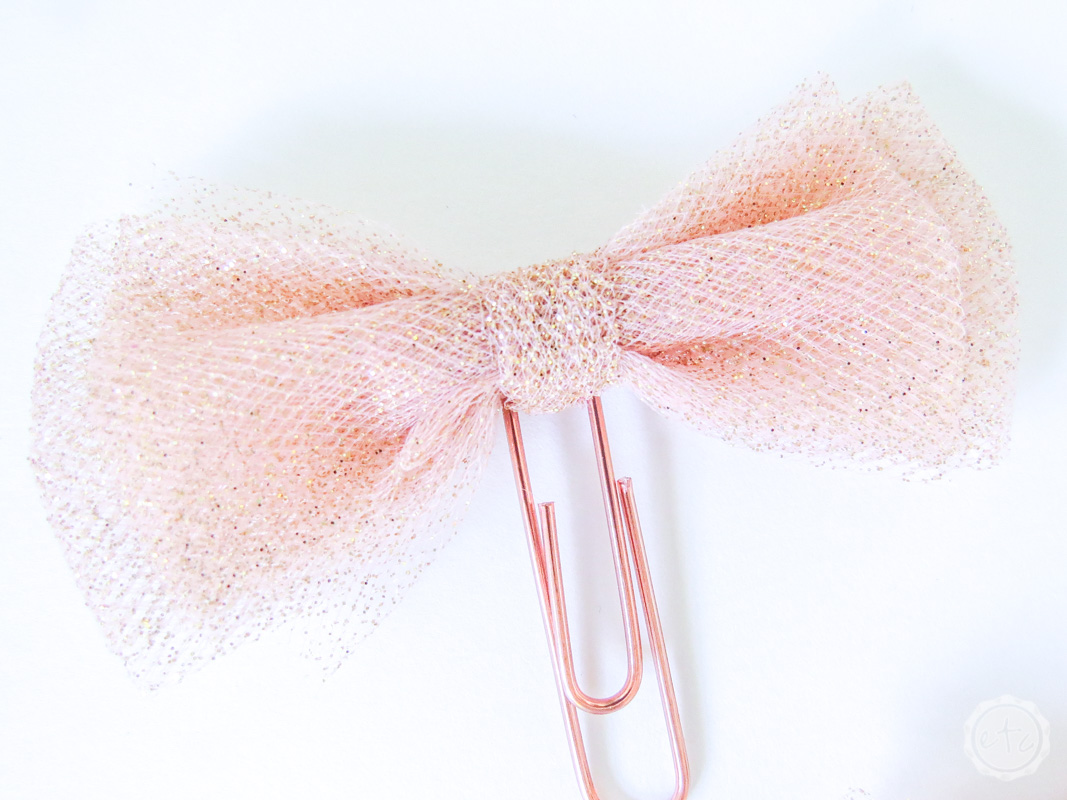
Of all the paper clips out there in the world I would say floral clips (like the little rose gold floral clip above), feltie clips (like the little unicorn peeking out from behind the floral clip) or bow clips (like the rose gold tulle one below!) are the most common.
Of course, there are as many clips as there are options, I have unicorns, mermaids, yorkies, pumpkins, christmas trees, sharks, llamacorns (apparently I have a zoo) planner girls, laptops, etc. If you’re looking for something specific try searching on etsy… you’ll probably find something.
Bows!
Bows and planner girls go together like peanut butter and jelly… we just match. Of course, you can add a bow to the top of your planner with a paperclip like we talked about just up above or you can add a bow to the front of your planner with a dangly bow clip.
Of course, bow clips for the cover of your planner are a bit more delicate than other accessories (at least if you get one with wire in the edges or that could tear easily). As much as I love my bows they come off if I’m taking my planner on a trip or putting it in a bag so if you’re looking for an accessory but you want your planner to be sturdy a bow clip may not be the right solution.
If you’re set on a bow just look for one that’s made of sturdy material… felt is always good, lace is another option! You want something that can be squished, lose it’s shape but still look wonderful!
A metal bow or planner charm is the perfect solution for a completely no-hassle planner charm! They always hold their shape and would take a beating before showing signs of wear and tear.
Floral Swags
These little guys may be the most unnessessary item you can actually place on your planner. I’ve tried hard to think of a purpose for these little guys but try as I might I can’t actually think of a use for a floral felt flower swag on the front of your planner.
Either way I think they’re absolutely gorgeous!
Every so often you add an accessory just because you absolutely love it and this is one of those times. These felt swags can be absolutely a-m-a-zing! Basically they’re little arrangements of felt flowers that sit on the front of your planner. Of course, as far as function goes these little felt swags can be quite sturdy.
Since they’re made of felt and sewn together they’re fairly indestructible which makes them my go to choice over a pretty bow. Don’t get me wrong I love a pretty bow (just look at the rose gold bow below!) but that rose gold bow gets bent and mangled just looking at my purse… which isn’t that great for an on-the-go planner.
Even though we want to add all the pretties to our planner they still have to be usable or what’s the point? These little floral swags can be placed on your planner and then thrown into a purse, backpack etc without worrying that they’ll get bent out of shape.
Dangle Paperclips with Beads
Little paperclips with pretty beads on the end are one of my favorite accessories… they clip easily to just about any page and help you flip to a specific page. I love how they can have cute little beads on them (like a little turtle for a cruise planner or a school bus for back to school time).
Depending on how you plan these can be functional or decorative. Since I place all of my fun/decorative paper clips at the top of my planner these little guys are the only decoration I have going on the side of my planner. That makes them easy to get to and turn to a specific page… I keep one on my planner insert, one on my budget insert, one on my notes insert etc.
When you have so many little cute things in your planner being able to turn to a specific page to write down a drs appointment (without making the receptionist wait 50 years while you find the right page) is an added bonus.
I have seen people put these little dangle paperclips on the bottom of their planner (kind of like beads on a leather bookmark) but while a leather bookmark can be long enough not to interfere when you stand your planner straight up and down the beads on one of these dangle clips would probably get in the way… so keep that in mind when planning how you’ll use your planner.
Die Cuts
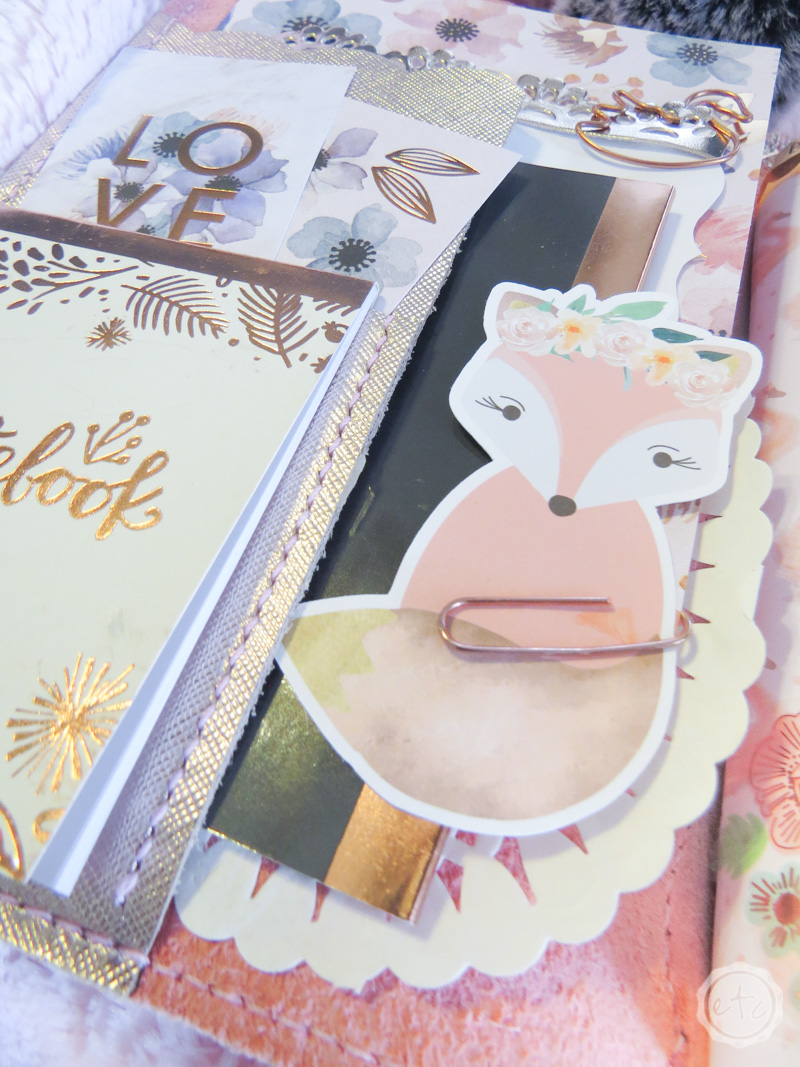
When you’re looking for a little bit of extra fun a die cut is the perfect solution. Typically these little die cuts are cardstock and super cute (just look at that fox!). I can’t say that they have any function but you can glue them to a dashboard for a layered look or paper clip them in place so they’re easily moveable.
They’re a great way to really coordinate your entire planner... plus they make me smile.
Vellum
Vellum is typically cut to the same size as your inserts or planner pages and either wraps around an insert or is placed before an insert (in a happy planner or ring bound planner). Vellum is a great option because it’s typically transparent so you can still see your inserts cover and it just adds an extra layer of detail to your planner.
Of course, it’s also functional in that it helps protect your planner inserts and pages from wear and tear. If you like to decorate your planner you may use the same notes insert for an entire year but change out the decorations seasonally… since you use your insert much longer than the vellum or dashboard it takes sense that it would be protected.
You want to prevent those wrinkled corners and coffee stains as long as possible! Vellum is a great way to protect your inserts, add an extra layer of cuteness and still coordinate everything… being transparent is an amazing thing y’all!
The best part is that while there are ready made vellum’s available there is also an entire world of printable vellum so that you can really coordinate your entire setup!
Dashboards
Alright, if vellum protects your insert a dashboard protects your vellum *wink wink* Of course, you can have one without the other but typically a dashboard is a hard cardstock or even laminated.
There are even clear plastic dashboads you can pickup to change your scrapbook paper in and out of easily. If we’re making a sandwhich the insert is the meat, the vellum is the cheese and the dashboard is the bread. It wraps around everything keeping it safe and together.
It’s the perfect solution to keep everything neat, organized and protected in a planner that gets heavy use.
Planner Stickers
Alright y’all we are 2/3 of the way finished! At this point if you’ve picked your planning system and which accessories you want to use you can be completely finished. Plenty of people stop here and use their planner functionally with a pencil or pen right on the planner pages… and there’s not a darn thing wrong with that!
However there is an entire world of planner stickers out there. I use them in my planner every week (if you haven’t checked out my YouTube channel yet make sure you do… I share my plan with me videos there every weekend!)
Of course, when I film my plan with me videos I get plenty of questions “what’s a full box, what’s bottom washi?” The vocabulary seems to stump newbies (I completely understand since it’s like learning a new language!) so I thought I would put together a quick little dictionary here for all of the terms! If I’ve forgotten one leave me a comment at the bottom and I’ll get it added.
Sticker Kit
Okay y’all a full sticker kit is one of the easiest (and most addictive ways) to have a full spread of stickers every single week… there are millions of designs and shops that sell kits and each one is prettier than the last!
Of course, sticker kits are completely unnecessary there is no reason you can’t use scrapbook paper and a box punch (or scissors!) and create your own kit. There are plenty of shops to buy each individual piece of a sticker kit… so if you only use half boxes and checklists then a full kit probably would be wasted in your planner. If you like all the little bits and pieces though a sticker kit is a great way to pull it all together and have it coordinate.
Plus since all the pieces are already there it does make it really easy to plan out your week without sorting through allllll your supplies to pull together your own spread.
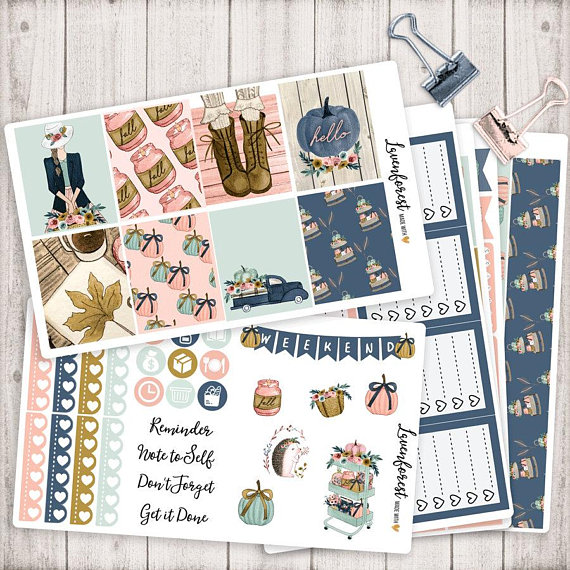
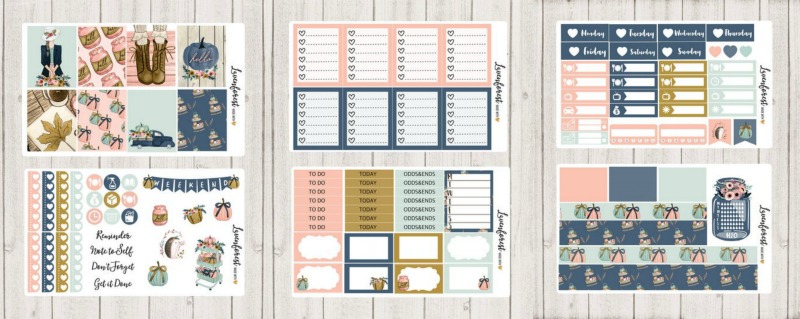
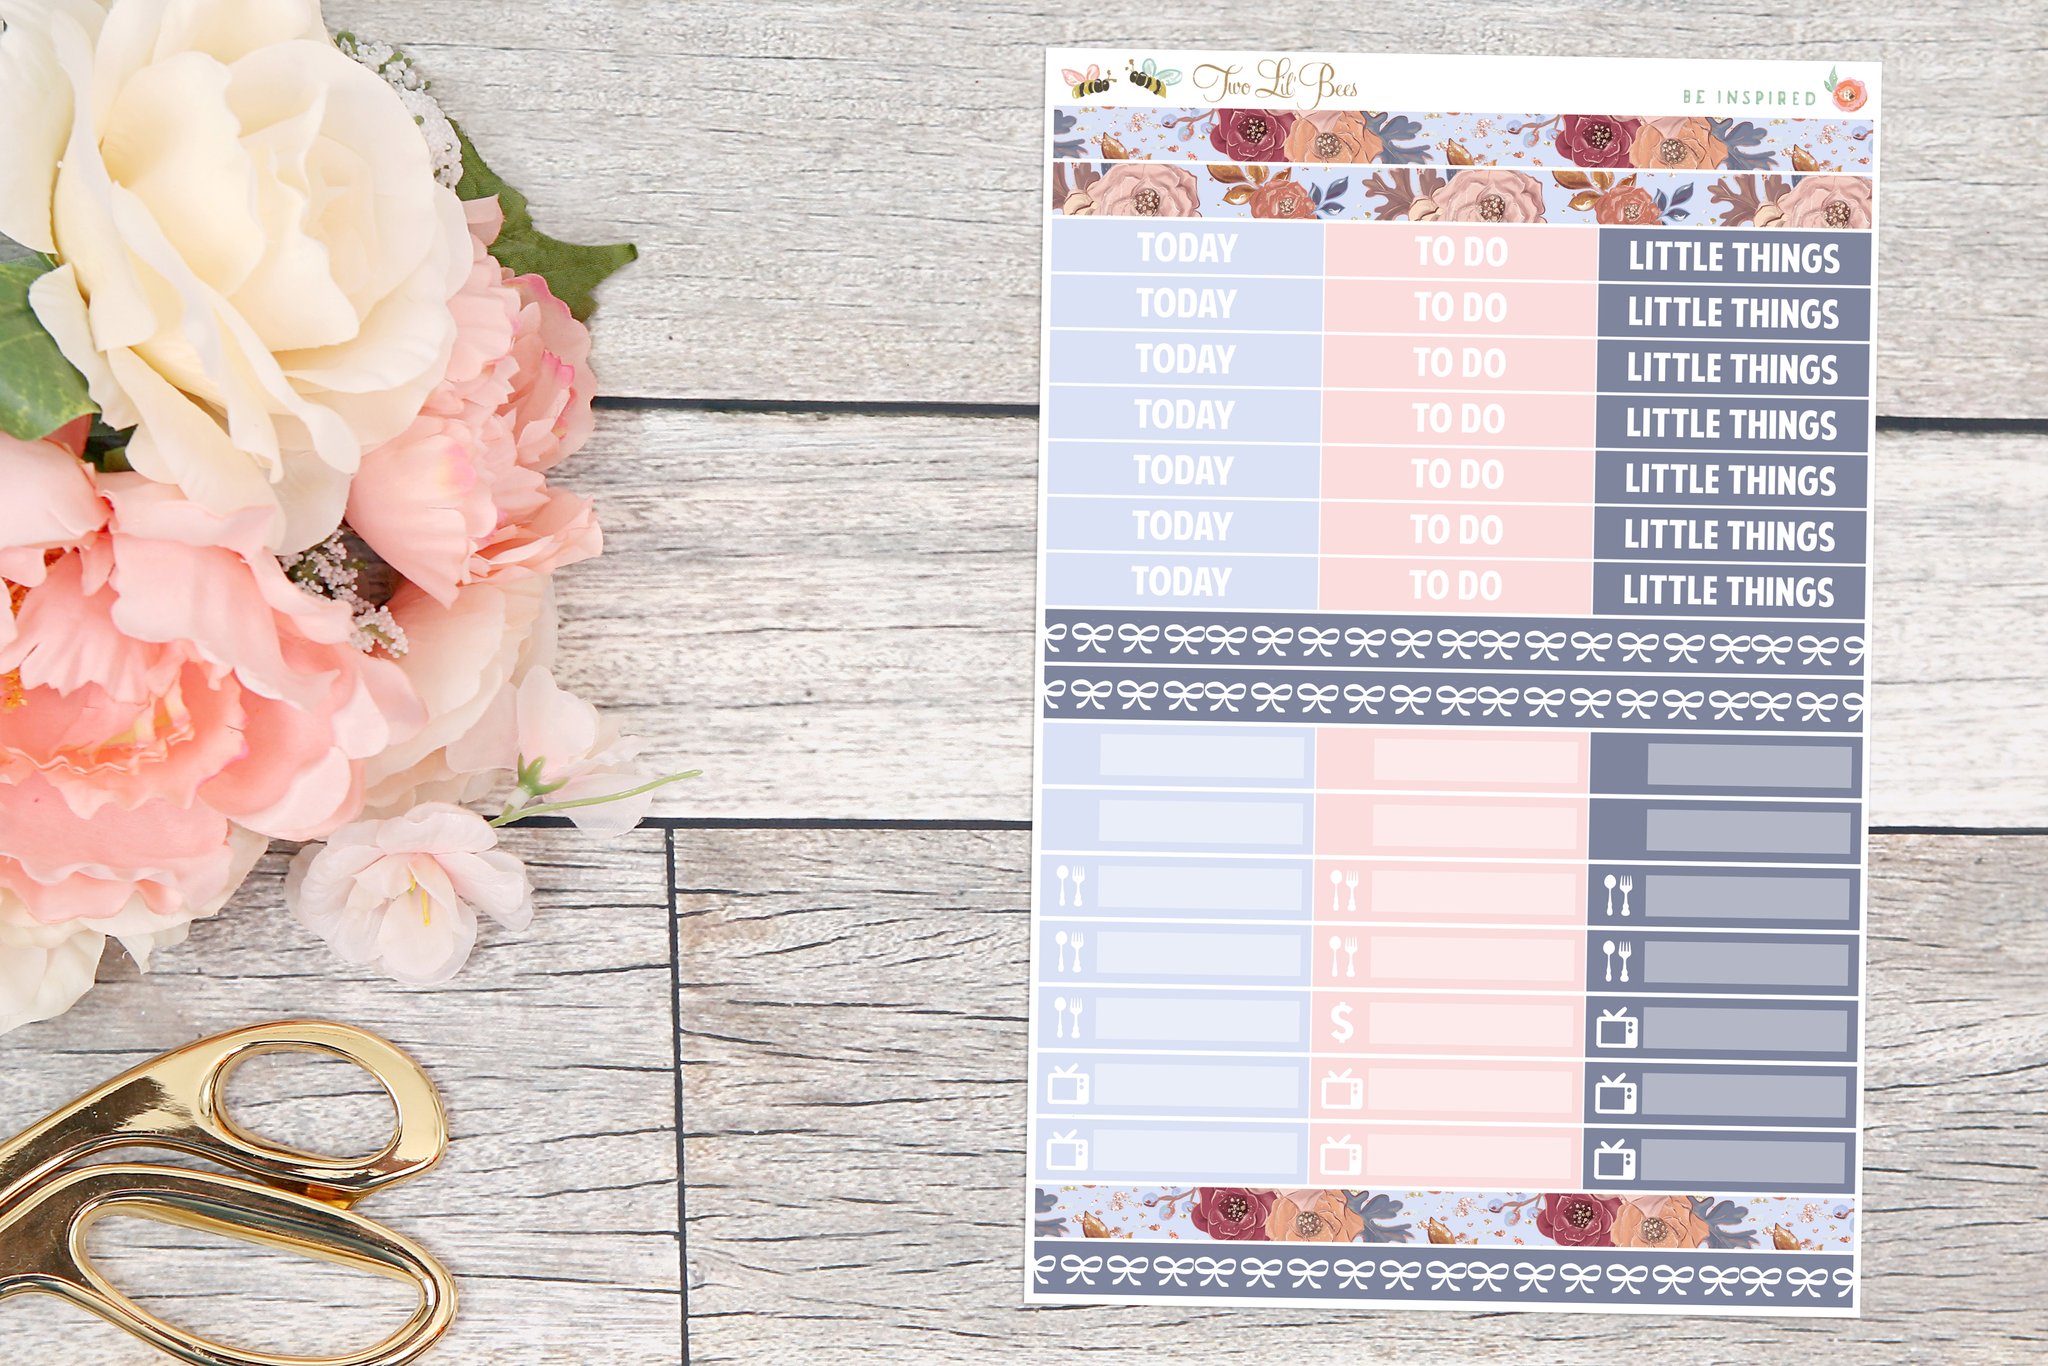
It’s also the easiest way to go through allll the pieces before we dive into the individual names and uses so here it goes! This particular kit from Lavenforest has: 8 Full Boxes, 8 Full Check Boxes, 8 Check Lists, 8 Half Boxes, 7 To-Do Headers, 7 Today Headers, 7 Odds&Ends Headers, 1 Side Bar Box, 9 Functional Icons, 4 Labels, 1 Weekend Banner, 6 Small Decorative Icons, 7 Day of the Week Covers, 2 Habit Tracters, 16 Little Things, 2 Page Flags, 2 Bill Trackers, 2 Bottom Washi Strips, 3 Colored Washi Strips and a 1 Water Tracker.
Full Box
Okay let’s get started! A full box is just what it sounds like… a sticker that takes up a full box. Typically they fit perfectly inside one box (in a vertical planner such as the happy planner or erin condren) and are completely decorative.
A full box usually has a pretty pattern or scene and decorates one full box of your planner. If you purchase a sticker kit (which has enough stickers for an entire weeks spread (theoretically… you can usually stretch one sticker kit over several weeks if you want to)) there will typically be 8 full box stickers… one for every day of the week and one for your sidebar.
SIZING NOTE: The Happy Planner and Erin Condren are the two most common types of planners to use full box stickers. While all planners have the same width for their boxes (travelers notebooks have columns instead of boxes in there weekly inserts so the boxes fit without having to worry about vertical space) the Happy Planner has taller boxes and the Erin Condren boxes are shorter. So when buying stickers make sure to pay attention to the size options… while you can make an erin condren kit fit in a happy planner or vice versa you’ll have to be more inventive since the boxes won’t be the perfect size. To add in a third dimension we look at horizontal planners which have shorter boxes that are longer…. so read the description typically shops will lay out exactly what size planner their stickers are for and they’ll typically have different options available so you can grab the kit that works with your planner.
Of course, at the end of the day a sharp pair of scissors and a bit of creativity can make just about any sticker kit fit any planner!
Double Box
Alright so if a full box takes up one full box in your planner a double box is a decorative box that takes up two full boxes! Typically a double box makes bigger design or picture and takes up more space. Not all kits have double boxes… sometimes it will be available at an additional cost or as an add-on.
Typically if a kit includes a double box you will receive at least 6 full boxes and the double box meaning you can place one full box on each day and one in the side bar with the double box fitting together across two columns.
I like to save my kits with double boxes for the weeks when I have less going on: vacations, conferences etc because they take up a lot of planning space. Which is not so good on the weeks you need 5 to-do lists just to get through the day!
Bottom Washi
Alright y’all bottom washi is basically a strip of tape or a long sticker box that goes flush along the bottom of your planner. It is basically useless as far as function goes.
Typically it covers the bottom design of your planner so that the entire week matches (a lot of planners will have a built in design at the bottom that may not coordinate with the look you’re going for that week… bottom washi fixes that and makes your entire sticker spread coordinate).
Of course, if you need the space you can place functional stickers alllllll the way to the bottom of your planner and skip the bottom washi… or you can simply place the functional stickers over the bottom washi.
Half Boxes
Alright, now we’re getting into the functional stuff! A half box is just what it sounds like… a box that is half the size of a full box. Typically you can use them for activities that are more important throughout your week and need to be highlighted a little bit.
For example, I use a full box on monday’s and wednesday’s to mark my blog posts going live and saturday to mark my plan with me videos going live. I’ve also used them to mark things like birthday’s, important doctor appointments, important anniversary’s etc.
Anything important enough to take up an entire half box in your planner!
Quarter Boxes
Alright you should get the idea by now… a quarter box is a quarter the size of a full box. They’re a great size for appointments: things like therapy sessions, hair appointments, post office trips etc. They give you enough space for an icon, a little description and a time.
Trust me… you want to put the time. For some reason I’m always writing my appointments down without the time and then at a complete loss for when I need to show up.
I realize this is a personal problem but just be conscious of it… it could happen to you!
Headers
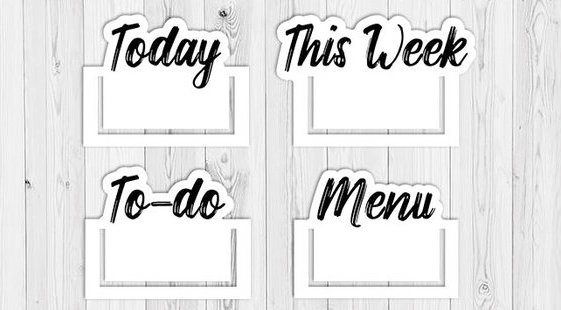
Okay headers are typically like your title… they go at the top of a checklist of section to tell you what it is. Often times sticker kits will include generic ones like: important, this week, next week, to do. I like to add ones like “work” for my work days or “pay day” for the days I get paid and need to pay all my bills (although I should just get a crying face sticker for that since I hate paying bills).
Either way they’re a great way to section off your planner into workable sections! Of course, a lot of times we plan out our week before we’re 100% sure what we’re going to be doing every single day so if you’re not ready to label a checklist or place a header on a section but you still need a header (some planners have built in headers and the colors already on the page may not work with your spread… so a new header will help tie everything together) there are always patterned headers, glittered headers or even foiled headers.
Really the possibilities are endless.
Habit Tracker
Habit Trackers are great because they’re fully functional… say you have something you need to do every day (post to instagram? feed the dog? wash the dishes? take your new pills?) you can write in whatever it is on the top and then check off each day as it passes.
A habit tracker is a great way to keep track of a daily activity without having to write out “post to instagram” on each day. Typically they go in your sidebar but sometimes I’ll stick them in the middle of the week so that I’ll remember to look at them.
Of course, you can get as detailed with a habit tracker as you need… I absolutely love these water trackers from Lavenforest that help you remember to drink 8 glasses of water a day.
Checklists
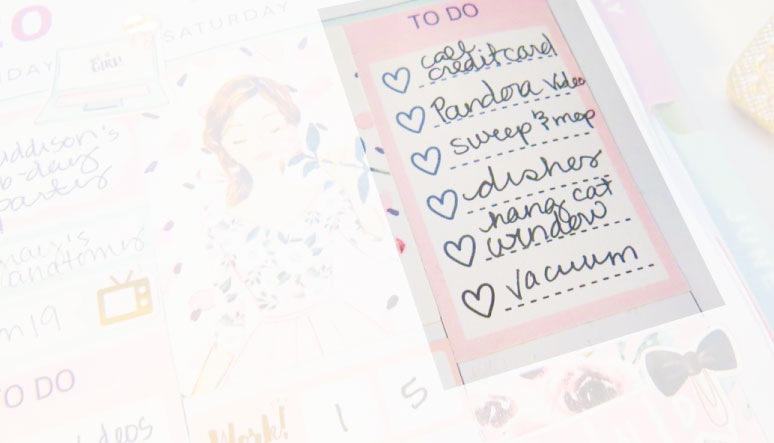
Alright now we get to the most functional part of the planner… the checklist. If you’re like me you have a million things to do in a day and you need a place to write them all down. A running to-do list. Well you could place a single box for every. single. item. but not all of these to-do’s are super important or take the same amount of time… a quick call to the power company won’t take as long as going to the dr’s!
So you add them all up in a checklist.
Of course there are different types of checklist: ones that take up a full box, ones that simply go down the left side of your planner and allow you to check things off, checklists with only 3 items on the list.
The best part about stickers is that if you have a six heart checklist but you only have 3 items for your list you can just cut it in half! Volia… 3 heart checklist.
Functional Icons
Little functional icons can be the cutest piece in your entire week! Technically you can have icons of just about anything (a watering can, a hedgehog, a butterfly…) but unless you’re a hedgehog keeper a hedgehog icon is typically just a cute icon to put in your planner. Functional icons on the other hand represent something you may be working on: a laptop for writing a blog post, a camera for taking pictures, a car for running errands, a stack of laundry for laundry day… you get the idea!
I love the little laptops and envelopes that come in most sticker kits. Of course, there are about as many different ways to use a functional icon as there are icons… you can layer them over a box (any of them really…. a half box, quarter box, little thing or even a full box if you need the space) or you can place them directly on your planner in the white space.
They’re a great way to remind yourself of a certain activity that really needs to be done!
Foiled icons really make an item stand out and typically come in larger quantities which is perfect for icons you use often (like the little laptop or envelopes…).
Bill Due
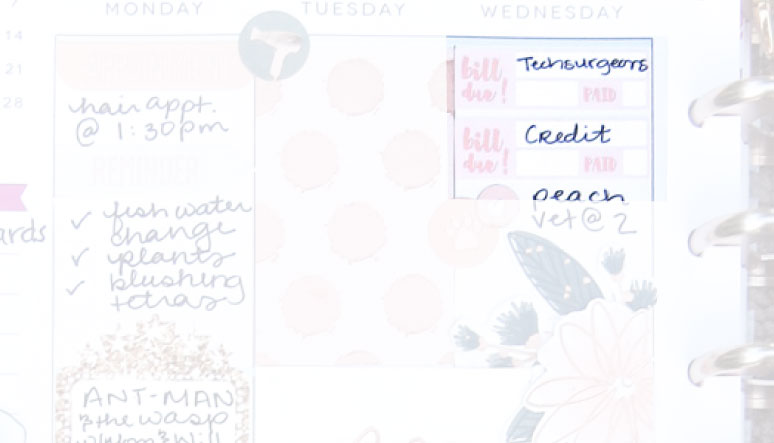
These little stickers may just be the most important… because they keep track of your bills. Typically a bill due sticker goes on the day a bill is due and has space to write in the bill’s name, the amount due and to check it off once it’s paid!
If you’re like me and need a visual reminder of when something is due these are great… you can place them out on an entire month ahead of time so you know exactly when all your bills are due. Plus having a bit of rose gold foiling definitely helps when I have to send all my money away.
Movie Marquess
These little guys are just what they sound like… a little movie marquess sticker to mark down going to the movies! A lot of sticker kits include them these days and they coordinate with the kit which is nice. If you go to the movies as often as I do (we l-o-v-e movies in this house) you may look into getting extras for those weeks your sticker kit doesn’t include them or those weeks you go to the movies more than once.
I absolutely love this sheet of movie marquess icons from White Deer Stationary… they’re so pretty and they include rose gold, silver and gold icons so they’ll coordinate with just about any week.
Little Things or Odds & Ends
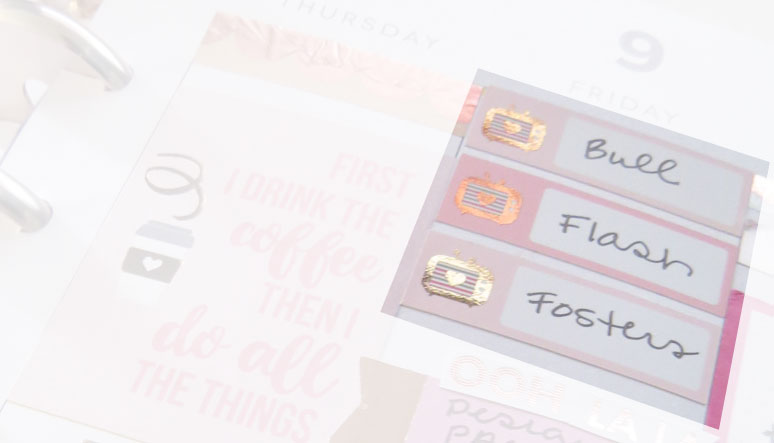
Okay I’ll be the first to admit that I don’t know why they call these “little things” but they do and I didn’t get a say in the name so I won’t be changing it. Typically little things stickers are about the same height as a header and come with icons on the left side. Depending on the sticker kit the icons can change but typically you have a little tv icon, a little fork and spoon icon and a few blank boxes that you can add your own icons too.
You usually get seven of each (one for each day) so that you can plan out your meals or mark down tv shows that are coming up. Of course, different shops include different little things… the tv icon and spoon and fork are fairly standard so you’ll usually get those but I’ve also seen a little book, computer, paw print, money sign etc
Of course, if you have something specific to mark down each day a functional icon may be a better idea… something you can buy an entire sheet of (like a little pill bottle to remember to give fluffy her meds),


