This post is sponsored by Wagner, all thoughts and opinions are 100% my own!

Ready for another fun transformation? We’re back at Mom’s house working on her mini living room makeover and today we’re tackling the fireplace! Her house is actually 100 years old and has beautiful tall ceilings and original molding. We’ve already painted the room using my fun new EZ Paint Stick and beefed up the existing crown molding to match the existing baseboards.
Unfortunately the original fireplaces were brick and are no longer in good condition. Some years ago they were all bricked up and drywalled over… so instead of stick with the drywall Mom found an antique fireplace mantle to repurpose. This should add that mantle feeling back to the room even though there isn’t a working fireplace in the space.
Plus the mantle she found is beautiful so I’m pretty excited to show you how it turned out!
In order to take this mantle and turn it into a faux fireplace we’re going to add a box to the back of the mantle so that it comes out into the room. This will also make the top of the mantle wider so that it can support more decorative items (as well as the dreaded dvr).
Then we’ll sand, putty all the cracks and paint the whole thing so that it’s brought back to life!
Ready to get started?
Supplies:
- Antique Fireplace Mantle
- Wagner Flexio 3500 Paint Sprayer
- Paint Respirator
- 3/4″ Boards cut to your Mantle
- Worx Portable Work Table
- Pocket Hole Kit
- Pocket Hole Screws
- Power Drill
- Impact Driver
- White Paint (Pro-Classic Semi Gloss)
- 1/5 Inch Paddle Drill Bit
- Power Strip
- Cup Hooks
- 2 Hinges
- Pencil
- Multi-Tool for Cutting Molding
- Cord Cover
Step 1: Paint the Fireplace Mantle
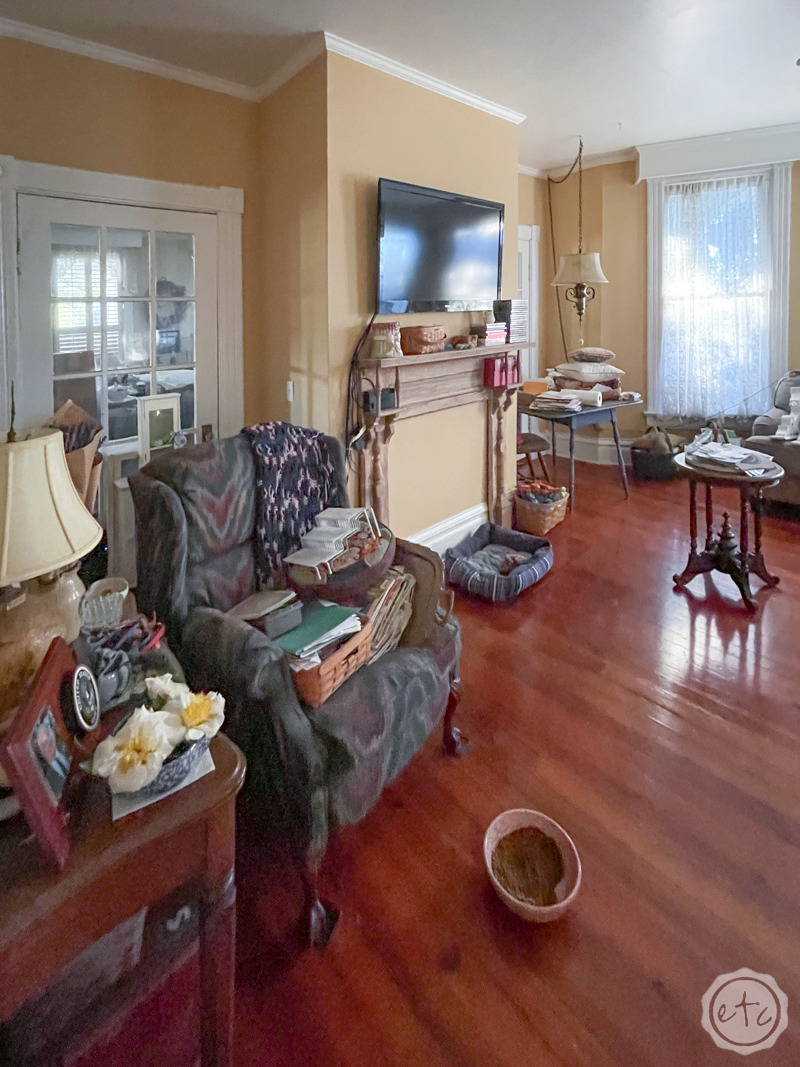
Here’s the before picture! Like I mentioned up above we’ve already painted over that old gold paint with a bit of Sea salt and extended the existing crown molding… but this photo is one of the few before shots I have of the fireplace.
The actual fireplace has beautiful lines… and I almost didn’t mind the finish. Unfortunately it was originally attached to the wall with large bolts through the front of the fireplace. And while we all love the look of a good patina large holes for bolts is not the look we’re going for. So instead of stain Mom really wanted to paint this bad boy.
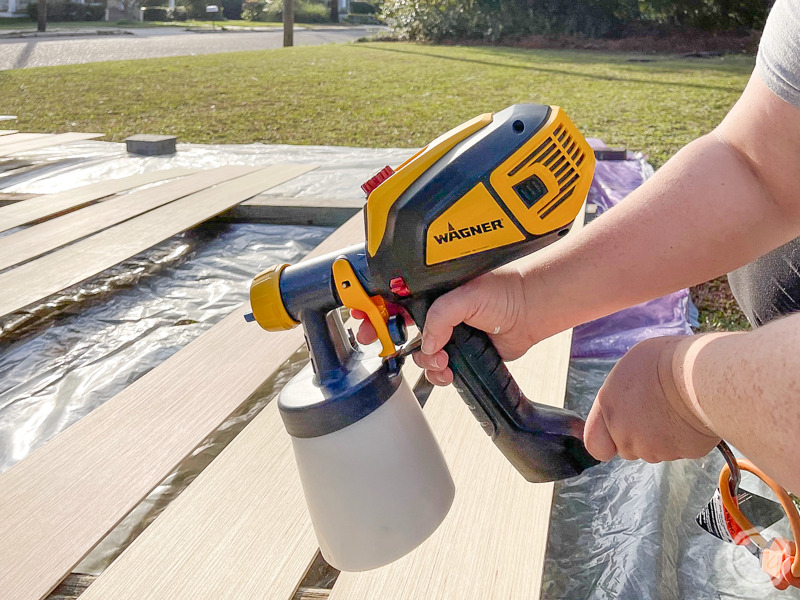
Since this piece is going to be the focal point of the room I wanted a butter soft finish with no brush strokes. So I busted out the fine finish nozzle for my Wagner Flexio sprayer and went to town.
A bit of putty in those large bolt holes and 2 coats of paint with my sprayer and this mantle was a new lady. The finish is sooooo smooth and let’s be honest… with an antique piece like this hand painting all those details (have you ever painted spindles with a brush?) is really not fun. My sprayer handles all those curves like a champ and puts an even coat on everything at the same time. An hour outside and I had 2 nice coats of paint on all of the surfaces (3 on the top!).
While I was outside I also put a nice coat of paint on the boards I’ll be using to build the box for my mantle. Might as well spray everything at the same time!
Then I left it to dry overnight before moving on to the next step.


Step 2: Drill Pocket Holes
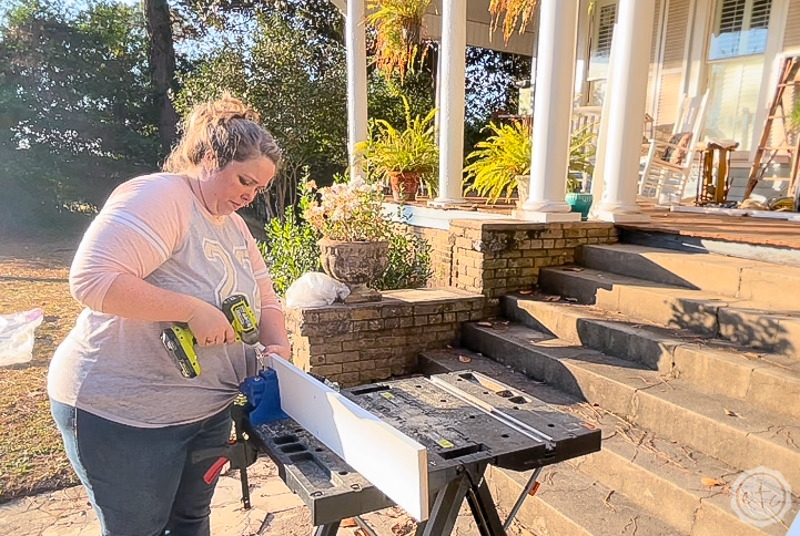
After everything is dry let’s go ahead and drill a few pocket holes in our 3 boards. These are 3/4 inch thick, 6 inch wide boards that were cut to the same dimensions as our mantle. For the box we’ll need two boards that are the same height as the top of our mantle and one that is the same length as the top of the mantle… we’ll attach these to the back of the mantle to extend it and form the box.
As far as the pocket holes go they’re an easy way to join your boards to the mantle from the back (so that they’re not seen) and since they go through both pieces they’re super strong. We’ll set our jig to the 3/4 inch thick setting and drill pocket holes about every foot all the way down all 3 boards.
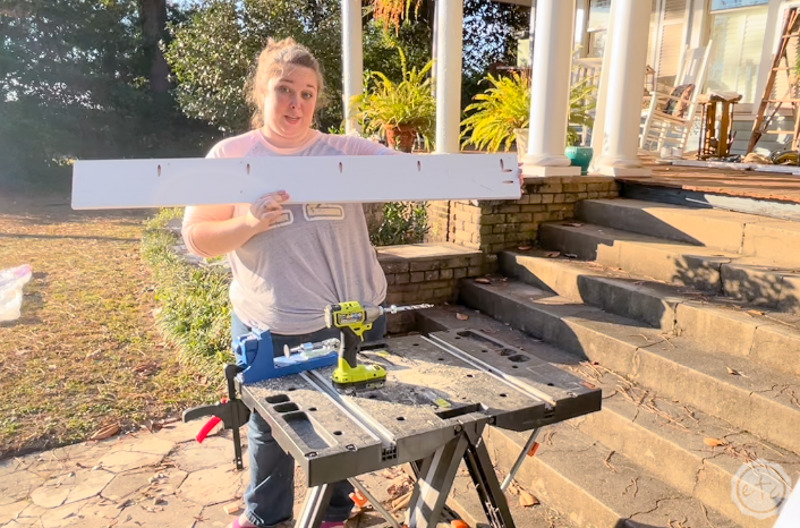
Then we’ll drill 2 pocket holes on the top of the two side boards. These pocket holes will allow you to drill up through the side boards and into the top mantle board so that all 3 pieces are connected.
If that sounds confusing just take a look at the photo below: you’ll see holes allllll the way down the board and then 2 holes at the top. Drill one just like that and one with the 2 holes on the other end. The third one should only have the holes allllll along one side (none on either end).
Perfect!

Pocket holes confusing you? Not sure how to setup your jig? That’s ok, I’ll walk you step by step through the entire process. Check out my how to drill pocket hole tutorial here.
Step 3: Build Box to Extend the Mantle
Now that our pocket holes are ready to roll let’s build this box!
This step is super easy.
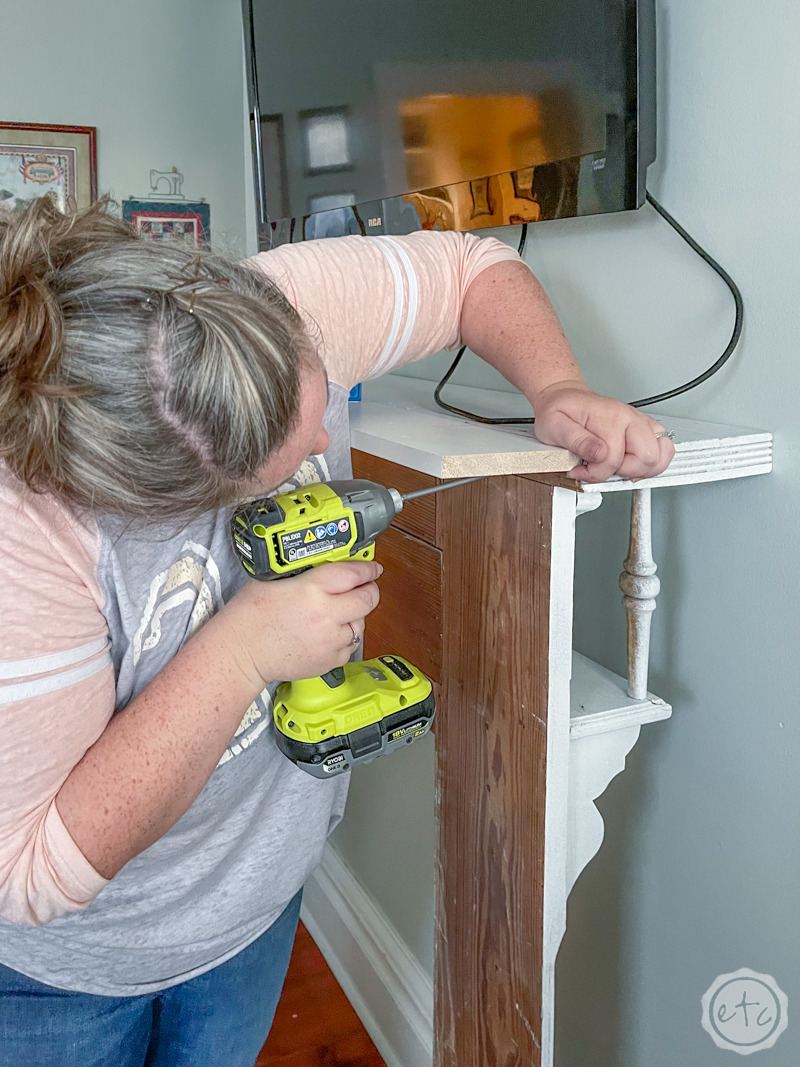
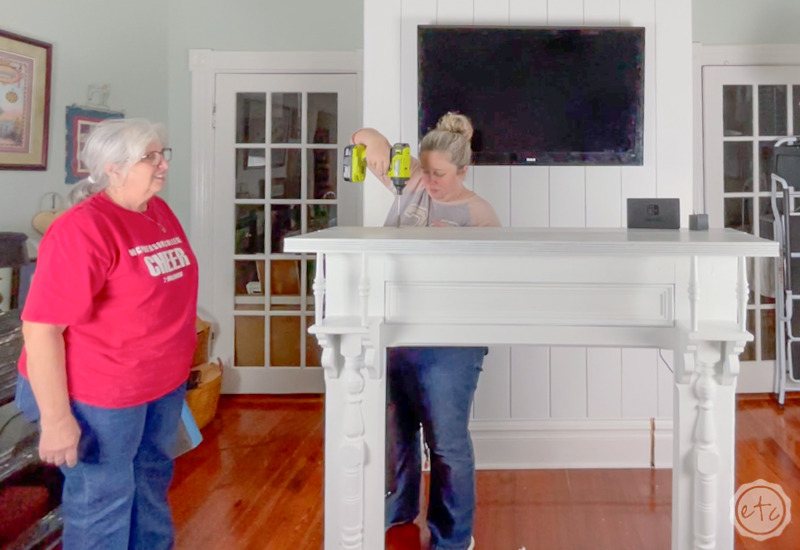
Grab your power drill and the pocket hole bit and let’s put the mantle and the new boards together. I started by holding the top board flush to the top of the mantle and then driving screws through each pocket hole and into the back of the mantle.
Make sure that your board is in the right spot and level across the top before you start driving those nails home. It’s hard to fix a mistake here if you make one. I like to ask for help to hold the board steady, flush and level while I drive the screws into place. That way I know everything is going to work exactly how I planned it!
Once you have the top board secured go ahead and attach both side boards to the mantle with pocket hole screws and then use those top screw holes to attach the side boards to the top boards.
At this point your entire fireplace mantle should feel really sturdy… it should even stand up on it’s own!


Step 4: Cut Slits into Baseboards
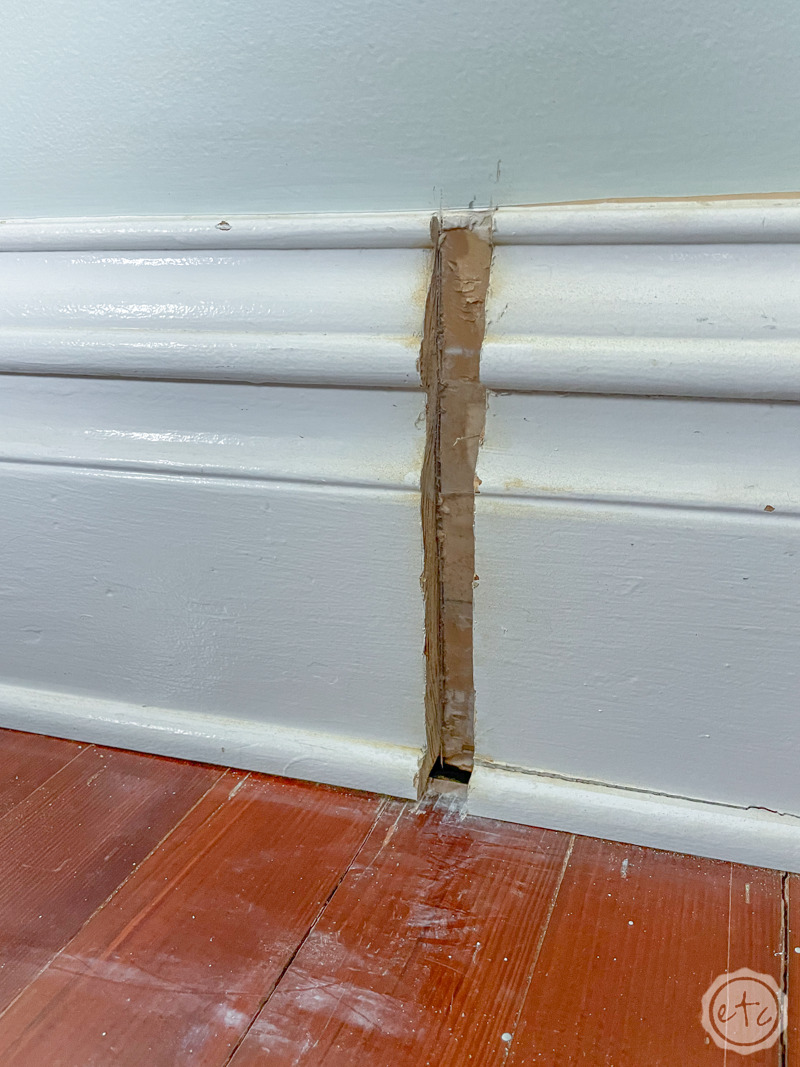
Ready for the fun part? If you don’t have baseboards you can skip this step and install your fireplace mantle directly to the wall as is. BUT if you have baseboards like Mom you’ll need to cut a section of the molding out for the boards we just attached to the mantle. Once the slits are cut the boards will be able to slide right into the molding and sit flush to the wall.
It looks fabulous and makes everything super sturdy!
Plus you get to use your multi-tool to cut the baseboards like we did when Mom and I built the custom cabinet for my laundry room (we used my Wagner sprayer for that project too… I think our building and painting skills have come a long way this year!).
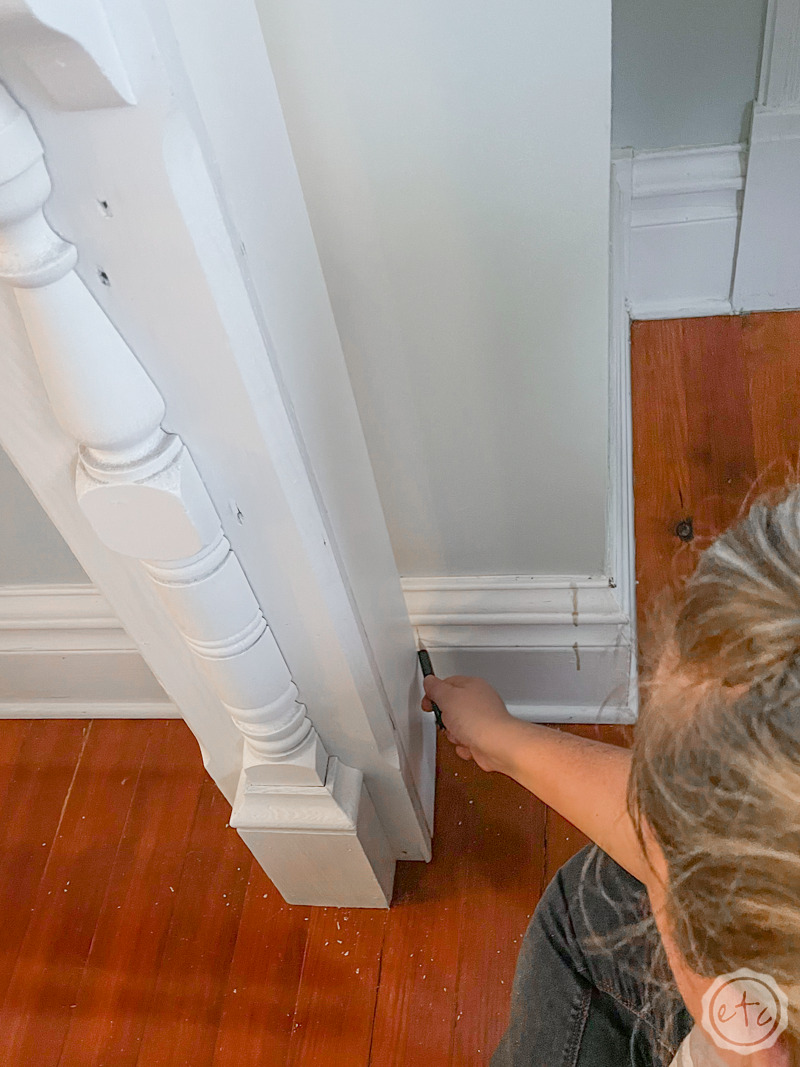
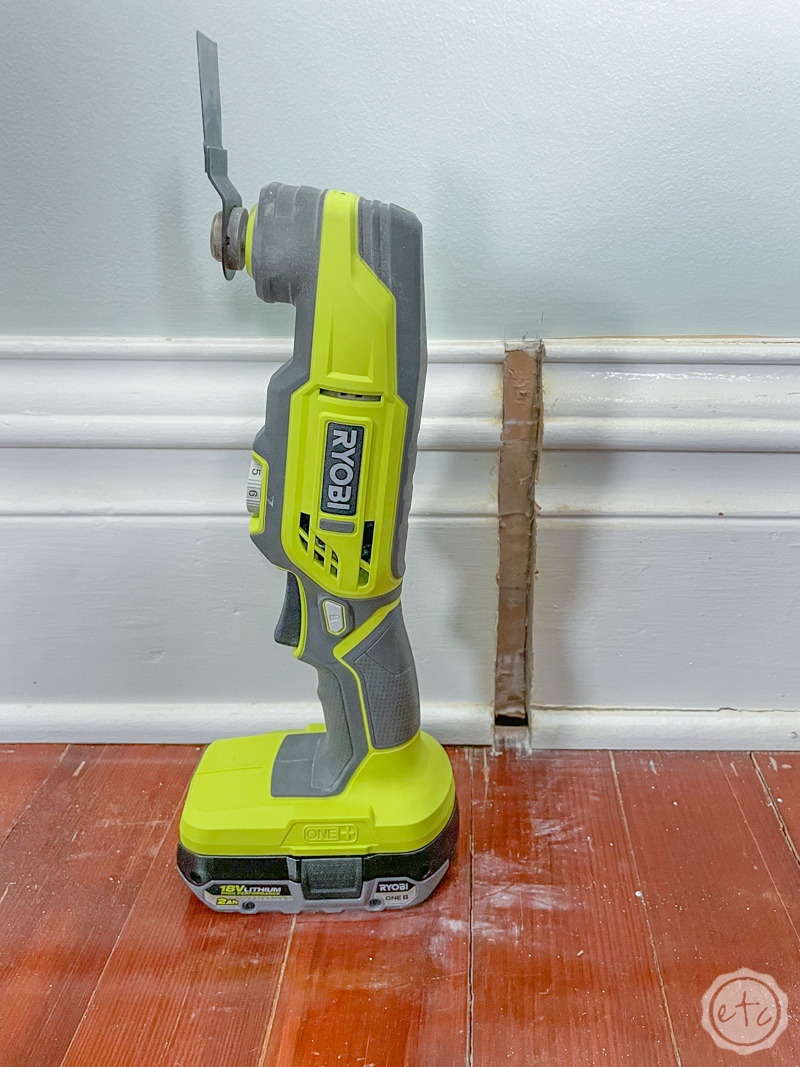
To start with simply put your mantle in place and make sure it’s centered on the wall. Then use a pen to trace the back of the box on either side. This will give you two lines on your molding that you can cut with your multi-tool. Just go slow and stead and soon you’ll have a section of molding that you can remove to make space for your new fireplace mantle.

Bonus Tip: We put the pieces of molding that we cut out in baggies and taped them to the back of the fireplace so that if Mom ever wants to remove the mantle and fix the molding she knows exactly where the baseboard pieces are. Although that sounds like a wood glue puzzle I might be conveniently sick for.


Optional Step 5: Add Hinge Door to Side of Mantle
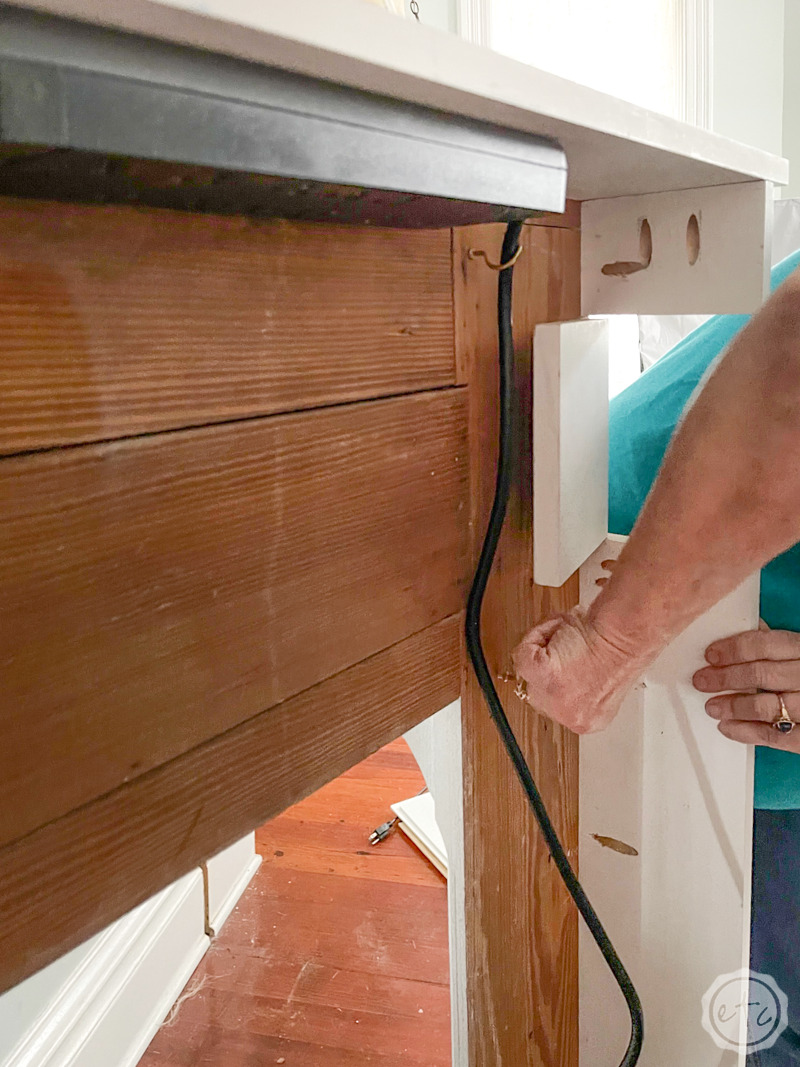
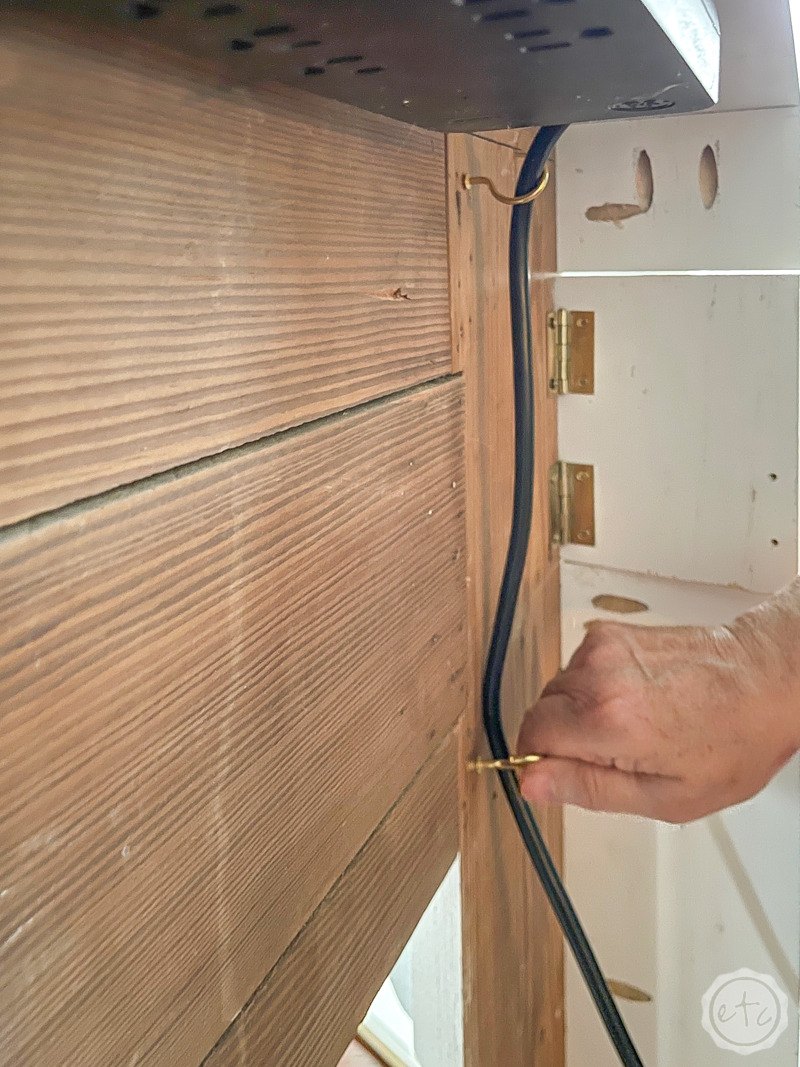
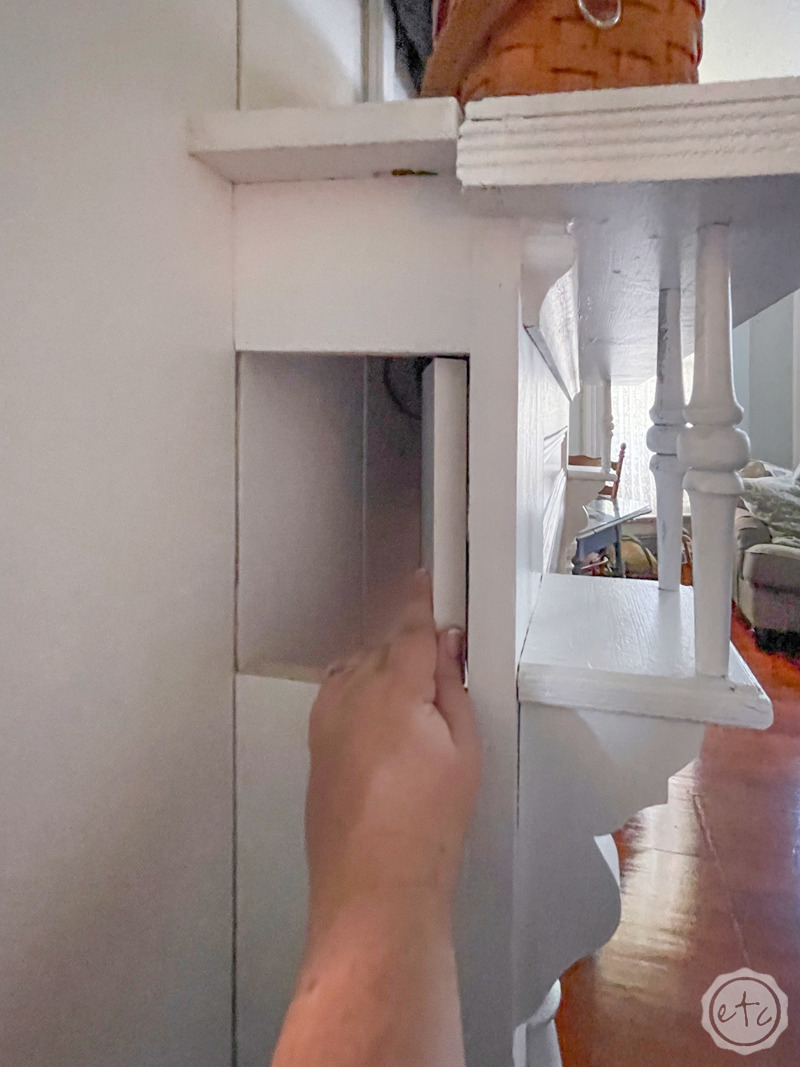
At this point we could be done but noooooo Mom just has to keep coming up with more fabulous ideas. Including adding a little hinge door to the side of the mantle so that she can mount her powerstrip inside the mantle for all her wires.
Luckily this step was pretty easy and doesn’t take long.
Basically we removed one of the side panels and used our miter saw to make two cuts in the side. We measured these to be between the pocket hole screws so that the other pieces of the side panel could be easily re-attached to the mantle. The size of this little door isn’t too important you just want it to be large enough for your hand to dart in and adjust plugs… and small enough to be inconspicuous.
Once we had made those cuts we measured the opening and cut a piece for the door in the proper size from the end of a scrap board. Then we attached a few hinges to the back of the door and screwed it into place.
Easy peezy!
We mounted the power strip underneath (making sure the on/off switch was next to the door and the cord gave the door enough room to open and close) and use a few cup hooks to secure the cord. Then it was on to the next step!

Optional Step 6: Drill Holes in Mantle Box for Cords
What’s the point of a power strip inside the mantle if you can’t access it. Nothing. It would be pointless.
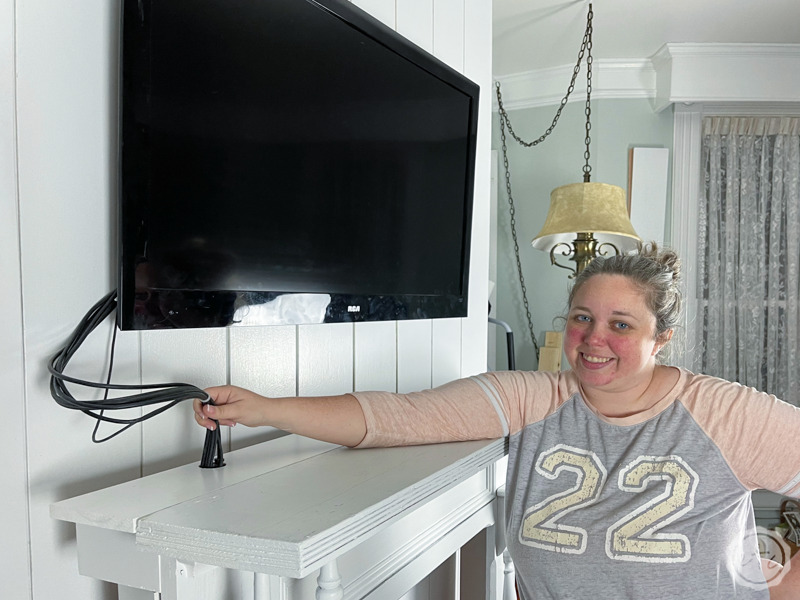
So let’s drill a few holes that we can use to push our cords through the top of the mantle and out the side.
I used a 1.5 inch paddle drill bit for this and made sure to drill both holes in the back portion of our mantle box. I mean… I would much rather have a large hole in the board I just bought then my antique mantle. Plus if it’s in the back it will be much easier to hide!
Just make sure to look at where the powerstrip is mounted inside… I’m not sure what kind of damage a 1.5inch paddle drill bit could do to a powerstrip but I don’t want to find out.

Optional Step 7: Install Cord Cover & Plug in Cords
Once you have both holes drilled go ahead and thread the cords through the top and plug them into the power strip. Then thread the end of the power strip out the bottom hole and plug it into the nearest outlet. If you haven’t pushed the mantle back into place now is a great time to do that… especially if you’re going to plug in that powerstrip!
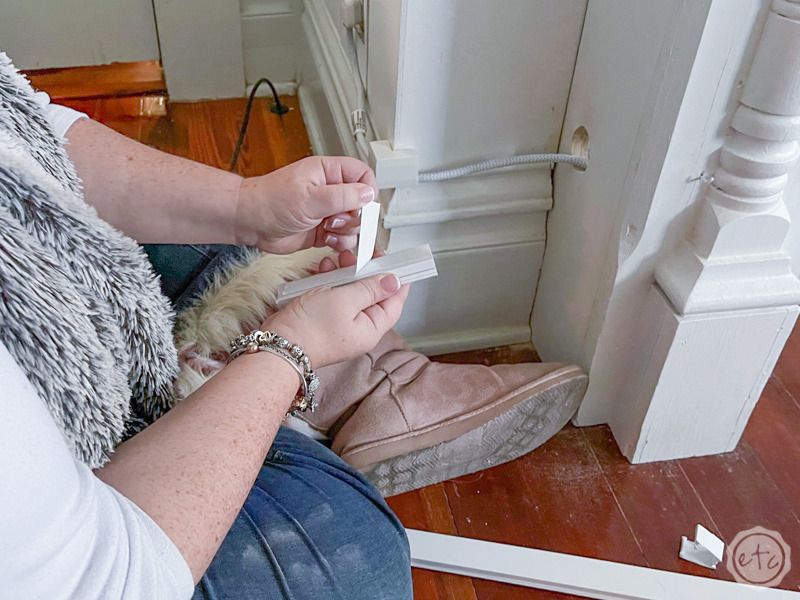
Last but not least let’s go ahead and hide those cords a little. Mom ordered a cord cover kit and it worked pretty well! We basically used scissors to cut the long channels to size and then strong adhesive tape to stick the channels to the wall.
Then we placed allllll the cords in the cord covers and closed them up. Volia! Instant hidden cords when you combine the new cord covers with the new shiplap Mom decided we just had to hang.
Yup… Mom is really getting into this project. In between step 1 and step 7 she decided we needed to add a bit of shiplap to the wall! The entire process was pretty connected so if you watch the video up above you’ll see the fireplace mantle remodel and the shiplap installation all in one place… but if you’re here you may want to check out this tutorial on how to install shiplap on a budget.


Step 8: Style and Enjoy!
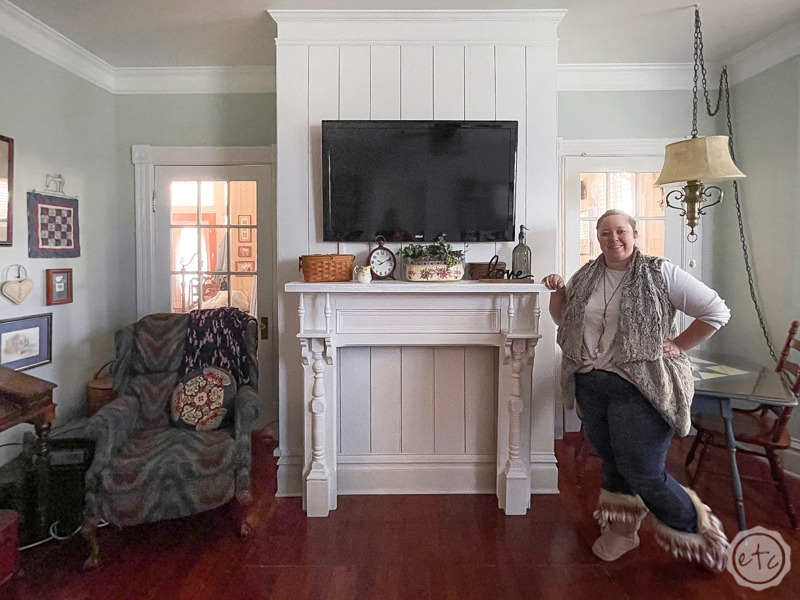
Now we’re done! I mean… we’re done for today! We’ve finished allllll of the large projects for this space and Mom’s mini living room makeover is offiically complete.
Unofficially she still wants to add bricks to the mantle opening and build a fancy box to disguise her dvr and dvd player on top of the mantle.
But that’s a project for another day.
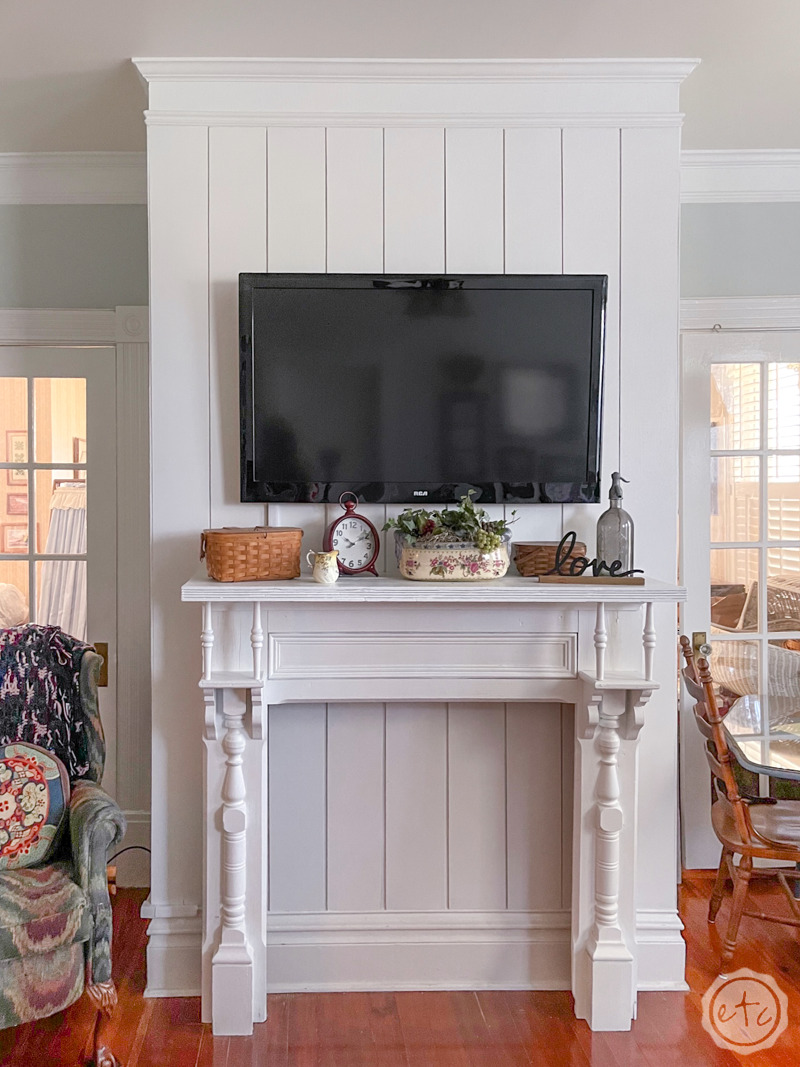
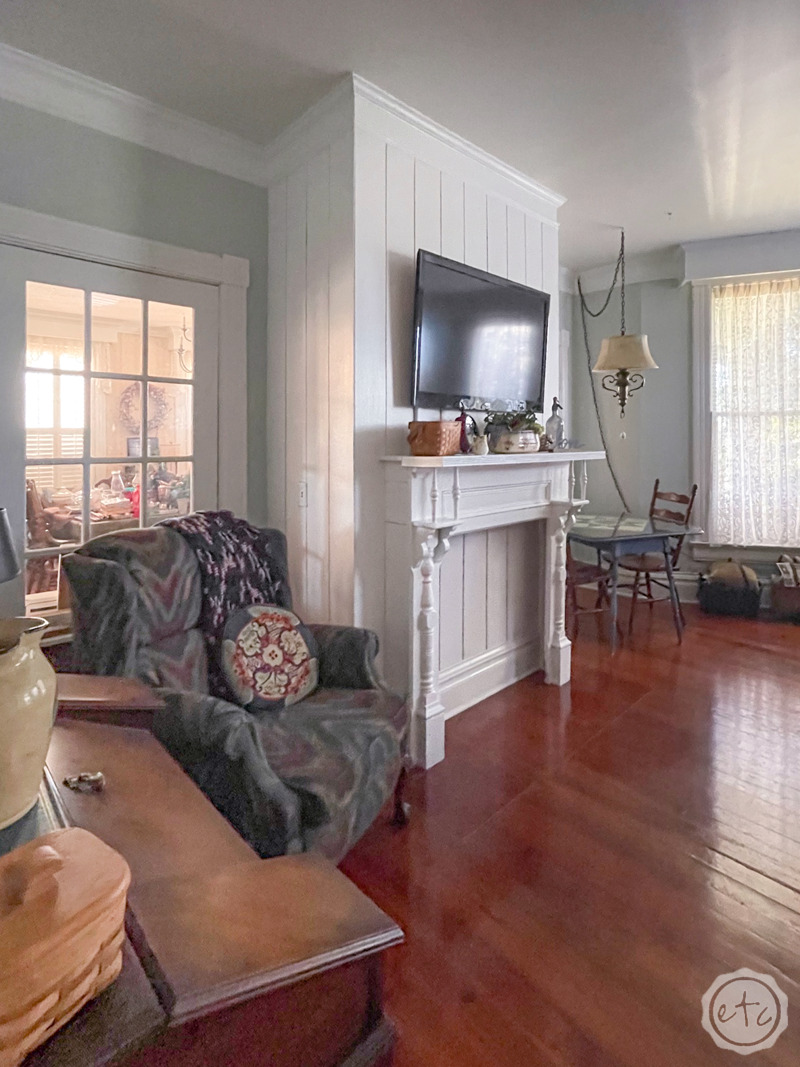
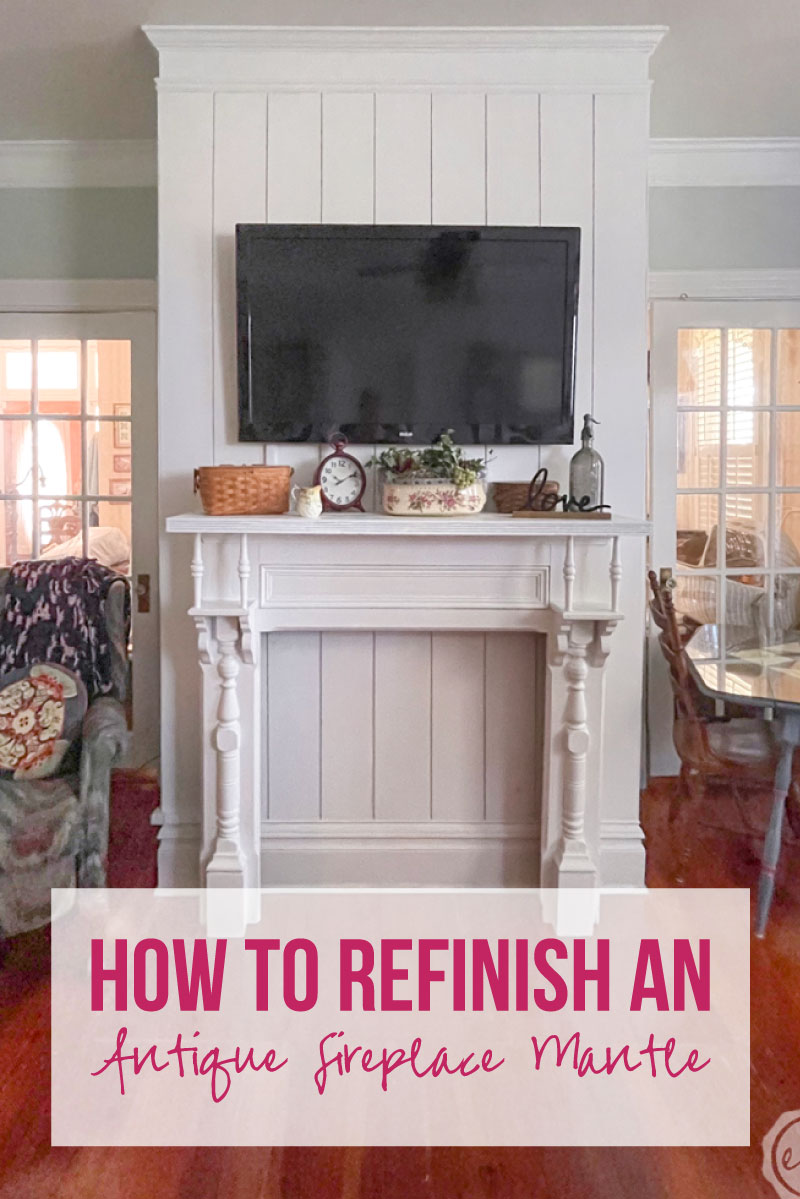
In the meantime enjoy a few finished shots of our antique mantle masterpiece and if you want to go back to see where it all began you can check out all the before photos here. Honestly I can’t believe how much the fireplace mantle has transformed the room… and I love how the shiplap really makes it feel like one grand floor to ceiling fireplace unit.




Want to check out the rest of the space?
Click on any of the links below to see the rest of Mom’s Living Room Makeover!

Get Your FREE Paint Color Tracker!

Ready to paint?
Make it a snap with our free paint color tracker! Never forget a paint color again!





Leave a Reply