

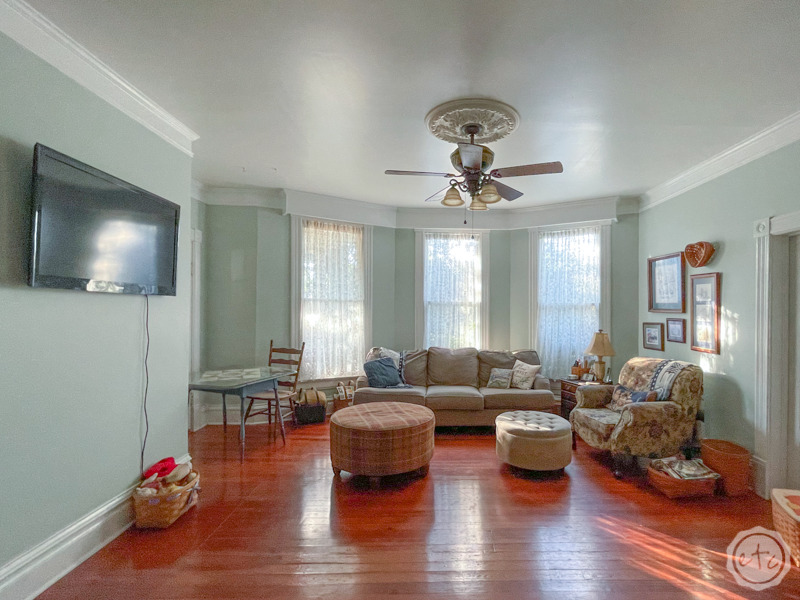
We spent a few hours yesterday painting Mom’s living room… it’s a 15×17 room that we took from a medium tone gold to a beautiful new sea salt. It looks amazing so far but it needed a little bit of an extra touch. That cherry on top. So we decided to pick up a few pieces of crown molding to extend the existing crown molding into a larger, more dramatic crown molding.
Since Mom’s house is about 100 years old with tall ceilings and tall dramatic baseboards a large, dramatic crown molding makes sense. She actually has larger crown molding in several other rooms but at some point in the past the ceiling was dropped from the original 12 feet to 9 feet and at that point this room was re-done with a single strip of smaller crown molding.
Even with 4 original fireplaces (that were bricked up) the house gets quite cold so we believe they lowered the ceiling to help retain heat. Of course, even though the ceiling is lower at 9 feet than 12 it’s still a tall ceiling by today’s standards. So a little bit of extra drama on the crown molding will be perfect!
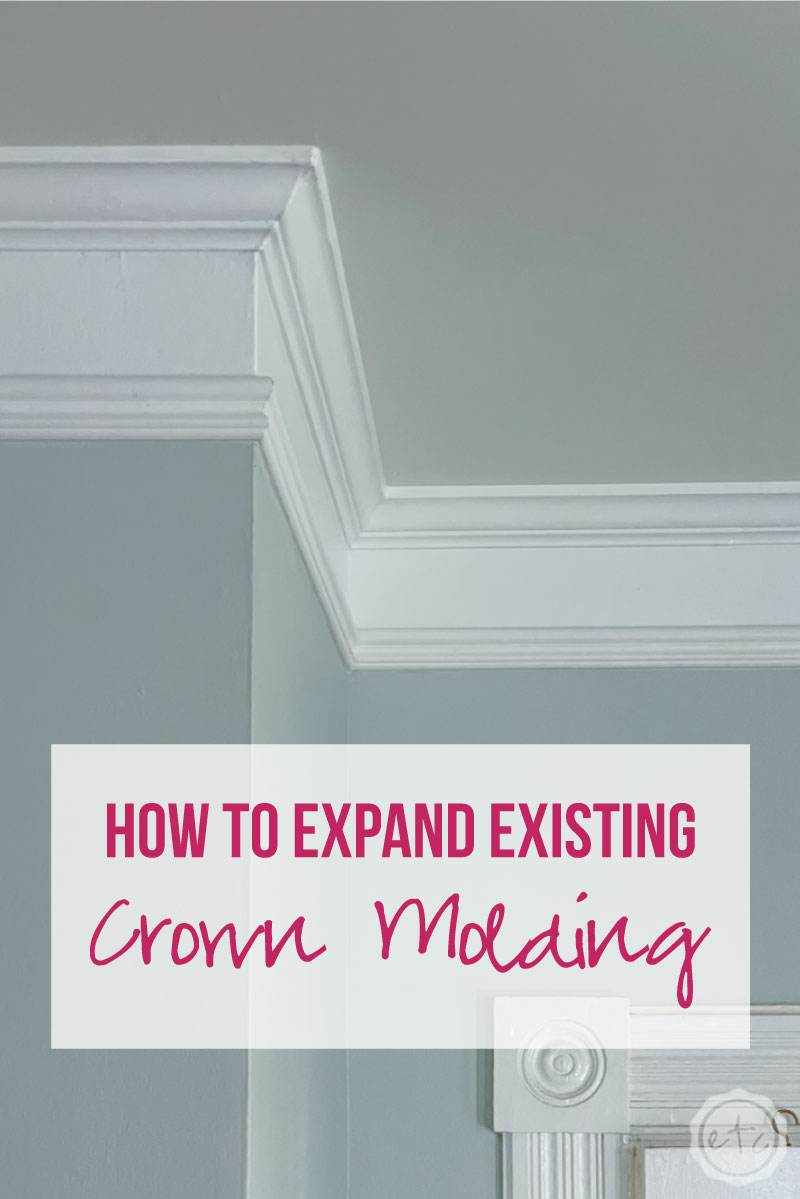
Since we’re working with existing trim I’ll show you how to paint the wall directly under the existing trim and then cut & install new trim below that for a beautiful, easy to achieve dramatic crown molding.
Let’s get started!
Supplies:
- Primed Molding
- Miter Saw (Manual like the one we have)
- Miter Saw (Electric like the one we want)
- Tape Measure
- Painters Tape
- Brad Nailer
- Brad Nails
- White Caulk
- White Trim Paint
- Wagner Flexio 3500 Paint Sprayer
- Paint Respirator
- 2.5 Angle Cub Brush
- Small Paint Roller
- Worx Portable Work Table
- Angle Finder
- Clamps

BONUS TIP: When using brad nails to install your trim you’ll want to use nails that are 3x longer than the depth of your molding. In my case I’m using thin trim so 1.5 inch nails are perfect… make sure you’re using the appropriate length for the molding you choose!

Step 1: Measure, Measure, Measure
Okay y’all this one is important… before you go rushing off to the hardware store go ahead and measure your walls. Make sure to measure from corner to corner on each wall that you’re going to put crown molding.
Remember the rule is always measure twice cut once so make sure you’re getting really accurate measurements here!
Now you can take those measurements and determine how many pieces of molding you’ll need. In our case we determined we needed 8 pieces of 8 foot long molding. This includes 3 full length pieces of molding and all of the smaller pieces of molding we’ll need to cut to go around the fireplace and fit the smaller areas like either side of the cornice board.
Once you know how much molding you’ll need you can head to the store to pick out a style. Keep in mind that for our extended molding look we already have angled crown molding at the top of the wall… we’re going to use paint and a piece of flat backed molding for the lower portion of the crown. So we need to buy molding with a flat back and not an angled back. Mom also decided she liked the look of smaller width molding underneath the existing molding but you can pick whichever style & width you like as long as it has a flat back.
We bought 8 pieces and headed back home to cut and install these babies (actually we went to the movies and then installed them the next day but that’s not relevant here).

BONUS TIP: When we made our cut list we based it on pieces of 8 foot molding… then we got to the store and discovered that most of the molding was either 7 feet or 10 feet long. We didn’t want to hook up the trailer for the 10 foot molding (which is why we went with 8) but if we’d known in advance that there were a zillion more options in the 7 foot molding selection we could have done our calculations based on that. Keep that in mind when determining which molding you want and how much of it you’ll need (or just bring your piece of paper with the measurements on it to the store so you can re-do the math if needed).
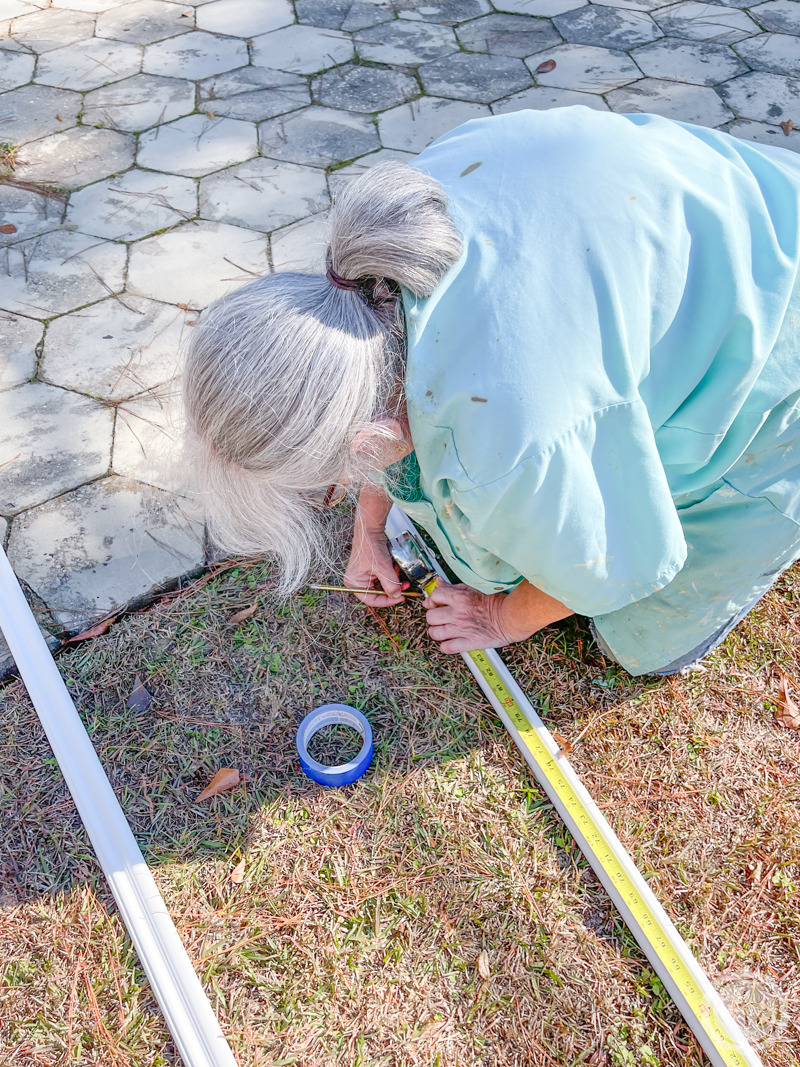
Step 2: Cut your Molding
Ready to cut some molding?
We started in the back corner and measured the distance for the first piece of trim. Keep in mind that when cutting molding you’ll need to miter the edges… otherwise this would be super easy and challenge free. For our room we have 9 corners including the area around the fireplace and the section leading up to the bay window and the cornice board. So we’ll need to miter 9 corners.
For those of you who don’t know mitering means to cut at an angle. So if you have a standard corner with a 90 degree angle you’ll need to cut each piece of trim at 45 degrees so that they meet in the middle and cover the corner. For standard corners you can be confident that 45 degrees is the right cut… but if you have a corner with a unique angle (wider or smaller than 45 degrees) you’ll need to find that angle in order to cut the trim to fit.
You can do that by using an angle finder (like this one) or by using this trick with 2 pieces of scrap wood to find the angle without tools. Which is what I did because for our entire room we only had 2 angles that weren’t standard (and I couldn’t find my angle finder).
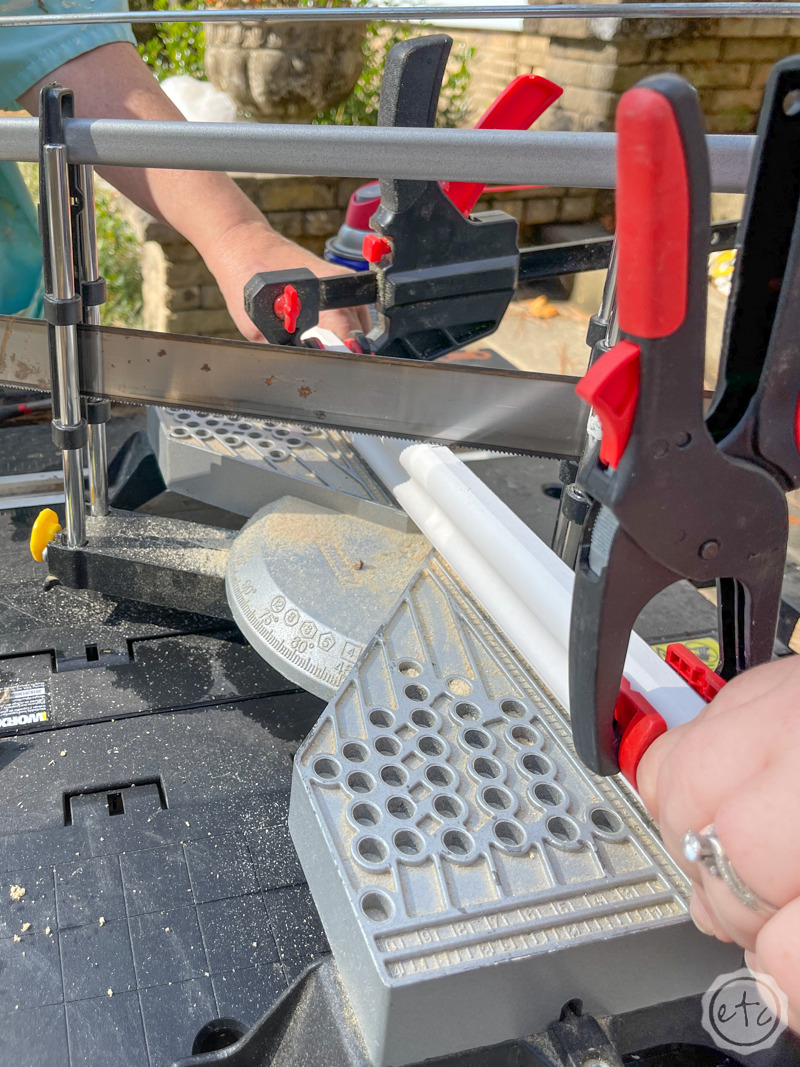
Once you have the measurements and the angles start to cut… we used a manual miter saw for our cuts but an electric miter saw is even better. You can use whichever tool you have, or whichever tool works for your budget. Since we were only doing one room (and Mom’s miter saw died after the last project) we pulled out the manual saw… maybe Santa will bring me a new electric one for Christmas.
Either way the concept is the same. Place the molding on your saw and line up the angle. Most miter saws have the degrees laid out at the front of the saw so you can adjust the saw to 45 degrees and then start to cut. Keep in mind that you’ll need to either cut one 45 degree angle to the left and on the other side of the board cut 45 degrees to the right OR leave the 45 degree angle set and flip your molding upside down for the second cut. Either way you’ll need a 45 degree angle facing inwards on either side of your molding for a standard corner.

BONUS TIP: For old houses even standard 90 degree angles aren’t always 90 degrees. Mom’s house is over 100 years old and her walls are not straight, or square, or even. (Score). We quickly learned we needed to measure at the top of the wall where the trim was going to go since measuring the same wall 3 feet lower would give us the wrong measurements. Now this means that alllll of our 45 degree angles were just a smidge off since the 90 degree corners aren’t truly 90 degrees. BUT for us it was close enough and not so off that a little caulk wouldn’t fix any problem areas. If you want a super tight fit with perfect angles though… measure the angle for every corner.

Step 3: Tape the Molding in Place
As we cut each piece we carefully taped it into place on the wall. This did a few things for us: it let us check the angle, the length and it kept each piece organized. There’s nothing worse then cutting 5 pieces in varying lengths and then having a hard time remembering what piece goes where.
Like the jig saw puzzle you never wanted to do.
So instead of cutting a million pieces at once we cut one piece at a time as we worked our way around the room. Of course, you can always cut several pieces at once if you are confident in your measuring/cutting abilities. We’re still learning as we go when it comes to molding which means we do better if we make absolute sure the first piece is right before moving onto the second piece.
So we cut one piece and placed it on the wall… then measured the next piece off the first piece to make absolute sure that the length and angles were perfect allllll the way around the room.

Make sure to cut not only the right angle but the proper direction. Most of our walls had normal corners (like a four sided box) but these two around the fireplace required an outward facing cut instead of an inward facing cut.
See how the molding meets to wrap around the wall? That’s important! Instead of cutting one 45 angle right side up and the other side upside down like the first few corners we’re going to cut both of sides for this particular wall piece with the same angle on the same side.
Then we’ll cut two different angles on the front piece again.
If allllll of this is confusing the heck out of you watch the video… it makes a bit more sense if you see it in action. But hopefully the photos help!

Step 3: Paint
We’re done with allll the cutting! That was the hard part and if you taped your pieces up as you worked your way around the room you know that all your pieces are cut properly and ready to be installed. Unfortunately the next step is painting so we’ll need to take those pieces down off the wall so that we can take them outside and paint them!
We made sure to number the back of each molding piece as we worked our way around room so we knew exactly how to put them back in place. Easy peezy lemon squeezy!
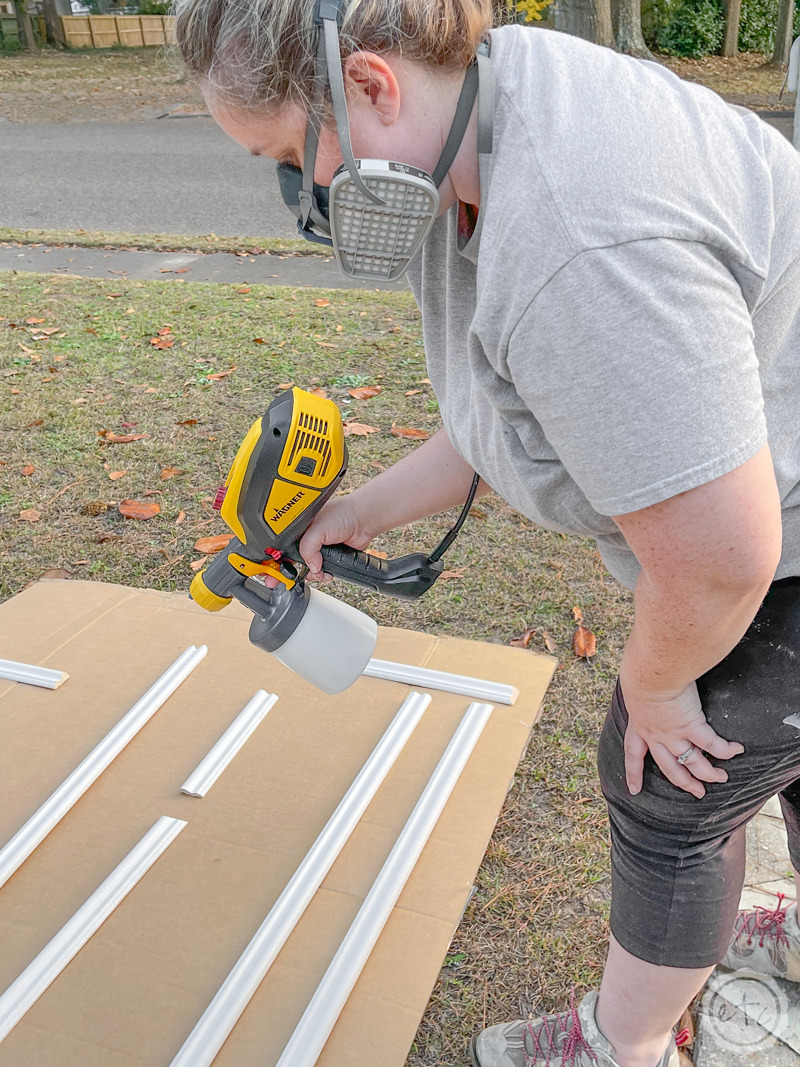
Then it was outside to put a nice finish coat of paint on each piece. We went ahead and sprung for the pre-primed molding (which cuts down on the painting time soooo much) but that finish coat is so important to the longevity (and washability) of your molding.
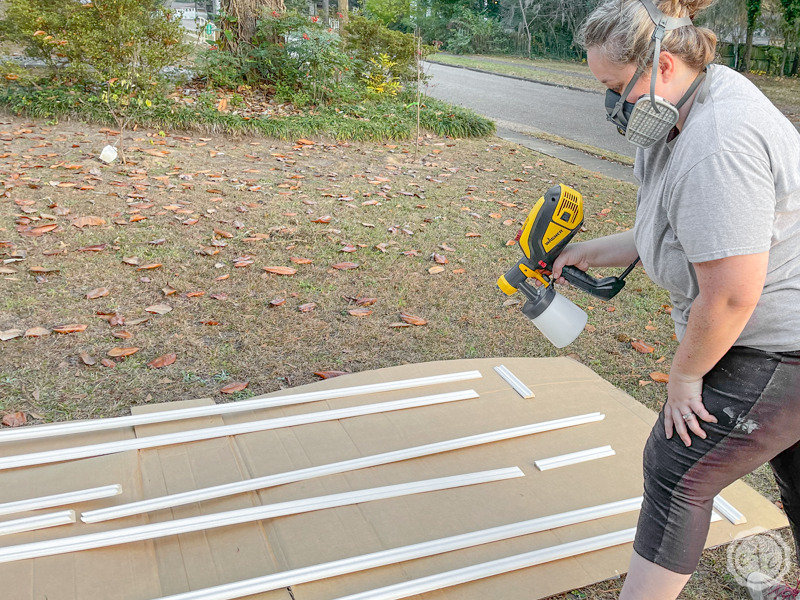
I laid all the pieces out on a big piece of cardboard and then sprayed 2 even coats of white trim paint across each piece with my Wagner Flexio 3500 Paint Sprayer. I made sure to hit each piece of molding from the top, straight on, and from the bottom so that each nook and cranny was evenly covered.
Then I left all the pieces to dry for about an hour.

Step 3a: Paint the Section Under the Existing Trim
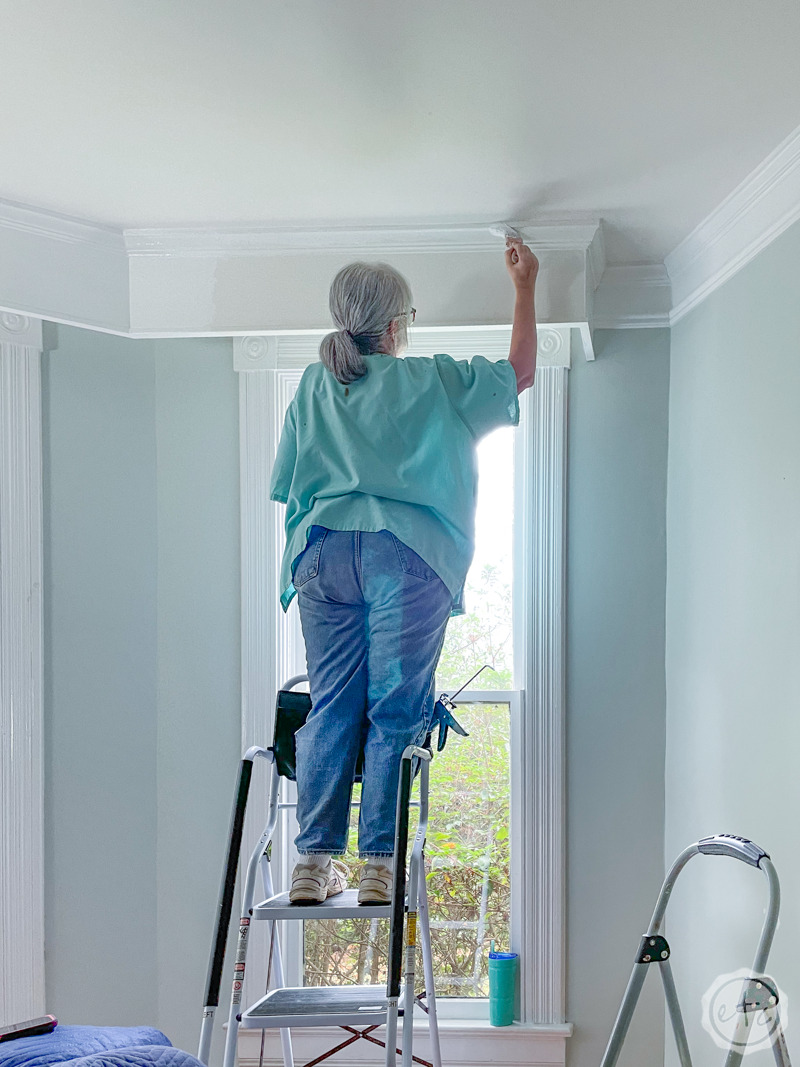
Okay so an important part about faking thicker trim is the connecting portion between the upper and lower trim. AKA the wall.
So while I was outside spraying the molding with my spray gun Mom was inside putting 2 coats of paint on this little strip of wall all the way around the room. She used a brush to cut in from the upper trim to the wall and then a small roller to roll her way around the room.
We basically used the small roller to keep this section straight and give us a uniform depth without having to mark off 3 inches from the top allllll the way around. It worked perfectly! Once all of the painting was finished we were able to add the trim back to the wall (over the newly painted white stripe) and only a few spots needed touched up where the roller dipped too low on the wall!
Perfect!

Step 4: Attach the Molding
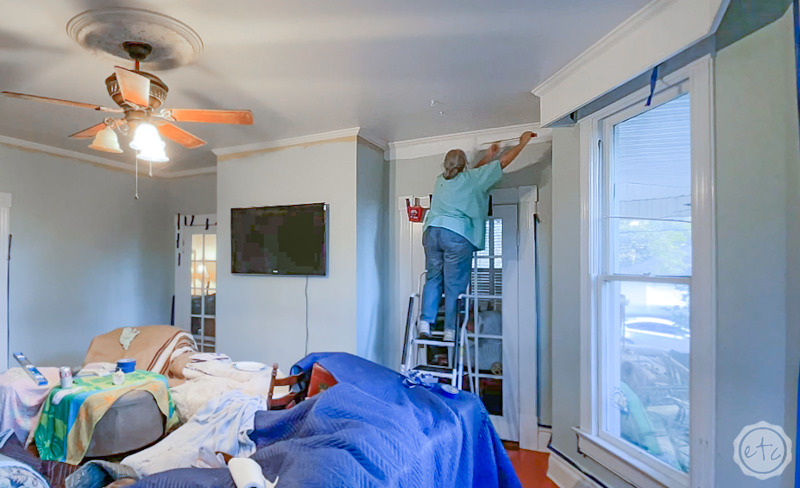
This might be the best part of the whole project… because it’s at this precise moment that it all starts to really come together. We’re not exactly done yet (we have a little bit of finishing work left to do) but as we put the molding up we can really see what it’s actually going to look like.
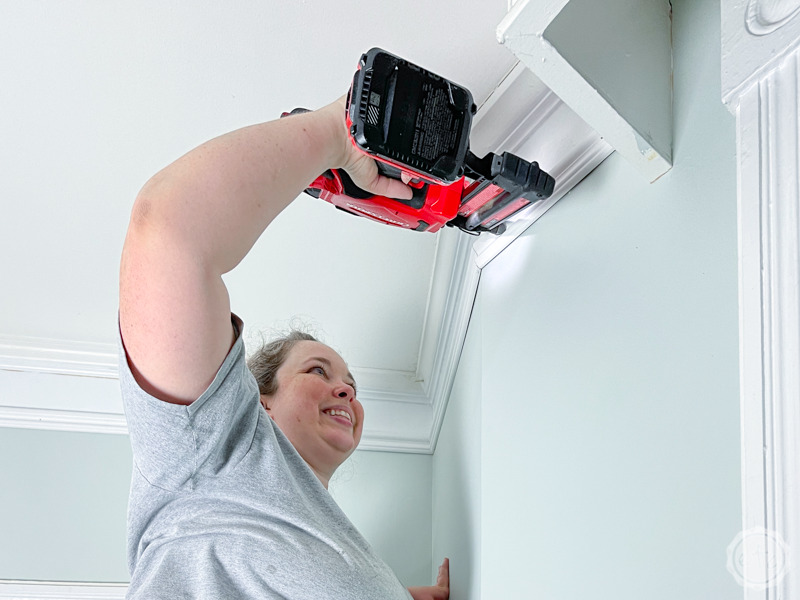
Luckily this step is pretty easy… since we already know exactly where each piece needs to go we simply placed it on the wall and nailed it in place using my brad nailer.
A few tips to make this process easier… we used a long board in the right width as a spacer. We placed the spacer board against the top trim and then the new molding snug against that. This way we knew the molding was level around the entire room and we didn’t have to measure anything.
The second tip I have for you is to make sure you’re placing the tip of the brad nailer into the ditch of the molding. You want the brads to be in the valley and not through the upper slope of the molding so that they’re less visible. If it’s difficult to do this with the brad nailer held vertically that’s ok just turn it on it’s side!
Easy!

Step 5: Caulk the Seam & Corners
We’re so close to finished! Remember those last finishing touches I mentioned? Before we’re done we’re going to run a bead of caulk along the bottom of the new molding… this will help it blend seamlessly into the wall and give the entire molding the appearance of being one seamless piece.
You’ll also want to caulk all the seams of the molding pieces (even the flat edges between the trim pieces) and definitely the corners. A bit of caulk holding those mitered edges together can forgive a wide array of sins.
Last but not least use a bit of caulk to fill in those brad nail holes and don’t forget to touch-up any funky spots with a dab of paint. Then we’re done!
Ready for the grand reveal?


Step 6: Enjoy
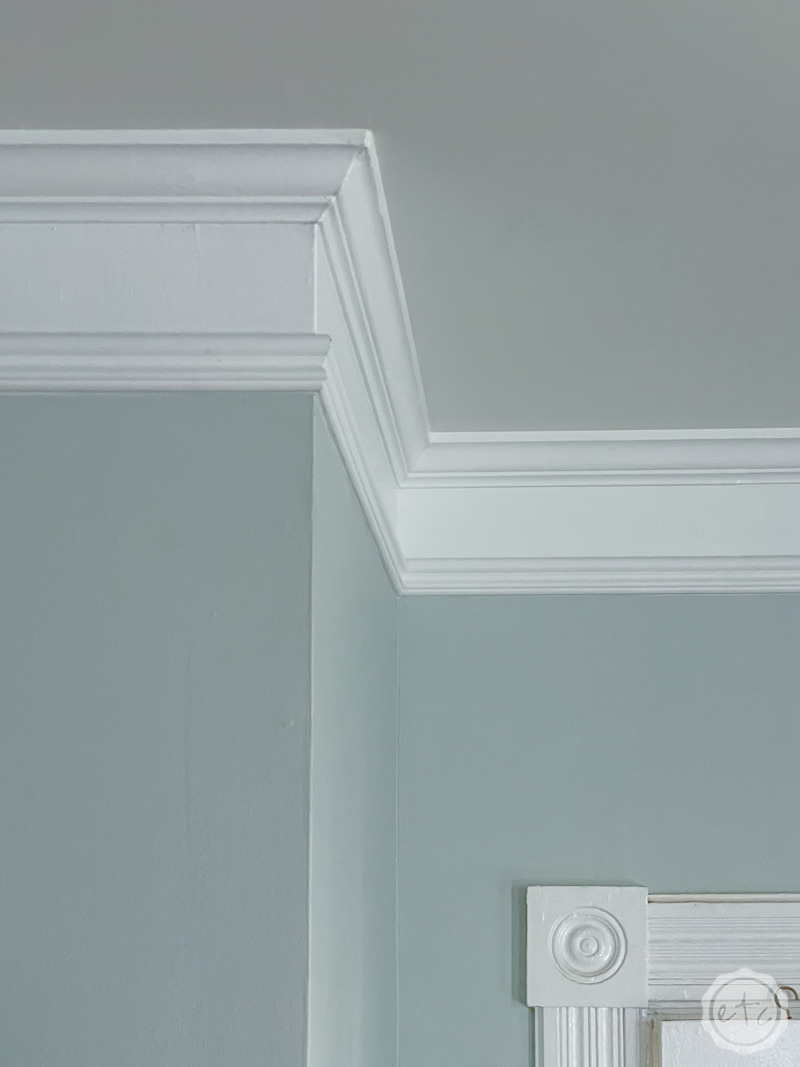
It turned out sooooo good! Honestly we could have painted right up to the original crown molding when we painted the rest of the room and it would have been fine but this new extended crown molding looks a-m-azing.
If I do say so myself.
It’s so clean and white and really looks like one seamless piece. Plus it looks so good compared to the wider baseboards at the bottom of the wall.
How much do you love this project?
The best part? It was pretty quick and easy! If my feet hadn’t started going numb we would have been done by dinner time! (But that’s a different problem that I really only mentioned in the video).
Either way we’re finished! The room looks amazing! I love how it turned out soooo much and I wish I could say we were finished but Mom also has plans for a bit of a fireplace makeover with an antique mantle she found. I can’t wait to show you the new room once that’s done. In the meantime enjoy the glorious trim!
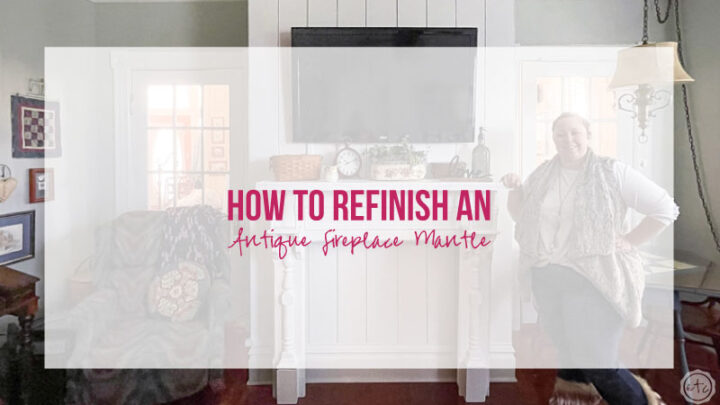
UPDATE: The antique fireplace mantle is finally finished! You can check out the entire project here on my How to Refinish an Antique Mantle tutorial.


Want to check out the rest of the space?
Click on any of the links below to see the rest of Mom’s Living Room Makeover!

Get Your FREE Paint Color Tracker!

Ready to paint?
Make it a snap with our free paint color tracker! Never forget a paint color again!





Leave a Reply