

If you’ve ever watched an episode of Fixer Upper you’ve probably had the impulse to shiplap something. I know I have! Especially since when I purchased my home two of the walls were already shiplapped… leaving with the urge to shiplap and no where to take out my frustrations! Luckily shiplap is pretty easy to re-create inexpensively so when Mom wanted an accent wall to make her new antique fireplace mantle pop shiplap was an easy solution.
Of course, we could have simply ordered a box of shiplap and installed it but in order to keep the cost down and the profile low (the crown molding pieces we used to extend the existing crown molding are pretty slender) we decided to use plywood to recreate the look of shiplap on a budget!
This entire project took Mom and I a day to complete and it was so easy. Even if you’re not a DIY pro you. can. do. this. project. and I’ll walk you through it step by step.
Let’s get started.
Supplies:
- 4×8 Plywood (We used a 1/4″ thick board)
- Wagner Flexio 3500 Paint Sprayer
- Paint Respirator
- Small Paint Roller
- White Paint (Pro-Classic Semi Gloss)
- Mouse Sander
- Multi-Use Tool
- 18 Gauge Nail Gun
- Brads for Nail Gun
- Indoor Caulk
- Caulk Gun
Step 1: Prep your Boards
To start with we headed to Home Depot to grab our supplies. We ended up buying 3 large 4×8 plywood sheets and having the Home Depot dude rip them down for us with his large saw. We had him cut one board into 7inch wide sections and the other two into 6.5inch sections… which were the perfect dimensions for our wall. We figured making the boards a little different would help disguise any cuts we needed to make as well.
Keep in mind that if your Home Depot dude can’t cut the plywood pieces you can cut them at home with a table saw or a circular saw… but it’s way easier if you don’t have to.
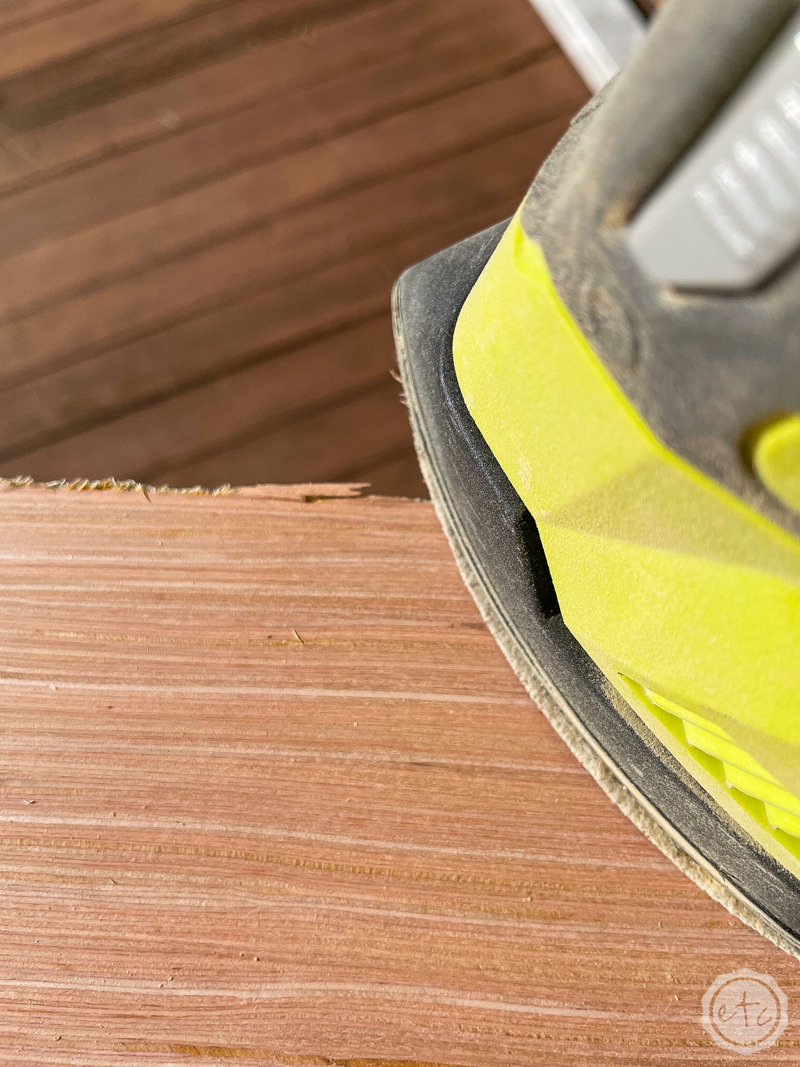
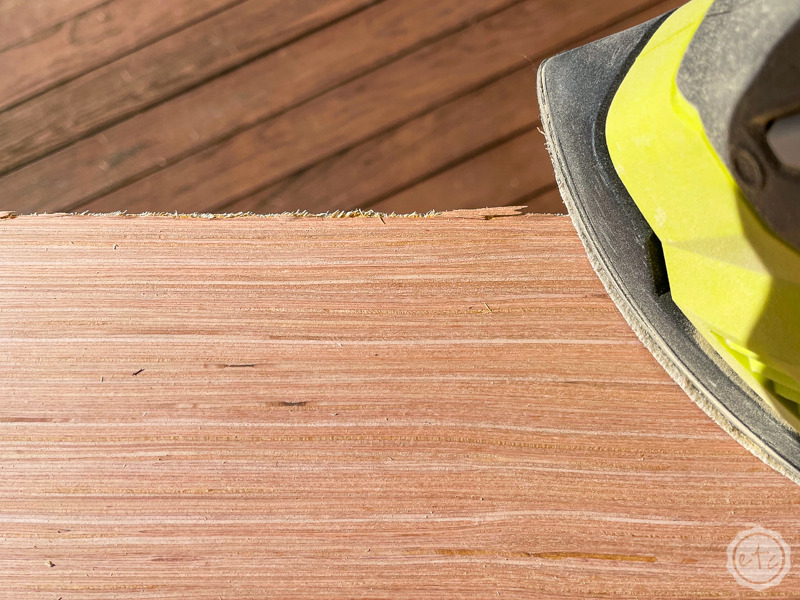
Of course, once they’re cut you’ll have rough, splintery edges. That is the drawback to using plywood instead of shiplap. I just grabbed my mouse sander and sanded the edges smooth… it didn’t take too long and it was definitely worth the difference in cost.
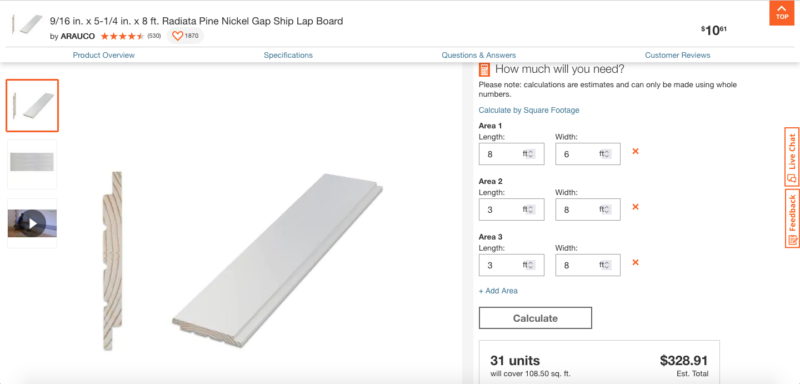
Our 3 plywood sheets were $66 total while the estimated cost of shiplap was $328.91. Now that’s a big difference!
Once everything is cut and sanded we’ll move on to painting!

Step 2: Paint your Boards
Let’s get to work! We ended up with 18 boards that were each 8 foot long (which is actually the perfect length for our wall! Which is hilarious because we did not plan that when we put up the molding).
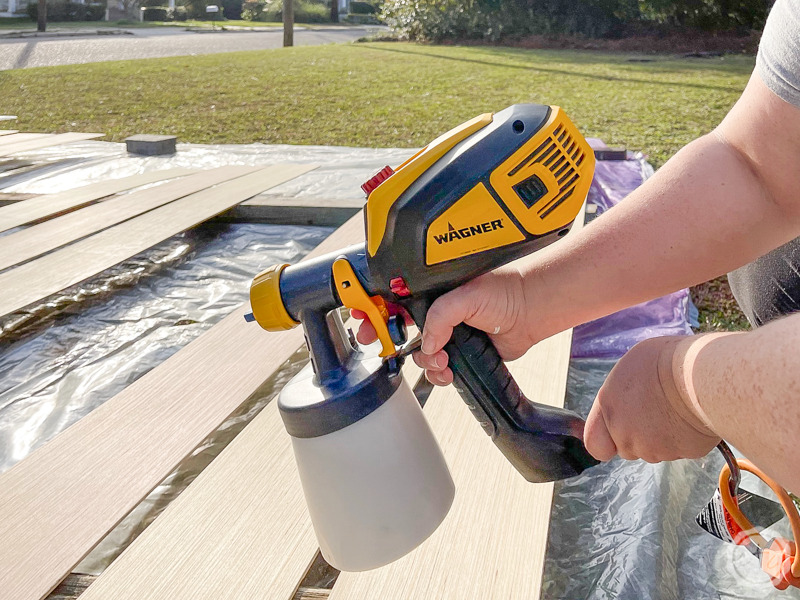
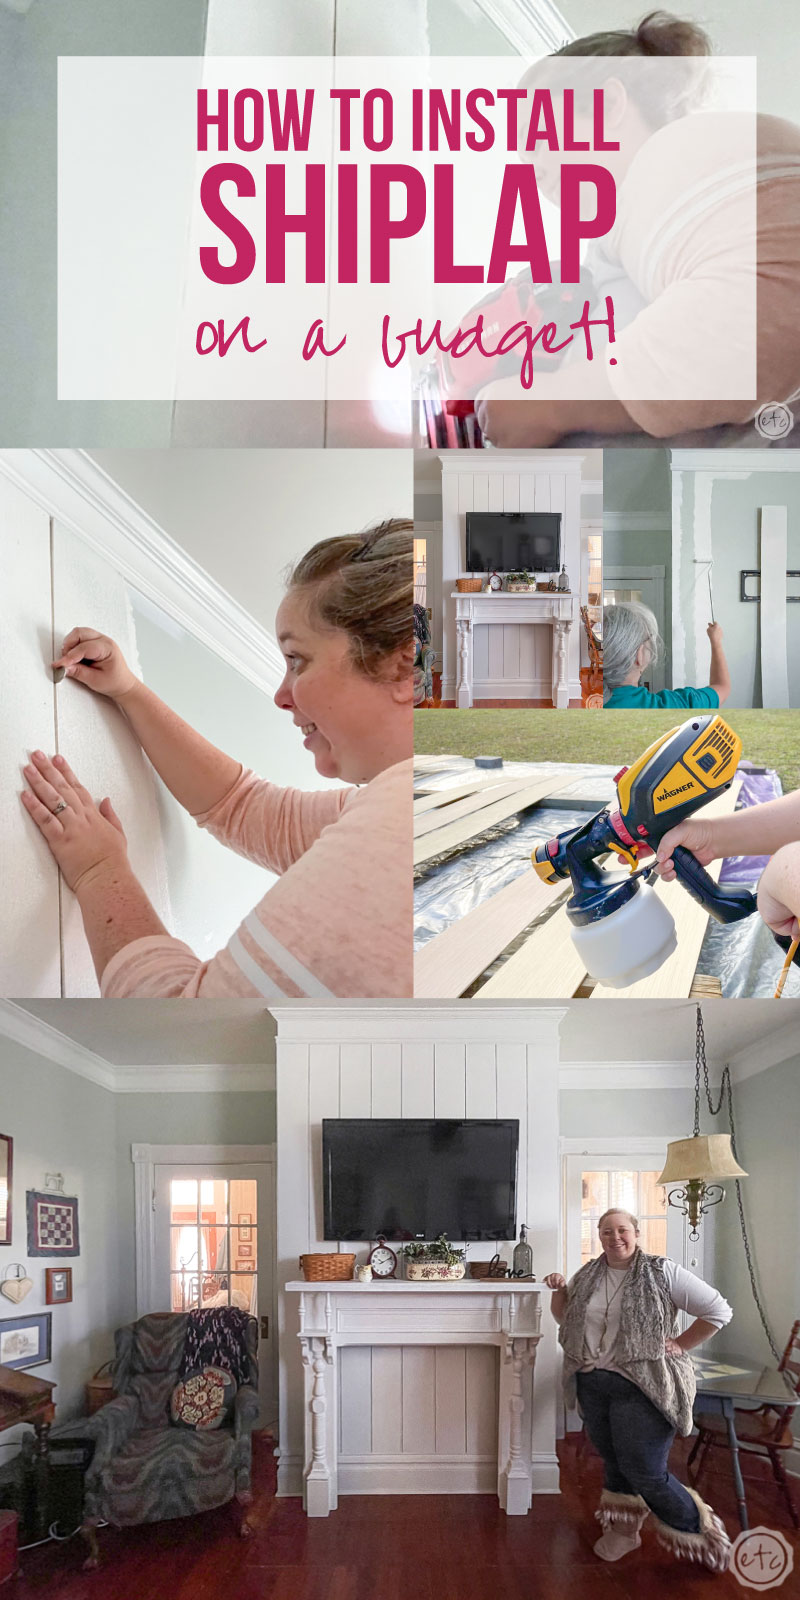
These boards are pretty long and we did NOT want to spend the entire day painting them so instead of using a paint roller (or brush) we grabbed my Wagner Flexio sprayer and sprayed everything. This little guy works perfectly since it sprays the sides and tops and leaves a butter soft finish with no brush strokes.
Plus it’s super fast… we only had an hour to paint and were able to finish all of the boards easily.
Just make sure that you’re wearing a respirator and your painters plastic is down under your boards… otherwise you’ll end up painting the entire yard!


Step 3: Paint the Wall
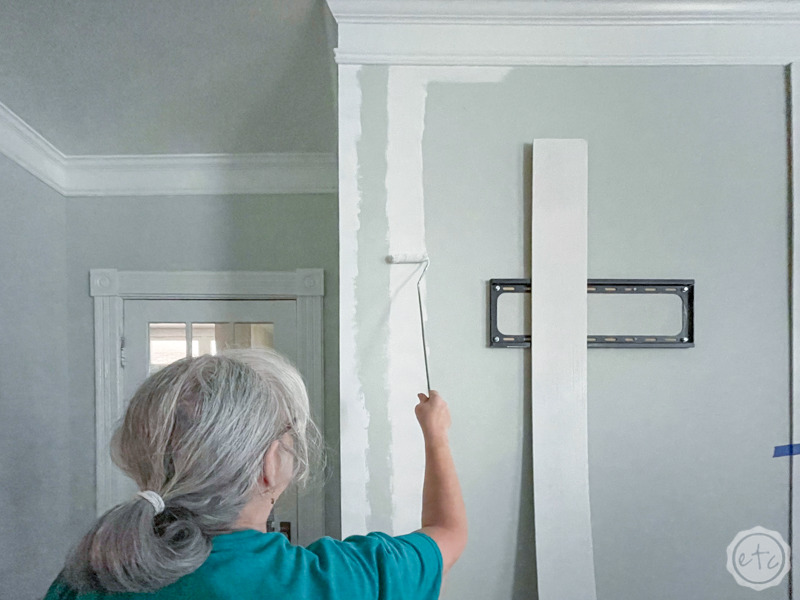
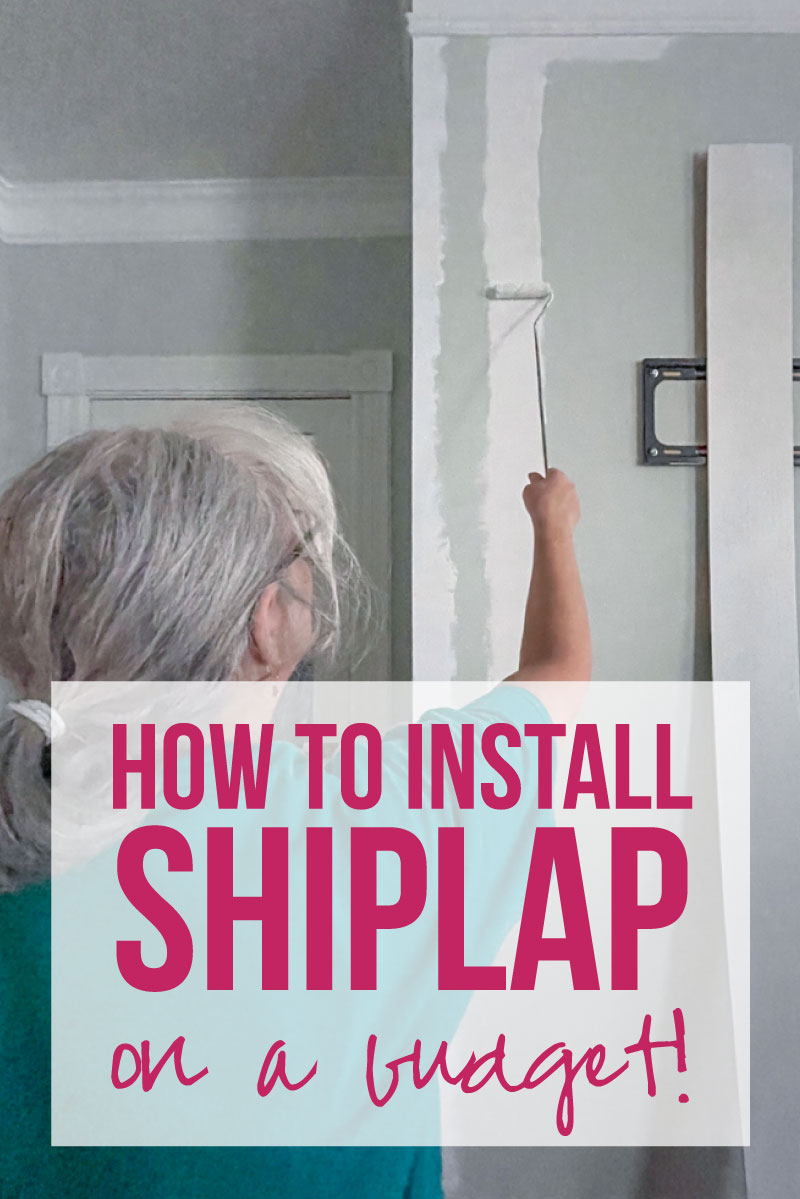
While your boards dry (make sure to give them a few hours) you can either take a little break of start to paint the wall. We don’t necessarily need to paint the entire wall (although I guess you could if you wanted to). Instead we used a small roller to paint stripes down the wall anywhere the shiplap would meet.
So every 6.5 or 7 inches.
We’ll have small gaps in between each of our boards so painting the wall ensures that the entire wall will look like one solid piece when we’re done. Of course how you paint the wall is up to you. You can either do it alllllll at once of simply paint as you go.
Which is what we did.
Step 4: Attach the Boards to the Wall
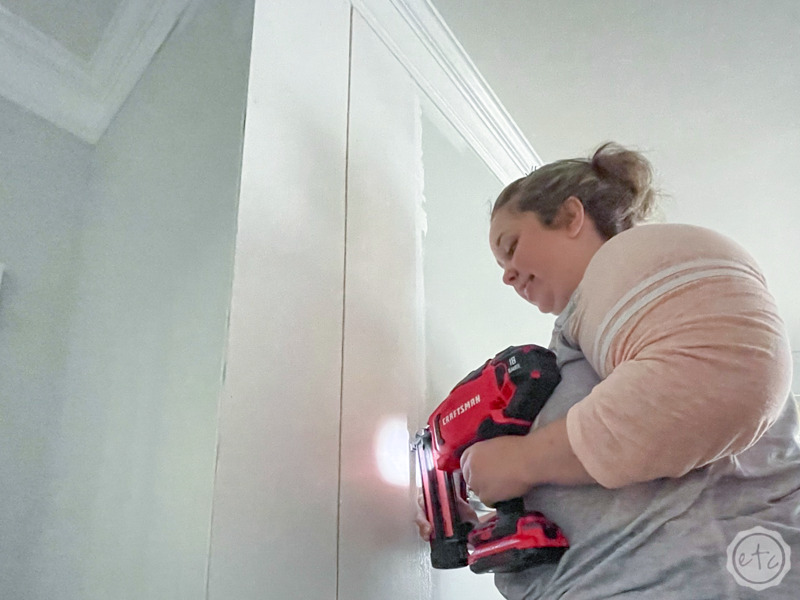
Ready for the fun part? Let’s put the first few boards up! We’re wrapping the entire fireplace surround but you can use this same technique for a wall. Simply start on one side and make sure your board is flush with the wall. Then use your brad nailer to shoot brads through your board and into the wall.
Perfect!
Brad that board all the way down and then we’ll move onto the next one!
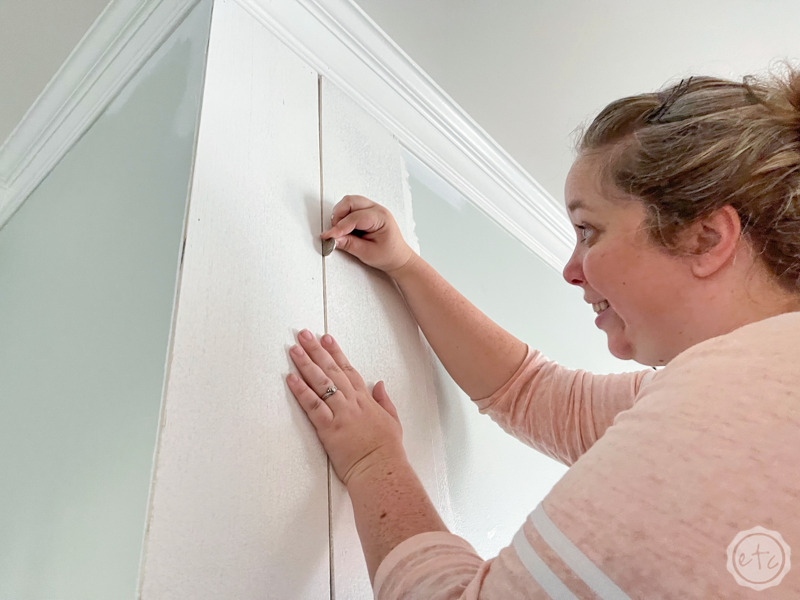
In between the boards make sure to use a spacer (like the two quarters you can see me using here) to keep the spacing even and consistent all the way across.
Now just work your way across the wall! Paint, brad, spacer repeat!
Optional: You’ll notice if you watch the video that there are a few spaces I had to cut out specifically for that wall (such as the electrical outlet, light switch and the mounting frame for the TV). I simply marked the board where they needed to be cut and then used my multi-tool to cut the boards. This is the same technique I used to cut the notches in the molding in the fireplace post if you need a reference!

Step 5: Fill in Nail Holes & Caulk Seams
We’re so close to finished (which you can probably tell since the lighting is getting darker since we were working at night time here… the lighting kits help but they’re not the sun!). Now we’re going to use a bit of spackle to fill in those brad nail holes and a tube of caulk to caulk allll the seems from the boards to the molding.
I didn’t caulk the gaps between the boards since that would defeat the look of shiplap but everything looks soooo much better after you’ve caulked the seam between the top molding and the wall…. and the bottom molding to the wall.
Once you’ve finished allll the caulking you may have a few brad nails or spots you want to touch up with paint… otherwise you’re done!
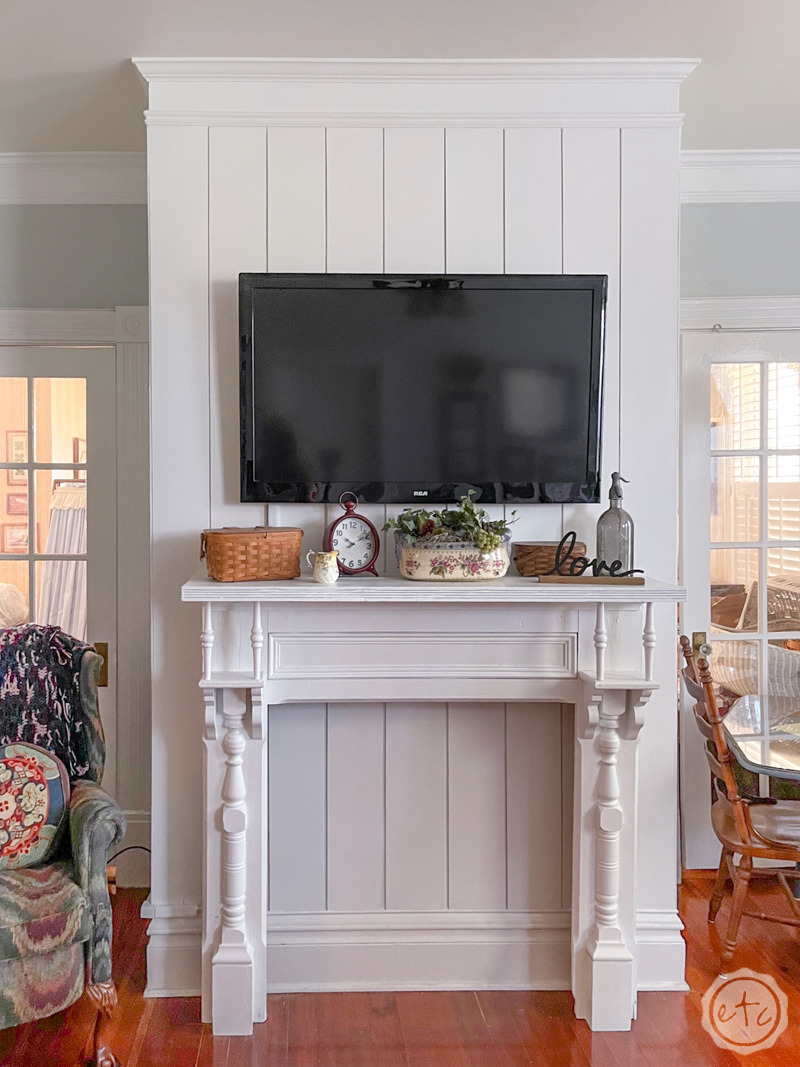
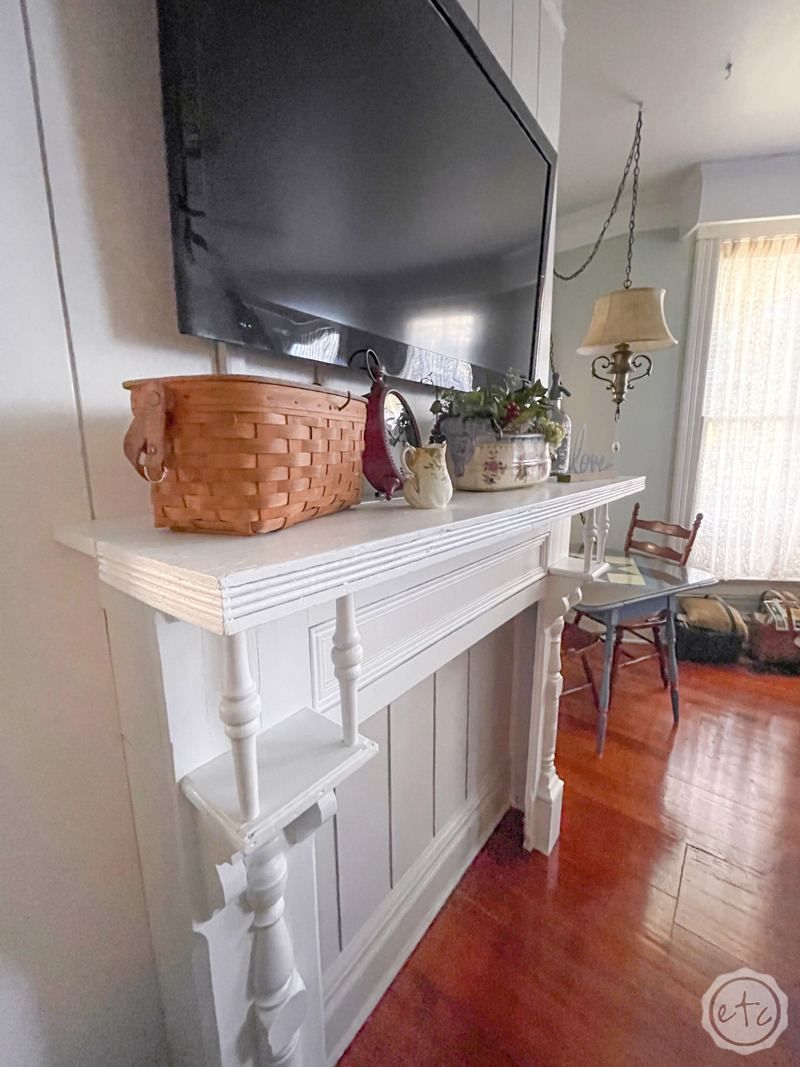
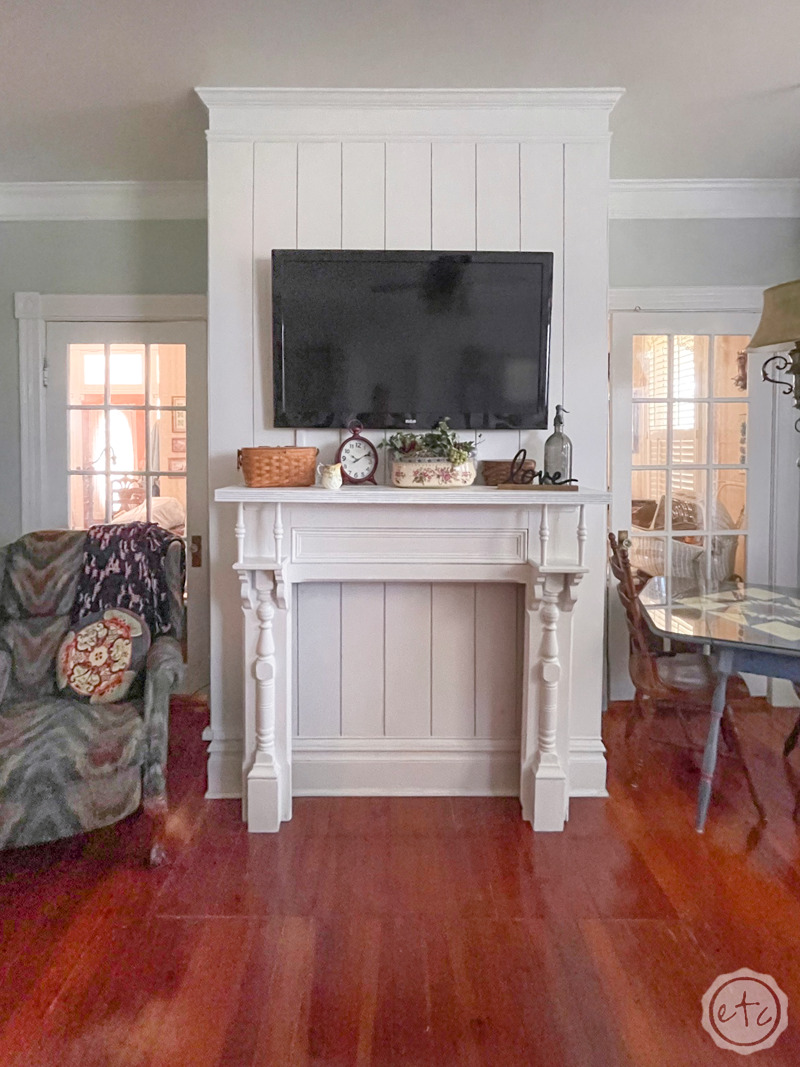
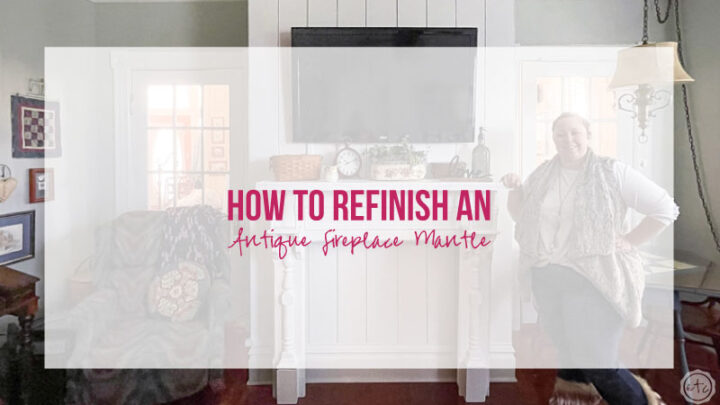
We moved our fancy new antique fireplace mantle into space and Mom went about styling her new mantle. I can’t believe how good the shiplap looks in the space. It really brings it all together!


Click on any of the links below to see the rest of Mom’s Living Room Makeover!
Get Your FREE Paint Color Tracker!

Ready to paint?
Make it a snap with our free paint color tracker! Never forget a paint color again!





Leave a Reply