


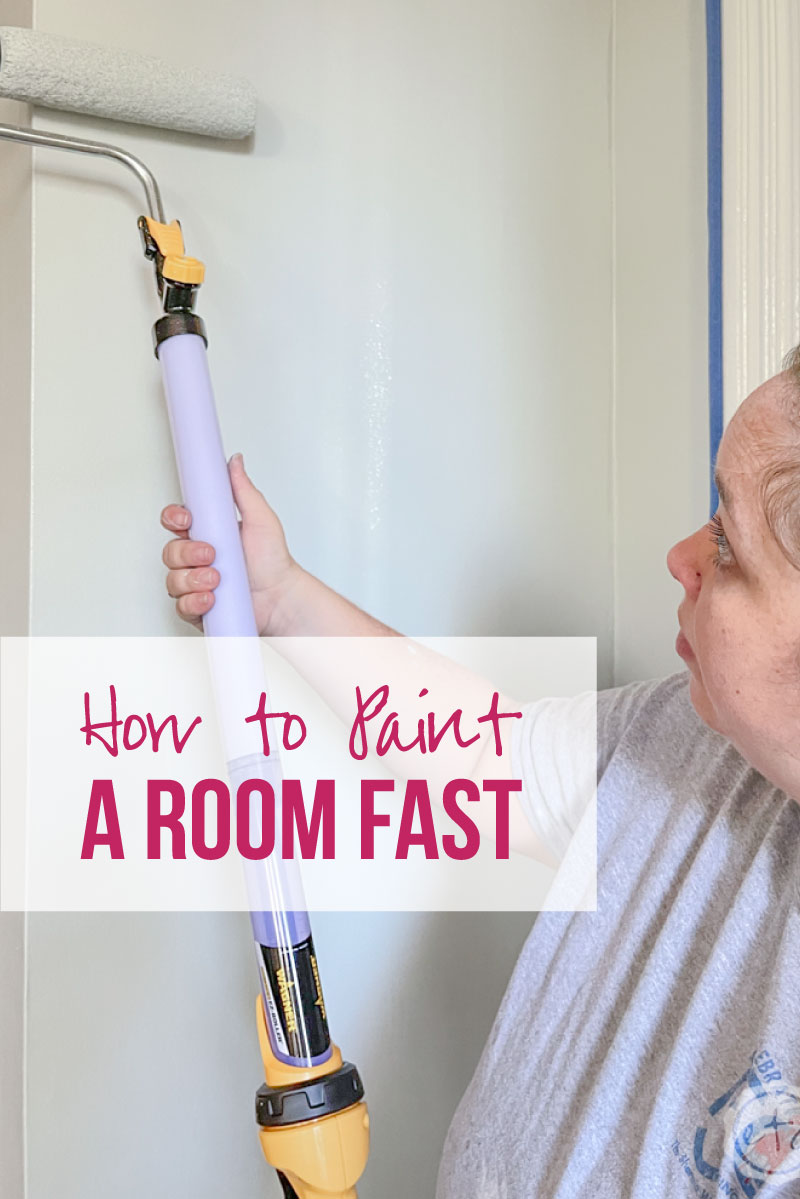
We’re going to paint a big room today… 15 x 17 in a matter of a few hours. In fact, we’re painting my Mom’s living room with 2 coats of paint and the entire process took about 5 hours (including a lunch break!). The best part? The ugly gold paint that has been in this room since Mom bought the house 10 years ago is finally gone!
And the Sea Salt paint color Mom picked is absolutely beautiful.
But in order to get from ugly gold to beautiful sea salt we’ll need to prep Mom’s living room and paint it from top to bottom. So I’m going to walk you through all the steps: from moving the furniture out of the way, taping the molding, cutting in the edges and painting the walls with my new EZ Paint Stick.
My secret weapon to painting quickly and easily (without the mess).
Ready to get started?
Supplies:
- Wagner EZ Paint Stick
- Wagner Smart Roller Cover
- 2 Gallons Sea Salt
- 2.5 Angle Cub Brush
- Painters Tape
- Drop Cloth (plastic drop cloth)
- Empty Bucket
- Small Hole Repair and Spackle
- Sanding Block
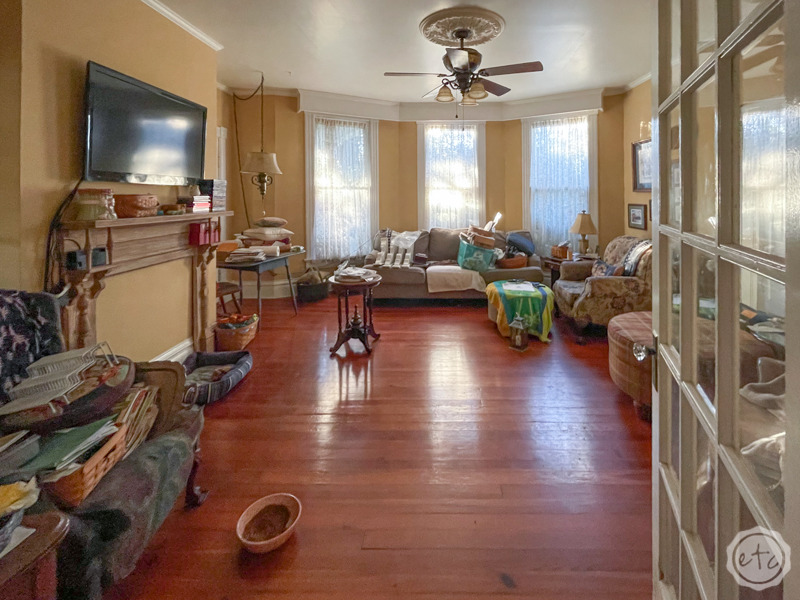
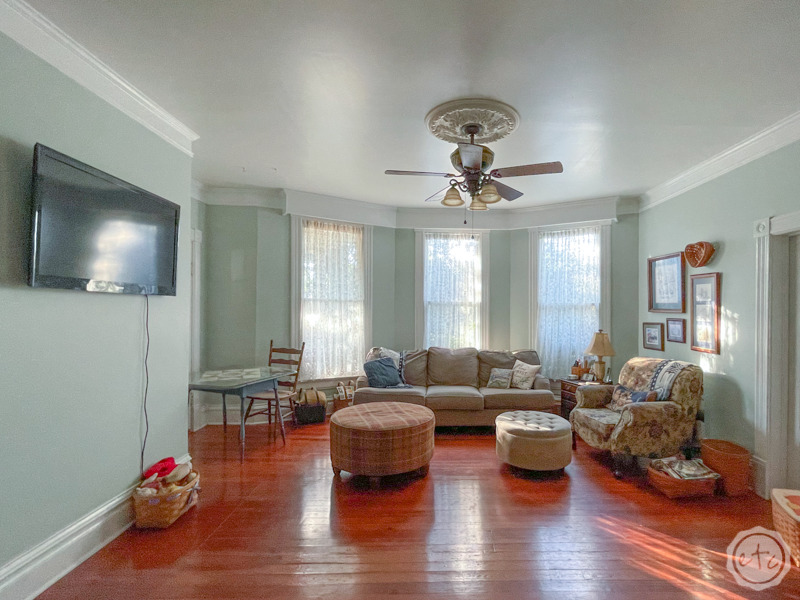
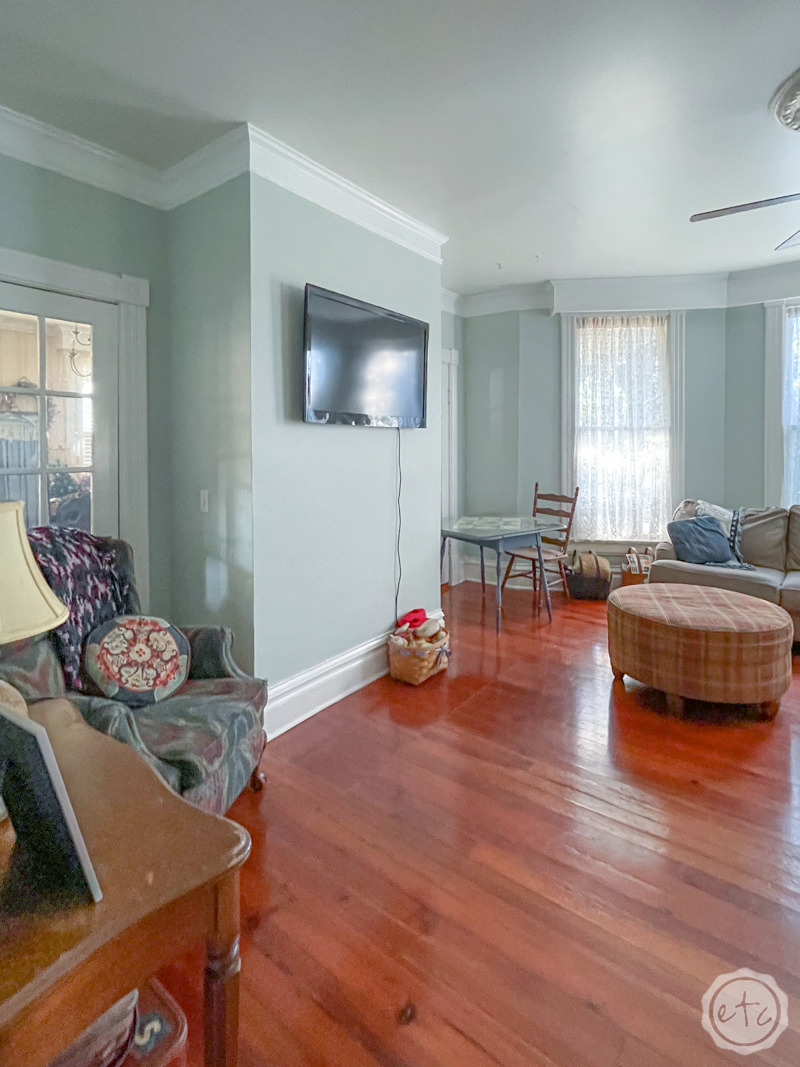
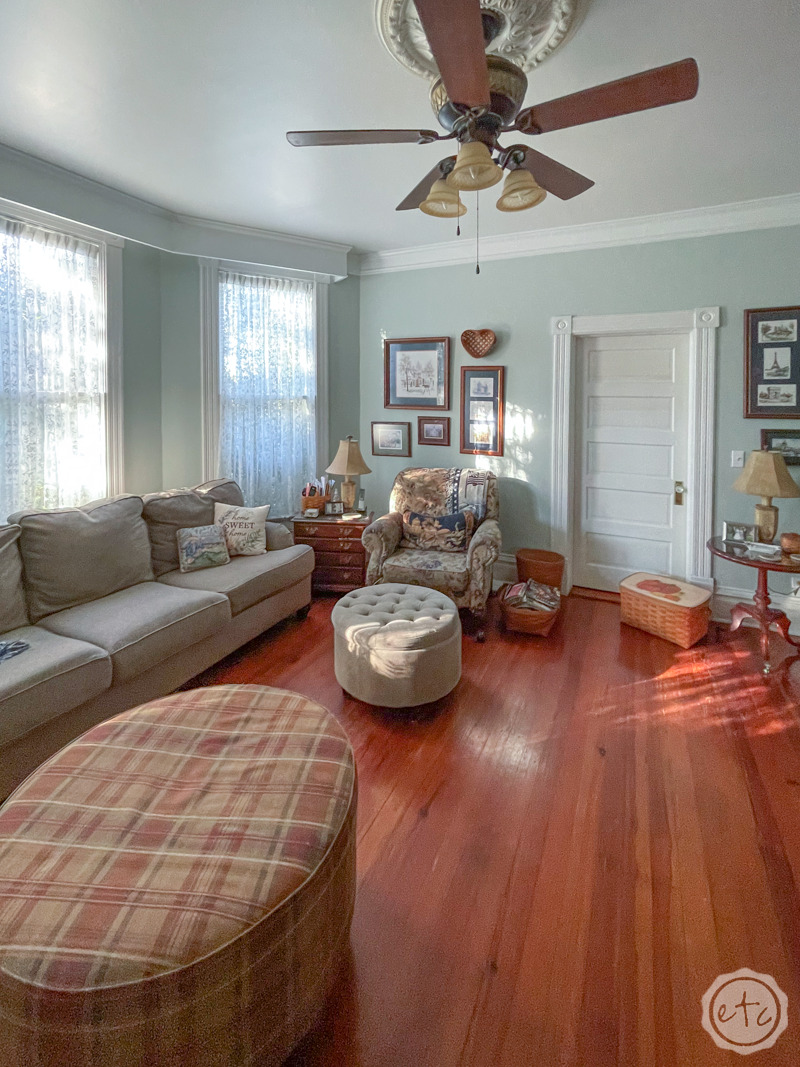
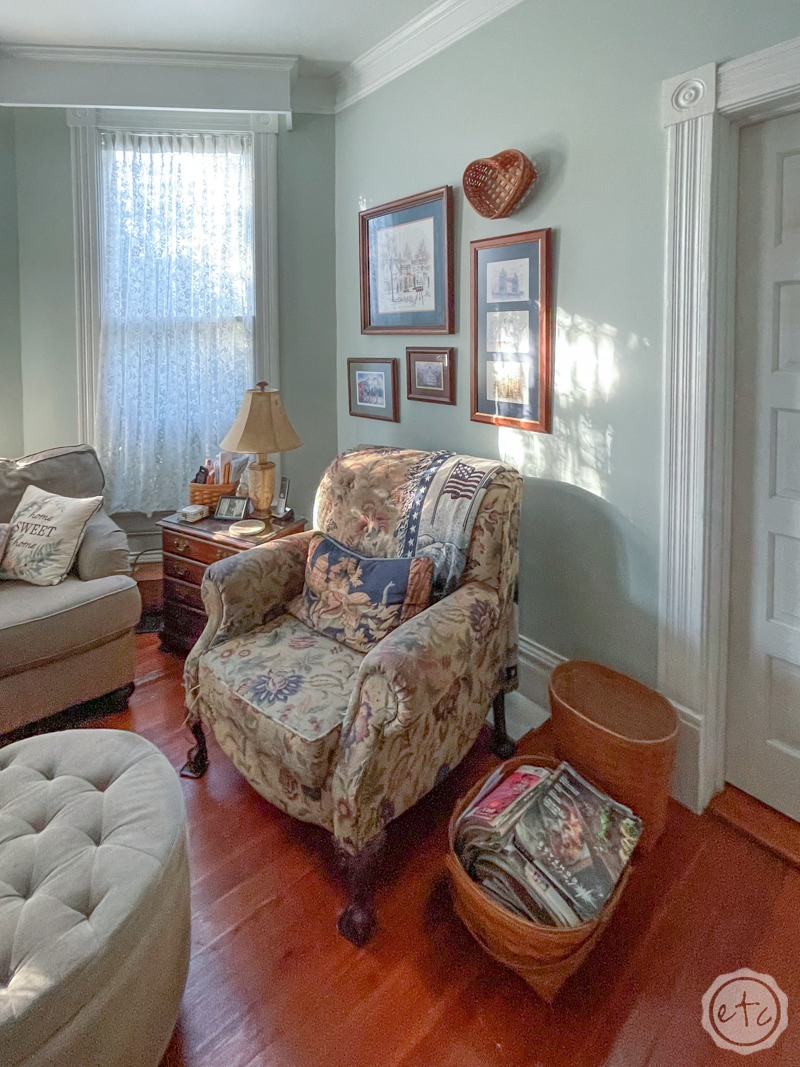
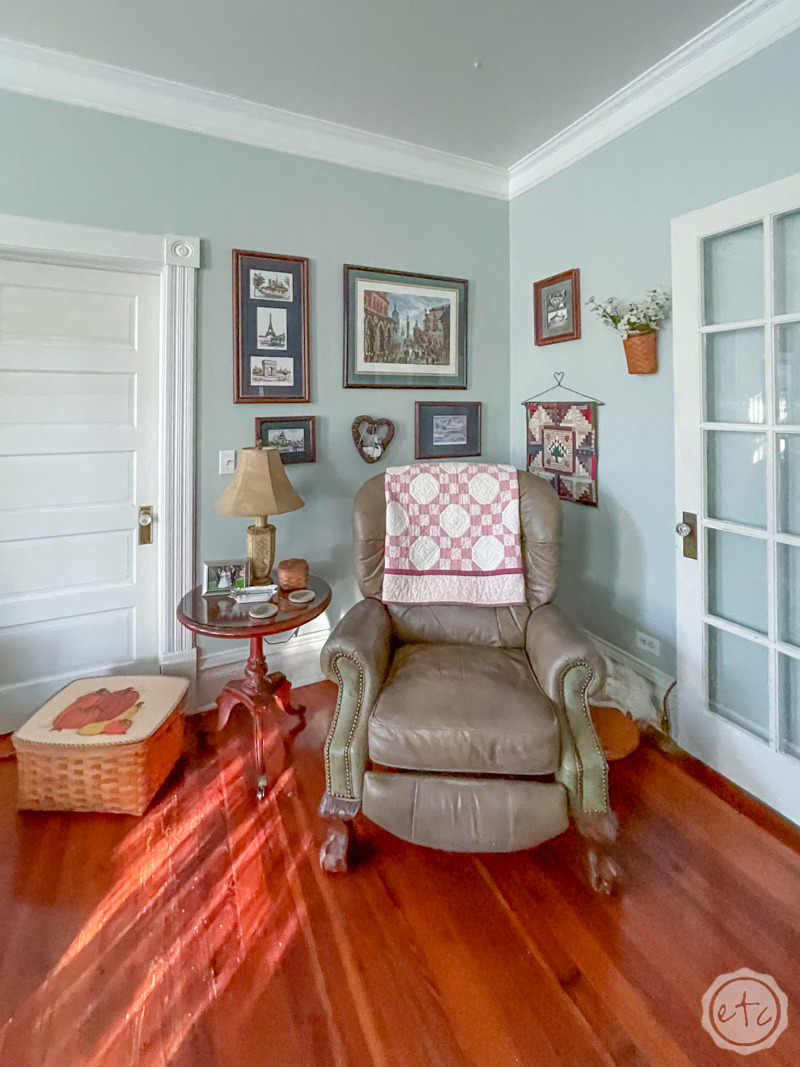
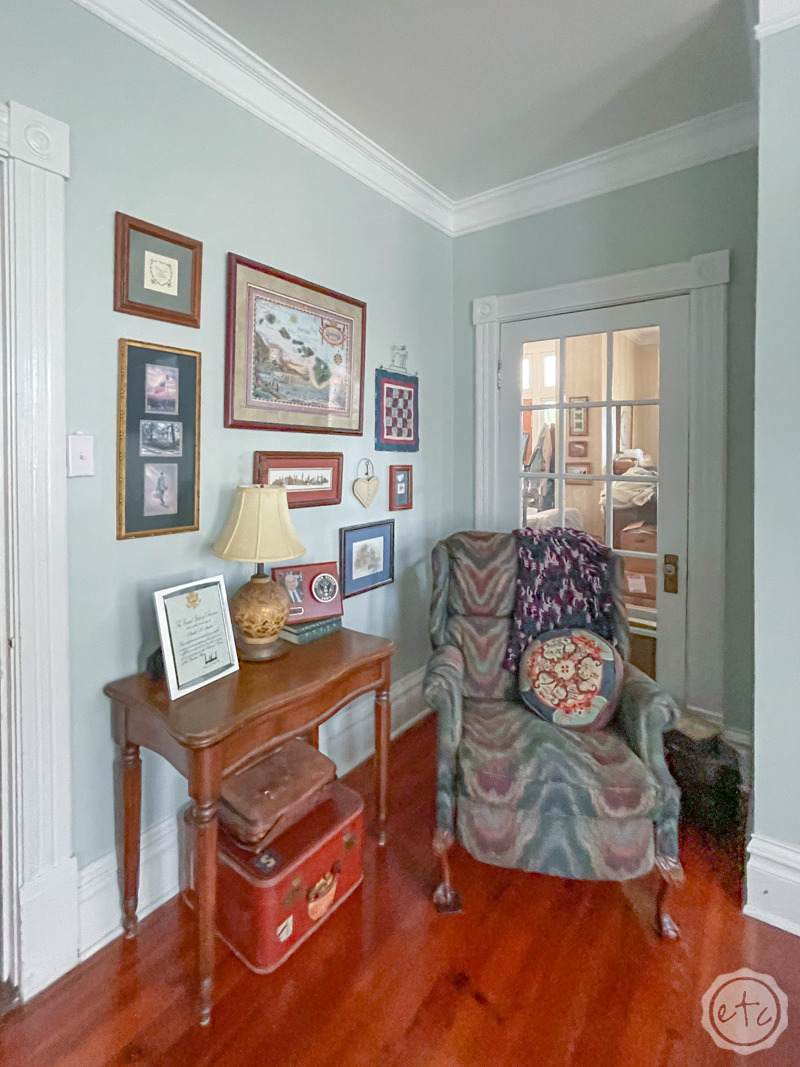
Before we get to step 1 I wanted to pop in a few before pictures of the room. This is what we’re working with today y’all… the gold paint in here was on the walls when Mom bought the house 10 years ago and it hasn’t been touched since. It’s not a bad color but this is an interior room and the 3 windows only let in so much light being on the side of the house.
Which means this room feels really dark most of the day… except for about an hour when the sun goes down and then the room is blinding with light.
In addition to being dark the gold paint color is scuffed and dirty. It wasn’t great quality paint to begin with and this is definitely Mom’s most used room… so it gets dirty and scuffed on a regular basis. Which is fine with washable paint but this paint stopped being washable a while ago.
So we picked a new color (SW Sea Salt) to brighten the space up. It’s a neutral color without being too neutral and can lean either gray, green or blue depending on the lighting and what you put in the space. It’s actually the color I have behind my couch in my living room… Mom liked it so much she wanted it in her space as well. It should work perfectly since most of her room is blue’s and greens… except for the couch which is obviously gray.
Now that we’ve picked a paint color let’s get started!

BONUS! Need a little help picking a color? Sign up for my FREE 6-day e-course to help you find your perfect shade!
Or check out 3 Tips for Picking the Perfect Paint Color or my personal favorite… 67 Popular Neutral Paint Colors you Might LOVE for your Room.

Step 1: Move Furniture & Photos from Walls
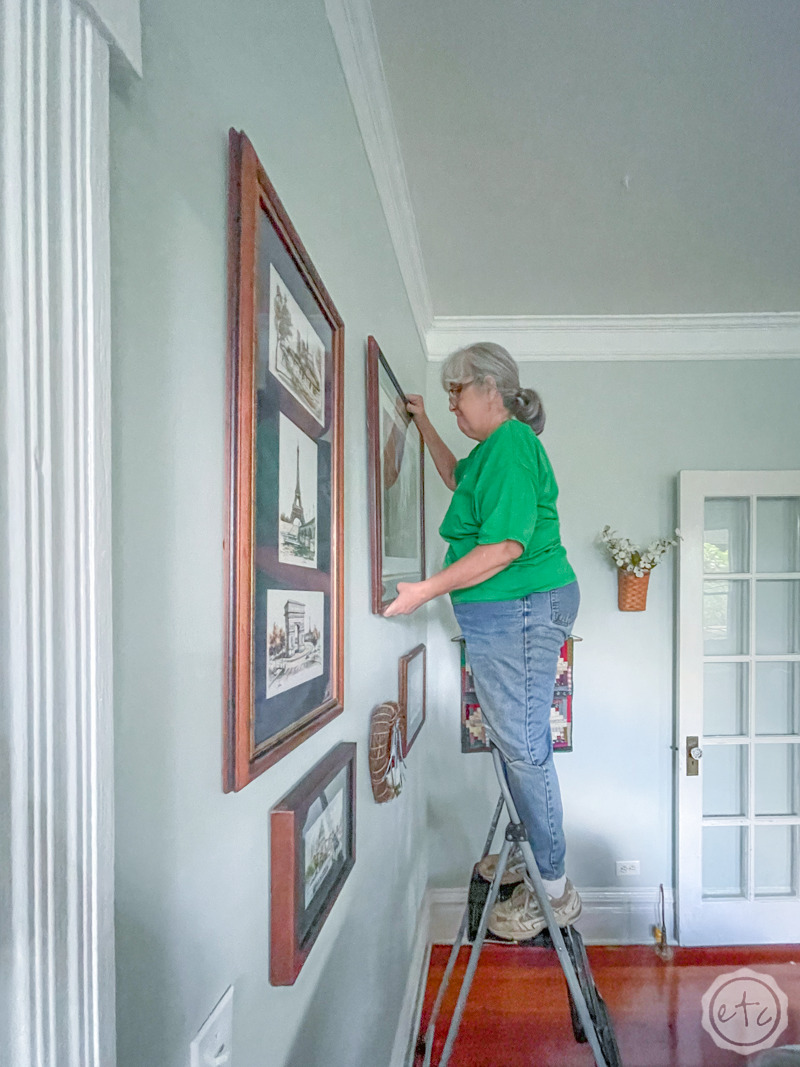
Alright y’all, before we can jump into painting the room we have to do a bit of the un-fun prep work. Starting with taking down all the art off the walls and moving all the furniture.
A few tips for this process… if you want to put your artwork back in the same space take a few photos of the spacing before you take the pictures off the wall. This will help when you go to put the pictures back on the wall. Trust me on this one… Mom started to take all the pictures down and I was like “do you have a picture of how those go?”
Of course not! I know how they go!
Well let’s just say 5 hours later when we went to put the pictures back up she did not know where they went. Luckily I took before photos of most of the room… I was missing one corner. Pictures definitely help!
On the other hand Mom’s hot tip was to use totes to organize the artwork for each wall… so she put all the artwork over her chair in one tote, the photos from behind the leather chair in another tote and so on. You get the idea. That did help keep it all separate so we didn’t have to look through one big pile of pictures for that one photo.
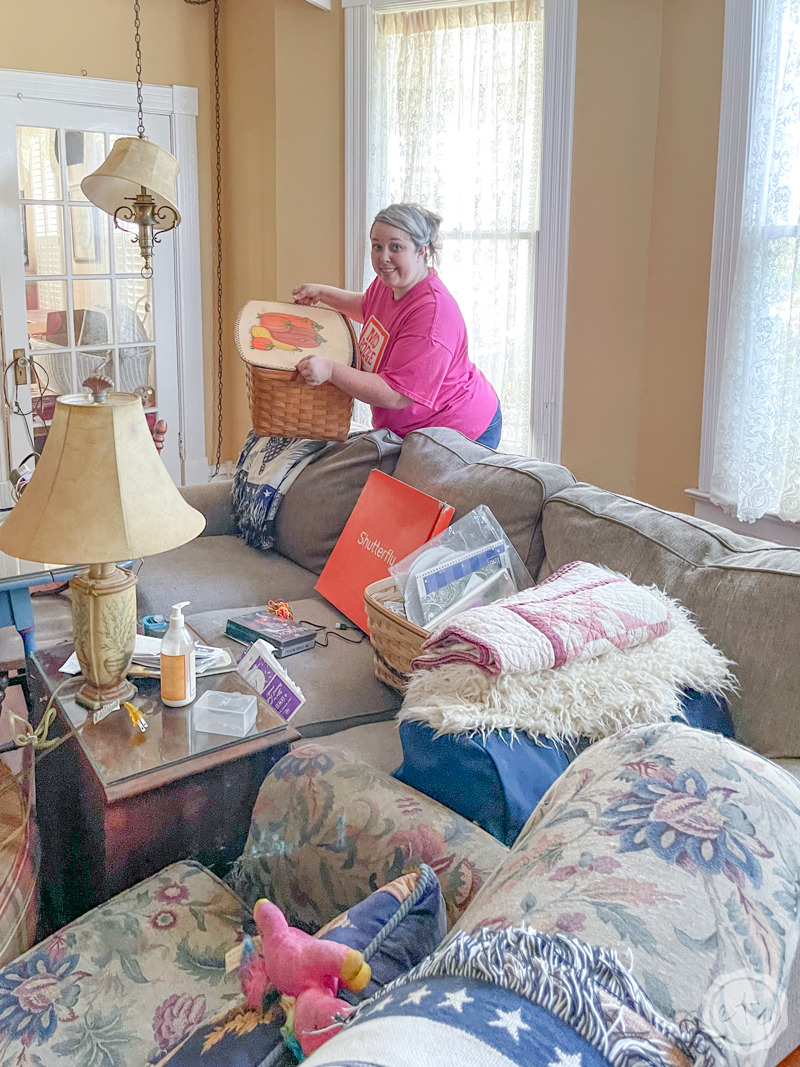
From there we moved all the furniture to the middle of the room and then placed smaller items on the furniture… then we covered the entire furniture mountain with drop cloths. Of course, if we had the space to move the furniture somewhere else that would have made painting easier but moving allllll the heavy furniture out onto the lawn would have been the only solution… and since it only took a few hours to paint this room that was not worth the effort.
Drop cloth furniture mountain it is!
Once you have everything moved and covered we can move on to the actual walls.

Step 2: Prep the Walls
Let’s get started on the prep work for the actual walls. Remember that even if you do the best paint job in the world your paint is only as good as the surface it was painted on. So before we whip out the paint brush we need to clean the walls. In our case that meant wiping down all the surfaces to make sure they were clean of dirt and dust.
Once the walls were dust free we went around the room and double checked any rough spots. There were a few where you could tell old paint had come off and the edges were un-even… so a sanding block smoothed out those rough edges. Then we filled in any large holes with spackle (although we didn’t worry about the nail holes since we’re going to be hanging the artwork back in the same positions).
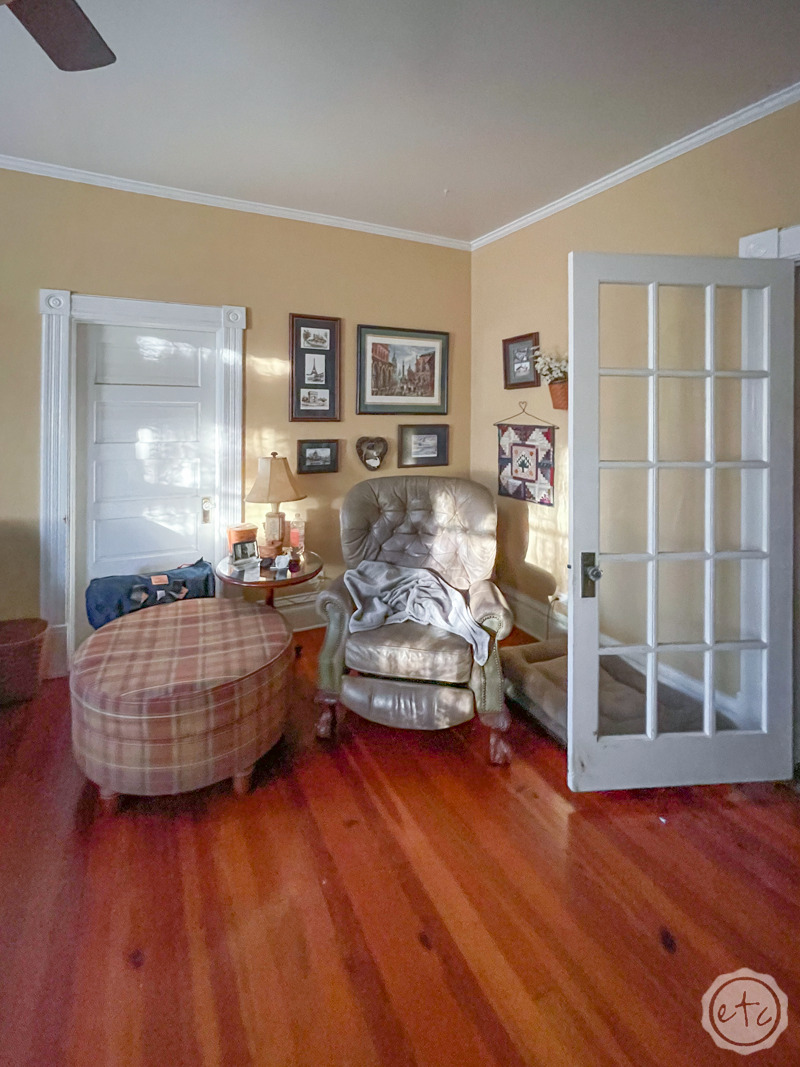
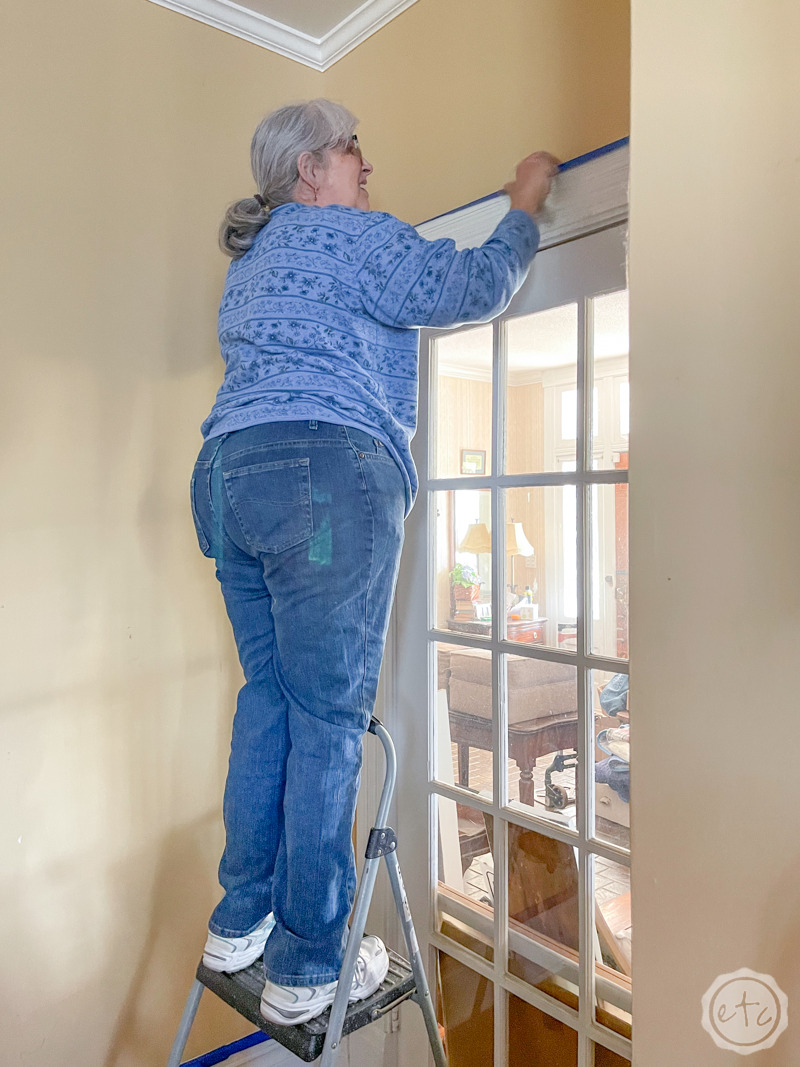
Then it was only a matter of taping around the molding. This particular room in my Mom’s 100 year old house has 4 doors with gorgeous molding and 3 windows (also with gorgeous molding) since we didn’t want to cut in sooooo much detail work we used a pit of painters tape to block off the edges.
This goes pretty quickly just make sure to keep the edges straight and always press down the edges firmly so that it seals to the wall. You don’t want any paint seeping underneath! Once you’re done with your prep work the real work begins…
We can get started painting!


Step 3: Cut in the Trim
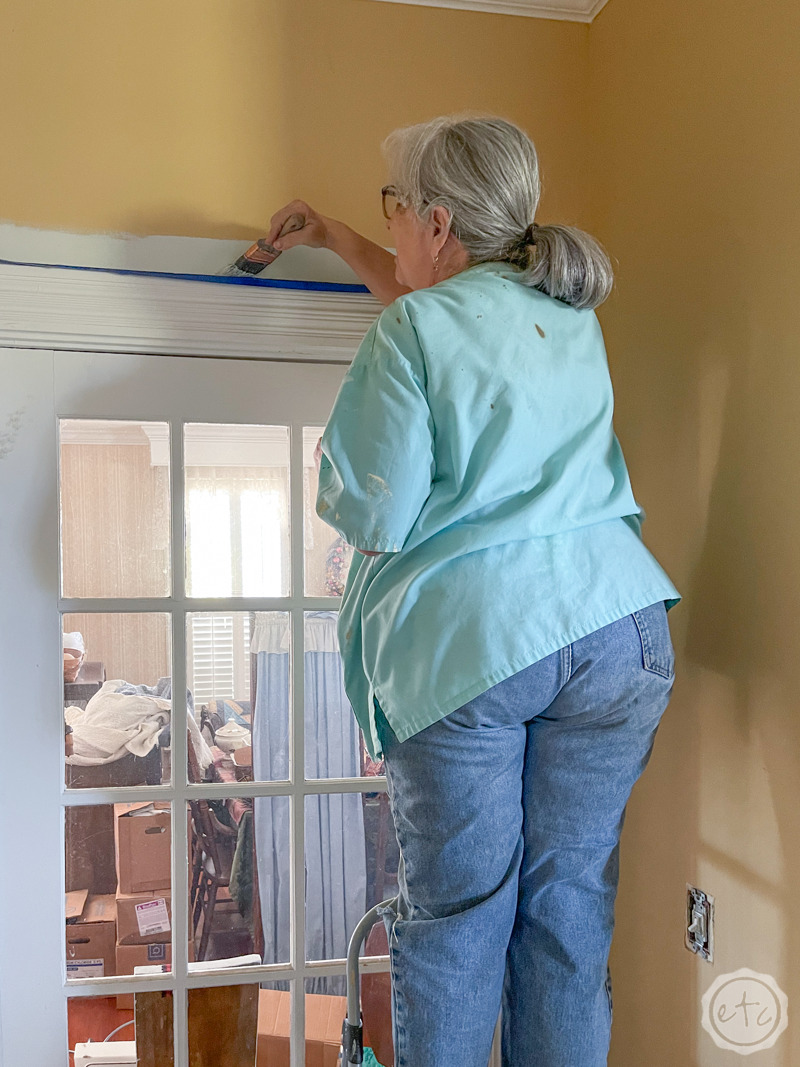
Ready to cut in the trim? I like to use a 2.5 angled brush for this as it gives me a lot of control… and I cut in right next to the tape. Although in this case I was rolling the walls so Mom was cutting in right next to the trim!
FYI: Don’t look too closely into the dining room y’all, we have a bunch of boxes and items ready to to go the antique booth Mom and I run… so it looks like a disaster area until we can bring allllll of those items to the shop.
When cutting in trim you want to hold your brush perpendicular to the trim and push down until the bristles fan out and meet the trim… then paint that line. This gives you the perfect cut line without being wavy. Score!
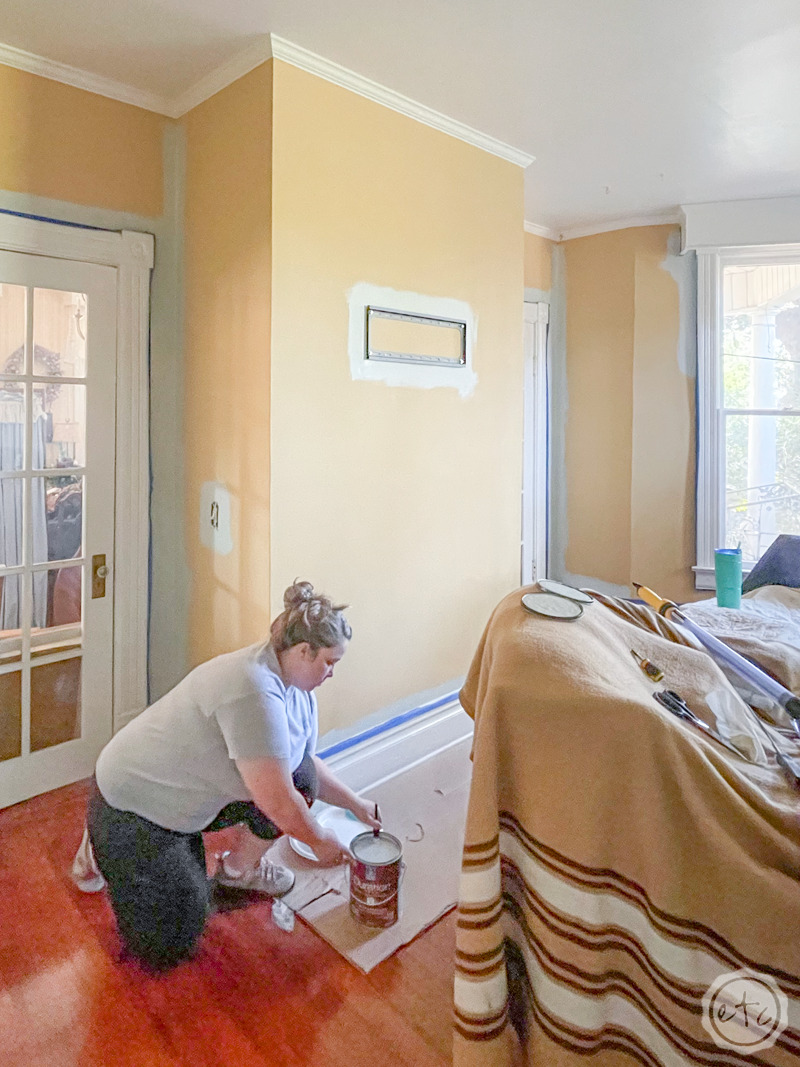
Make sure to cut in about 3-4 inches… typically I’ll cut in one line perpendicular to the trim and then I’ll feather that out to the wall a bit. This 3-4 inch allowance gives you the perfect spacing to roll into with your roller and make the finish look seamless. You don’t want a noticeable difference between the rolled section and the trim section so this feathered area helps to eliminate that.
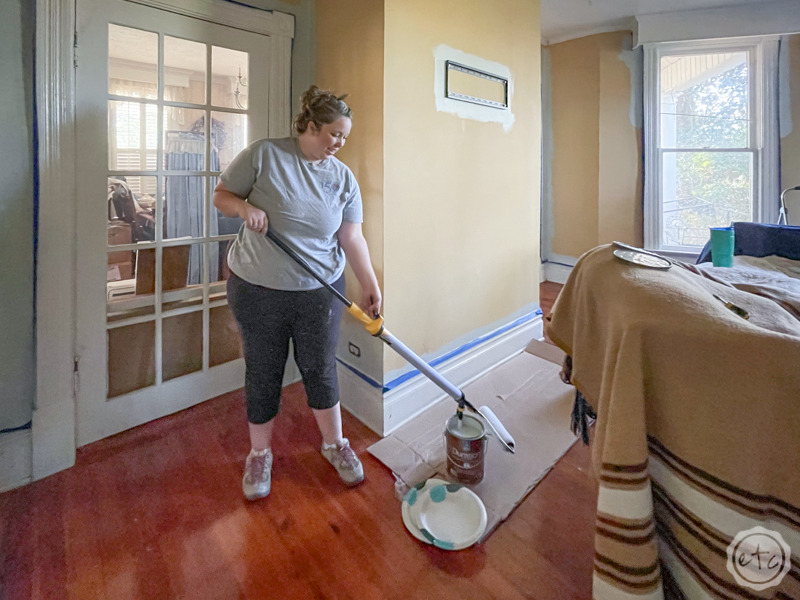
Once you’ve cut in the wall you’ll want to come behind and roll into that cut in section while it’s still wet, which is why it’s ideal to have 2 people when you’re painting a room. Of course, life is what it is so if you’re painting a room by yourself make sure to cut in one wall and then roll that wall before moving onto the next wall.
BONUS TIP: This isn’t really a tip… more like an observation you might have made. We didn’t tape the top trim! Instead of painting up to the existing crown molding and calling it a day Mom decided we were going to add a bit of new crown molding to the ceiling to extend the existing crown. I have an entire post on how to install molding for this larger crown molding look here.

Step 4: Use the EZ Paint Stick to Paint the Walls
Ready to paint the walls? In order to get a flawless (brushless) finish without whipping out the spray gun I used my new Wagner EZ Paint Stick. I absolutely love how this little roller let me paint the entire room without a paint tray super fast.
Which was the goal since we needed to put this furniture mountain back in place.
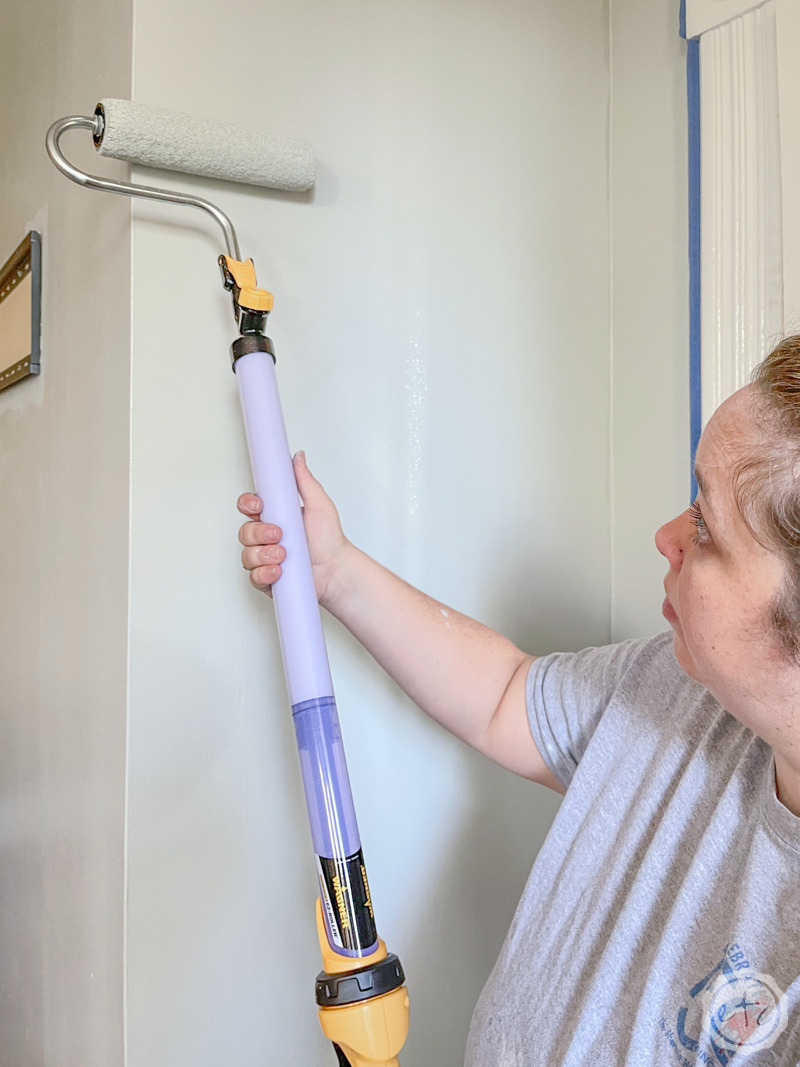
The instructions were super easy to understand but as always I took a million photos for you so that you can understand the entire process. The EZ Paint Stick comes with a few pieces to put together: mainly the handle, the roller cover and the metal arm that holds the roller cover. The metal arm inserts into the handle and then a little cover clicks into place over it… then the roller cover slides onto the arm just like a normal paint roller.
The only other piece in the puzzle is this little straw that you clip onto the edge of you paint can. The large end of the straw goes down into the paint and the small end is able to be inserted into the wand of your paint roller… so you can pull paint directly from the can into your paint roller without having to fuss around with a paint tray or pour anything.

Ready to see it in action?
Once you clip the straw onto your paint can you insert the straw to the nozzle on the paint wand. Then carefully pull back the plunger on the end of the handle until the entire paint roller fills with paint. At this point you can remove the straw from the nozzle (I like to bend down and hold onto the straw while I do this so I know I won’t accidentally pull too hard and knock my paint can over… I’m pretty clumsy like that!).
Now you can start to pump the handle to push paint into the roller cover!
Remember that instead of dipping the roller cover into a paint tray and thoroughly saturating it from the outside we need to saturate the entire roller cover from the inside… so it will take quite a bit of paint before you start to see a difference from the outside. For me, I pushed almost an entire handle worth of paint through the paint roller before I started to see a difference on the the roller cover and more importantly on the wall.
Even after that it probably wasn’t until the 3rd roller handle full of paint that I could stop pumping the handle every time I went up and down the wall… the roller cover really needs to be saturated properly before you get that nice, even coverage without a lot of pumping the paint through the handle. This wasn’t a big deal to me (it’s not exactly hard to squeeze the handle) but it’s definitely something to be aware of!


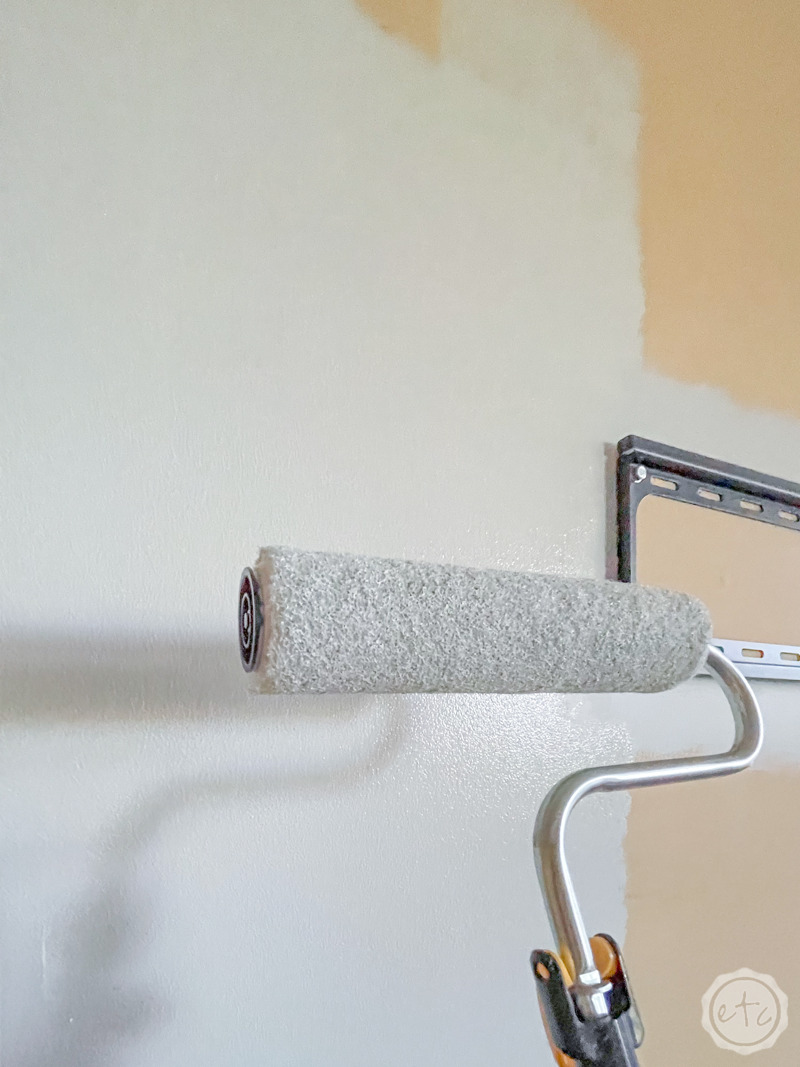
Either way once you start to see paint come through the roller cover you can start to roll the wall! I took a close up of what the roller cover looks like once it’s fully saturated… at this point you’ll want to paint the entire wall from top to bottom. I always start on the left and work my way across the wall making sure that when I move my roller from one paint stripe to the next that I overlap them 50%. This seems like a waste of paint but it’s actually the proper way to paint a wall for full coverage and washability… and the few places where I started to get a little lazy and move the roller over tooooo far you could see the difference once the paint dried.
Instead of smooth brushless full coverage I could still see the gold through the sea salt… not the look we’re going for!
Either way I came to love this little EZ Paint Stick… it was so easy to use and color looks amazing! I really appreciated how it didn’t drip (even out of the little nozzle where you insert the straw to fill the barrel) and I didn’t have to worry about carrying a paint tray alllll around the room and dripping paint from the pan onto the floor. Plus the packaging said it was 2x as fast as a normal roller and I believe it! I normally can do one coat of paint in an afternoon and we managed two!
The package also said the roller could paint an 8×10 wall with one handle full of paint… we found that to be pretty darn accurate. The 15 foot wall with one door at the back of the room used 1 full handle and a little over half of another while the 17 foot wall with a door took 2 full handles to paint. Which is way better then the 18 million dips I would have needed with a traditional roller.
Of course, it is still a paint roller so we did move a large cardboard sheet around under where I was painting to catch the paint splatters from the roller. So keep that in mind… if you don’t have cardboard another drop cloth would definitely work. We just didn’t want to cover the whole floor!
All in all I loved this little roller and will definitely be using it again!
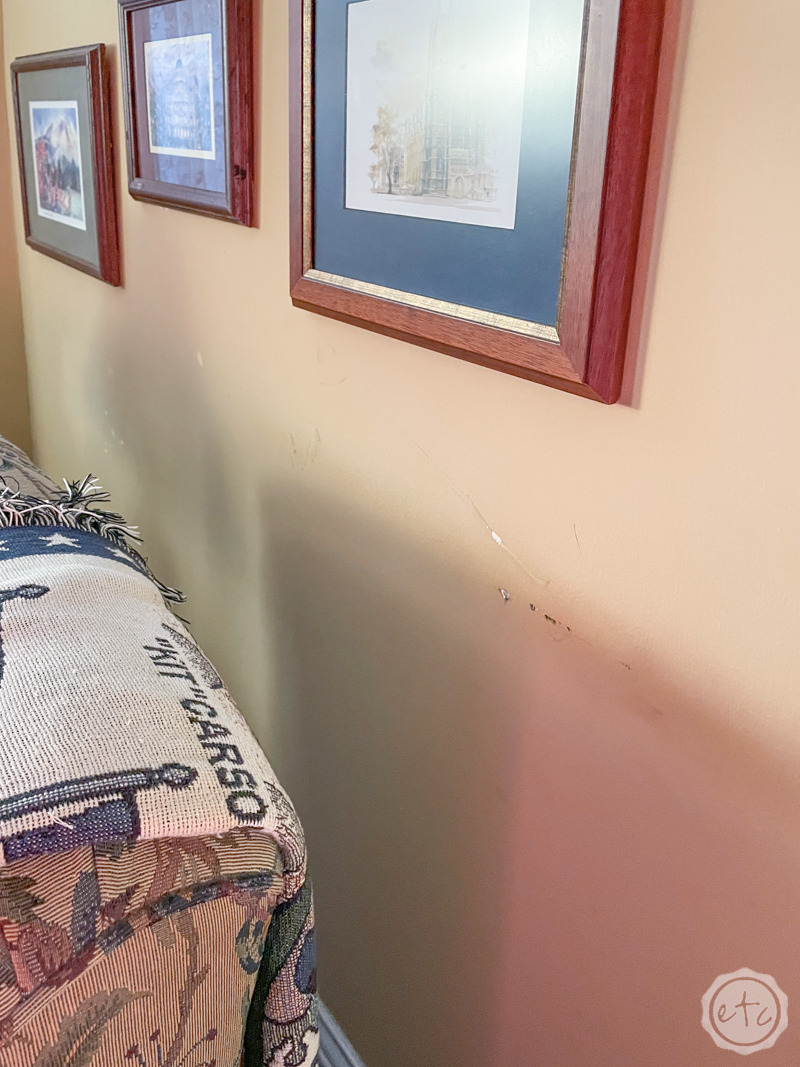
One more tip? In between the first and second coats of paint I made sure my little EZ Paint Stick was empty and carefully set it horizontally while we took a lunch break. I thought that was proper preparation but as you can see… that was not the case.
I came back from my sandwich to find a nice paint drip (luckily) on the drop cloth over the couch. As you can see the metal portion of the tube directing paint into the paint stick was turned downwards which allowed the paint to drip out. I experimented with the paint stick later making sure to position the metal tube up instead of down and while the roller nap itself was dripping a bit there was not nearly as much drip as before.
So moral of the story: try not to leave this little guy full of paint (or even empty) for long and if you do make sure to take precautions (like a drop cloth). I definitely didn’t want to empty and clean the entire paint stick for a 1 hour lunch break but now that I know it will drip I can make sure not to let it drip on the couch… even a covered couch.
Yikes.

Ready for the grand reveal?
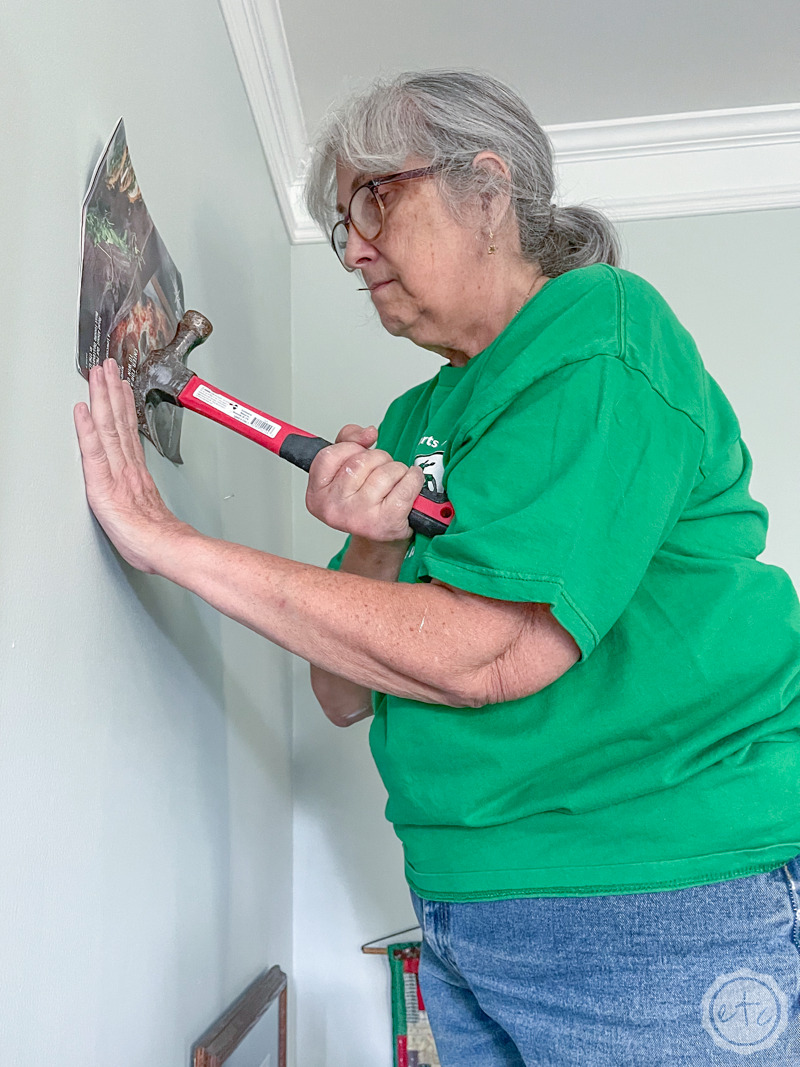
After we painted the room we added a bit more molding to the top of the wall (which you can check out in this molding tutorial post) and then put the room back together. Including putting all the photos and artwork back in their original spots.
Another little tip? If you accidentally put a nail in the wrong place use a magazine behind your hammer to keep from scuffing the new paint. Even better just don’t put nails in the wrong spot. Then once your artwork is done you can return the furniture and enjoy!
I have to say that I love how it turned out.
The paint color looks amazing. The entire room feels larger and more open… not to mention so much brighter. I never realized how small and dark the old gold color made the room until we changed it.
Stay tuned for the after photos below… and if you want to see the last update stay tuned. We’re working on the fireplace makeover as we speak (the fireplace is actually done! Check out how we refinished the antique fireplace mantle here).

Want to check out the rest of the space?
Click on any of the links below to see the rest of Mom’s Living Room Makeover!


Leave a Reply