

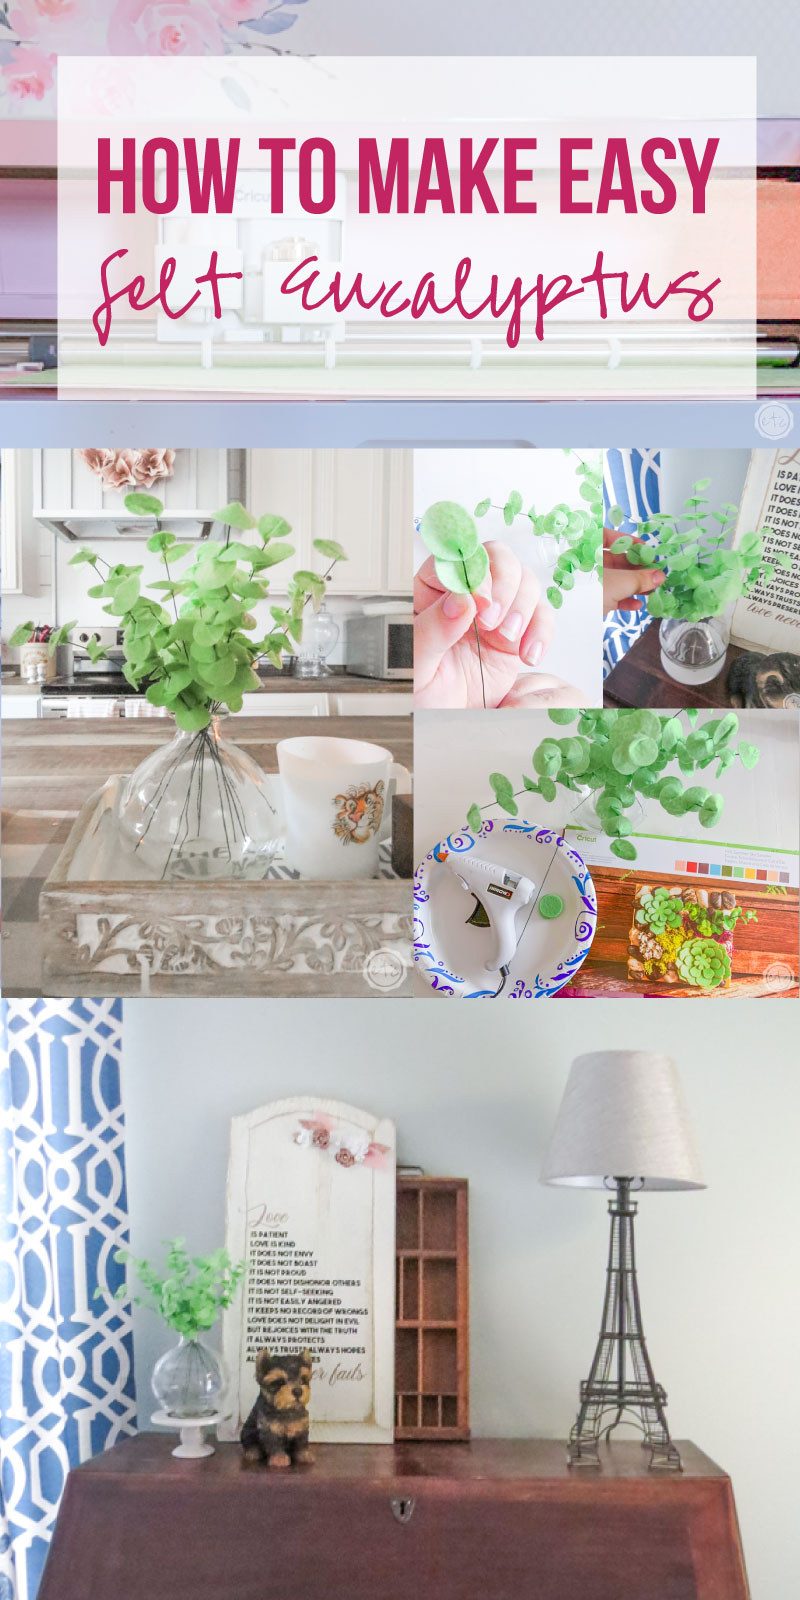
I brought home my Cricut Maker a few years ago and diy felt flowers were the very first project I attempted. The new rotary blade makes cutting felt next-level amazing. There are so many other flower projects you can make (even paper flowers like this cute little bouquet!) but this spring I wanted to whip up a few little different flowers… something a little 3-D.
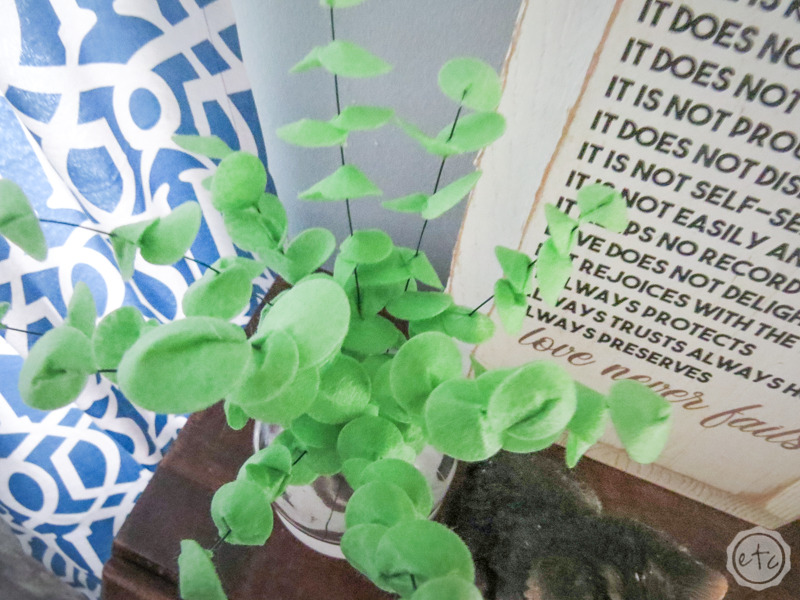
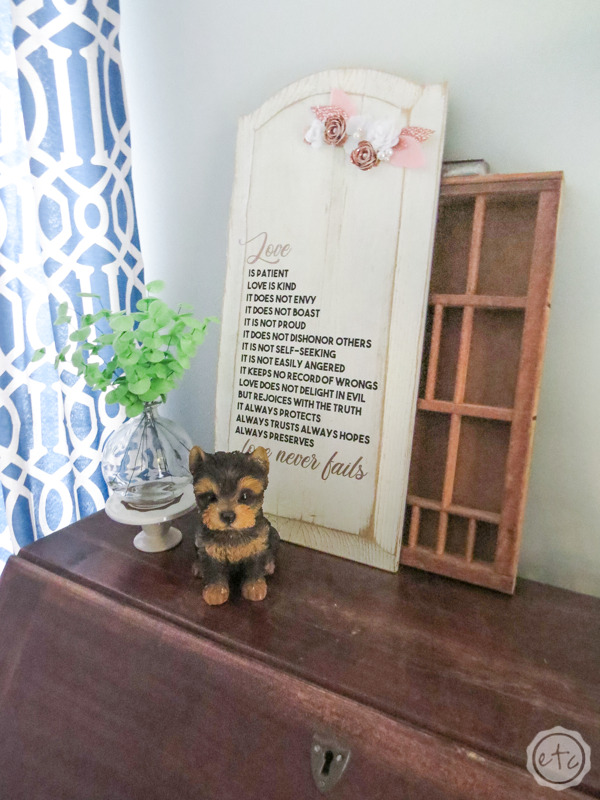
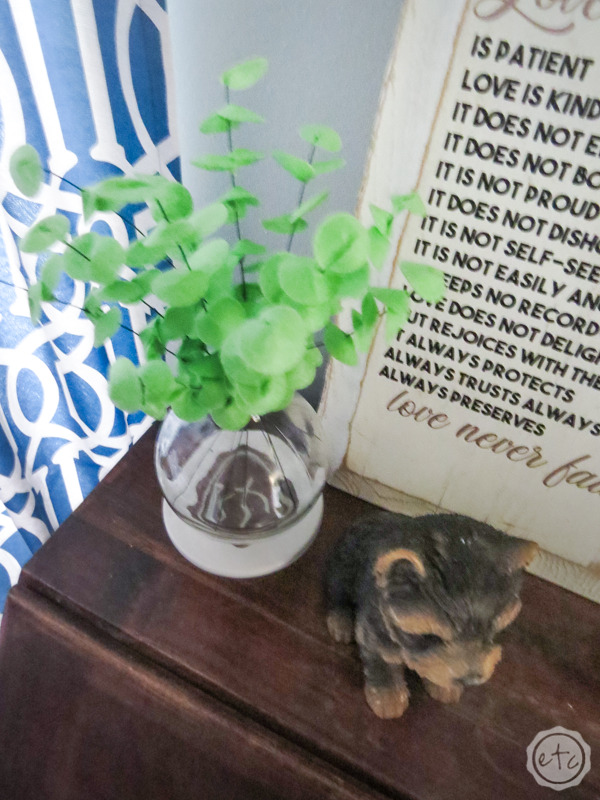
So I grabbed a sheet of felt and decided to whip up a little felt eucalyptus! My mama has a bit of faux eucalyptus in a display at her house and I absolutely love it. So I wanted to make a bit of my own!
The best part?
It’s super easy… so even if this is your very first cricut project you can totally make these.
Let’s get started.
Supplies:
- Cricut Maker
- Rotary Blade
- Cricut Fabric Grip Mat (that’s the pink one)
- Green Cricut Felt
- Brayer
- Floral Wire
- Hot Glue Gun
- Hot Glue
Ready to take the leap but not sure which machine is right for you? Check out my Explore Air 2 and Maker comparison before pulling the trigger. I go over the pro’s and con’s of each machine and even have an easy to read check list of each machine’s features so you can decided which cutting machine is perfect for you.
Step 1: Create your Cut Files
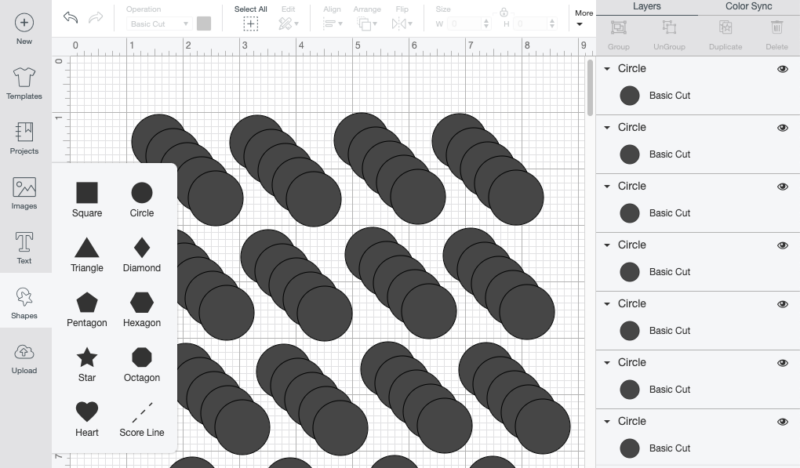
Alright y’all so this tutorial is going to be a bit different from all my other circut projects… I usually give you a FREE SVG so that you simply have to upload the project and cut. But in this case the entire project was made out of circles… so you don’t need a SVG.
You just need the circle tool!
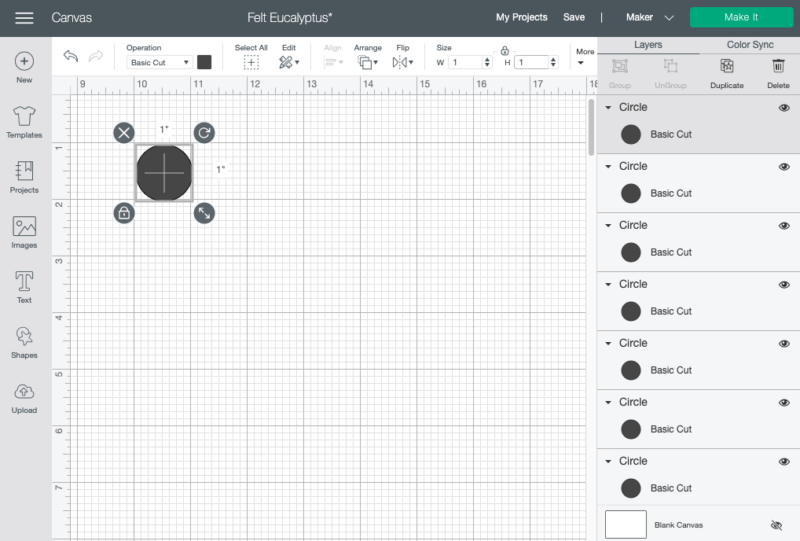
Start by grabbing the cirlce tool and making a circle. It will be rather large but that’s ok… up in the tool bar there is a size option. Change the size option from 3.11 inches to 1 inch. Since it’s automatically locked proportionally Design Space will change your circle to be a perfectly 1 inch round circle.
Score!
Now you just have to copy and paste your way to felt eucalyptus!
You’ll need 7-11 circles per eucalyptus stem so multiply until you have as many as you need… OR go ahead and cut an entire felt sheet! I decided to cut the entire sheet so that I could make quite a few stems… it took 121 circles to fill the entire sheet and these made 11 stems.


Step 2: Cut your Circles
Now that we have our cirlces ready to go we can hit make it! Go ahead and load your rotary blade into your maker and place your felt onto a fabric grip mat.
Make sure to use your brayer to smooth the felt onto the mat and make sure there’s a firm bond. Once the felt is locked and loaded you can pop the mat into the maker and hit go.
The little rotary blade will cut out all the circles in a jiffy which is kind of amazing to watch!


Step 3: Start Gluing your Eucalyptus
Ready for the fun part? Making the eucalyptus!
Fire up the glue gun and grab your floral stems. In this case I cut mine at 3 different heights… roughly 6, 8 and 10 inches tall so that the eucalyptus branches would be all different heights.
Then I started gluing.
Add a small dot of hot glue to the bottom of one felt circle. Then press the very end of your floral stem into the glue.
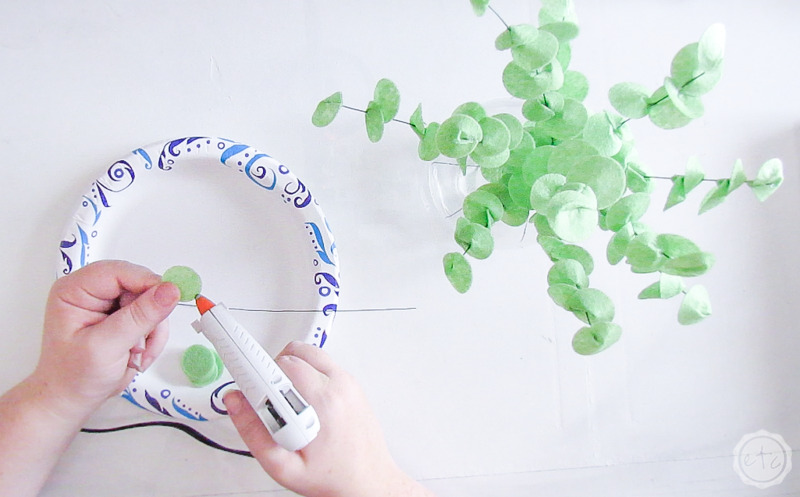

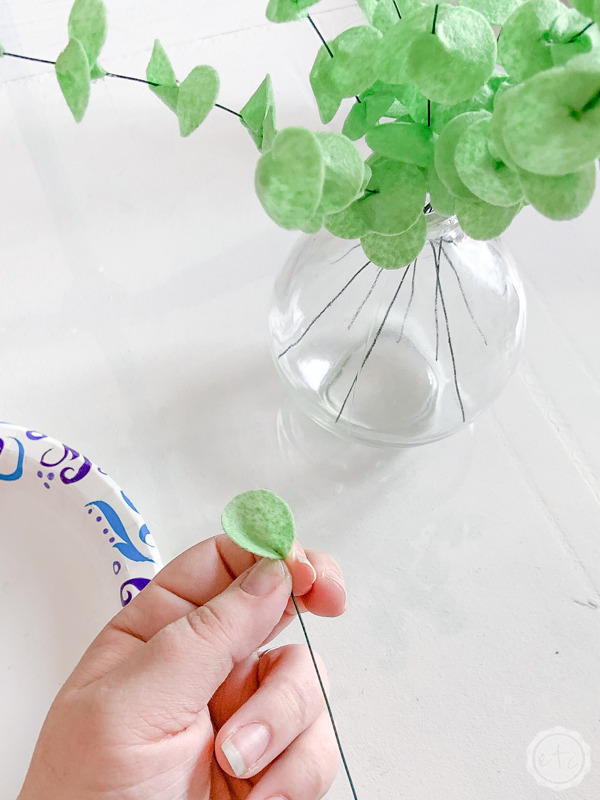
Now pinch the felt circle at the very bottom so that it closes over the hot glue. If any hot glue leaks out the edges go ahead and clean it up so that it doesn’t dry.
You can always cut it off once it’s dry but it just looks smoother if you clean it up while it’s still wet.
Once you’ve glued the top piece grab another felt circle and repeat the process about 1 inch down. I found that the eucalyptus pieces looked best when alternating the direction of the felt circles but you can keep them all facing the same direction if that’s what you like!
Now add a third circle directly over the second circle but facing inwards. So that circle two and circle three are on the same level but looking at each other.
Perfect!

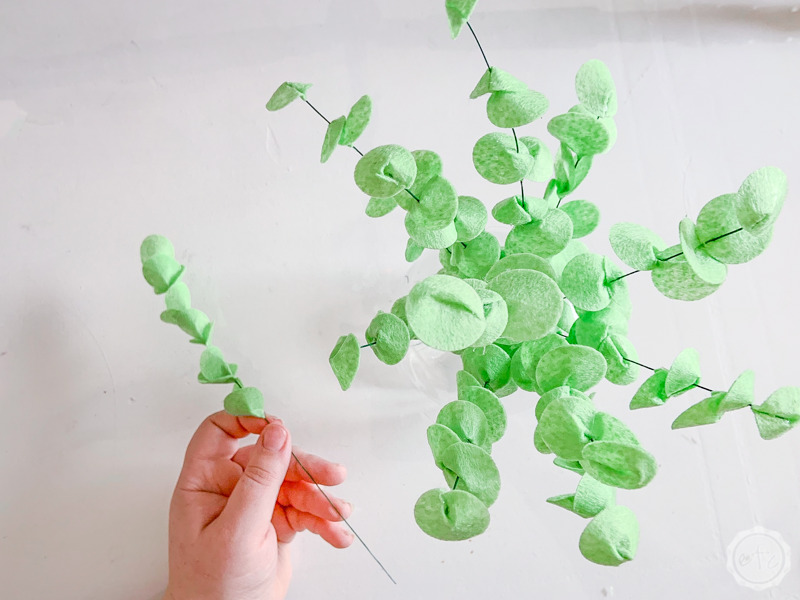
Once you’ve added your third circle you’re all set! Just keep adding pairs of leaves all the way down your stem. You’ll want to leave plenty of floral stem at the bottom for these guys to sit in their vase… and keep the leaves proportional to the stem!
So the 10 inch stems will need 11 circles and the 6 inch stems will need 7… the 8 inch stems should take 9!
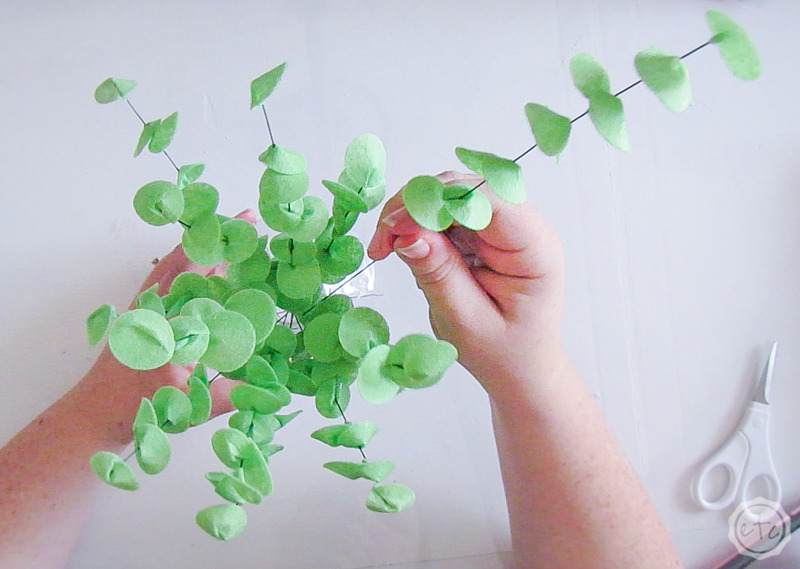
Once all the leaves are on you’re almost finished (and the hard part is done!) instead we’ll fix up the leaves and then arrange our little faux eucalyptus in it’s vase.

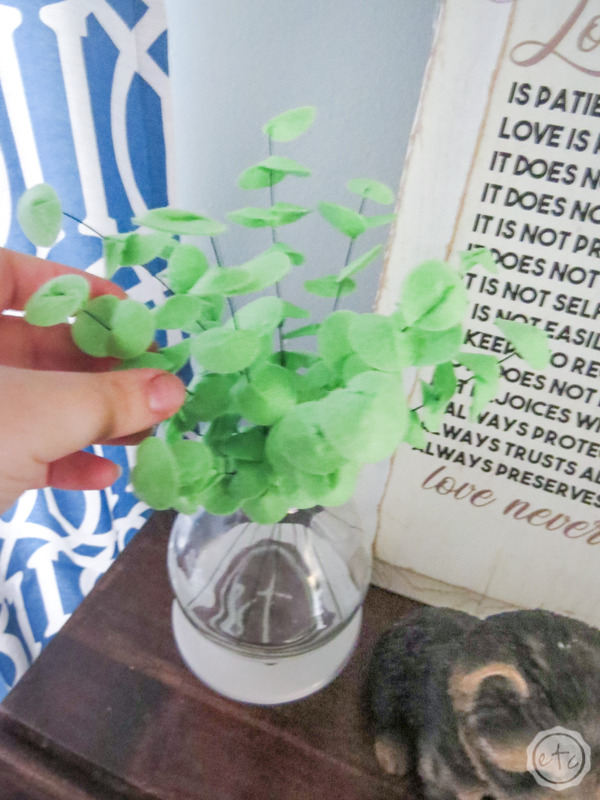
Step 4: Adjust the Leaves
Ready for the fun part? Now that all your leaves are on their stems it’s time to zhush them up a bit. In this case we’re simply going to take each leaf and turn it down from the stem.
This will help the leaves to lay fairly flat and look like they’re coming out from the stem instead of like they’re reaching out into the air.
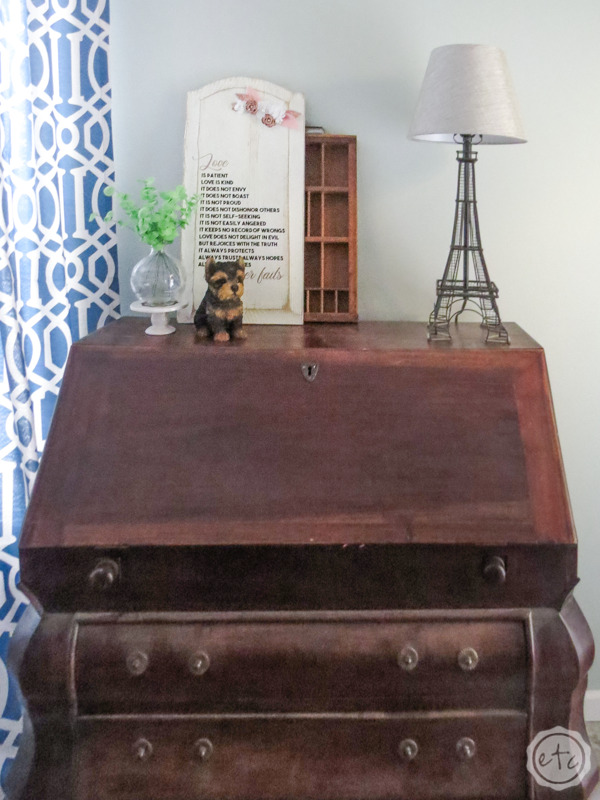
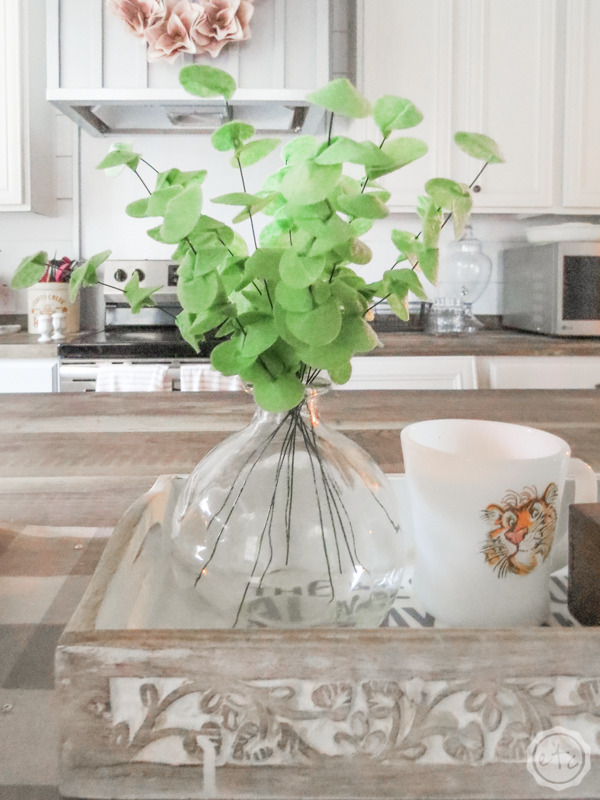
Once you have all your leaves arranges perfectly you’re done! Use them as a swag, add them to a vase, put them in an arrangement… the possibilities are endless!


If you loved this project and want to make more felt flowers I’ve got you covered! You can check out my easy felt flower tutorial here or follow my simple how to size felt flowers tutorial here.
Want More FREE SVG’s? Check out our seasonal collection:


Leave a Reply