


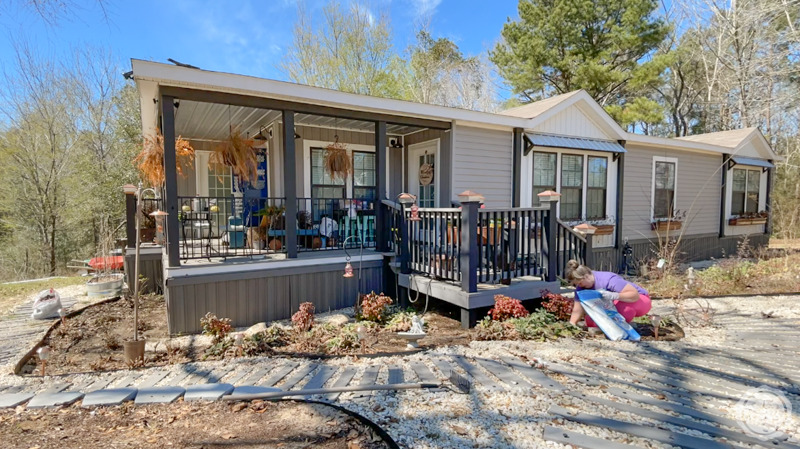
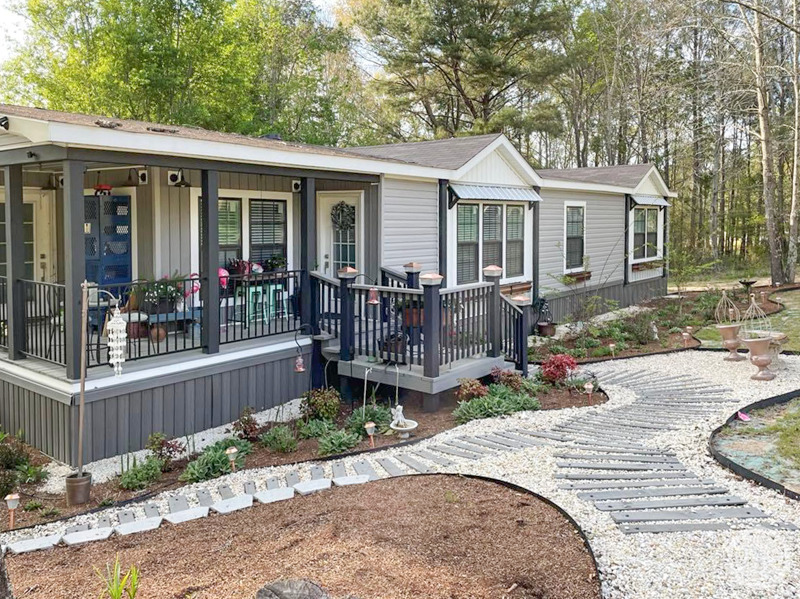
As spring rapidly approaches I am thrilled to be getting back outside to put my hands in the dirt and prepare the garden for spring! I want to whisk away all of the dead leaves and dry underbrush to prepare the garden beds for new spring and summer flowers.
Last year when I first created these flower beds (check out the entire first year of growth here) they were fabulous… and then winter came and the flowers went away. I have heard several different opinions on whether you should clean out your garden beds in the fall or spring but in order to insulate the plants as much as possible I decided to leave mine to winter over where they stood.
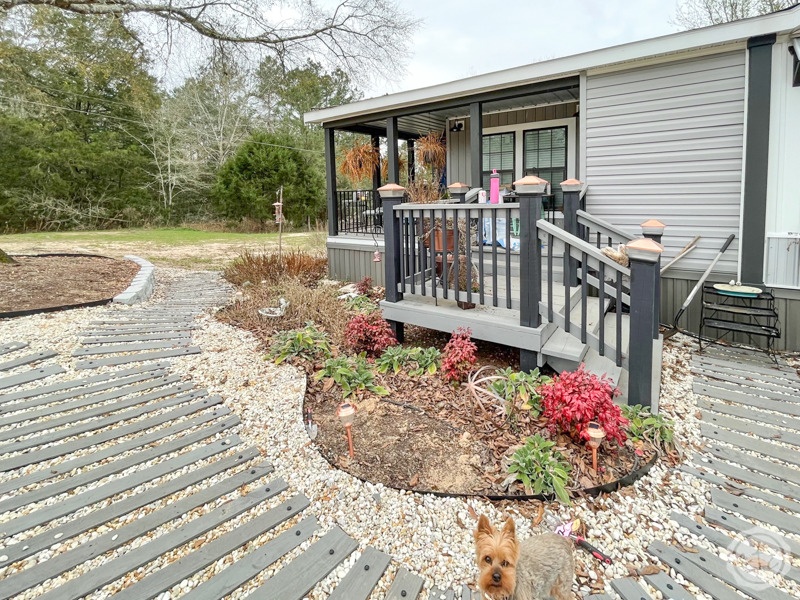
For the most part this worked wonderfully… if it did look a bit unkept.
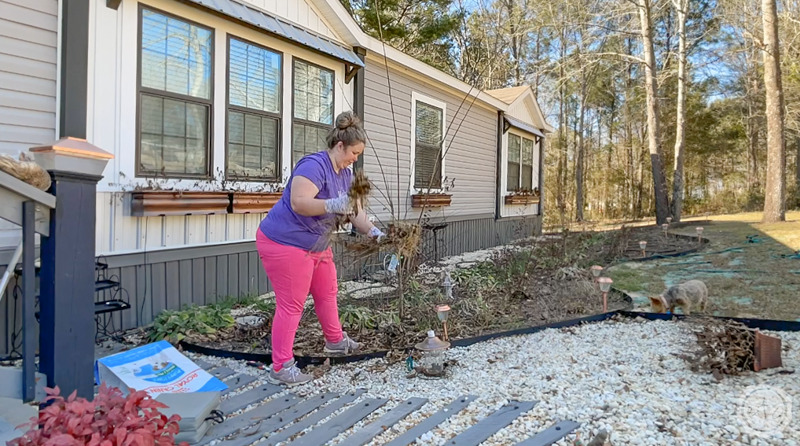
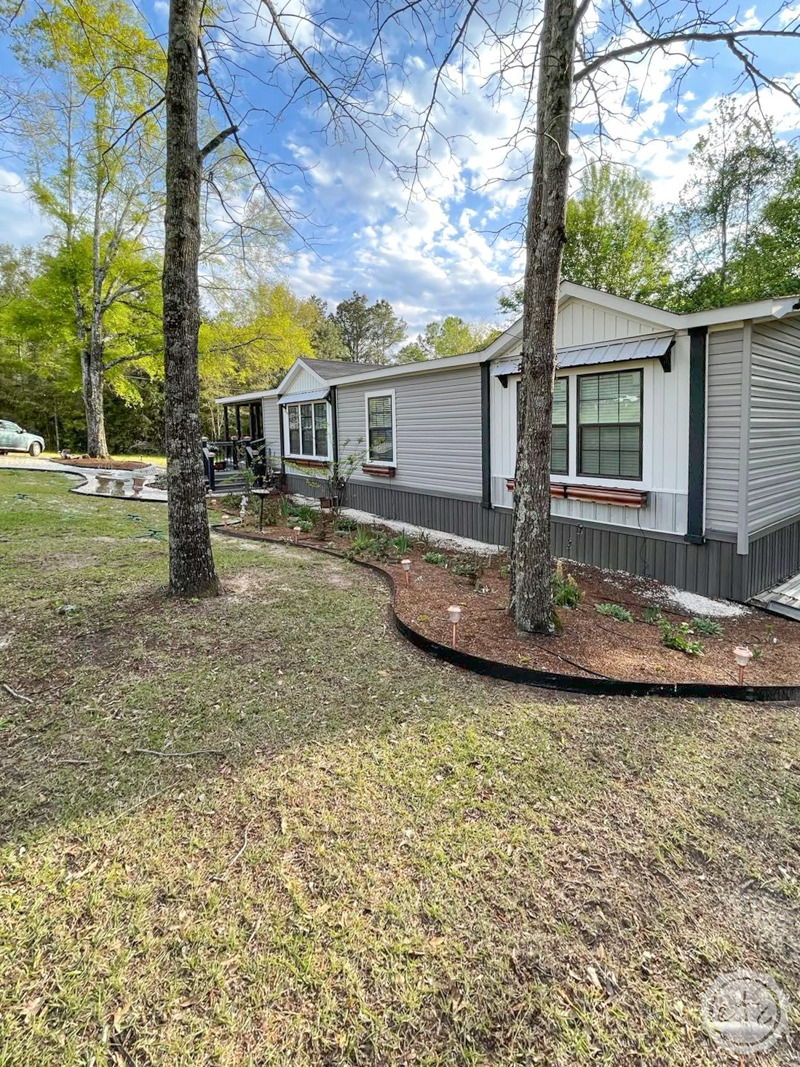
I mean just look at where we’re starting! All those leaves… all that dead foliage! Annuals from last year left to insulate the ground and provide cover. It’s not my favorite look but it worked. Definitely time to get rid of it all though!
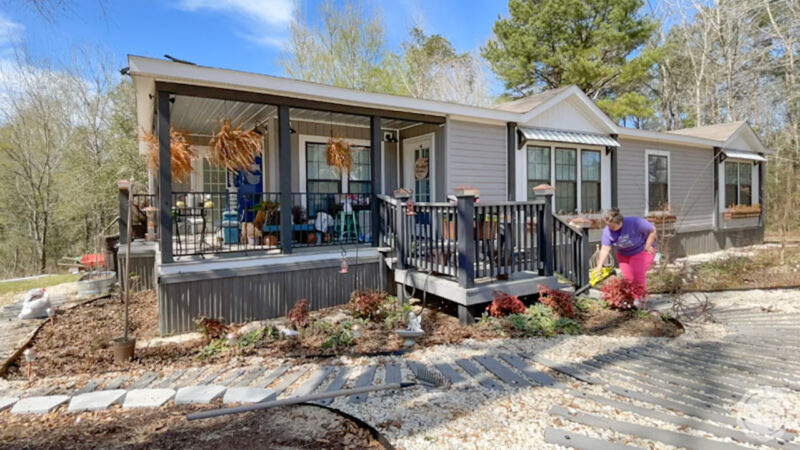
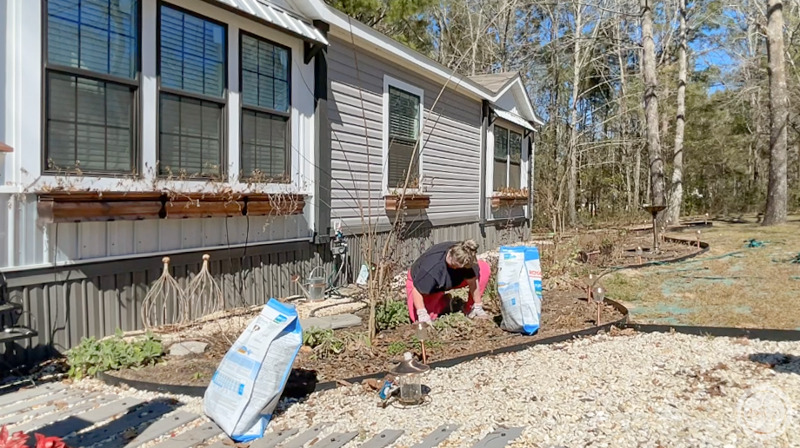
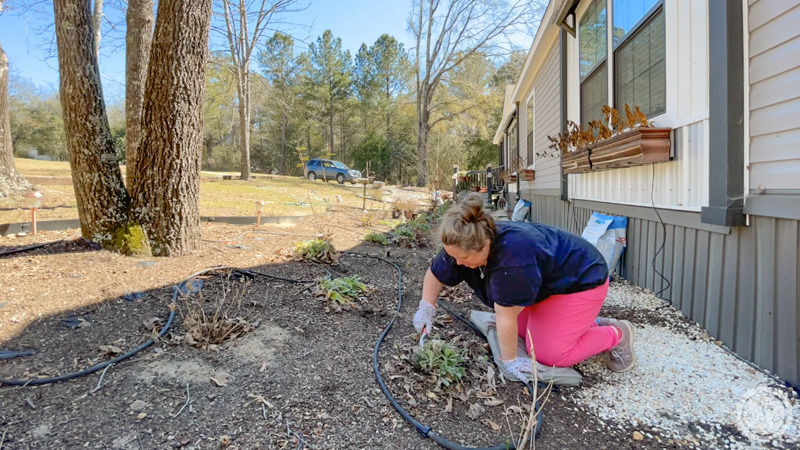
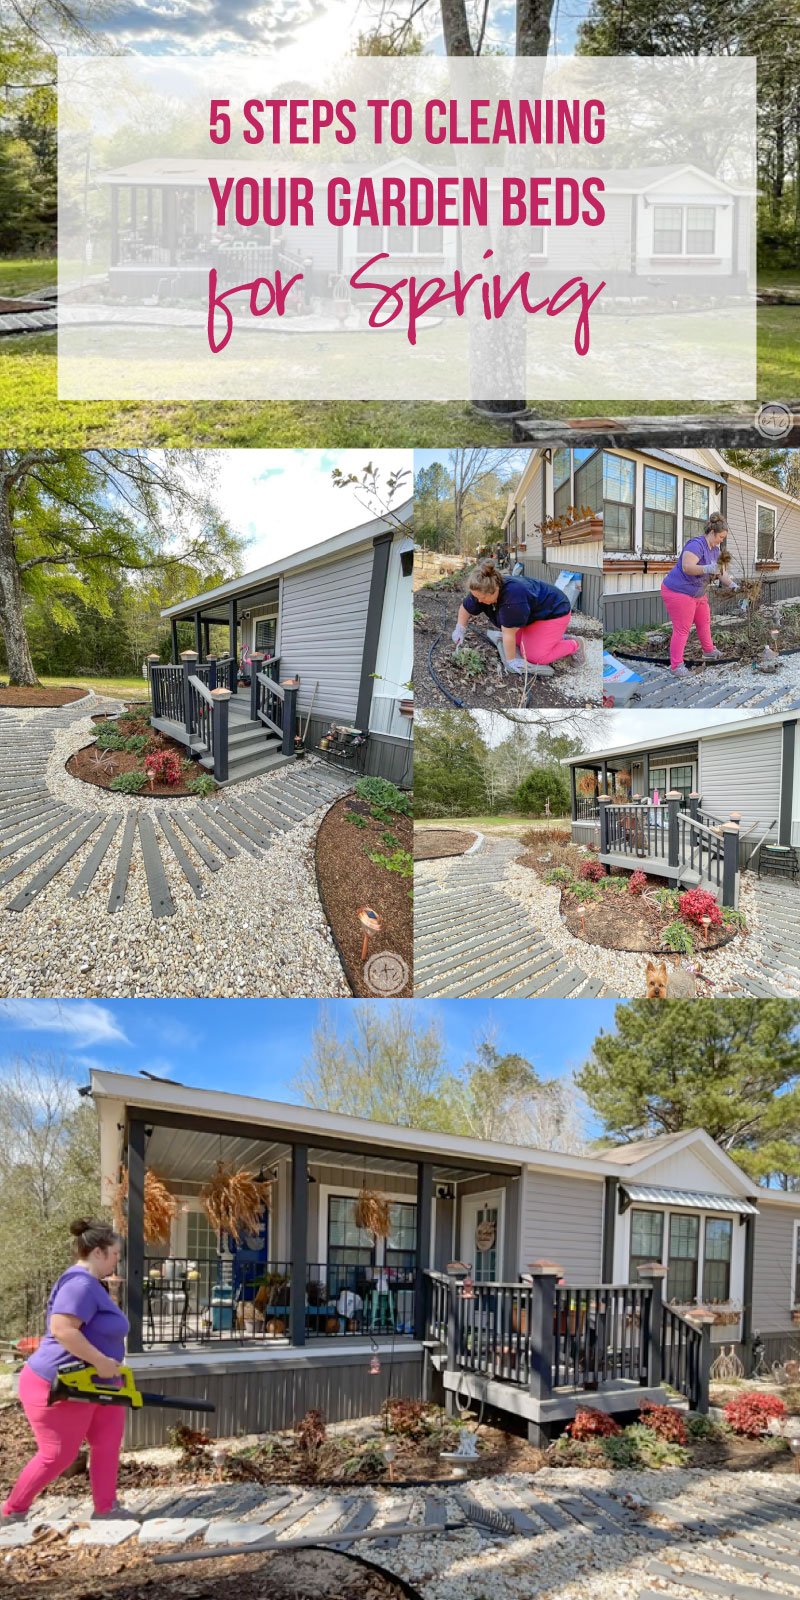
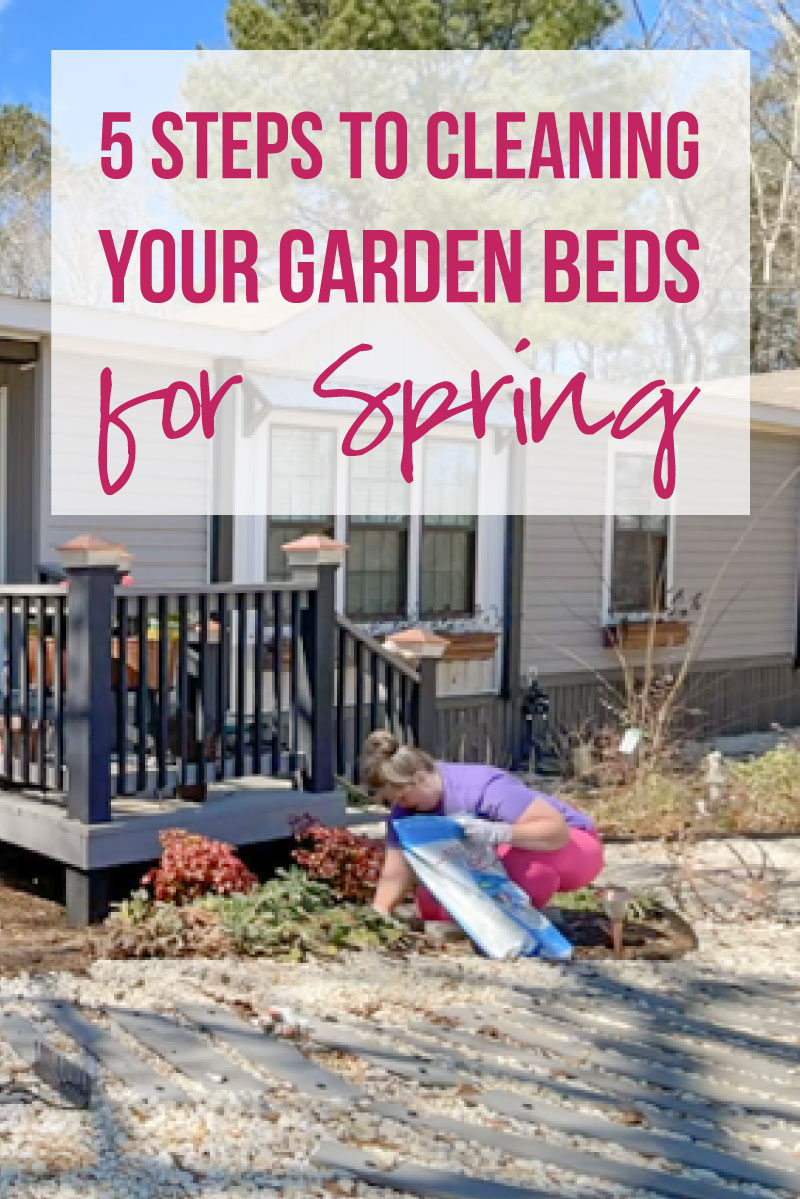
So I pulled on my shades, grabbed my gloves and set out to clean out the garden beds for spring. Depending on your garden this process may be a bit different for everyone but I’ve put together a little checklist of all the steps.
Let’s get to it.
My Favorite Gardening Supplies:
- Leaf Blower
- 6 Battery Charger
- Pop Up Bag
- Hand Tools
- Gloves
- Extra Thick Kneeler
- Precision Pruners
- Larger Garden Pruners
- Large Pink Repotting Mat
- Rose Tone Fertilizer
- Slow Release Fertilizer
- Quick Connect Hose/Nozzle
- Plant Supports
- Garden Marker
- Pink Plant Tags
- White Plant Tags
- Copper Solar Lights
- Pink and Copper Hummingbird Feeder
- Inexpensive Round Trellis
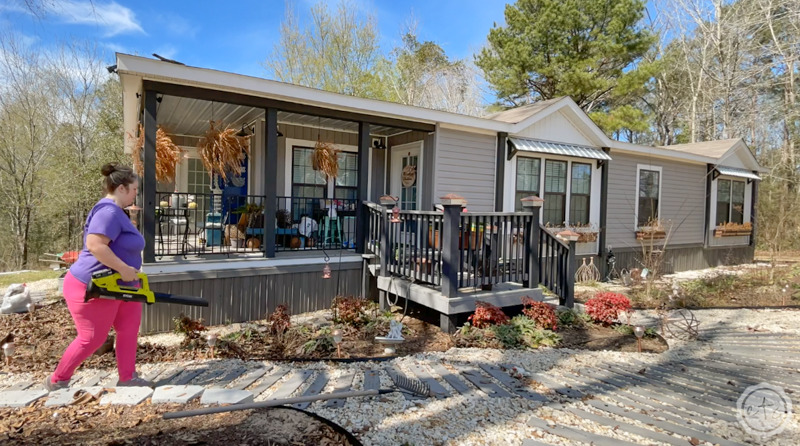
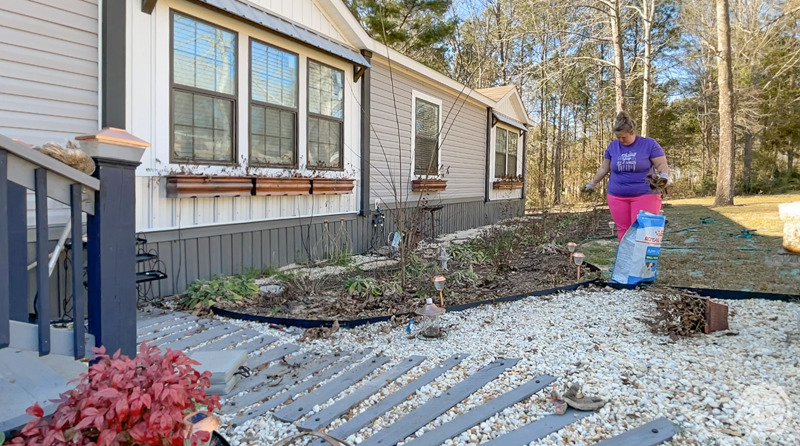
Step 1: Remove any Leaves
First things first… before we can start addressing any plants we need to remove any leaves that happen to be hanging out in the garden. I have a yard guy who moves my lawn for me (thanks, Daniel!) and while he removed all the leaves from my right side garden bed last fall he left the ones in the left side garden bed.
I’m not sure why.
It’s kind of a mystery.
So instead I’m going to remove them. I grabbed my trusty leaf blower and away I went… going over each section until it was (for the most part) leaf free. Of course, you’ll never be 100% leaf free (and I had to go through about 3 fully charged batteries just for this side (this is when that 6 battery charger comes in handy)) but you want to clear the majority of the leaves.
Think 95%… the rest will be covered when we mulch in the final step.
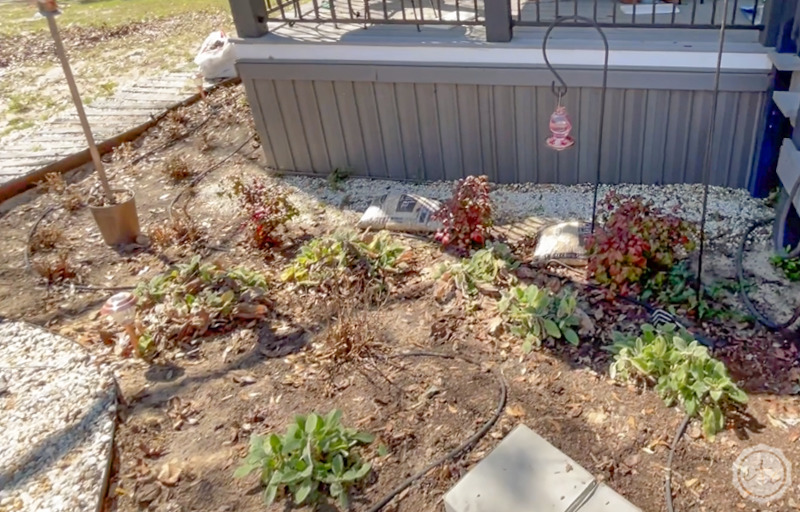
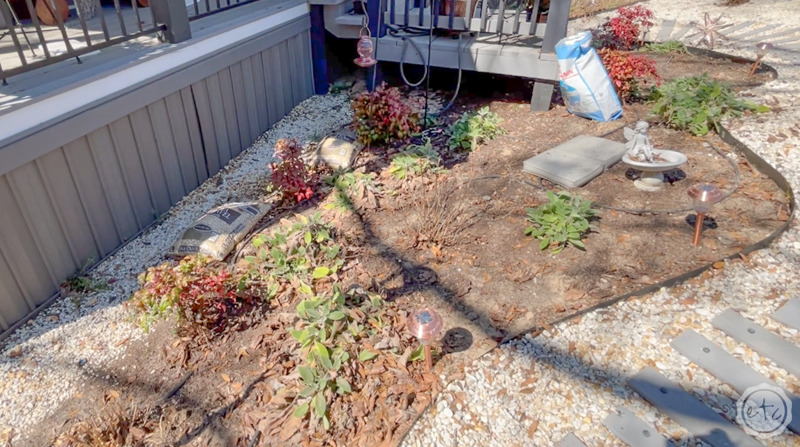
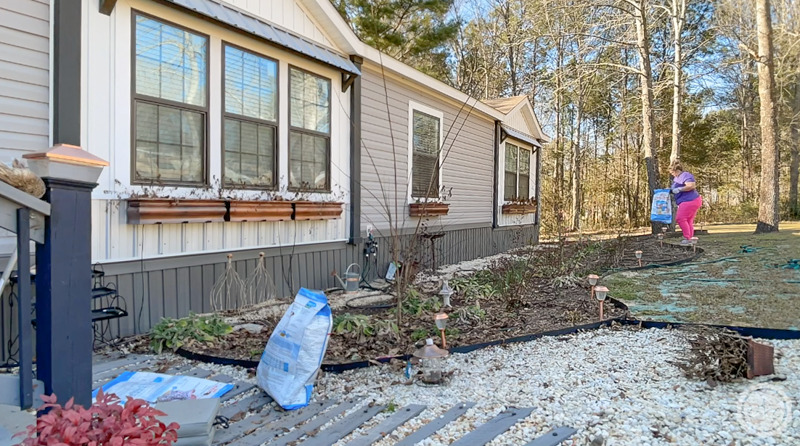
Step 2: Remove any Dead Annual Plants
Once your leaves are gone and the ground is mainly cleared let’s tackle the elephant in the room. All the annual plants we left in the ground last year.
Honestly this is the only part I maybe should have tackled last fall. It’s not hard to remove annuals whether they’re dead or alive but they’re much easier to stuff in the bags if they’re pliable. Of course, I just can’t stand to remove them while they’re still pretty so I had to leave them as looooong as possible.
Which means they’re not pliable but brittle and hard. Which wouldn’t be as big a deal if I was using larger trash bags (or a pop up bag) but my mom wanted them for her compost pile so into the old dog food bags they go. I mean the bags are empty, free and essentially trash.
Why would I pay for new ones?
But if you want the job to be a bit easier there’s your options.
If you’re like me just continue to rip alllll the old annuals out and stuff them in the old dog food bags. Just make sure as you’re removing them that you’re checking for new growth. Especially in the hotter climates… zones like mine (8b) sometimes have annuals returning. My Vinca’s from last year were gone but almost all of my Angelonia came back… as well as the Begonia’s I had down around my tree.
Go figure!
Sometimes in those hotter climates that can happen.
If you’re in a cold area feel free to just rip them out… you can do it.
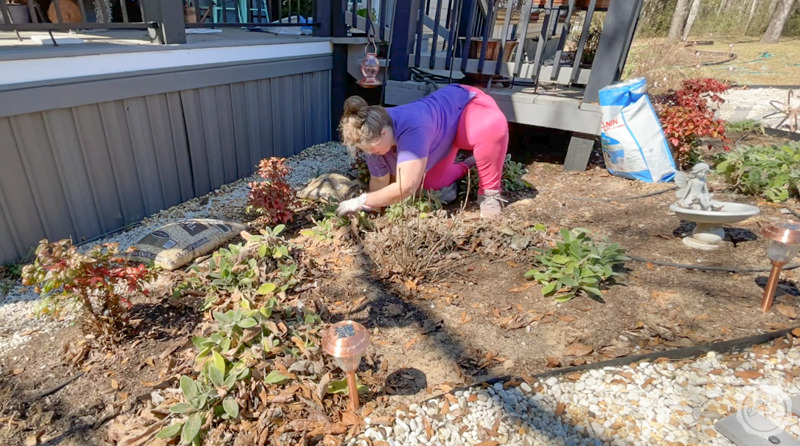
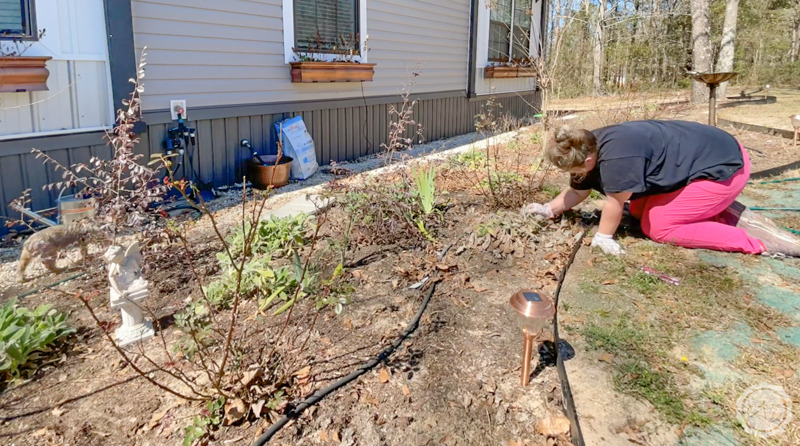
Step 3: Clean Perennial Plants by Removing Dead Leaves
Ready for the best part? Perennials…
Now that our annual plants are gone we need to tackle the other half of the garden: anything that’s coming back. In Alabama that is quite a bit!
All of my shrubs and bushes are waking up, flowering bushes like hydrangeas and roses might even have buds on them! Some of these things need pruned but we’ll tackle those in a minute. For now we’re going to get down in the dirt and remove any dead leaves or brush that is underneath the bottom of the plants.
That’s pretty simple for most plants but things like lambs ear (the green, fuzzy leaf plants) require a bit more work since they’re basically all leaves. It’s not hard though, simply get down to the base and remove any dead or yellow leaves from each plant. You can use your hands (these are my favorite gloves) or a hand tiller (I have the one in this set) and if you don’t have too many it will go fairly quick!
Just get alllll the dead, dying leaves away from the crown of the plant and you’ll be good to go… ready for the new growth the new season will bring.
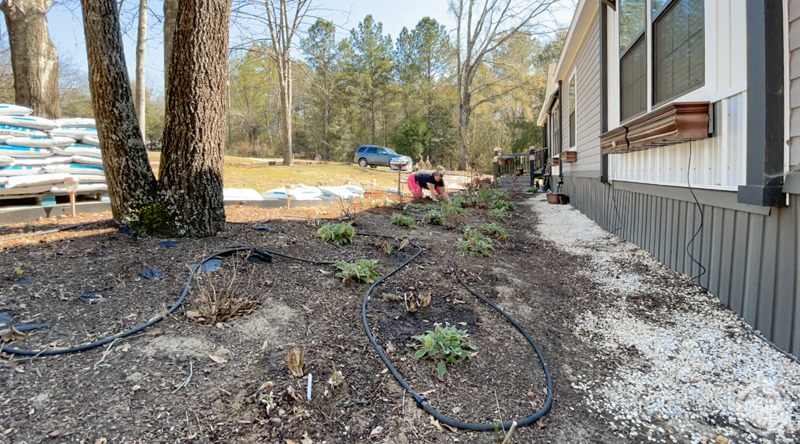
Step 4: Weed, Weed, Weed… Remove any Weeds!
We’re getting so close to finished!
At this point your garden beds should be looking pretty great… clear and ready for spring. But we still need to go through and get rid of all those pesky weeds. Pull them all up and throw. them. away.
Don’t compost them. Don’t give them to a friend. Just get rid of them!
Of course, you can do this step with any of the other steps… remove dead leaves, pull a weed. Pull up an annual, pull a weed. BUT I don’t want to pull out any of my seedlings so I like to do this step by itself so I can check between weed or seedling…
which is a fun little game of it’s own.
Of course, if you’re not sure just leave it until it’s a bit bigger. Once the weeds (or seeds) have grown just a little bit it’s usually easier to tell what you’re dealing with.
Or ask Mom.
Mom always knows.
Optional: Prune Roses & Other Perennial Flowering Shrubs
I can feel the finish line… it’s so close!
Before we move on to the last step we need to prune the perennials we’re keeping. Roses we’ll prune back to about a foot high… my little knock-out roses are only a year old so this is about half their growth. Once your roses are established you may have different guidelines but Mom says a good rule of thumb is to prune back about 1/3 to 1/2 of the roses total height.
And when possible prune back to just above a bud or set of leaves.
You’ll also want to prune out any weak canes or canes that cross paths in the inside portion of the plant. Get the air flowing through the entire plant.
Hydrangeas are the same if they bloom on new wood. If your hydrangea blooms on old wood you want to leave it alone or you’ll cut off all your flowers. And if you’re unsure? Wait and see… you can always prune it differently next year.

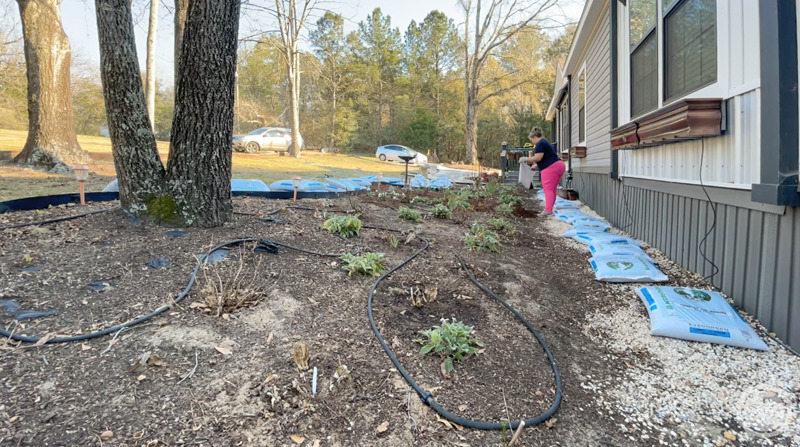
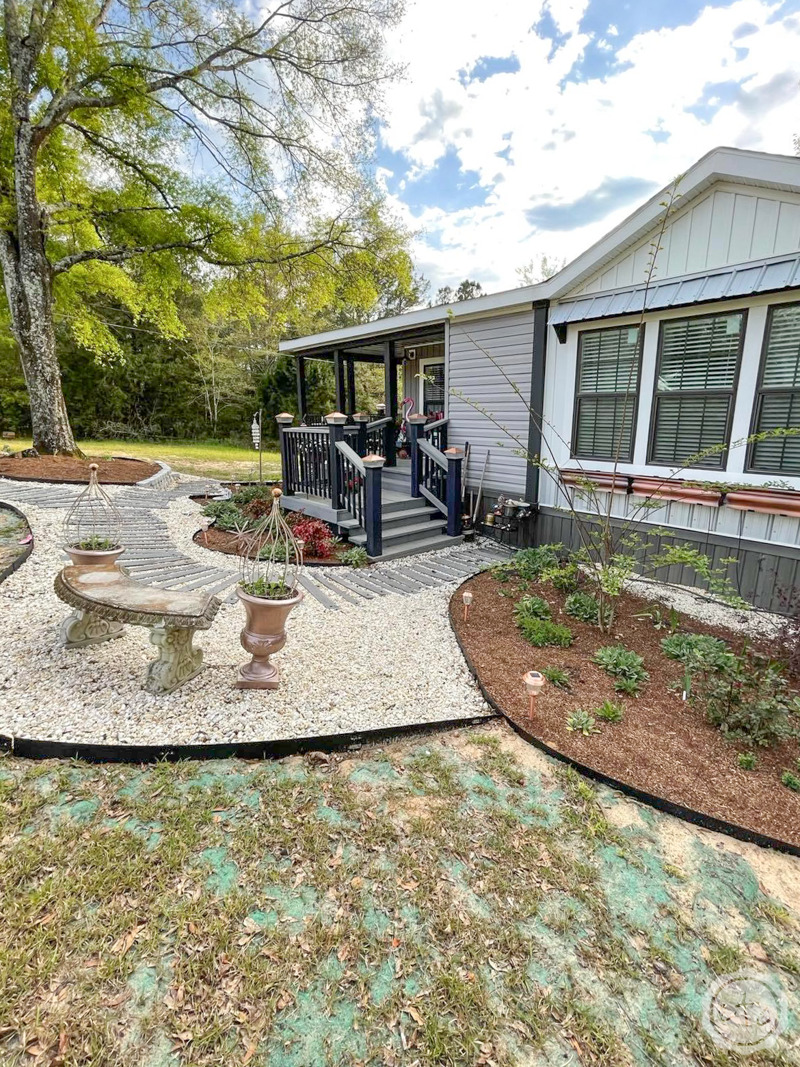
Step 5: Add Compost or Mulch to All Flower Beds
Ready for the lipstick on the pig? The cherry on top of the sundae? The best. stinking. part? Let’s top dress this bad boy with compost!
You can use compost or mulch as your top dress (unless you’re fancy and doing it properly and then a layer of compost followed by mulch is perfect). I can’t afford both and I want to improve my soil quality so I’m using compost for now. As it breaks down it feeds the soil allllll the good nutrients… then we’ll add mulch later.
I spread this on pretty liberally but you can check out my using compost as top dress video here for more information. The most important thing you need to know is that it makes everything look so. darn. good.

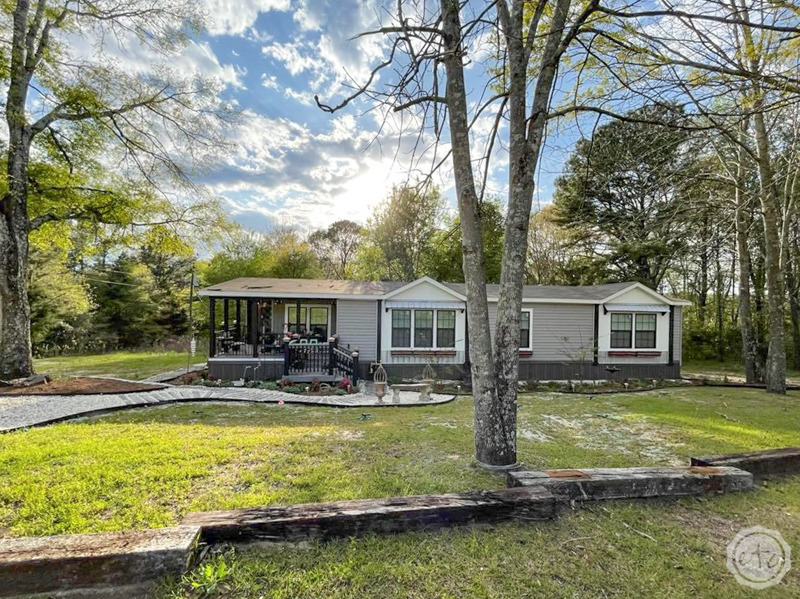
Step 6: Enjoy!
Now we’re done! It looks soooooo much better than where we started… and since this is only the second year for my garden it’s nice to have any green at all. Even the small amount my little lambs ear provide!
Of course, lots of bigger (better) things are coming and I can see plenty of green on alllllll the pretty perennials coming back from last year. I can’t wait until the last frost date passes and I can plant new annuals for the upcoming year but in the meantime I’ll enjoy my tidied garden for spring.
Looks like fresh growth to me!
Psssst…. want more gardening content? I write plenty of blog posts but there’s even more video content over on my YouTube channel! Check out my gardening playlist for up to date garden tours, planting videos (all those summer annuals? Watch me plant them here!) and even garden maintenance videos (fertilizing roses with rose tone and fish tank water?). The best part is watching everything grow and seeing the landscape change.
I mean I’ve even put in a brand new garden bed by the large tree on the left since this post was written! Subscribe to my Youtube channel to see what you’re missing.


Leave a Reply