This shop has been compensated by Collective Bias, Inc. and its advertiser. All opinions are mine alone. #PurinaMysteries #CollectiveBias

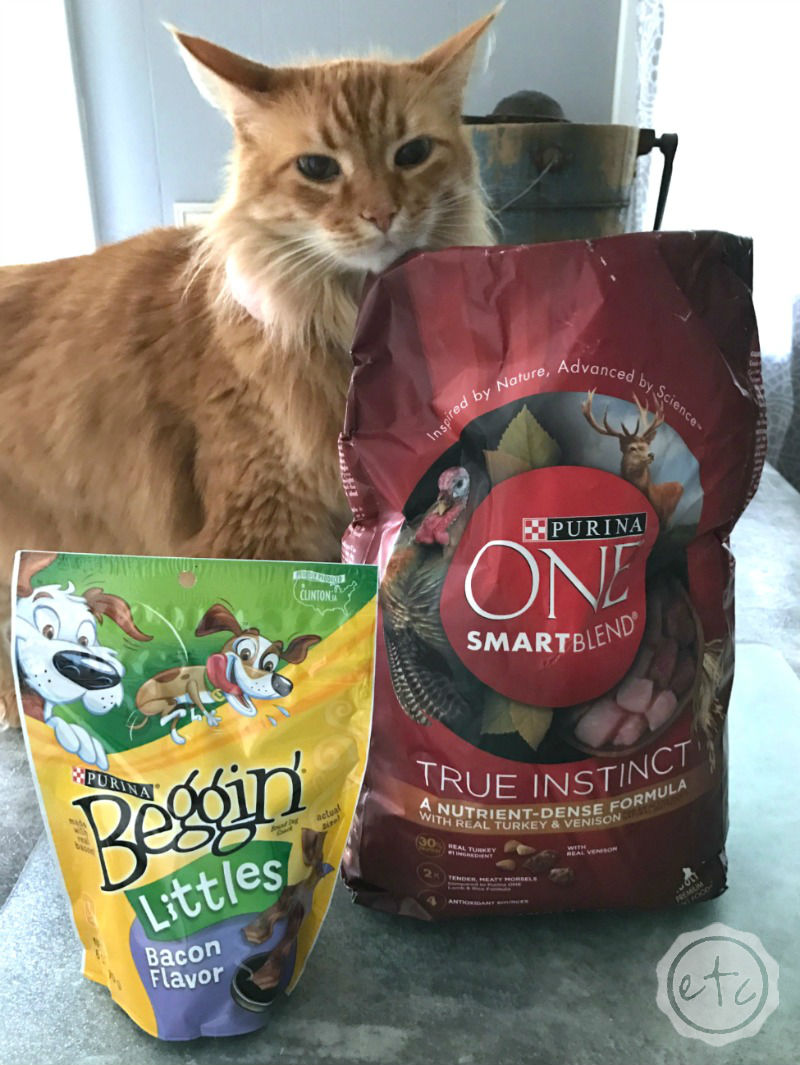
If y’all have been with me for a minute or two (or even if you’re brand new and have just glanced at my about page) you know that my little family is made up of my hubby and our three flurry companions. Our little yorkie and two kitties are always getting into trouble and half of that trouble involves food of some kind. Dinner time at our house is kind of like a wild stampede… which is crazy for a herd of small animals (none of which weigh over 9 pounds!).
We love all three of them (probably more than normal… yes we’re those kinds of people) but the one thing we are always having trouble with is their food dishes. We never had a problem before we brought home Jasper (he’s the youngest) and unfortunately when we adopted him he had already lost his tail.
Looking for a bunch of posts on DIY & Crafts? I’ve got you covered!
Click here to see all of my how to DIY & Craft posts in one place!
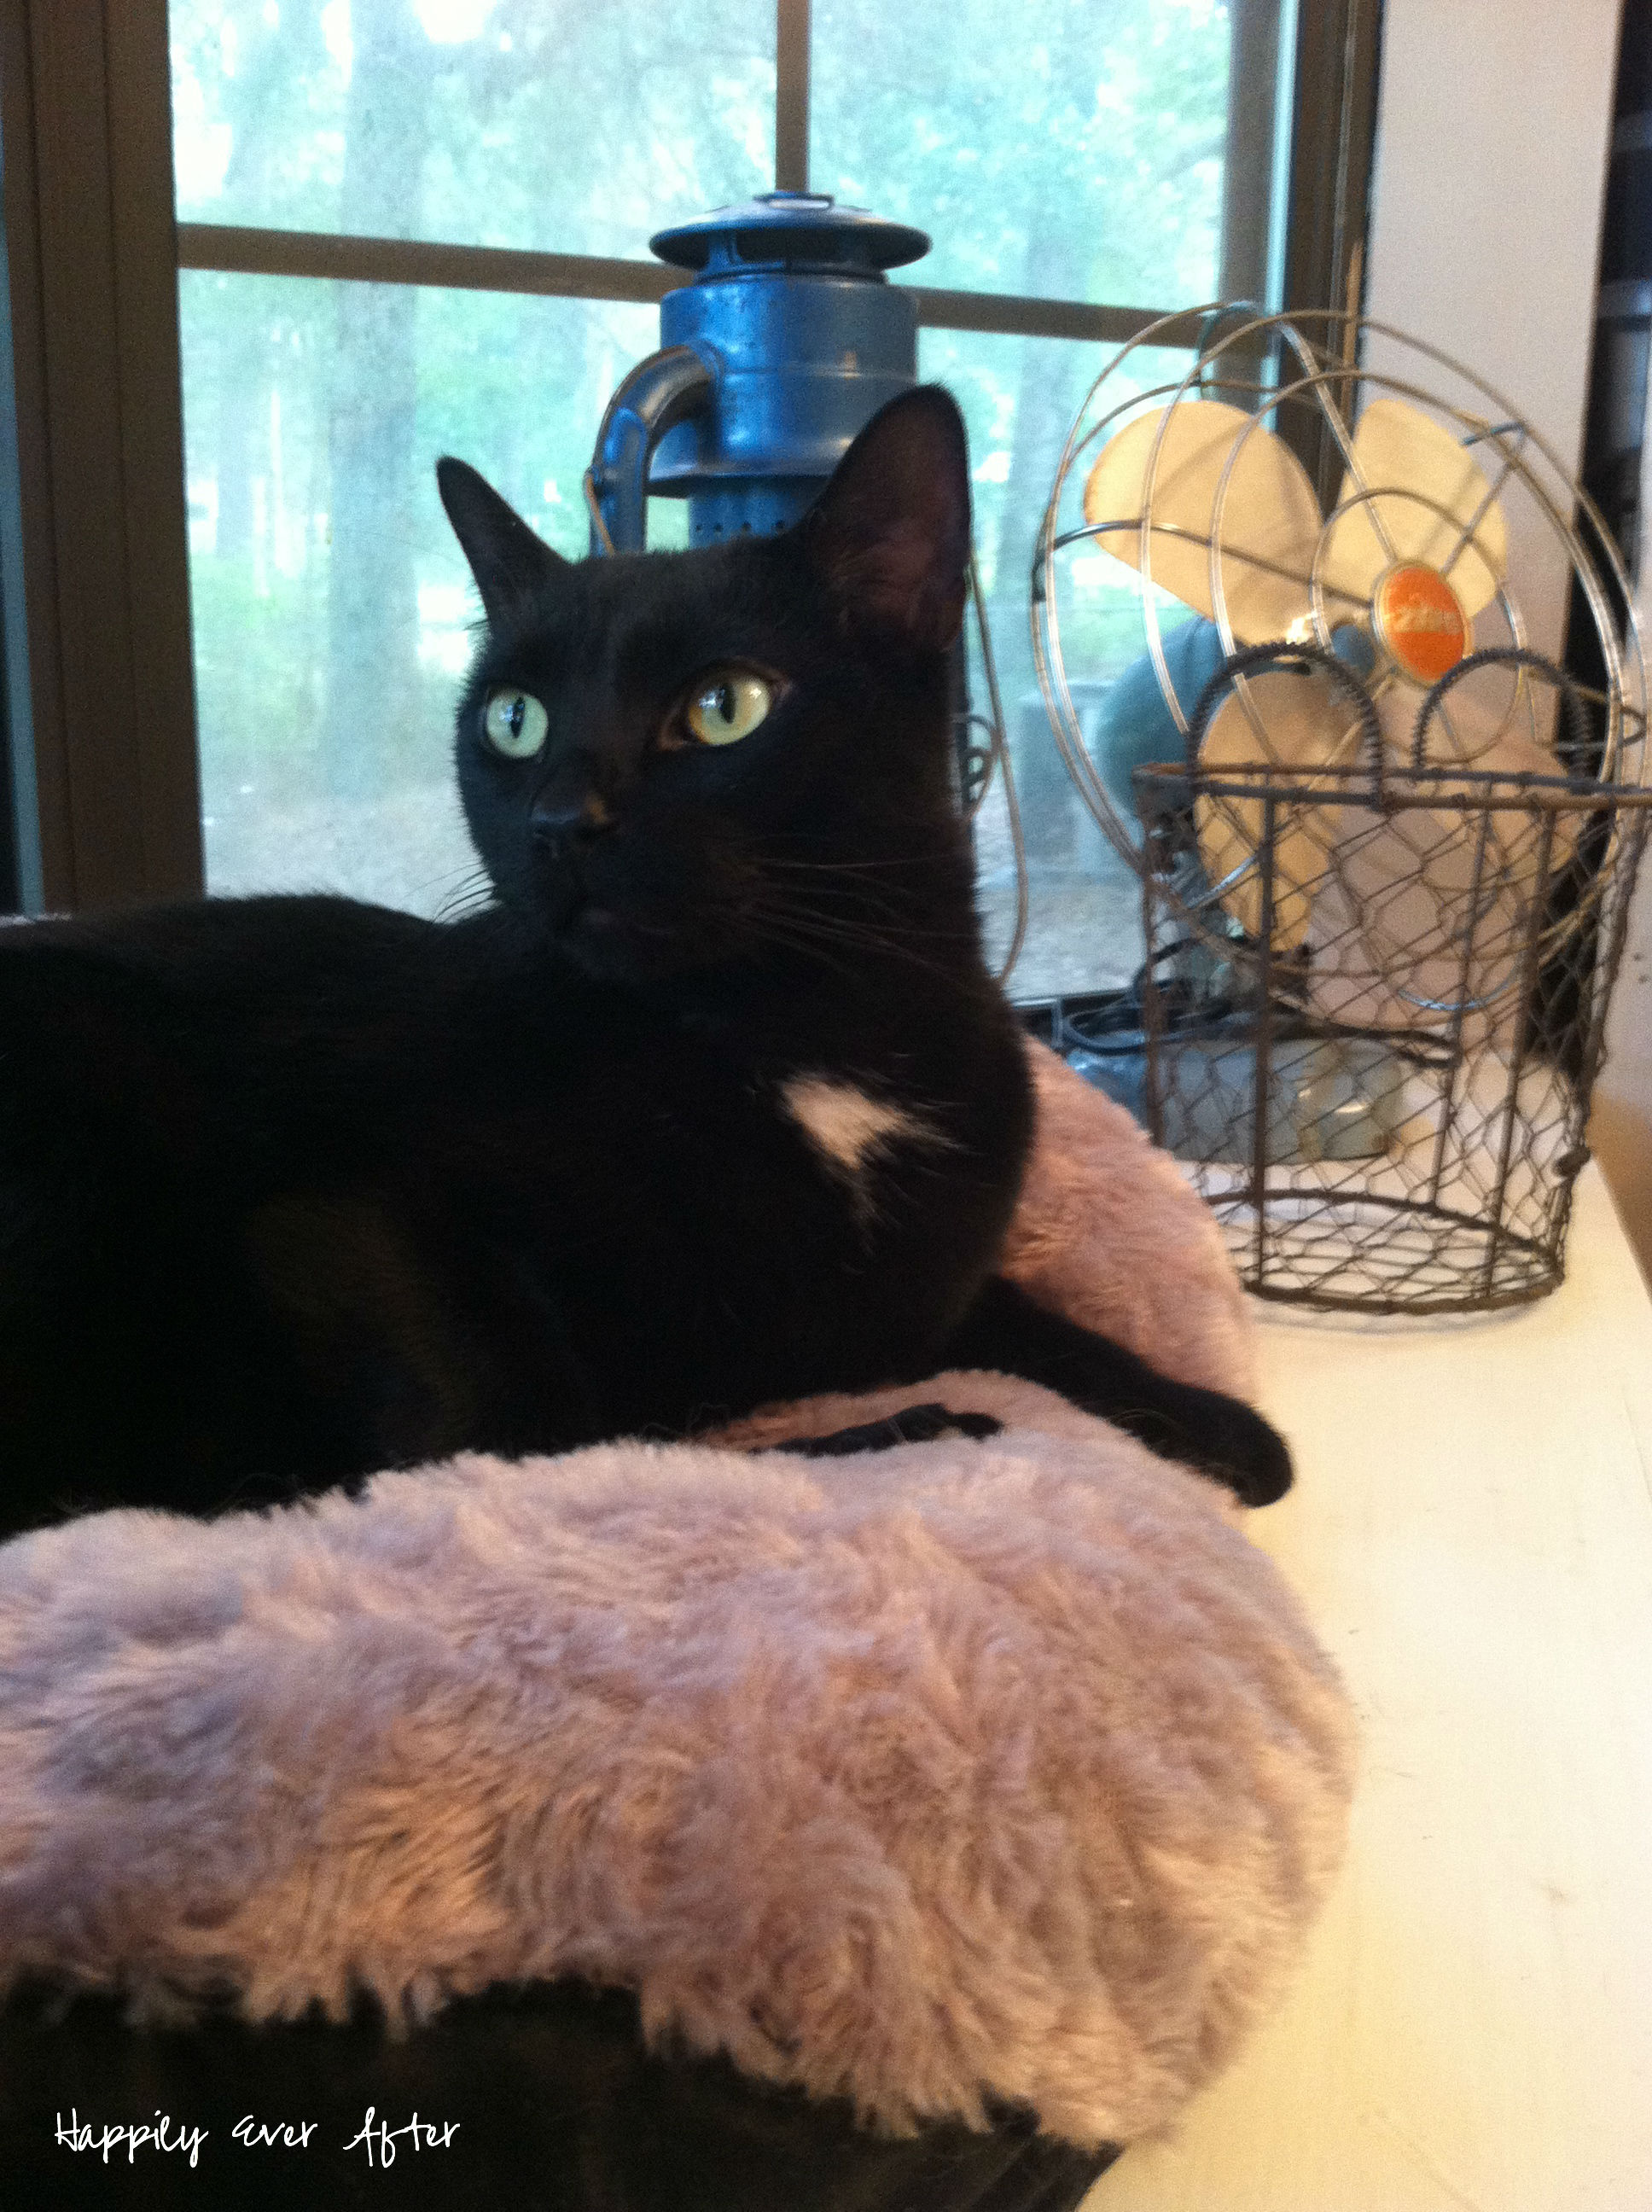
The folks at the humane society told my hubby that he was a manx kitty but over the years we have come to realize he is a normal short-hair who must have had his poor tail cut off at some point. Which is sad enough but what you don’t realize is that cat’s use their tails to balance. Which means Jazzy is the clumsiest cat you’ve ever met. Soon after we brought him home I realized my days of lining counters and shelves with breakables were gone. Bookshelves are safe but kitchen counters? It better be back away from the edge or Jasper will probably knock it off!
So we switched from glass food bowls to plastic (after Jasper broke the few glass ones we’d had for years). Then when he kept knocking the plastic ones on the floor we moved the bowls to the floor… which worked for a while but here’s the second problem. My hubby. I’d say Jasper takes after his daddy but ones a man and ones a cat… Trevor keeps stepping in the plastic cat bowls on the floor. Which completely shatters them seeing as he wears a size 14 shoe and has the gracefulness of a newborn gazelle! So allllll of this is to say… we need a new pet bowl stand.
One that holds non-breakable bowls off the floor but that can’t be knocked over.
Sounds easy right?
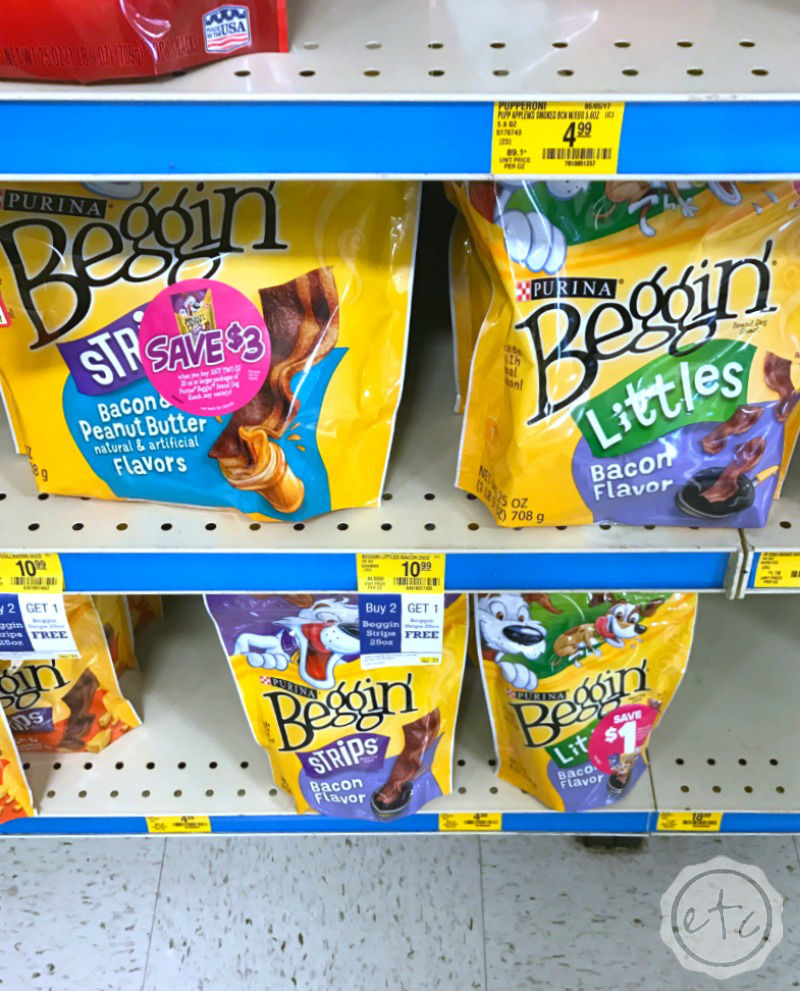
We hit PetSmart to look for one but while we found a bag of Bitty’s favorite dog food (and her favorite treats) I didn’t find juuuuust what we were looking for. She tried to convince me to get rid of the bowls all together and just put piles of the food all over the kitchen but even with all the delicious nutrients in her Purina ONE® dog chow I nixed that idea. So we decided to pull out the power drill and make our own!
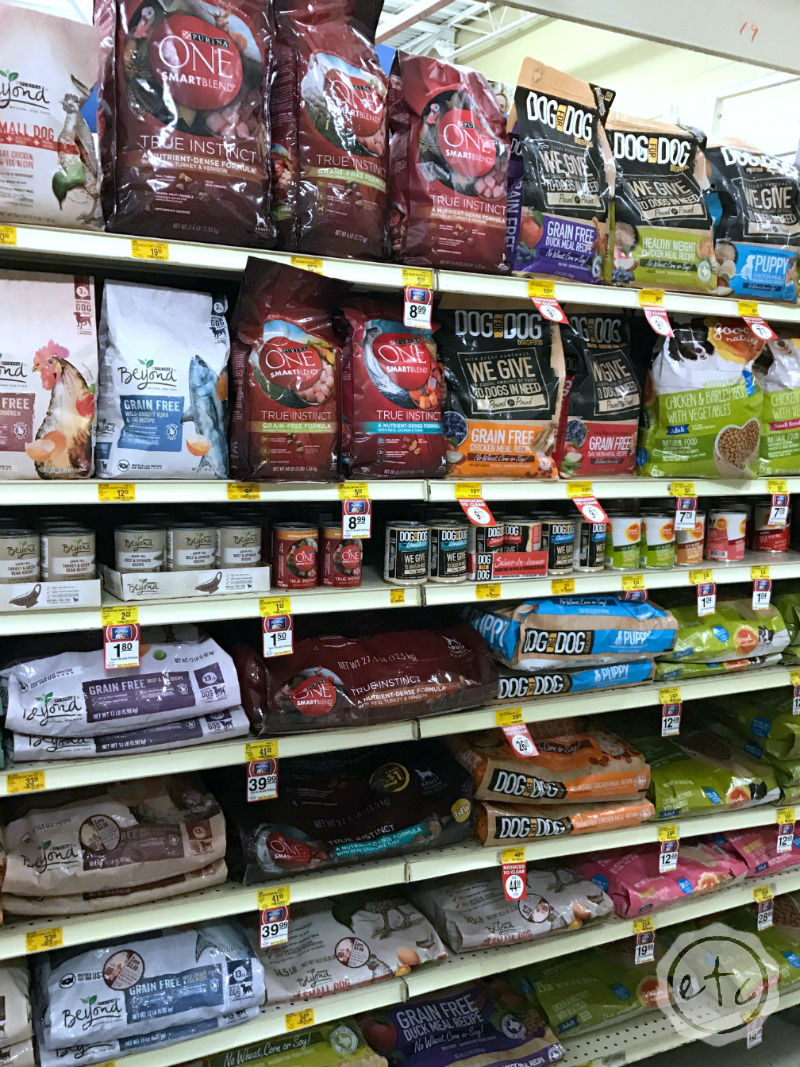

Of course, while Bitty and Daisy (my mama’s cream dachshund) love to shop with me I love to save a little money… like with this $10 off $40 coupon. That’s a lot of dog food! I don’t know if these girls could even eat that much food… they’d try though! Mom and I each redeemed a Purina coupon (she has two little daucheys so she needed twice as much food!) and the best part is you have until 7/9 to upload your receipt so there’s not a huge rush to turn it in.
Which is great for slow pokes like me!

Supplies:
Antique Box (preferably one that’s the right height for your favorite pooch)
Wooden Board to fit the top of your box
Pen/Sharpie/Pencil/Crayon (you get the idea… something that writes!)
String
Power Drill
Small Saw
Sand Paper / Sanding Block / Electric Sander / Dremel
Paint
2 Dog Bowls (with a lip)
Step 1:
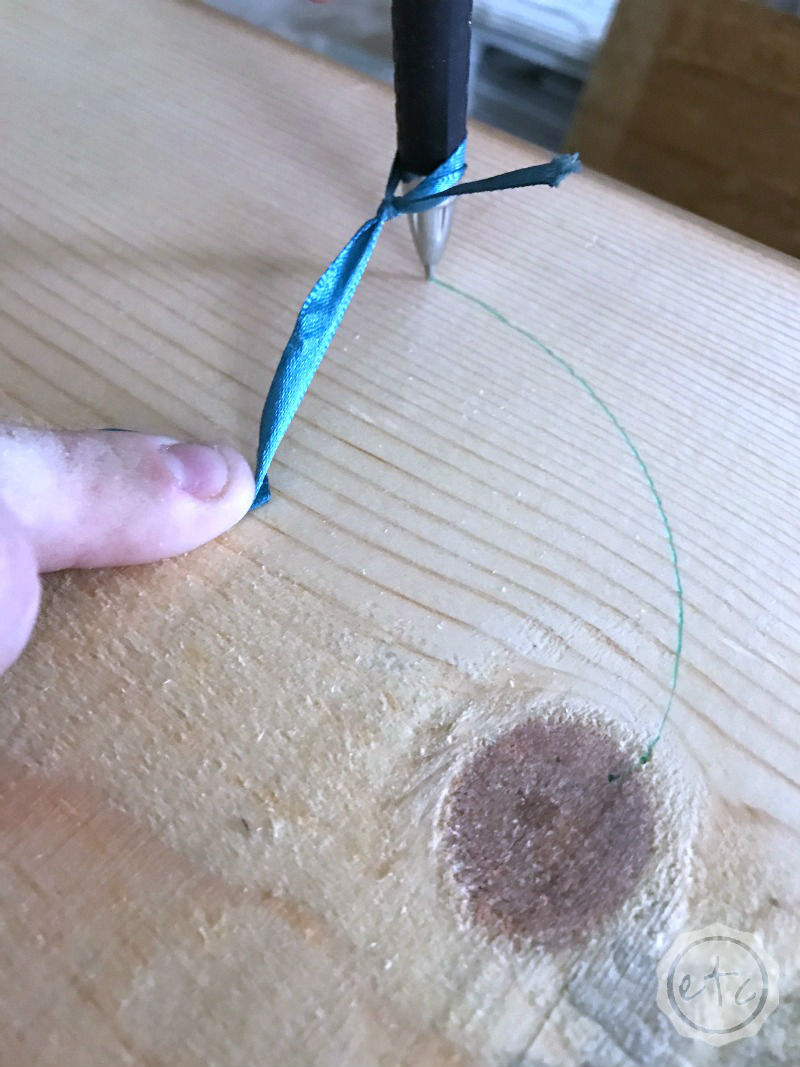
The first step is technically to cut your board to fit your box… but I didn’t think y’all needed an entire step to cut a board. Once you have your board cut it’s time to mark your circles! You’ll want the bowls to sit down into the board so don’t just draw a circle around the outside of the bowl… measure from the middle of your bowl to the inside of the bowl lip. Then draw your circle to fit those measurements!
I like to use a piece of string and a pen to make my circle… super easy and I already have all the supplies. Jut remember your circle doesn’t have to be perfect… it will be covered by paint and then the bowl!
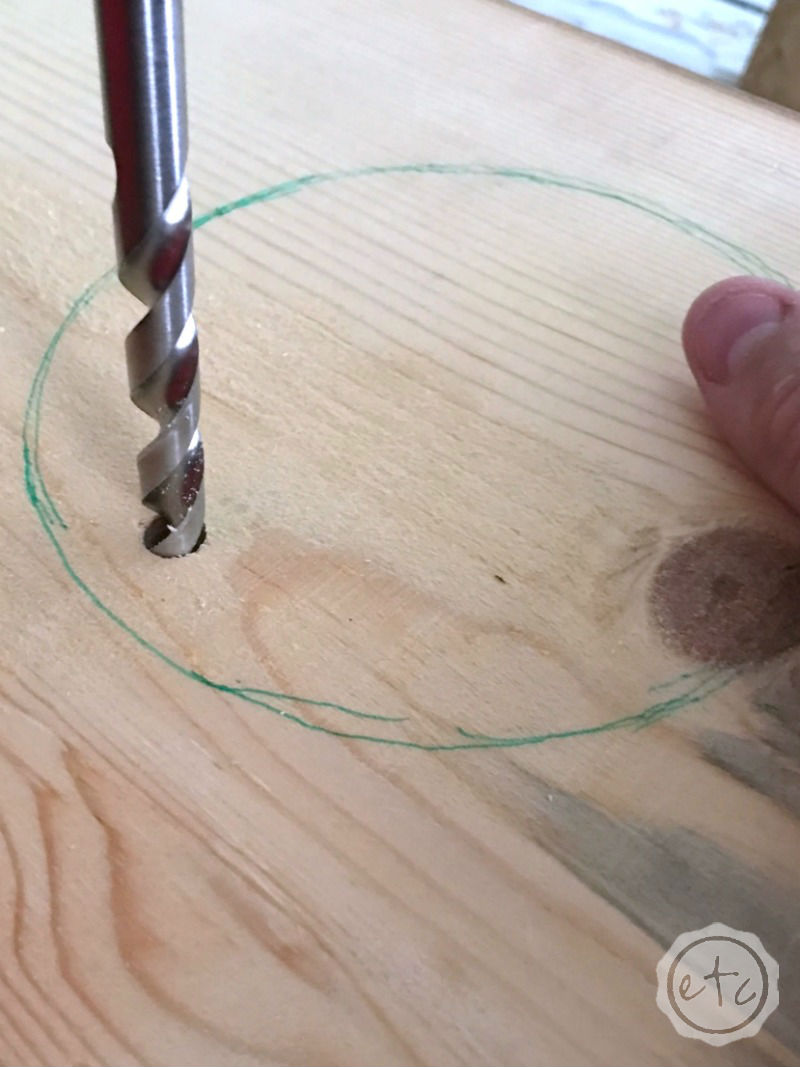
Step 2: Cut out your Circle!
Start by drilling a hole big enough for your saw… then cut in a circle! Or if you’re like me and you’re not a real grown up and your saw isn’t cooperate you can use my wonky method…. drill holes alllllll the way around your circle until they connect and you have a hole!
Strangely enough it works.
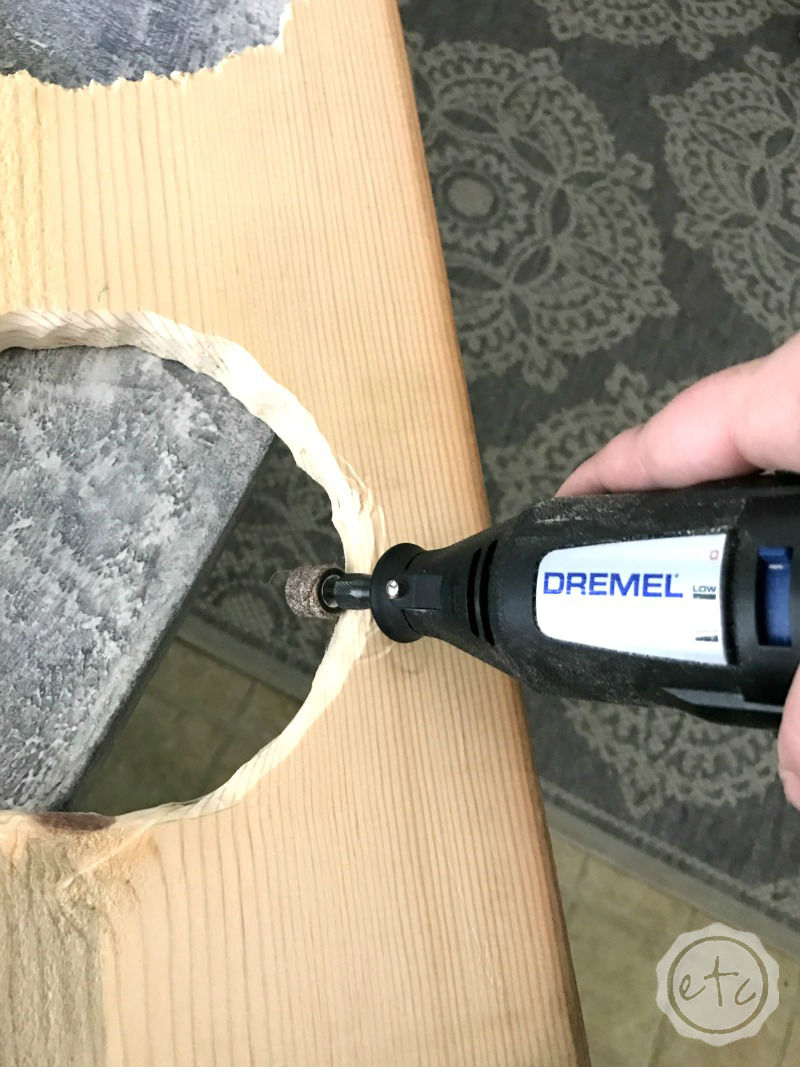
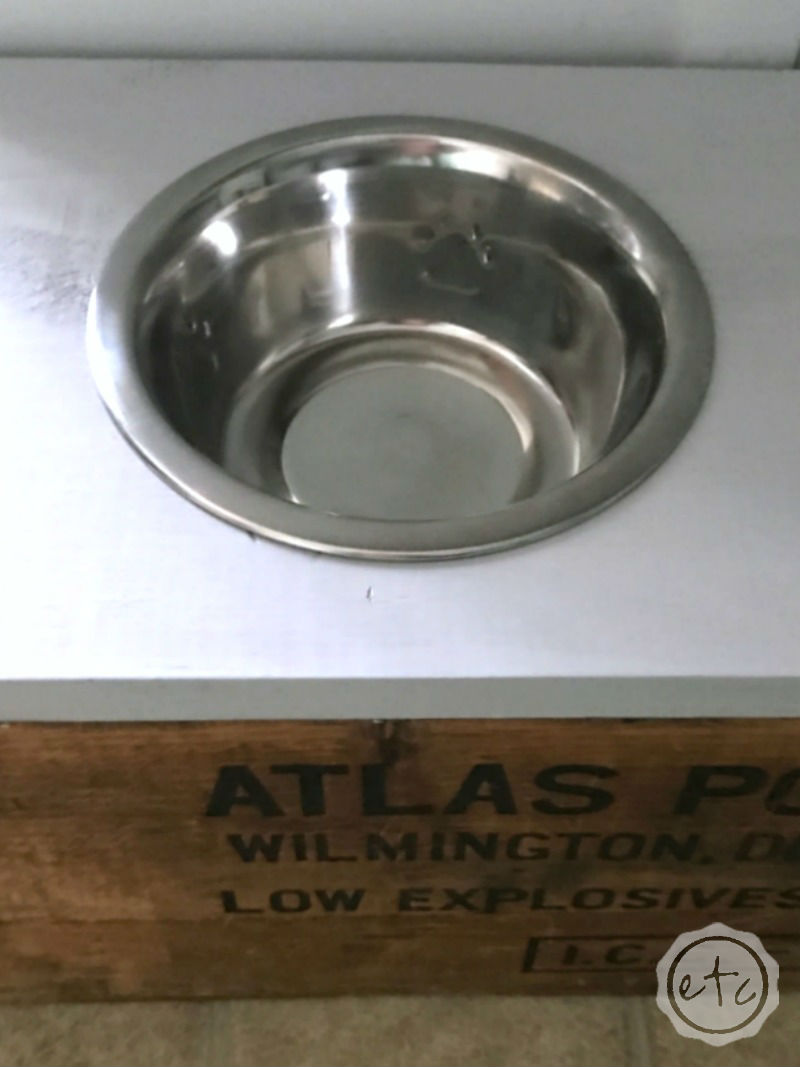
Of course, this method leaves the edges a bit jagged. So while sanding is necessary normally it’s definitely necessary here! So instead of the good old sanding block I pulled out the dremel from last years Haven swag bag for a little power sanding. It was perfect for rounding the edges for the bowl to fit snug in it’s new spot.

Step 3: Paint, Paint, Paint!
Now it’s time to cover up all those lines from step one with a fresh coat of paint… so I reached back in my bag of Haven goodies for a bit of grey chalk paint. One dollup was enough to cover the entire top of this little board and the sides… which is pretty darn good!
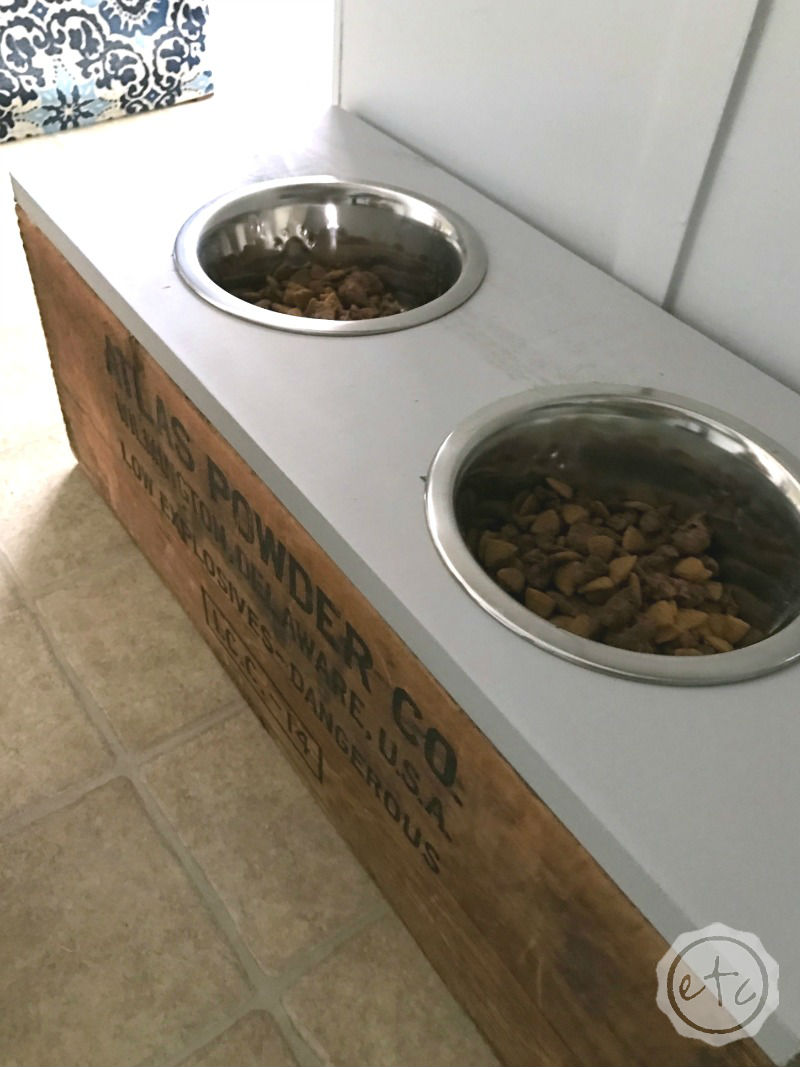
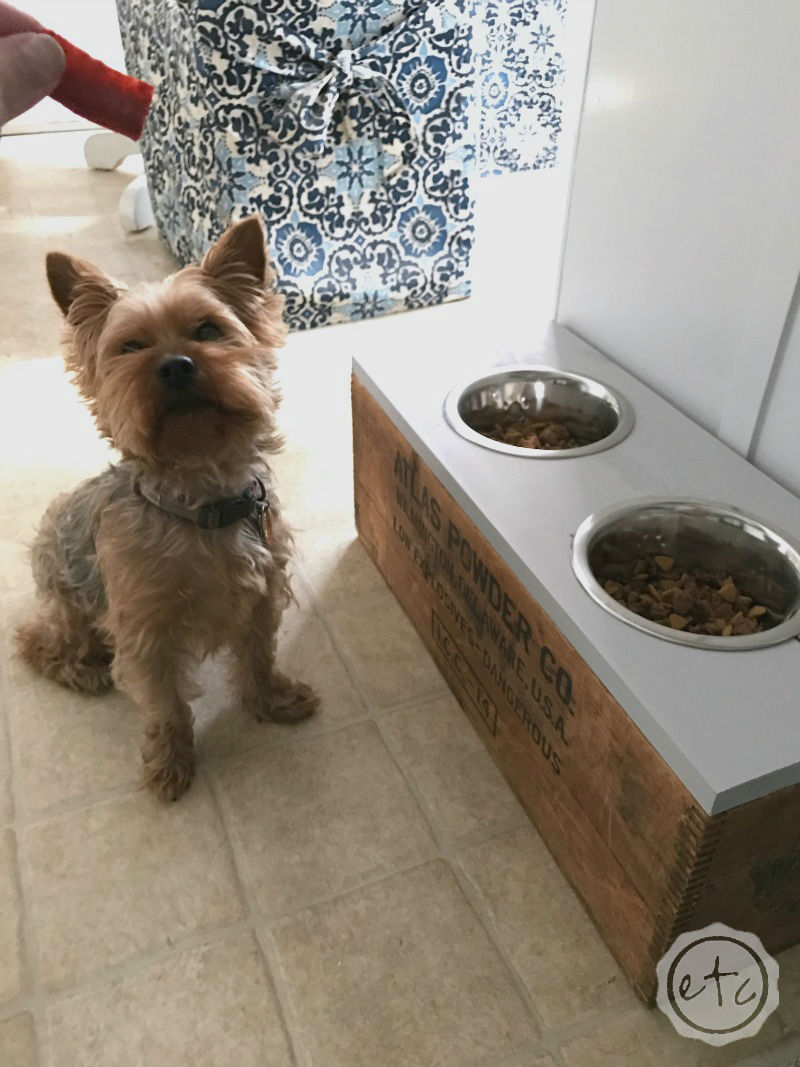
Now it’s time to drop in the bowls and fill these babies up!
Of course, when I pulled out the bags of food Lily thought they were for her… she’s not sure why she can’t eat dog food.

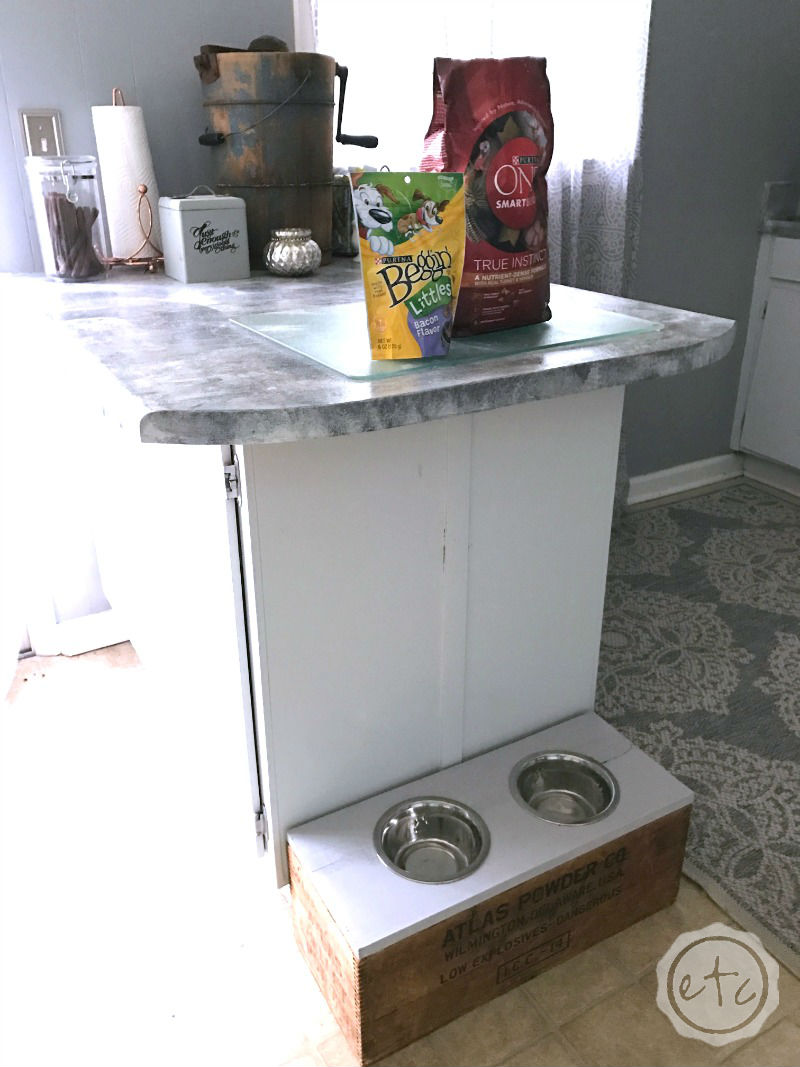
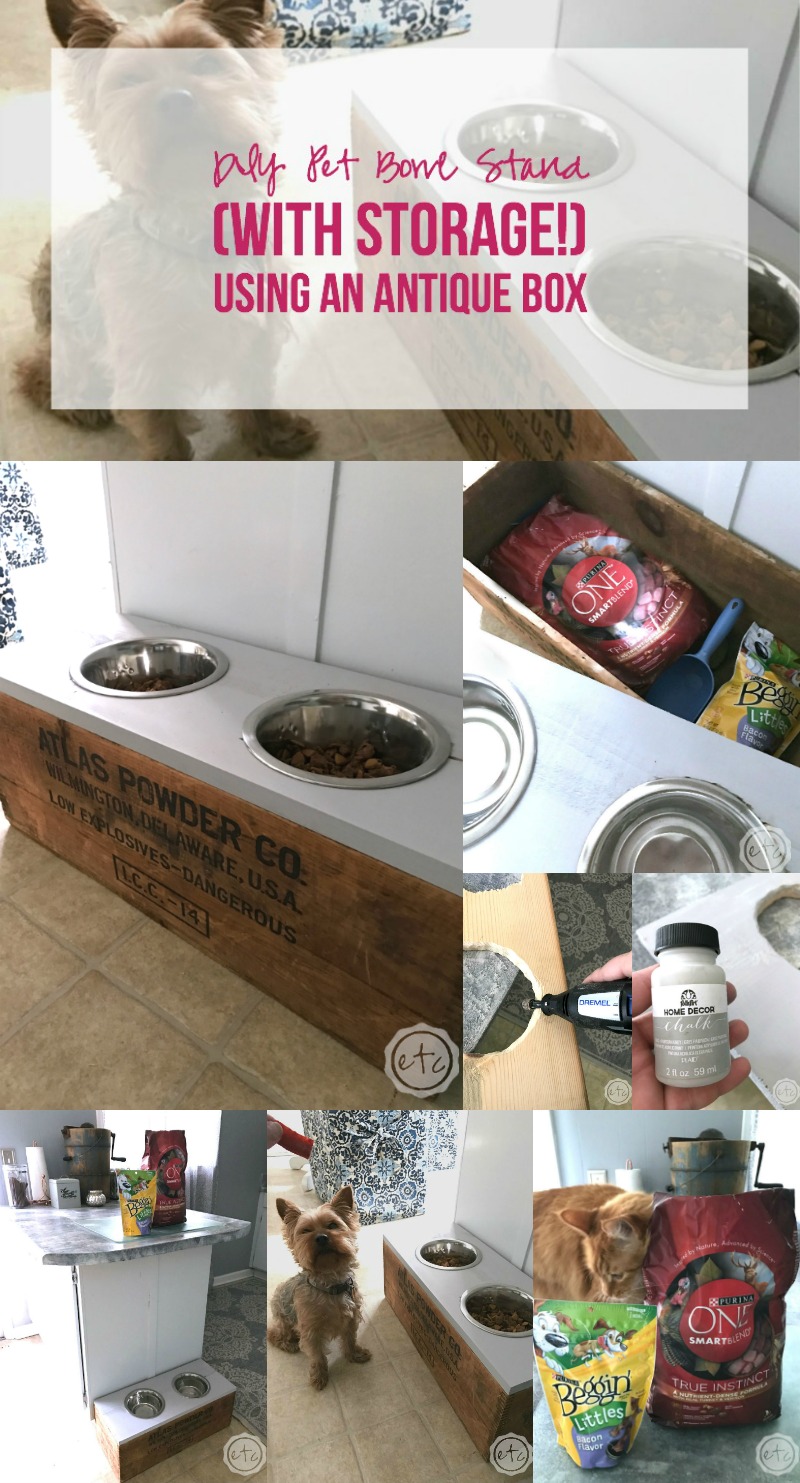
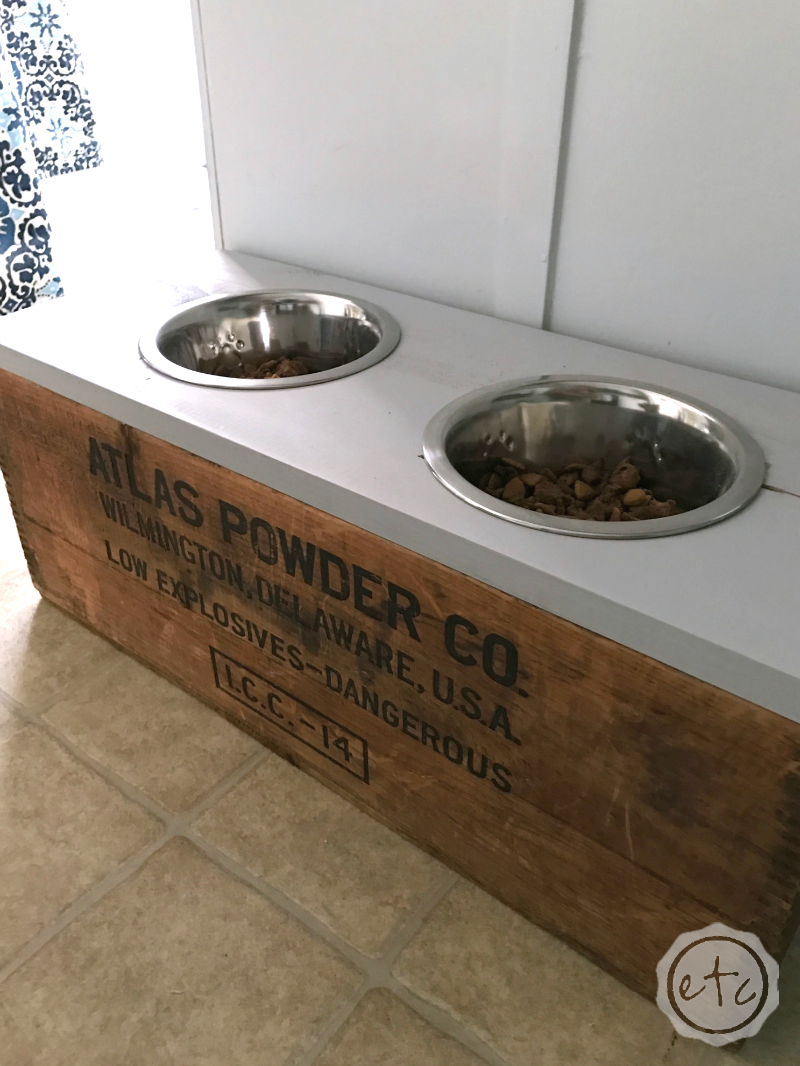
I think it turned out pretty darn good! I love the pop of rustic it adds to the kitchen and the best part is that all of our little angels can now eat without fear of broken bowls (or spilled food!).
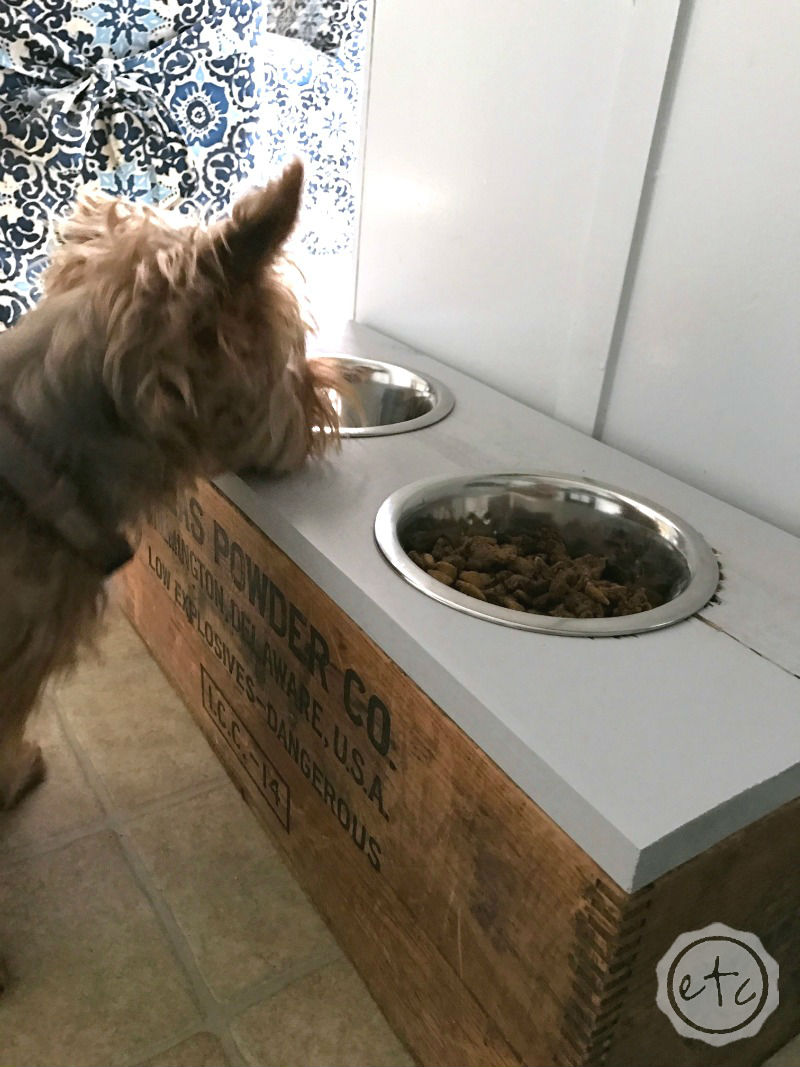
Bitty’s just waiting for us to fill them up so she can try them out!

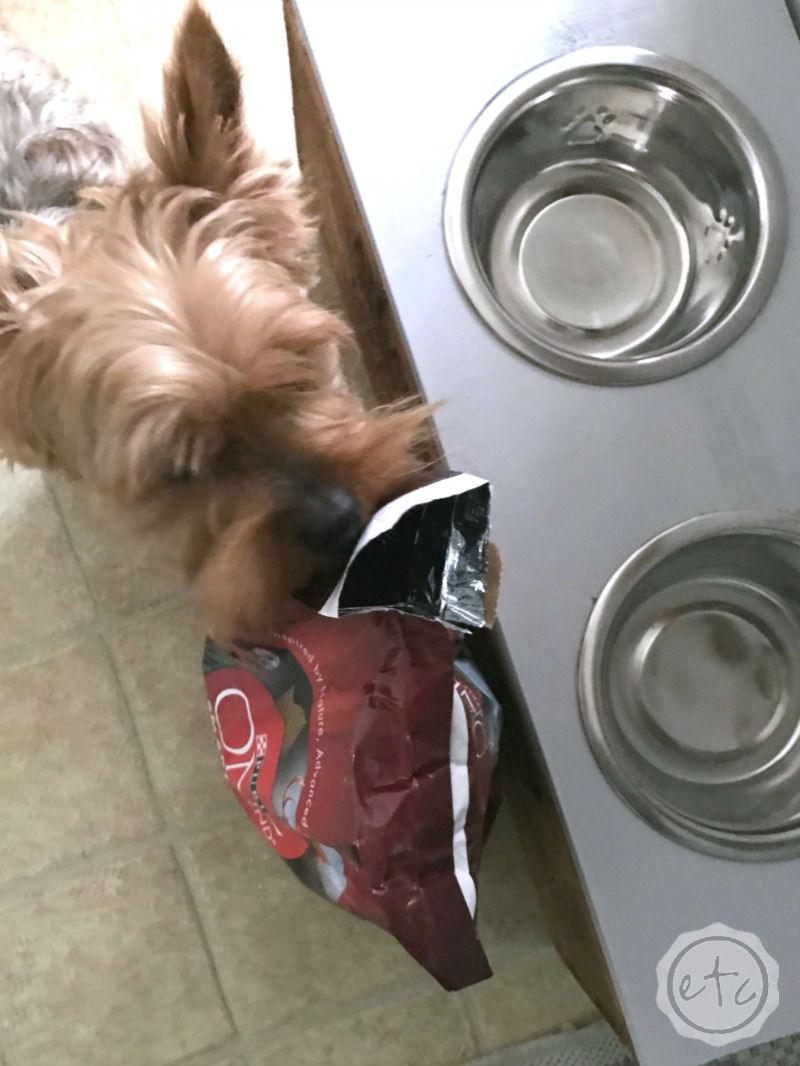
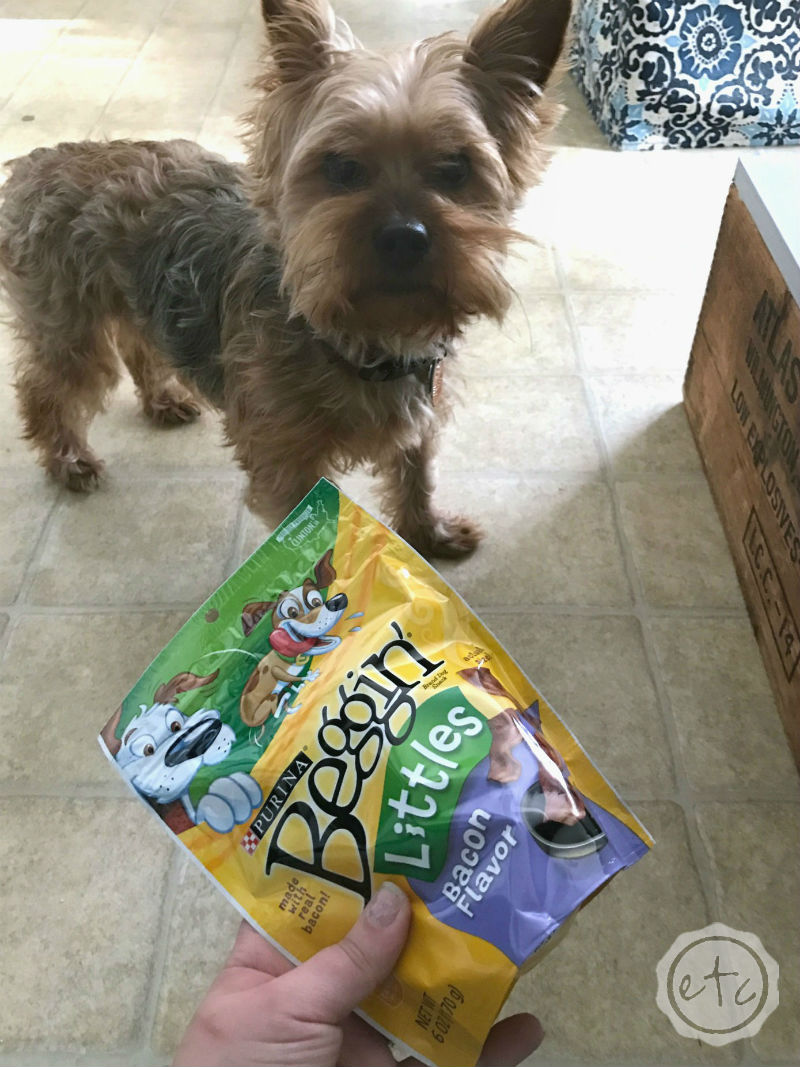
Of course, now that dinner’s over it’s time for a treat! She loves anything that tastes like bacon so she wanted a whole bowl full of these little Purina® Beggin’ treats!
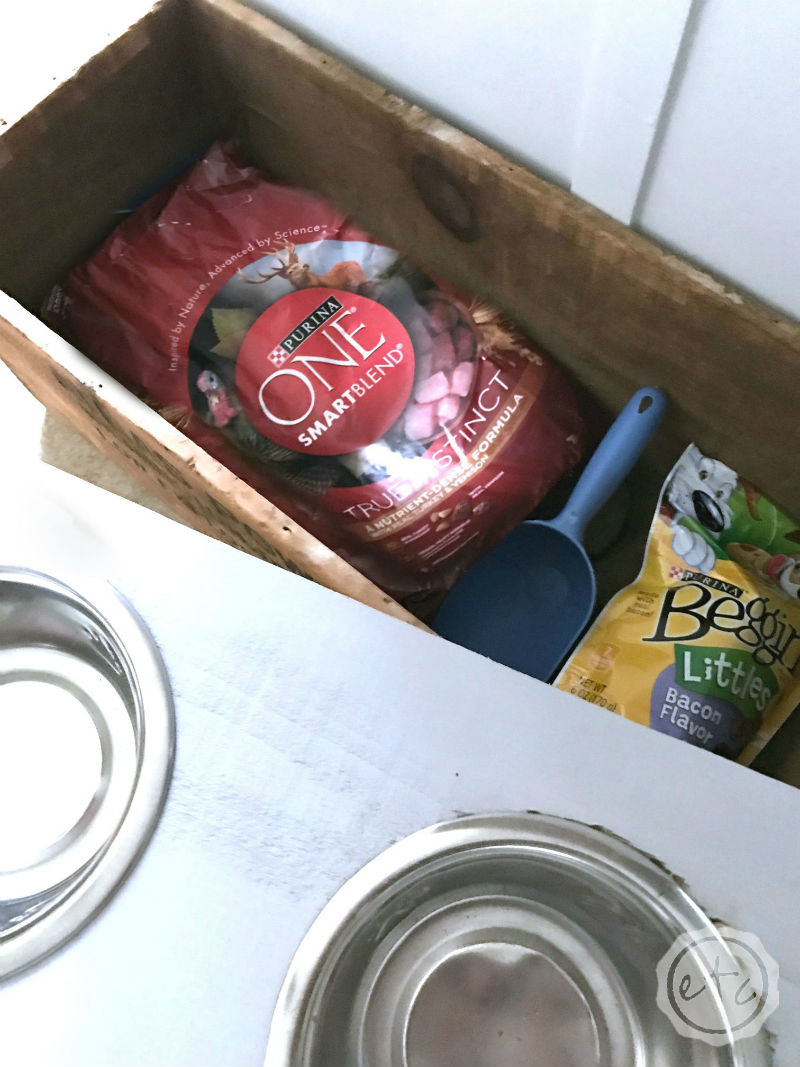
The best part? When dinner time is over all of the goodies tuck away neatly inside the box! Score!
P.S. Here are a few more posts you’ll love: One Easy Tip for Perfect Chalkboard Letters Even Non-Crafters Can Master and DIY Lamp Transformation… How to Color Transparent Glass