


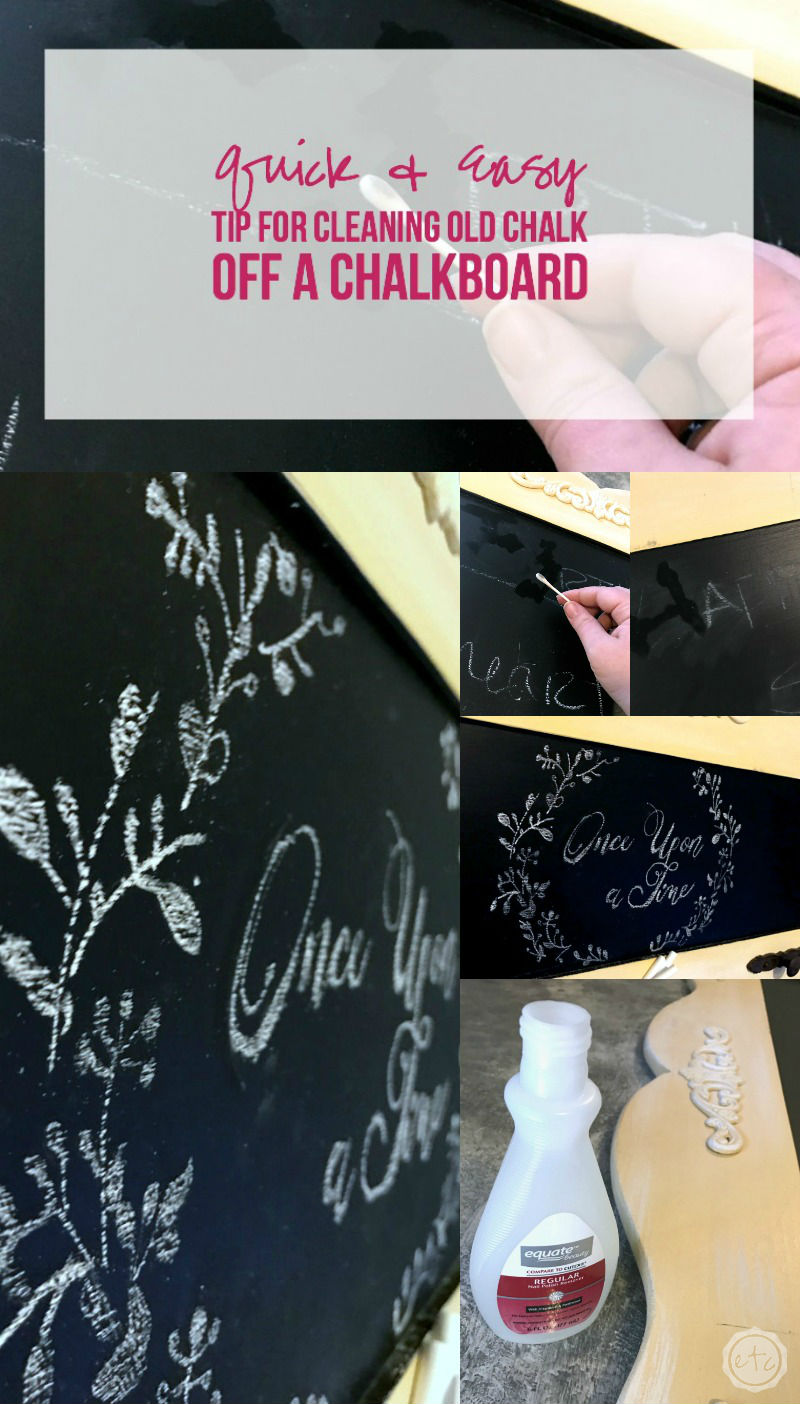
With all of the gorgeous hand-lettering that is dominating Pinterest these days I knew it was time to dust off the chalkboard in my kitchen and learn to do a little hand-lettering of my own… well more like copy and paste! I’m not great at hand-lettering but I wanted a beautiful design for my chalkboard so I came up with an easy chalkboard lettering trick… but first I need an easy tip for cleaning old chalk off a chalkboard!
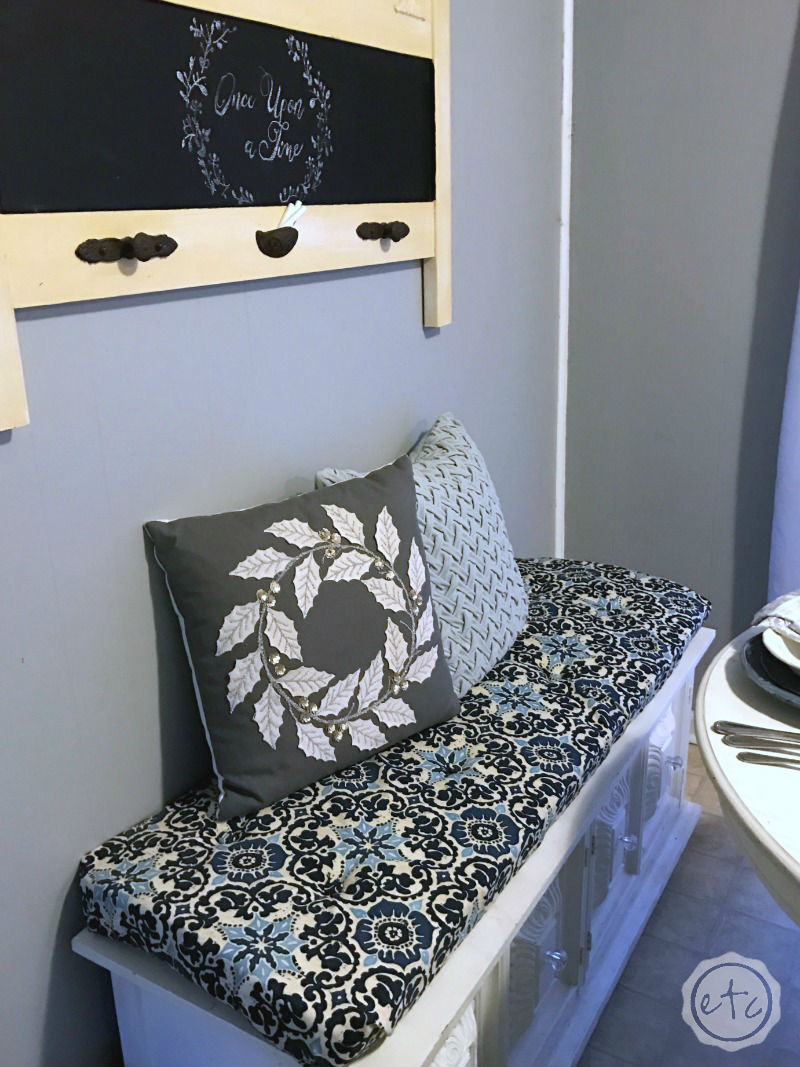
The yellow chalkboard in my kitchen was actually a birthday present from my hubby three years ago! It’s a really sweet little twin bed headboard that was re-purposed into a chalkboard and I love that he bought it at a thrift store for me. We hung it in the kitchen over our pretty little tufted bench and I love the contrast it brings with the gray walls.
But even though I love the chalkboard it’s been hanging on my wall with the words “Happy Birthday Sweetheart” written on it for three years! Which means the chalk was embedded in the surface! Okay maybe not embedded but it definitely wasn’t going to wipe off easily.
So I took to a handy dandy little trick I used years ago for cleaning old chalk off my little chalkboard.
Looking for a bunch of posts on DIY & Crafts? I’ve got you covered!
Click here to see all of my how to DIY & Craft posts in one place!
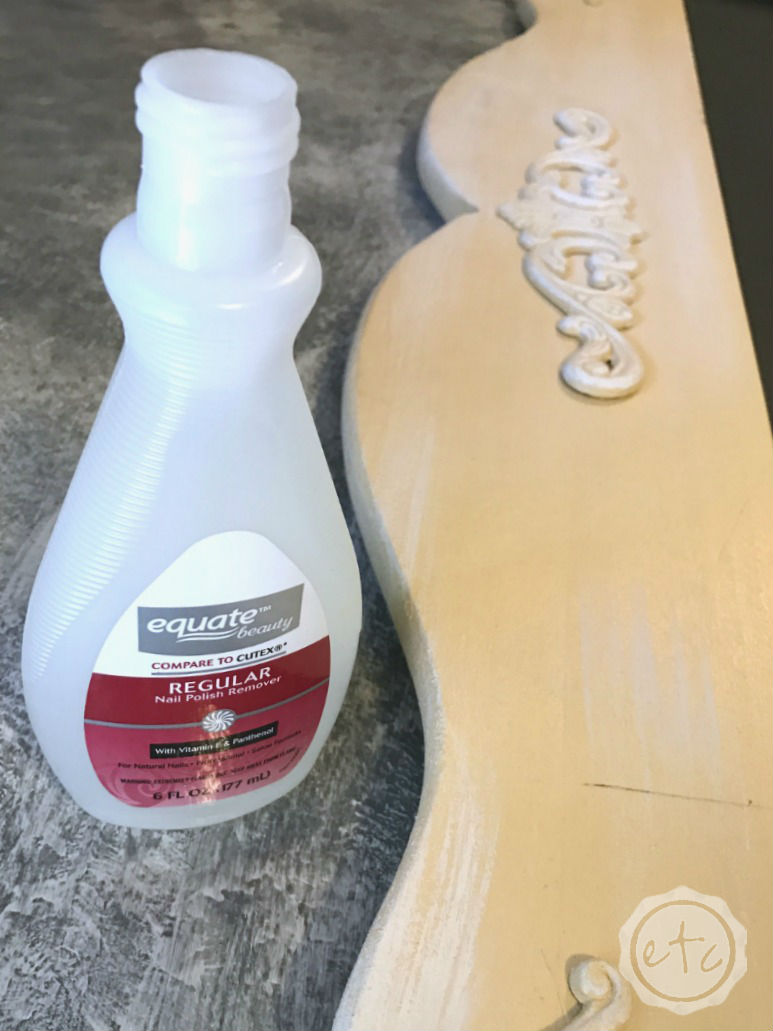
Supplies:
Nail Polish Remover
Q-Tips
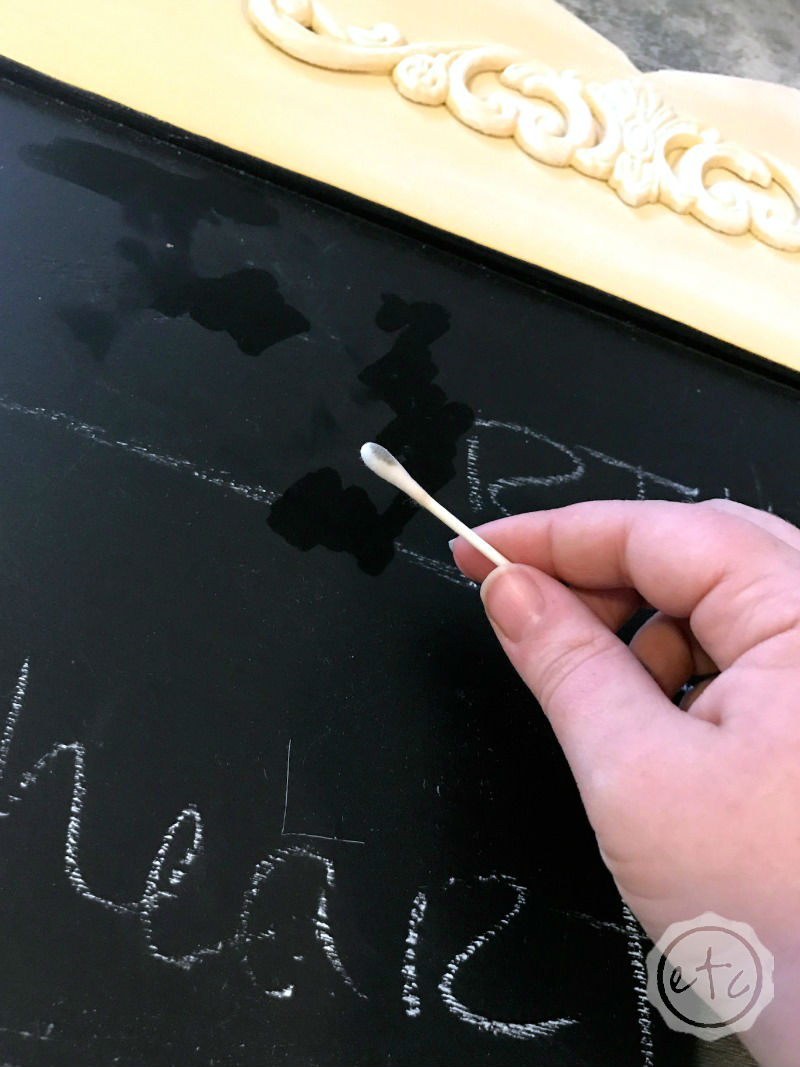
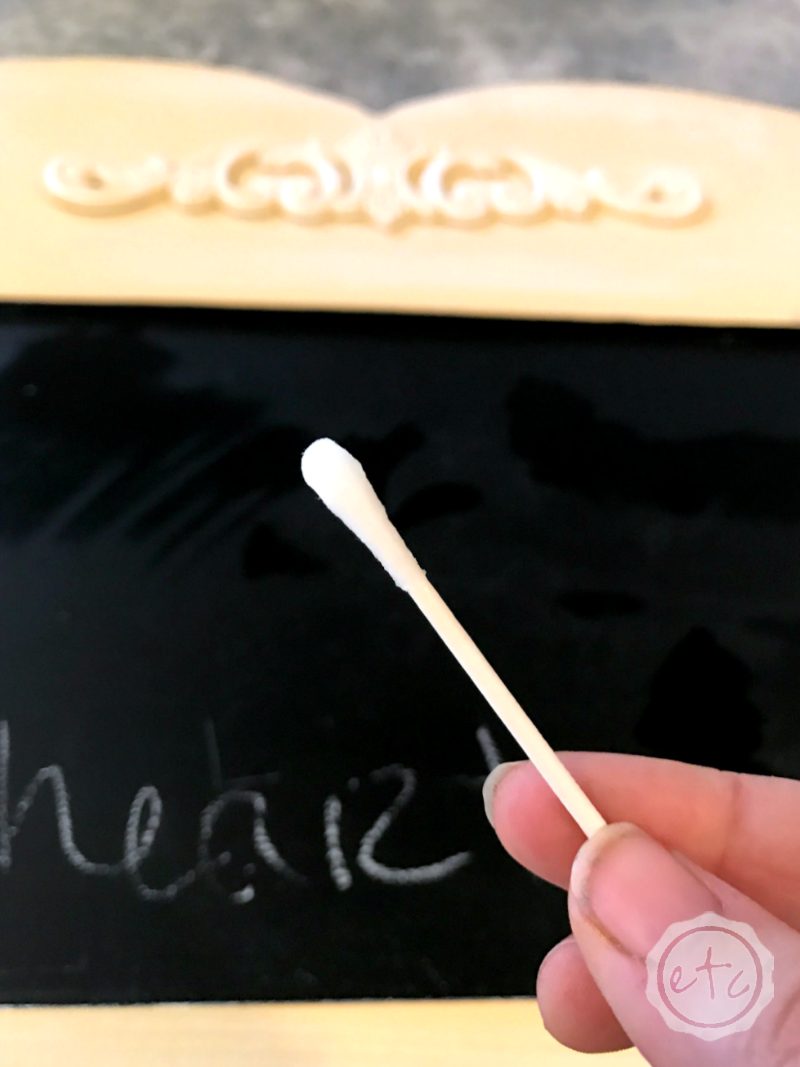
Y’all this is the easiest trick ever. I would feel bad even calling it a tutorial… it’s more like a quick tip! A bit of nail polish on a q-tip will take the old chalk right off your chalkboard! I found that using a liberal amount of nail polish was key for my set on letters.
Just keep scrubbing that old chalk away! Although I use the term scrub loosely because it doesn’t exactly take a bunch of elbow grease to wipe these letters away.
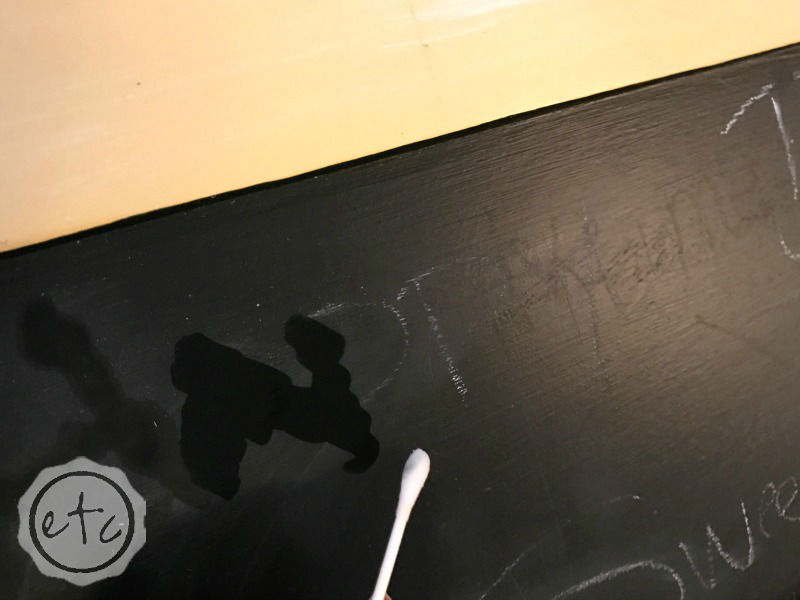
Just take a look at how clean that board looks! Once the nail polish remover dries it will take on that dusty chalkboard look again so don’t worry that it will be too clean for the rest of the board.
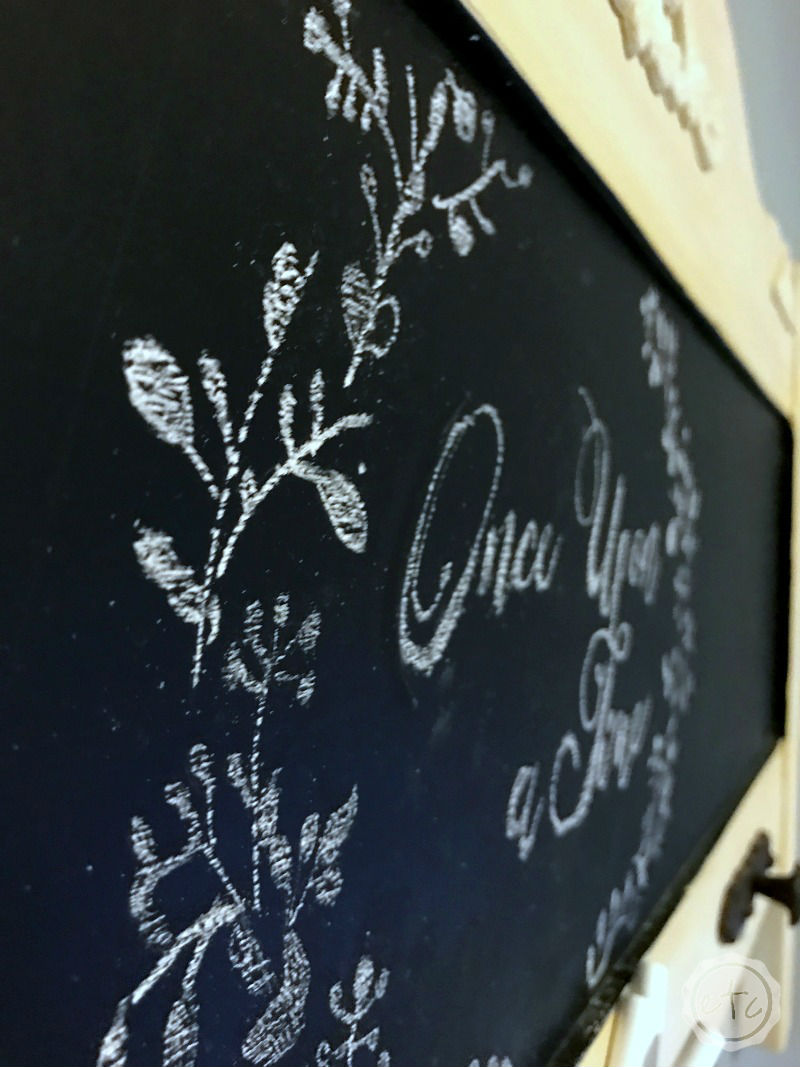
Depending on how old your letters are you may need to make more than one pass… my little board took two passes with the nail polish remover to come clean! Then it was on to adding a bit of new art.

This whole process makes me want to learn how to hand letter so I can change out the artwork on this baby every so often. Until then I’ll just admire my clean, pretty, refreshed chalkboard!
I mean just take a look!
P.S. DIY Pet Bowl Stand (and Storage) Using an Antique Box, One Easy Tip for Perfect Chalkboard Letters Even Non-Crafters Can Master and DIY Lamp Transformation… How to Color Transparent Glass


Hey gurl I love your blog, you are really creative and talented, I look forward to your posts, they always brighten my day!! My favorite posts were the ones with your Q&A with your hubby! I would love to see more of you and your family! Have you ever considered YouTube? Or instagrams stories? Keep crafting gurl!! 🙂 -Brenda
Hey Brenda! You are so sweet!! Your sweet comments mean so much to me. Thanks so much for dropping by, I loved the Man Behind the Blog series… you really never know what is going to come out of that boys mouth! Ever since he got a new job it’s been a little hard to get him to sit down and answer questions, I’ll have to track him down!