


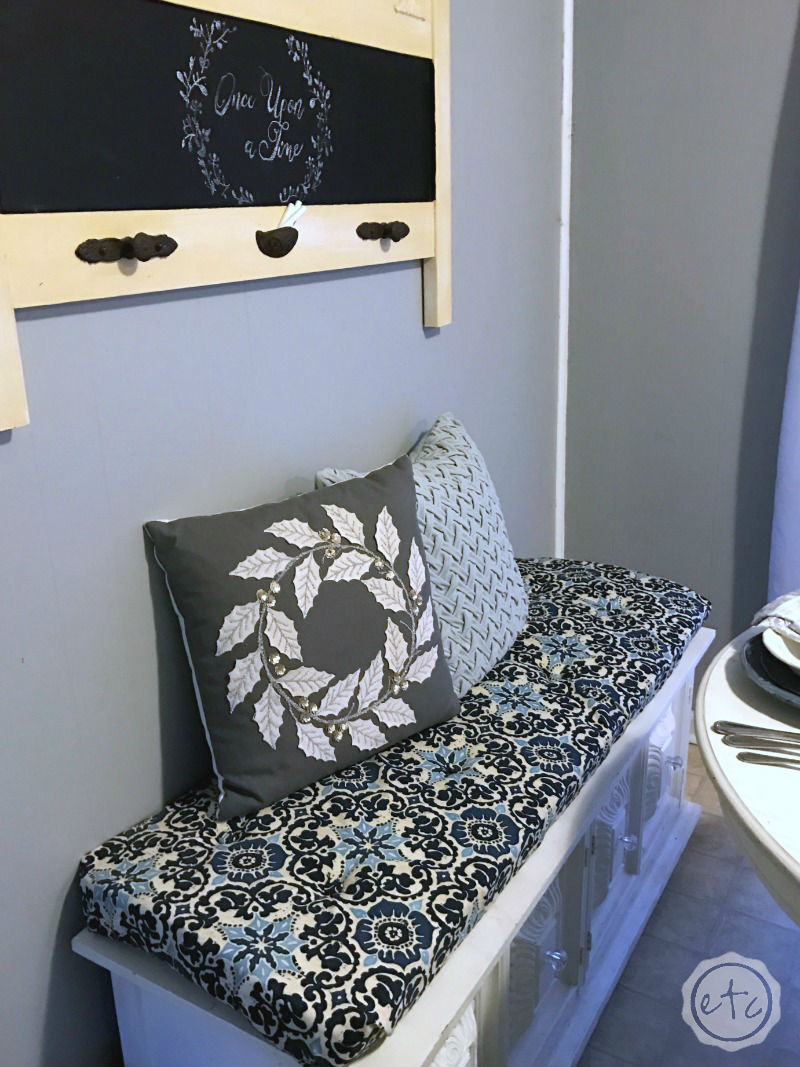
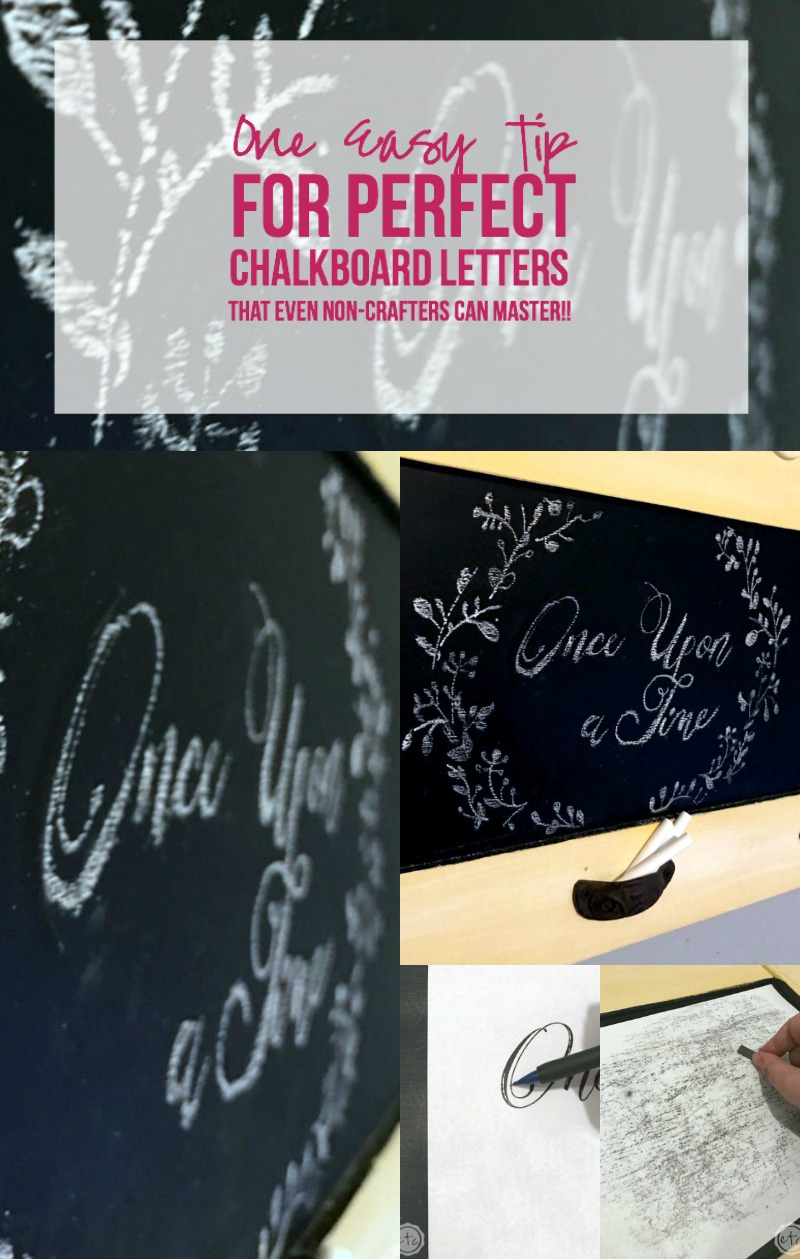
In the midst of our entire kitchen makeover I had a million big projects to finish but at the end of the day it came down to one tiny little project. Putting a bit of beautiful hand lettering on the chalkboard my hubby gave me for my birthday last year! Unfortunately I’m not the best with a piece of chalk… some ladies can free hand beautiful letters and intricate designs but my chalk looks like it was welded by a five year old. Which is why I learned one easy tip for perfect chalkboard letters!
It’s so easy, so simple, you’ll wonder why you’ve never tried it before… and the best part? I’ve included a free print file for you to try your hand at replicating the exact chalk design I used! Still not sure? I’ve included a printable for those of you who just want to print this baby out!
Looking for a bunch of posts on DIY & Crafts? I’ve got you covered!
Click here to see all of my how to DIY & Craft posts in one place!
Supplies:
Printer
Printer Paper (If your chalkboard is smaller than a piece of printer paper you’re probably fine but my chalkboard is pretty big so I needed 11 x 14)
Graphite Sticks
Scotch Tape
Mechanical Pencil
Chalk!
Rubbing Alcohol
Q-Tips
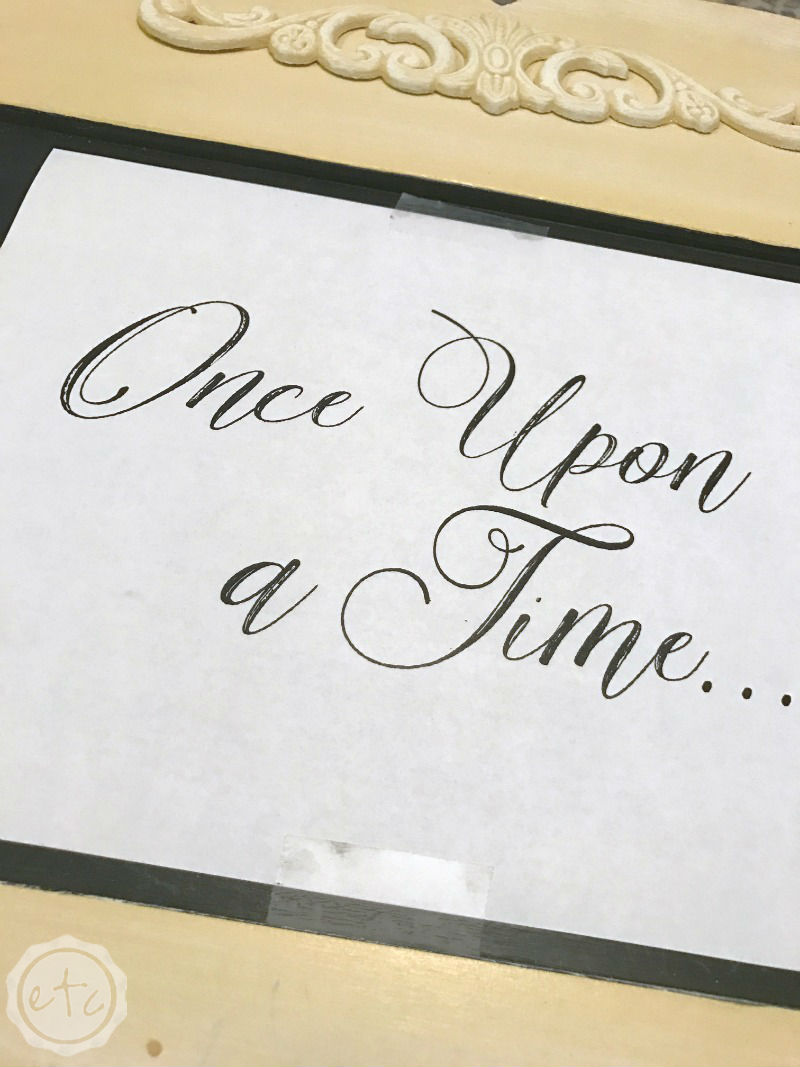
Step 1: Print the Design
My chalkboard is kind of a weird shape so the first part of my plan was deciding exactly how much surface area I wanted to cover with design! I went with a circular design that would go off the chalkboard. Once the design was locked down I loved on to the first step: printing the design.

Step 2: Cover with Graphite
Once your design is printed it’s on to the transfer… which involves the graphite! Flip your design over and rub the graphite alllllll over the back of the paper. It doesn’t have to be pretty or even but you want most of the design to be covered with graphite.
Step 3: Tape your Design Down
Now this one is super simple… flip the paper back over so the design is face up and tape it in place! It doesn’t have to be super secure but if your design is fairly intricate (like mine is) you’ll be working on it for a minute so the tape will help the design not to move.
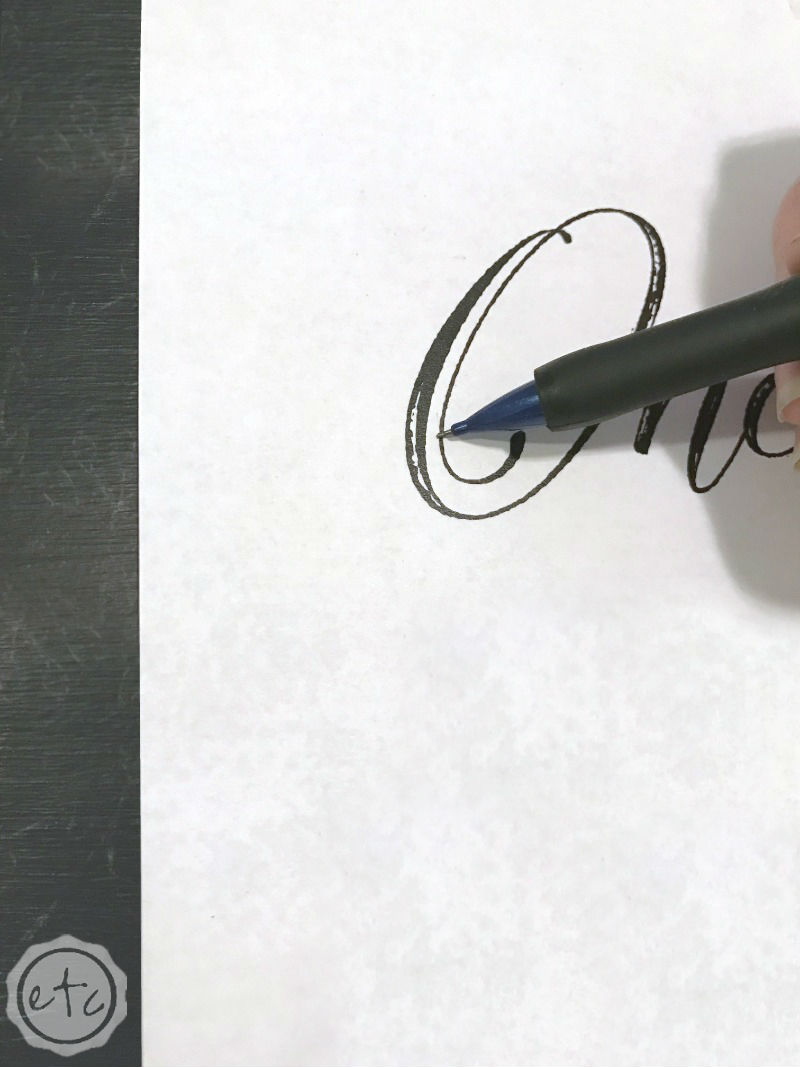
Step 4: Trace your Design
Now it’s time to trace your design… using your mechanical pencil go ahead and trace each part of your design. You’re basically drawing your design onto the chalkboard. The mechanical pencil will push the graphite down onto the chalkboard and give you a graphite drawing to later trace with chalk.
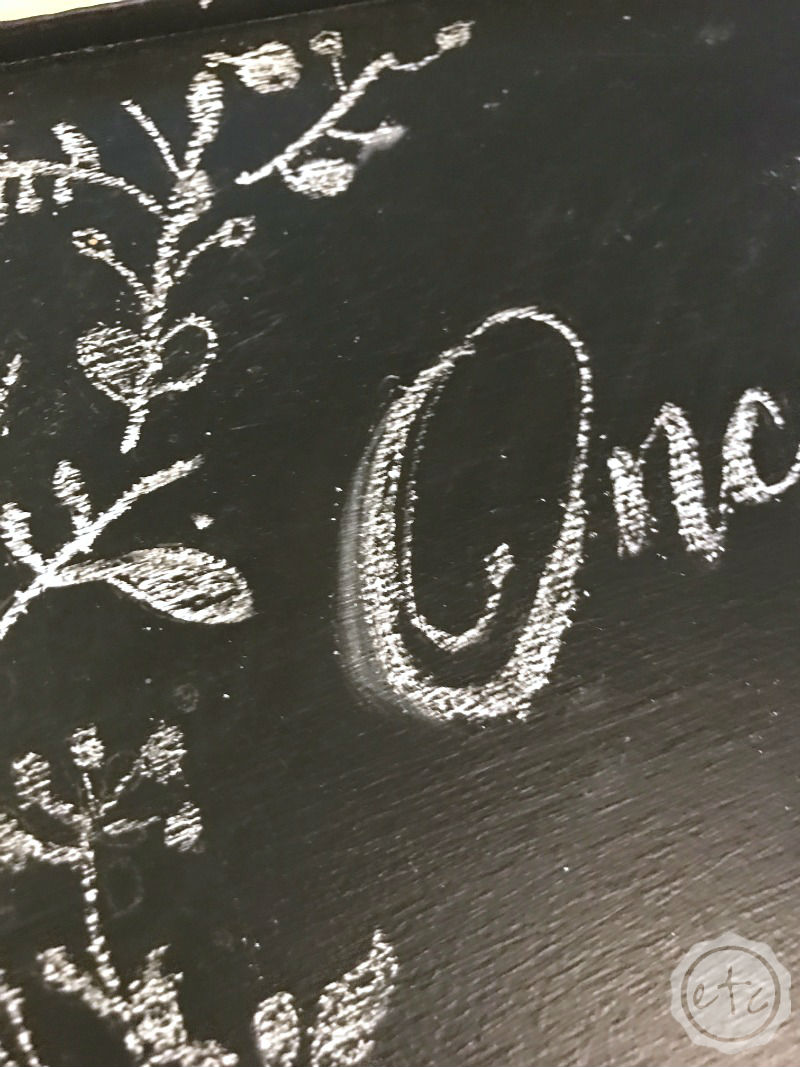
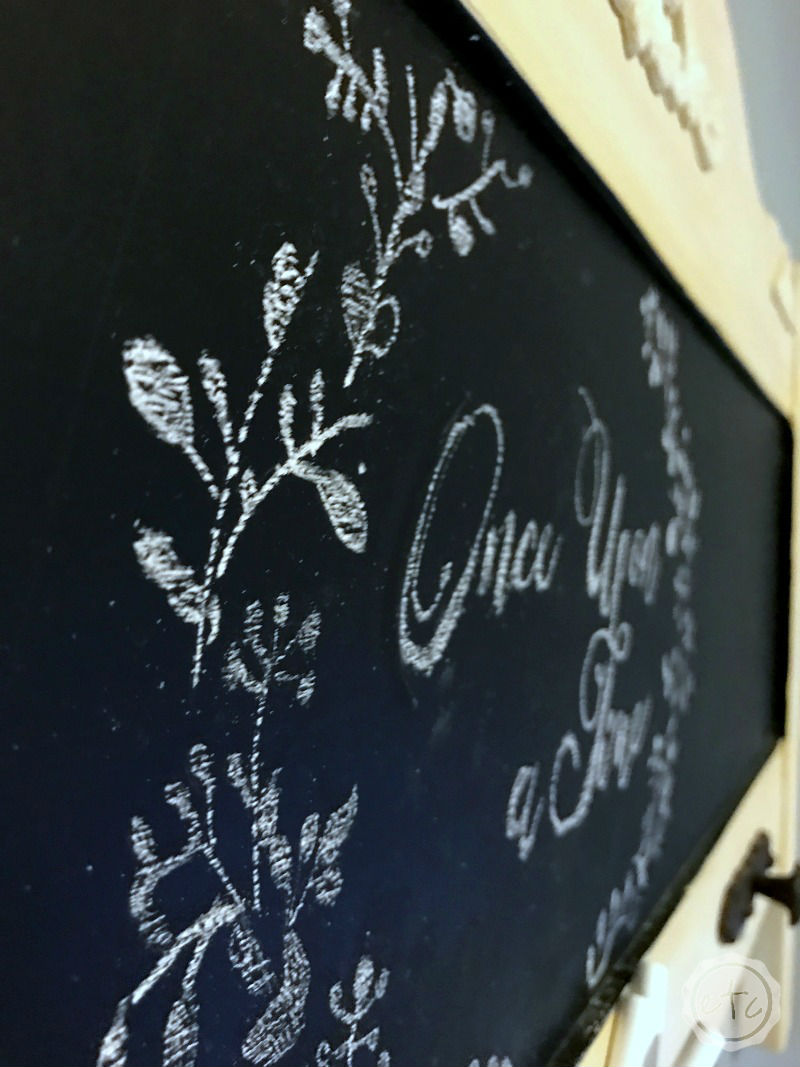
Step 5: Trace with Chalk!
You saw that coming didn’t you? Once the entire design is traced with the graphite/mechanical pencil design remove your paper design and put it aside. Now go over the graphite design with your chalk!
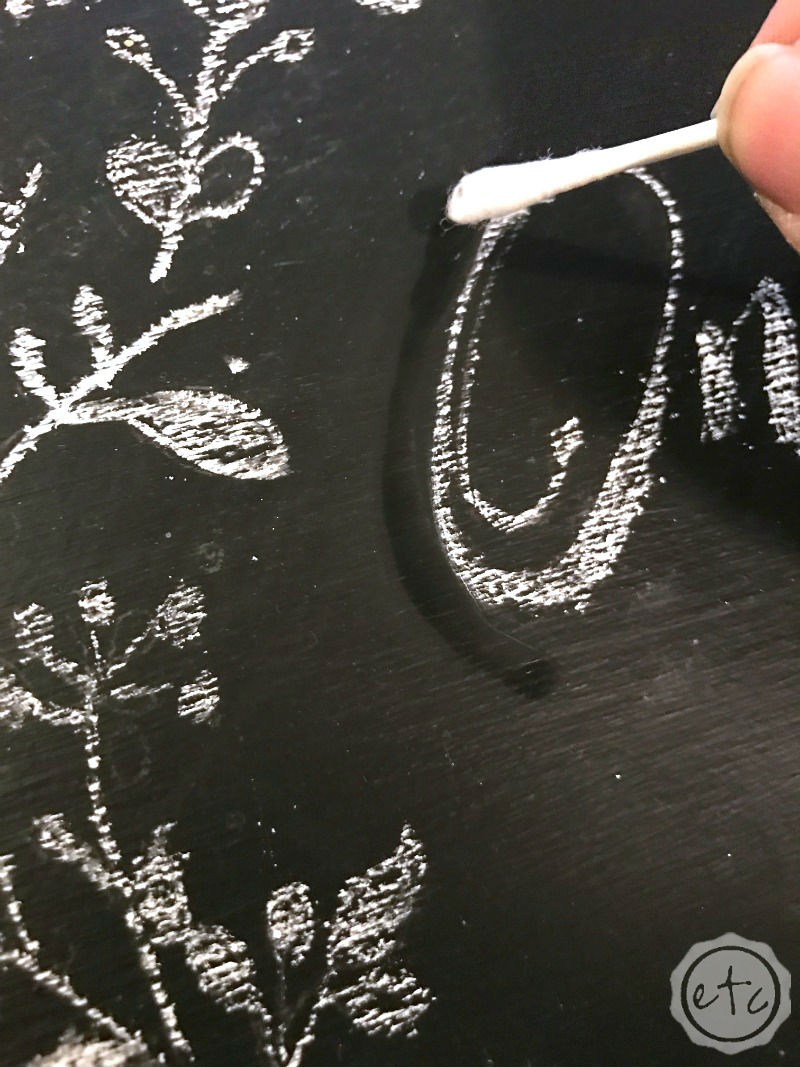
Step 6: Clean Up the Design
We’re on the last step already! See how easy this is? It’s basically all tracing… which is super simple! Now all that’s left is cleaning up the design… take a q-tip with a bit of rubbing alcohol and clean up any stray chalk. The rubbing alcohol will evaporate leaving only the chalk.
Genius!
Now all that’s left is to enjoy your pretty chalkboard lettering!


If you’re ready to grab a piece of chalk and try your own hand I’ve included the files for this design (along with a copy of the free printable) below. Feel free to use whatever combination you like!


[…] not great at hand-lettering but I wanted a beautiful design for my chalkboard so I came up with an easy chalkboard lettering trick… but first I need an easy tip for cleaning old chalk off a […]