


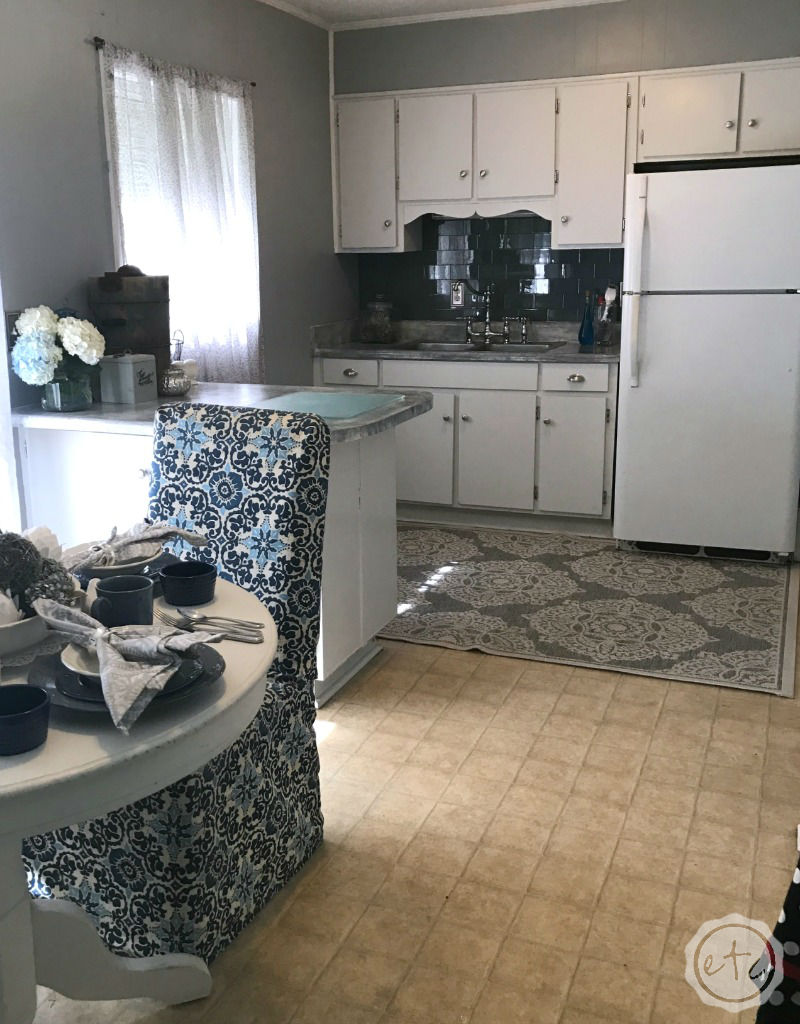
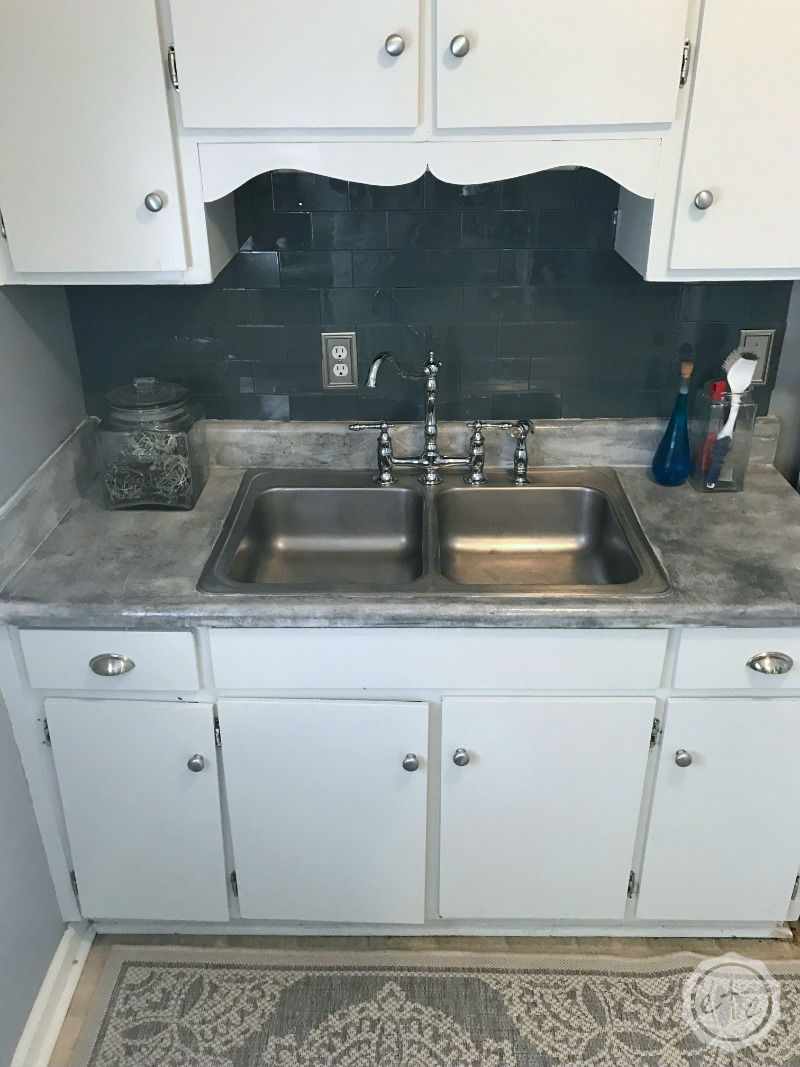
When we were planning our kitchen makeover most of the steps fell into place soooo easily… painting the cabinets, adding a gorgeous glass backsplash… especially my new chrome faucet. The one thing I couldn’t decide on was what to do with our hideous red counters!
I thought about replacing them but we weren’t quite ready for that large of a step… so we decided to go another route. We set out to do a fun little project… and now I’m here to share it with you! A fun, easy tutorial to paint kitchen counters to look like stone.
Looking for a bunch of posts on painting? I’ve got you covered!
Click here to see all of my helpful paint posts in one place!
Supplies:
Bonding Primer
White Chalk Paint
Chip Brush
Hard Plastic Scraper (or old credit card, library card, hard item)
Grey Liquid Wax
Optional: Black Liquid Wax
Clear Glaze
Applicator Sponge
Cotton Rag
Soft Round Brush
Spray Bottle
Water
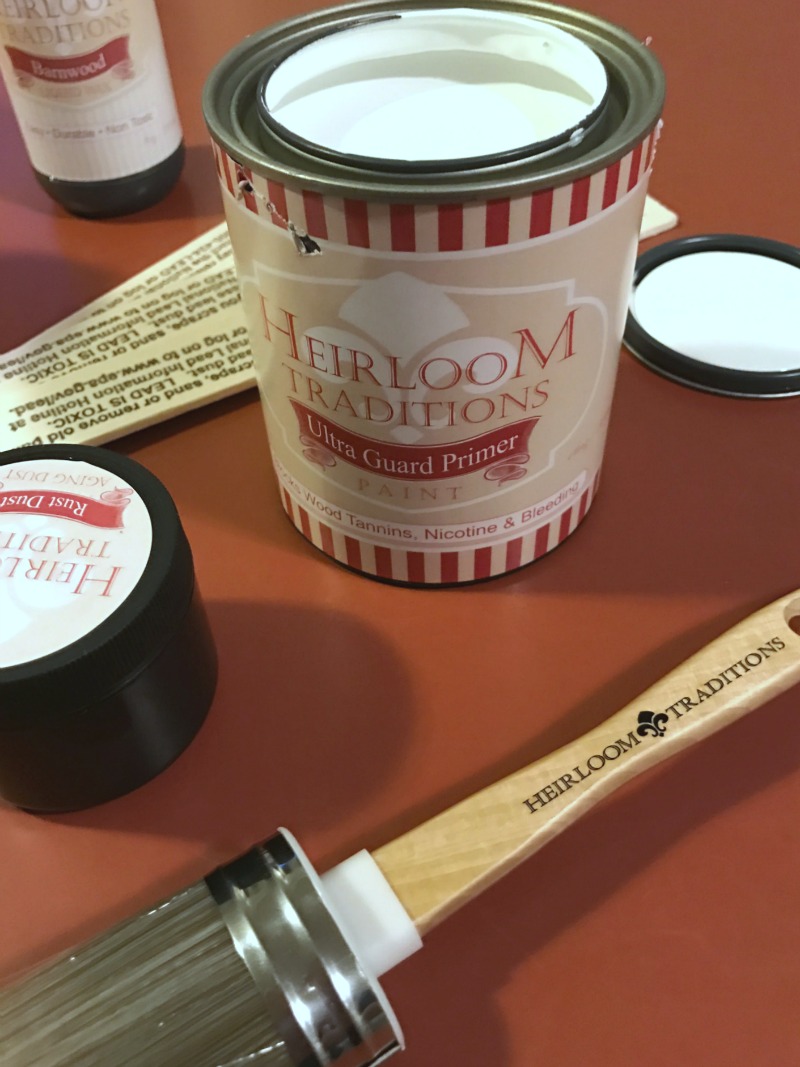
Or just get the entire countertop kit from Heirloom Traditions… Mom actually won this one for me which is kind of a-m-azing! I loved it but I had to supplement a bit… I didn’t have enough primer or paint to cover all of my counters. The kit would be enough for a smaller space though!

Psst… check out how our painted countertops are holding up a year later!
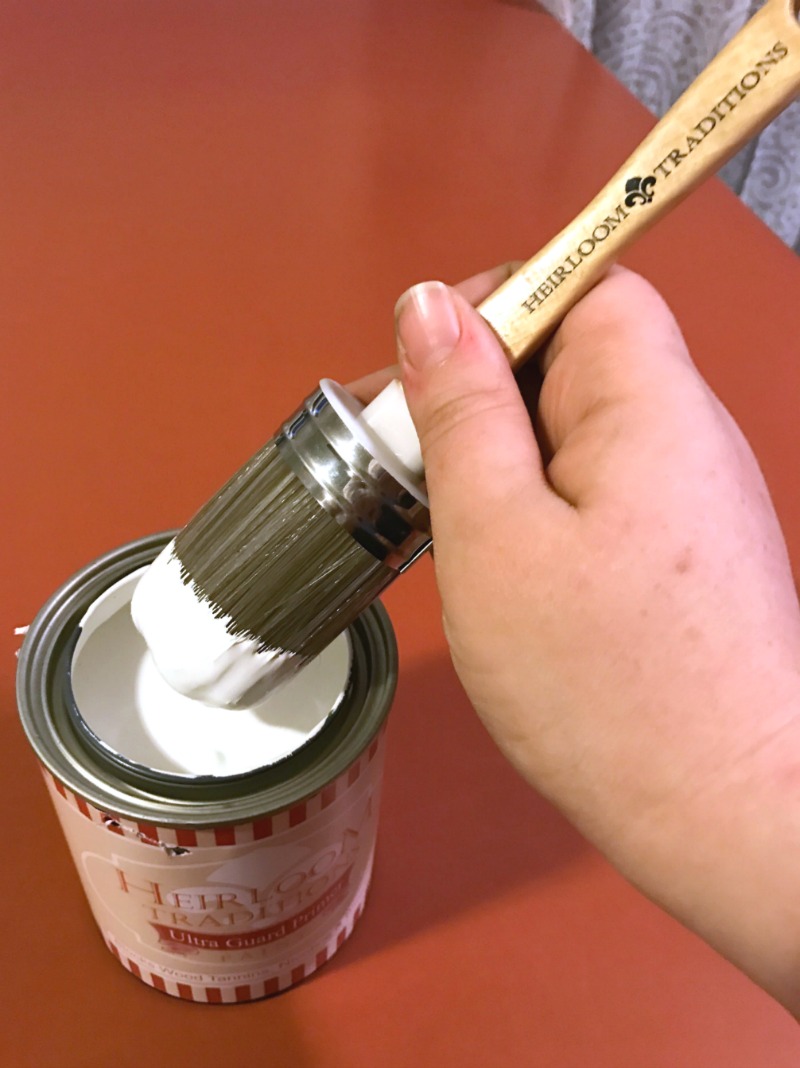
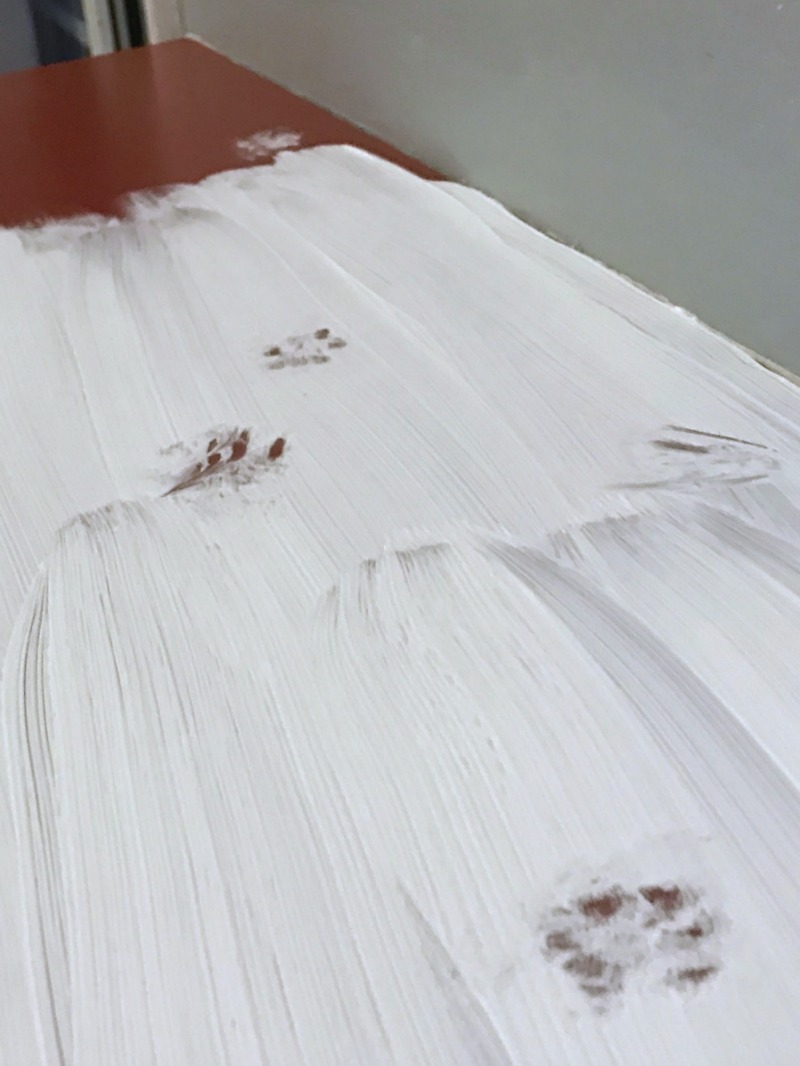
Step 1: Apply Primer
The first step is to put your primer on the counter… this isn’t a normal piece where you need to worry about brush strokes and keeping your primer even. We’re going to build texture soon so at this point it’s really just about covering the surface so that your finish will bond.
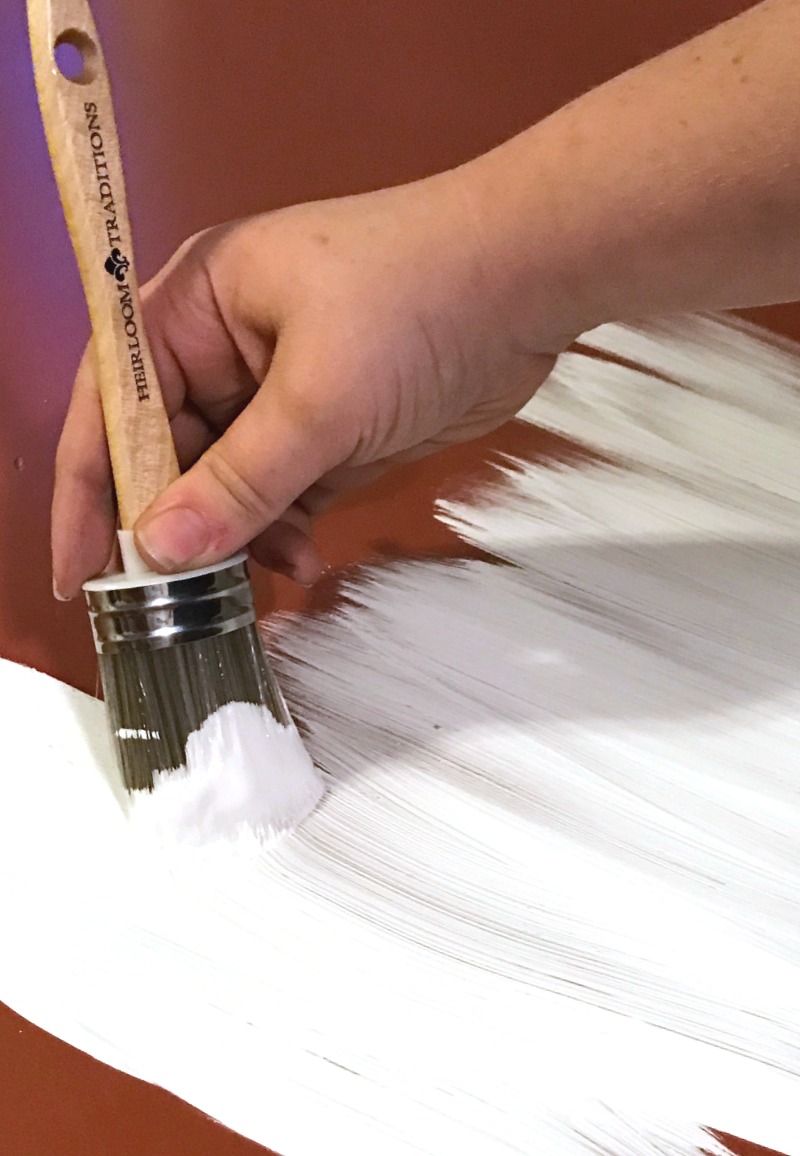
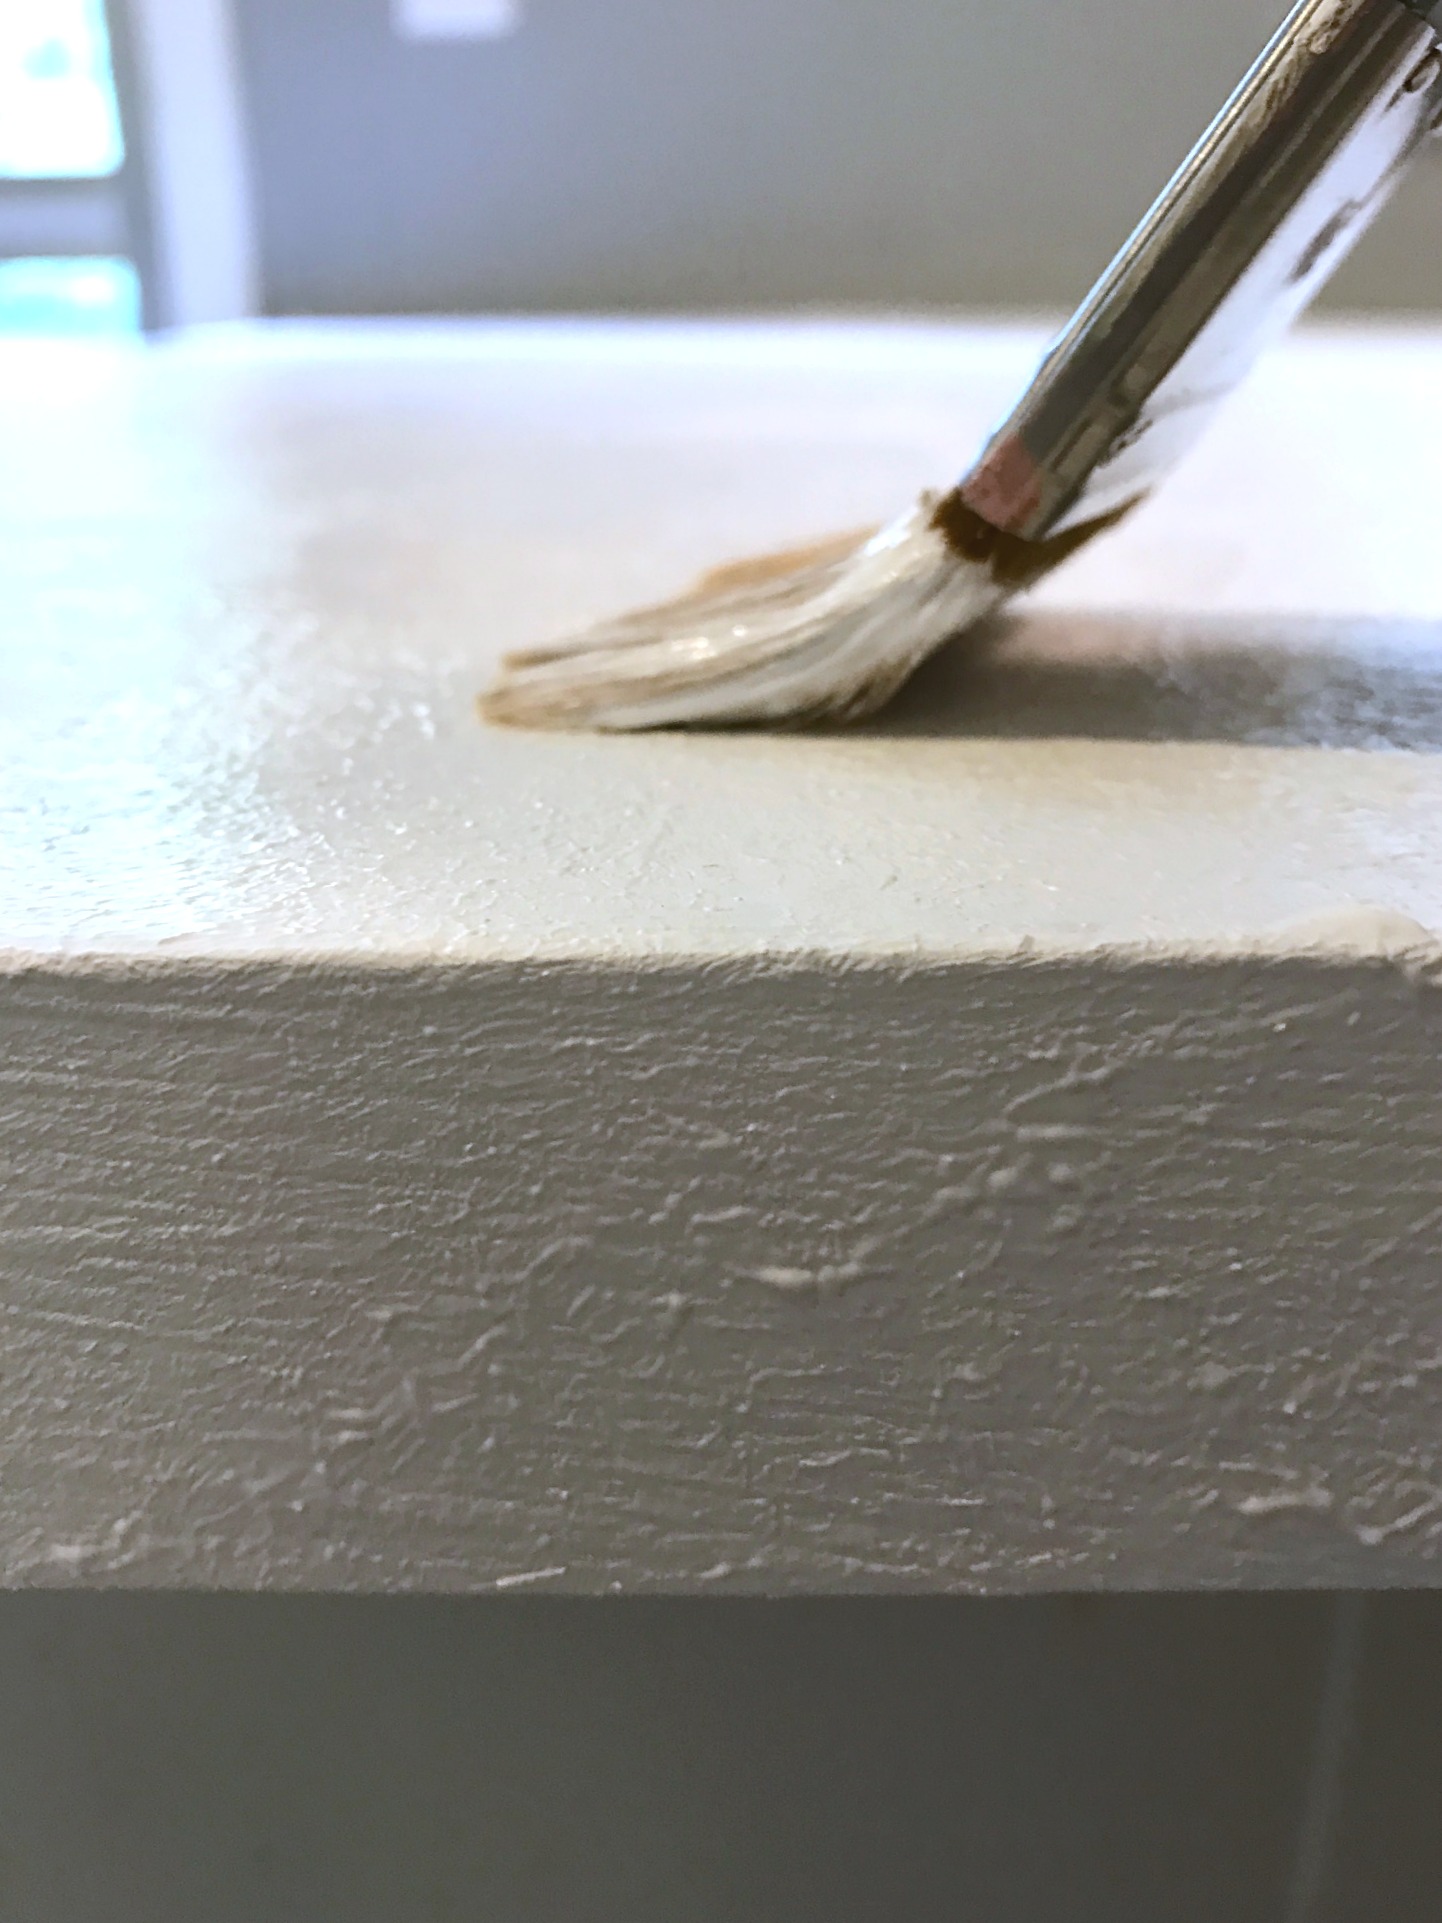
Step 2: Add paint over your primer!
Make sure to add it extra thick so that you can create the texture that will make our faux stone look real. Don’t worry about brush strokes or keeping it even just make sure everything has excellent coverage. I started with the paint in my heirloom traditions kit but when I ran out I supplemented white chalk paint and it worked just fine!
Hot Tip: Lock the cats in the other room! Trust me you’ll be glad you did.

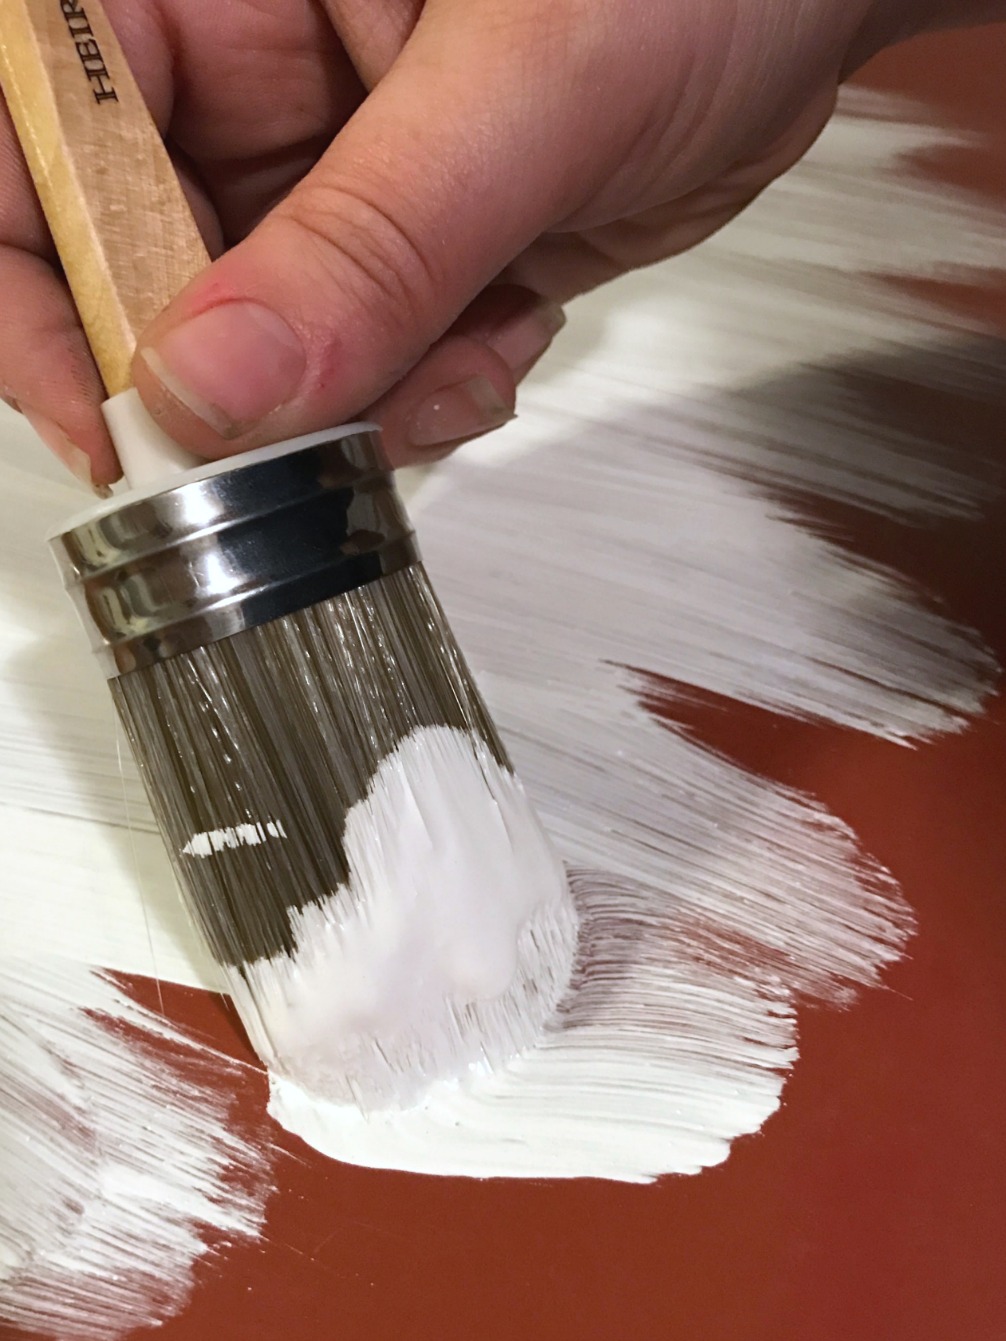
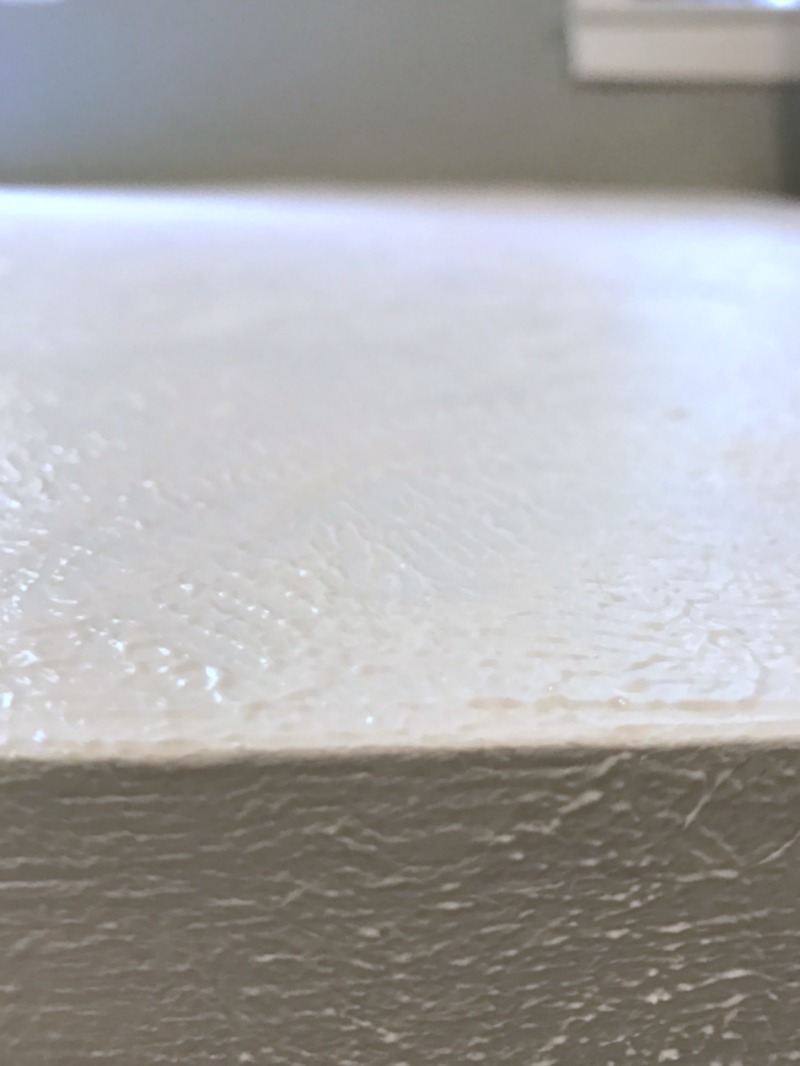
Step 3: Add Texture!
Now it’s time to add texture… after you’ve put on your coat of paint you’ll move directly into adding texture. The paint needs to be wet so don’t wait until after it dries!
This part is super easy… take a chip brush and dab, dab, dab, allllll over. Use the side or the bristle tips. I found that in order to get a good variation of texture I needed to use both methods. Try to make the texture as random as possible and when in doubt keep moving!
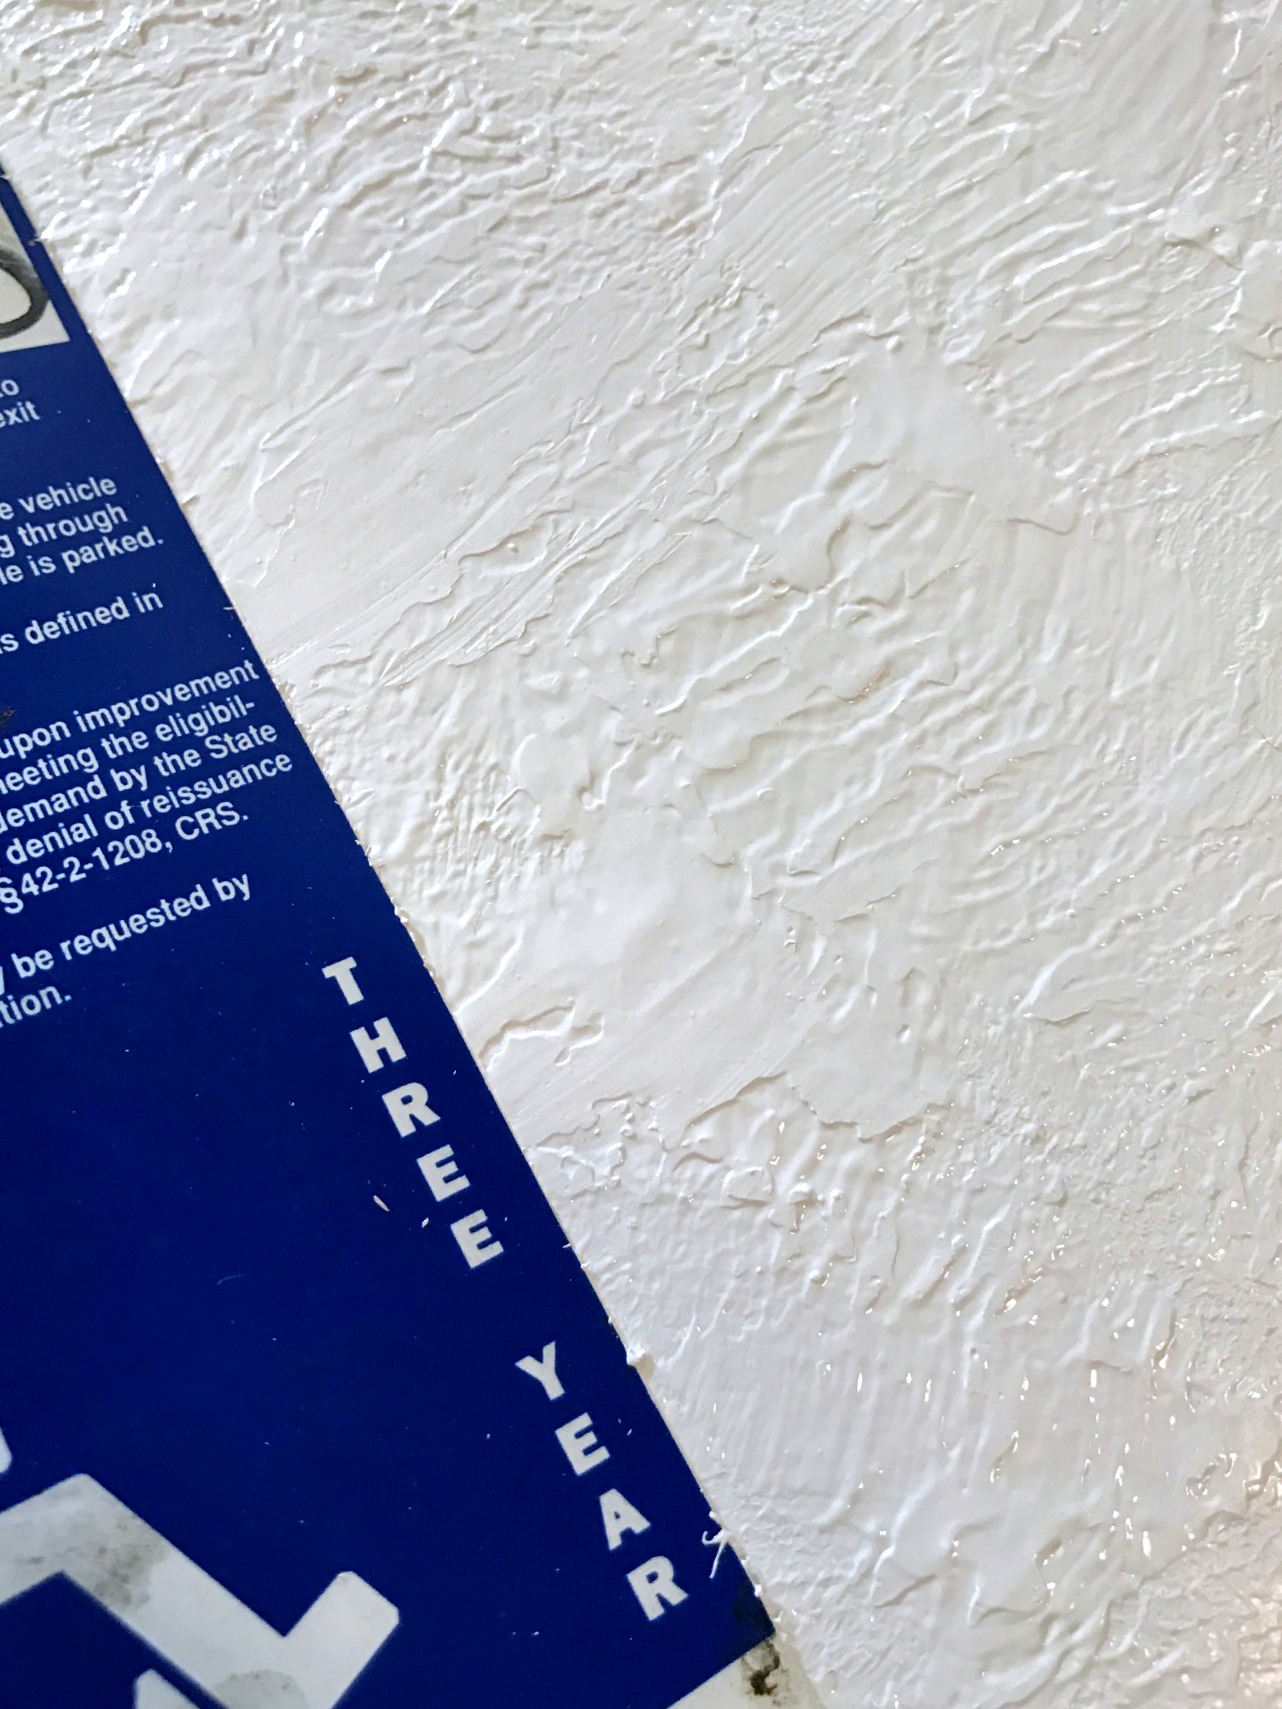
Step 4: Knock the Texture Down
After you’ve added your texture wait about 20 minutes… you want your paint to be almost dry but not all the way dry. It will be at that in between wet and dry tacky feeling. In order to knock down your texture take your scraping tool, old credit card, moms old handicap card… whatever you have on hand to take your texture from sharp and pointy to all one layer.
You’ll know that your paint is ready for this step when you drag your hard plastic scraper across the top and instead of leveling the surface it simply flattens the top. You still want a change in depth between the top layer and the bottom but this step should make that difference minimal.
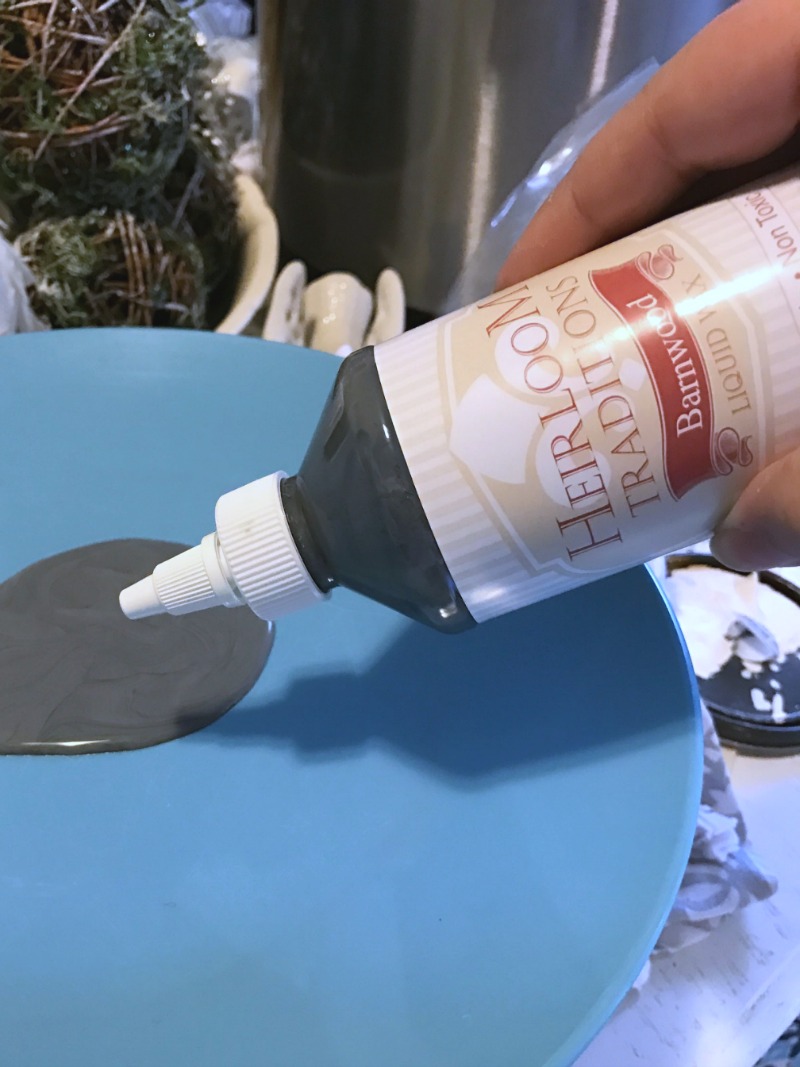
Step 5: Add Liquid Wax
Now it’s time to add your color! Use a paper plate (or an old plastic plate that your husband stepped on and broke) to pour a liberal amount of gray wax. This stuff is amazing. It seemed like I used sooo much wax but I still have enough for three or four more counters left in my bottle. Go figure.
Now take your sponge applicator and spread the wax allll over. Don’t worry about keeping it even or creating texture at this point… simply spread the wax throughout the countertop.


Step 6: Spread out the Wax
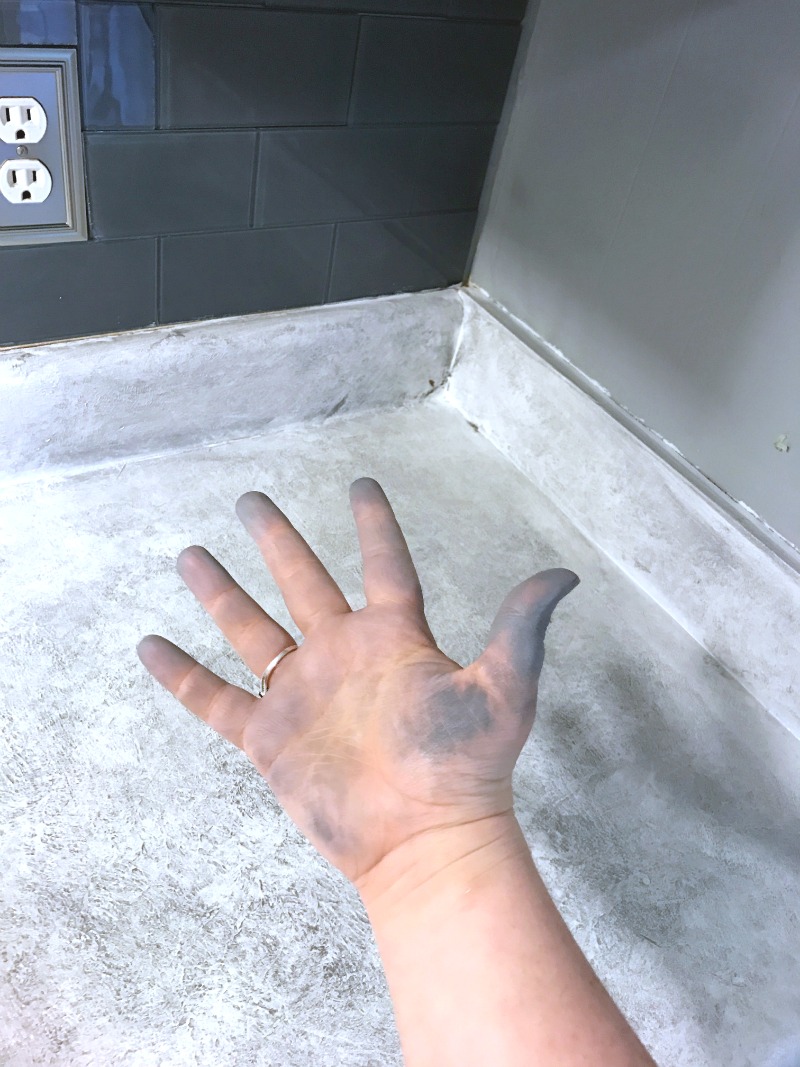
Once you’ve spread out the wax take a cotton cloth (any rag would do really… old t-shirt anyone? Just make sure it’s clean!) and dab, dab, dab to spread out the texture. This will help to make the wax look more realistic and natural.
Make sure to vary the wax with highs and lows… you don’t want a consistent color throughout. This part is fun but it will get messy so wear gloves if you don’t want to get waxy! It washes right off though so I didn’t worry.

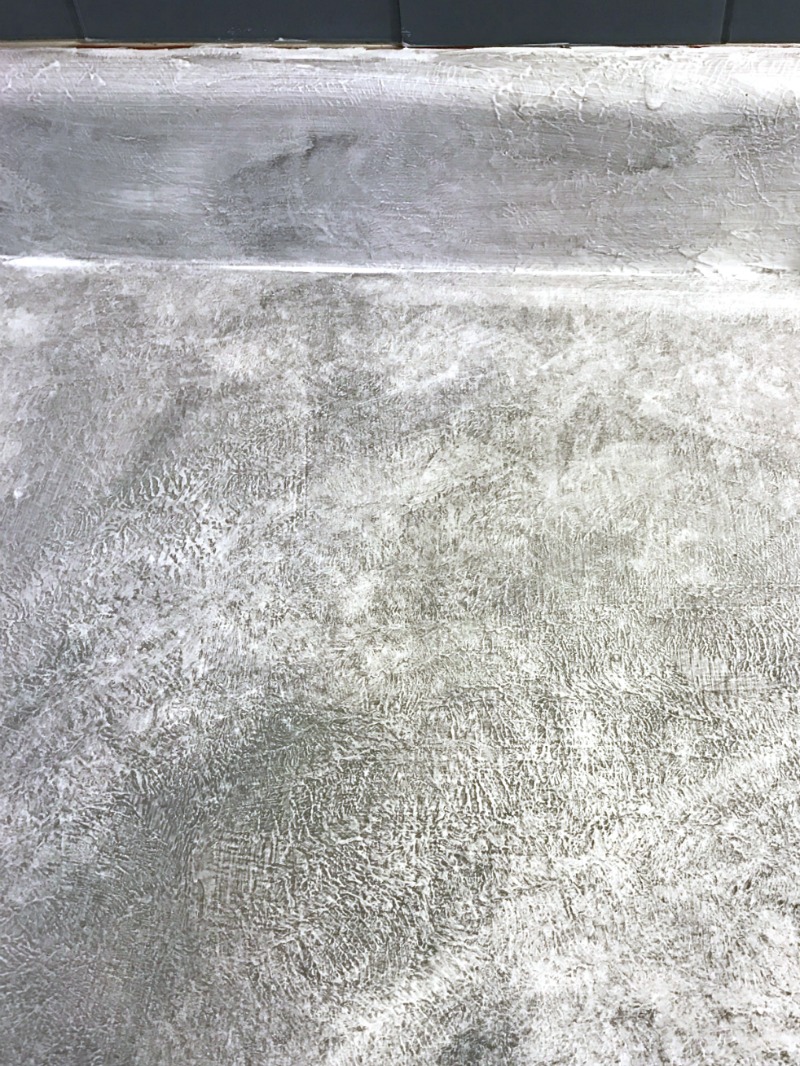
Step 7: Spray Droplets onto the Counter
Take your spray bottle and spritz droplets of water onto the counter… they’ll break down the wax a bit and help it to look a bit more natural. Once it’s sat for a couple of seconds take your cloth and dab, dab, dab!
Do you remember in Mama Mia when she sings the song about reading her Mama’s diary and keeps singing dot, dot, dot? I feel like we’re doing the same thing with dab, dab, dab! I cannot stop laughing!
Optional Step 8: Add a bit of Black Wax
If you love your counter as it is (like I did) then leave it alone and move on to the glaze… if you want a bit more depth use the black glaze to add even more dimension. Simply add drops here and there and then dab, dab, dab!
Step 9: Add Glaze
The counter-top kit I used came with a clear glaze to protect the counter once it’s done. The main trick here is to wait until your wax is completely dry. I learned this the hard way… if you try to put the clear on while the wax is still wet the glaze will take the wax finish off and you’ll have to start over.
It sucks.
I let mine dry over night the second time and it was ready to go the next day. Once you’re ready to put your glaze on put it on thick. Suuuuuer thick. Then level it out!
The instructions say to use the sponge applicator to level out the thick glaze but that didn’t work well for me… I used the soft brush and it worked much better! I added four layers over two days so that my counter would be super protected. Make sure that your glaze is extra thick around your sink and stove… the high traffic areas.
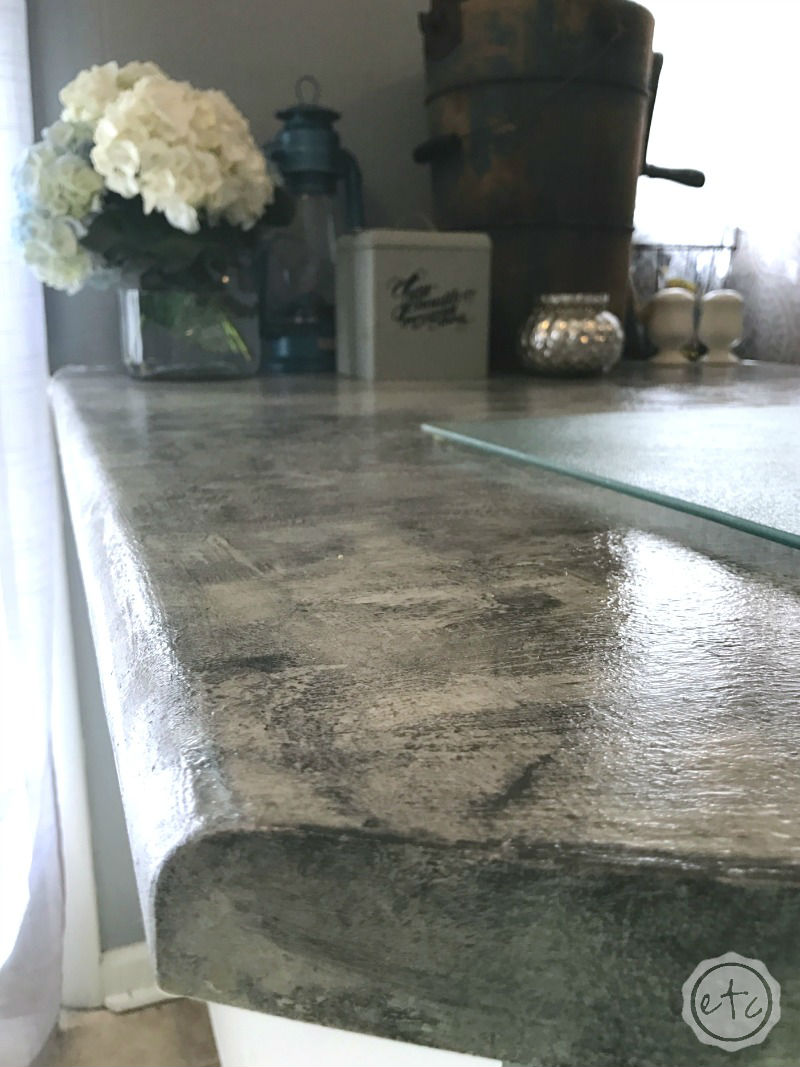
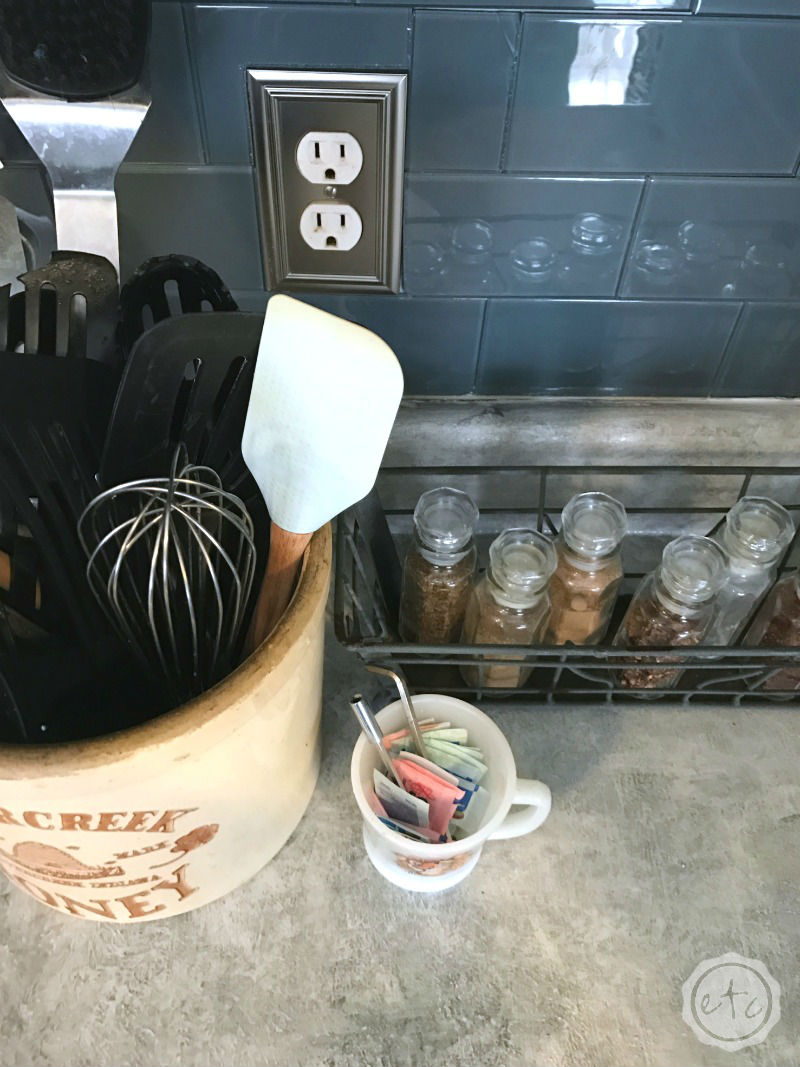
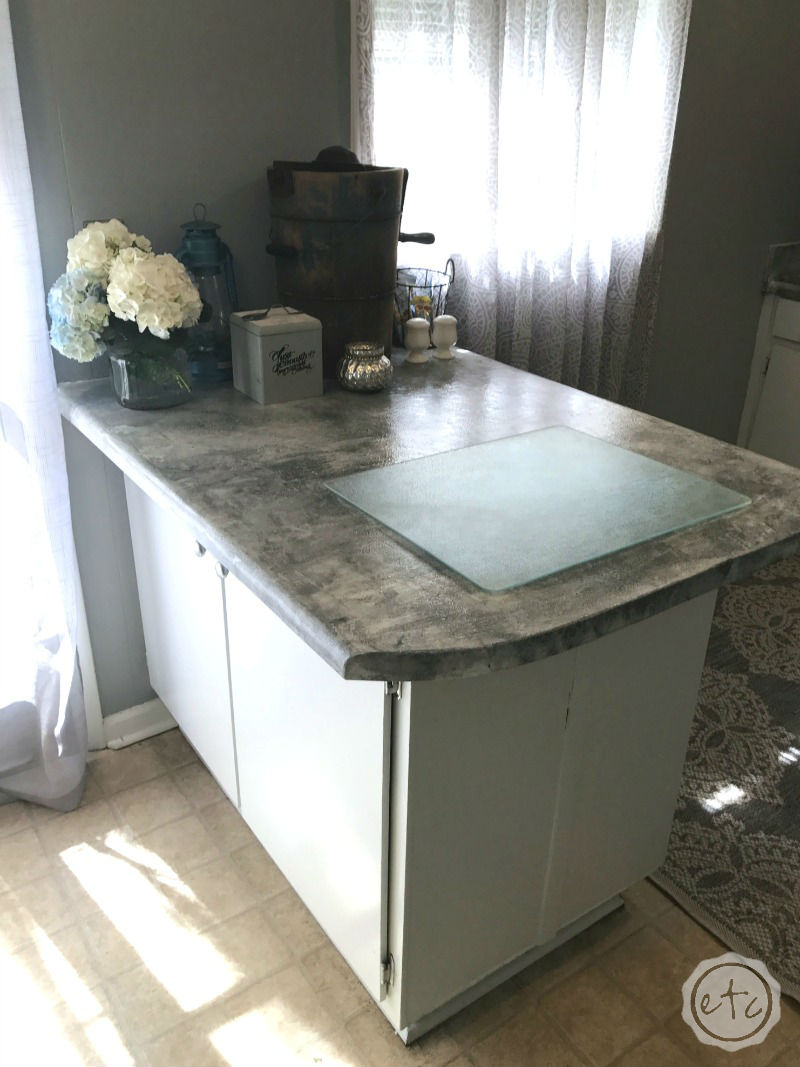
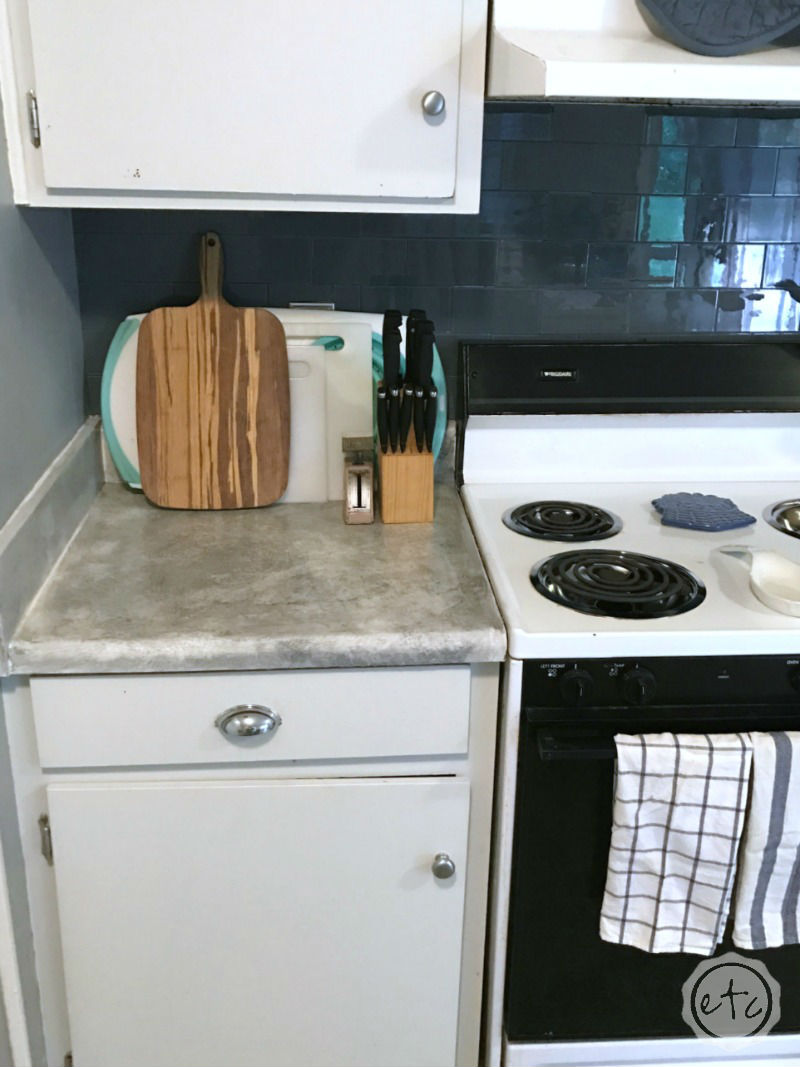
Once it’s dry it’s time to enjoy!
P.S. DIY Pet Bowl Stand (and Storage) Using an Antique Box and DIY Lamp Transformation… How to Color Transparent Glass


What a cool idea! I just did a DIY concrete countertop in my kitchen which has a similar effect.
We are purchasing a house from the 60s with original builder-basic white laminate countertops and I’m wondering if underneath ours will be the same. Do you know if most plain white, basic grade laminate countertops are like this? Such a good accident-idea! Lol. Black soapstone would just look so good in our house too. Thank you for putting this up!
Hey Betsy,
What an awesome and fun DIY project 🙂 Loved it.
It really a nice and a cheap way to give a new fresh look to your old and tired kitchen … without actually having to change the whole thing.
I’ll have to try it sometime soon. Thanks for sharing!