• House Tour
    • Reveals
  • About
    • Smith Life
    • Disclosure and Privacy Policy
      • Terms and Conditions
      • Store Affiliates
  • Contact Me
    • Want a Button?
  • Shop
    • Floral Printable Planners
    • Paint eBooks and Packages
    • Wedding Binders & Extra Printables!
    • Planner Bundles
    • Planner Accessories
    • Home Decor Printables!
  • Cart
    • Bloglovin
    • Facebook
    • Instagram
    • Pinterest
    • Twitter
    • YouTube

Happily Ever After, Etc.

Creating Our Own Fairytale

  • Happily Ever After, Etc.
  • Home
  • Home Decor
    • My Home
    • Paint
    • Before and After
    • Tablescapes
    • Mood Boards
    • Furniture
  • DIY & Crafts
    • New to Cricut – Start Here
    • Cricut Projects
    • Resin
    • Scrapbooking
  • Organization & Planning
    • Cricut
    • Organization
    • Planner
  • Holidays
    • Christmas
    • Halloween
    • Thanksgiving
    • Easter
  • Wedding
    • Cricut Wedding Projects
    • Free Wedding Binder
    • Bride Bag- The Ultimate Wedding Planner

How to Upload Your Own Images to Cricut Design Space

Hey y'all,

I absolutely love my Cricut because of all the things I can make with it… and I don’t even fully know how to use it yet! There are a ton of fonts and images in the Cricut library but as always I have to do everything the hard way.

Of course, I don’t know if it can really be called the hard way if it isn’t hard. The harder way? The not quite as easy way? It’s really just pressing buttons.

I love to upload my own images for fun unique projects and since I included a free png file in my last Cricut post I thought today I’d show you how to upload that png file to Cricut Design Space.

Just in case you want to use it.

Or upload your own file!

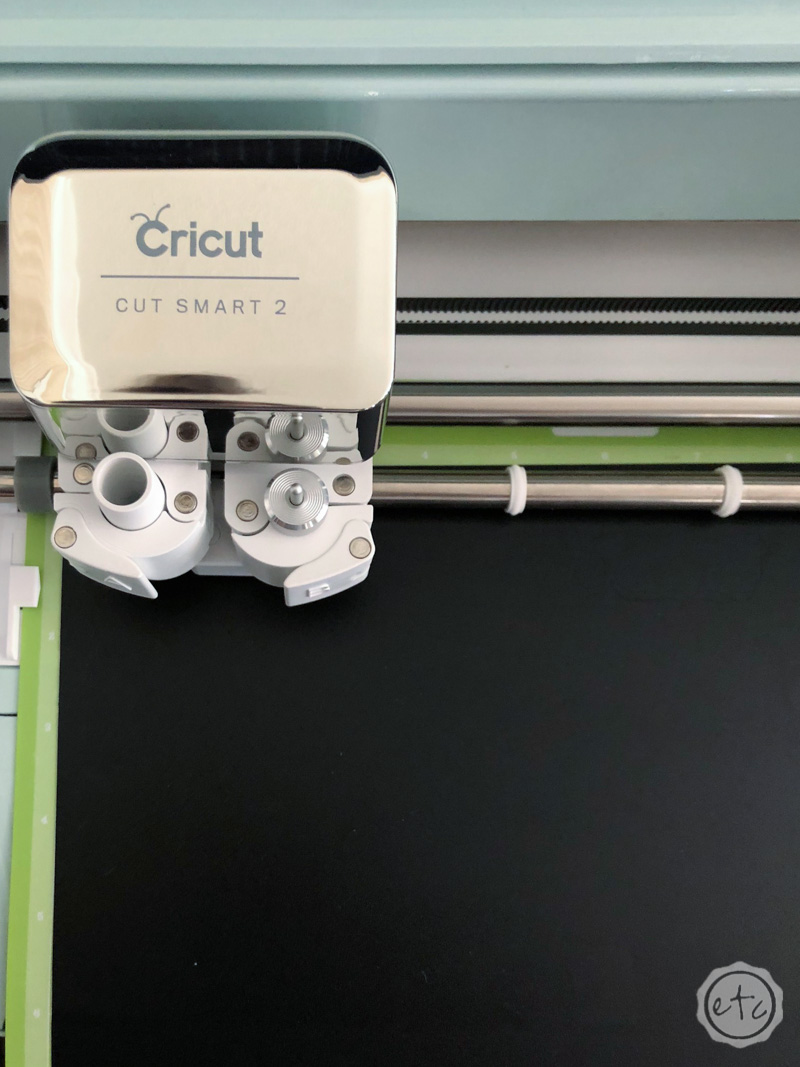
Step 1: Open Cricut Design Space

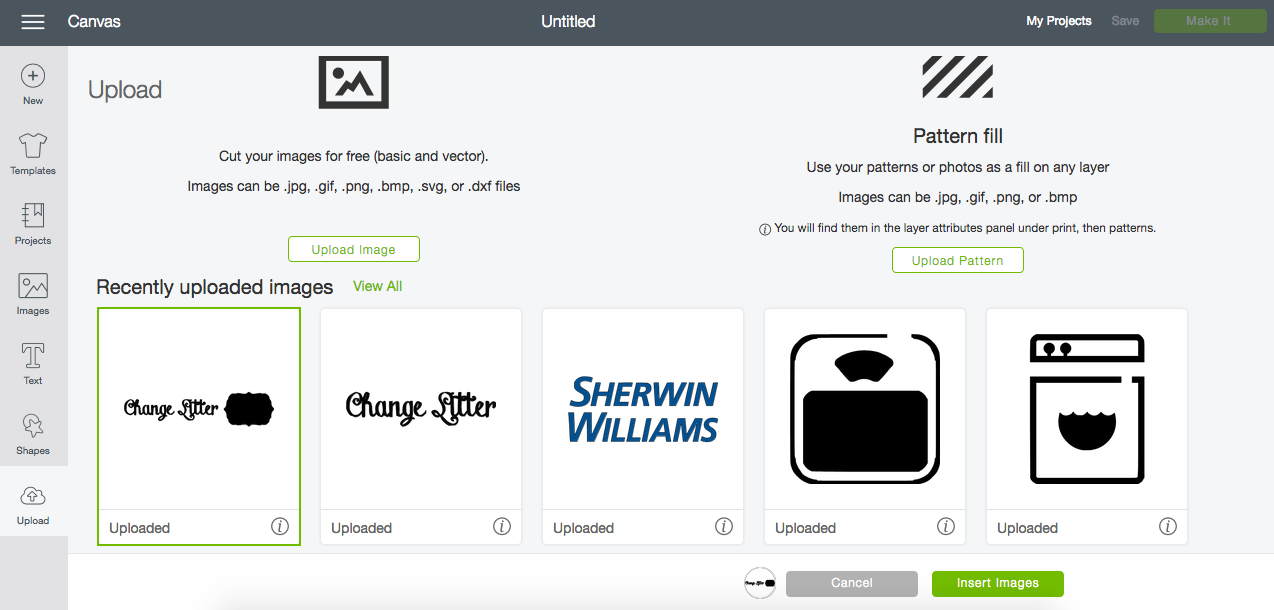
Once you open Cricut Design Space go ahead and start a new project, then select upload on the left. You can upload as many images as you like for free as long as you save your images as JPG, GIF, PNG, BMP, SVG, or DXF files. I typically create my files in Photoshop but PickMonkey or Canva work too.

Need help picking your perfect machine? I’ve got you covered!


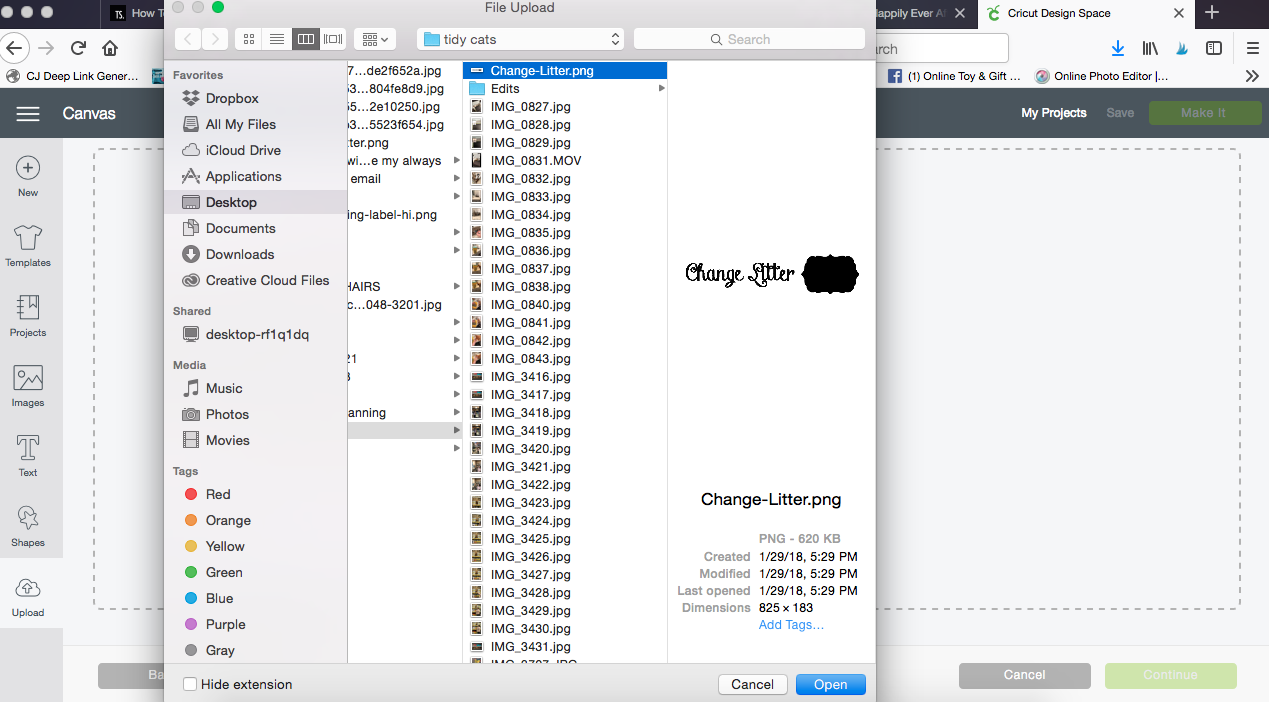
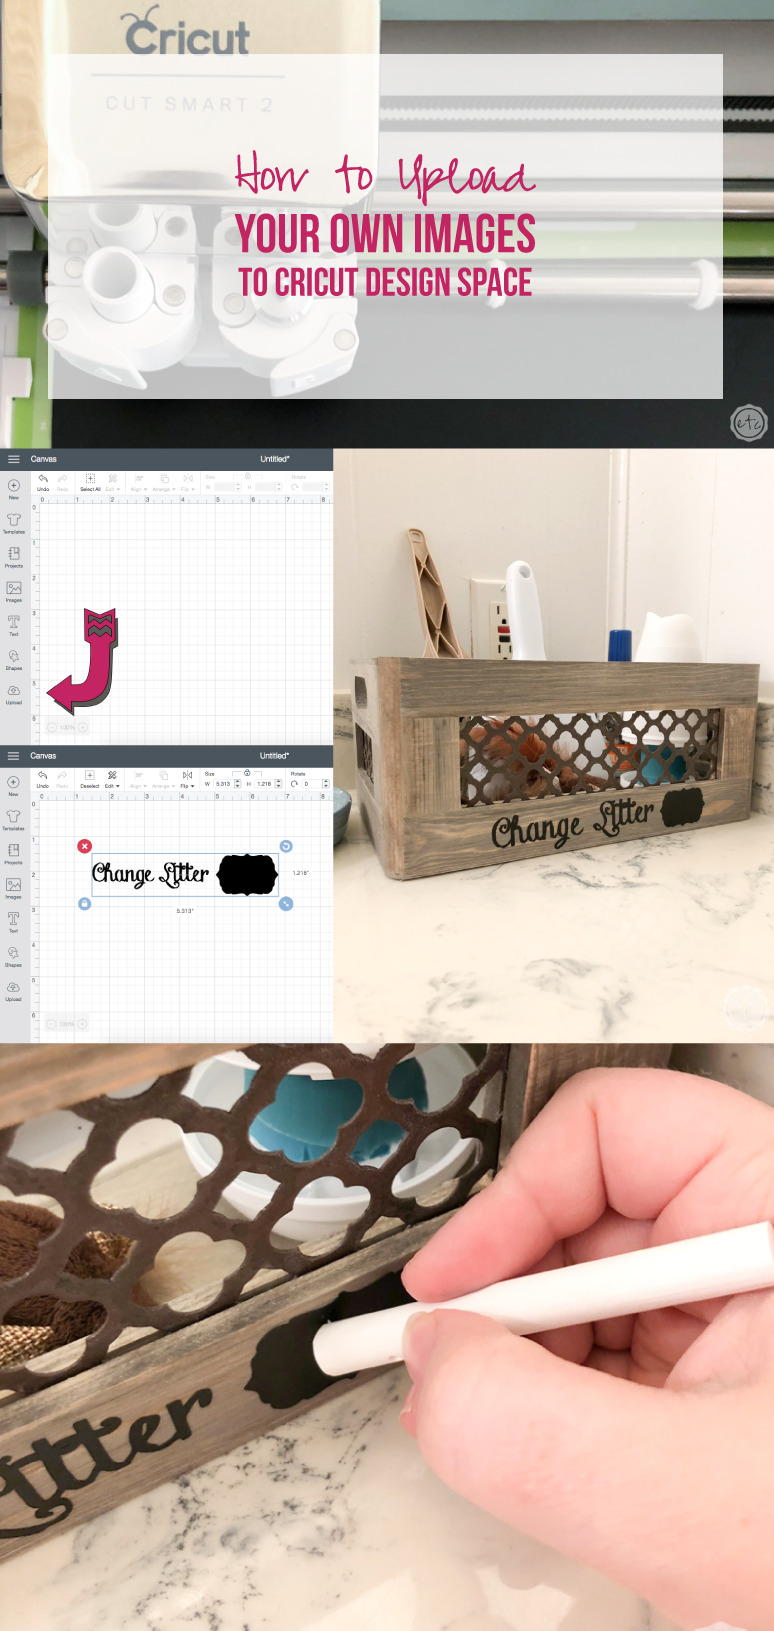
Step 2: Pick Your Image

Now that you’ve picked your file to upload it’s an easy click to pick how you want to upload it. There are three options although the Complex option typically gives the cleanest edges and sharpest image. I always upload my files as a .png so that the backgrounds are transparent however if you upload a .jpg there will be an option to take the white background out in the next step.

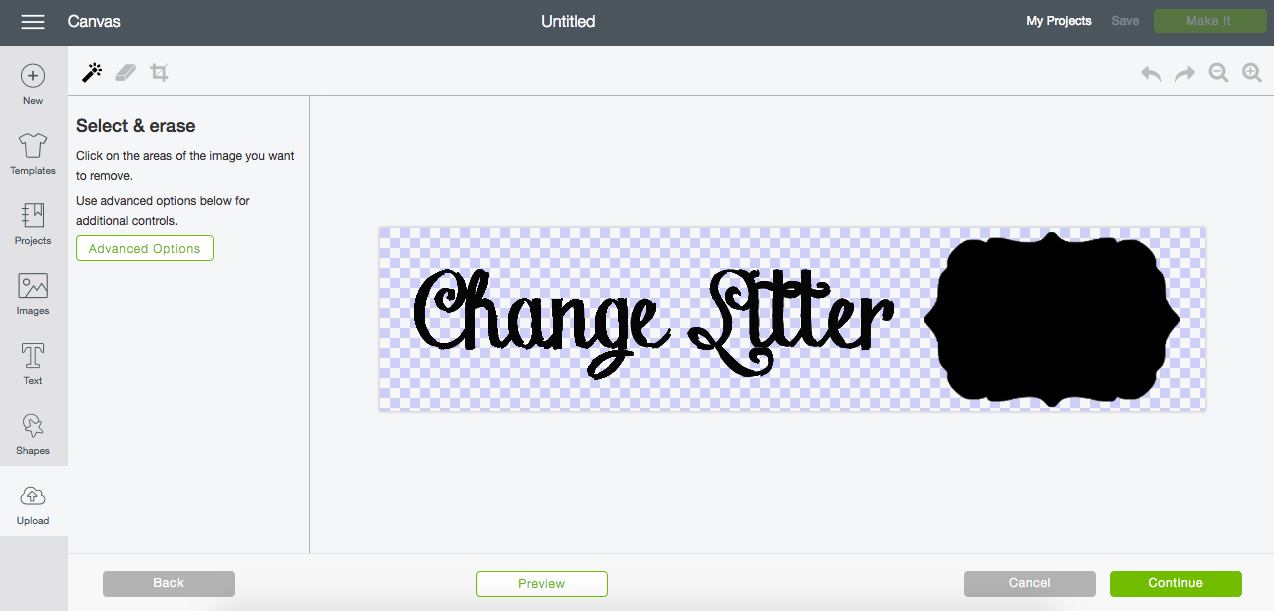
Right here! If there were a white background I could easily click on the white space and erase it from the image… luckily if you download any of my .png’s you won’t have to deal with this step.

It’s just a tad bit easier.
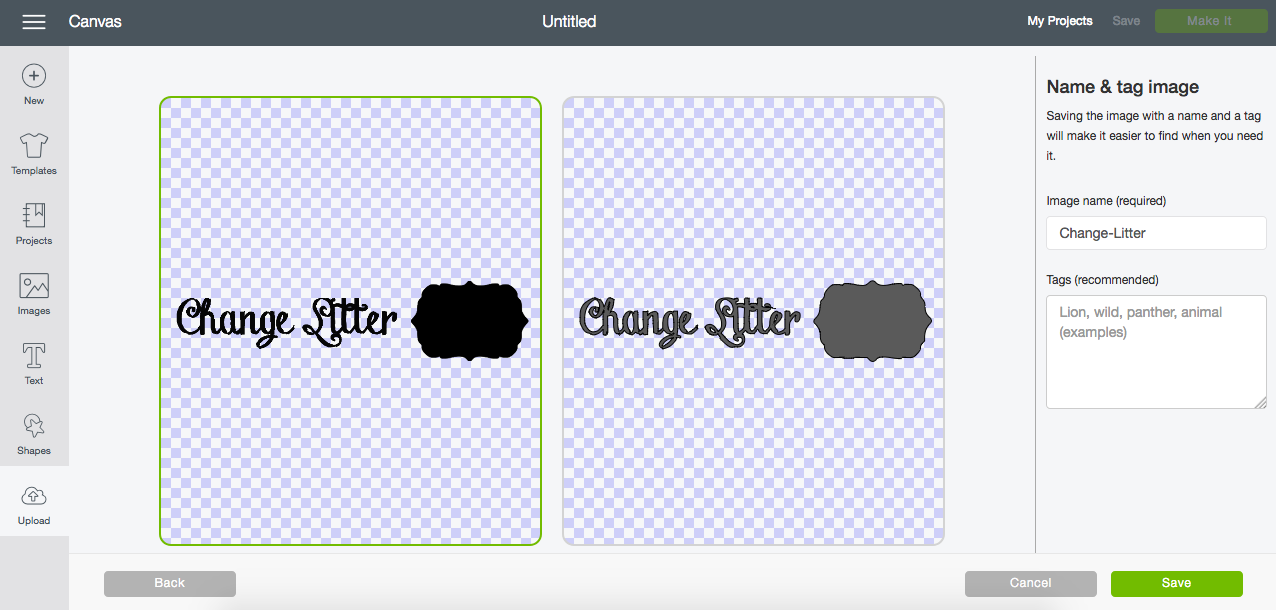
Step 3: Name & Tag

Now that your image is ready to go take a second to name it and maybe even add a few tags… this step may seem silly now but once your Cricut library is full of projects you’ll be glad you took the time to organize everything.

It’s never fun to search through hundreds of projects for that one cat image you made three years ago!

Now your image is in your library! You can insert it into projects and use it over and over! Unfortunately you can’t share projects that use custom uploads (which is the only part of this entire process that stinks!) but now that you know how to upload .png’s you can share .png’s with your friends and they can upload them easy peezy lemon squeezy!

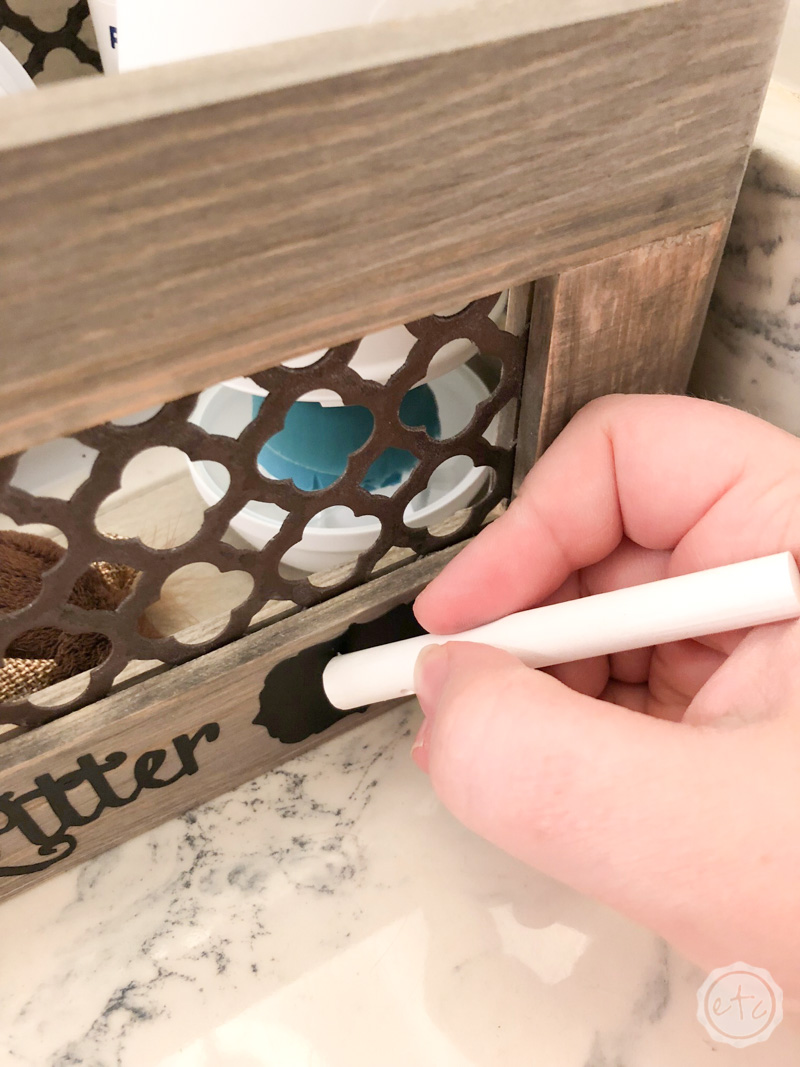
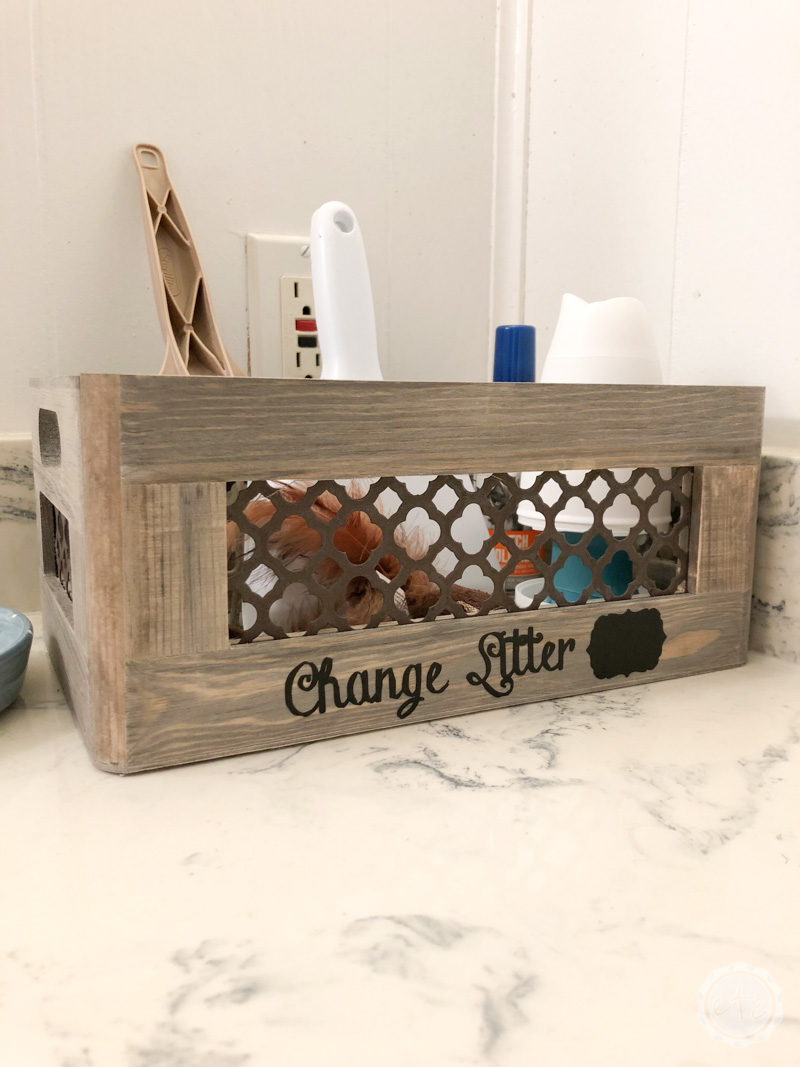
Then you can cut cute little chalkboards for our kitty litter storage.

Just take a look.


Get Your FREE PNG

Don't forget to snag your free PNG to make your own DIY Chalkboard Cat Supply Organizer

Success! Now check your email to confirm your subscription.

There was an error submitting your subscription. Please try again.

Powered by ConvertKit
You made it through the entire post? That means you're one of my new favorite people! I'd love to be friends and see what else you would like to read about! Leave me a comment and then sign up for your very own FREE paint planner.... so that you can keep track of every single paint color with ease!
Welcome back! I'd love to be friends and see what else you would like to read about! Leave me a comment and then sign up for your very own FREE paint planner.... so that you can keep track of every single paint color with ease!

Show me some LOVE y'all:

  • Facebook
  • Pinterest
  • Twitter
  • Email

Related

«
»

Cricut, DIY & Crafts 5

sidebar betsy I'm Betsy, Home Decor Enthusiast, Yorkie Mama, Crafter, Blogger, Picky Eater, Chief Mess Maker, Antique Hoarder and Graphic Designer. You can generally find me working on (attacking with a paintbrush) the 3 bed, 2 bath home we are currently renting! Our home might not be perfect but it is ours & if you hang out long enough you'll see that what we lack in know-how we make up for in passion!
Shop My Craft Room

Shop My Home

Featured Articles

15 Fabulous Ideas to Organize your Laundry Room
25 FREE Printables For Your Home!
What to do with EXTRA Paint with Happily Ever After Etc
10 Ways to Make Your Bed EXTRA Comfy with Happily Ever After Etc.
Ready to Pick your Perfect Paint Color? We'll help you with our 6 Day FREE E-Course

Hey y’all,

Profile

I'm Betsy, Home Decor Enthusiast, Yorkie Mama, Picky Eater, Chief Mess Maker, & Graphic Designer...

A Little Note!

Many of the links on Happily Ever After, Etc. are affiliate links. If you purchase a product after clicking an affiliate link, I receive a small percentage of the sale for referring you, at zero cost to you! How awesome is that? Purchasing through affiliate links is an easy, painless way to help out your favorite bloggers. Thank you so much for your continued love and support! Read the full disclosure here!

Instagram

Load More... Follow on Instagram

Copyright © 2023 · Darling theme by Restored 316

Copyright © 2023 · Darling Theme on Genesis Framework · WordPress · Log in · Privacy Policy