I have a fun (and quick!) tutorial for you today! I don’t know about y’all but I love using my Cricut for all kinds of fun projects… there are so many amazing tutorials out there and it’s my goal to try all of them. Of course, with all the different tutorials there are a couple that I keep coming back to… like making stencils out of vinyl.
Probably because I like to paint things and a stencil is the cherry on top of the sundae. Of course, up until now I’ve used random vinyl that I have on hand… it’s a cheap trick and it works BUT it doesn’t work as well as I’d like.
The tray I stenciled for Christmas this year could have been crisper. The regular vinyl tends to allow bleed under the edges in a way that really steams my vegetables.
SO when I heard about stencil vinyl I figured I’d give it a go… anything’s worth a try, right?
After this little tutorial I’m definitely a fan… and once you try it I think you will be too! Of course, the best part about this entire tray tutorial is that it’s only one in a list of fun upcycle projects. So after you’ve checked out my tray and whipped up a Cricut stencil of your own scroll to the bottom of this post to check out all the other fun projects to try!
Supplies
- Cricut Maker
- Cricut Cut File
- Fine-Point Cutting Blade
- Standard Cutting Mat (that’s the green one!)
- Stencil Vinyl
- Weeding Tool
- XL Scraper Tool
- Brayer
- Transfer Tape
- Paint
- Stencil Brush
- Tray (or other item to stencil)
Step 1: Cut Out Your Stencil
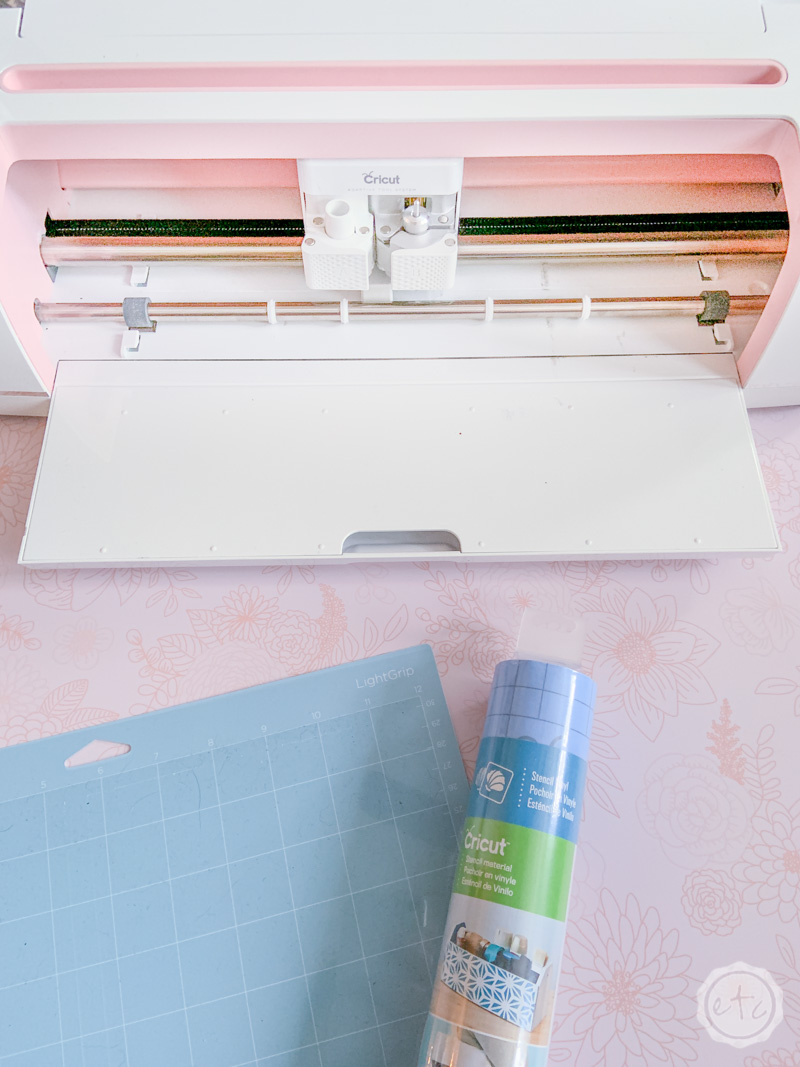
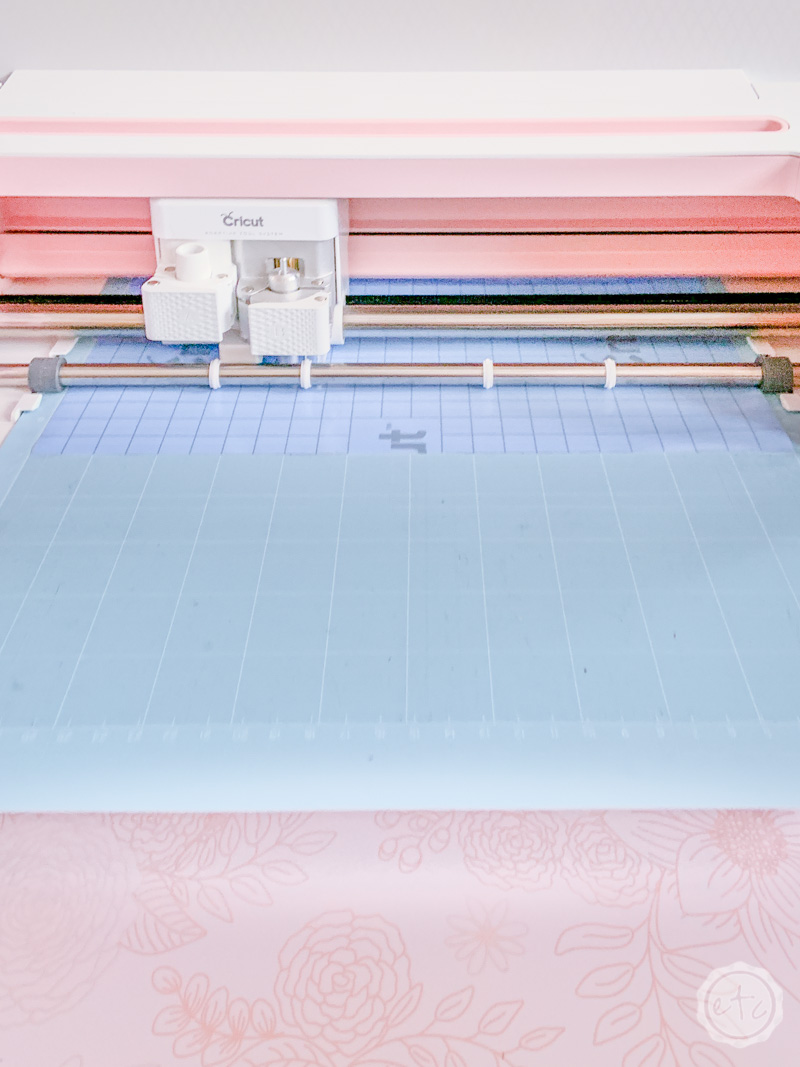
Ready for the fun to start? First things first… go ahead and open your Cricut Cut File and hit “make it”. This stencil vinyl doesn’t require any fancy blades or tools you can use your regular fine-point blade and standard grip cutting mat. That’s the green one… not the blue one pictured in the pictures.
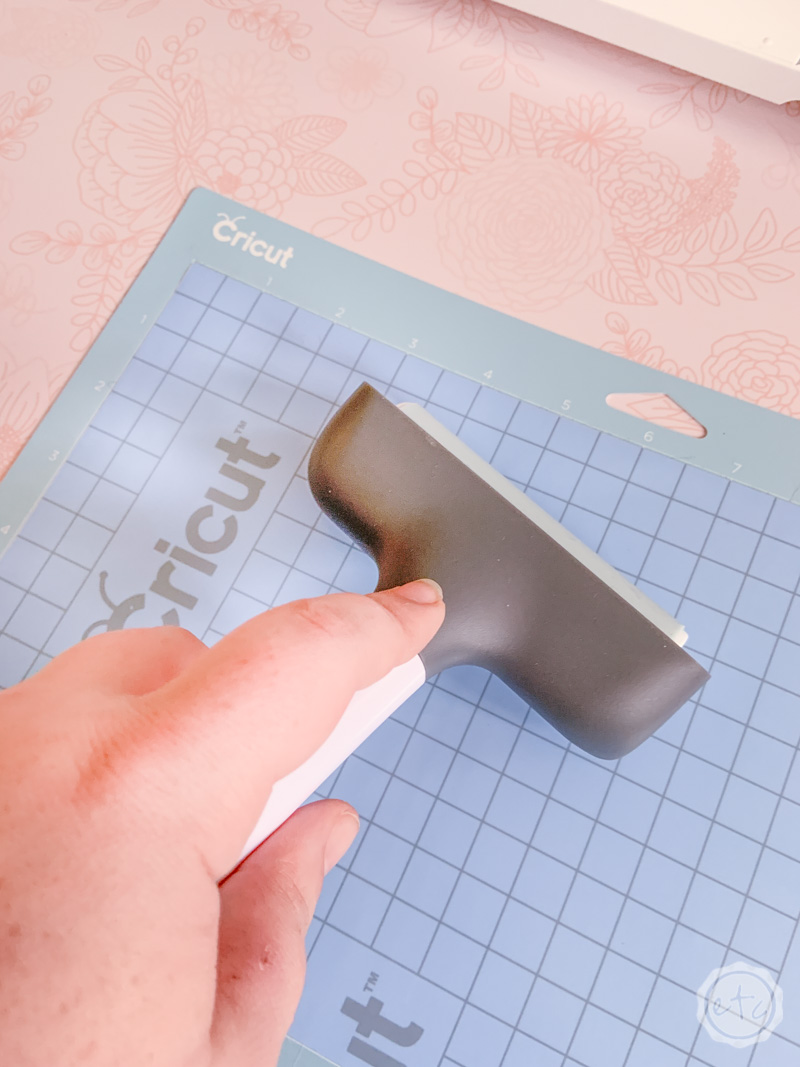
I happened to have my light grip mat on hand from the last project I did (watercolor tip envelopes for our Bridal Bag… don’t worry I’ll share those soon!). I used my brayer to stick the stencil vinyl to my light grip mat really firmly but I wouldn’t recommend it… the corners tried to come up making this a very precarious stencil to cut.
I’ve used the standard grip mat since then and it worked much better with this stencil vinyl!
Once your stencil is completely cut out the next step is to weed all the little pieces… just remember this is a stencil! SO you want to reverse weed everything… remove the letters and little pieces on the inside. Basically remove all the pieces that you want to paint onto your tray.
Step 2: Use Transfer Tape to Pick Up the Stencil
Once you’ve weeded all those little tiny pieces out of your stencil it’s time for the big move… moving the stencil from your Cricut mat onto your tray. This Stencil vinyl is repositionable and sticky so when you take it off the backing it will stick to your surface. Which is awesome.
Of course, our little stencil “enjoy the little things” has little tiny pieces! The inside of the o, the top of the e, all those little loops! So we can’t just take it off the backing and go… we need to use transfer tape.
I was worried about this since the Sticker Vinyl isn’t as sticky as regular vinyl (which makes sense… we wouldn’t want it to be permanent since we’ll remove it as soon as we’re done using it to stencil!). I’m not sure why but I was afraid it wouldn’t stick to my tray and would just come up with my transfer tape.
Luckily that didn’t happen!
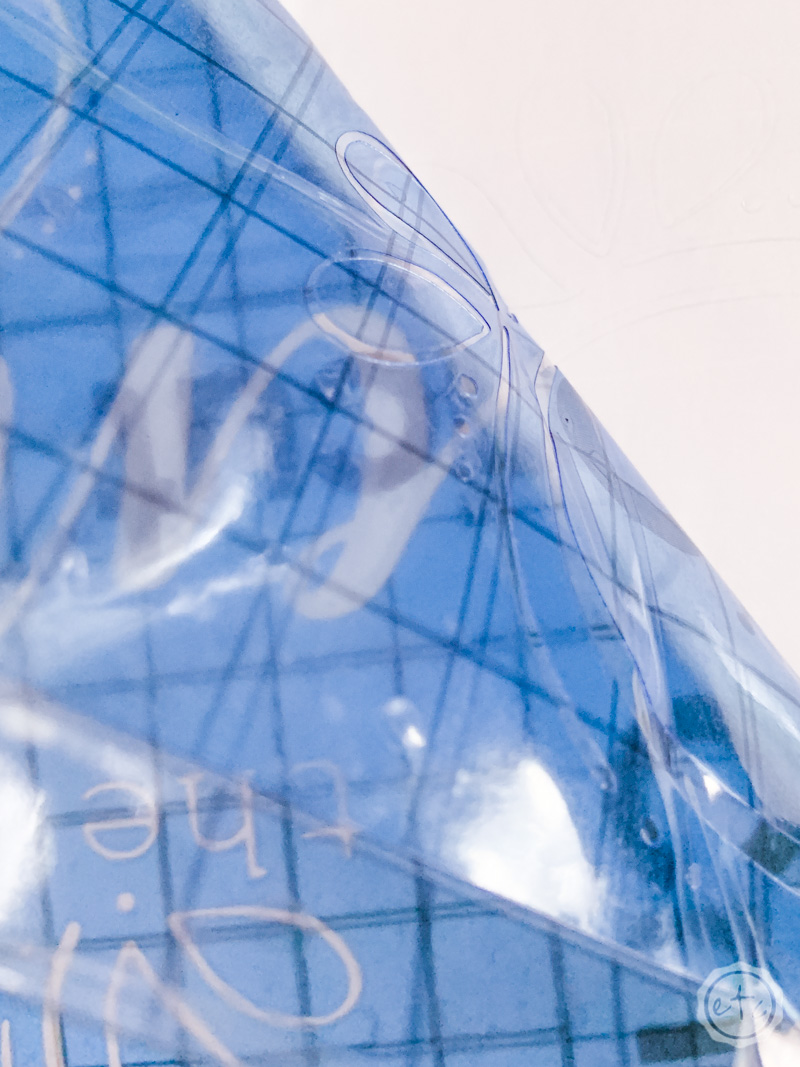
So you’ll use the transfer tape the same way as normal… apply the transfer tape over your stencil and press down with your xl scraper or the brayer. Then remove your stencil (with the transfer tape on top) from the backing… the transfer tape should hold all those little pieces together so that your stencil transfers as a whole.
Tip: Both the Stencil Vinyl and the Transfer Tape have a grid pattern so that you can easily line up your stencil on the surface of your project. When placing your transfer tape over the stencil vinyl try to line these up so that they aren’t super confusing!
Step 3: Place Your Stencil/Transfer Tape on Your Tray
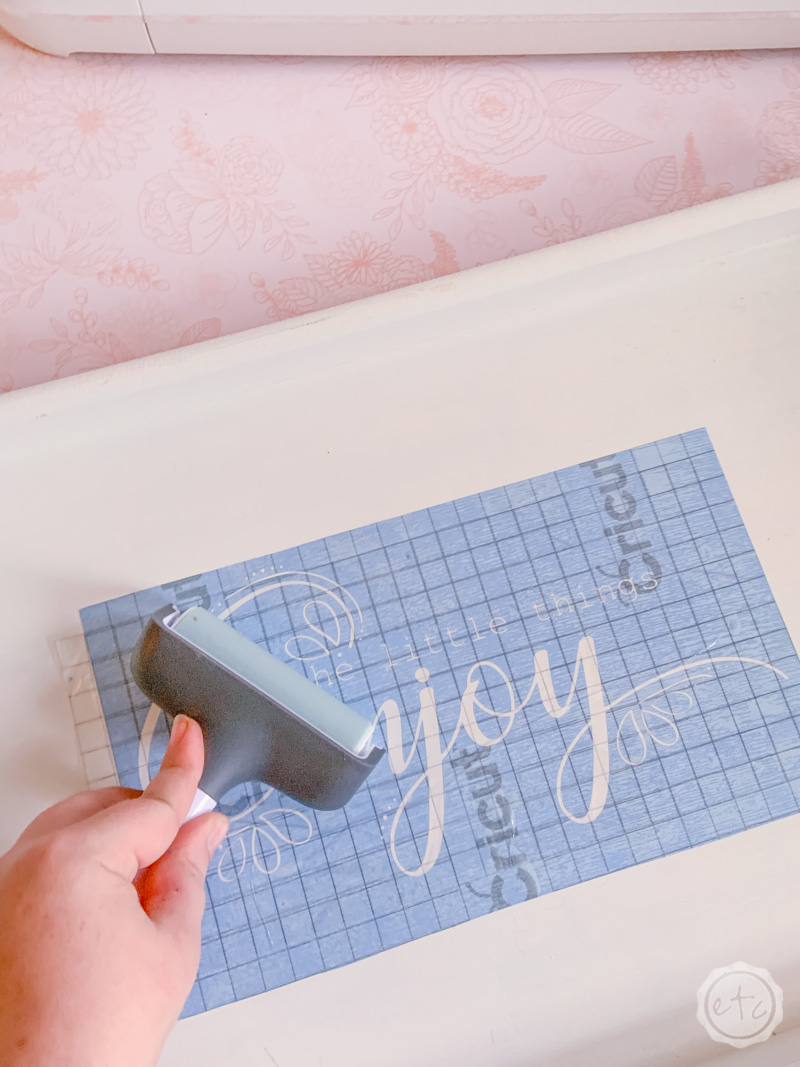
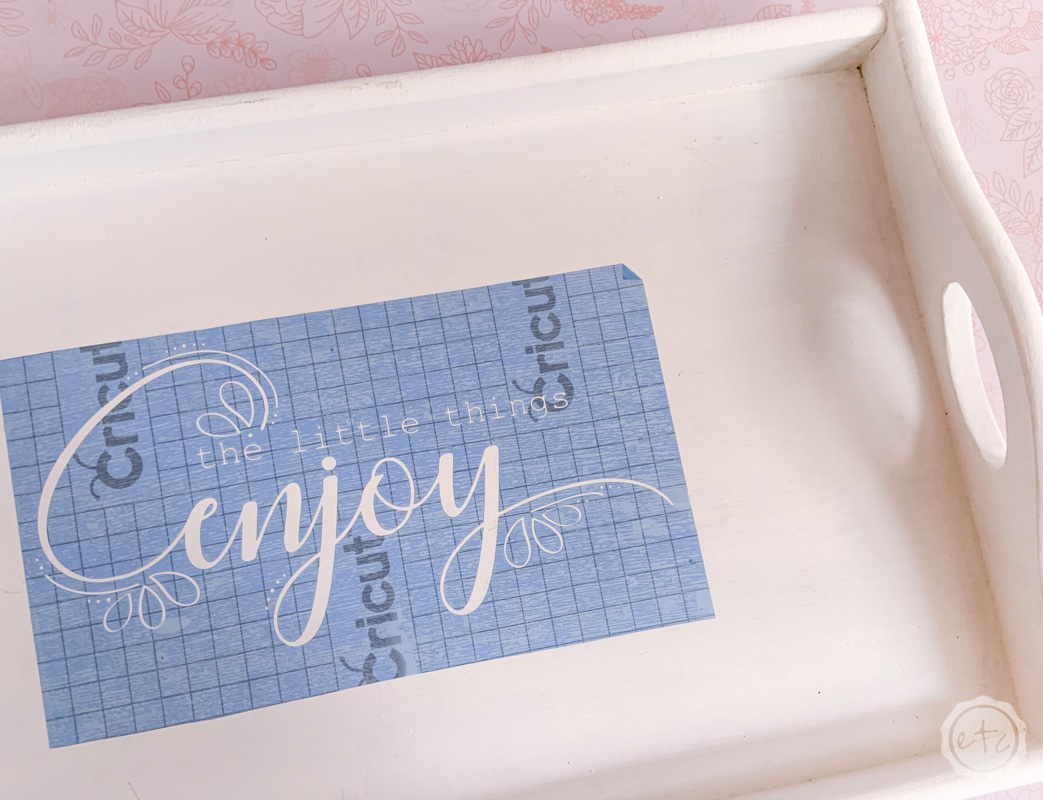
Now you should have a big piece of stencil vinyl all set to go! Line it up on your tray and place it in the middle. I like to place it gently down with my thumbs on either end… then use the brayer to smooth the stencil into place from the center to the edges.
That way there aren’t any bubbles or weird air pockets under the stencil vinyl.
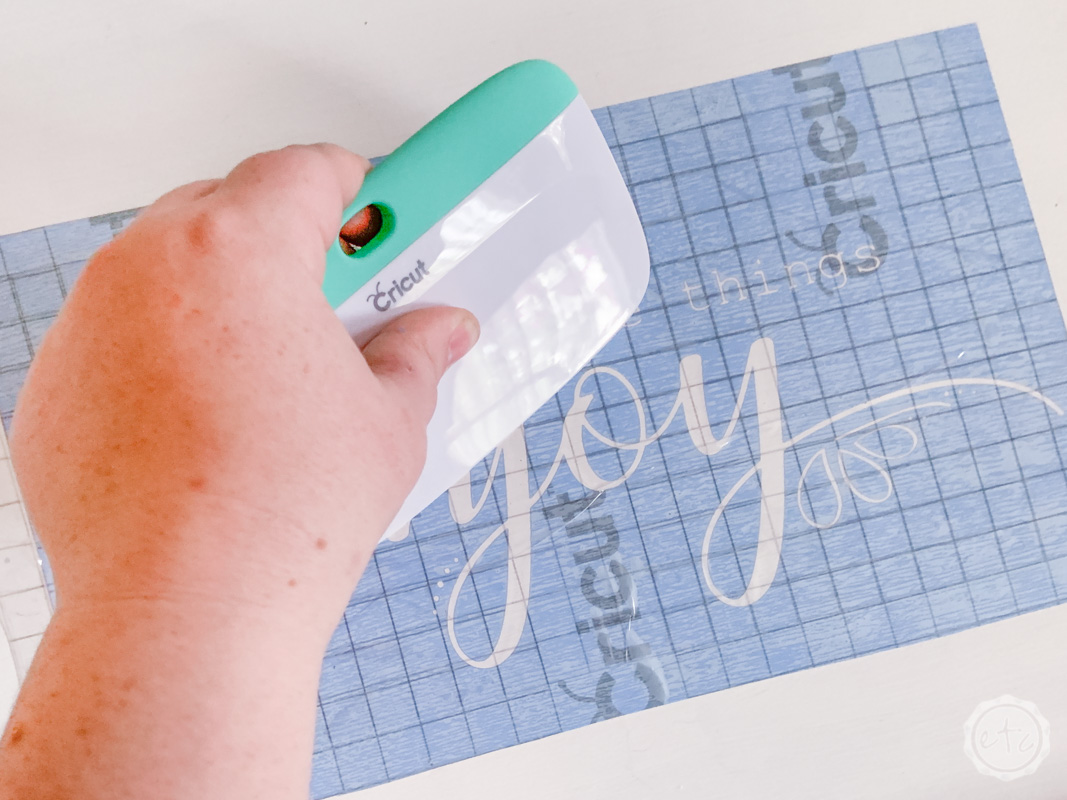
Once it was in place I went back over everything with my xl scraper… do you see the weird zebra pattern in the stencil vinyl? That’s because my tray isn’t super smooth and the stencil vinyl didn’t bond 100% in every little place.
I was worried about my paint bleeding underneath the edges so I smoothed all the edges down with the xl scraper before removing the transfer tape. It took an extra second but it’s worth it in the end! All in all it’s a pretty easy process: smooth stencil onto surface with brayer, press down edges with xl scraper, remove transfer tape.
Like always I start by pulling the transfer tape on one side and then gently pull it all the way across until it comes loose on the other side. Pay attention to all the little pieces and press them down gently with your scraper if they try to stick to the transfer tape… I only had 1 or 2 little pieces try to stick with the transfer tape most of them behaved and stuck to the tray!
Step 4: Paint Your Stencil!
Now it’s time for a little bit of fun… painting! I decided to go with a light blue paint which was kind of funny since the stencil vinyl is blue.
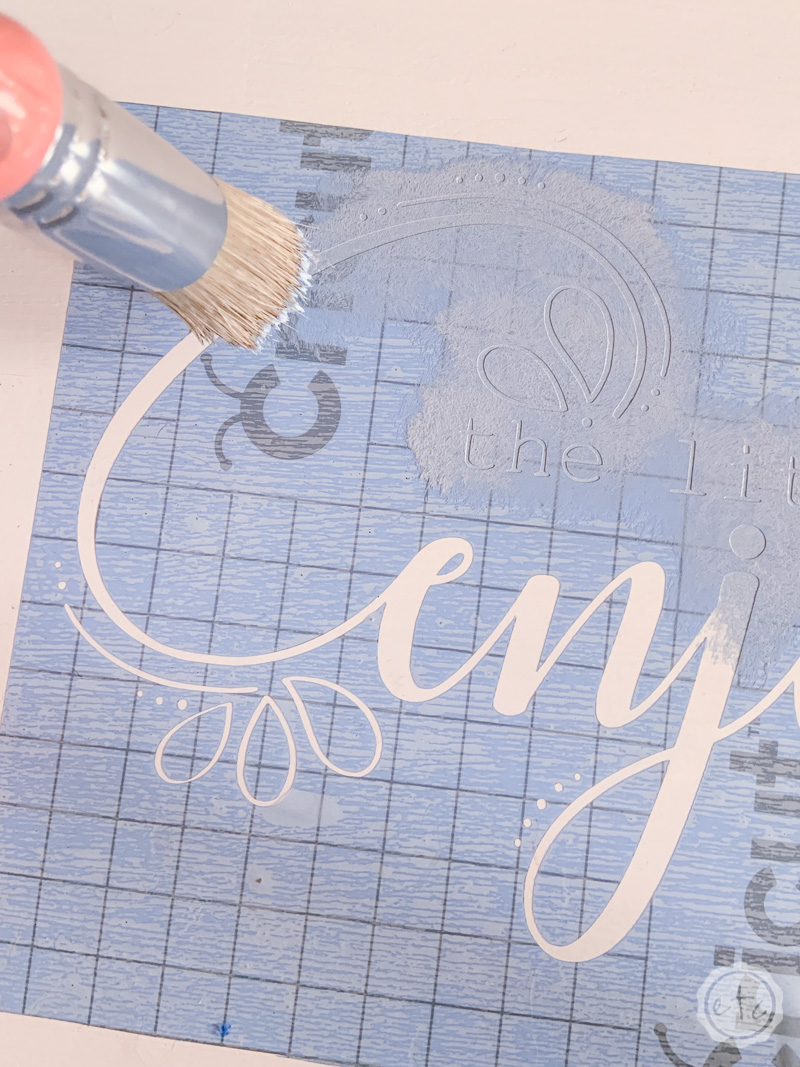
I used my round stencil brush to dab paint onto the stencil… remember to use very very little paint. You want to load your brush and then dab it onto a napkin or blank paper plate to remove all the excess paint you can… you’re basically dry brushing here.
Then dab dab dab all the way around the stencil until you’ve hit alllll the little bits.
Just be careful on the edges since some of the little circles and swirls come awful close to the edge and that stencil brush really wants to paint the entire tray. Or at least mine did.
That may have been user error though.
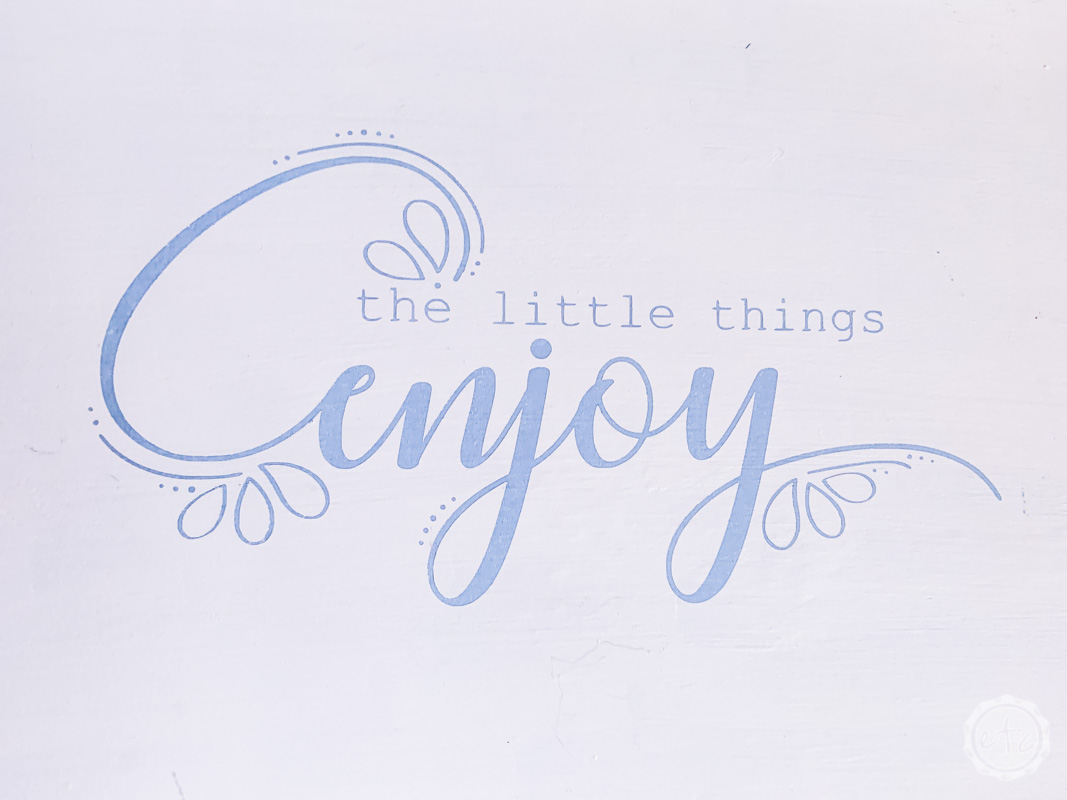
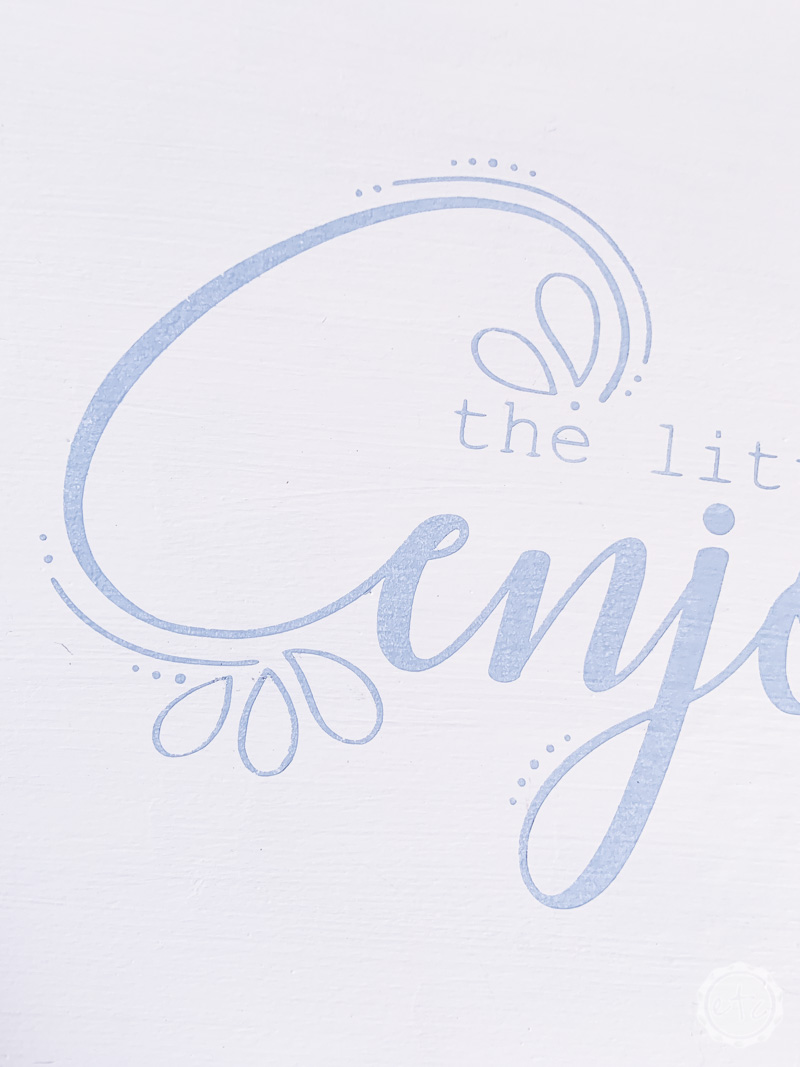
Once you’ve stenciled the entire design go ahead and pull off the stencil vinyl while the paint is still wet. Just be careful not to get the wet paint on the stencil all over the tray! This may be the most satisfying part of the whole project… seeing those crisp clear paint lines!
After you’ve removed the entire stencil you can go back with your weeding tool and take up all the little o’s and e’s… the tiny inside pieces that are left behind on your tray.
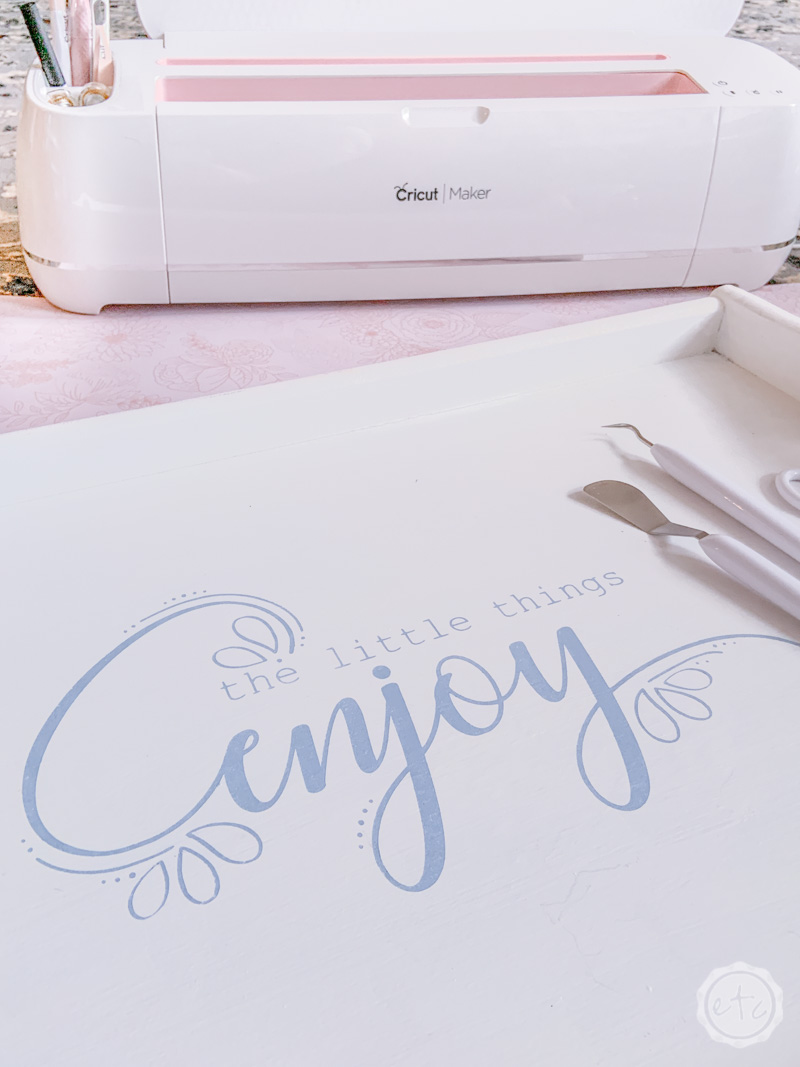
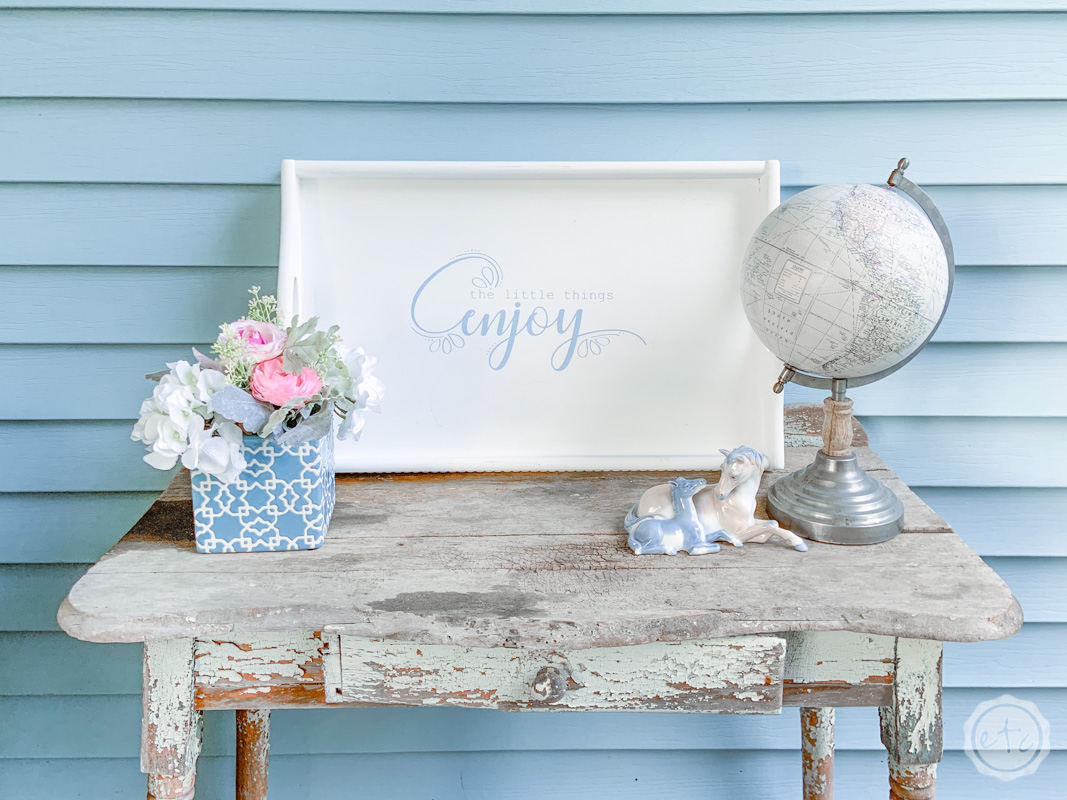
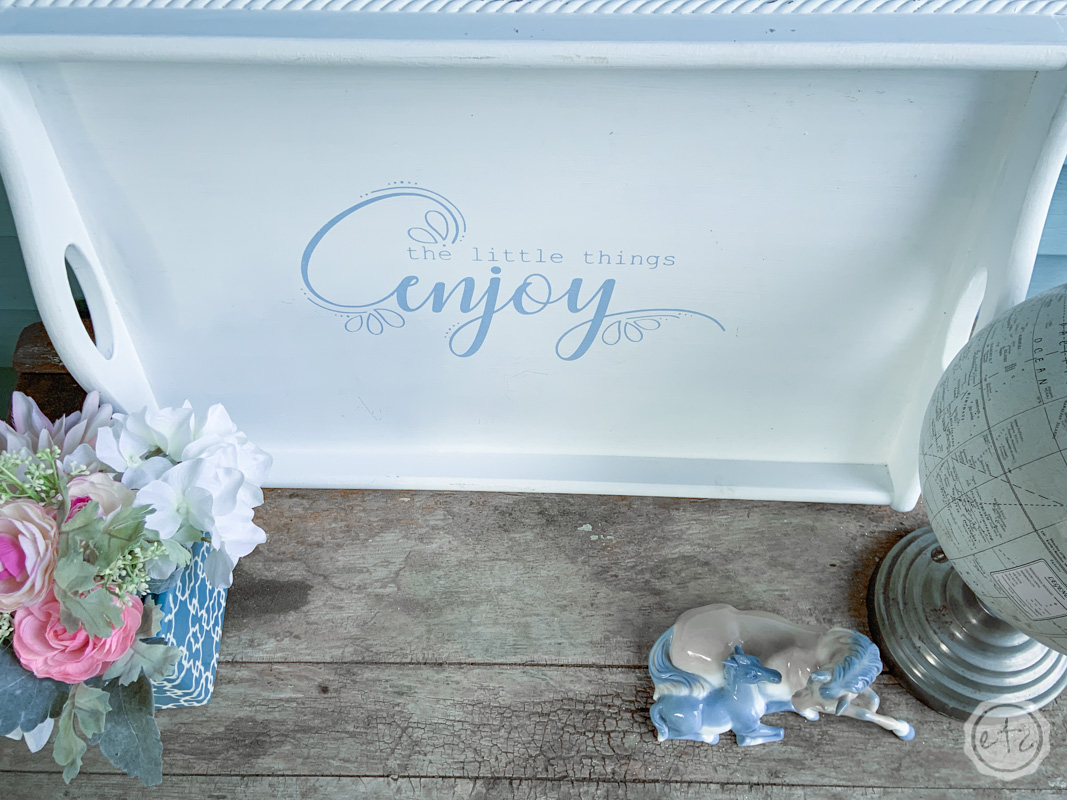
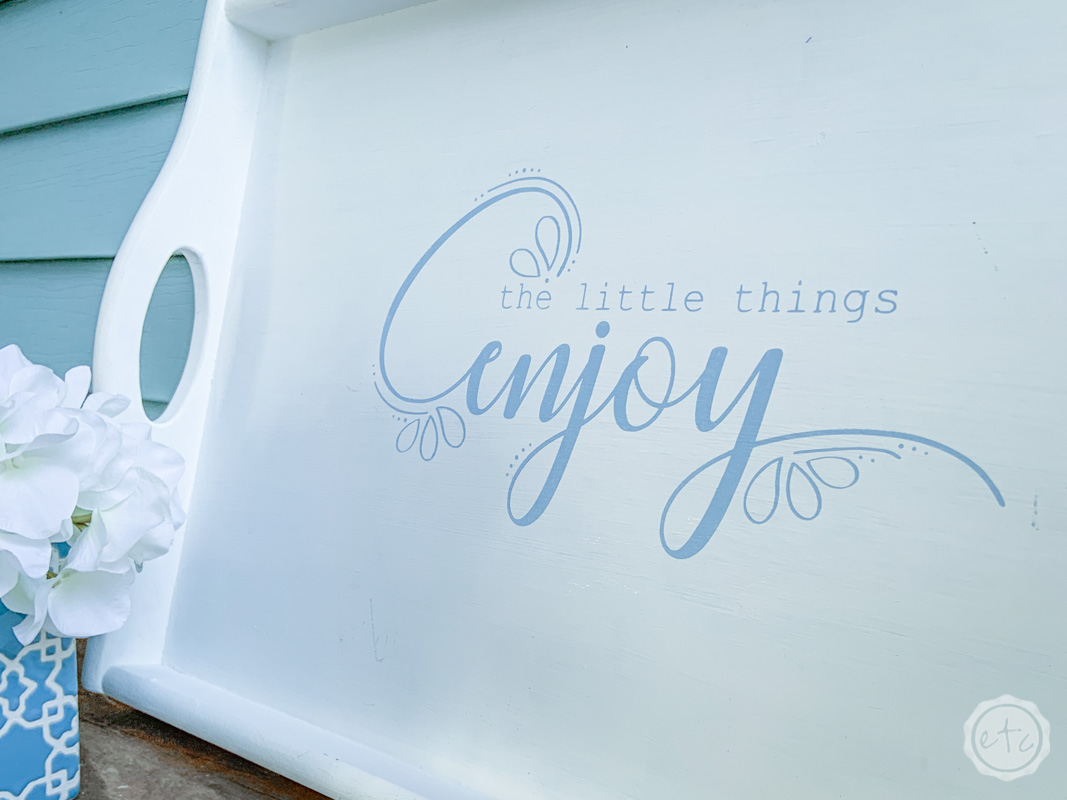
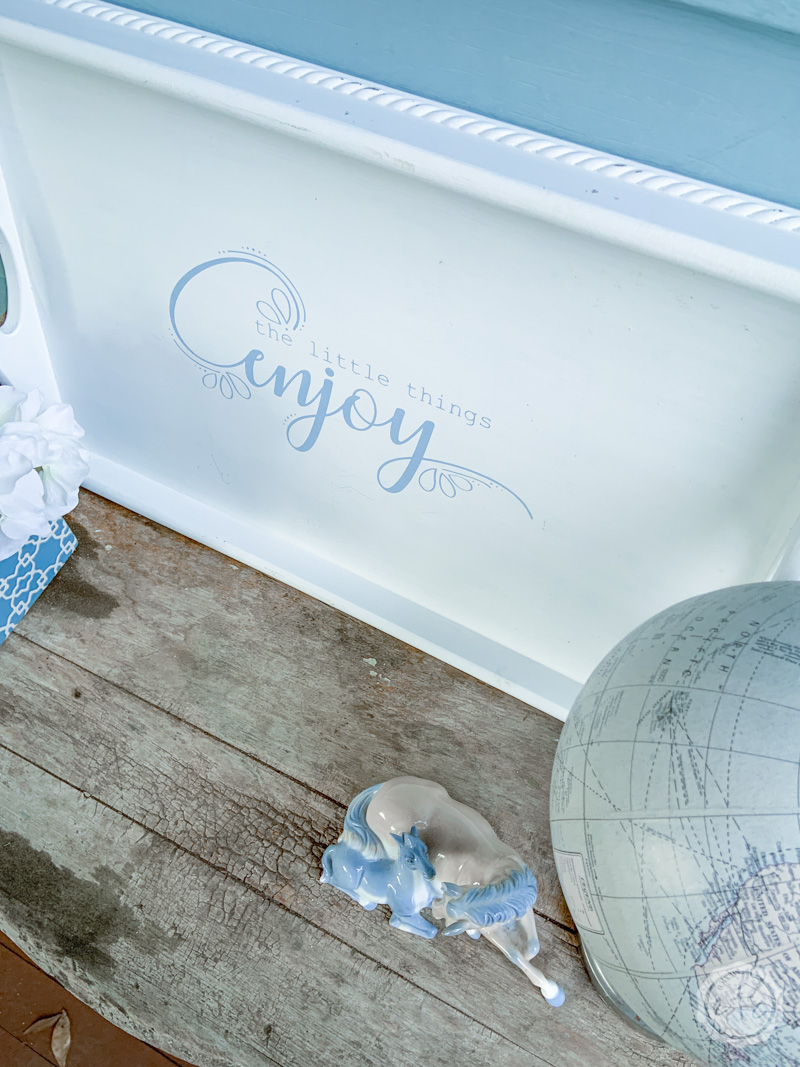
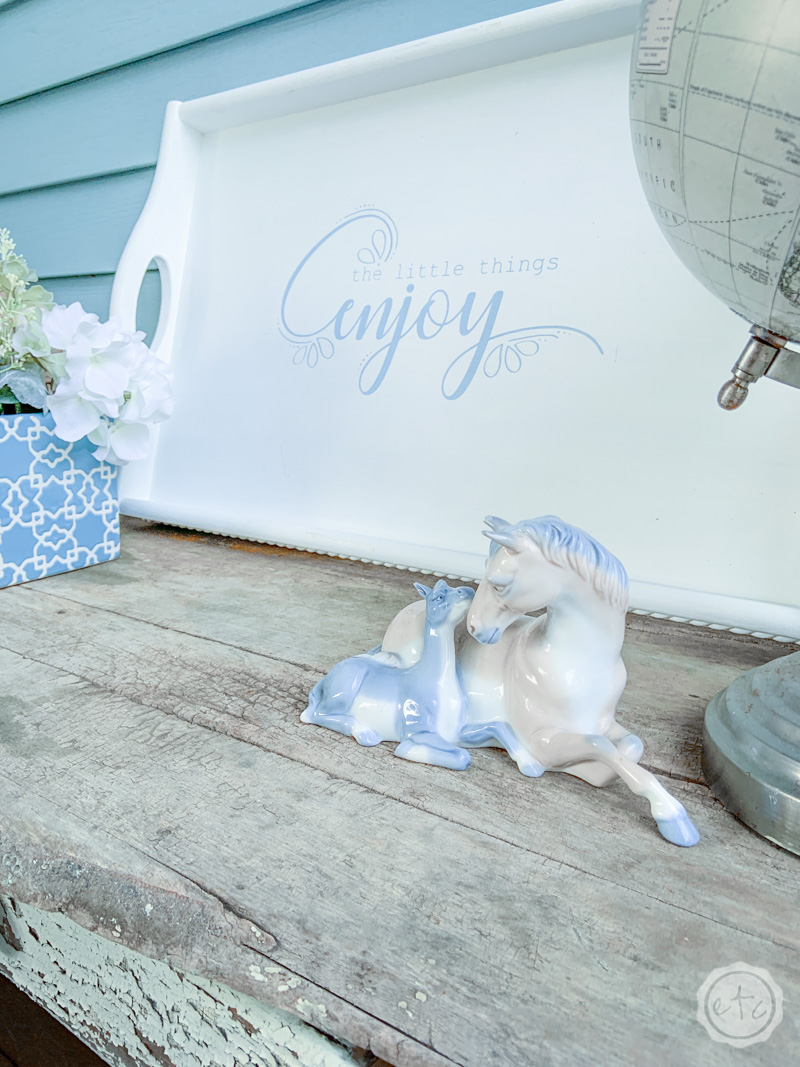
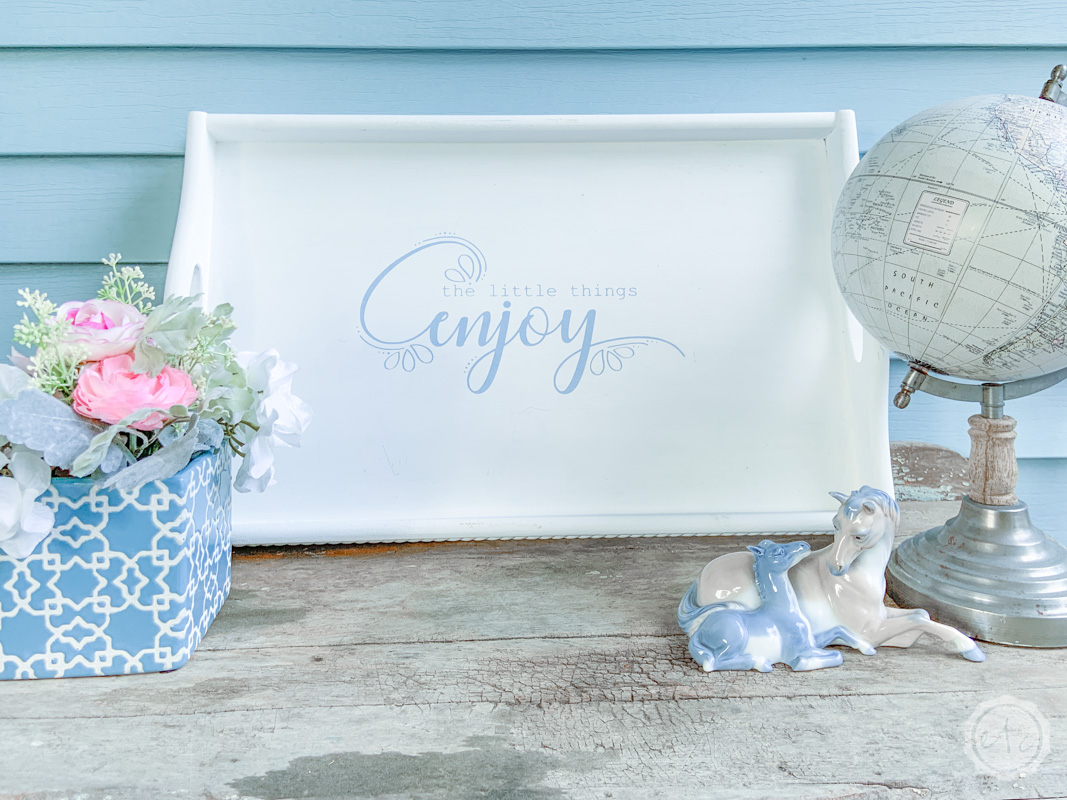
I absolutely love how crisp and clean this stencil came out… even the little tiny pieces! I was worried I would have to change the design to eliminate all those little dots and swirls but they came out just fine! The Cricut cut them even though they were tiny and the Stencil Vinyl was thick enough to hold up to them.
I am thinking of alllll the other designs I can stencil now! I’m thinking of something other than a tray… since apparently I’ve stenciled two trays since December (which I didn’t realize until I did this post!).
I can’t ever pass up a cute tray at the thrift store though so I have a bunch of them!
And they turn out so cute!
Ready for a few more upcycle thrift store projects? I’ve got you covered! Check out all of these fun projects from my bloggy friends below. Enjoy!
Let me know if which one is your favorite down below!

1905 Farmhouse, Abbots at Home, By Brittany Goldwyn, Creative Ramblings, Cribbs Style, Delicious & DIY, DIY Beautify, DIY Danielle, Dukes and Duchesses, Girl, Just DIY, Happily Ever After, Etc, Health, Home & Heart, House by the Bay Design, Just Measuring Up, Kenya Rae, Little Bits of Home, Living Letter Home, My Family Thyme, Pinspired to DIY, Red Cottage Chronicles, Refashionably Late, Savvy Apron, Shrimp Salad Circus, Songbird Blog, Southern Revivals, T.Moore Home, The DIY Dreamer, The DIY Village, The Frugal Homemaker, The Handyman’s Daughter, Two Feet First, Weekend Craft, What Meegan Makes, Zucchini Sisters
Don’t forget to pin!
Get Your FREE PDF Guide!

Don't forget to snag your free PDF Guide to buying your first Cricut!


