
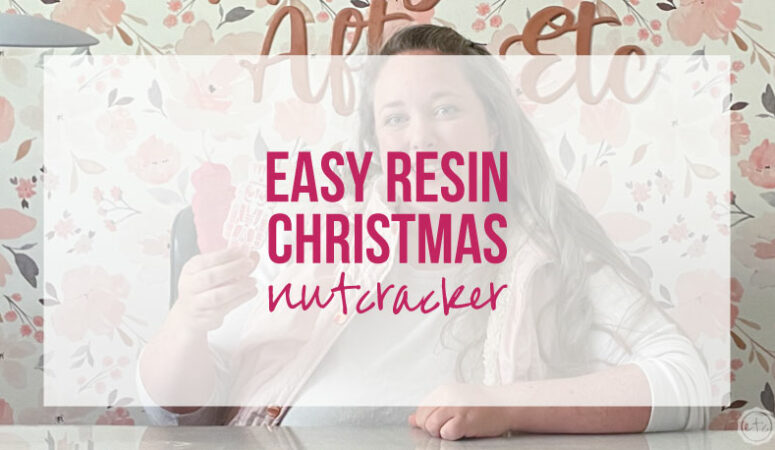


Like many of you I am absolutely smitten with the Nutcracker ballet… I danced in it as a little girl, I’ve seen it countless times and I even have a little doxie named Sugar. So when I saw this cute little nutcracker mold I knew I was making a sweet little pastel nutcracker out of resin this Christmas!
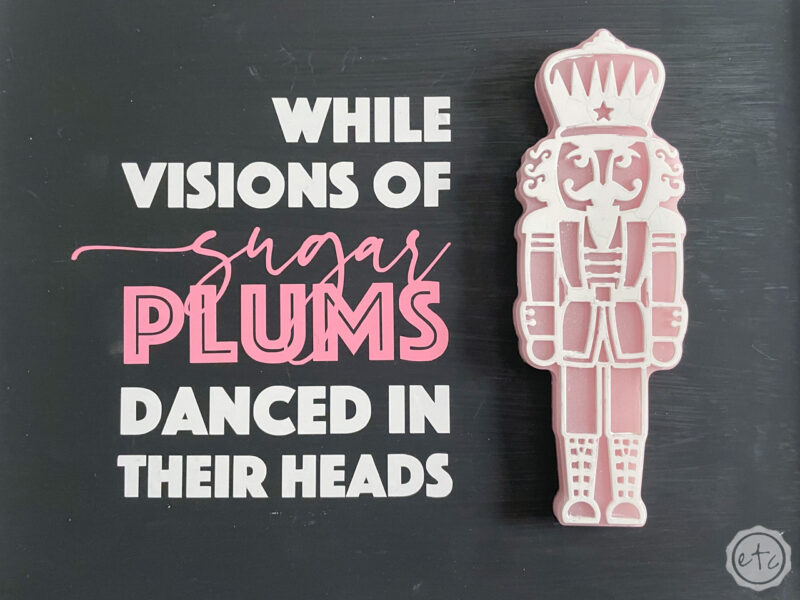
Luckily it’s a fun (and easy) process and when it’s alllll finished it will be the finishing touch on my sweet little Nutcracker Christmas sign… I can’t wait! I’m going to use my Cricut to cut out “While Visions of Sugar Plums Danced in their Heads.”
It’s going to be sooooo cute!
Let’s get started!
Supplies:
- Total Boat Makerpoxy Epoxy Resin
- Silicone Nutcracker Mold
- Respirator/Mask (resin graded filters)
- Gloves
- Wagner HT400 Heat Gun
- Freezer Paper
- Silicone Mat
- Baking Pan
- Heart Shaped Silicone Mixing Cup
- Small Mixing Cups
- Silicone Measuring Cup/Larger Mixing Cups
- Reusable Silicone Stir Sticks
- Toothpicks
- Paper Towels
- White Craft Paint
- Pink Craft Paint
- Plastic Pipettes
Just getting started with resin? Download my free resin supply list and make your first project today!

Step 1: Paint your Mold
This little nutcracker is soooo cute… and a big part of that is all the sweet little details. The star on his hat, the buttons on his coat? Yes, please!
We don’t want these to disappear when we pour our resin and since all this detail is part of the mold we’ll need to either paint our mold first or paint our piece afterwards.
I’ve done both (last year we painted our Christmas gnomes after they were demolded and they turned out super cute!) but this time I decided to paint our mold first so that the paint would become part of the actual piece and we wouldn’t have to give him a clear coat.
Although now that I’m looking at it maybe a little color shifting mica pigment would have made the details pop? I dusted the details of this mandala mold and it was stunning!
Whichever method you choose just make sure you have a clear plan going in… for me I decided on a white matte paint in all of the details.
Perfect!


Step 2: Mix your Resin
Now that our mold is painted let’s start mixing our resin. I’m using MakerPoxy for this little nutcracker since it’s easy to work with and dries pretty bubble free.
It’s a 1:1 ratio resin which means you’ll use 1 part a to 1 part b… for this project we need about 50ml so we’ll put 25ml of a and 25ml of b into a mixing cup. Then slowly stir your resin for 3 minutes… make sure you’re scraping the sides and bottom of your container to thoroughly mix all parts of the mixture together. Then let it sit for a couple of minutes so that as many bubbles as possible can rise to the surface.
We don’t need multiple colors today so once you’ve mixed your resin you can add a few drops of your blush craft paint (yes we’re making a pink nutcracker!! eek!). Mix everything together until it looks solid pink and you’re good to go. You can pop any bubbles that rise to the top of the cup with your heat gun and then we’ll start pouring!

Bonus Tip: If you’ve never mixed resin before it’s not nearly as intimidating as you’d think! I’ll walk you through all the steps here in my How to Mix Resin for Beginners Tutorial.


Step 3: Pour your Resin
Ready to roll?
Before our resin gets too hot let’s get it into our mold. This is a pretty straight forward pour but we’ll go slow and steady to avoid as many bubbles as possible.
Since we’re going to place our little nutcracker friend on a sign we want him to be nice and slender. So instead of filling our mold all the way up we’re only going to fill him about 1/3 of the way. 50ml is perfect for that so if you’re looking to fill your nutcracker mold allll the way up you’ll need 150ml instead.
Either way we’re going to pour our resin in a thin stream into our mold. This will help bubbles fill entering the mold and hanging out in all the little spaces!
We want little buttons on his cuffs not little bubbles!
Pour a thin layer and then using your stir stick to make sure there are no air bubbles trapped in the any of the details before filling the rest of the mold. We don’t want any gaps or bubbles in our finished piece if a bunch of air bubbles get caught!
A little bit of extra work on this step goes a long way towards a bubble free resin nutcracker!
Once you’re good to go you can go ahead and pour the rest of your resin into your mold and set it aside to cure for 24 hours.
Score!


Step 4: Un-Mold your Resin Nutcracker
Ready for the most satisfying step? Taking this baby out of the mold! After 24 hours your piece should have cured and is ready to come out of the mold. This is basically the best part… I mean you get to see the front of your piece for the first time.
Eek!
Start by peeling the silicone sides away from your resin… then slowly remove the resin from the bottom of the mold.
Once you have a corner free you’ll be able to remove it completely AND get that first look.
A pretty pink pastel Nutcracker!!
I love it!


Step 5: Enjoy!
He turned out even better than I could have imagined and is the perfect addition to my little nutcracker sign!!
If I was doing this again I’d mix my pink paint a bit to make it closer to the pink vinyl I’ve used for my nutcracker sign but that’s such a small detail. I think they’re pretty darn close!
PLUS if we forget all about the sign portion of the project the nutcracker is pretty darn cute all on his own!
I want to make a full on chonky one now.
How cute would that be?
If you want to check out another fun resin and vinyl Christmas sign check out this fun Christmas Tree Farm Sign featuring the cheetah print resin Christmas Tree I made! Enjoy!


Leave a Reply