


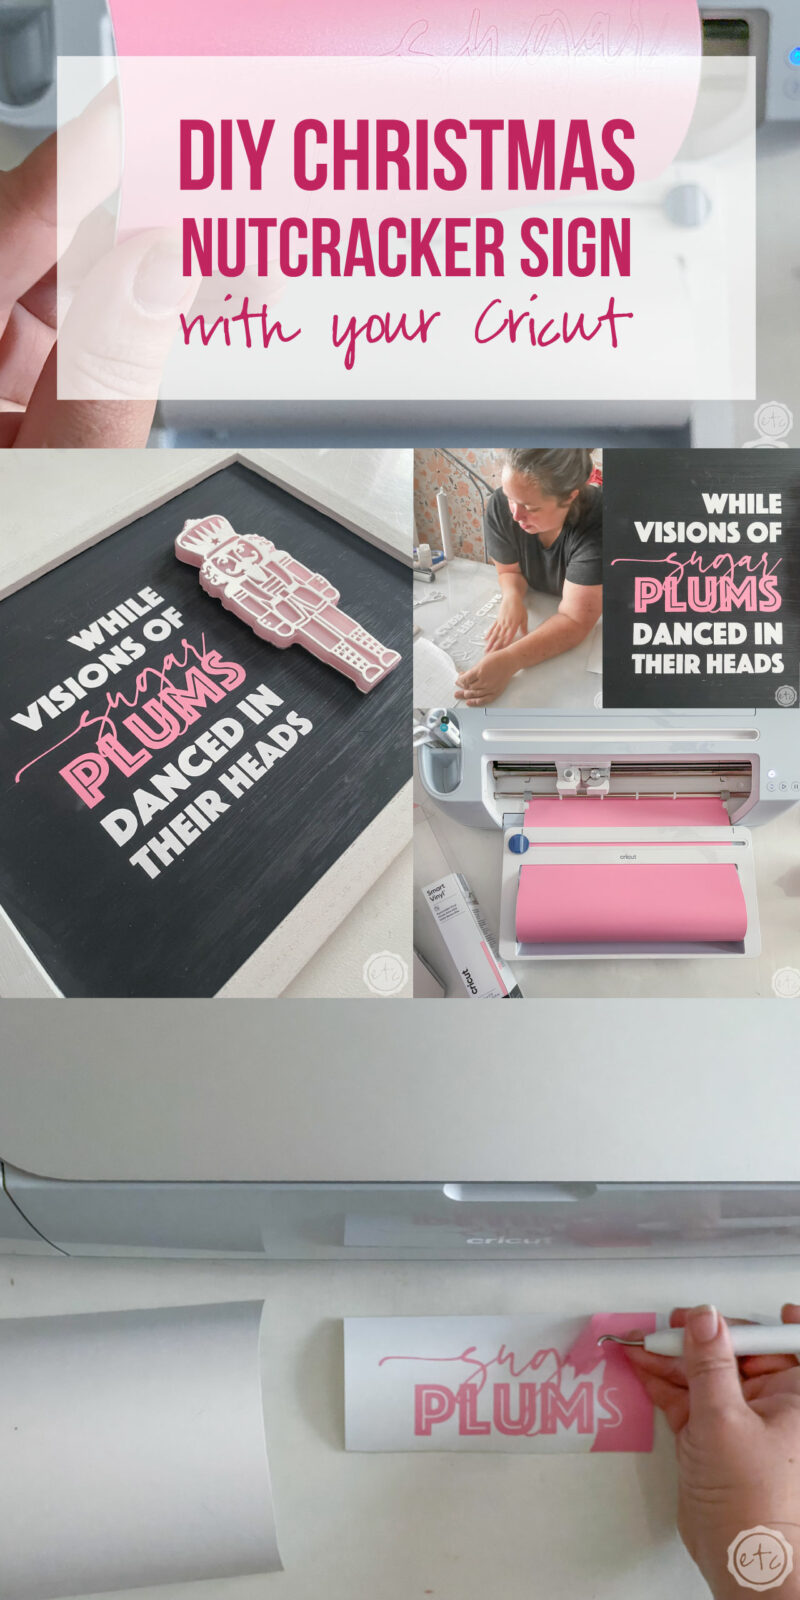
Are you ready for another super cute Christmas sign? Today we’re making a sign to match the resin Nutcracker I made last week… a Christmas Nutcracker Sign!
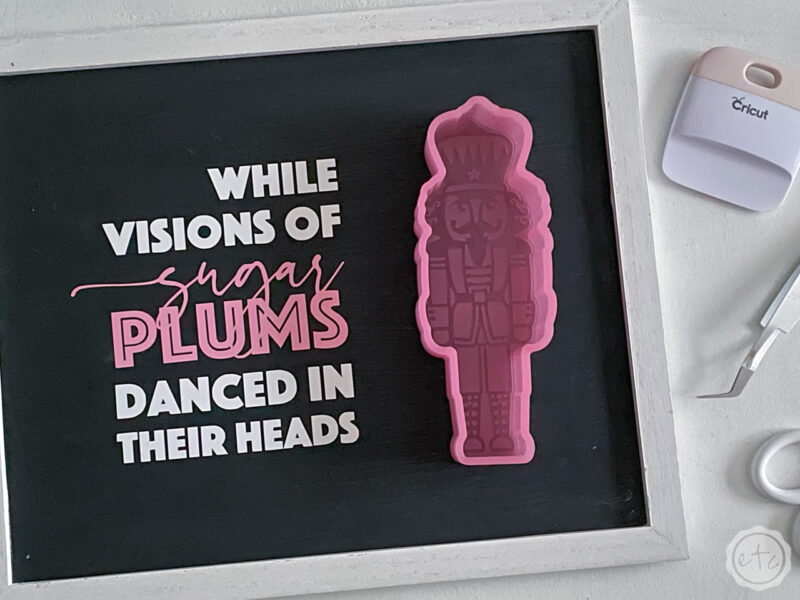
I had a few ideas for this bad boy but the main goal was to match my resin piece (so white and pink vinyl to match the paint we used) as well as fill in the rest of the space on our sign so it looked designed and intentional.
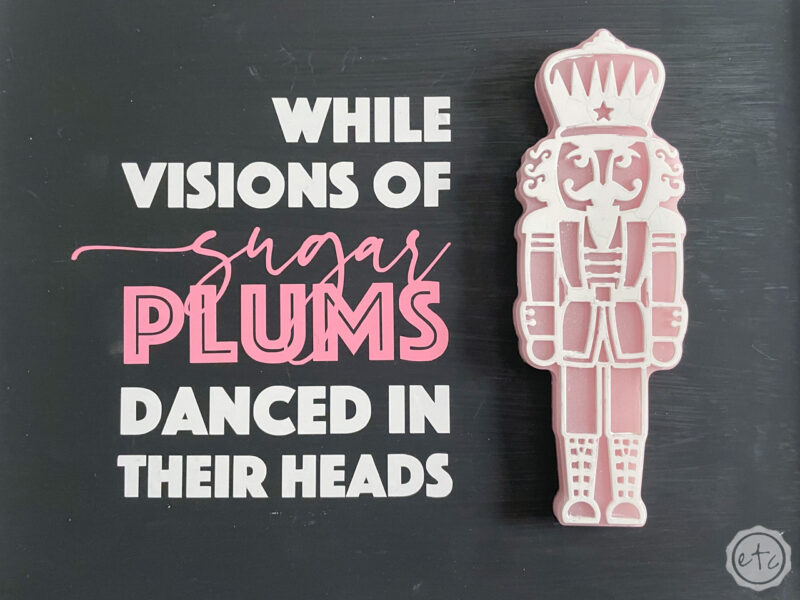
I looked and looked for quotes from the Nutcracker before deciding on “While Visions of Sugar Plums Danced in their Heads” it’s one of my favorite parts of the entire ballet (the waltz of the Sugar Plum Fairy) and my dog Sugar shares the name (her registered name is literally Princess Sugar Plum Fairy!).
A few minutes in Cricut Design Space and our Sugar Plum fairy SVG was ready! Let’s get it cut out and put on our sign.
Supplies:
- Cricut Maker 3
- Cricut Roll Holder (for smart vinyl)
- Fine-Point Cutting Blade
- Cricut Standard Grip Mat (that’s the green one!)
- OR Cricut Fabric Grip Mat (that’s the one I use… it’s pink and holds everything)
- SVG Cut Files (FREE at the bottom of this post).
- Bright 360 Floor Lamp
- Weeding Tool
- Brayer
- Scraping Tool
- Smart Vinyl
- Transfer Tape
- Blank Sign

Step 1: Upload and Cut your SVG
Before we get started on our sign we need to actually upload our cut files… so start by grabbing the FREE SVG at the bottom of this post and saving it to your computer. Then you can upload it into Cricut Design Space and pop it onto a new blank canvas.
Your SVG will be ready to go in two different colors (so you can cut it out with the Sugar Plums portion in a fun highlighted color!) but you may need to re-size the SVG depending on what size sign you’re making. Since I want my little Sugar Plum Fairy SVG to be the same size as the Resin Nutcracker I made to go on this little sign (they need to coordinate right?!) I made my little SVG 5 inches tall.
Now they’ll match!
We’re so close to cutting… I am going to weld my white layer together and my pink layer together. That way the text cuts as one consistent block and not as sliced layers. Then we’re ready to cut! I’m using my Maker 3 but this is a vinyl design so you could really use any machine you like.
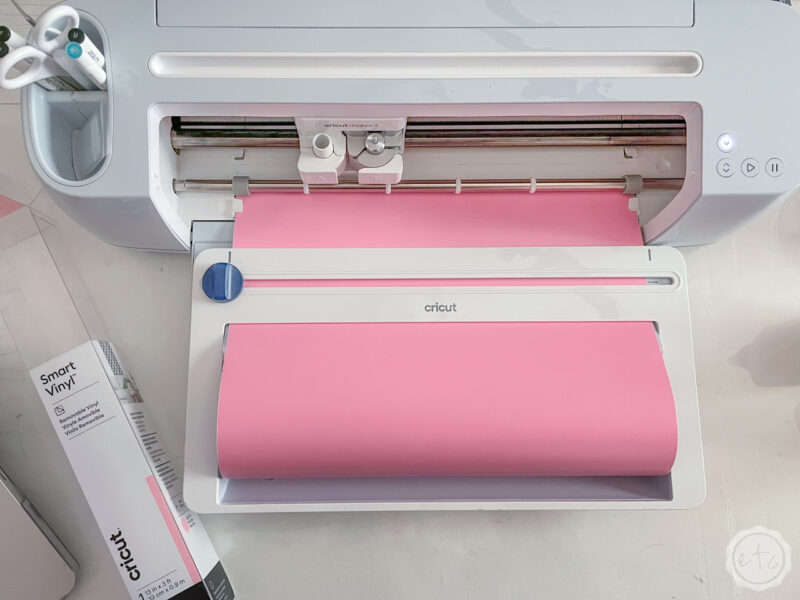
Since I’m using my Maker 3 I grabbed a few rolls of Smart Vinyl so I don’t need a cutting mat… and hit go on my screen. I selected without a mat since I’m using smart vinyl and then we’re ready to rock… no need for mirroring or any other adjustments.
I popped my smart vinyl into my machine and hit go… it cuts so quickly! Plus there’s something about not needing a cutting mat that always makes me feel fancy.

BONUS: If you need a little help uploading your SVG don’t worry! You can follow along with my How to Upload an SVG to Cricut Design Space Tutorial… it’s super easy but I’ll walk you through all the steps so that you’re good to go.
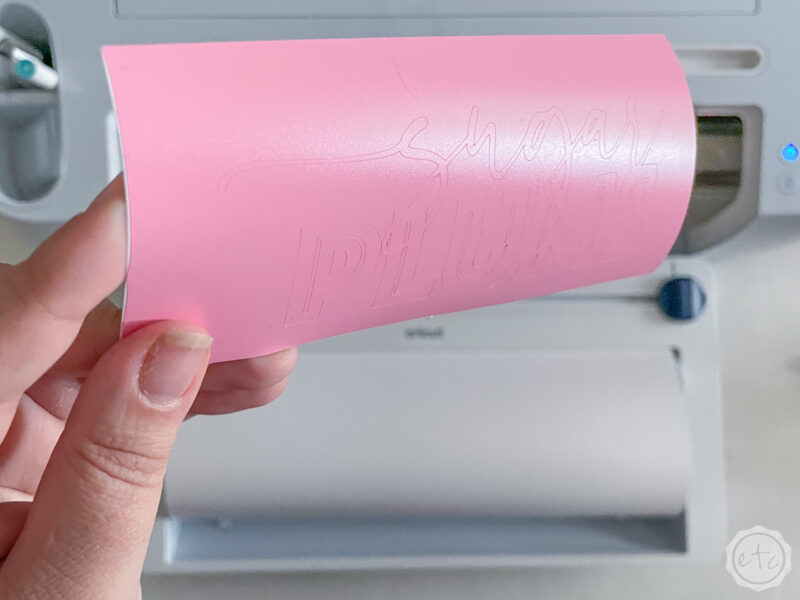

Step 2: Weed your Design
Once your entire design is cut it’s time to weed! This is a small design but the font for “sugar plums” is a bit complicated with the swirly letters and the cut outs on each individual letter.
That’s ok, just go slowly so you don’t rip anything and you’ll be fine!
Use your weeding tool to carefully remove any extra vinyl from the negative parts of the design (AKA those little cut outs in the word plum, the inside of the e, the middle of the o… you get the idea) as well as the extra vinyl around the outside of the letters.
Even with the delicate letters the pink vinyl is easier to weed than the white… the white letters kind of disappear when it comes to weeding. I’ve learned over the years that light is the answer to making white easier to weed. You can use a ligthbox or a stronger light… I just grabbed my Cricut Bright 360 and turned it on. I have horrible vision and the bright light makes weeding a breeze even for me… and I like that it’s easy to keep next to my desk to turn on whenever I need it unlike my lightbox which I have to get out and turn on.
Whatever solution works for you the main goal is to weed the entire design. At the the end of the day we want our vinyl to look exactly like the design we’re working with in Cricut Design Space so we’ll remove any vinyl that’s not part of that design.


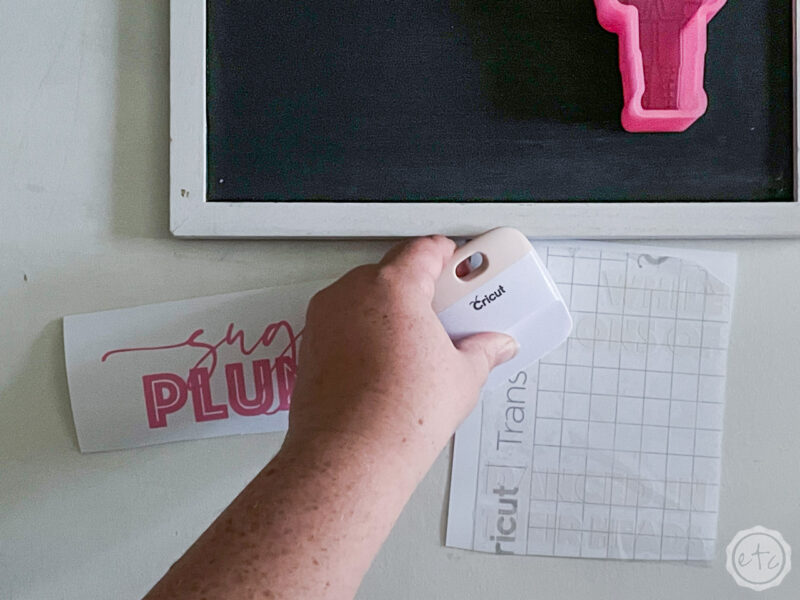
Step 3: Transfer the Design
Ready for the magic? Now that our vinyl is ready to go we’ll grab a big piece of transfer tape. Go ahead and cut it to fit over the entire white portion of the design and then place it down making sure that the guidelines are straight to your letters.
Smooth it down firmly so that everything bonds and then carefully start to peel the transfer tape back up… the vinyl decal should stick to the transfer tape and leave the white backing behind.
Like one big transfer tape, vinyl decal sandwich with only two layers.
Go slowly and if your vinyl isn’t sticking then you need to bond it some more… keep scraping until it comes up naturally.
Once it does you can carefully place it on your sign… while some people would prefer to cut this design without welding so that they save all the white vinyl where our “sugar plums” text will go. I prefer to sacrafice that little bit of vinyl to keep the spacing right.
Instead of guessing how much space in between my words I need I can center this section and place it down knowing the center words in my design will fit perfectly. Of course, with larger projects sacrificing large portions of vinyl doesn’t work… but for this small sign it was worth it.
Go ahead and place the entire design carefully onto your sign making sure it’s straight and in the right position. Then start to smooth it down from the center towards the edges of the design. This will remove any awkward air bubbles in your vinyl!
Once the entire design is smoothed over you can remove the transfer tape and the vinyl will stay behind on your sign. Volia!
Perfection!
Now repeat the process to put our Sugar Plums in their place and you’re good to go!


Step 4: Enjoy!
Now we’re all done… our sign is finished and ready to enjoy!! You can glue your sweet little resin nutcracker in his place (or cut a vinyl nutcracker if you’d prefer) so that your sign is complete.
I love the combination of vinyl and resin… it’s so cute and the resin gives a fun three dimensional element we wouldn’t get with just vinyl.
Not that there’s anything wrong with a complete vinyl sign but over the years this resin and vinyl combination has become a favorite.
I cannot wait to hang this baby up for Christmas! It’s so darn cute!
Plus the black background with the white and pink resin/vinyl color combo is kind of my jam lately… just check out this resin Merry Christmas sign that that will hang next to our new Nutcracker friend! He’s so cute!
I also made a large Christmas Tree Farm sign this year with a vinyl decal and a super cute Resin Cheetah print Christmas Tree!
I can’t wait to show y’all my home tour! But in the meantime here is my little sign in all it’s glory. Enjoy!


Leave a Reply