


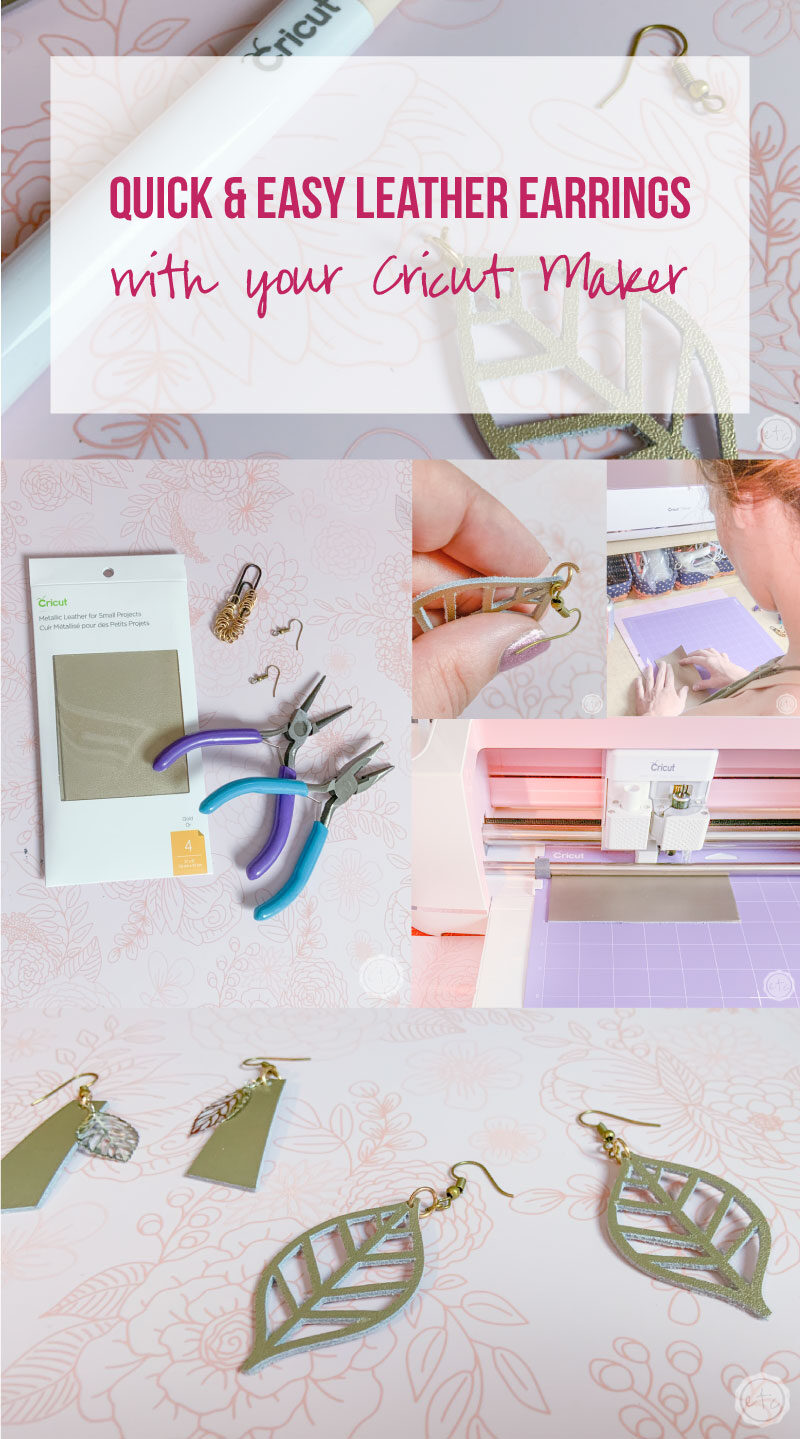
If you are looking for a fun beginner leather project these earrings are a great starter project! They’re easy to cut out and won’t break the bank!
Plus with all the new fun leather colors you’ll be able to make a pair to suit just about any outfit. I typically don’t wear large earrings but when my bestie came to visit she was dying for a pair of cute (large!) earrings… so we pulled out the Cricut Maker got to work
Supplies:
- Cricut Maker
- Cricut SVG Files
- Cricut Strong Grip Mat (that’s the purple one!)
- Deep Point Blade
- Brayer
- True Control Knife
- Metallic Gold Leather
- Jump Rings
- Earring Hooks
- Jewelry Wire Pliers
- Optional: Beads or Leafs to add to the leather

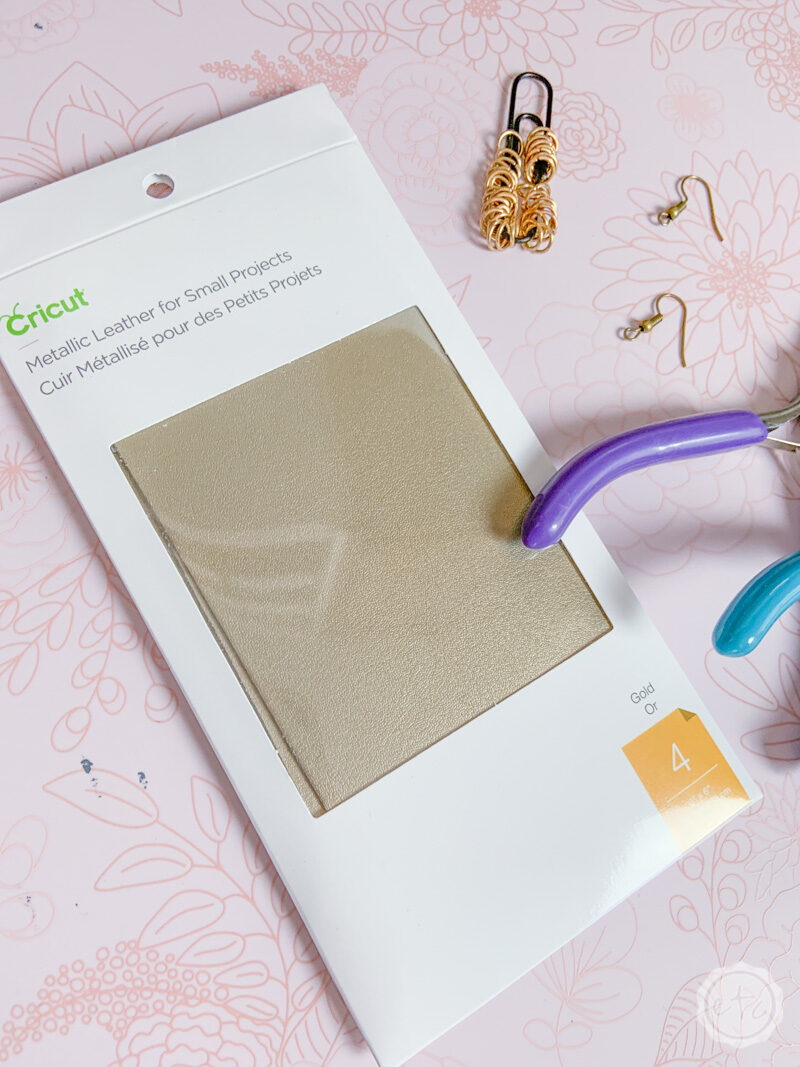

Step 1: Cut Your Leather!
The first step of this little fun project is to your earrings on the Cricut! Upload your cricut svg files to design space so that we can get started… if you’re not sure how to do that you can follow the simple directions in this post.
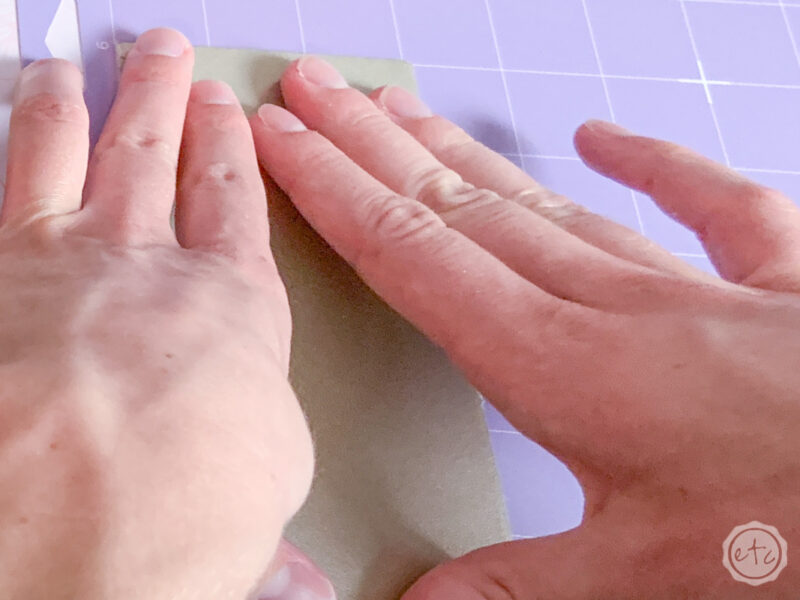
Once you have your svg file loaded into design space you should be ready to rock! Go ahead and load your leather onto the top left hand corner of your strong grip mat… with the metallic leather side face down.
I tried cutting the leather face up and the deep point blade did NOT want to cut all the way through. So place your leather firmly onto the mat with the metallic side down and make sure it’s secured really well! I like to use my brayer to make sure it has a great grip.
Then you can click “make it!” on your screen in design space! When it comes to picking the perfect material out of the materials list I have a couple tips. The metallic leather setting didn’t quite cut it (literally it didn’t cut all the way through) so I adjusted the settings from 314 alllllll the way up to the highest possible pressure.
I also turned the passes down from 4x to 2x which seemed to work better with this leather. You may want to play around with your settings a little but this setting gave me the best results.
The last adjustment I made was after selecting the material I turned the pressure up from normal to more… so that the Cricut would use the most pressure possible in the least amount of passes. That seemed to do the trick!
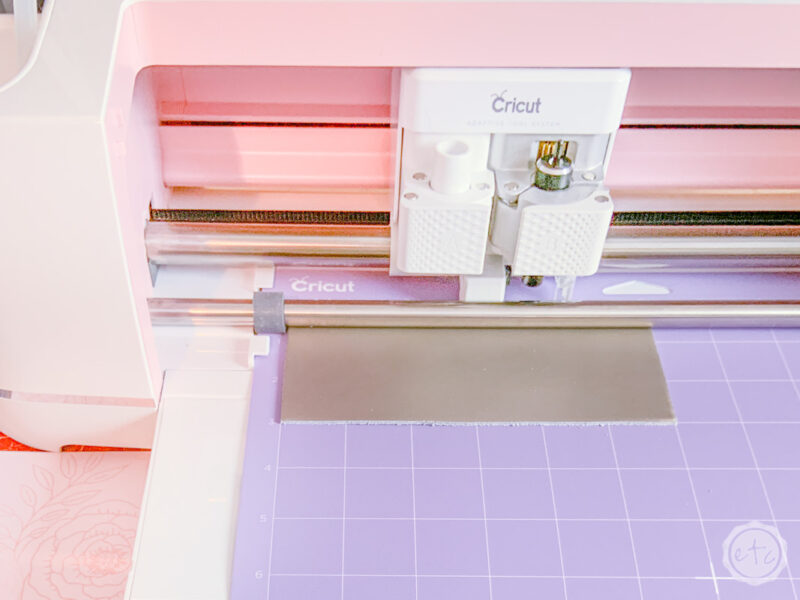

We’re almost ready to hit the “go” button… before you load your mat there is only one more step. Move the start wheels all the way to the right so that they don’t make little (annoying!) indentations in your leather!
If you haven’t used a thicker material before (leather, chipboard, basswood) then you probably haven’t had much too worry about when it comes to the star wheels… which are the little white wheels along the bottom track of your Maker. They move easily so sliding them out of the way is a simple task.
Once your star wheels are moved go ahead and hit go! Then you just have to watch the Cricut work it’s magic. Volia!
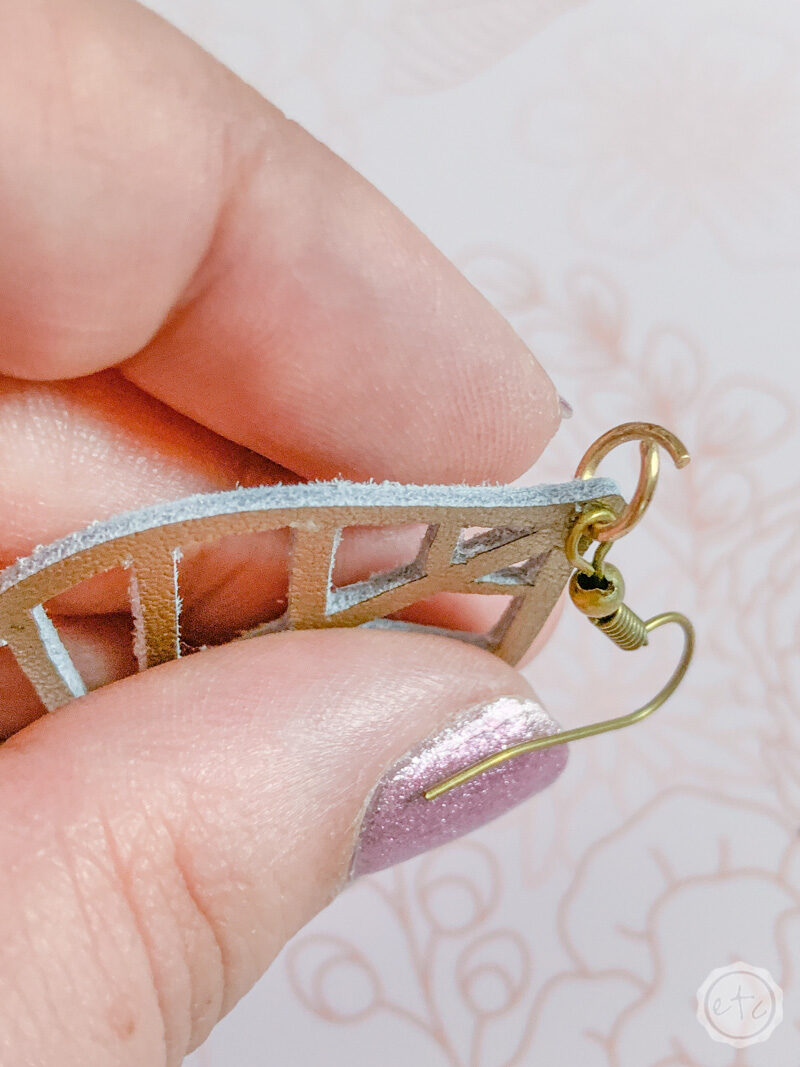
TIP: Before hitting go make sure you add a small circle on top of your earring pattern if you want the Cricut to cut out the hole for your jump ring. The Cricut doesn’t always cut this small so I left it off and simply punched that hole manually with my true control knife… but to each her own.
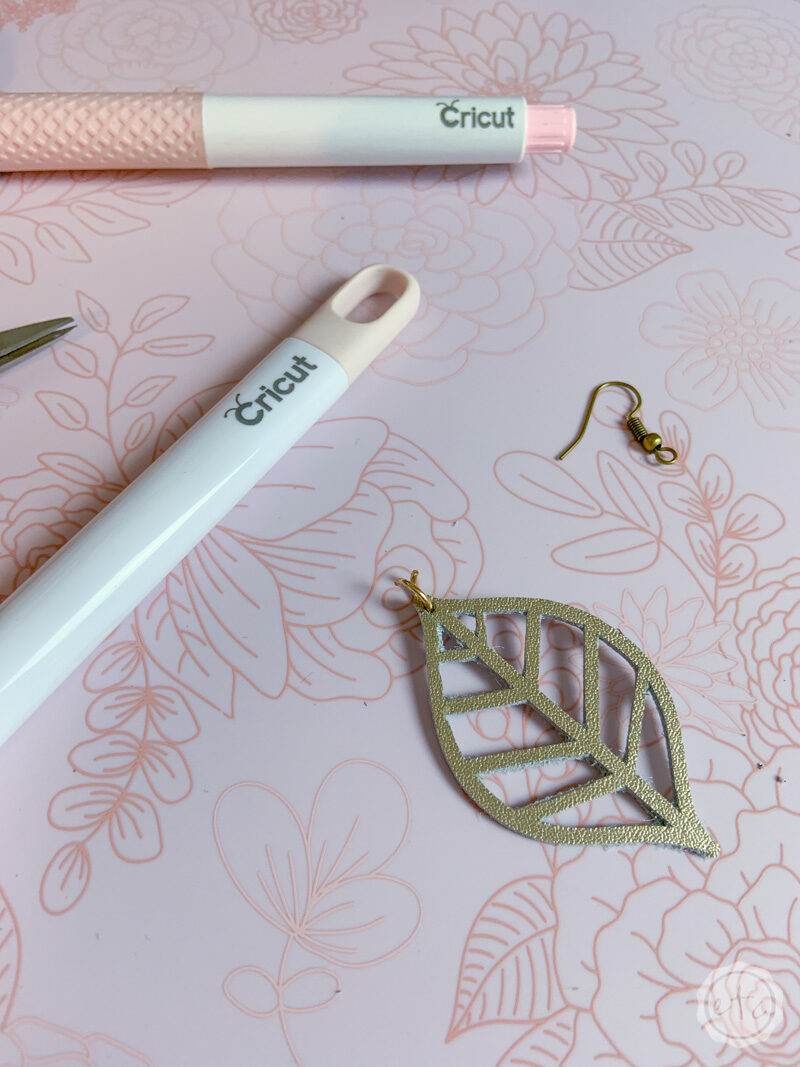
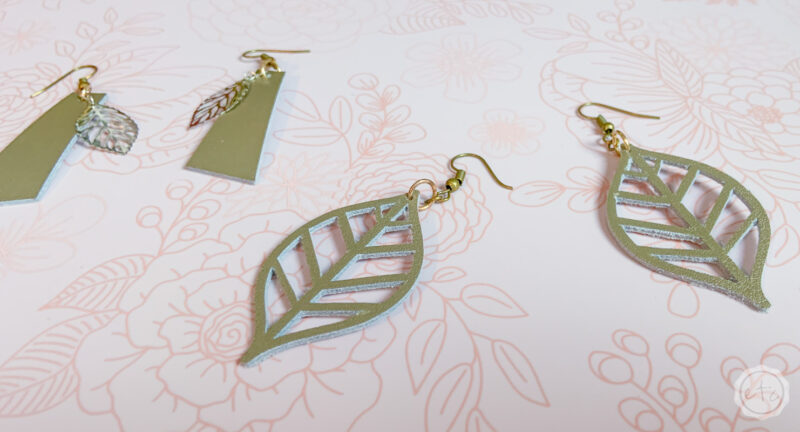
These little leaf earrings turned out so cute! I used my weeding tool to pop out all the little spaces and my true control knife to cut through some of the tiny spaces that didn’t quite cut all the way through.
Step 2: Add The Hardware
Now that your little leather earrings are cut out all you need to do is add a jump ring and a bit of earring hardware in order to wear these babies out on the town.
Just use your pliers to open the jump ring and add your two pieces (earring and earring hook) then you’re ready to rock!

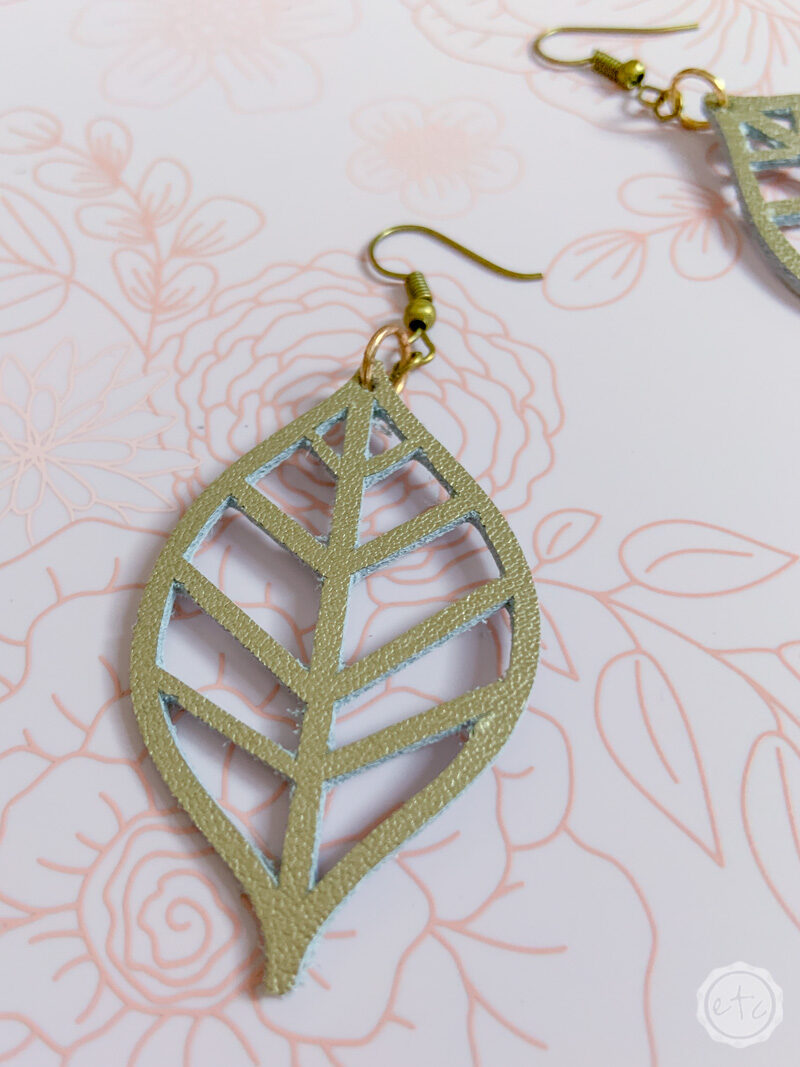
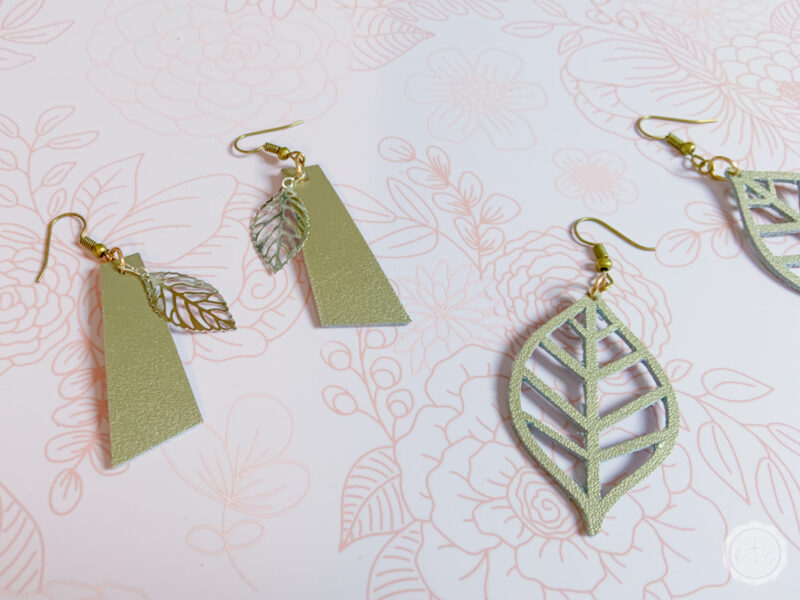
Ready to see the final product? They turned out so cute!
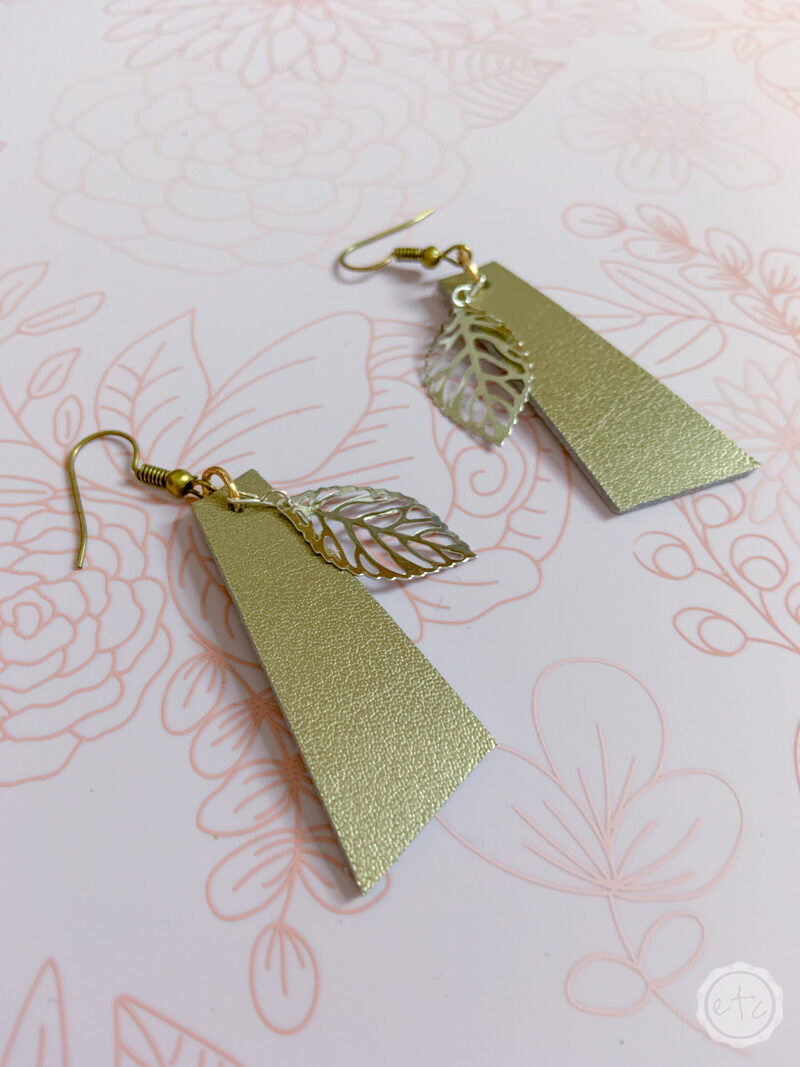
If you’re looking for a little extra bling you can add extra beads or metal pieces (like the silver metal leaves we picked!) to the front of your earrings. Just slip them into place before you close your jump ring.
Now you’re ready to enjoy!

The bestie and I had a blast making these… if you decide to make a pair I’d love to see how they turn out! Send a pic so we can take a look!
My last tip? When in doubt… add a puppy!


I would have never figured out putting the shiny part down!! Makes so much sense tho! Excited to try more leather projects!
Tell me about it! Now we just need to try a few more projects so we have it down pat!