
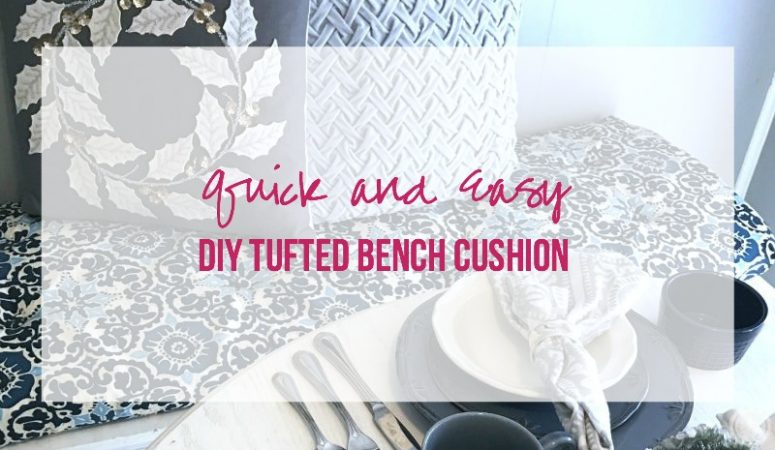

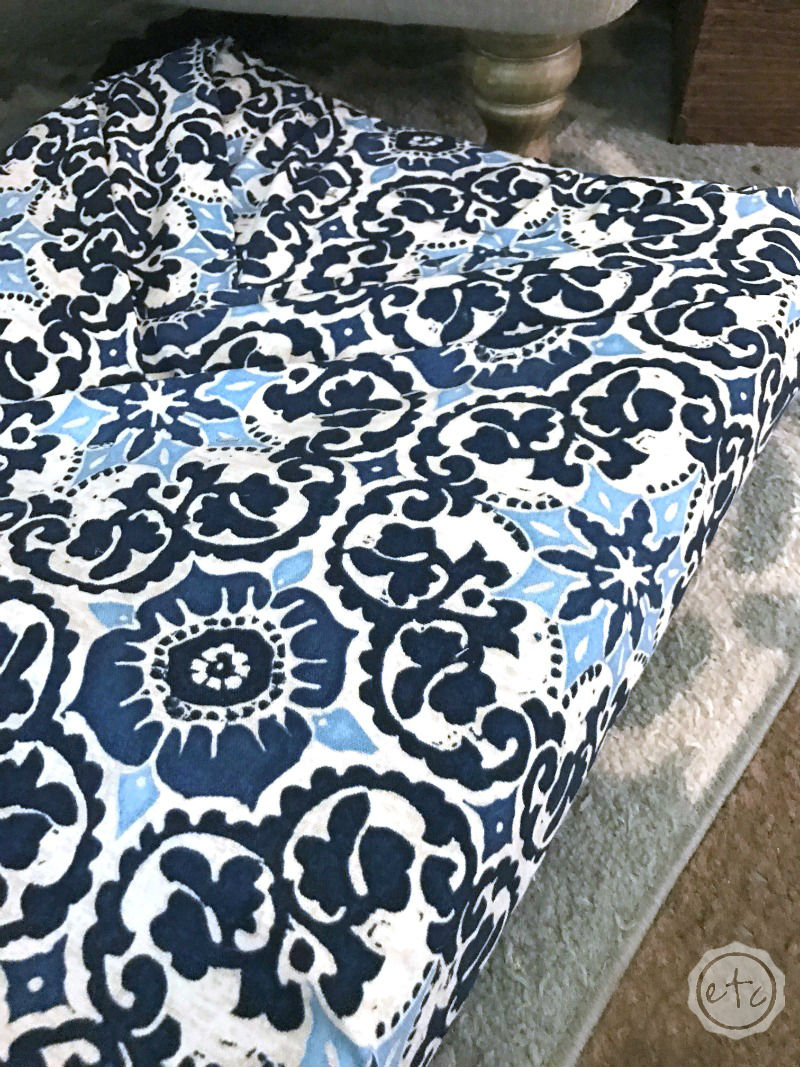
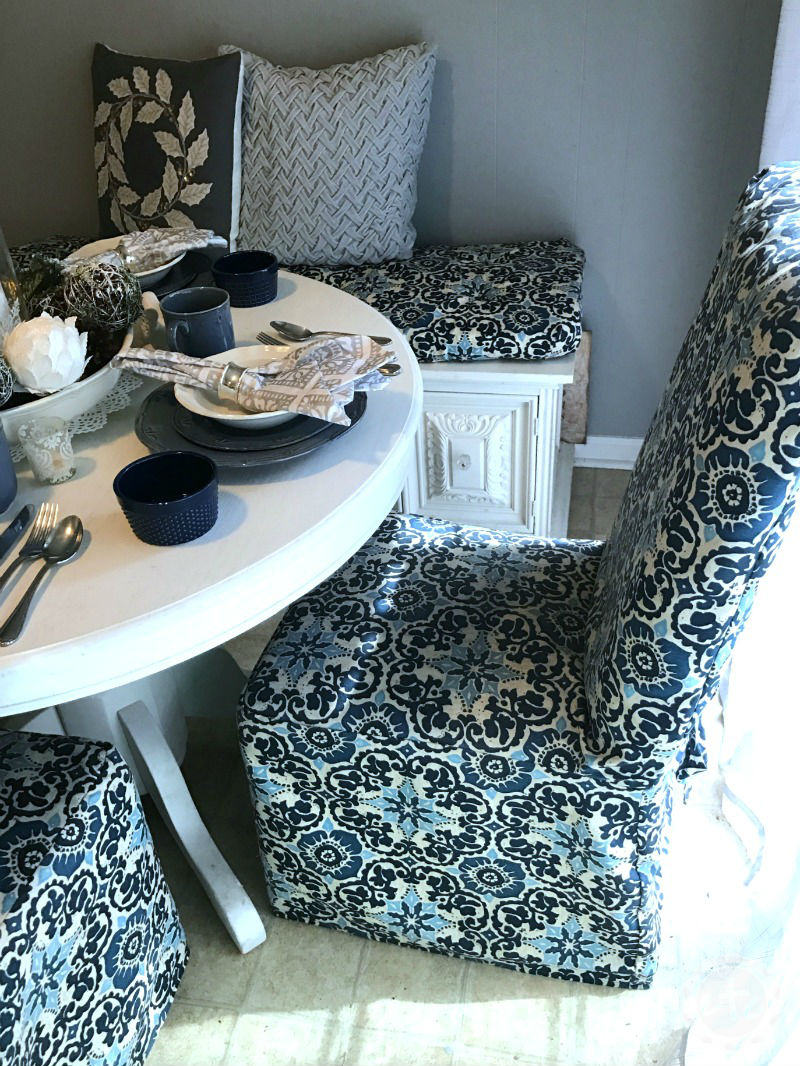
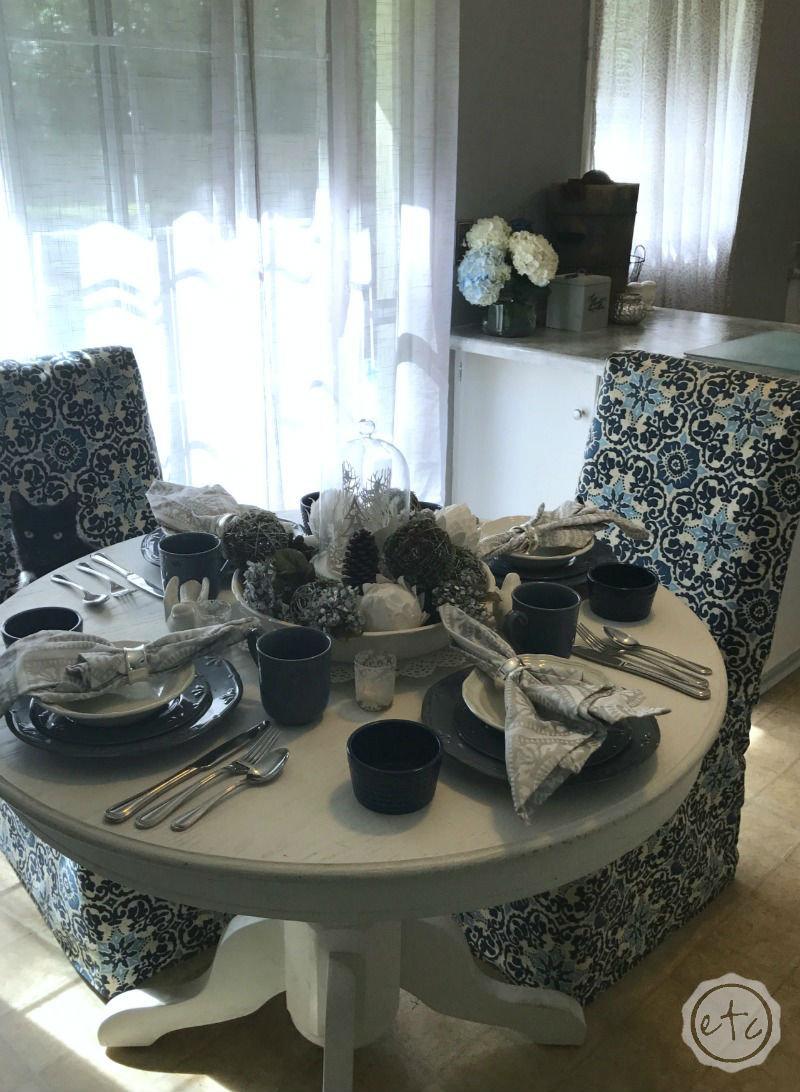
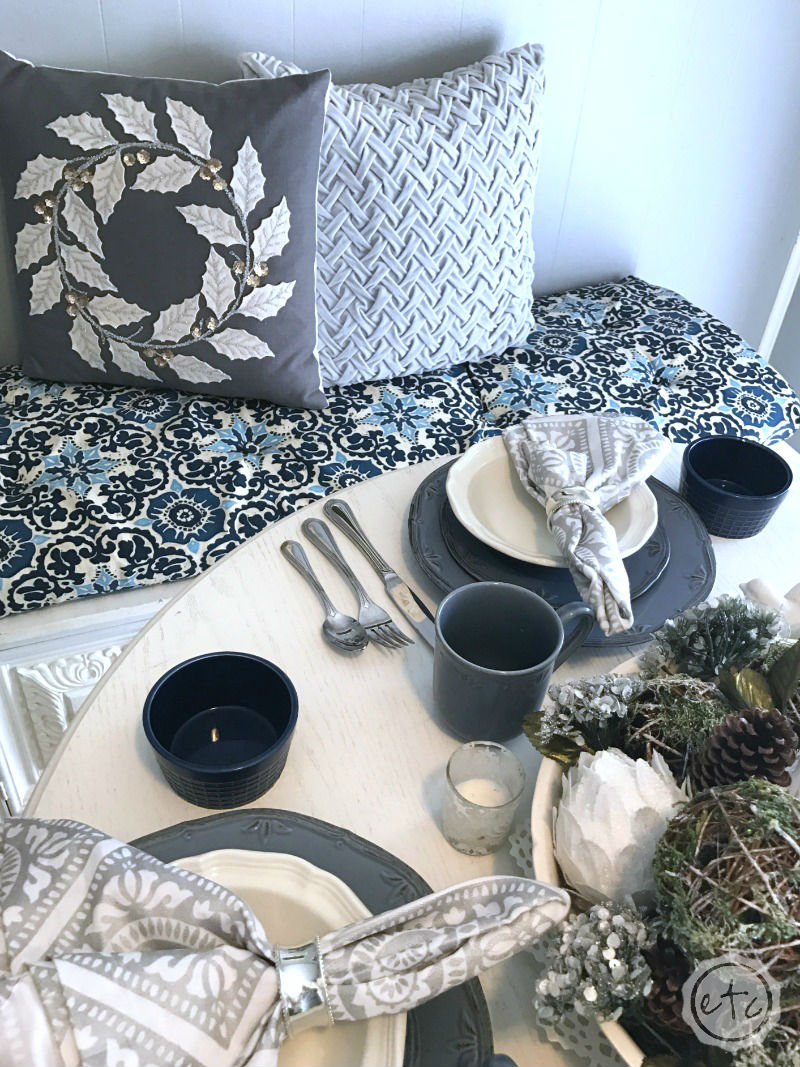
It’s been several months since we broke out the fabric and created new slipcovers for the chairs in out kitchen! I love the fabric we chose and the slipcovers turned out beautifully but they left one question… what were we going to do with the bench that completes our little seating arrangement? I looked at several complementary fabrics and then decided that using the same fabric would unite the bench and chairs together… so I started on my quick and easy DIY tufted bench cushion makeover!
Out of all the projects I’ve done for our little kitchen makeover I think this tufted cushion was the easiest. Thank goodness… I needed an easy project!
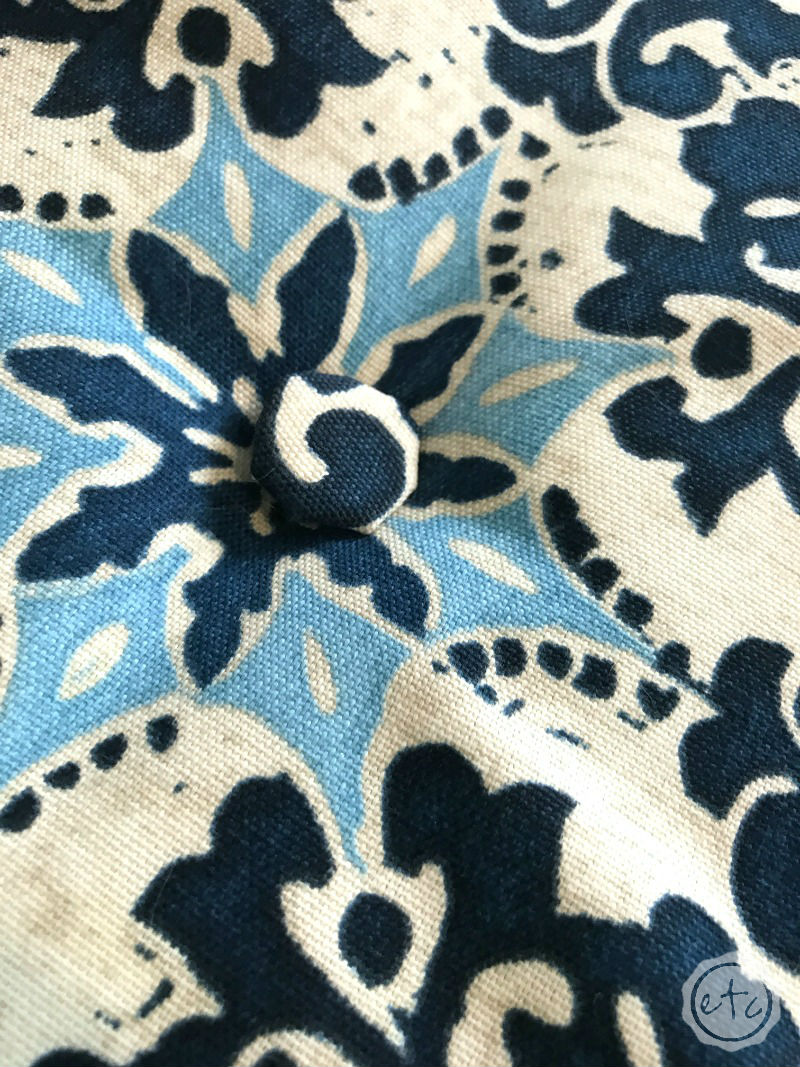
The hardest part was covering the buttons with fabric… and even that was an easy step! I wanted the buttons to fade into the fabric for this specific piece… instead of standing out. So I picked up upholstery thread and big curved buttons that would serve as an easy surface to cover.
Supplies:
Large Buttons
Scissors
Fabric
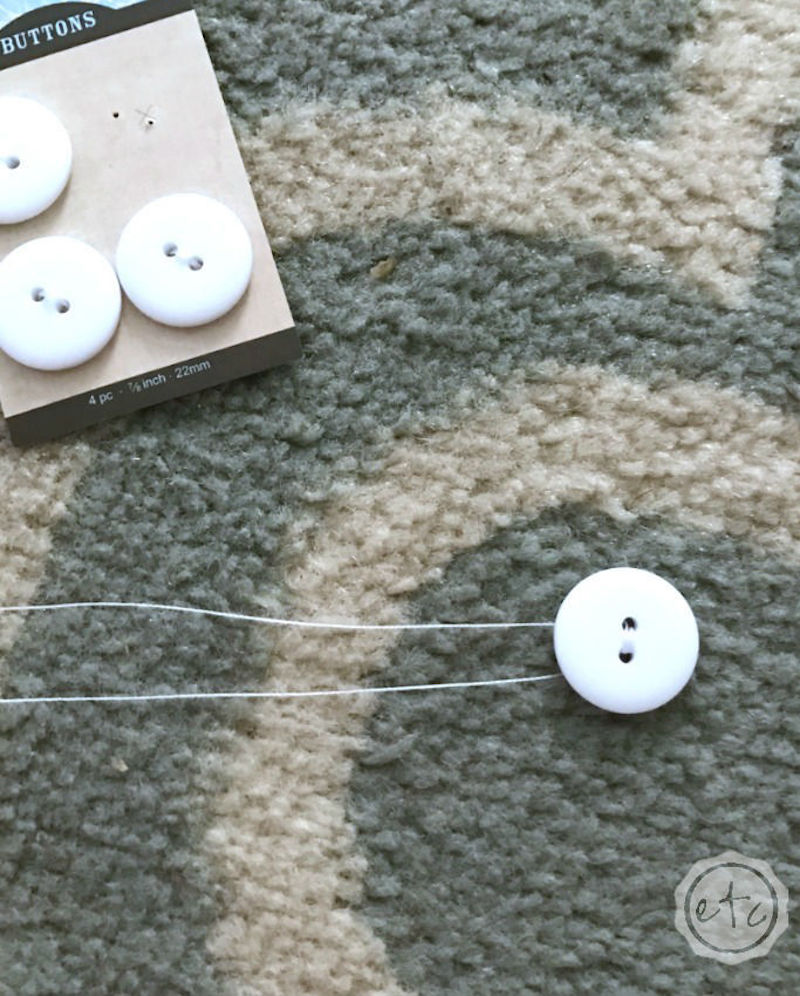
I started by threading the thread through the button holes. I wanted to make sure the thread would hold up to all the tugging that goes along with tufting so I passed the thread around the button holes 4 times before moving on to the next step.
Which is covering the buttons!
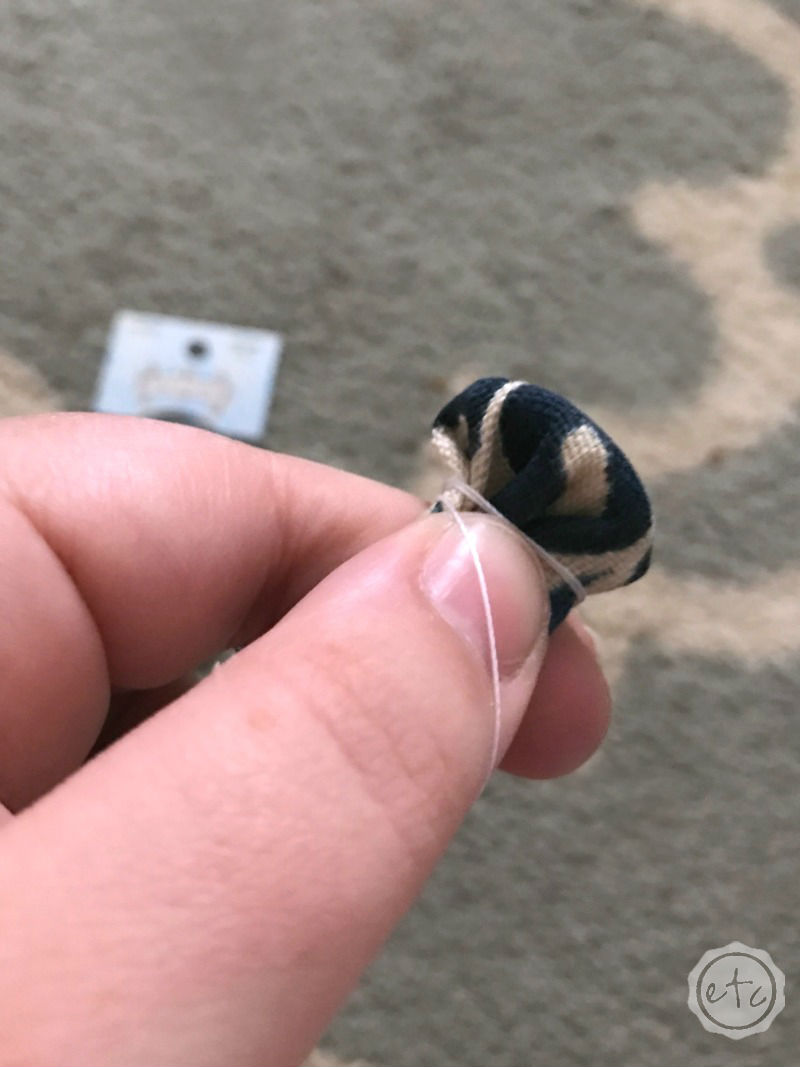
Cut a small square of fabric that is roughly three times as long as the button and wrap it around your button with the dull side in and the vibrant side out. Try to smooth the fabric over the button so that it’s smooth!
Once the fabric is wrapped around the button turn the whole thing over and make sure the fabric looks smooth from the front.
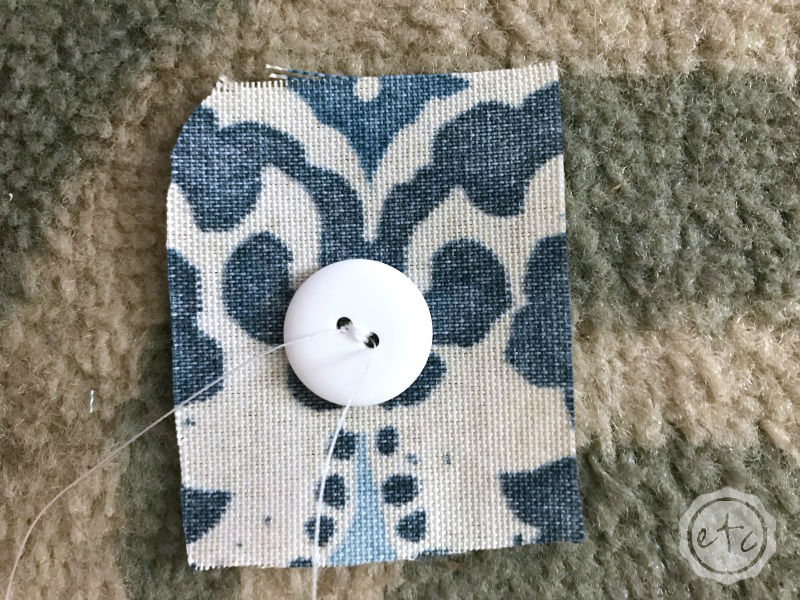
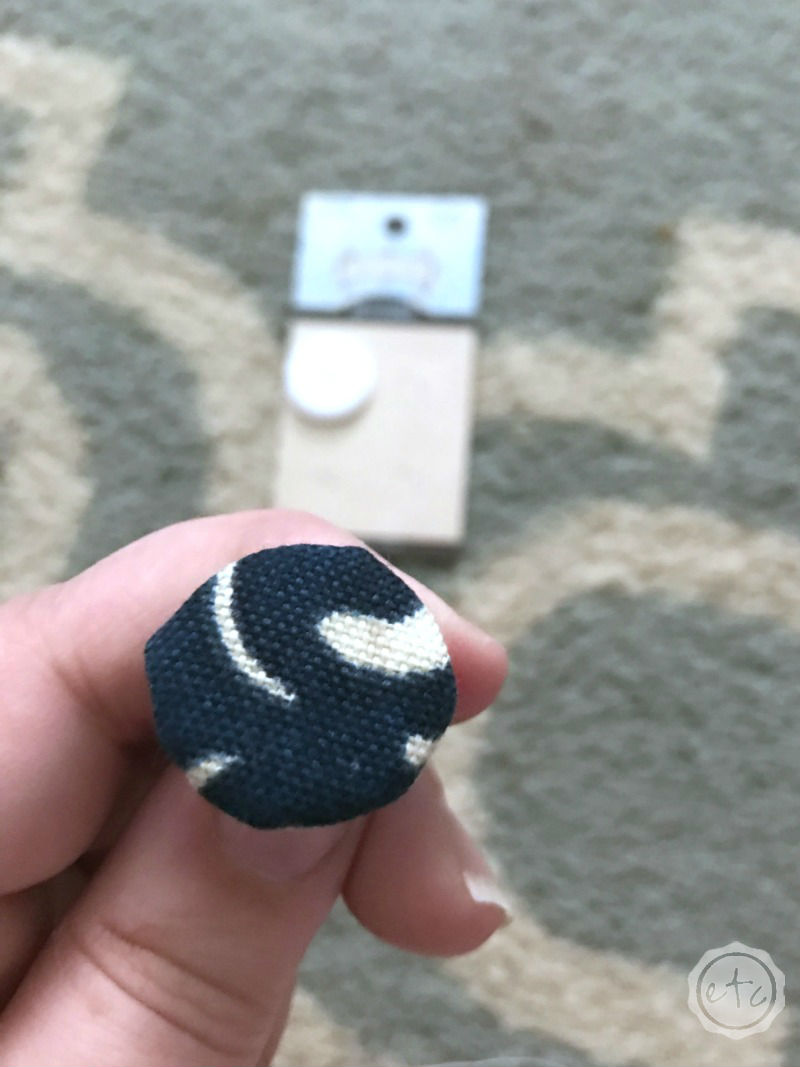
Is it smooth? Then it’s time to tie the button off! Wrap a bit of upholstery thread around the end several times and then tie it tight.
Now your button is ready for tufting!

Now that your button is ready it’s time to get your foam and fabric ready.
We measured our little bench and cut the foam to the same size. Cutting foam isn’t an exact art and there may be a better way but we don’t know what it is!

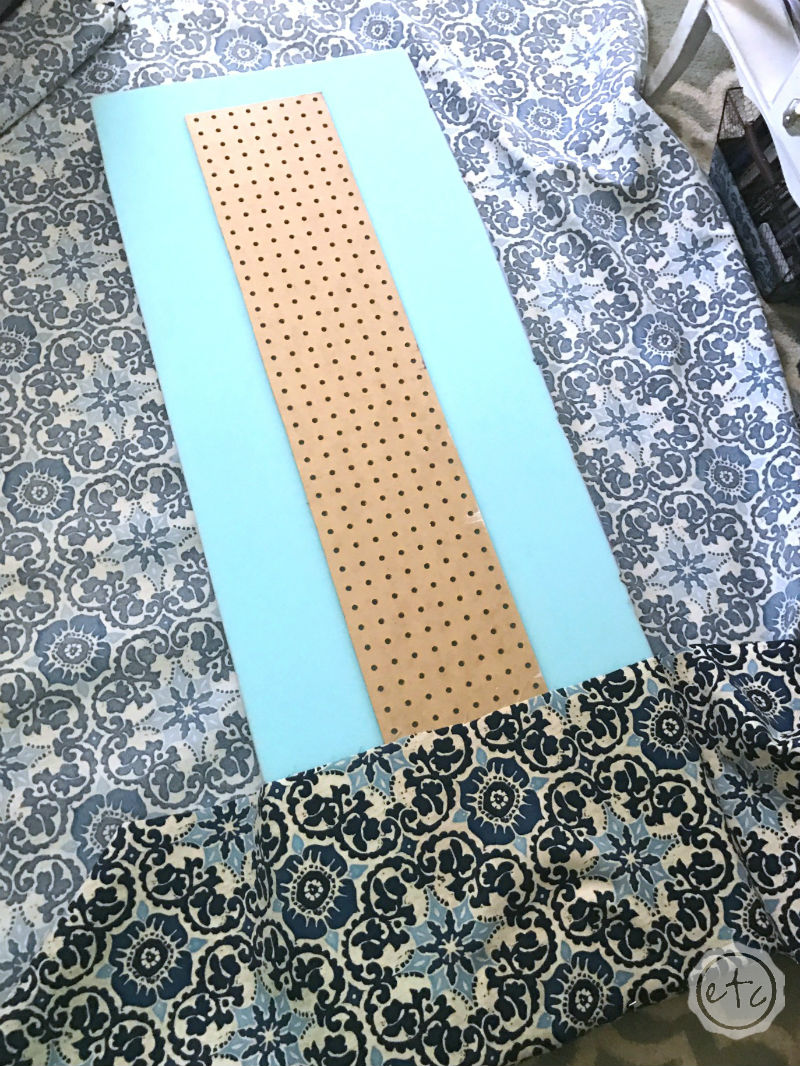
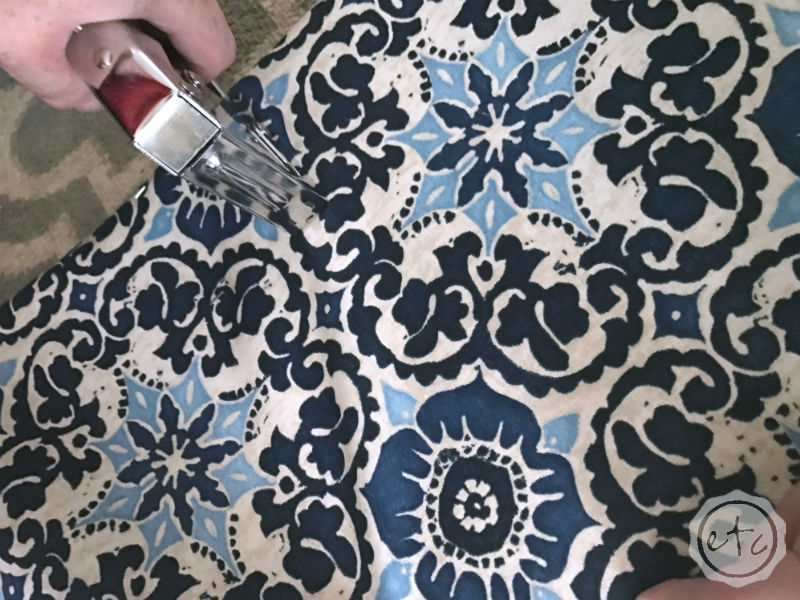
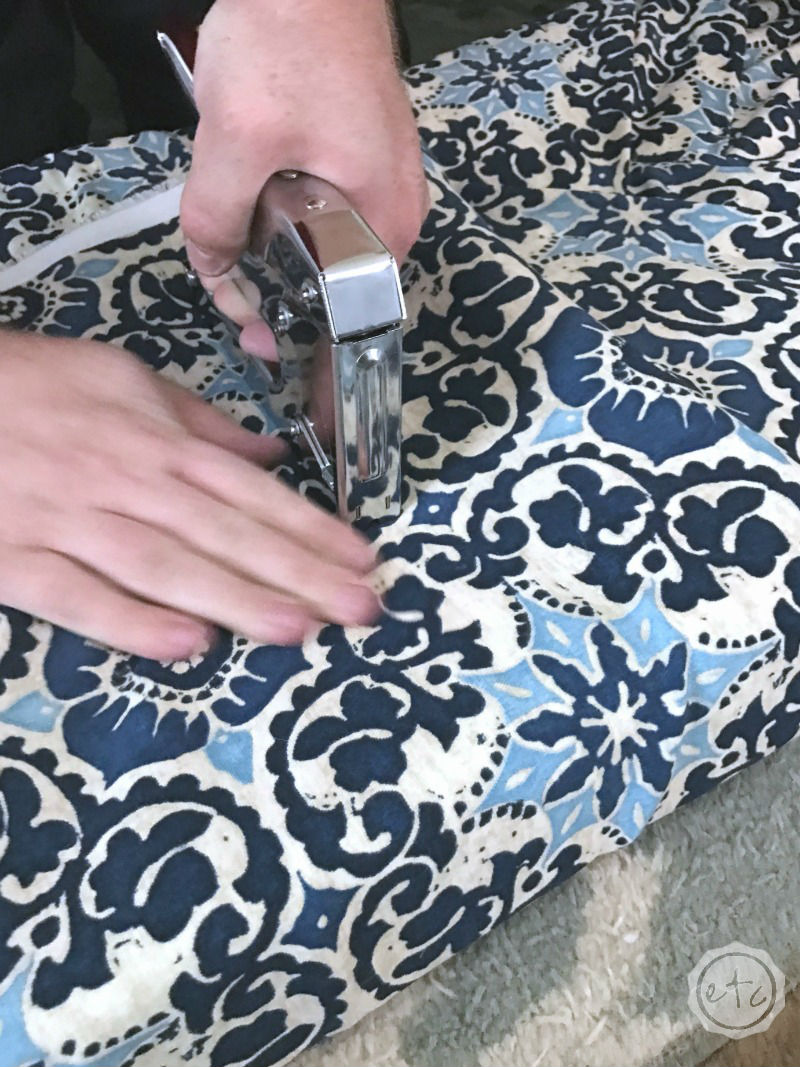
Now normally I would recommend cutting your pegboard to the same size as your piece of foam but I had a small piece left over from the big pegboard we hung in our craft room… and I didn’t want to waste it! We pulled the fabric over the ends and stapled both ends in place.
Technically this isn’t necessary but it helped to hold the fabric in place while we were tufting the buttons!
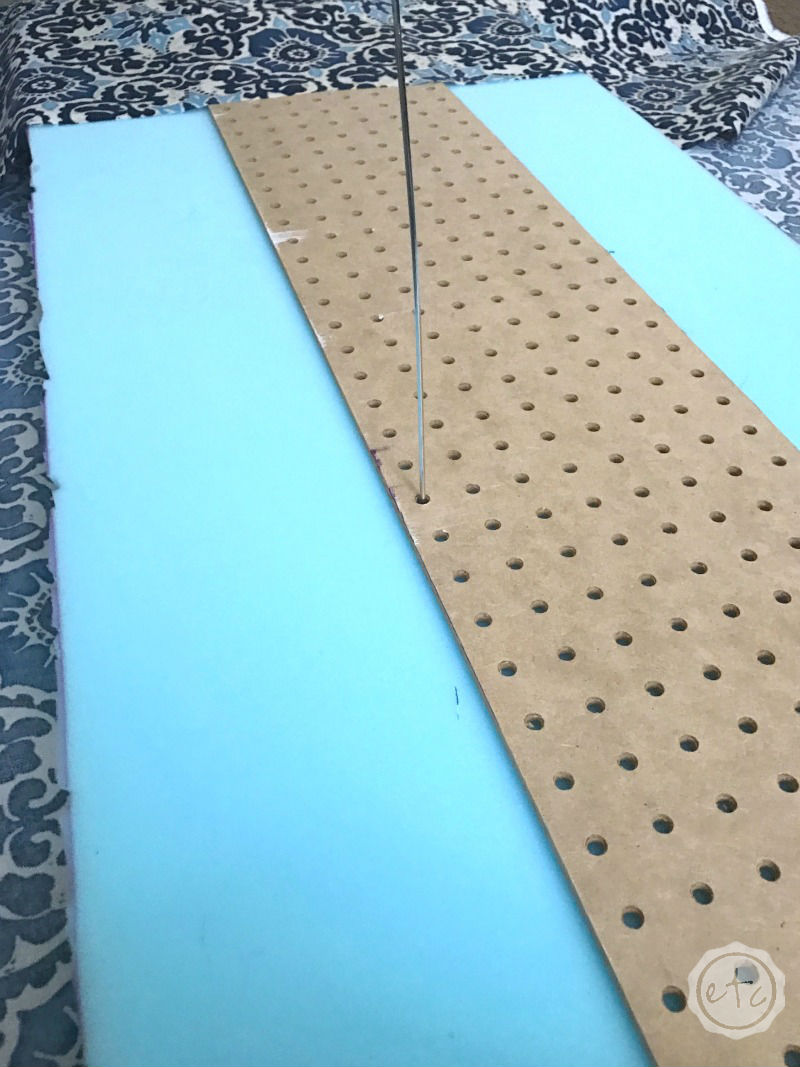
Now it’s time to tuft the buttons! I used two of the upholstery needles to get the job done! I started by picking which spaces in the pegboard would be perfect for buttons. I put one of the tufting needles all the way through the foam to the other side… all this really does is mark the right place on the front of the cushion.
Now place one of your fancy fabric covered buttons on the other upholstery needle. You’ll be able to push the needle all the way through to the other side of the foam following the first needle.
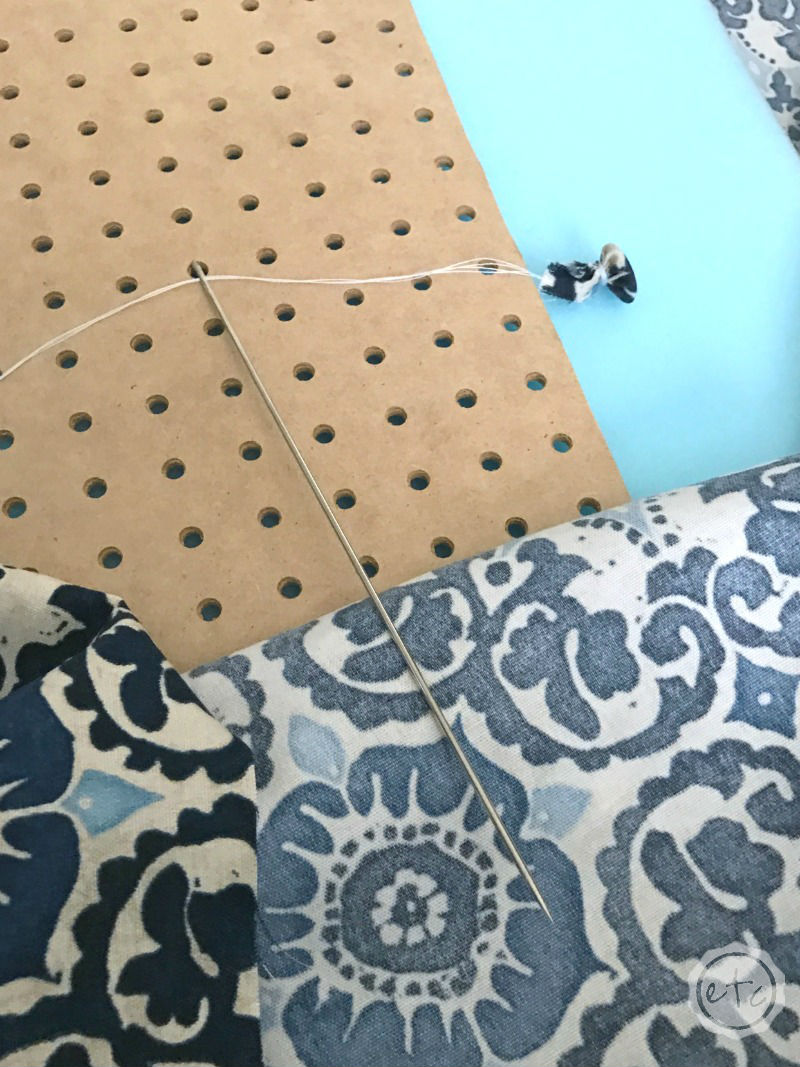
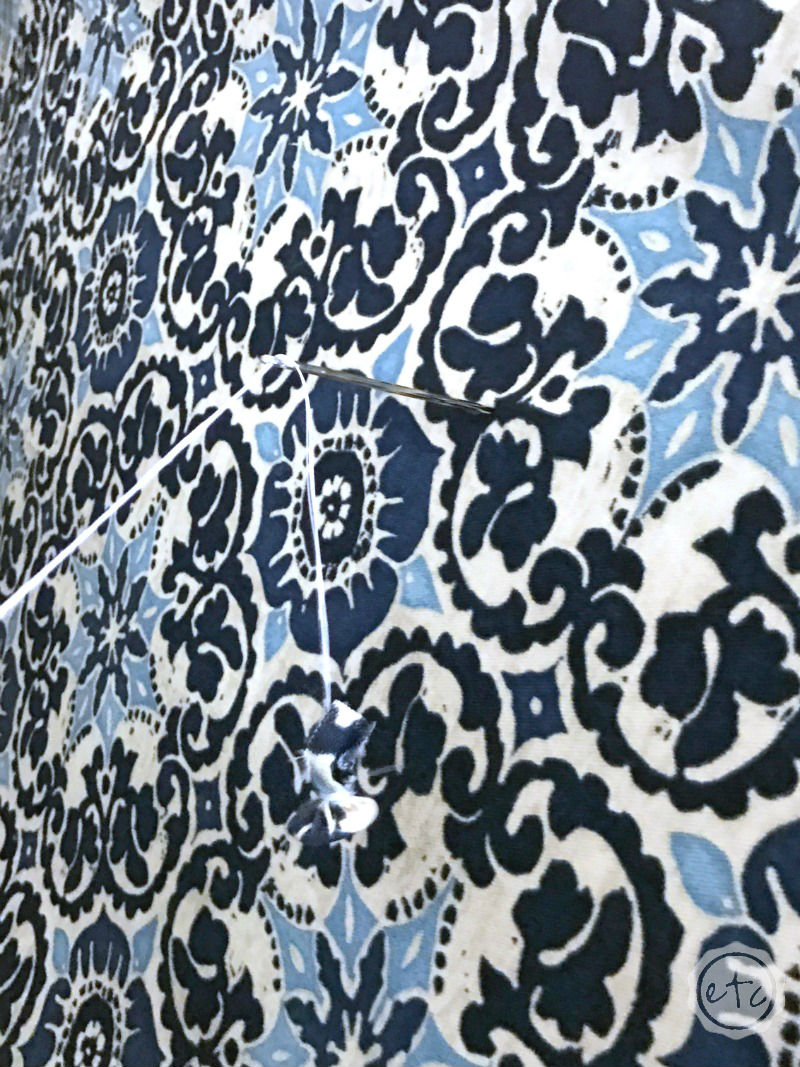
Now puuuuuulllll the thread tight. I found that if you push down on the foam from the back while pulling the thread you can get the tuft nice and tight! Once you have the thread pulled tight staple the thread onto the pegboard! I find that if you staple the thread several times it holds b.e.a.u.tifully.
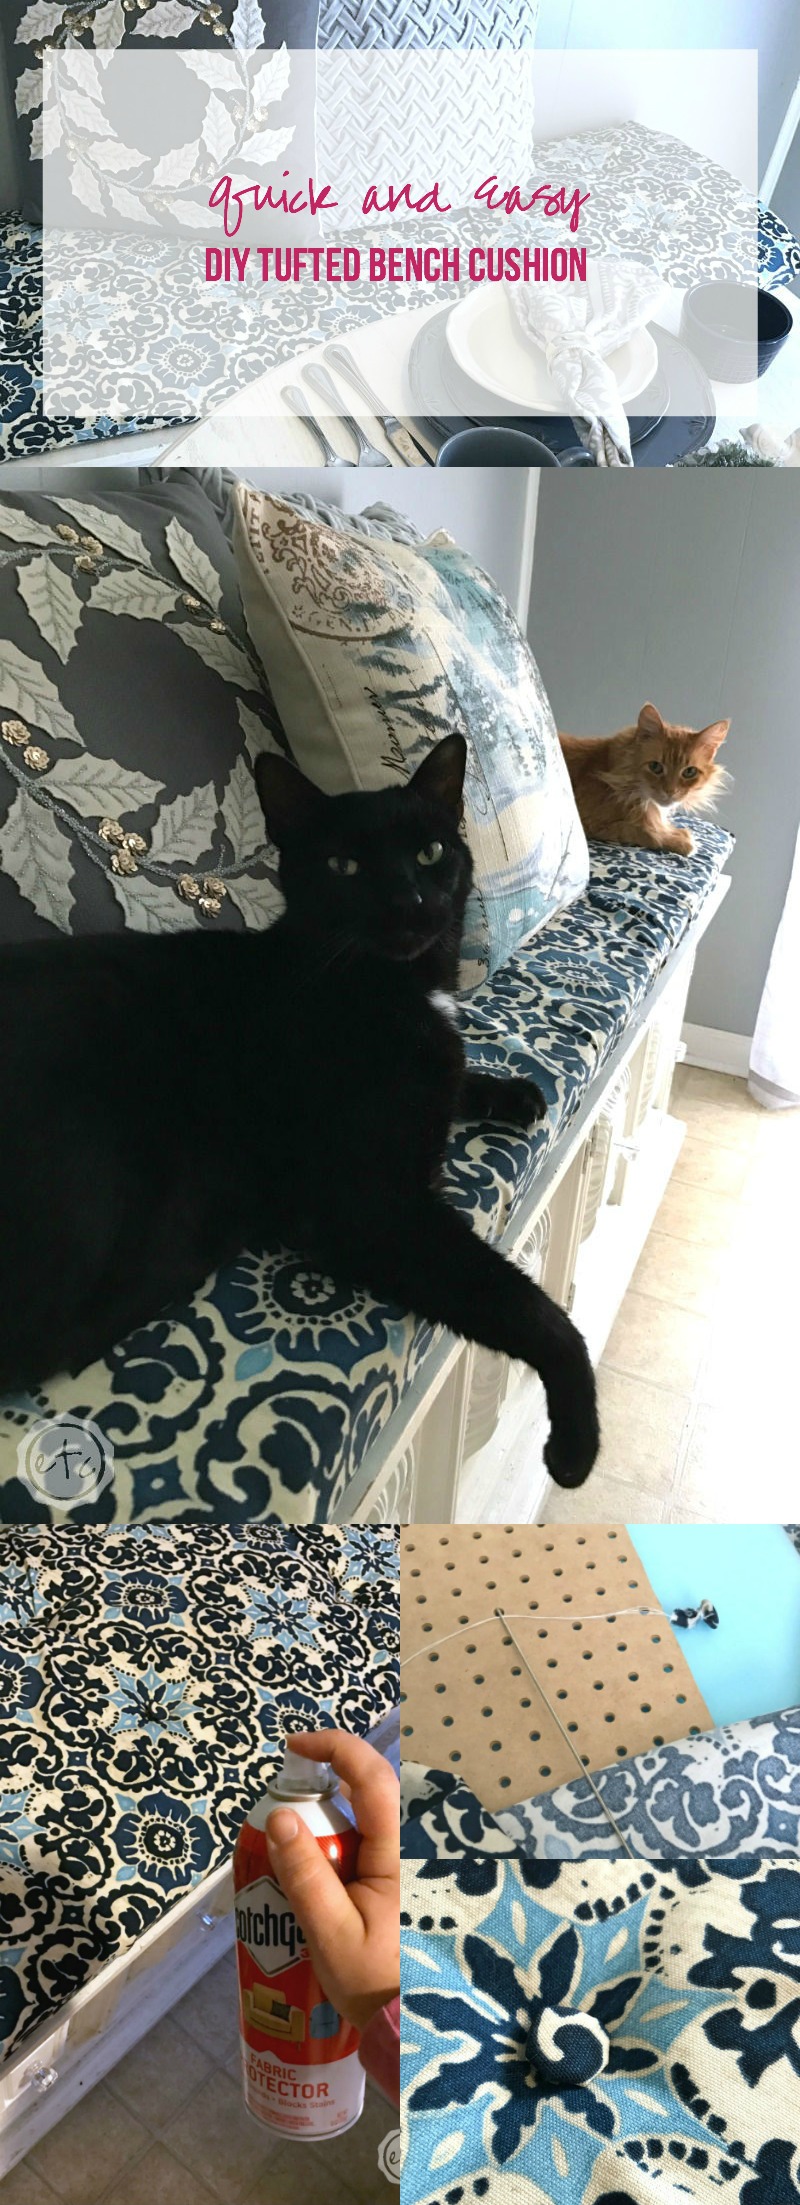
This part is a little funky so I made a quick little video for y’all… you can see exactly how we put each of the tufts in!
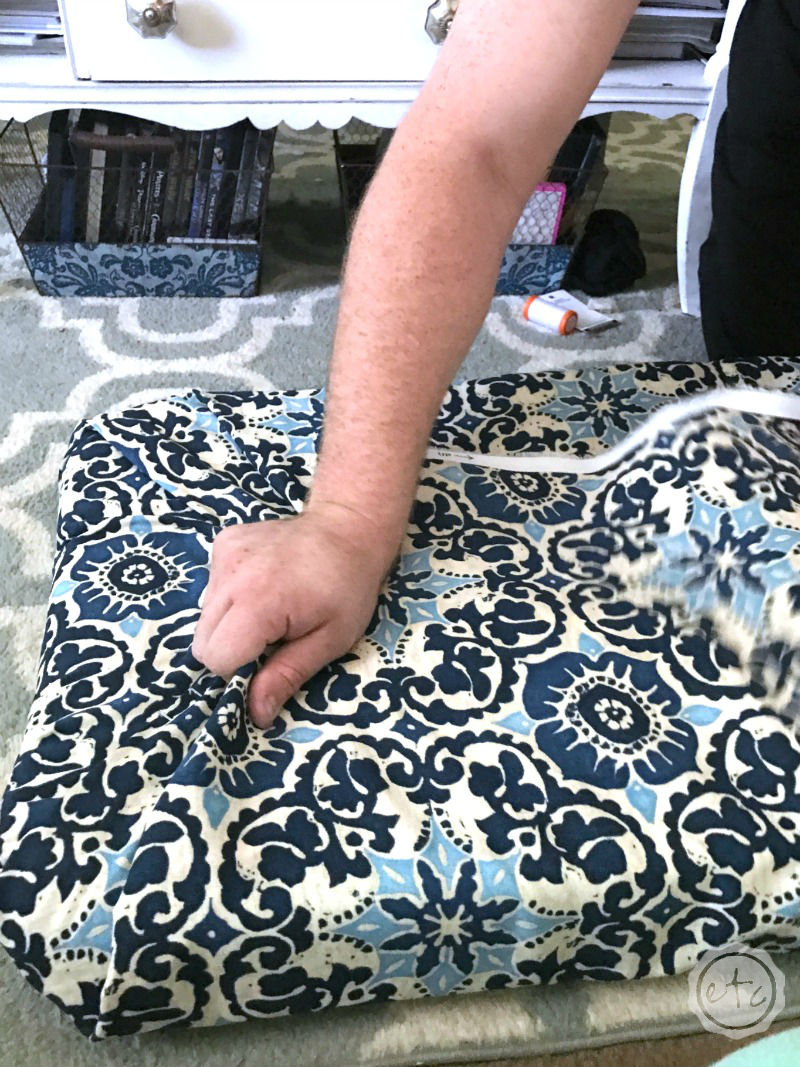
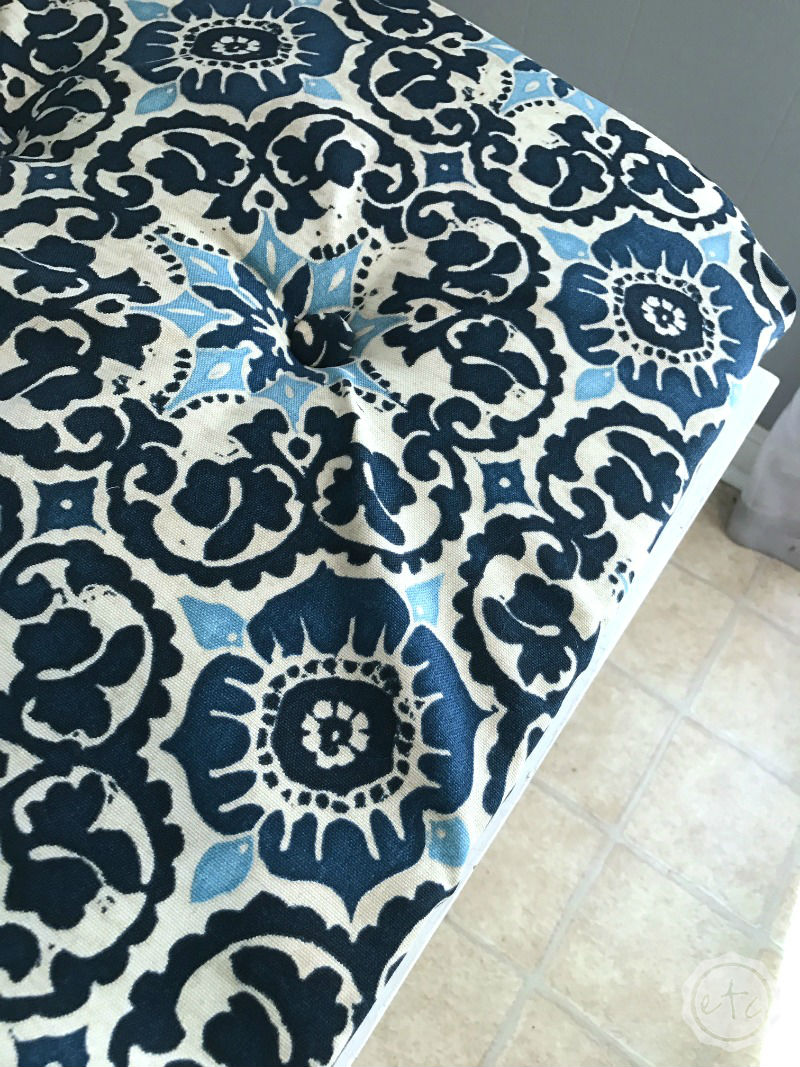
Once all of your tufts are in it’s time to secure the fabric to the pegboard. Wrap the corners of your fabric around the foam like it’s a pretty Christmas present and then secure the fabric with a neat little row of staples.
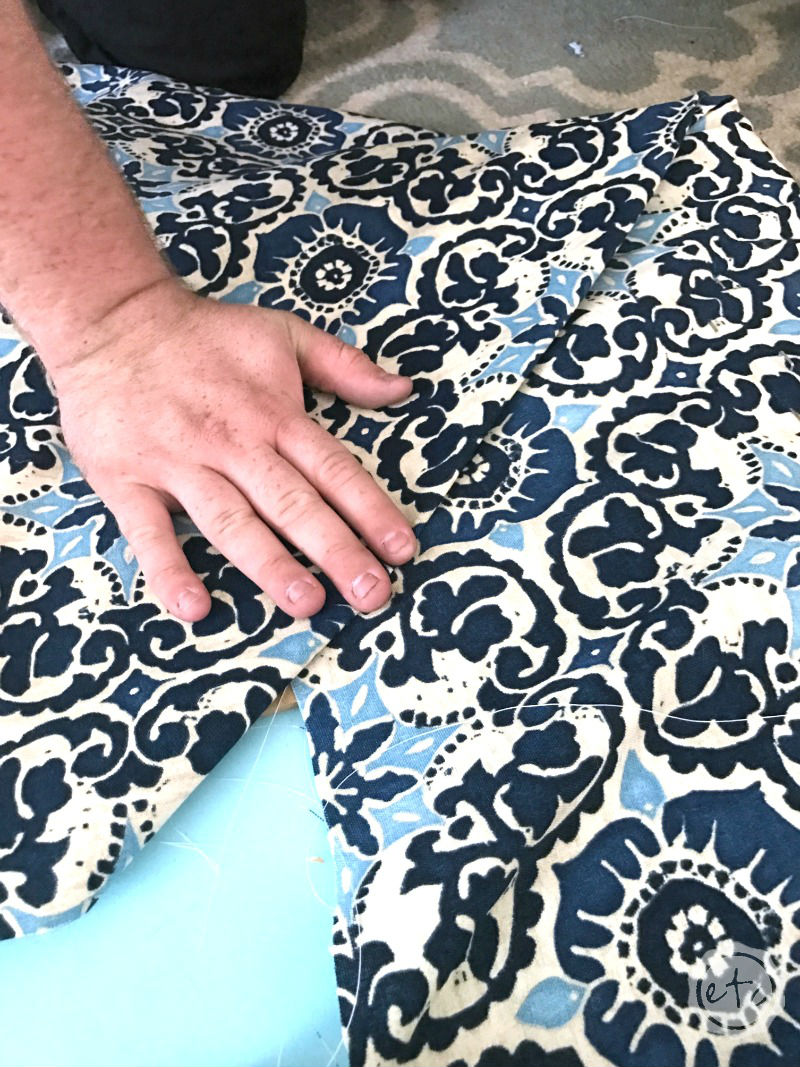
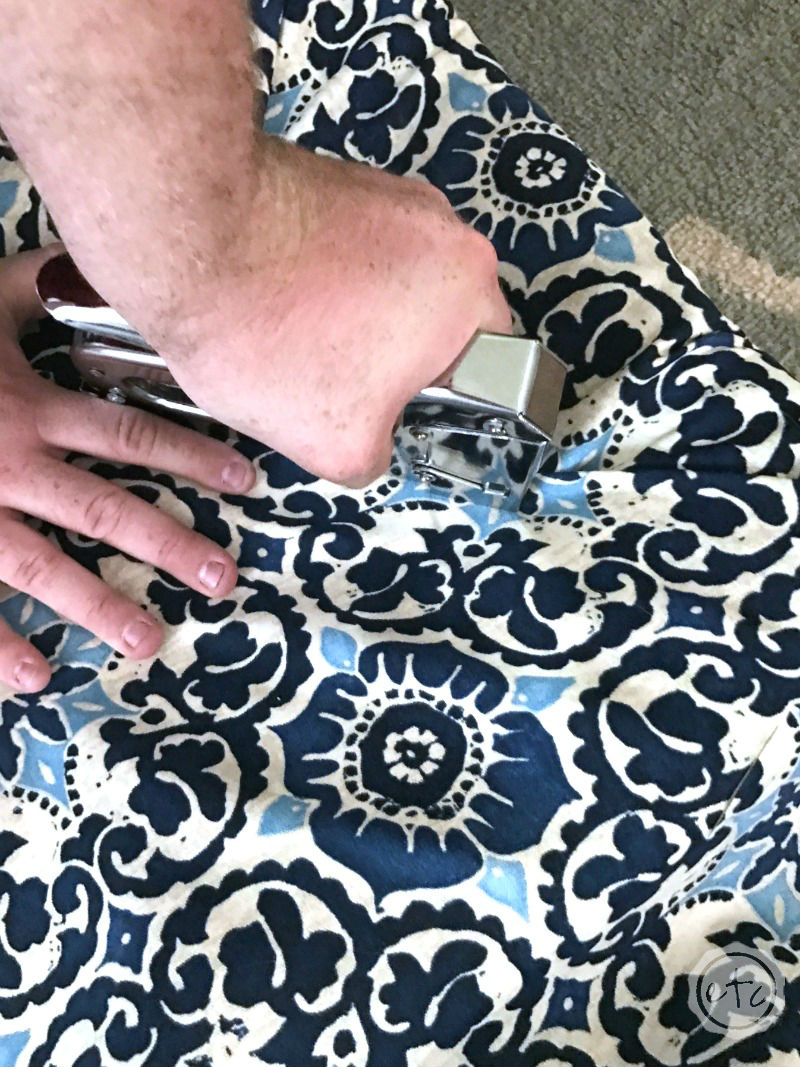
Once you’ve done one side… do the other one exactly the same! Easy peazy lemon squeezy! Then staple the sides down so that your all wrapped up tight!
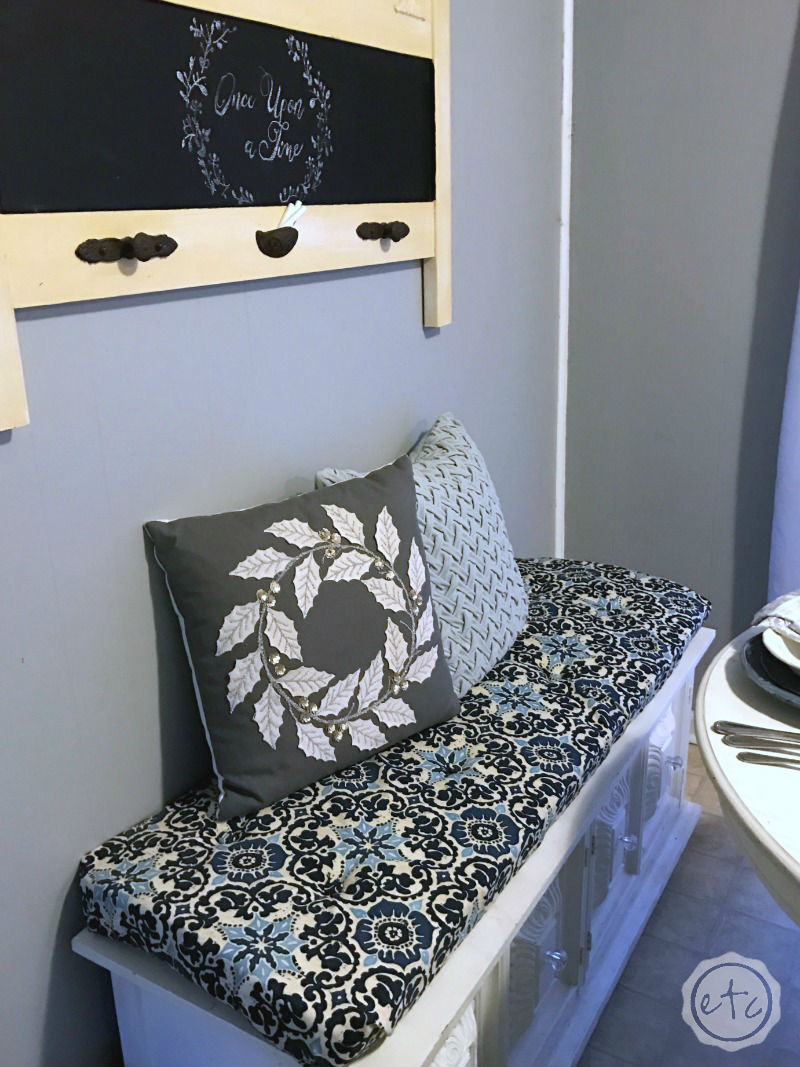
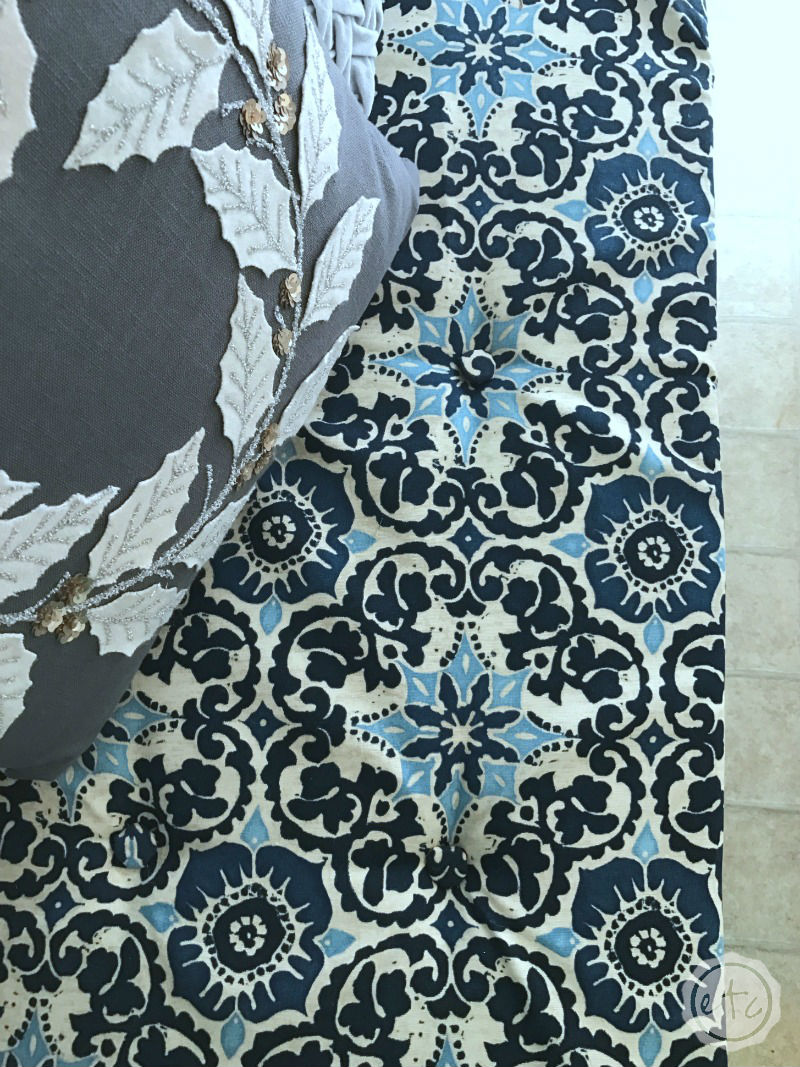
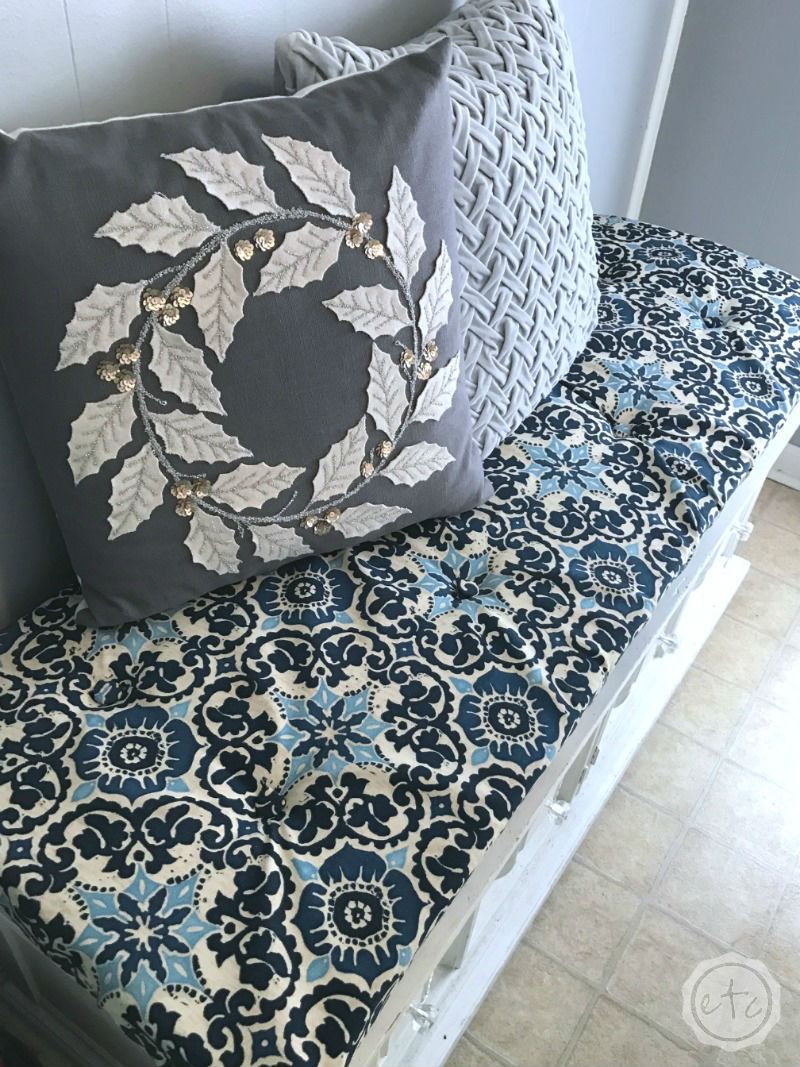
Now you’re ready to put your little cushion on the bench!
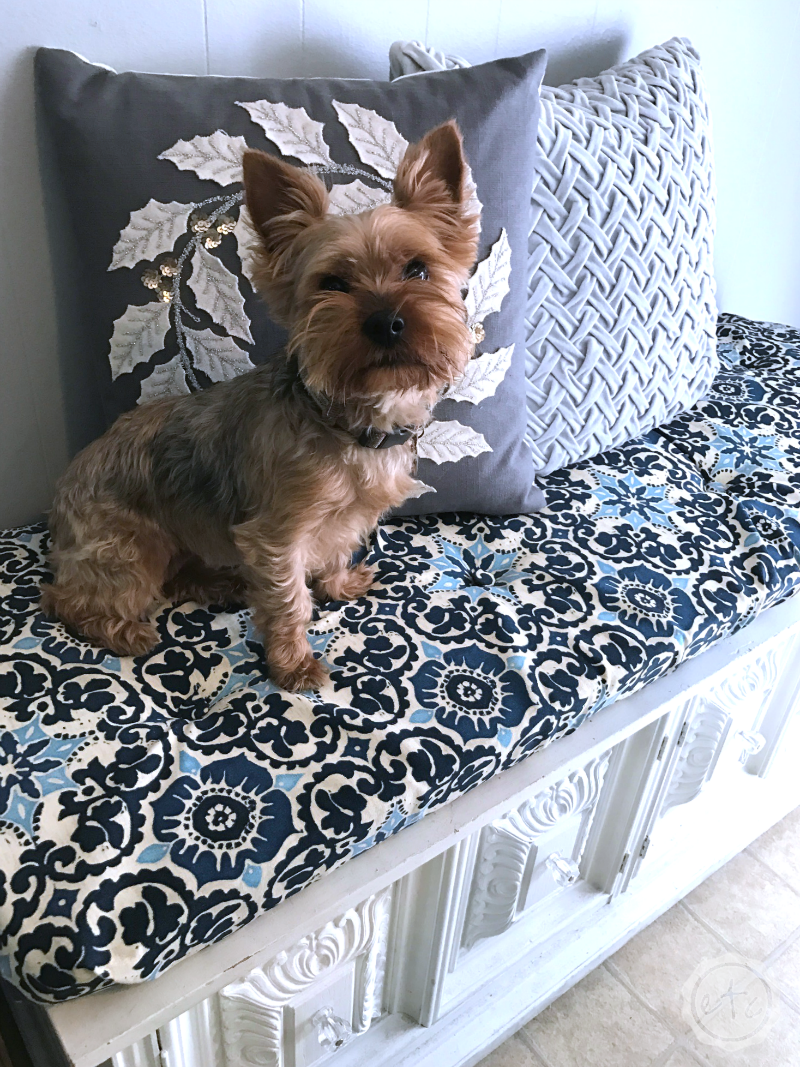
I absolutely love how it turned out! We’ve never tufted before so I wasn’t sure how this little project would turn out but I’m pretty darn happy with my little project!
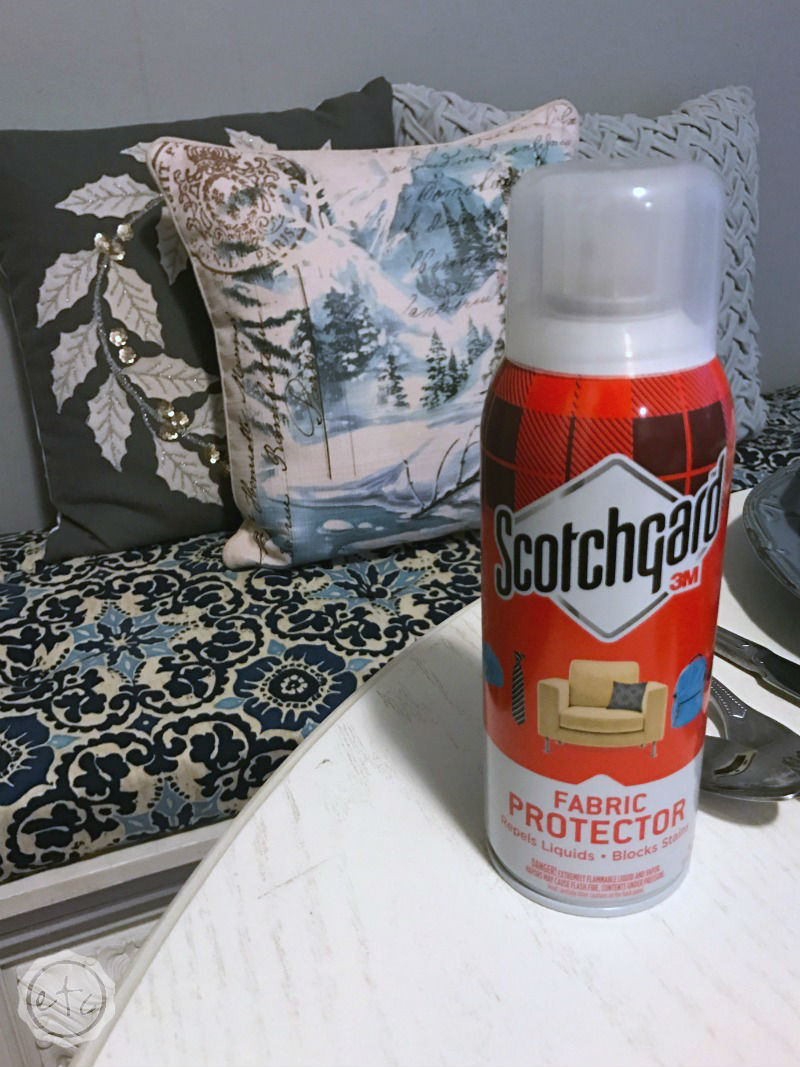
Of course, the first thing that happened when we put this little guy on the bench is our fuzzy little bench tester jumped right up! Which reminded me that we definitely need to hit this little guy with Scotchguard. Not only is it part of our dining room set (meaning dropped food and crumbs) but the fur babies love to sit in this particular spot.
I think it’s because it’s sunny and they can look out the window… either way we needed to protect against all the jazz that happens to fabric because life.
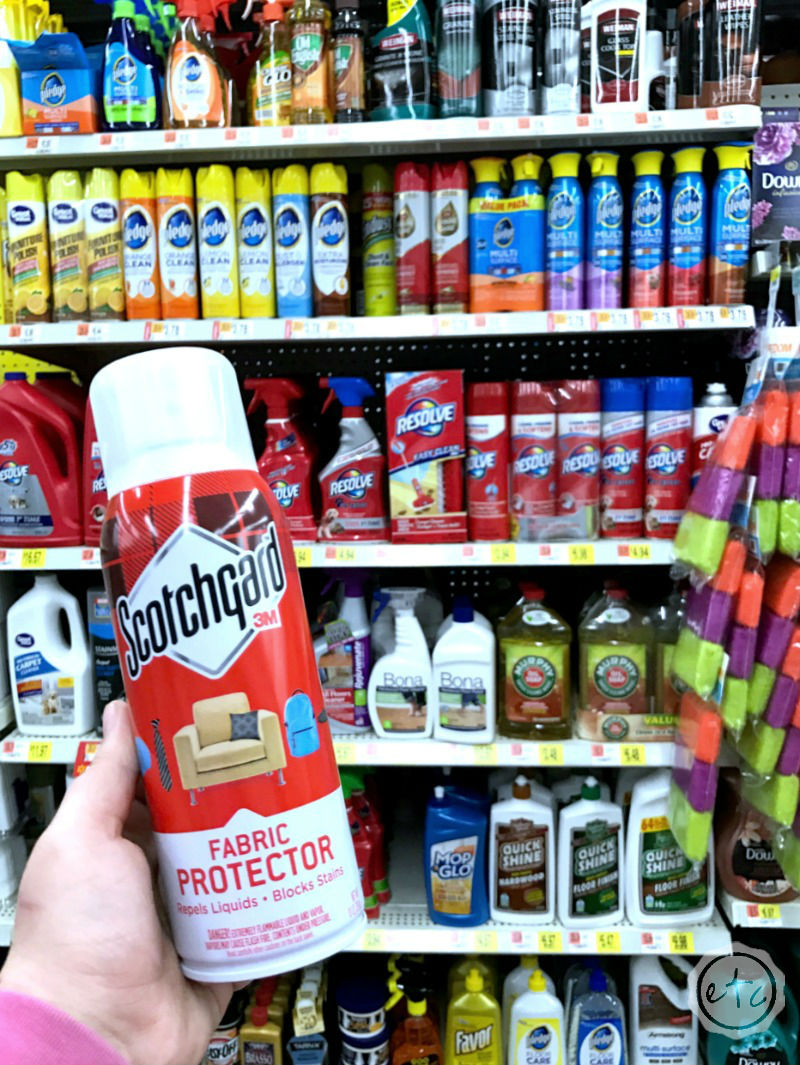
So we hit our local Walmart because let’s face it… here in our little Alabama town all we have is Walmart! Luckily they had one can left on the shelf… this stuff must be popular since all of the other shelves were full of product. Of course, we were out of Scotchguard at the house but luckily we now have a brand new full bottle and since this stuff repels liquids and blocks stains we use it all the time.
Tip: If reading all the instructions is waaaay too much I made a little video that shows you all the steps!
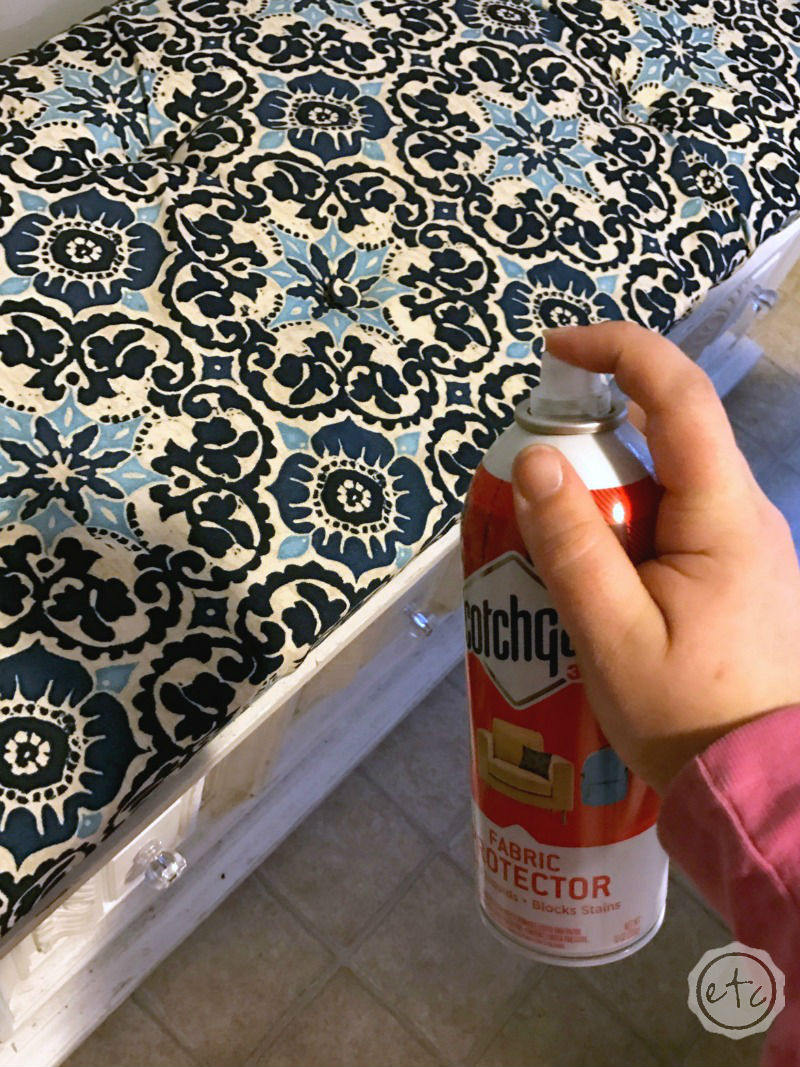
Protecting the new fabric was super easy… and the best part is that a new layer of Scotchguard will keep the fabric looking just like new in just a couple minutes. The steps are so simple… make sure to protect wood or other non-fabric materials (like your bench) from overspray. If overspray does occur (like in the video when I do spray the bench!) just wipe it up. Easy peezy lemon squeezy.
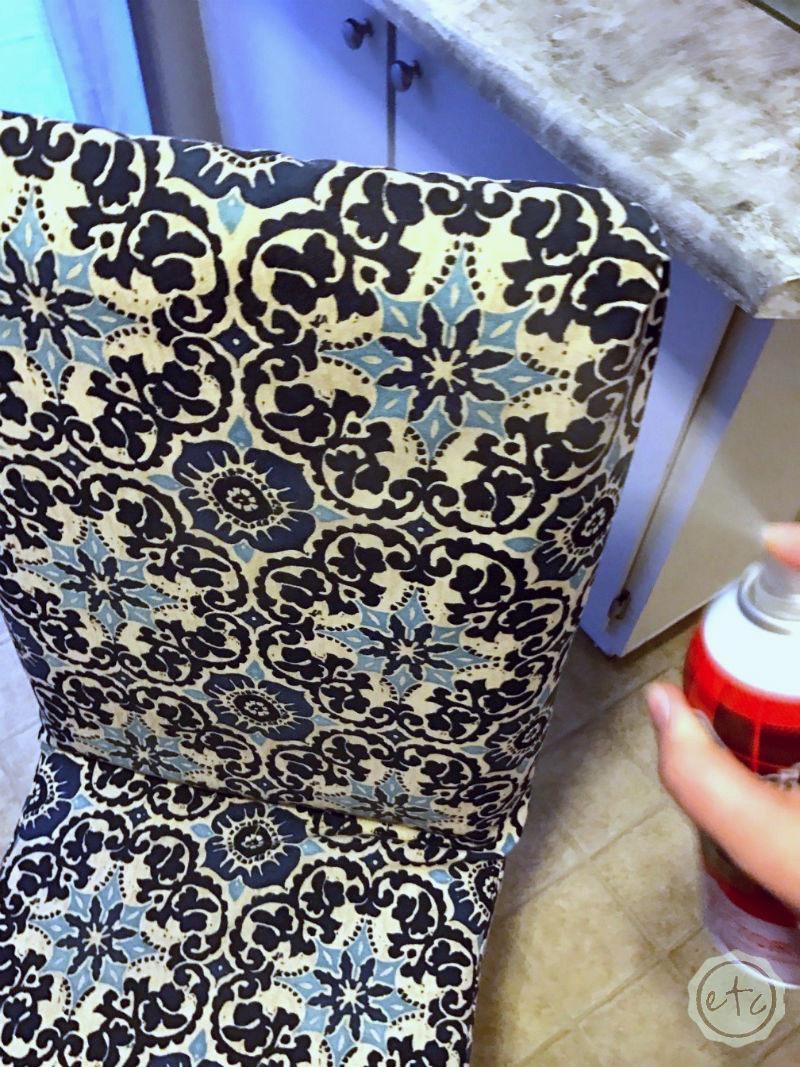
Shake up your can and make sure to test in a hidden spot (like the bottom of your chair or the back of a cushion) to make sure your color will not wipe away. Just spray a bit on a hidden spot and wipe vigorously with a white absorbent cloth. If the color rubs off don’t use it! Trust me… it’s not worth all the pretty color coming off your fabric!
I’ve used Scotchguard before but I was a little nervous about it this time since we’ve spent so much time making the slipcovers and bench cushions and I would hate for them to be ruined at this point! We usually use Scotchguard on shirts, table cloths or curtains… ready made items that I worry a little less about. Of course, I’ve never had a problem before but there’s always a first time.
Luckily there was no color transfer so we were good to go on the rest of the fabric!
This part was super easy! Hold your can upright just about six inches away from the surface of the fabric… just put a slow, steady, overlapping layer across the entire bench. Keep it light and remember that two light layers and better than a heavy coating (but don’t forget to let the fabric dry before moving on to the next coat!).
Of course, since we were putting Scotchguard on the bench I figured it was a good time to protect the chairs too. Now we’re all set!
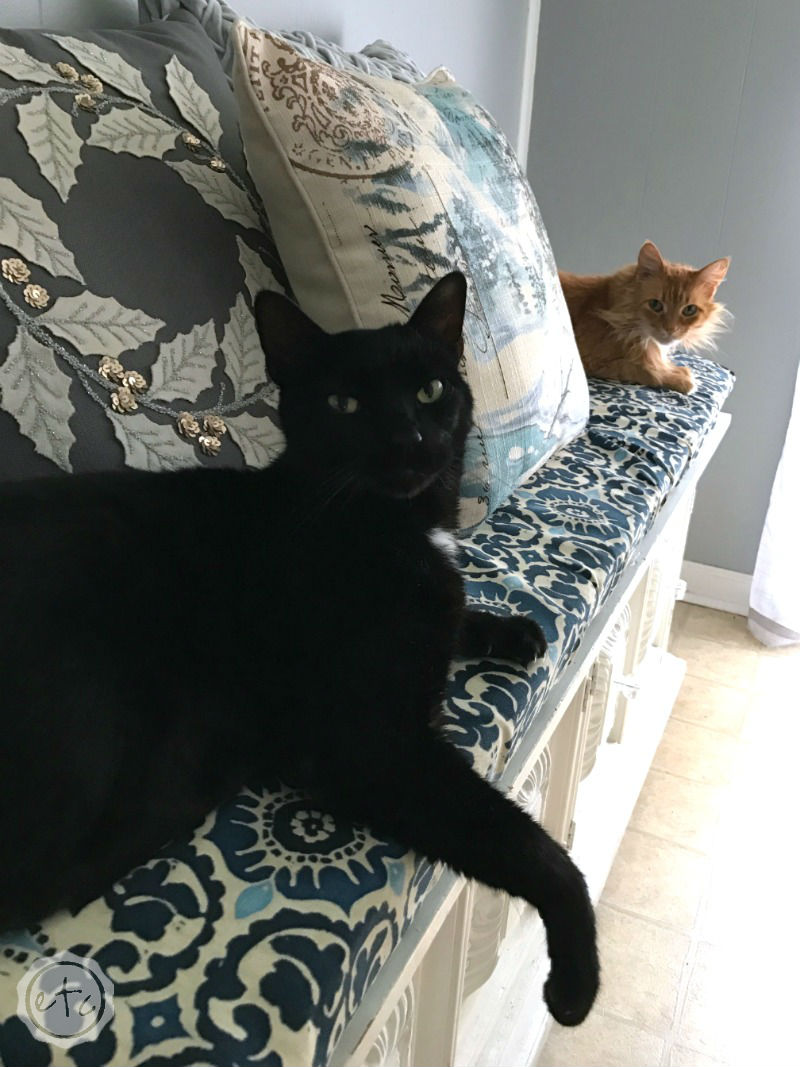
Of course, keeping the animals off the bench long enough for the Scotchguard to dry was the hardest part! I had to lock them in the other room while this little gal dried so that they didn’t coat their fur sticky yuck!
Crazy cats.
Now we’re finished! The bench is stapled, tufted and protected from spills. All we have to do now is to look at the pretty pictures and enjoy!

Don’t Forget to Pin!


It looks lovely Betsy. I’ve never tried tufting something, but your video made it seem so easy. I think I’ll give it a go. Love your gorgeous fur babies too.
Hi Betsy. Beautiful cushions and post. How far apart do you recommend placing the tufted buttons?
Thank you
Thanks Carrie! It really depends on what kind of look you’re going for. There’s no specific rule of thumb but I find that with most projects 3-5 inches is a good spacing. If in doubt lay out your buttons first and make sure you like the look before starting on your tufting. Good luck!