
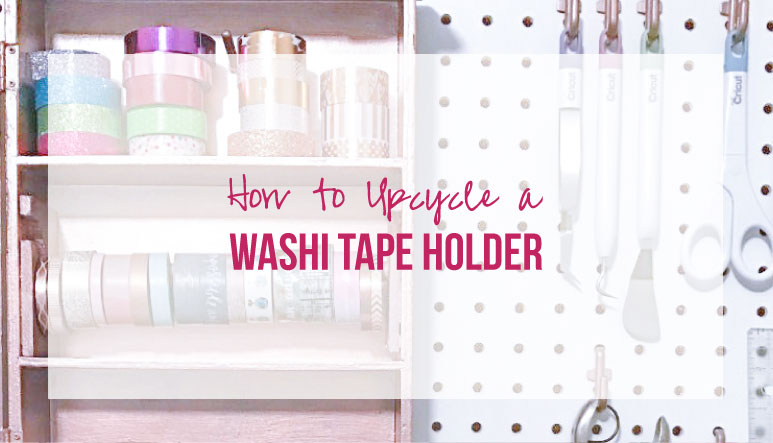


If you’re anything like me you’re a little bit obsessed with the small decorative tape trend that is washi tape. It’s inexpensive and it comes in a million different color/pattern combinations. Basically it’s a cafters dream! Which is why I am so excited to share my latest project… how to upcycle a washi tape holder!
The best part of the whole project? It’s actually my latest Thrift Store Swap Reveal! If you’ve read my blog before you know this is the fifth swap and I am ecstatic to be one of the founding members. If this is your first swap then don’t worry… I’ll explain it all in just a minute!
Looking for a bunch of posts on DIY & Crafts? I’ve got you covered!
Click here to see all of my how to DIY & Craft posts in one place!


If you haven’t checked out a swap before here are the basics: 10 crafty bloggers commit to buying and re-purposing 2 thrift store items for under $10! Our fearless leader thought up the entire blog hop and although it sounds easy… there’s a catch!
Each blogger is buying for a different blogger on the list! That means each blogger gets a little bit of a surprise in their mailbox! It’s like Christmas but with thrift store items… it’s pretty awesome. So what happens when the unknown challenges 10 crafty ladies?
You get some out of the box tutorials!
Meet the Swappers!
Molly from Just a little Creativity was just before me in the loop so she sent me two fun little projects! The first was this wooden box and it was exactly what the doctor ordered!
Believe it or not I was actually searching for a little wooden box to turn into a washi tape holder for a couple weeks before this guy showed up in my mail box! My washi collection has been sitting out on my desk without a home for too long now… I needed a better solution.
But I’m getting ahead of myself, just take a look at what she sent me!
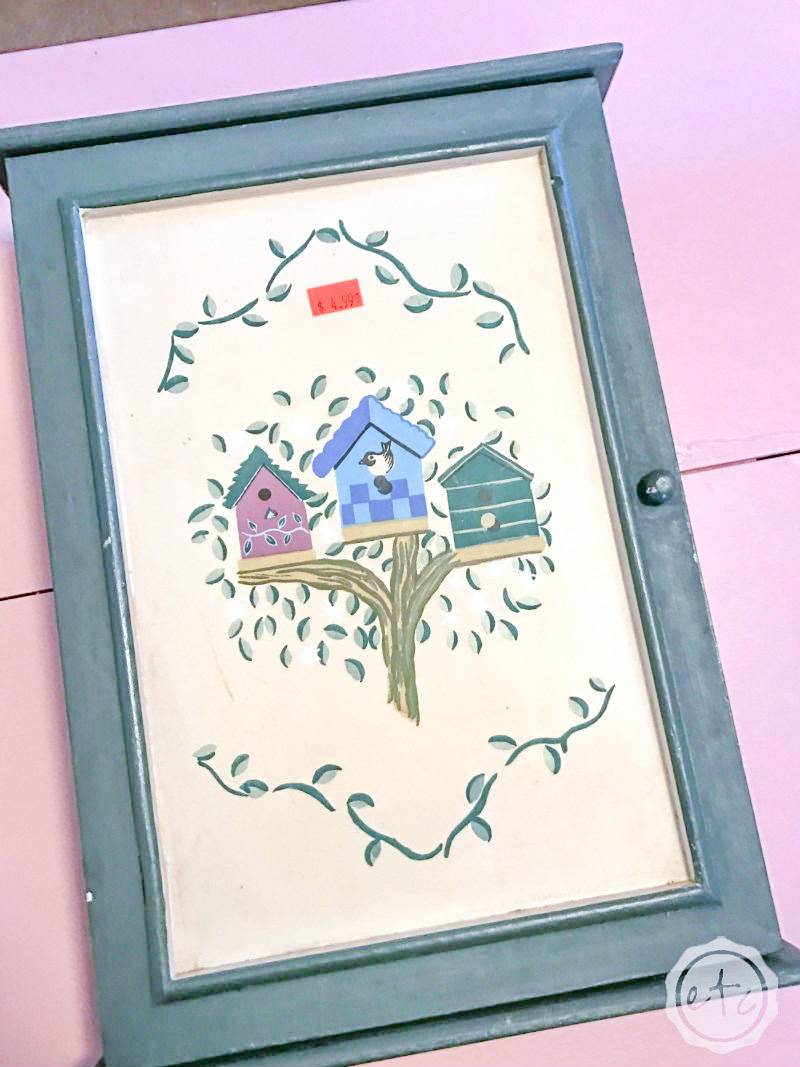

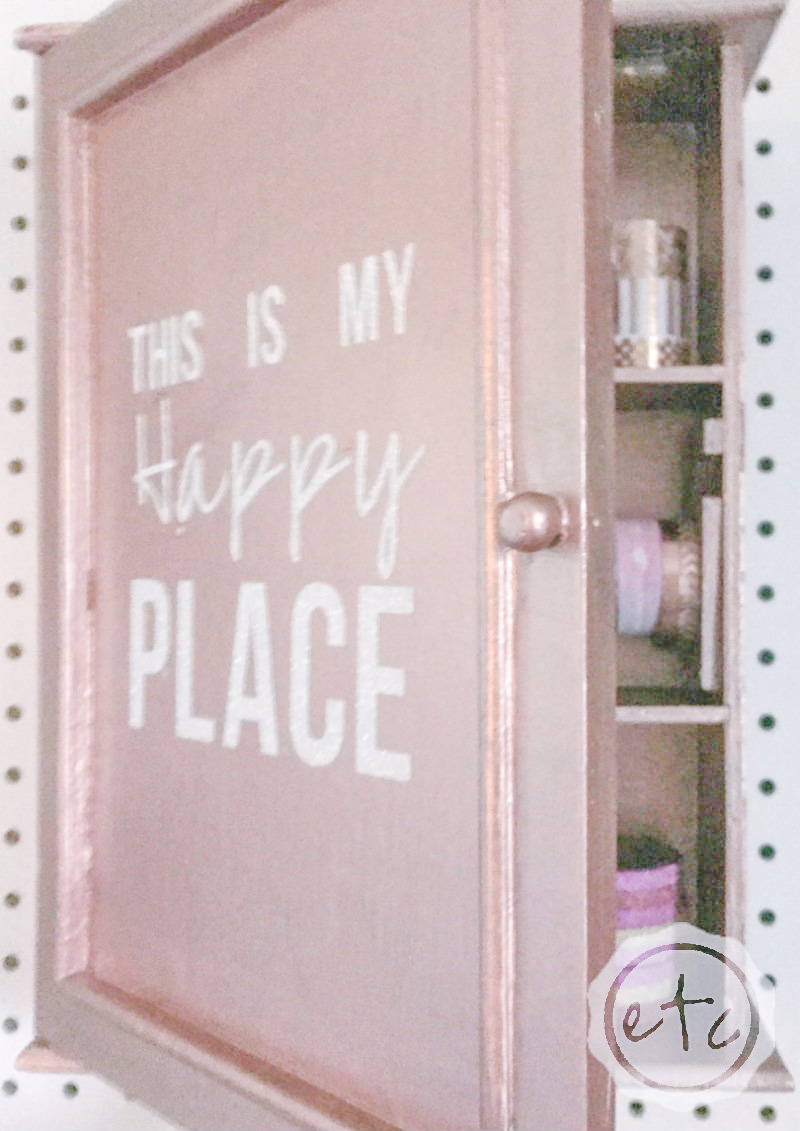
With three decent sized shelves and a hole in the back for my new pegboard I’m pretty sure this little guy was made just for me!
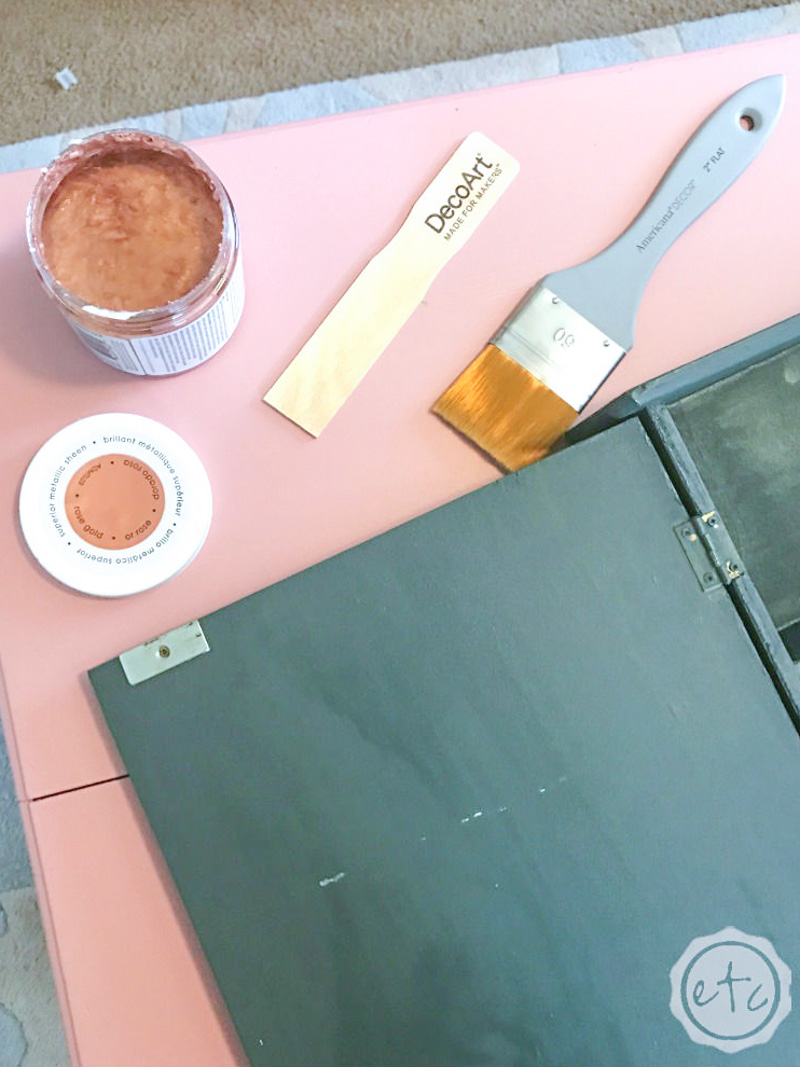
The best part is that I already had most of the supplies on hand! I grabbed this little pot of DecoArt Rose Gold last year at Haven and this was the perfect excuse to pull it out of the box. I think it’s my favorite paint color ever… and it perfectly matches the rose gold spray paint I used on the pegs for my pegboard!
It’s amazing what makes me happy.

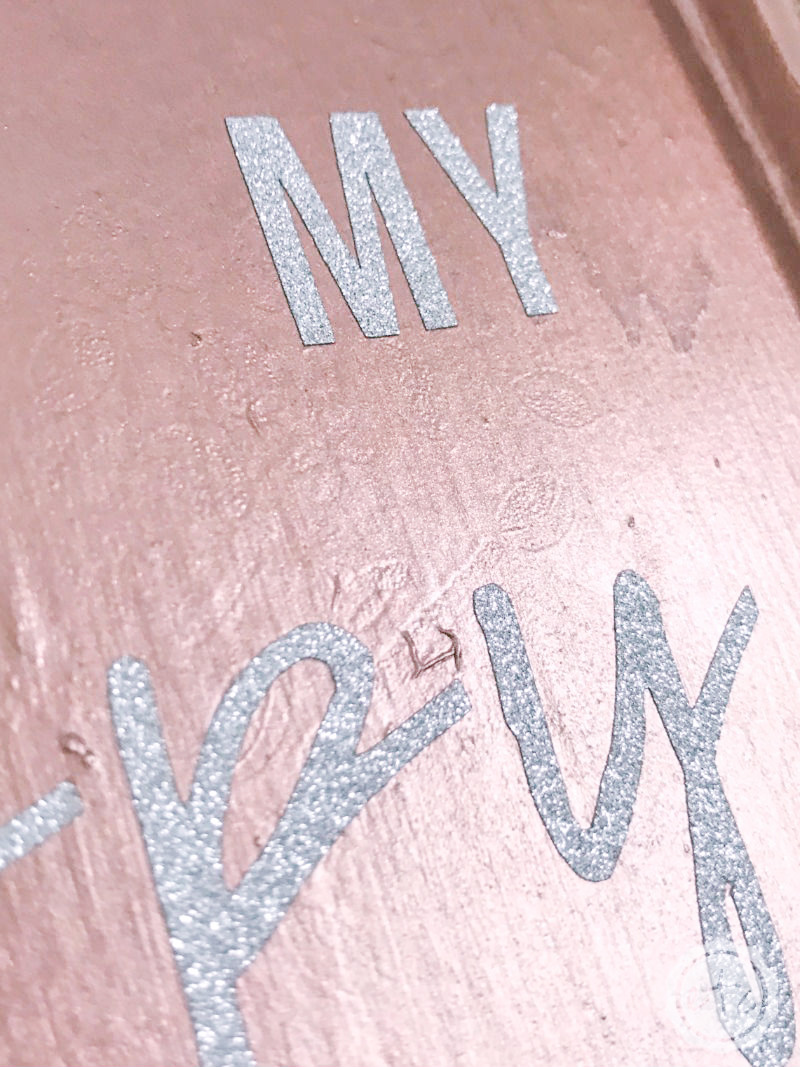
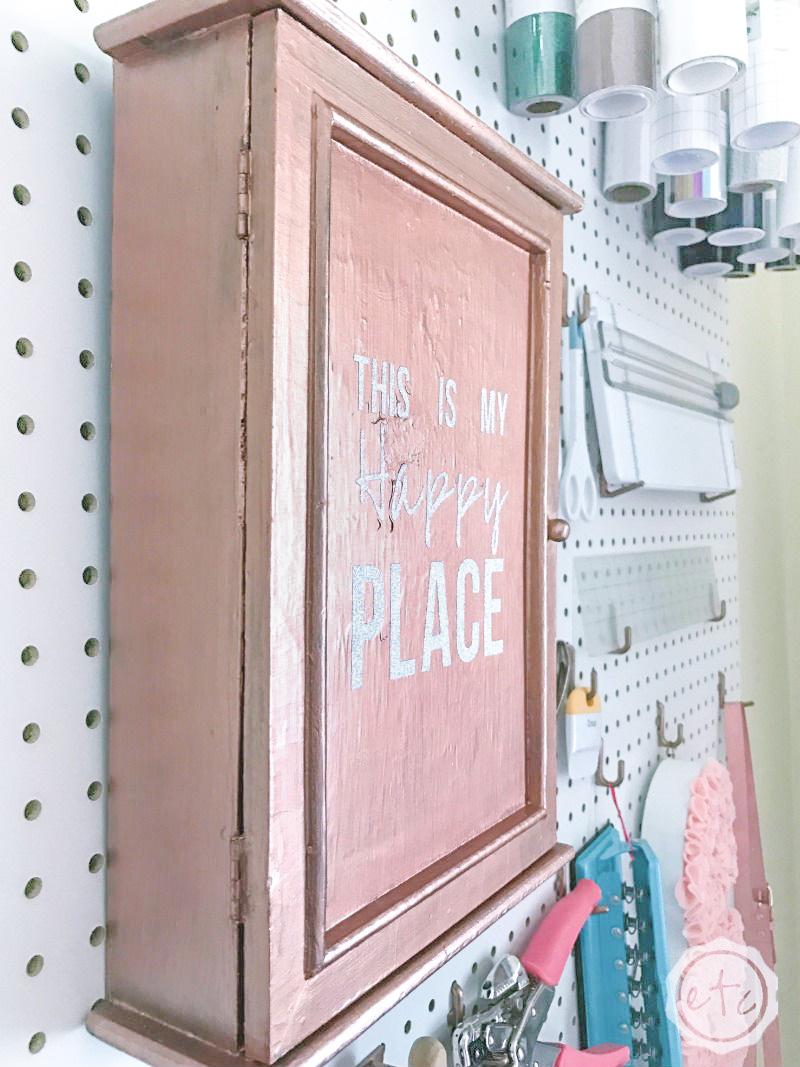
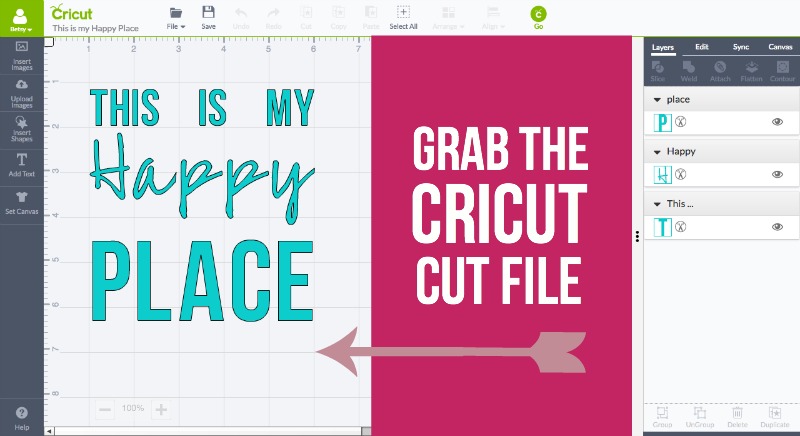
The next step was a little vinyl decal for the front! I did a little search on Pinterest to pick a fun quote and fell in love with “This is my Happy Place” which is kind of amazing!
My craft room is definitely my happy place after all of the work I’ve put into it this past month with the $100 Room Makeover. I still can’t believe I finished the entire room in a month for under $100! I’m kind of impressed if I do say so myself.
It only took about 30 minutes to make my very first Cricut glitter vinyl decal… next time will be much quicker! It was almost the same as my first project (making a stencil for my Happy Planner) but the using the vinyl and transfer tape was all new to me. I’ll definitely be writing up a little post with vinyl cutting steps for all the other newbie’s out there… if you already know how to cut vinyl you can go ahead and grab the Cricut cut file!
In the meantime… look how pretty it is!
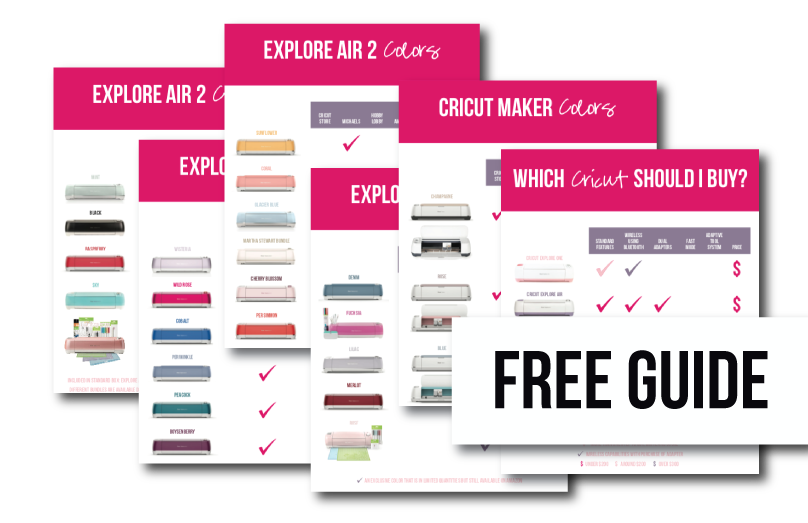
Need help picking your perfect machine? I’ve got you covered!

Now it’s time for the inside!
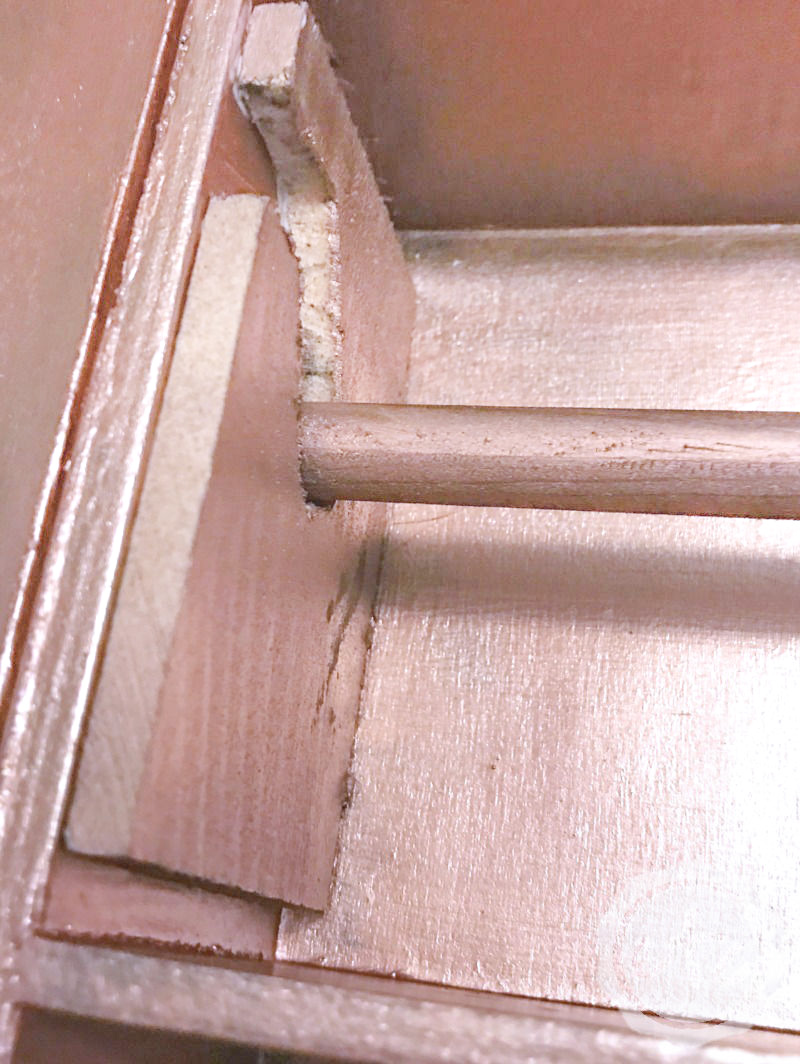
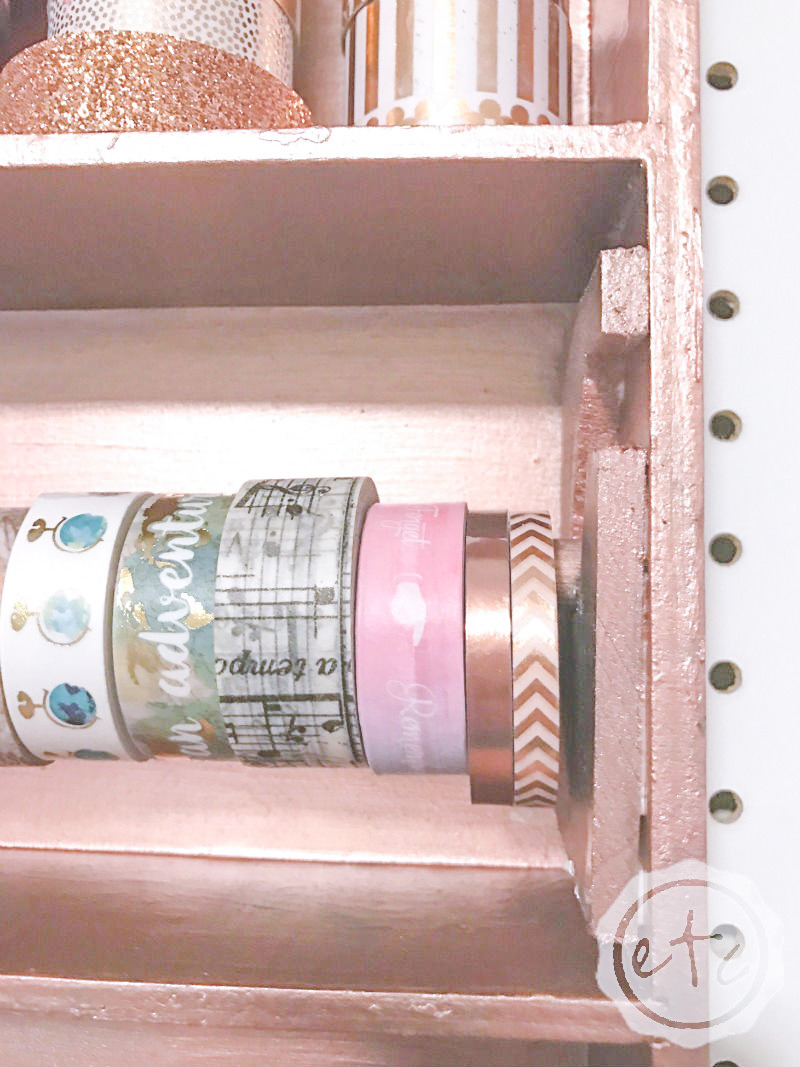
I really wanted to hang washi on at least one of the shelves so I grabbed a wooden dowel and two little pieces of wood. I cut out a rough L shape from the wood making sure that the L’s were inverted so one could go on either side of the box.
Then I painted both the wooden dowel and the wooden pieces rose gold to match the rest of the box and glued the pieces in place!
Tip: While the glue is still wet put the dowel into the groves to make sure it hangs straight. You wouldn’t want a wonky washi rack!


Once the glue had completely dried I hit the inside of the L cut-outs with a bit of paint… they didn’t get completely covered in the first go over. I also hit any parts of the little square that lost paint during the whole process. (The wood glue seemed to take a bit of paint off the sides but that might have been my imagination!).
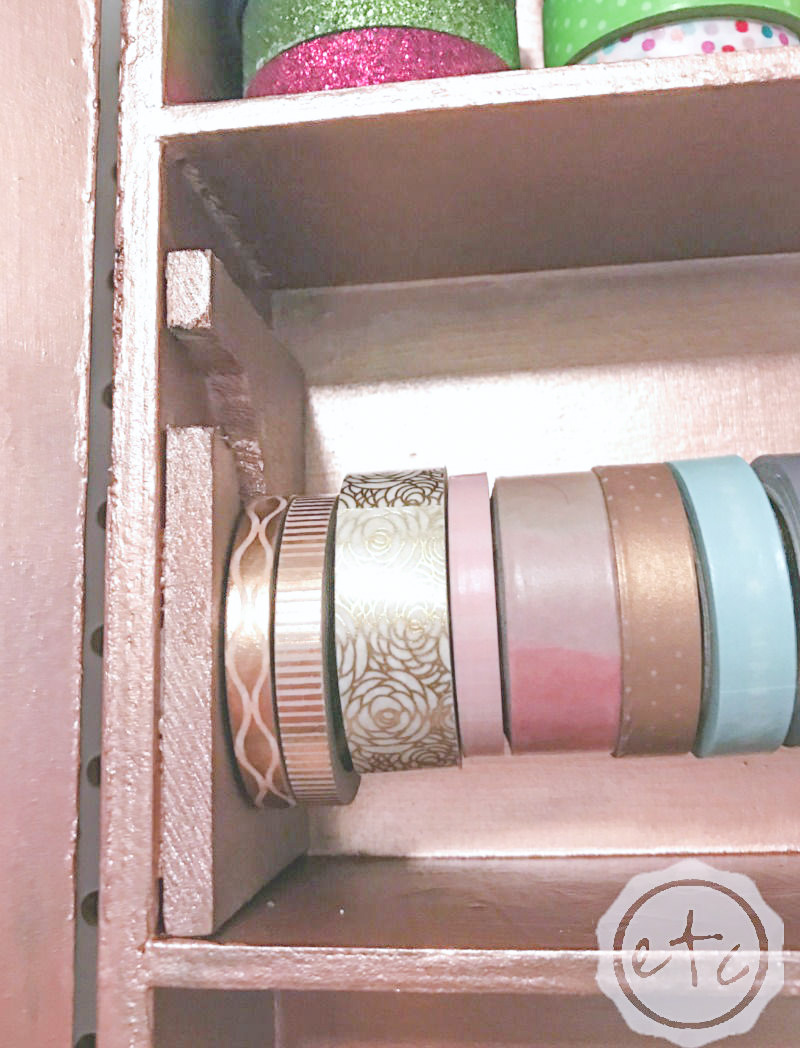
Now it’s time to hang your washi!
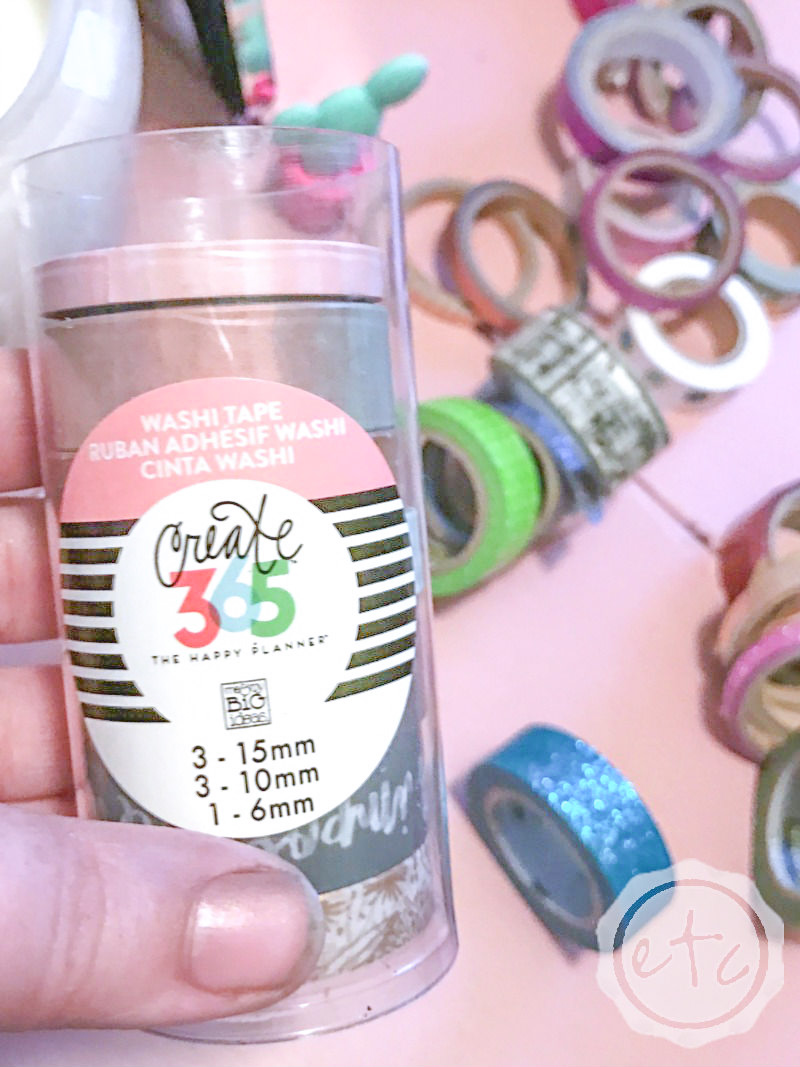
I have so many rolls it took a minute to decide what to actually put on the wooden dowel and what to put in the box but I finally went with my favorite, most used, most reached for rolls.
My Create 265 Happy Planner Rose Gold Washi pack! They match my Rose Gold Happy Planner so I reach for them all the time. It will be so great to have them within arms length when I’m working at my desk!
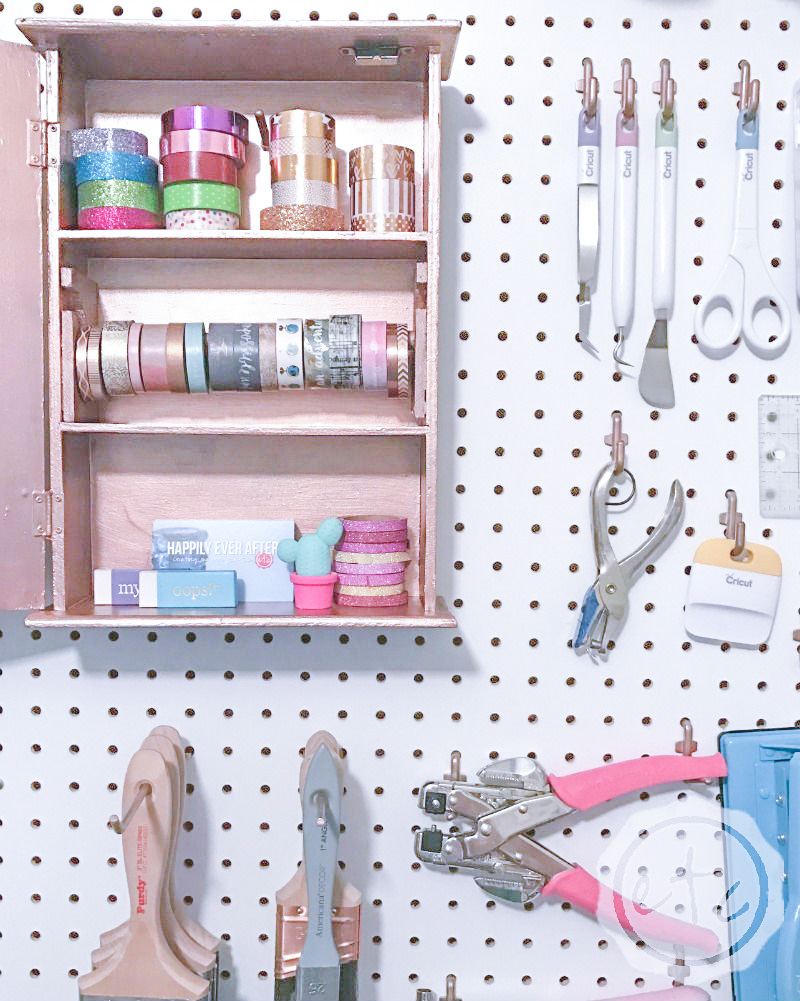
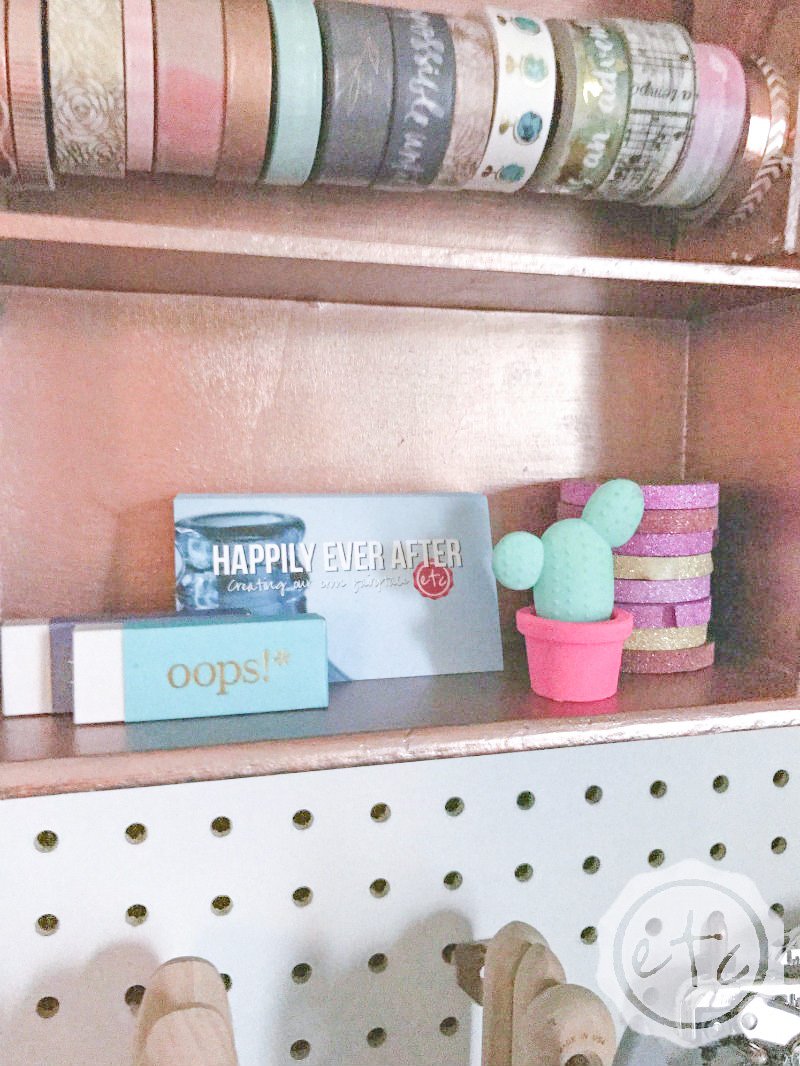
All that’s left now is decorating the rest of the space! I added the rest of my washi tape (you might recognize a few rolls from last year when I showed you how to make any shape out of wahsi tape!).
The best part?
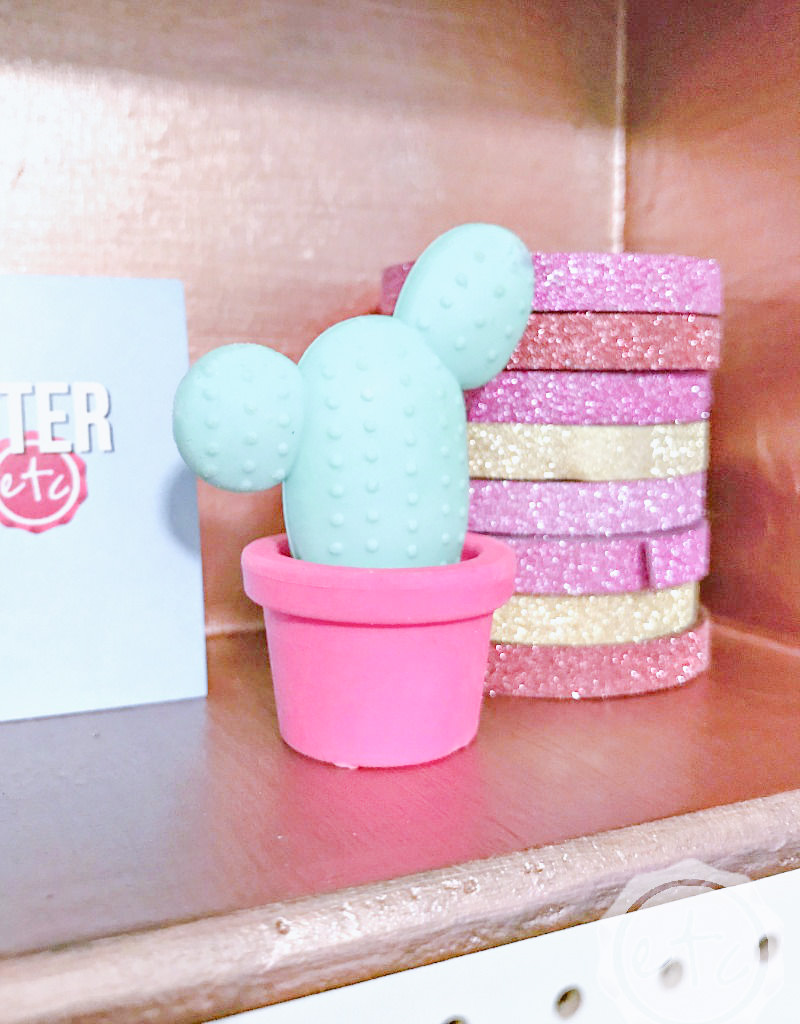
I finally have a great place to display my adorable eraser cactus from the Target dollar spot. I mean who doesn’t love the dollar spot?

The best part of the whole Thrift Store Swap is the swap part! I sent a few fun items to Suzanne over at Shop at Blu… I can’t wait to see what she’s done with the items I picked for her! The best part? Suzanne’s a fellow Alabama gal so while we have participants from all over the world I’ve made a new friend right in my corner of the woods!
Don’t forget to Pin for Later!


Oh my gosh Betsy, loving this craft storage with bling! pinning it for reference later I must have one!
Bling is essential for every project… isn’t it?! Especially for a craft room! Thanks for stopping by Brenda!
What a great before and after! I love the piece you made to put the tape across on the dowel! so smart! LOVE IT! This swap was so much fun! 🙂
Thanks Lacey, the dowel is definitely my favorite part! I’m tempted to make two more for the other shelves! Thanks for stopping by hon!
Wow Betsy, this looks absolutely amazing!! I LOOOOVE the trasnformation!! Such a fun project! #thriftstoreswap
Thanks sweet pea! It was a fun project, I can’t wait to see what everyone else has come up with!
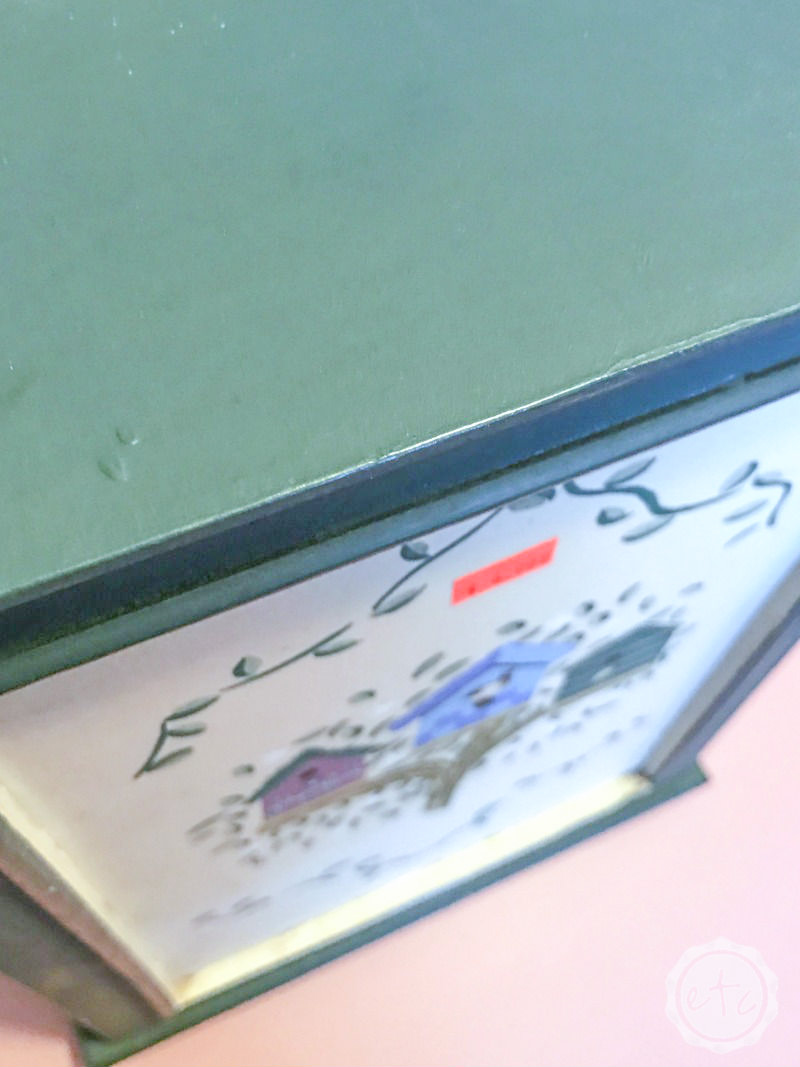
Thanks sweet pea! It was a fun project, I was worried about covering that dark green but it all worked out! I can’t wait to see what everyone else has come up with!
I cannot get enough of that gorgeous paint color! It’s fabulous! Your whole project turned out amazing. Love love love it. Pinning for later, most definitely.
I completely get it Heather… I have half a can left and I’m kicking myself for not grabbing more last summer! I’ll just have to order a few more little cans. Thanks for stopping by hon!
Betsy I seriously need 10 of these, probably more between my store and my garage. The Hangers for the dowels are genius. And that beautiful Rose Gold…how did I miss that at Haven last year??!!! Love this practical and super organizational project. I’m with Brenda…must have!
Thanks Sue! I didn’t even realize I had actual rose gold paint until I went to look thinking “I think there was a pinky color that will work in the paint I picked up!” If I had known it was rose gold I would have grabbed all. the. paint. Haha
Love a great before and after and this one is amazing! The hangers for the dowels are a clever solution, I may need to borrow it. I’d love to have something similar for my craft room
Thanks hon! A good before and after is half the fun… seeing where something started makes it that much sweeter! I was obsessed with those dowels… I think the hubs may need to cut a few more for me! Thanks for stopping by hon.
I absolutely love what you did with your piece! I’d have never thought of using a box this way but it looks great. What a fun makeover, and so perfect for a craft space. Pinning now 🙂
Thanks Molly! I had been looking for a box for exactly this reason so I was ecstatic when I opened the box! I love seeing what everyone does with their projects… everyone’s creativity is so amazing.
I love how you turned this into a handy organized holder.
Maria