• House Tour
    • Reveals
  • About
    • Smith Life
    • Disclosure and Privacy Policy
      • Terms and Conditions
      • Store Affiliates
  • Contact Me
    • Want a Button?
  • Shop
    • Floral Printable Planners
    • Paint eBooks and Packages
    • Wedding Binders & Extra Printables!
    • Planner Bundles
    • Planner Accessories
    • Home Decor Printables!
  • Cart
    • Bloglovin
    • Facebook
    • Instagram
    • Pinterest
    • Twitter
    • YouTube

Happily Ever After, Etc.

Creating Our Own Fairytale

  • Happily Ever After, Etc.
  • Home
  • Home Decor
    • My Home
    • Paint
    • Before and After
    • Tablescapes
    • Mood Boards
    • Furniture
  • DIY & Crafts
    • New to Cricut – Start Here
    • Cricut
    • Resin
    • Scrapbooking
  • Organization & Planning
    • Organization
    • Planner
  • Holidays
    • Christmas
    • Halloween
    • Thanksgiving
    • Easter
  • Wedding
    • Cricut Wedding Projects
    • Free Wedding Binder
    • Bride Bag- The Ultimate Wedding Planner

How to Make a Valentine’s Day Ampersand

affiliate disclosure 2
Hey y'all,

I have a fun little Valentines project for y’all today! Well if you’re like me and you love pink it might just be an all the time project *wink wink* although it’s definitely adorable for February!

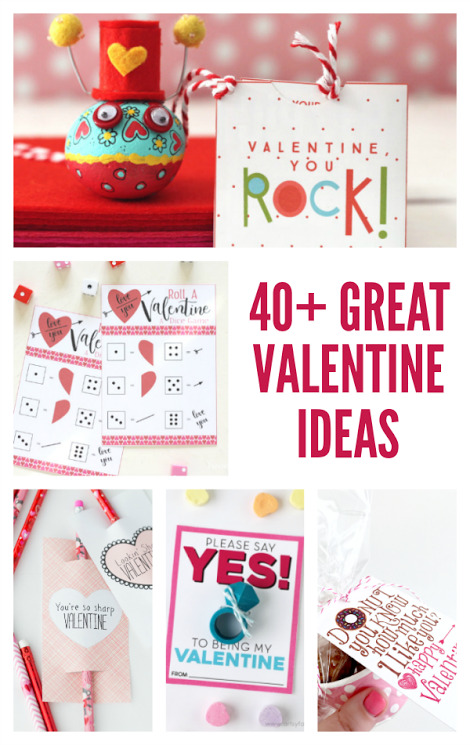
Of course, if you don’t adore my project you’ll be happy to know I’m teaming up with 40+ other bloggers to bring you forty adorable Valentines projects! Scroll to the bottom to check it out!

Let’s get started with the project!

I picked an ampersand because they’re adorable… plus they’re super chic right now. Definitely on trend. Of course, if you’re looking for something a bit more Vday related a heart would be adorable… or a few X’s and O’s!

Looking for a bunch of posts on DIY & Crafts? I’ve got you covered!
Click here to see all of my how to DIY & Craft posts in one place!
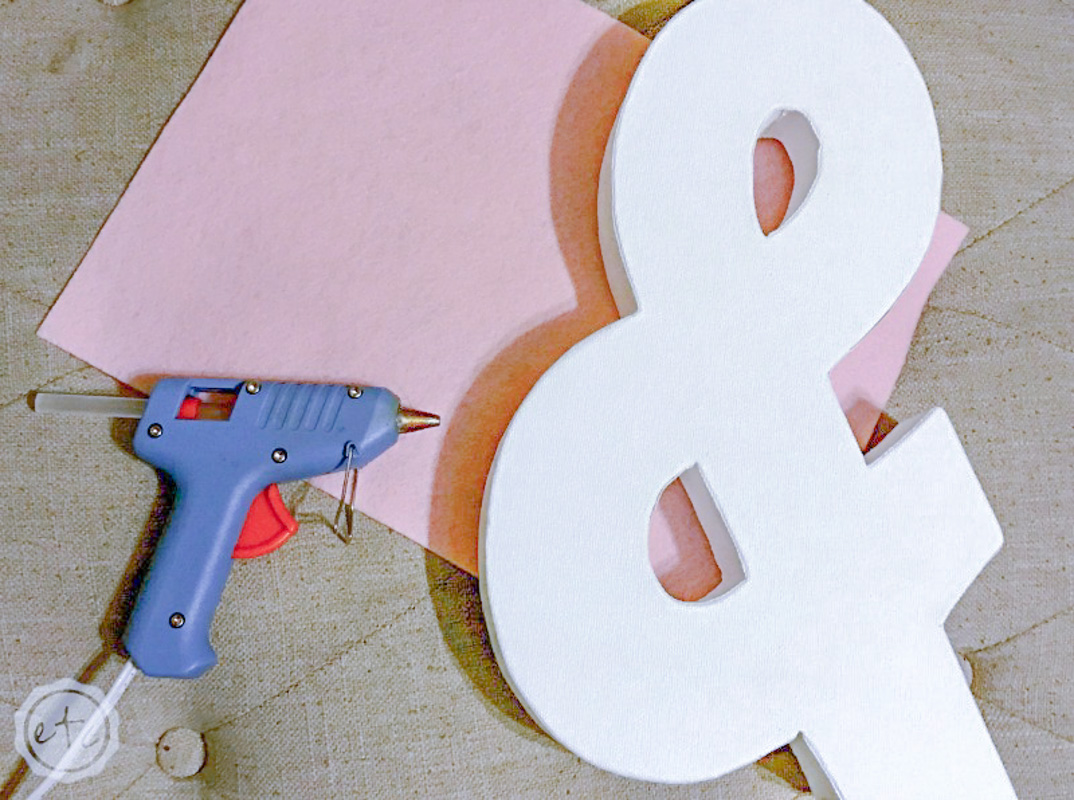
Supplies:

Canvas Ampersand
6 Sheets of Felt
Hot Glue
Scissors
Stick Pins

Step 1:

The first step is to cut out your circles! If you have a cutting machine or punch this would be a quick and easy step… but I’m still getting my new Cricut in order. One day soon I’ll have my craft room up and running… and my Cricut will follow shortly! Until then good old fashioned scissors still work fine.

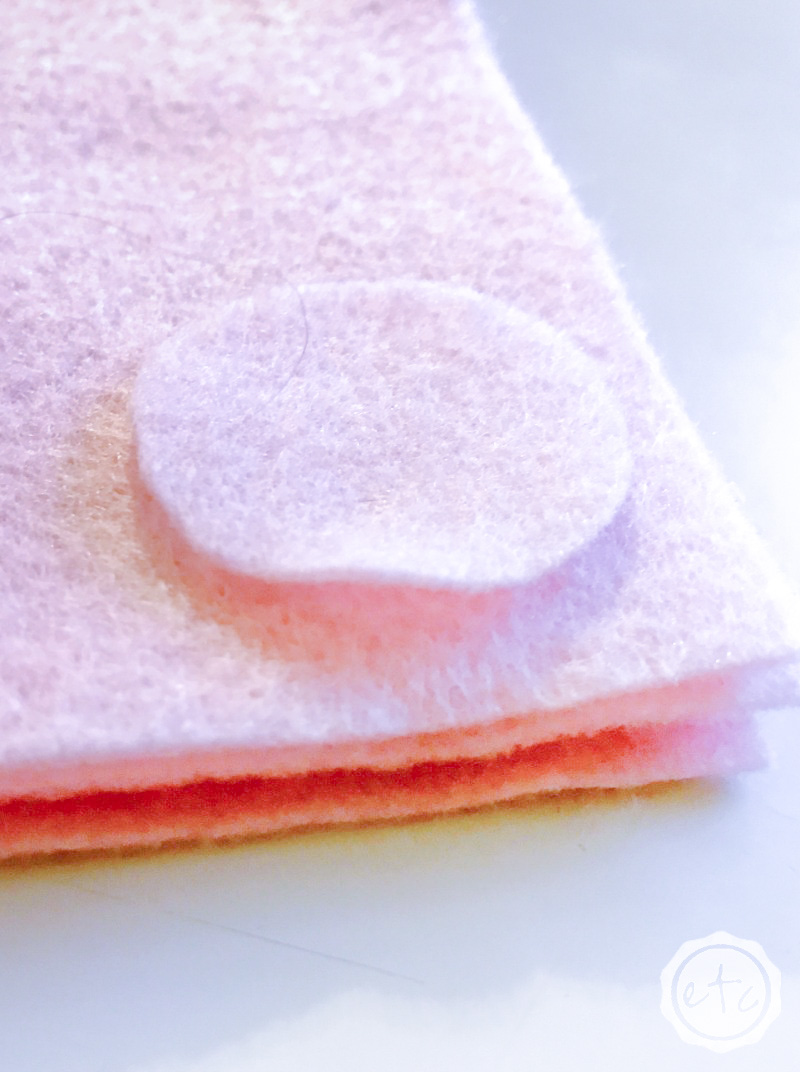
Of course, once the first little circle was cut the rest of the circles were quick and easy. With a few stick pins to hold things together I was able to cut four circles at once… majorly cutting down on production time.
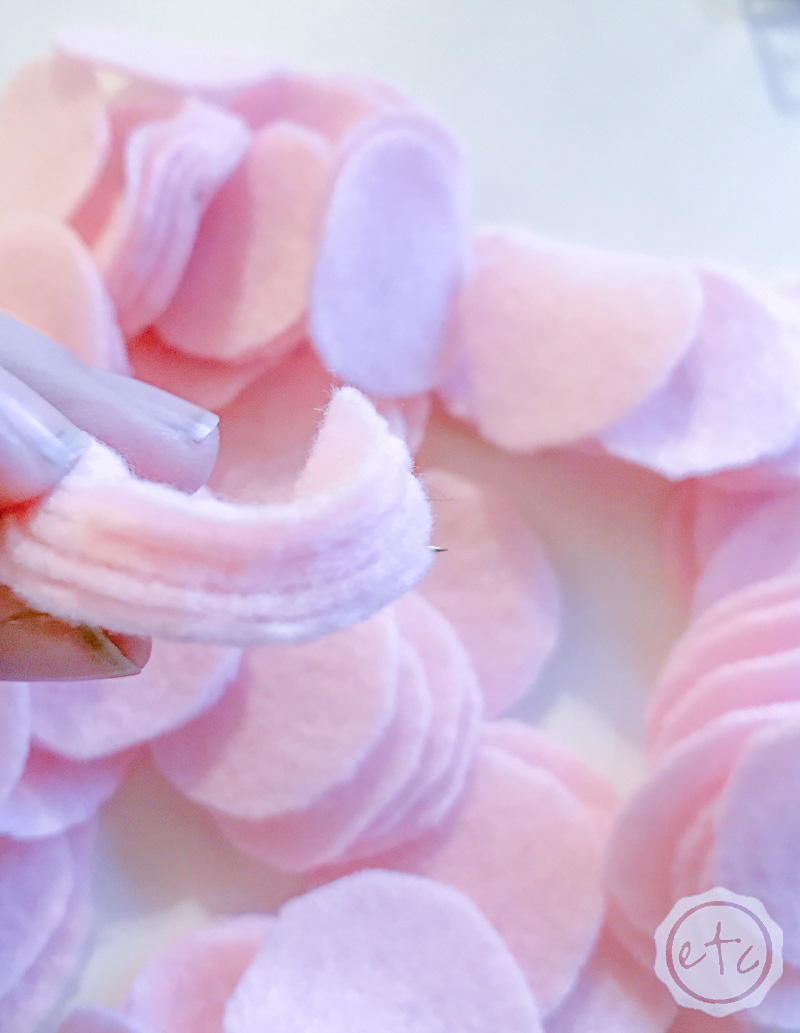
Step 2:

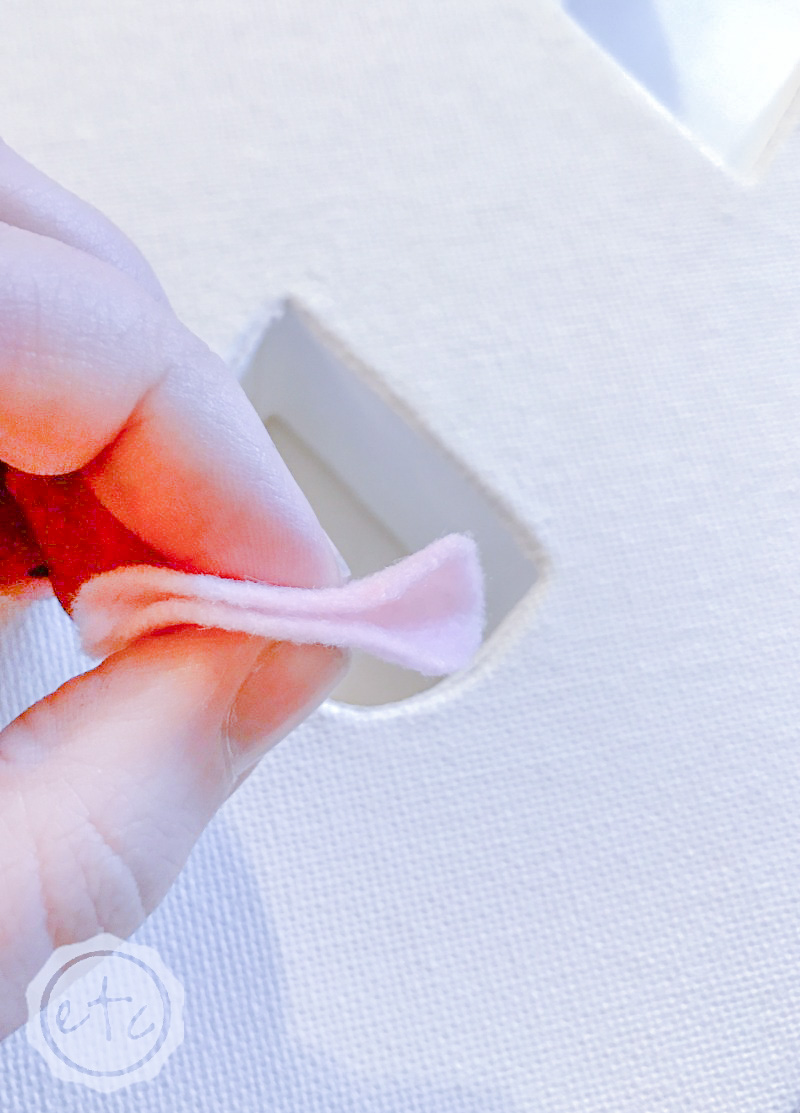
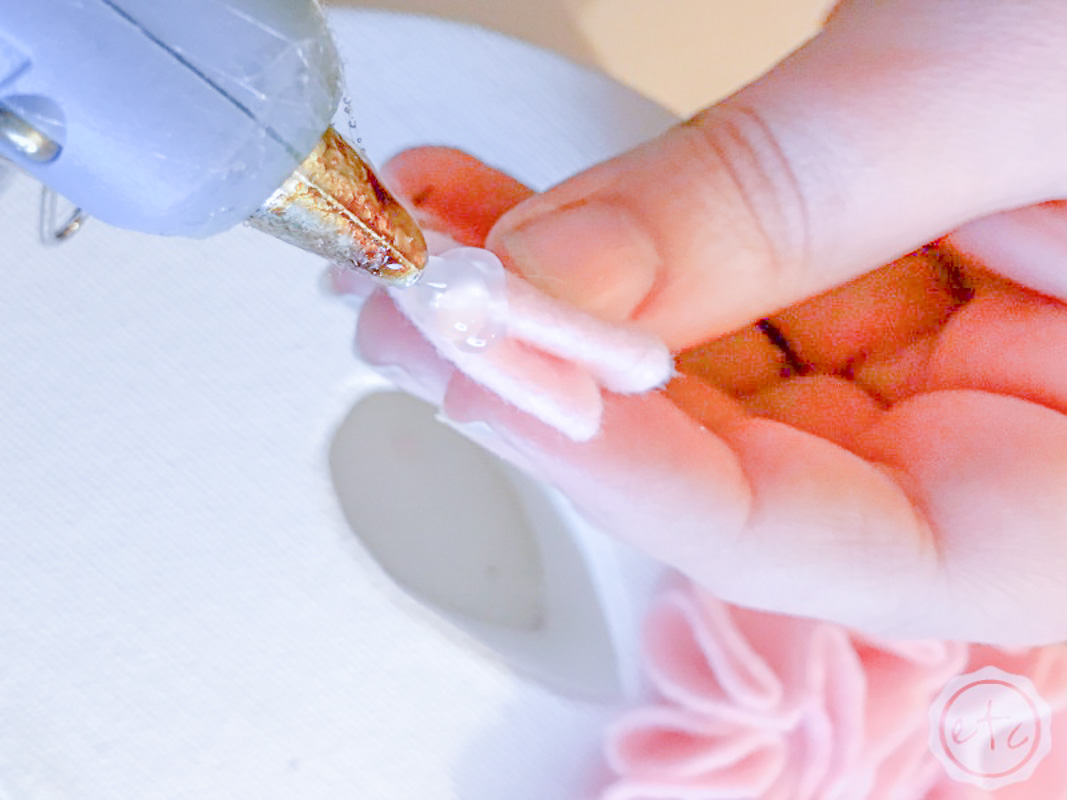
Alright y’all, now it’s time to hot glue each little circle to your canvas. In order to make the ruffles fold your little circles into quarters before gluing them down!

I wanted my ruffles to be as loose as possible so I tried not to place too much glue in-between the folds. Take a look at the pictures!

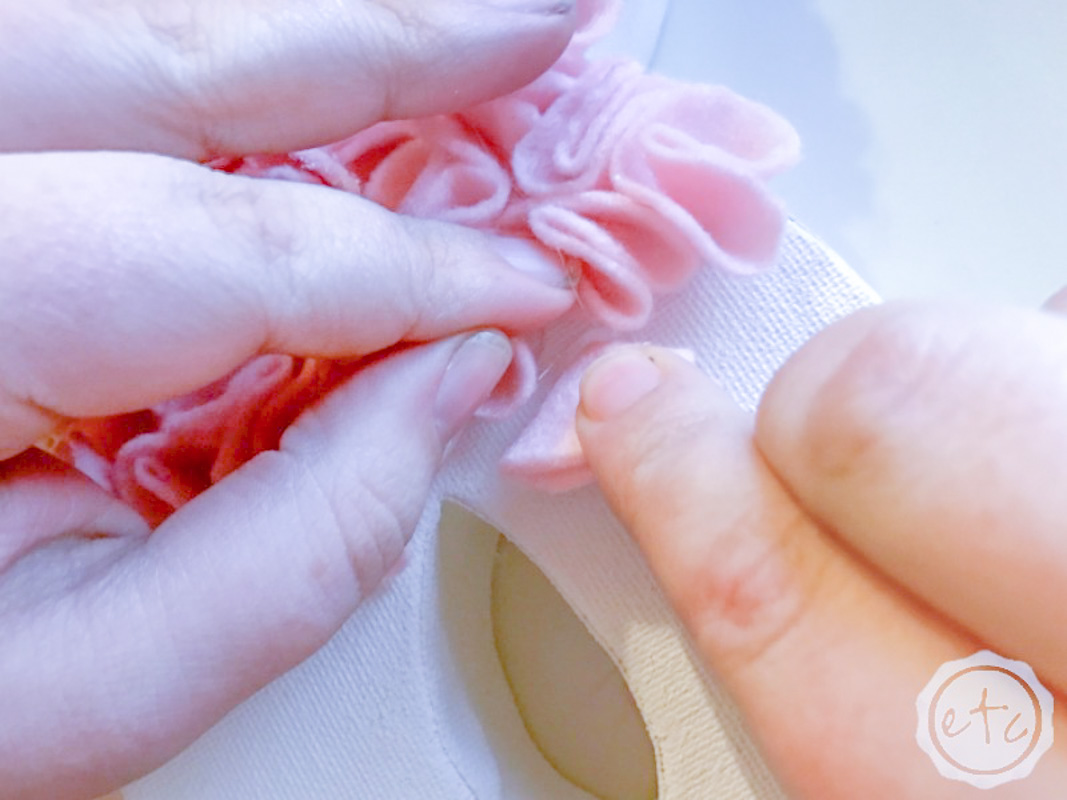
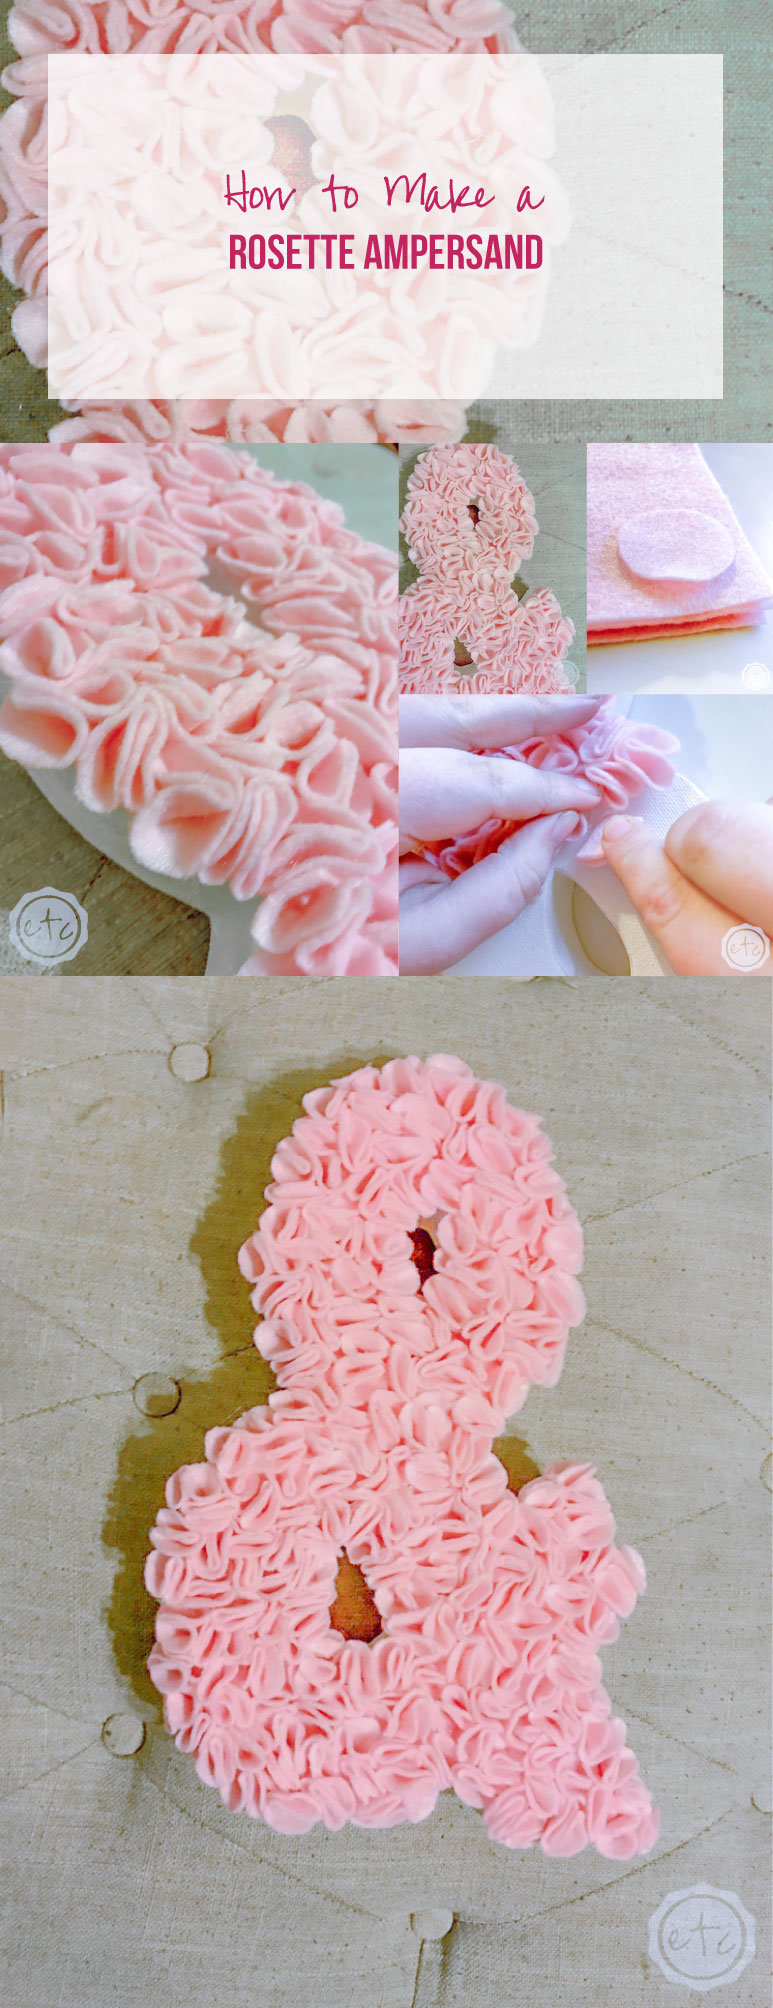
Once all of your circles are glued down your finished! I tried to place mine in different directions… and a bit sporadically. I think it turned out super cute! I think I’ll put this little guy in my craft room… right next to my new Cricut.

Just a little bit of inspiration.

This little Ampersand ended up being the perfect addition to my Craft Room Makeover!

If you loved this project don’t forget to pin for later! On the upside it’s almost time to check out all the other projects!

40+ great valentine ideas

Save

You made it through the entire post? That means you're one of my new favorite people! I'd love to be friends and see what else you would like to read about! Leave me a comment and then sign up for your very own FREE paint planner.... so that you can keep track of every single paint color with ease!
Welcome back! I'd love to be friends and see what else you would like to read about! Leave me a comment and then sign up for your very own FREE paint planner.... so that you can keep track of every single paint color with ease!

Show me some LOVE y'all:

  • Facebook
  • Pinterest
  • Twitter
  • Email

Related

«
»

DIY & Crafts, Valentine's Day 5

Comments

  1. Rachel @ R & R Workshop says

    February 7, 2017 at 10:01 am

    Such a fun and cute craft!! love this!

    Reply
  2. Amy | The Happy Scraps says

    February 8, 2017 at 1:14 pm

    I think ampersands are so fun! Yours turned out so cute!

    Reply
  3. Tauni says

    February 8, 2017 at 1:15 pm

    This is such a fun project! Thank you for sharing as part of the blog hop.

    Reply

Trackbacks

  1. $100 Room Makeover How to Make a Giant Pegboard - Happily Ever After, Etc. says:
    March 29, 2017 at 10:21 pm

    […] think my little silver deer is my favorite decorative piece although my little pink ampersand actually looks pretty adorable! I whipped him up for Valentines Day but I think he’ll be a […]

    Reply
  2. $100 Room Makeover Craft Room Reveal - Happily Ever After, Etc. says:
    February 28, 2019 at 7:44 pm

    […] think my little silver deer is my favorite decorative piece although my little pink ampersand actually looks pretty adorable! I whipped him up for Valentines Day but I think he’ll be a […]

    Reply

Leave a Reply Cancel reply

Your email address will not be published. Required fields are marked *

sidebar betsy I'm Betsy, Home Decor Enthusiast, Yorkie Mama, Crafter, Blogger, Picky Eater, Chief Mess Maker, Antique Hoarder and Graphic Designer. You can generally find me working on (attacking with a paintbrush) the 3 bed, 2 bath home we are currently renting! Our home might not be perfect but it is ours & if you hang out long enough you'll see that what we lack in know-how we make up for in passion!
Shop My Craft Room

Shop My Home

Featured Articles

15 Fabulous Ideas to Organize your Laundry Room
25 FREE Printables For Your Home!
What to do with EXTRA Paint with Happily Ever After Etc
10 Ways to Make Your Bed EXTRA Comfy with Happily Ever After Etc.
Ready to Pick your Perfect Paint Color? We'll help you with our 6 Day FREE E-Course

Hey y’all,

Profile

I'm Betsy, Home Decor Enthusiast, Yorkie Mama, Picky Eater, Chief Mess Maker, & Graphic Designer...

A Little Note!

Many of the links on Happily Ever After, Etc. are affiliate links. If you purchase a product after clicking an affiliate link, I receive a small percentage of the sale for referring you, at zero cost to you! How awesome is that? Purchasing through affiliate links is an easy, painless way to help out your favorite bloggers. Thank you so much for your continued love and support! Read the full disclosure here!

Instagram

Load More... Follow on Instagram

Copyright © 2025 · Darling theme by Restored 316

Copyright © 2025 · Darling Theme on Genesis Framework · WordPress · Log in · Privacy Policy