
This post is sponsored by Wellness CORE but the content and opinions expressed here are my own.
Since I’ve started sharing pupdates over on my email list y’all have been going crazy for these two little doxies! Sugar and Cocoa (or Princess Sugar Plum Fairy and Princess Cocoa Bear if you want to use their registered names) are my mom’s two new additions to her little dachshund family.
Of course, the biggest question I get asked is “how are these two doing on their training?” Well I am no trainer (trust me… there are people far more experienced than me) but I can teach the basics! Cocoa (the little chocolate and tan) is 6 months old and has mastered sit, lay down, come and is starting on leave it.
SO if you’re here for training updates I’ve got quite a few tips and tricks… but if you’d rather skip right to the craft I share our fun dog food mat down below. Enjoy.
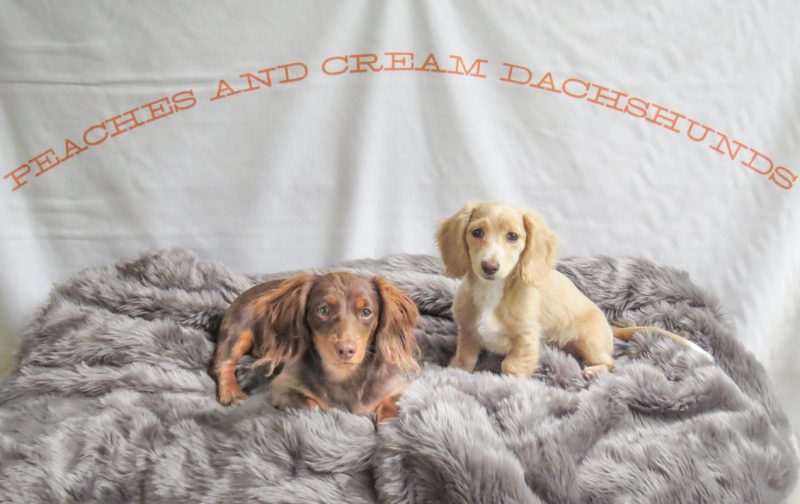
Her partner in crime Sugar (the little cream girl) is 4 months old and a ball of energy. She has a much shorter attention span and her desire to please is replaced with ooh-sparkly-shiny-I-want-that-who’s-over-there syndrome. She knows sit though and can lay down/leave it if she reallllly feels like it.
She’ll get there though!
Just look at that steely determination.
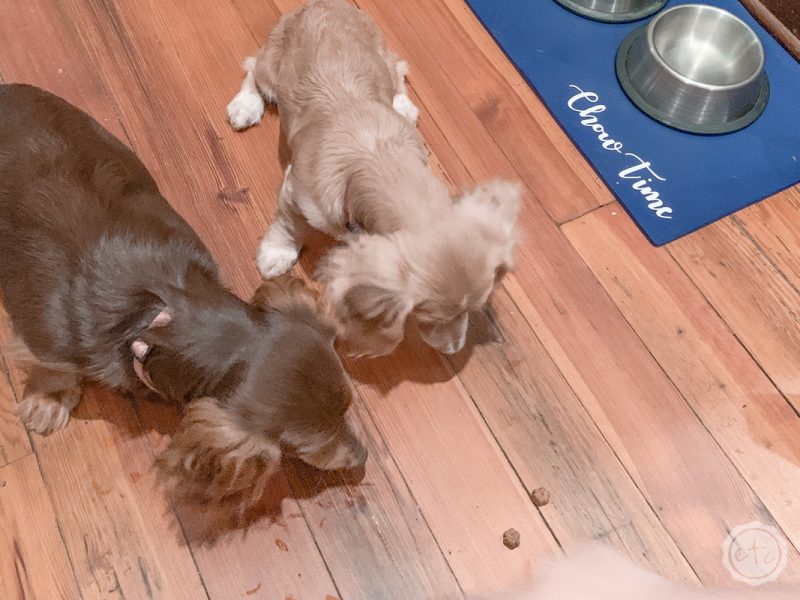

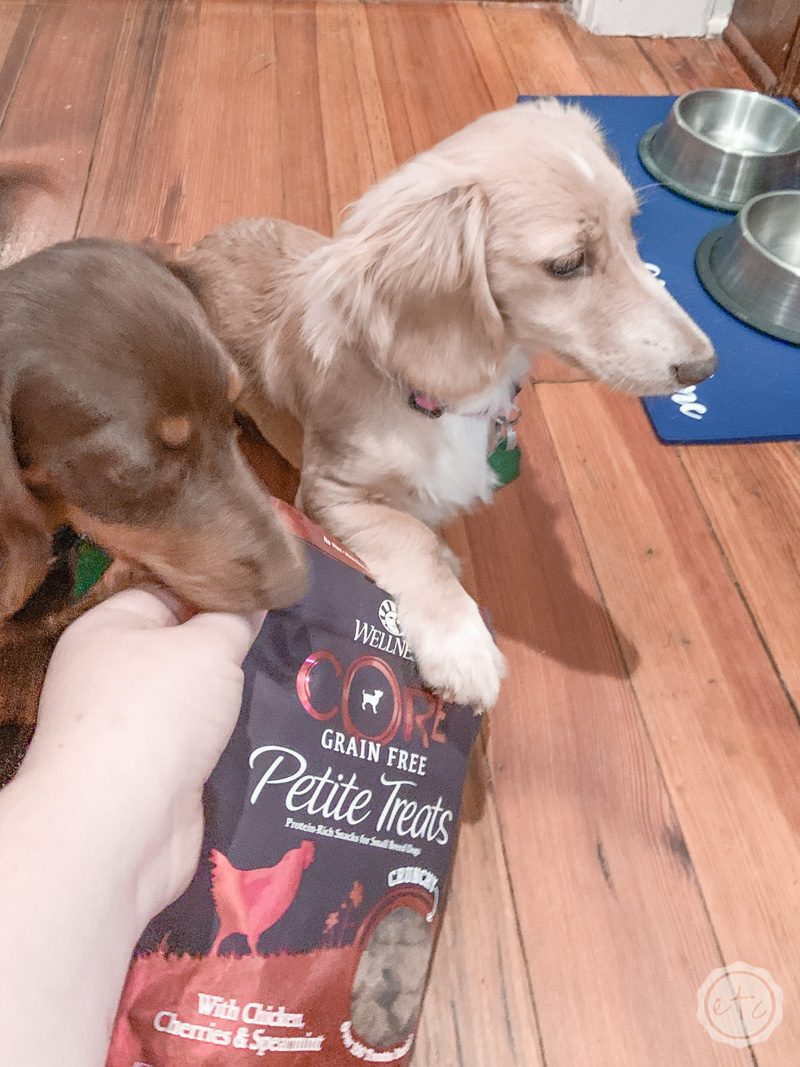
When it comes to training these two we do a little bit of training each and every day. Small doses of training with lots of good treats is definitely the way to go. We alternate treats like these Wellness CORE Petite Treats and belly rubs so that these little guys don’t get use to being rewarded each and every time.
Eventually we’ll wean them off the treats completely so that they can do their commands without them. That way they’ll be able to sit, stay and heal in real life situations (like at the park or at Grandma’s house).
Sugar is in denial of that day. She wants all the treats!

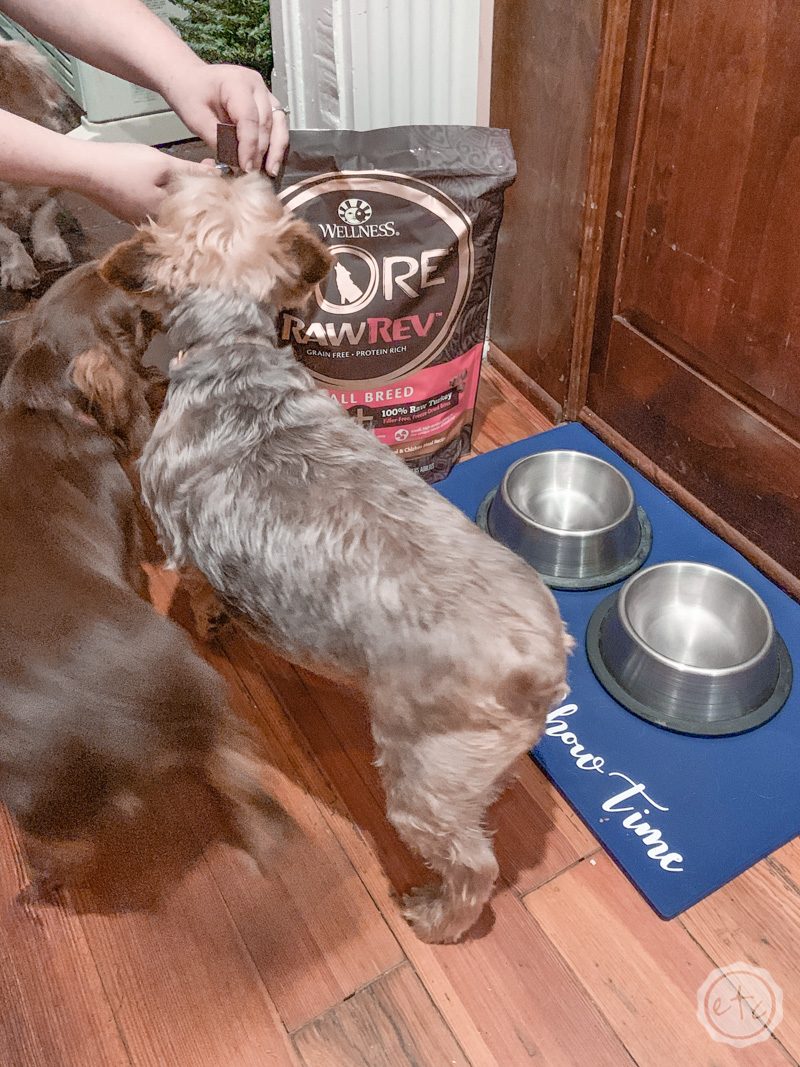
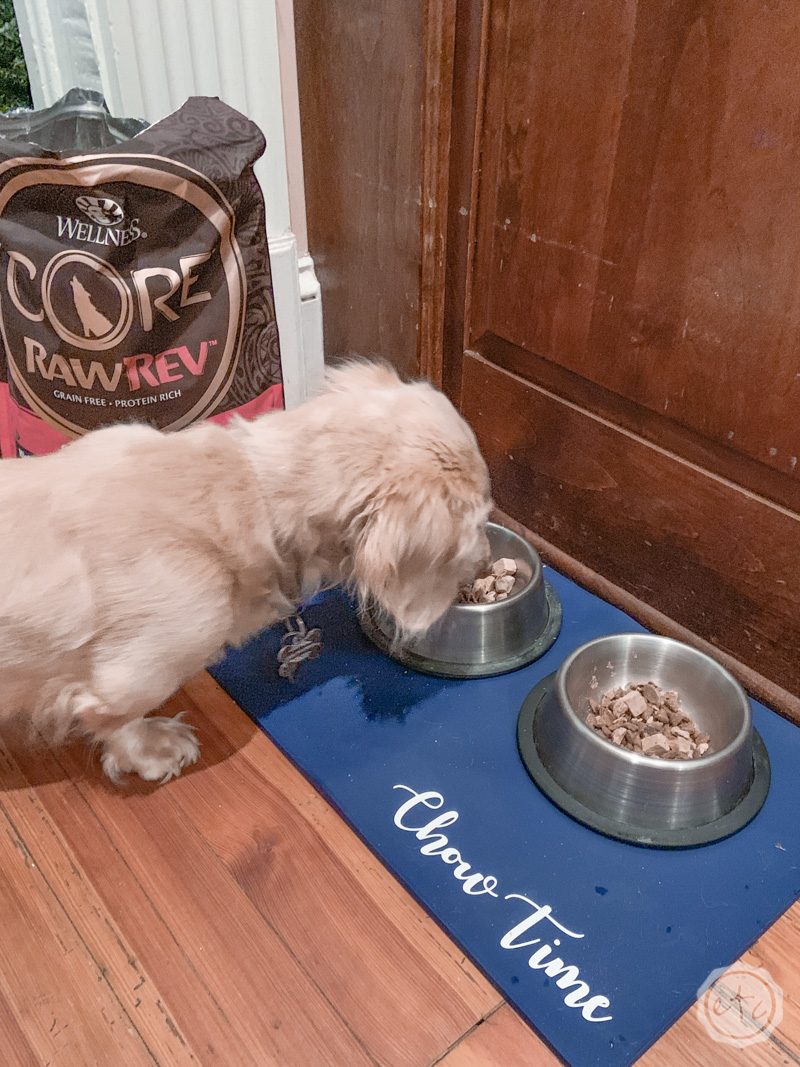
Want another trick? When we don’t want to spoil their dinner we’ll pack up their Wellness CORE RawRev Small Breed and take all the dogs outside to do tricks in the grass.
Our older dogs (if you consider 7 and 8 older!) absolutely love to work on commands outside. Instead of a million treats (which aren’t good in huge quantities) they get a bite of dinner for every command.
Score!
Although Bitty is always a little confused about her empty bowl when we take the kibble outside for dinner and training!
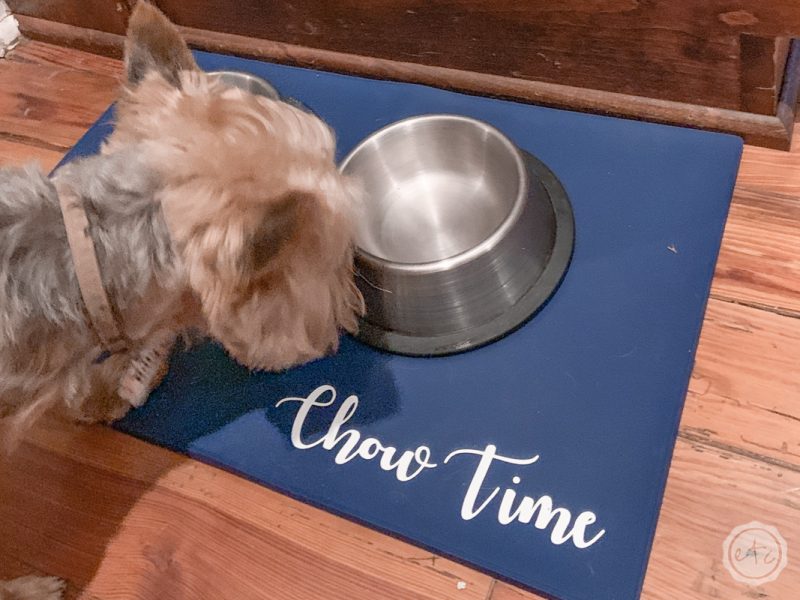
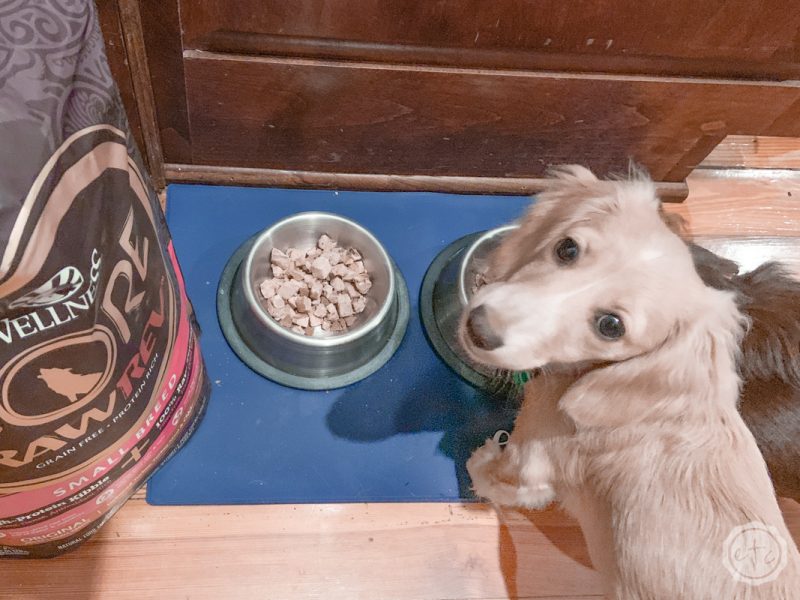
Sugar likes to take a sneak bite of the big girl food though! It’s just so yummy! I really love this Wellness CORE food because it’s made specifically for small breed dogs… and our dachshunds and yorkie love it.
They may be small but they’re full of energy (and we like to keep it that way!). Plus this food keeps their coats glossy and beautiful… right before they roll in the mud.
Ready to Make Your Own DIY Dog Food Mat?
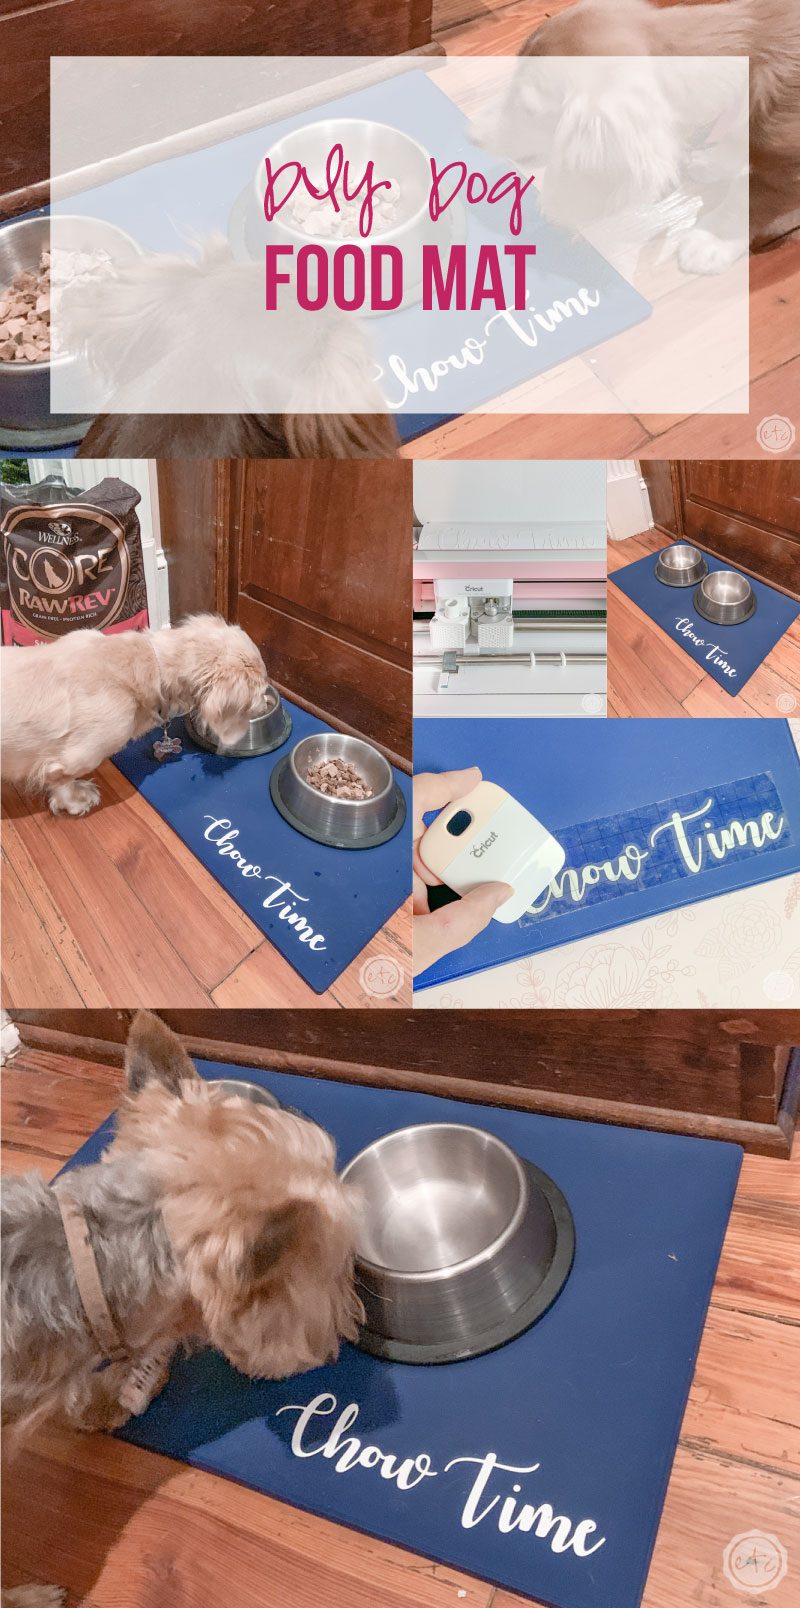
The only thing I know with certainty is that your dog makes as much of a mess as my rascals do. Even with non-slip bowls they are always tossing their kibble around. So I picked up a non-slip dog mat and personalized it with my Cricut.
Easy Peezy lemon squeezy!
Supplies:
- Cricut Maker
- Fine-Point Cutting Blade
- Standard Cutting Mat (that’s the green one! Even though I used the fabric mat for this project)
- Cricut Cut File
- White Permanent Vinyl
- Transfer Tape
- Weeding Tool
- XL Scraper Tool
- Dog Food Mat
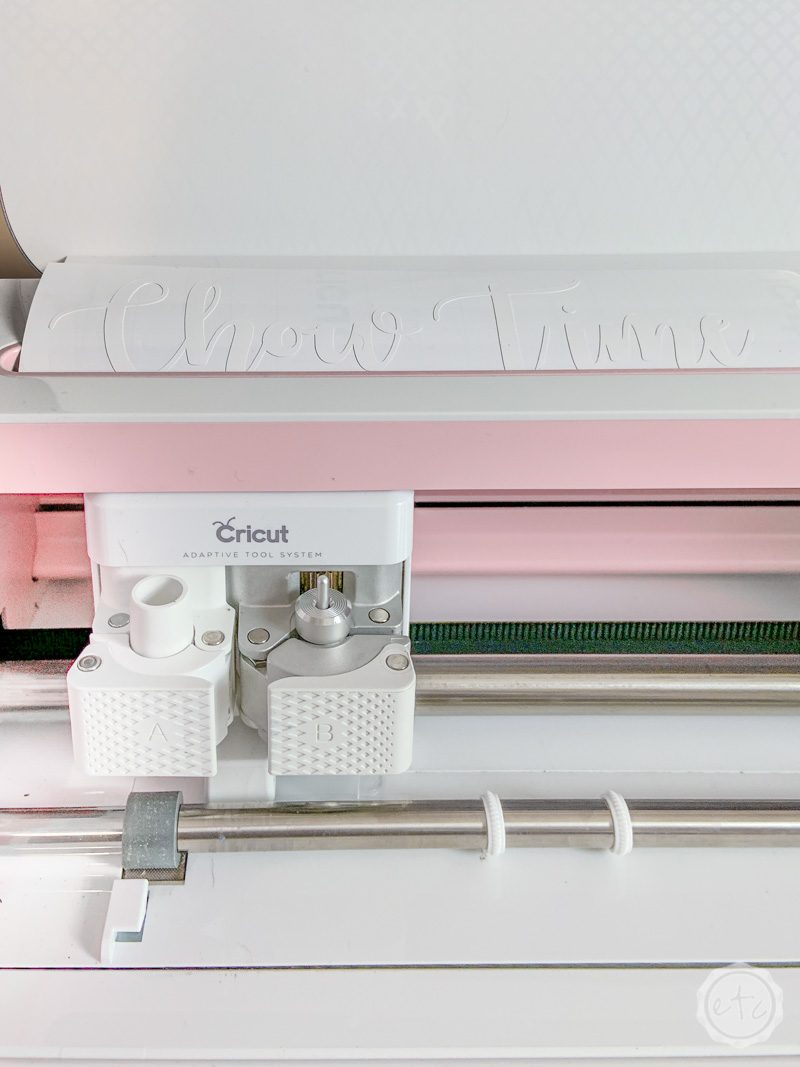
Step 1: Cut Your Vinyl
This little project takes less than 5 minutes! Start by opening your cut file and hitting “make it”! I have this file scaled at 7 inches wide which will put this little cut file in the bottom right corner.
Go ahead and load your vinyl onto your standard cutting mat and hit go! on the machine. Once the vinyl is done cutting you can weed this little design easy peezy… there are only 5 small areas to be weeded so this should be pretty quick.

Step 2: Transfer the Vinyl
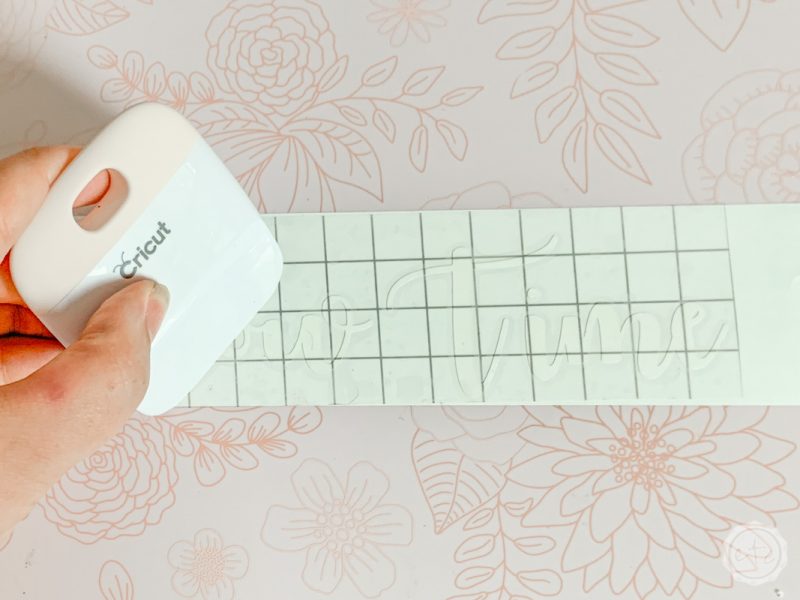
Now is the fun part… transfer tape! Cut a piece that’s about the same size as the vinyl design (so about 8 by 2 inches) and then smooth it onto your design.
I like to use my little scraper to smooth the transfer tape onto your vinyl… go over the design a few times so that it’s super bonded. Then simply peel up your transfer tape! I like to peel it back against itself so that the vinyl comes off super easy.

Step 3: Apply the Vinyl to your Dog Mat
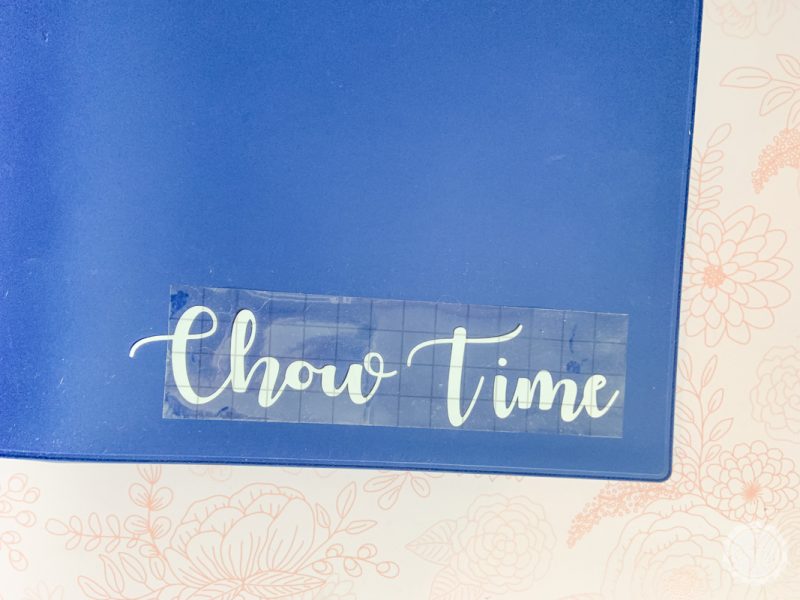
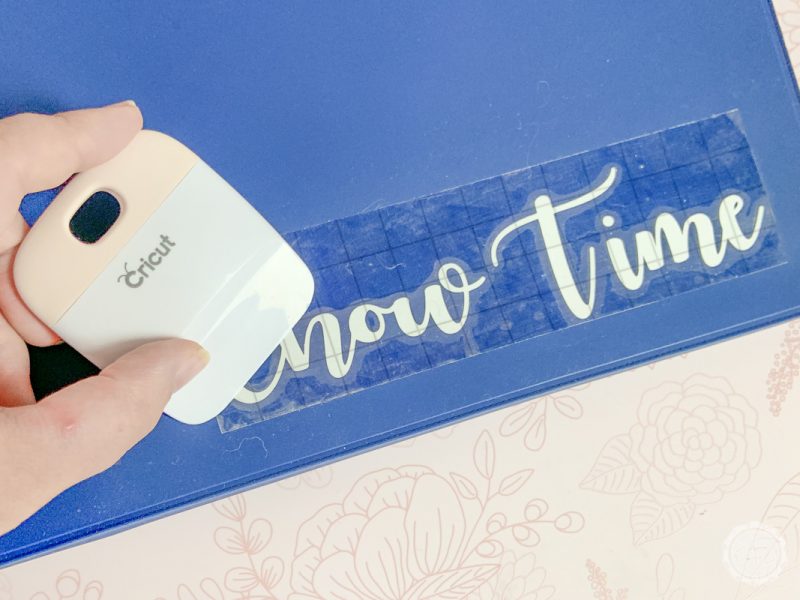
Putting the vinyl onto your little dog mat is just as easy as applying the transfer tape. Smooth the transfer tape onto the dog mat and use the scraper to press it down firmly.
Once you’ve smoothed it down a few times go ahead and peel the transfer tape off slowly. The silicone of the dog mat is hard to stick to so if you need a little extra help use your finger to hold down the vinyl as you peel off the transfer tape.
Go slowly and you should be done in no time… and once the transfer tape is off the permanent vinyl seems to be bonded to the silicone mat pretty well!
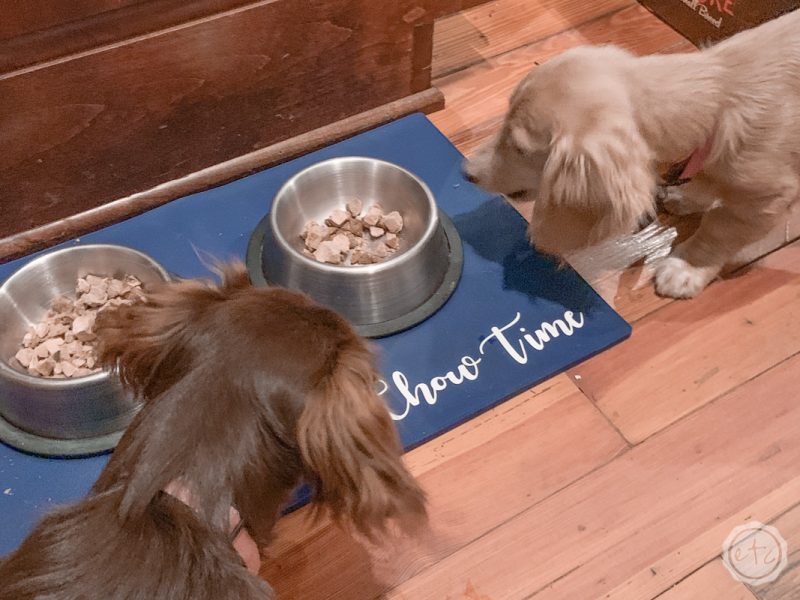
Now just add bowls, food and adorable dogs!





Leave a Reply