
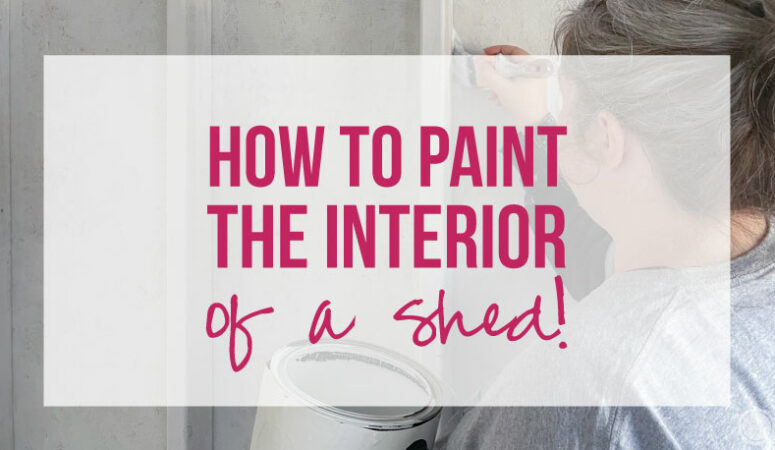


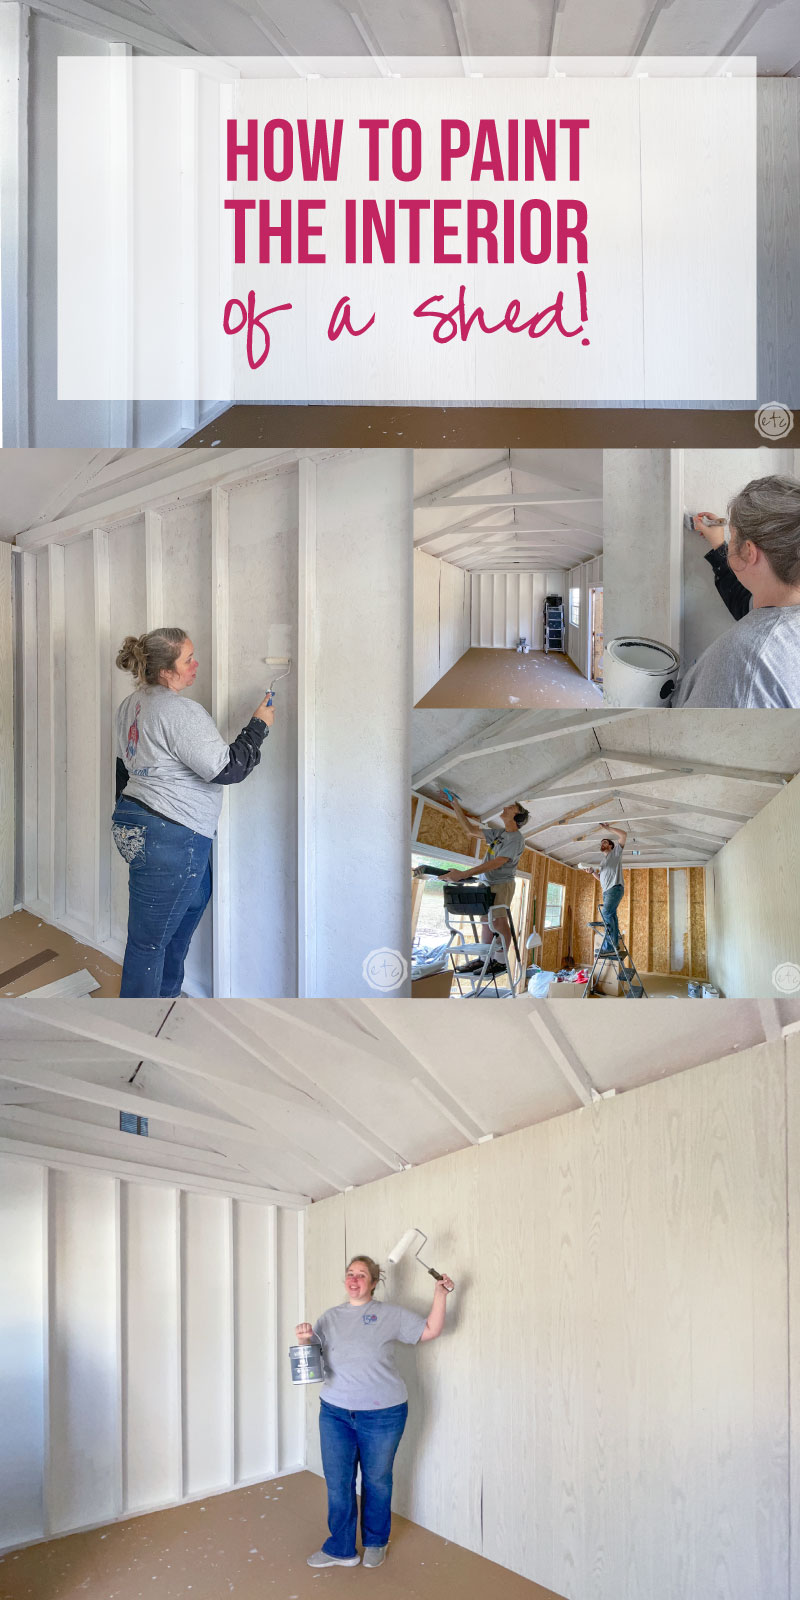
Last week we bit the bullet and hung the shiplap panels in the new workshed… and today everything else is getting a nice new coat of white paint. Since we’ll be filming resin and wood projects in here making sure the entire space is white and bright is super important.
PLUS it makes the entire space more inviting and seals out moisture so that the wood stays safe.
All around a brilliant plan.
Whether you’re painting your shed to film inside, to make a she-shed, to protect against the elements or just because you want to here’s the 411.
Let’s get started.
Supplies:
- Primer
- Paint
- Paint Brush
- 4″ Polyester Knit Roller Cover and Roller
- 9″ Polyester Knit Roller Cover and Roller
- Paint Tray (Small and Large)
- 4 Step Ladder with Handrails
- Paint Can Opener
- Stir Sticks
- Paint Kit (Rollers, Tray and Brushes)

Step 1: Calculate How Much Paint you Need
Before we get started we need to figure out exactly how much paint we’ll need. The general rule of thumb here is length x height will give us the square footage of a singular wall… we need to do all 4 walls and the ceiling.
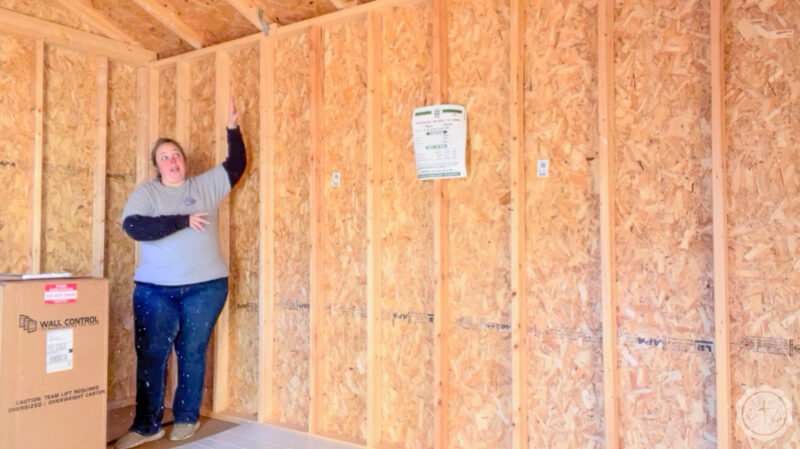
Since I’m not doing the largest (back) wall and instead hanging my 4 shiplap panels there I’m simply going to calculate the square footage of all 4 walls and not worry about the ceiling. That should get me pretttty close.
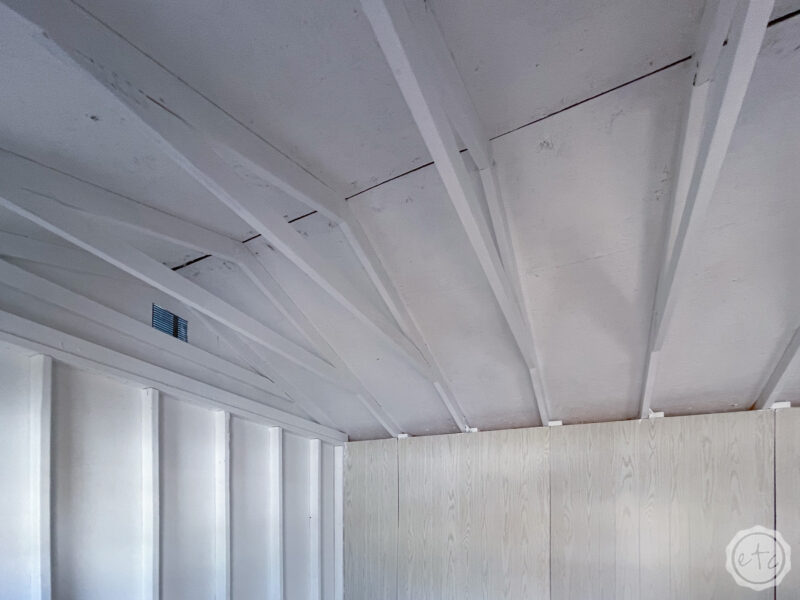
Since this is a 10×16 space we’re looking at 2 gallons of paint and primer for all 4 walls. If I was adding the ceiling to that I’d bump that up to 3 gallons of each (especially because these walls aren’t flat but have 2×4 studs every 16 inches that also need to be painted).
This worked out perfectly and I used exactly 2 gallons. If I had needed to paint the back wall a third gallon would have been needed.
Step 2: Gather your Supplies
Perfect!
Now let’s get alllll of our thing sin one place… once we start painting we won’t want to run to the store for a forgotten paint brush.
Since we’re painting an unfinished shed we don’t want to use the highest quality paints or tools. They’ll just get eaten up… especially if your shed is anything like mine with exposed nails and screws every five inches.
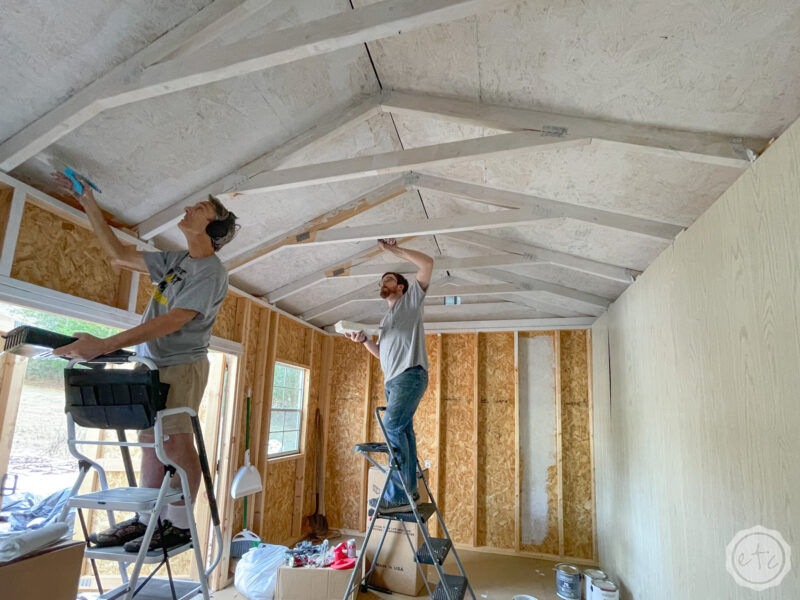
At least on the ceiling.
Instead I grabbed inexpensive polyester roller covers in a large 9″ size (for the space in between the studs) and a 4″ size for all the studs and beams on the ceiling. A brush to get all the weird nooks and cranny’s is great and you’ll need a step ladder of some kind.
Then we can pour our primer in our paint tray and get started.

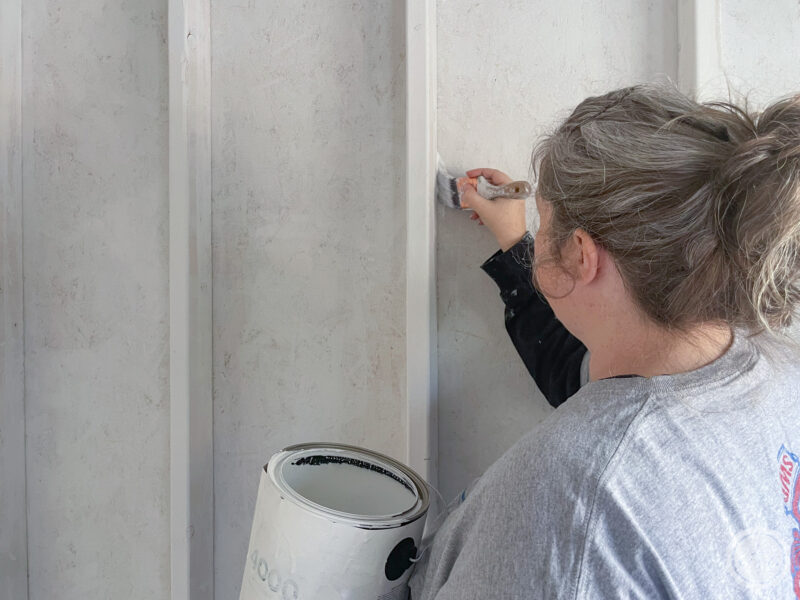
Step 3: Prime your Walls
Primer, primer, primer. Not paint and primer. Not primer and paint in one. Not two coats of paint.
Y’all this unfinished plywood is thirsty which means it’s going to straight up drink the paint like a frat boy on spring break. The whole point of primer is to seal the wood and stop it from being so darn thirsty… without spending an arm and a leg on the expensive paint.
Use your cheap primer to prime the walls, stop the thirsty frat boy and get your ducks in a row. Then we can go on top of the primer with our paint.
If you don’t believe me you can use whatever you like to prime but you’ll never get one coat on this baby and be done so anything you use but primer for your primer coat is wasting money.
Whatever floats your boat!
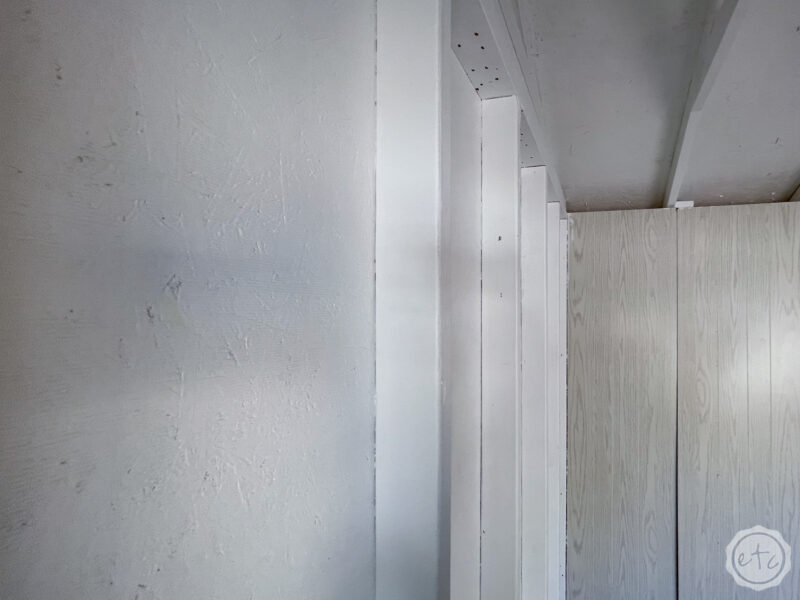
Just make sure to really get all the nooks and crannies with your primer… it won’t be a pretty even coat yet but that’s okay. Primer always looks ugly before it gets better.
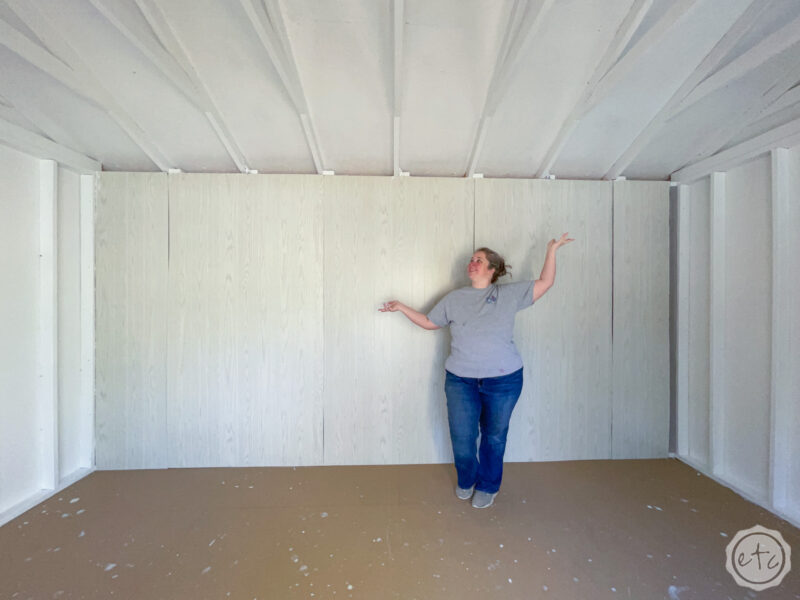
Step 4: Paint your Walls
Now it’s time to paint!
This will even out all the splotchy un-even primer, give us that nice cleanable finish and make everything look like one solid color!
Score!
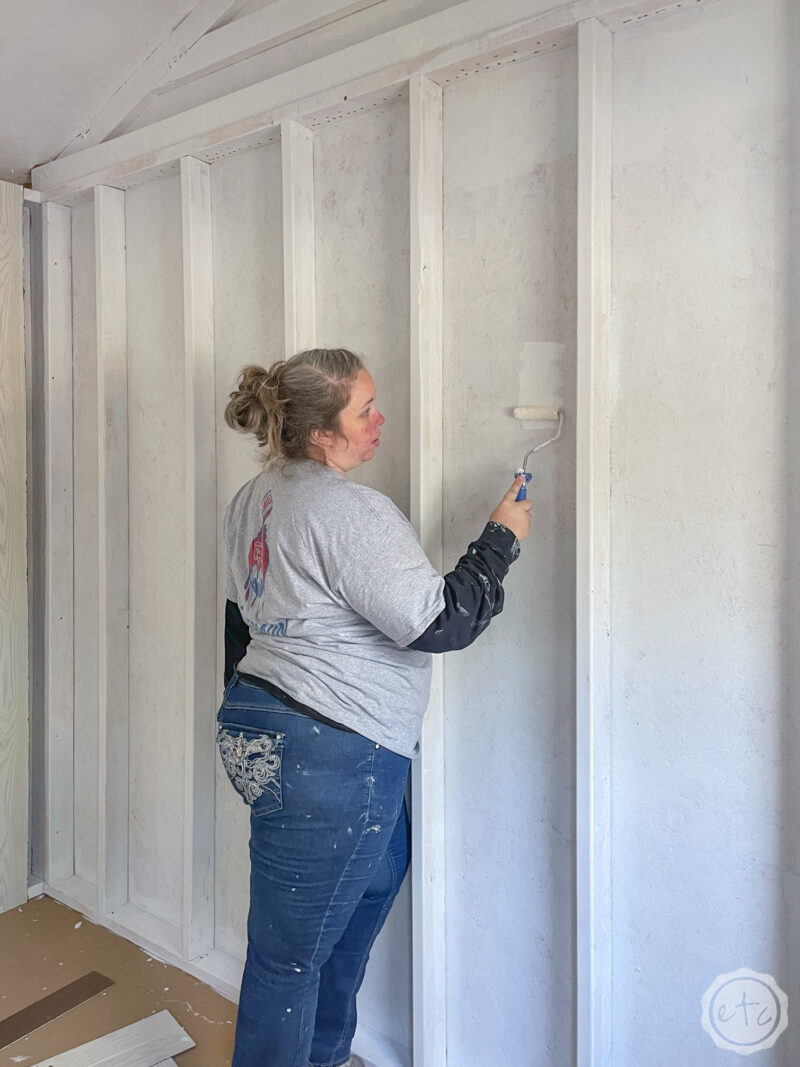
Since this is a shed I didn’t go with the highest quality of paints… but we’ll put a nice egg-shell coverage paint on top of this primer to even everything out.
You’ll want to use the larger 9″ roller for the space in between the studs and save the 4″ roller for the studs and beams. The brush will only hit the seams in between the wall and the 2×4 studs.
Or you can paint the whole thing with a brush… whatever you want to do! Technically you could spray everything (I do love my sprayer) but I’m trying to do this shed as cost effectively as possible so I left the sprayer in the box. I didn’t want to lose too much paint to over-spray in the air.
The rollers work just fine even if they are a pain in the rear at times.

Step 5: Enjoy!
Volia! After your first coat of paint is done you’re all set! Let everything dry and then touch up any areas that look splotchy. We had one or two but for the most part everything had very even coverage and the white really brightens up the space.
Even without drywall over the studs painting everything really helped to pull the space together.
I can’t wait to work in here!
Resin projects here I come!
Take a look…


So cool!! You are going to have such a great time in there! Thanks for the painting tips too.