Of all the kitchen makeover posts I have been sharing I was most excited for this one. The new kitchen faucet I ordered from Home Depot came a few nights ago and I couldn’t wait… we busted it out of the box straight away so we could put this thing in! Which means now I can list “knows how to install a kitchen faucet” as one of my skills.
Score!
The best part? We are sooooo close to finishing the Kitchen for our One Room Challenge hosted by Calling It Home. This is WEEK FIVE people… week five! That means our final reveal will be next week. Eeek! Even though the reveal is coming up I still have several projects to share… like painting our kitchen counters, adding a functional dog bowl stand and even a cute little chalkboard drawing.
It’s going to be epic!
Before we begin let’s take a minute to remember what our kitchen faucet has looked like for the last 2 years… generic and boring. Which would be fine except the little sprayer has been broken since last October.
Which is really just crazy.

Since the sprayer being broken completely messes up the sink (the water refuses to come out of the faucet and instead only trickles out of the sprayer) and we do not have a dishwasher.
Repeat: we do not have a dishwasher. Yes we have been hand washing dishes with a broken faucet for months.
It was time to install a new faucet.
Step 1: Turn off the Water
Alright y’all this is where my good intentions for lovely, step by step photos completely fall apart. Mainly because the very first step is to turn off the water.
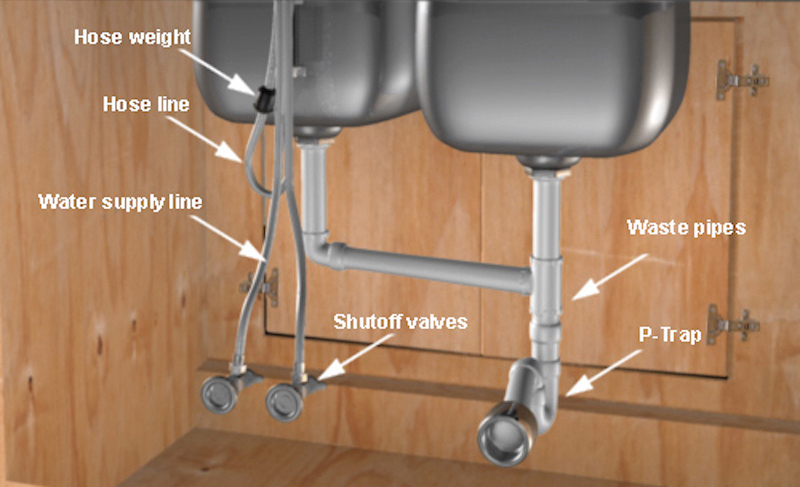
Typically that would be done by turning off both shutoff valves beneath the sink. I watched YouTube videos on how to do this, studied the pictures… see the valves in the graphic? Looks easy enough right?
Well when we got under our sink we quickly realized that our entire house is held together on a wish and a prayer. Or with some duct tape.
We only had one shutoff valve.
One.
So we shut it off thinking that must be how it is in our house. We were wrong, very wrong. Do you know what happens when you take the supply hoses off the faucet with the water turned ON? You flood your kitchen, it becomes an indoor swimming pool… which we learned the hard way.
So here’s my best tip. Turn on your water and then twist the shut off valves. If the water stops you’re good to proceed to the next step. If it doesn’t go turn off your water at the street level. Trust me, it’s worth it.
Since I don’t have pictures of my shut off valves here’s a picture of my hubby and I completely drenched after flooding our kitchen.
So. Much. Fun.
Step 2: Disconnect the Old Faucet
Alright, now that your water is off it’s time to disconnect your old faucet. You can unscrew your sprayer from the top of the sink and then pull the sprayer hose through the opening… then get rid of it. It has served it’s purpose.
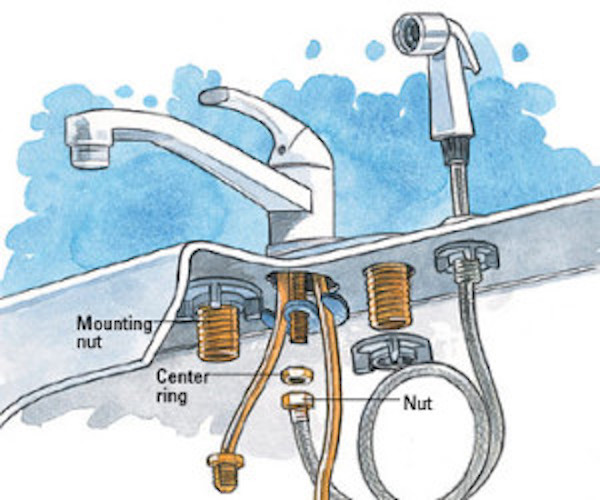
Disconnect the supply hoses, take off the nuts from the bolts on either side of the faucet and you can pull the faucet free. If your water is turned off this should be fairly quick and painless!
You can see a bit of our supply lines here… obviously this is a gorgeous photo. Very blog worth… but we live in a rental and this is what our sink looks like. It’s not pretty but there it is!
Here we are pulling the faucet free… see all that rust? Take a minute to clean the sink before putting your new faucet in place… totally worth it!
Step 3: Hook Up the New Sprayer!
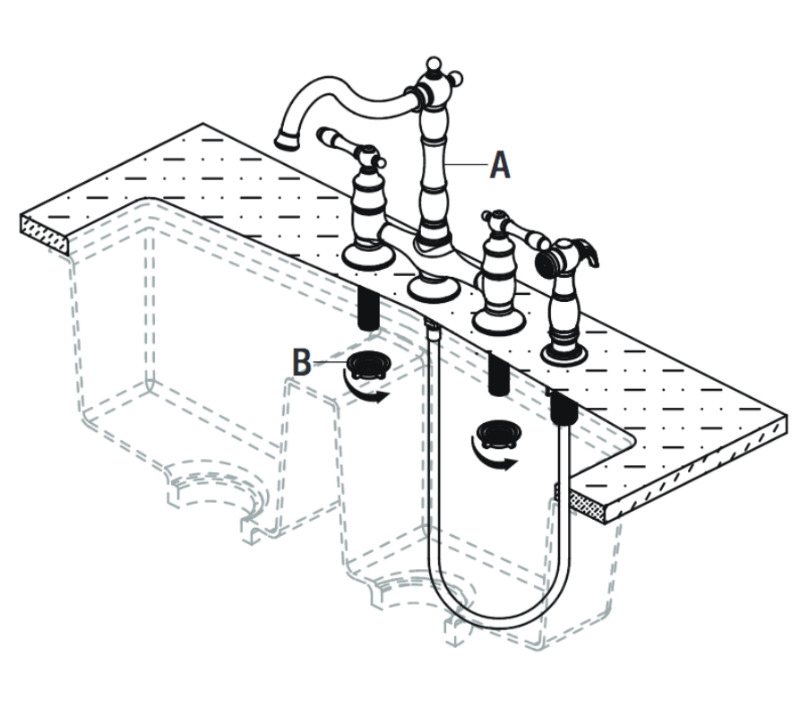
Alright now it’s time to put the new faucet in place… the first step is to literally place the faucet into place without bolting it down. Now put the sprayer into place by feeding the hose down into the bottom of the sink. Once the hose is on the bottom you’ll be able to attach the sprayer hose to the faucet.
Our new faucet had a quick attaching sprayer hose attachment so it literally snapped together. Just look how comfy the hubby is putting all the pieces together!
He’s having a ball.
Step 4: Tighten the Bolts
Alright now it’s time to tighten the bolts on the hot and cold handles… this part is super easy. Our sink came with black nuts that literally screwed directly onto the bolts. Easy peazy lemon squeezy!
Take a look at those bolts! You can’t miss it!
Step 5: Attach the Hot and Cold Water Hoses
The last step is to connect the hot and cold supply lines to the hot and cold handles. These guys snap into the large bolts and then a nut holds them in place!
Step 6: Turn the Water Back on and Check for Leaks!
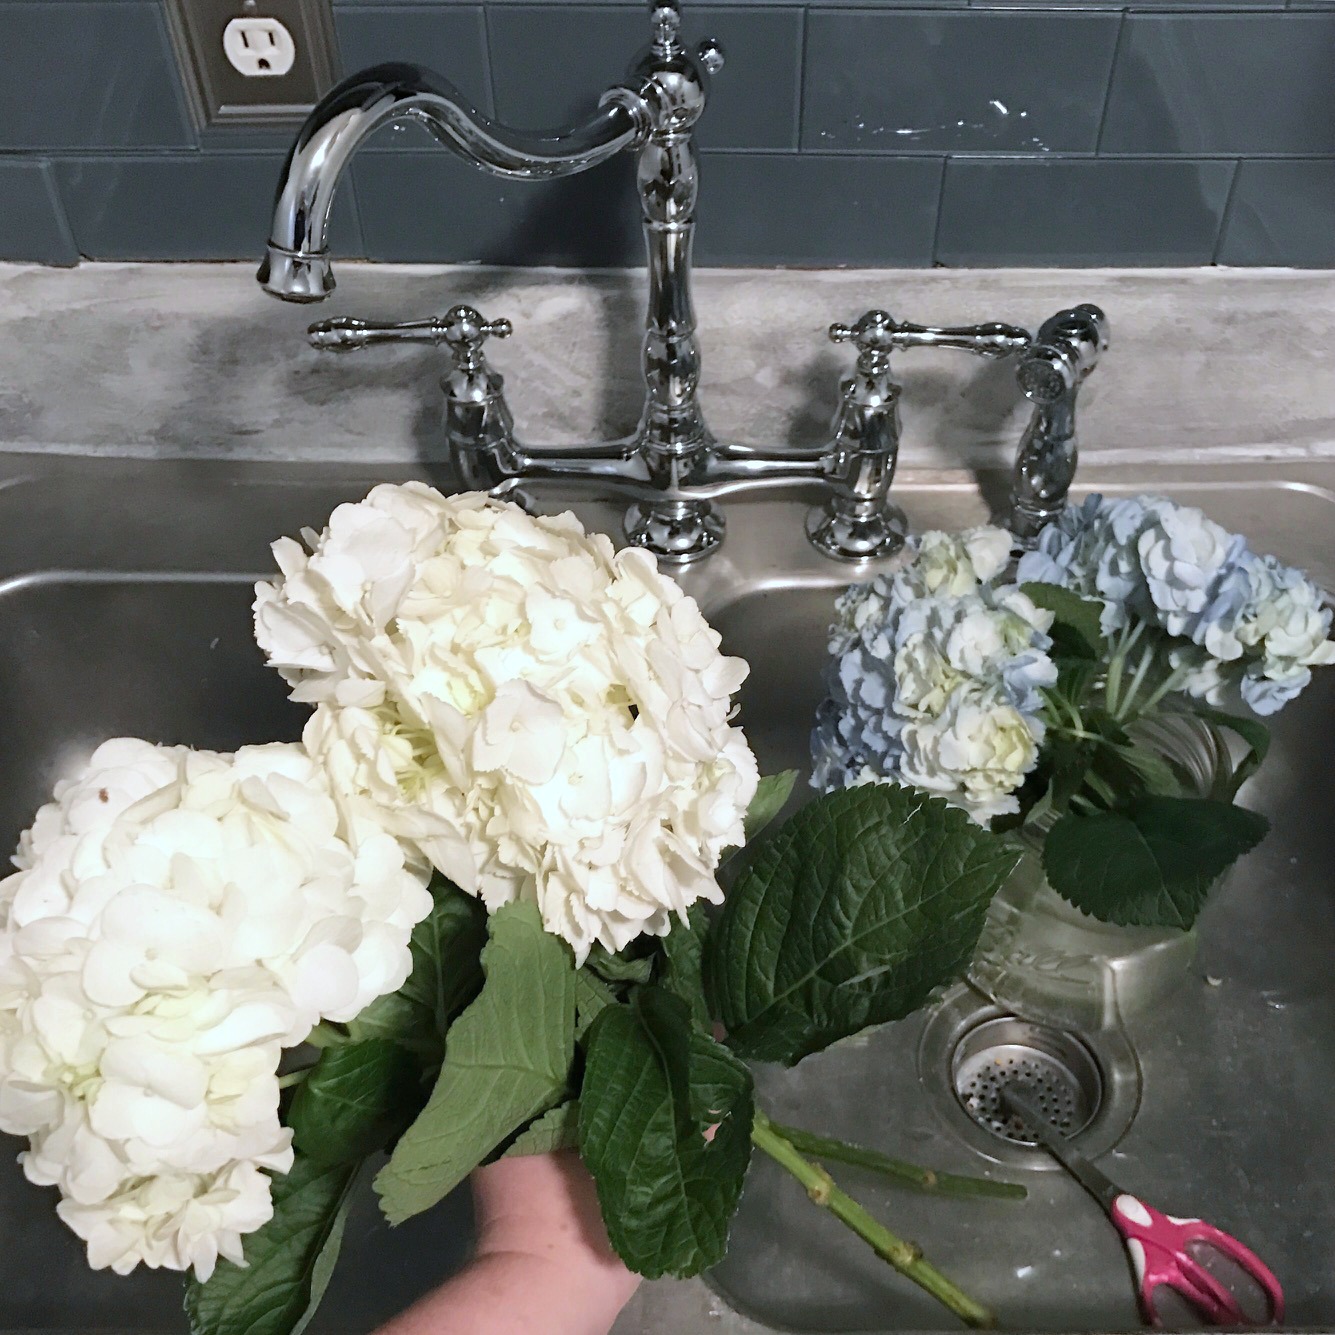
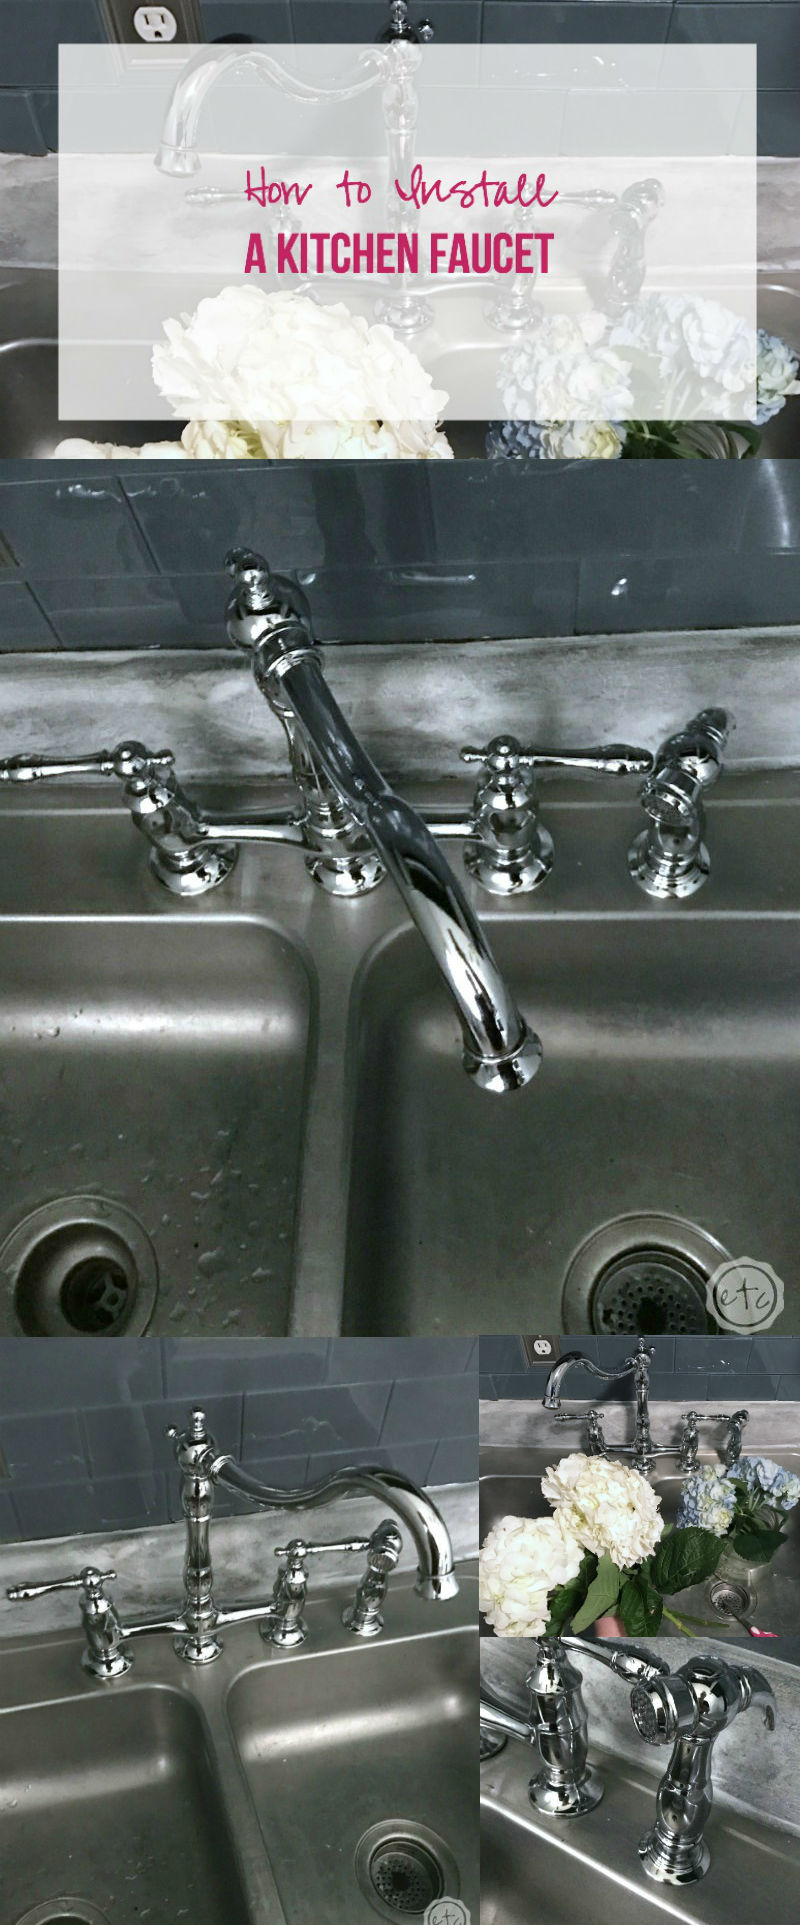
Now we’re on the last step… turn the water back on and make sure there are no leaks. Especially if your kitchen is now a swimming pool… leaks are bad. Luckily by this time we had figured out what the heck we were doing so life was good again.
Just take a look!


In ten years we’ll look back on this and smile but for now I’m just glad it’s finished. Plus I absolutely looooove my new faucet so that’s a plus!
Don’t Forget to Pin!
Thank You to Our Sponsors!
Home Depot | Aspect Tile | D. Lawless Hardware | Sherwin Williams | Fairfield World | Ryobi











Betsy, I’m sorry to hear that you flooded your kitchen when you removed the supply hose without having the water completely shut off. I’m glad that everything is good now. I’ve been wanting to replace my kitchen and bathroom faucets at some point. I’m worried about having a similar accident if I tried to do it myself. I think I’d feel more comfortable using an experienced, reputable, and licensed plumber to do the work. I know my anxiety and stress level would be much lower knowing that a professional was doing it.
Your old sink looks a lot like the one I have currently in my house! I have been meaning to replace it for some time now and since you did a great write-up with pictures, it would help me greatly when the time comes where I do mine. If anything, I might see about having someone come and help me out as I have never replaced one before.
I’ve always thought installing a faucet is a job for a professional but no more. Your project and the pieces of advice in it looks really easy to do. Maybe I can give it a try. Thank you very much for sharing.