


I am SO excited to be back in the work shed today… and finally making it a touch more usable! So far we’ve hung decorative shiplap panels and painted the entire space (you can check out the entire process over on YouTube… from purchase to installation to paint!). But today we’re going straight to function by hanging these metal Pegboards from Wall Control.
They’re sturdy and have so many options for pegs and organization! I have 4 of them in the large built-in cabinet I designed for my laundry room and they make such a difference. Especially since I put them on drawer slides to utilize the space behind the pegboards too!
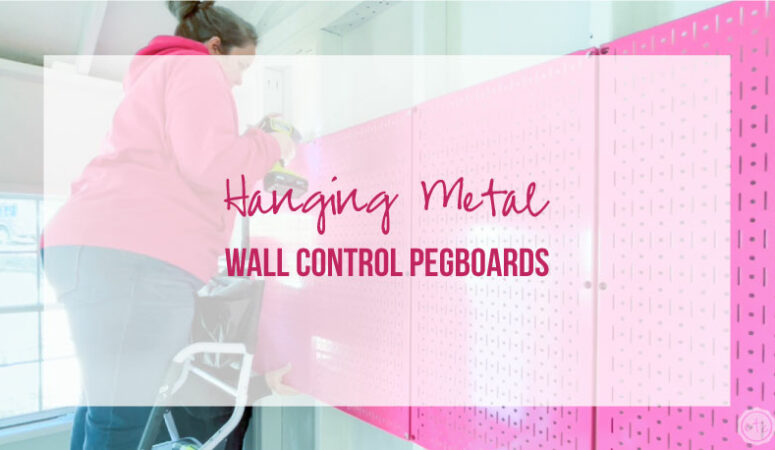
Today we’re skipping the drawer slides and hanging 6 of these metal pegboards straight into the studs in my work shed. They are 16 inches wide so they’re the idea spacing for securing into the studs… either exposed studs like these or a typical wall with drywall over top.
Let’s get started with hanging these bad boys so we can move on to my favorite part… organization!
Supplies:

Step 1: Pre-Drill the Holes
First things first… we’ll start by measuring where we want our pegboards to hang. I want mine to be about 6 inches higher than the adjustable work bench I’m putting together for my space. So that’s easy!
Hold one of the pegboards up and use a level to make sure it’s level. Even if it’s not perfectly level to the floor and ceiling being level to the actual ground and foundation will make a big difference to how the weight of your tools is distributed across the pegboards.
Once you’ve leveled the pegboard go ahead and mark each of the screw holes with your pen or pencil and then use your power drill to pre-drill each spot.
The screws included in the hardware for these pegboards are heavy duty so you definitely want to pre-drill to avoid splitting the studs with your screws. I actually pre-drilled each spot with a smaller drill bit and then a larger one as that seemed to work best with the provided screws.

Step 2: Secure the First Pegboard
Once you’ve pre-drilled at least the top two spots you can secure the top of the pegboard with the heavy duty screws.
I then kept going down the wall adding the next pegboard and making sure it’s level before pre-drilling and securing it with the screws.
It’s a pretty easy process but the pegboards are heavy… so having another person to help hold them in place during the entire process was very helpful!
Once all of the pegboards were secure across the top I went back and secured the middle and bottom spots with there screws… these babies definitely aren’t going anywhere!
They are super secure!


Step 3: Organize with Pegboard Accessories
Now that everything is secure it’s time for my favorite part… organizing all of your tools! Wall Control pegboards are great because they work with all of your standard pegboard accessories as well as their long line of accessories.
I love their paper towel holders and their shelves! Especially as I don’t have any other storage in the shed yet… these pegboard shelves make a huge difference!


Each of the accessories works in almost the same way… you’ll put it in at an angle and then secure by pulling down.
Only a few have different fasteners… like these plastic jars. You secure them with little fasteners that work a lot like drywall fasteners. You’ll place them on the pegboard and then push the middle peg in to expand the back fastener. If you want to move it you can pull the middle peg out and start over in a new spot!
I haven’t tried these jars before so I was fairly impressed.


I’m still deciding exactly want tools to keep inside the house for everyday projects as well as what tools to bring outside for larger woodworking or resin projects… so it’s definitely a work in progress.
BUT I absolutely love having the ability to add in a new peg and hang any tool I bring out to the shed in a new spot. Over time I’m sure I’ll come up with the perfect location for each and every tool… and probably have to buy a few new ones so that I have the tools I use most in both places.
Darn! I have buying new tools *wink wink*
Keep in mind that Wall Control has dozens of colors and patterns that you can pick from for your pegboards… so if hot pink isn’t your color they’ve got you covered. I have neutral gray ones in my laundry room and even a few white ones ordered for the back of the doors in the shed (I want to hang my shovels and rakes for the garden).
But if you want to check out all of the colors or even scroll through their dozens of accessories (this isn’t even close to all of them) you can head over to Wall Control’s website and see what would work best for you.
I’m sure you’ll find the perfect solution.


Leave a Reply