
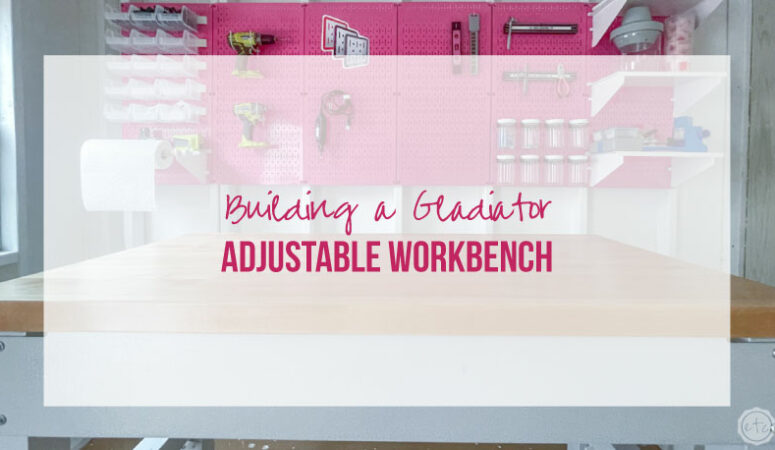


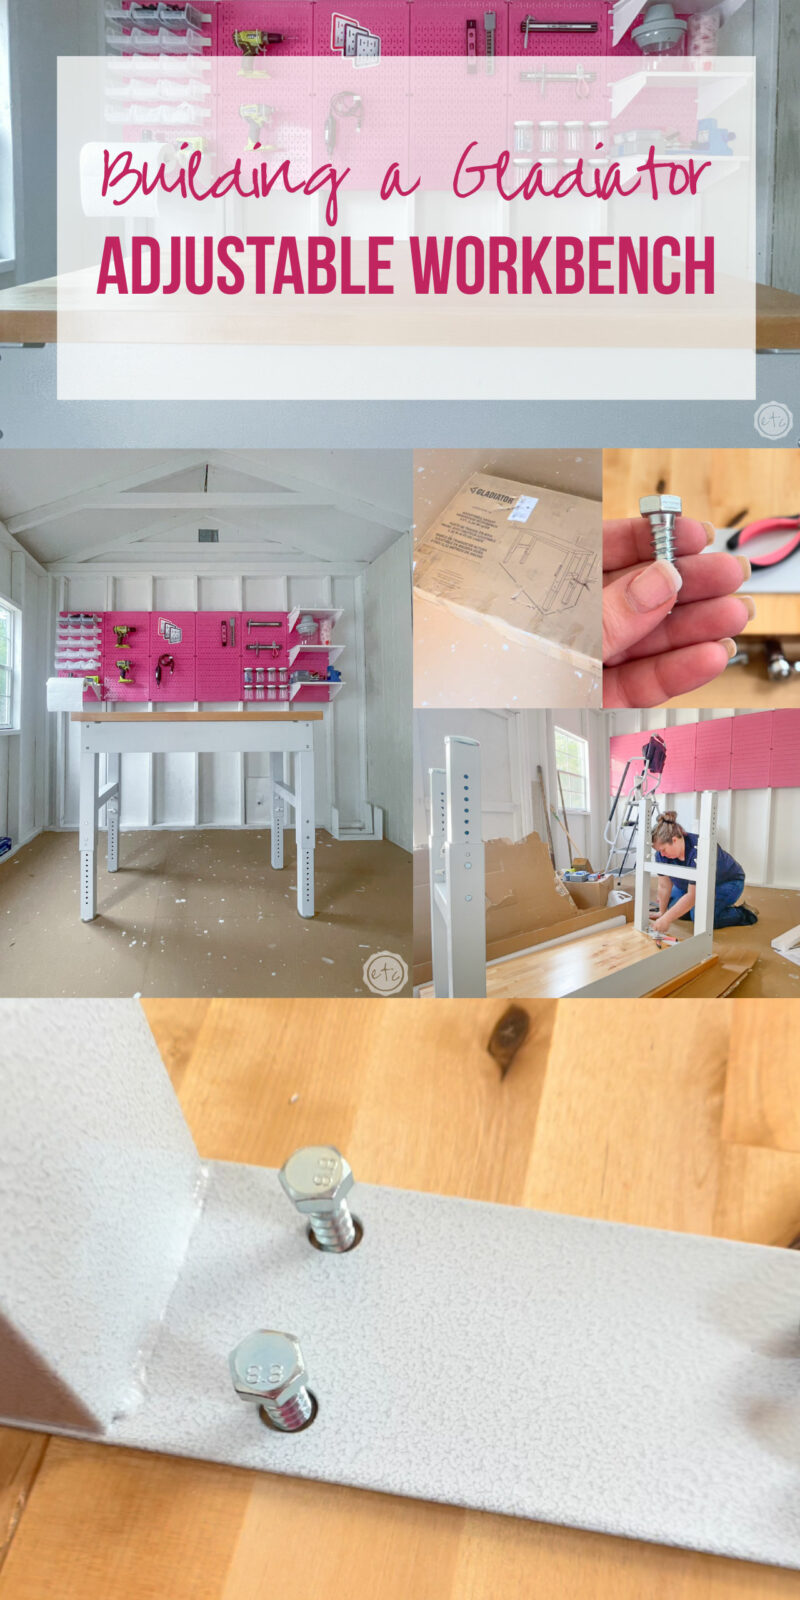
I am SOOOOOO excited to finally be putting a workbench in my new work shed! If you’ve been following along over on YouTube I’ve been filming an entire series about installing the work shed, painting it, hanging shiplap panels on the back wall… and today we’re actually putting in the one piece that will make this baby usable.
The workbench.
An adjustable gladiator workbench which is super heavy duty and great quality… according to my Dad who bought it for me for Christmas. Thanks Dad!
I cannot wait to do my first project in here… it will be so much easier than cutting wood and drilling pocket holes in my living room like I did when building the custom built-ins for my laundry room.
But before we can use the work bench we have to build the workbench.
Let’s get started.
Supplies:

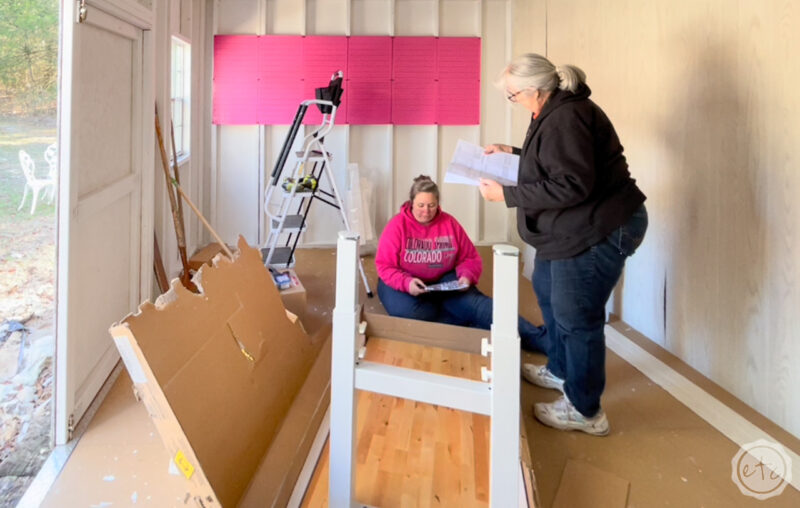
Step 1: Move the Work Bench into the Space
This step is a little obvious… so not really necessary BUT Mom’s friend Jim and my “little” brother Will took time out of their day to come deliver this baby into the shed.
So I thought that deserved so flattering photos on the interenet.
It is HEAVY so you definitely need two people (or one very strong person) to carry it. It says two-person lift right on the box.
You probably don’t want to build this baby and then move it into place so make sure it’s in the space where you want to use it before starting to build.

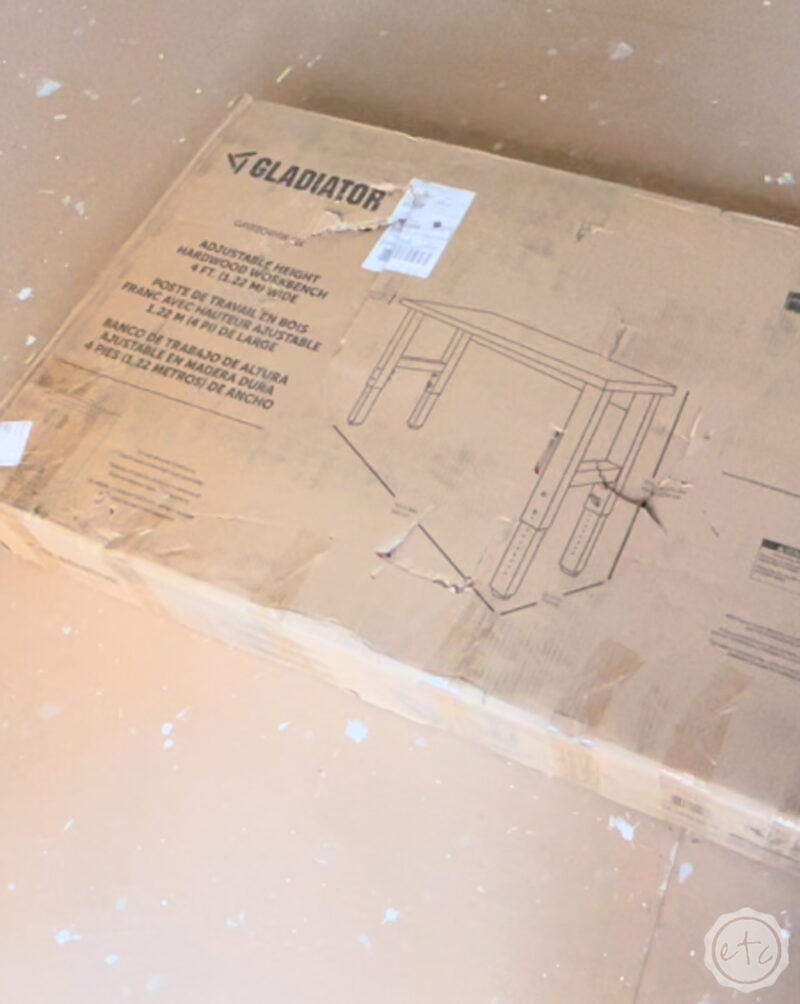
Step 2: Read the Instructions and Gather your Supplies
This is a very easy build with only a few heavy duty hex bolts and equally heavy duty screws. They give you a very useful hex screw driver for the screws but you will need a socket wrench for the bolts.
The instructions are pretty easy with clear pictures and will tell you that there’s only a few differences in the front of the table and the back.
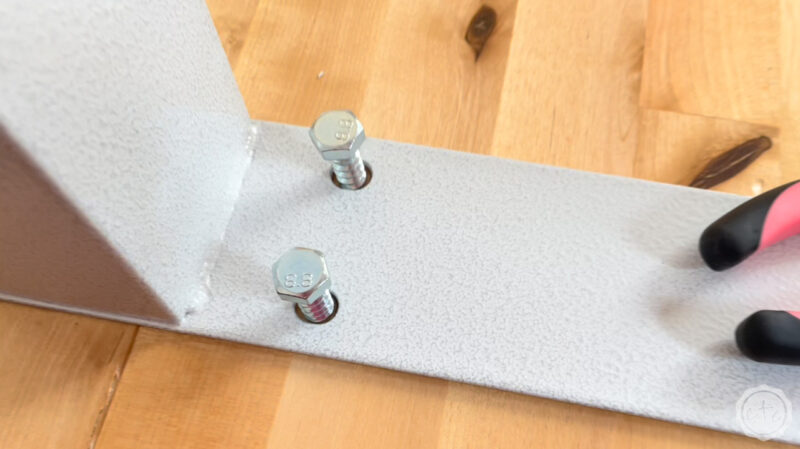
The legs themselves are perfectly symmetrical except for 2 holes on one side that you will screw the apron of the work bench into.
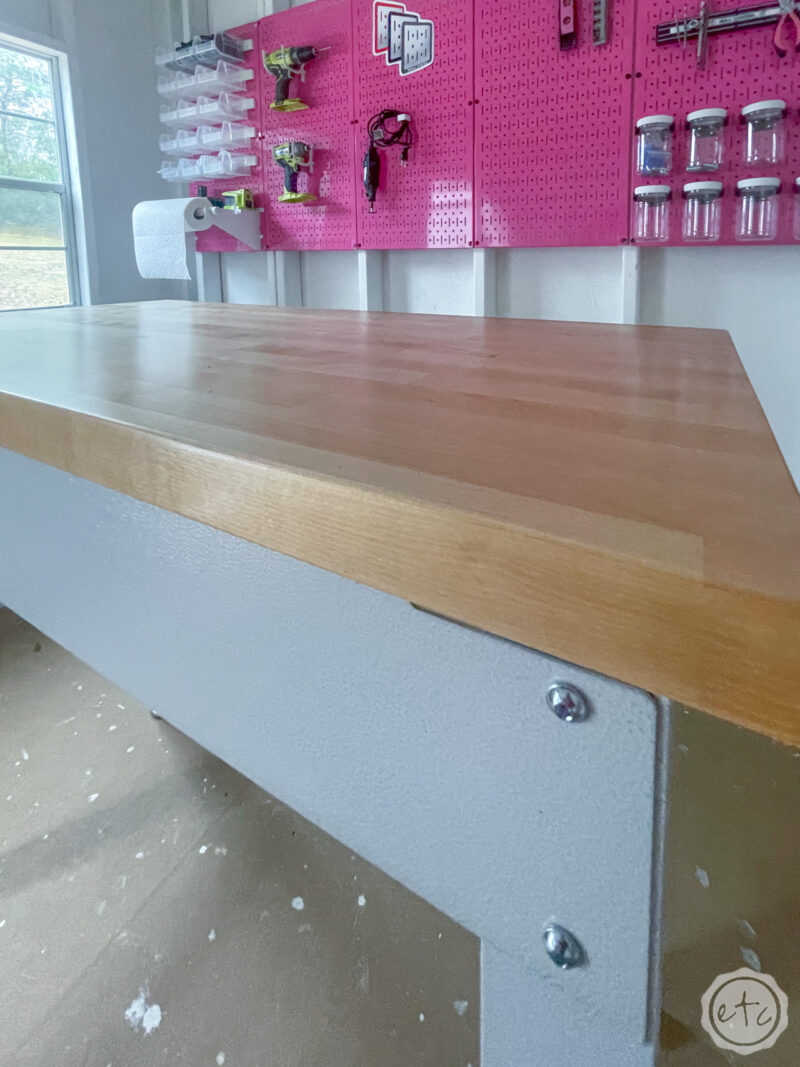
The butcher block work top is smooth on one side (this is the top) and has all of the pre-drilled holes on the other side… this is the bottom. The two sides of the bottom have identical pre-drilled holes for the legs but you’ll have 2 extra holes along the back of the table… these are for the apron.
Make sure when you’re placing the legs on the table that the back of the legs with the extra holes for the apron line up with the back of the work surface (with the extra holes for the apron).


Step 3: Start to Assemble your Workbench
Ready to use your socket wrench?! The instructions stress in several places not to tighten anything until everything is fit together. The pre-drilled holes are true pilot holes so your socket wrench will tighten the bolts into place… and you don’t want them going in crooked.
We want nice tight, straight joints so there’s no funky pressure on any portion of the legs or top.
So start placing your bolts into their places on either leg and then place the screws in to the back of the apron.
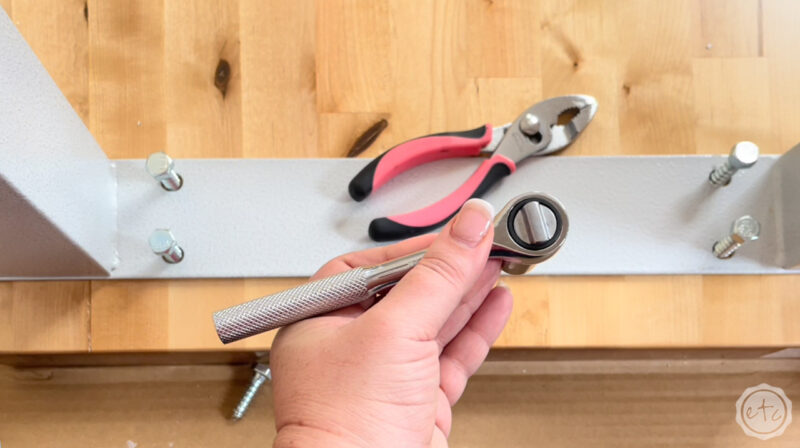

Step 4: Tighten EVERYTHING
Now that everything is dry fit together go ahead and tighten everything. You want to use your socket wrench and screw driver to make sure every screw and bolt is truly fastened and ready to withstand the pressure of all the projects you’re going to do.
This isn’t a hard step… just take your time and make sure each piece is tight before you move on.
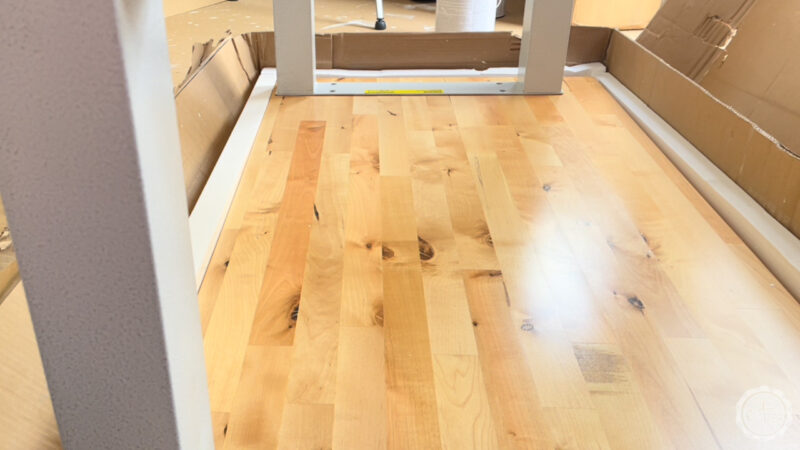

Step 5: Adjust the Leg Height and Enjoy!
We are so close to done I can TASTE it!
At this point the table is at it’s lowest standard setting… so if you’d like it to be taller now’s the time to adjust it. It’s way to heavy to adjust once it’s right side up!
The legs are held in place with large bolts so go ahead and unscrew each bolt before adjusting the height… the instructions say you don’t want to go any taller “10 exposed bolt spaces” which sounds confusing but is a pretty accurate measurement system.
I put these babies all on the tallest setting and moved them into place.
Then it was on to the first project… check it out!
P.S. If you’d like a closer look at the metal pegboards you can learn all about them here.


Leave a Reply