

Are you ready for the big game? Whether that’s the next game on your son’s road to the championship or the Superbowl (which is literally next week!) there’s a good chance you’re setting the table for a tailgate party. Of course, that comes with a few… steps.
Mainly food… watching foodball goes hand in hand with eating delicious food.
Which means a fun table, a stocked buffet OR a fun island covered in amazing dishes and cute decorations! Either way we’re going big before we go home… but we aren’t trying to break the bank while we do it. Which means using supplies we already have… I grabbed a bit of cardstock to whip up super cute drink stirrers and even a cake topper but today we’re focusing on the plates.
Instead of buying football specific plates we’ll have to store the rest of the year or paper plates that we’ll throw out let’s add removable vinyl to plates we already own! They’ll be cute for the big party and then go back to normal plates… I’ve used this technique before for my Halloween plates and it works perfectly.
Cute, party appropriate plates the first day and regular plates the next day! Score!
Let’s get started.
Supplies:
- Cricut Maker 3
- Cricut Access (for the cut files!)
- Cricut Roll Holder (for smart vinyl)
- Fine-Point Cutting Blade
- Cricut Standard Grip Mat (that’s the green one!)
- SVG Cut Files (FREE at the bottom of this post).
- Bright 360 Floor Lamp
- Weeding Tool
- Scraping Tool
- Smart Vinyl
- Transfer Tape
- Acrylic Ruler
- Black Plates
Step 1: Prep Design Files
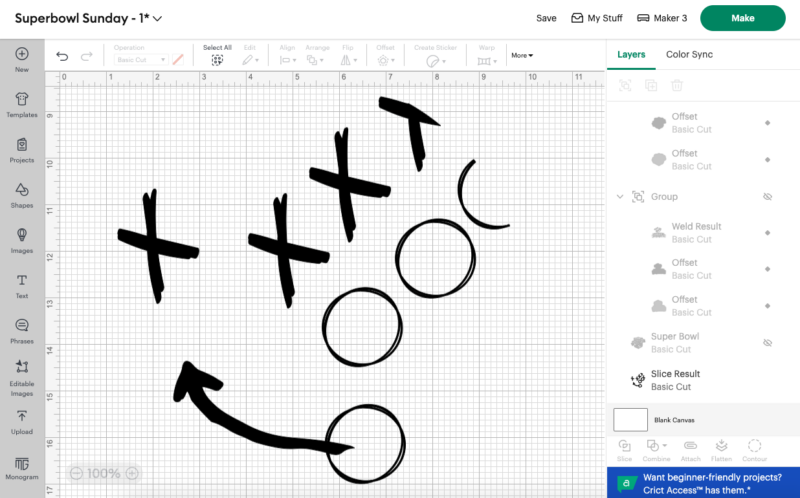
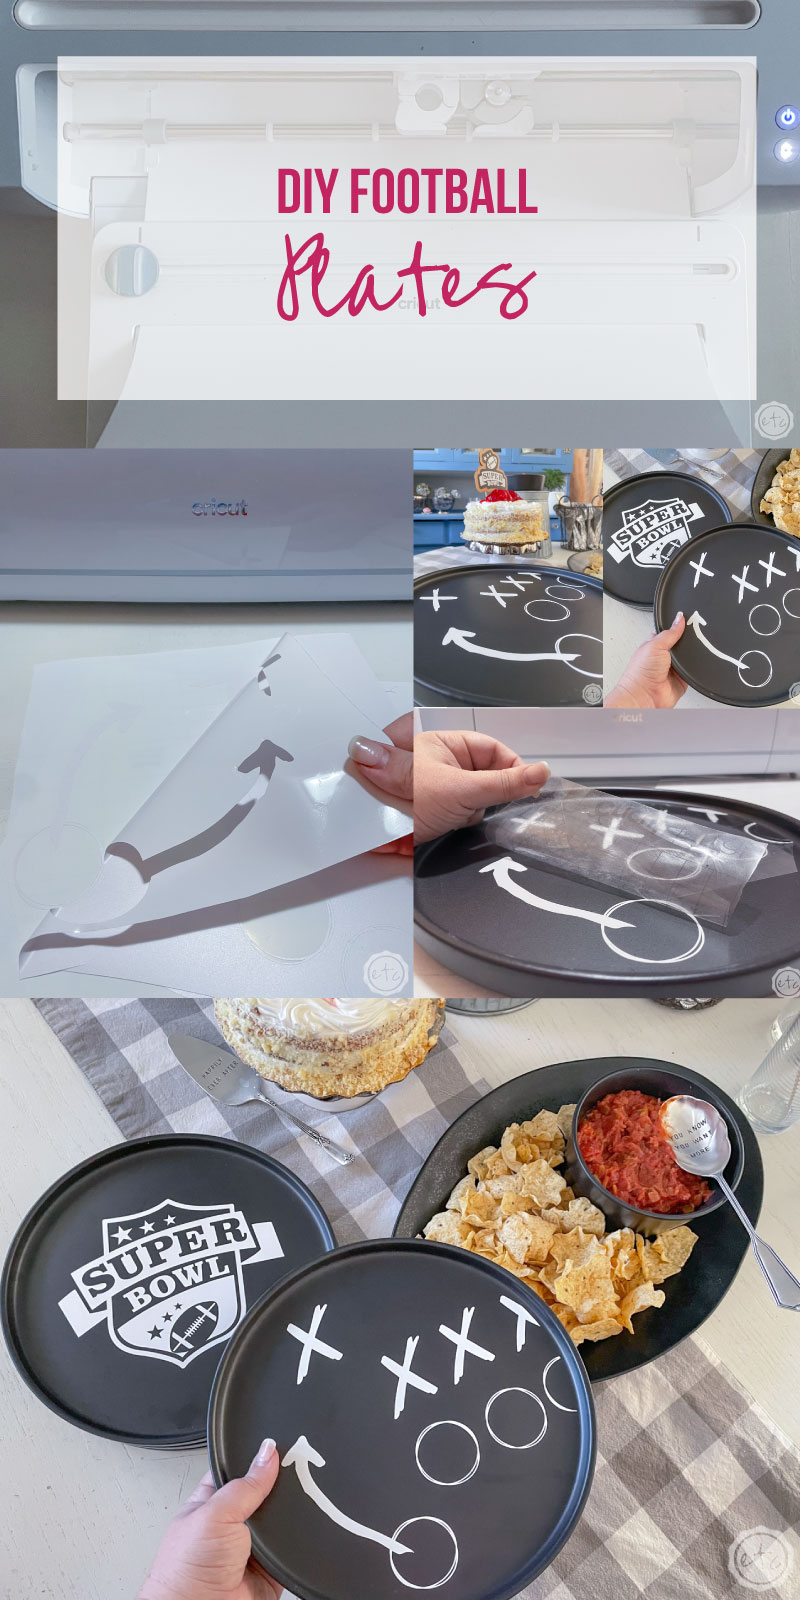
First things first… let’s prep our design files! I have black plates so my main idea was to do chalk board themed plates with the x’s and o’s that represent a football play.
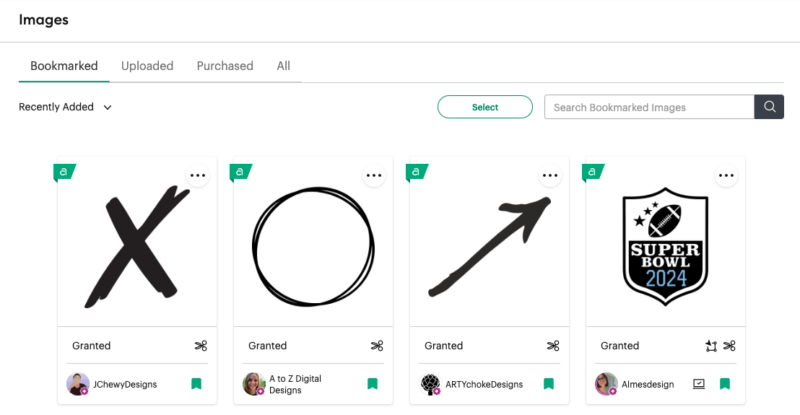
I headed to the Cricut Access library to search for X’s and O’s and found the best results by searching for “chalk x” “chalk o” and “arrow”. You can see the three I ended up using in the Cricut Access Library below.
From here I arranged the x’s and o’s into a little football play and added an arrow showing the o tackling the x… while you’re welcome to use this same design you may want to change up the play to show the x’s and o’s in a different formation!
Once I had my design how I liked it I welded the entire design together and then created a 10 inch circle (the diameter of my plate) and centered the two. I wanted the play to go off the plate a little bit so I made sure my circle (representing my plate) intersected the x and o in the right places and then hit splice! Now my design was ready to go… we’ll delete the extra slice layers and get ready to cut!
Step 2: Cut Removable Vinyl
Alright y’all… this step is pretty easy! Since I want to be able to remove my design after the party I grabbed a roll of removable vinyl.
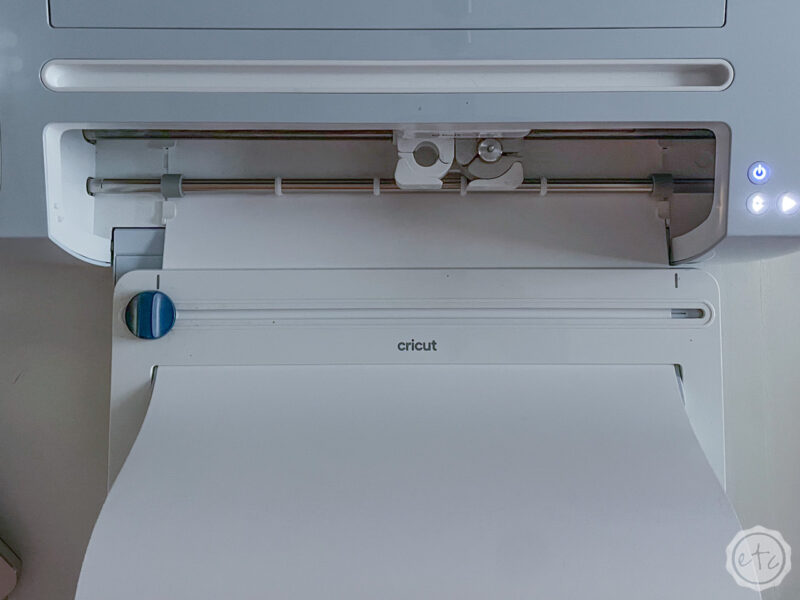
And since I wanted to skip the cutting mat I grabbed a roll of smart vinyl! Then it was as simple as hitting the “make it” button, selecting my material and watching the machine work!
Cutting vinyl is typically pretty fast and easy but this design is so simple it went extra fast… even though I needed to cut a few plates worth of vinyl.
Step 3: Weed Vinyl
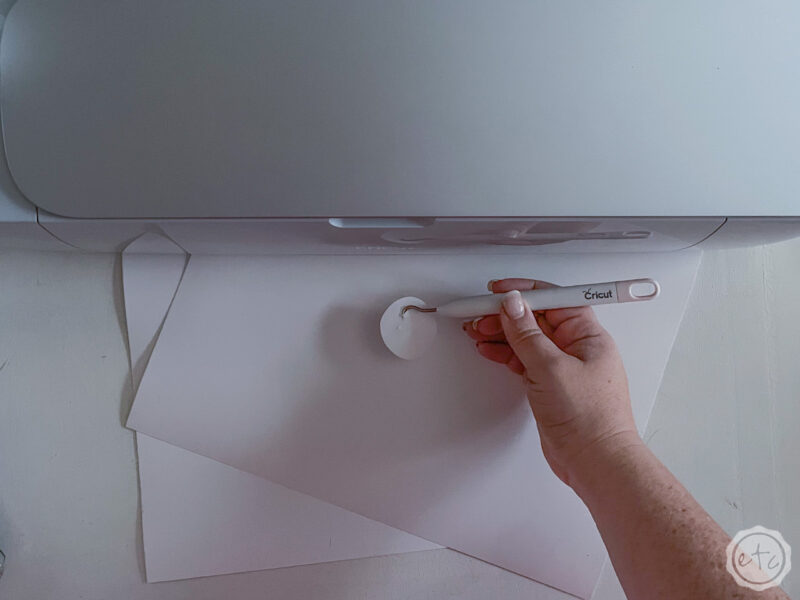
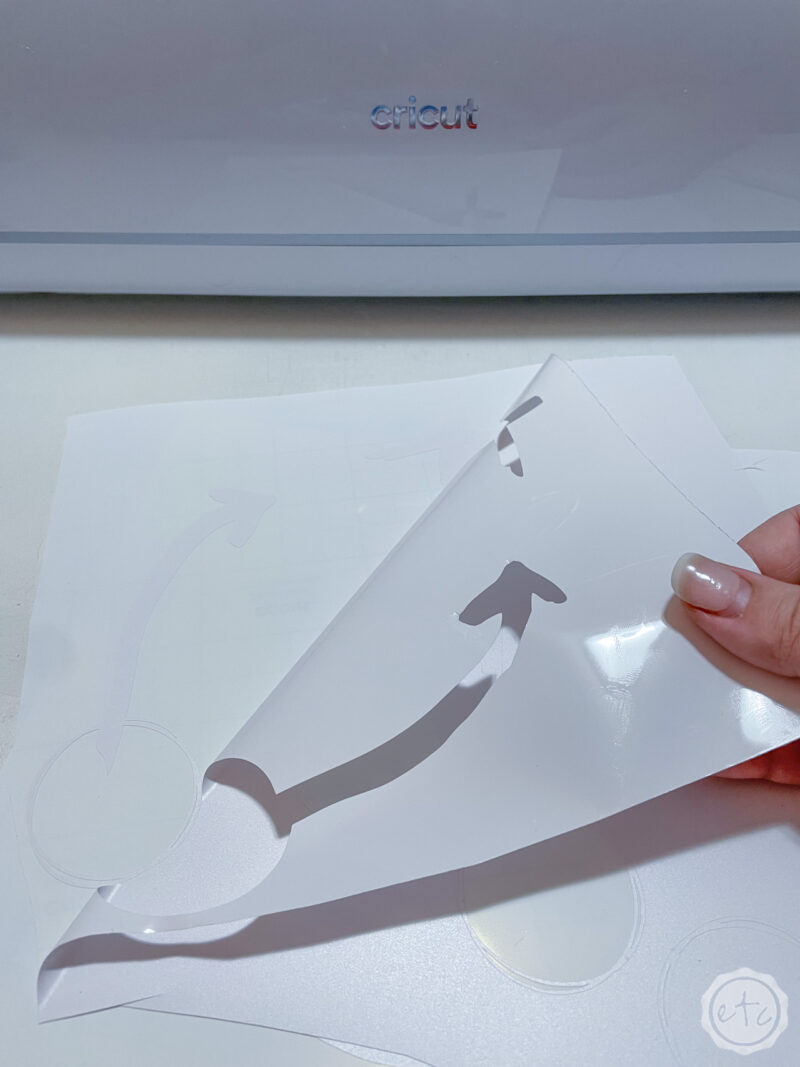
Next up is my least favorite part… weeding! I always find it a little hard to see the cut lines on white vinyl but I grabbed my Cricut 360 (which is a fancy way of saying really bright light) and it always makes a difference.
Remove all the excess portions of the design with your weeding tool… the inside of the o’s, the little chalk lines and the entire background around the x’s and o’s. Then we’re ready to move on.


Step 4: Use Transfer Tape to Move Vinyl
Ready to put your vinyl on your plates?! Start with a big piece of transfer tape (or if you’re like me several smaller pieces of transfer tape that you tape together so you don’t have to open a new roll.
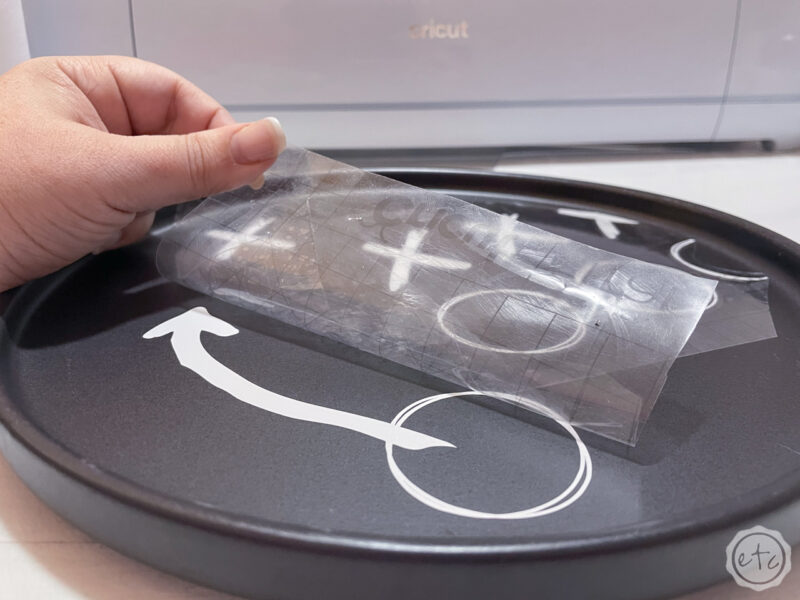
Lay them over the entire vinyl design and then use your scraping tool to bond the vinyl to the transfer tape… turn everything over and scrape the back as well. Then when you remove the transfer tape the vinyl design should come with it leaving a clean white carrier sheet behind.
Which is perfect… now we can lay our transfer tape down on our plates, smooth all the pieces out and remove the transfer tape. This will leave our vinyl behind on the plates so we have cute plates and a clean piece of transfer tape for the next design… I find you can use one piece of transfer tape a few time before you need to start over with a new one!
Step 5: Set your Table!
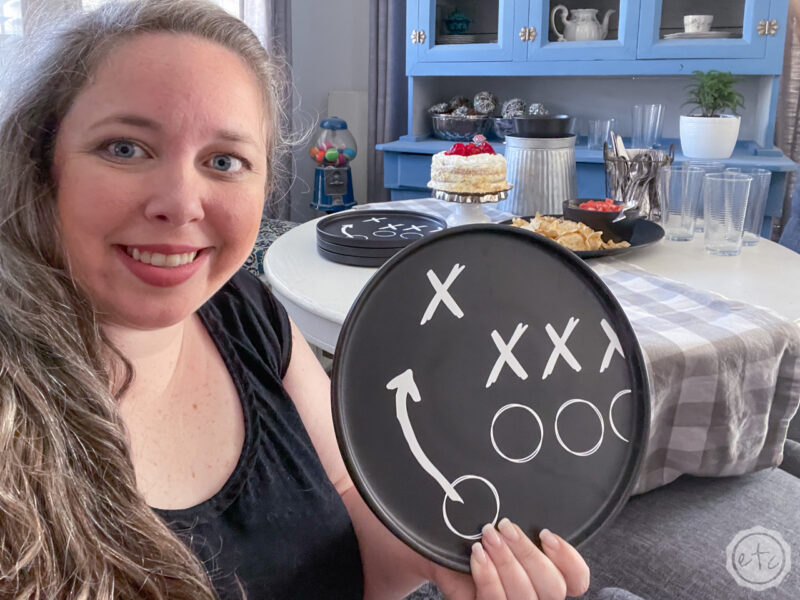
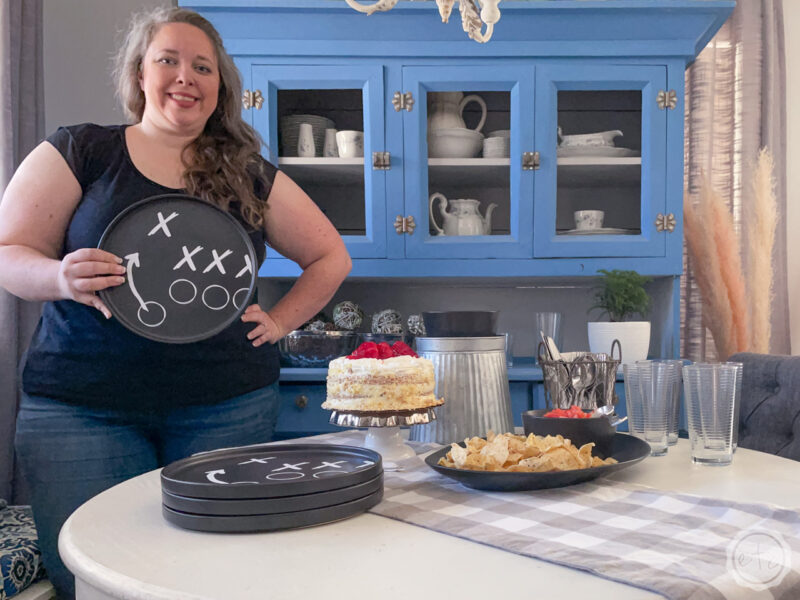
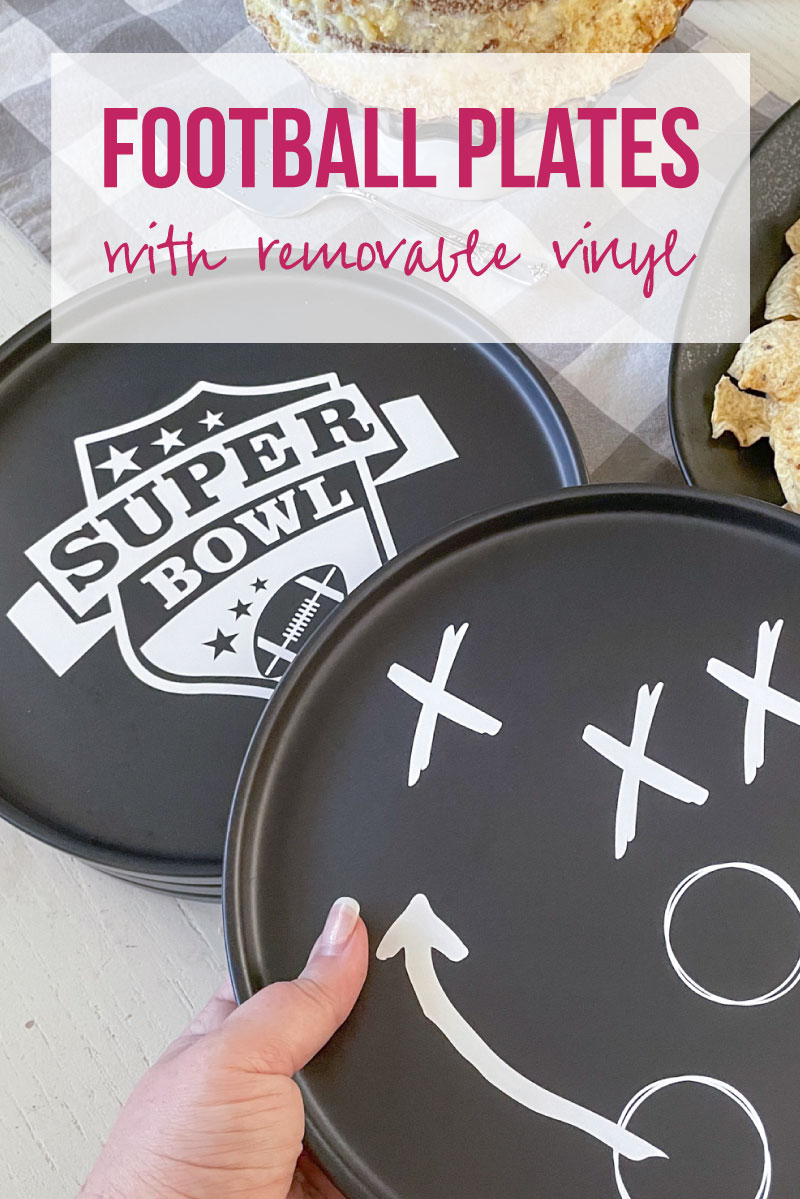
All done! Our plates look super cute and are ready for any football party! Since I’m setting this specific table for the sueprbowl I added a few plates that specifically say superbowl… but you could do all football plates for any other game.
Let me know what you think down below… I’m off to prep for the rest of my party!
Get Your FREE PDF Guide!

Don't forget to snag your free PDF Guide to buying your first Cricut!




Leave a Reply