For anyone jumping head first into the world of planners there are a million questions. It’s a bit like having sparkly-shiny-squirrel syndrome where you want to have allllll the sparkly things, all the pretty planners, all the bits and bobs! But at the end of the day your planner is only as functional as you make it!
There are a million different planner styles but a travelers notebook is absolutely customizable so it’s perfect for someone who wants a planner as unique as they are. Since a travelers notebook starts with a blank cover and a couple of strings you can add the inserts that make the most sense for your life.
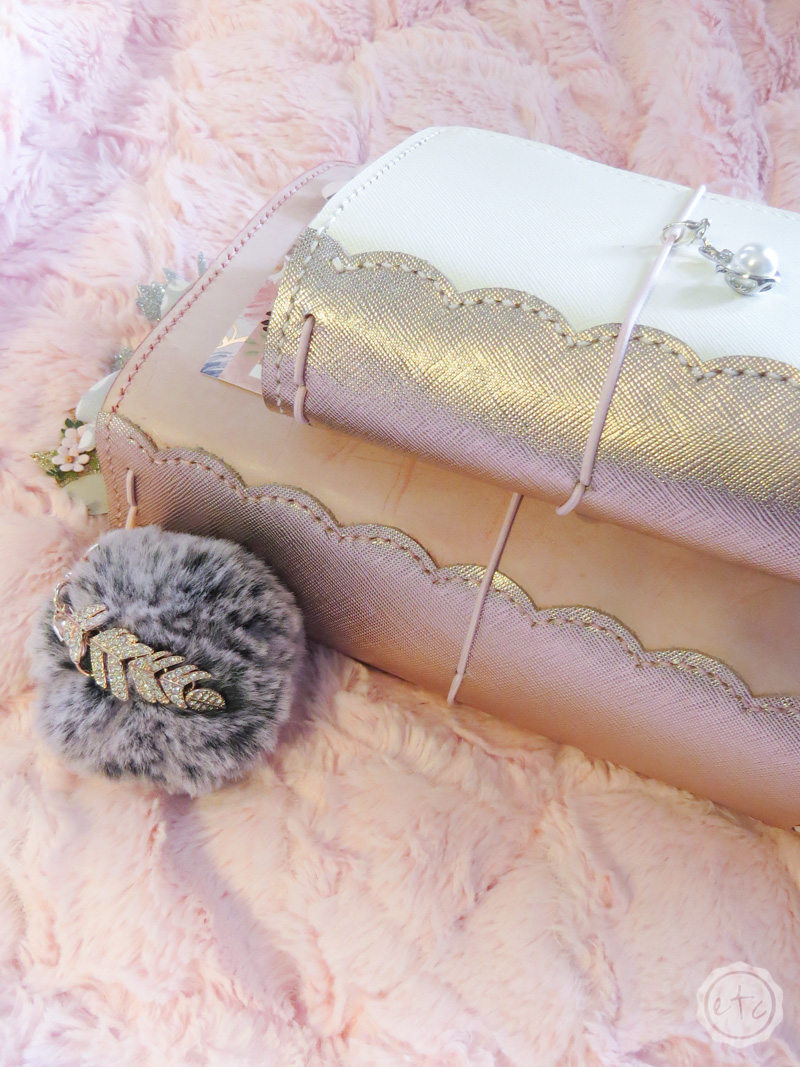
Then you can take it a step further and either leave it at the basics or add in all of the decorations you want.
So if you’re thinking of using a travelers notebook as your main planner here’s all the info you’ll need to set it up!
Step 1: Pick Your Cover
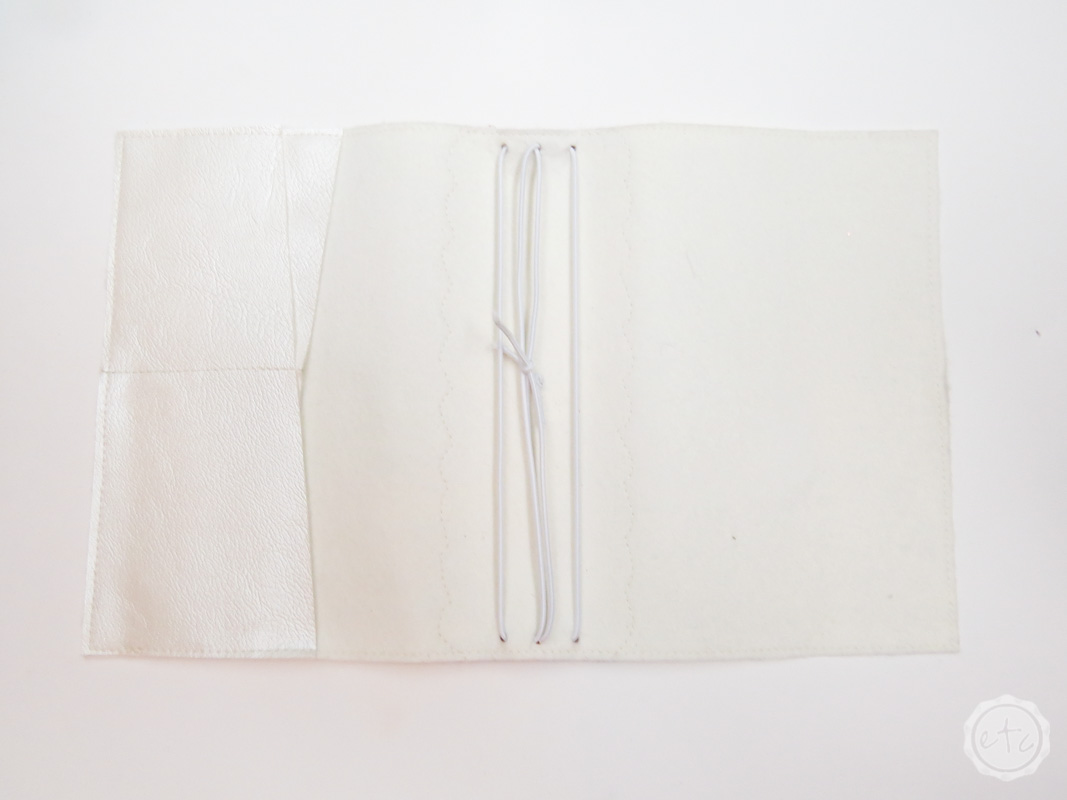
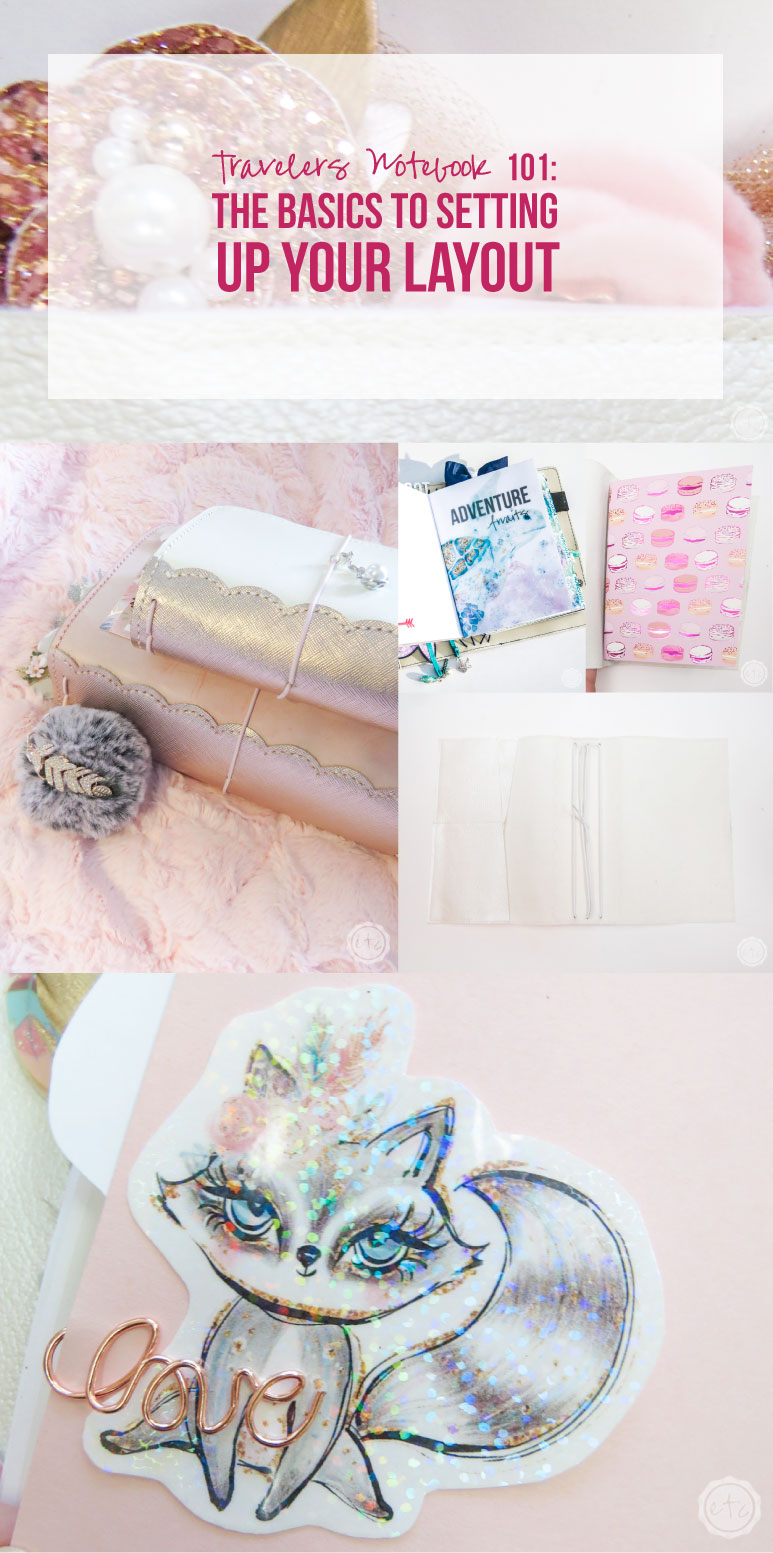
Just take a look at this travelers notebook cover! At the bare bones your cover will be a bit of leather (plastic, fabric, cardboard, faux leather, etc) with strings in the middle. Even the pockets can be added or taken away depending on the brand of TN you end up purchasing.
Some notebooks come with a standard pocket setup while others allow you to pick pocket/no pocket or even the configuration.
Can you see what I’m talking about yet!? The endless possibilities for customization here!
Of course, there are a million different sizes for planners in general but when it comes to travelers notebooks and the custom inserts they require picking the perfect size from the beginning. If you’re just starting out you have a couple of options.
Pick an inexpensive cover that you don’t mind replacing if it doesn’t turn out to be the right size for you. Print an insert or two (or buy a couple) and test out the writing space before purchasing a cover… an insert is much less expensive to replace if you end up hating the size.
Here’s a couple suggestions: fabric covers, faux leather covers, covers that are available at craft stores so that you can look over them!
BONUS FREEBIE! If you’re looking for an insert to help test out sizes just scroll to the bottom of this post! You can snag my FREE Notes Inserts in a couple different designs to check out which one is your perfect option.
Step 2: Add Your Inserts
Once you pick your cover it’s time to add the inserts! Depending on the size of your spine (regular or wide) and the number of elastics in your notebook (typically 1, 2, 4 or 6) you’ll be able to add anywhere from 1 insert to 8.
The tricky part about Travelers Notebooks is just because you have four elastics doesn’t mean you can only add four notebooks… with a jump band you can take one string and add up to three notebooks. I know… your mind is probably blown.
When adding your inserts take a look at what you typically plan or what you need to track and go from there. I have a little post on 48 things to keep track of in your planner that you probably haven’t thought of yet it if you’re trying to think of ideas.
9 times out of 10 a weekly insert is the first thing you need but here’s a list of inserts that may be just what you need!
Inserts for Your Travelers Notebook
- Weekly Insert
- Notes Insert
- Notes/To Do Insert
- To-Do Insert
- Budget Insert
- Menu/Meal Planning Insert
- Baby Journal Insert
- Holiday Insert
- Christmas Insert
- Cruise Insert
- Blog Post Insert
- You Tube Insert
- Memory Planning Insert
- Journaling Insert
- Art/Sketch Pad Insert
- Lunar Goal Tracker
- Password Tracker
- Coupon Tracker
- Online Order Tracker
Step 3: Add Dashboards!!
Alright so you have your inserts in place and you’re ready to rock. Here’s the thing… 9 times out of 10 your inserts are made of paper and easy to smudge, tear and fall victim to the wear and tear of daily use. Now that’s not always an issue… if you’re using your planner mainly at home, on your desk, then your paper inserts are probably fine.
Likewise if you like to change out the theme of your planner each month (or quarter!) then your inserts won’t get as much wear and tear and are probably fine. At the end of the day if you’re looking for the bare minimum you can have in your planner a cover and inserts is the answer. If you’re looking for a little extra protection a dashboard is the perfect answer.
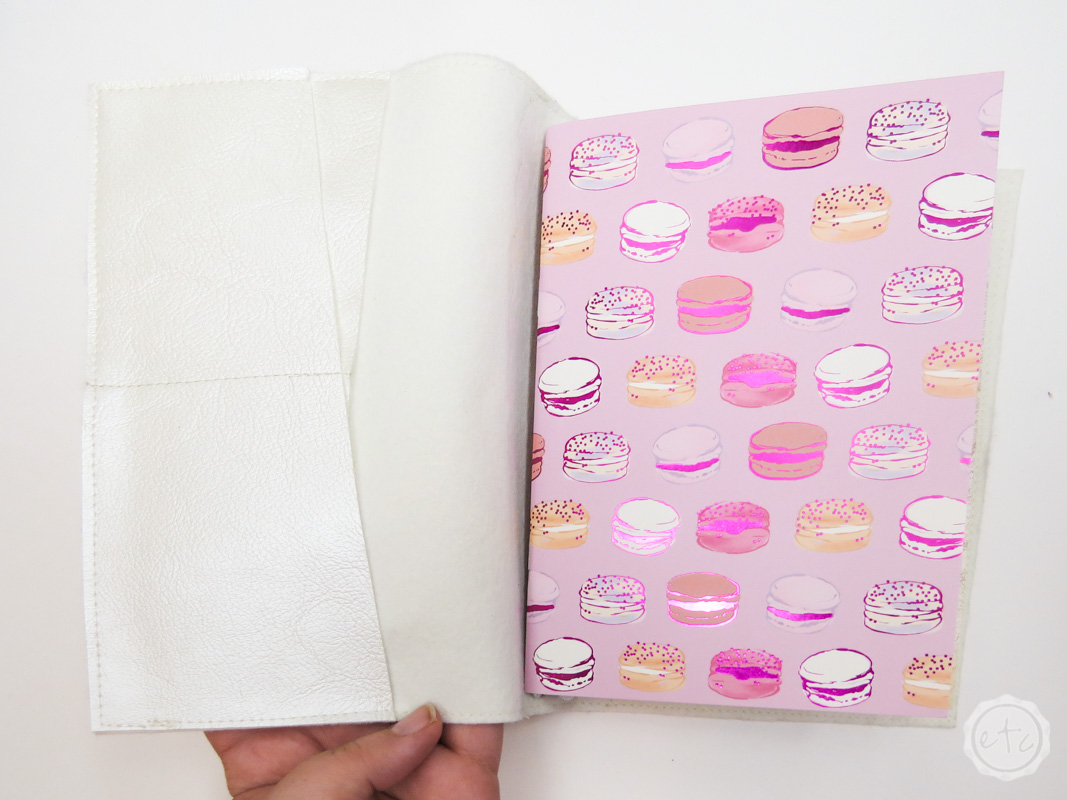
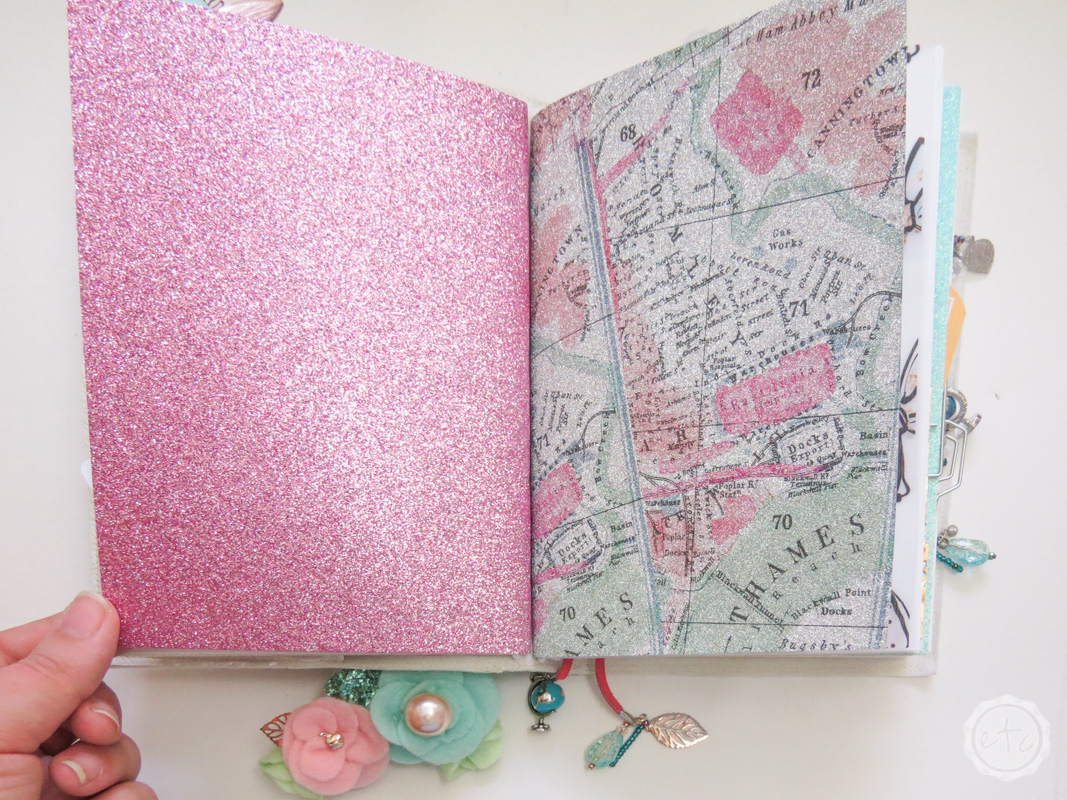
A dashboard is literally a protective piece of cardstock or plastic that wraps around your insert and acts like a hardback cover would for a book. Of course, a piece of cardstock is more like a paperback cover while a plastic dashboard is more like the hardback cover… but you get the idea.
A cardstock cover is an easy, inexpensive, fun way to protect your inserts… most craft stores have rows of cardstock and you can even buy individual pieces for a couple quarters. So it’s the perfect way to add a little glittery fun to your TN!
Of course, a plastic dashboard can be left completely clear but most come with a little pocket where you can tuck a decorative piece of cardstock or scrapbook paper to customize your inserts. So you can still use your glittery cardstock… it will just be wrapped in plastic! Soooo a little more water proof.
Score!
Step 4: Add Your Vellum
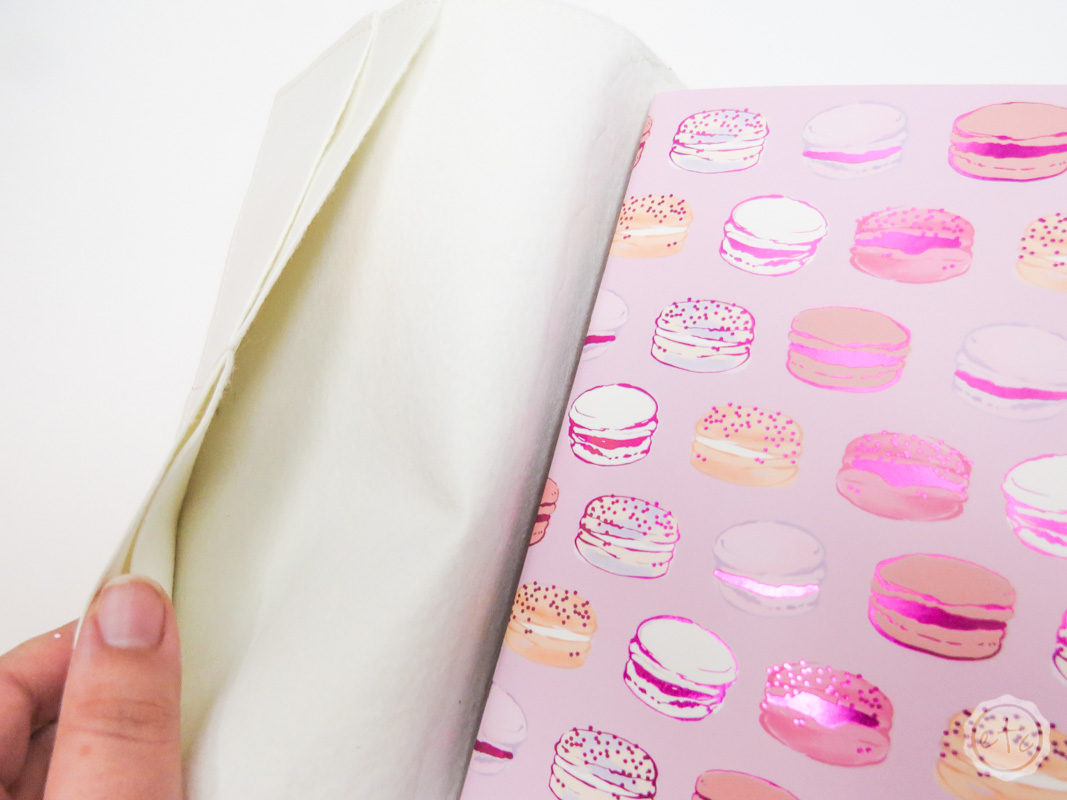
Okay… now here’s the thing. Vellum may be my absolute favorite part of the entire planner. It adds an extra little touch that’s oh so cute and is typically fairly inexpensive. Especially since you can buy printable vellum and digital patterns to create dozens of amazing vellums for pennies on the dollar.
If a dashboard is like the book cover than the vellum is kind of like the dust jacket. It’s an extra layer of protection that’s ultimately a little useless but still serves a purpose (to protect the cover… while the cover is protecting the insert).
It’s like on Friends when Monica wishes she had a smaller vacuum to clean her medium vacuum after using the medium vacuum to vacuum the big vacuum.
See what I mean?
Either way vellum is a transparent, lightweight material that you can print designs on, foil and ultimately make sure cute. Since they’re transparent they can stand alone over a blank white cover or be designed to mix with the design underneath.
Step 5: Add Pocket Decorations
Alright now it’s time to address the pockets!
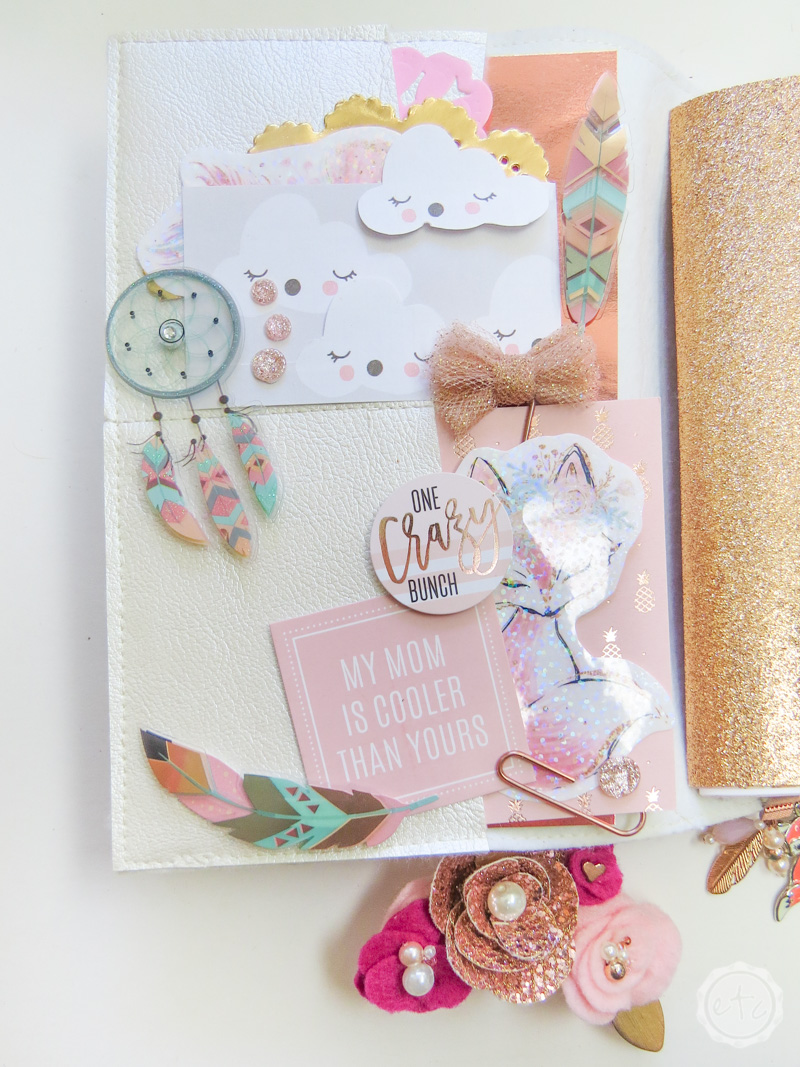
The pockets in your planner can be as functional or as decorative as you want them to be. Think of all the fun things they can hold: receipts, useful papers, business cards, credit cards, photos, sticky notes, sticker sheets etc
Of course, in the planner community a beautifully decorated front pocket becomes sort of addictive… even more so when we’re talking about something like a sweet baby girl scrapbook planner like the one in the photo below. Scrapbooks don’t need functional pockets!
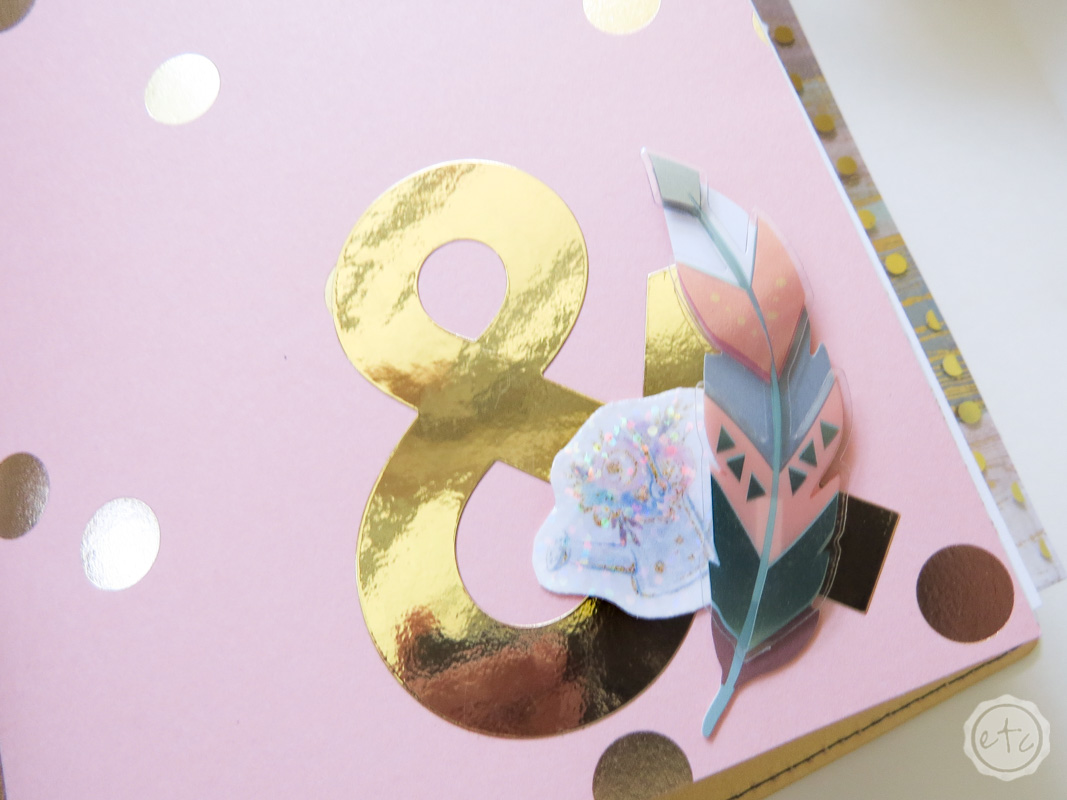
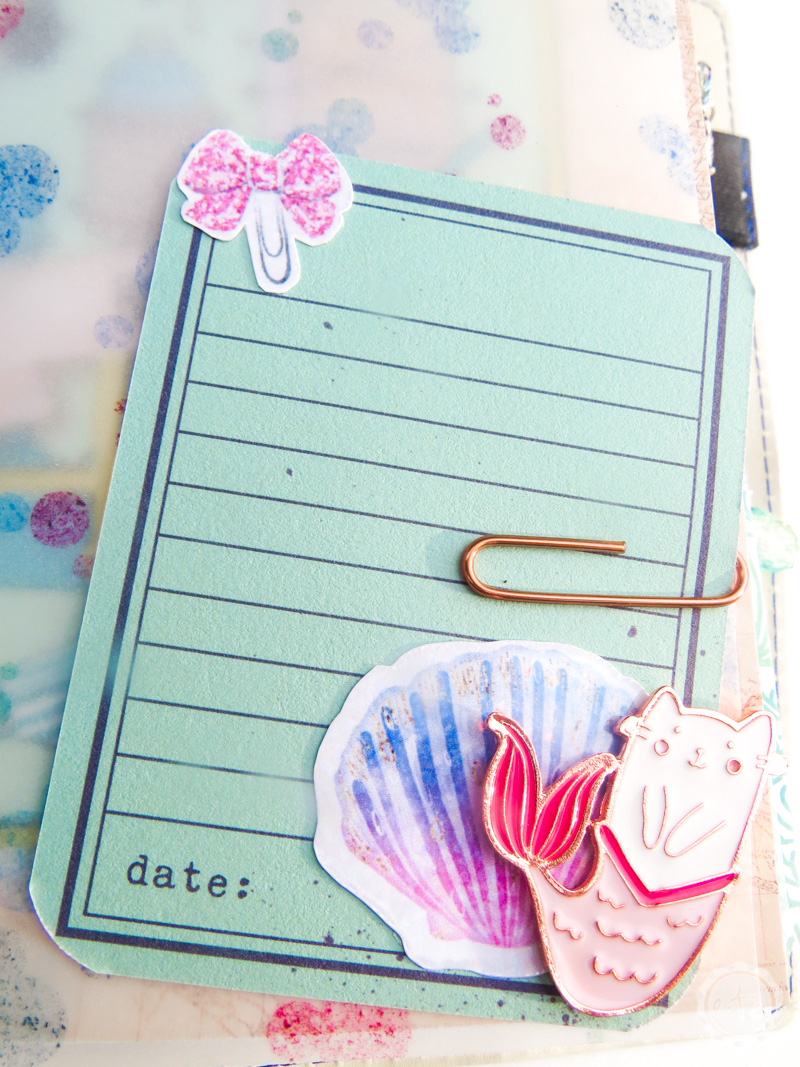
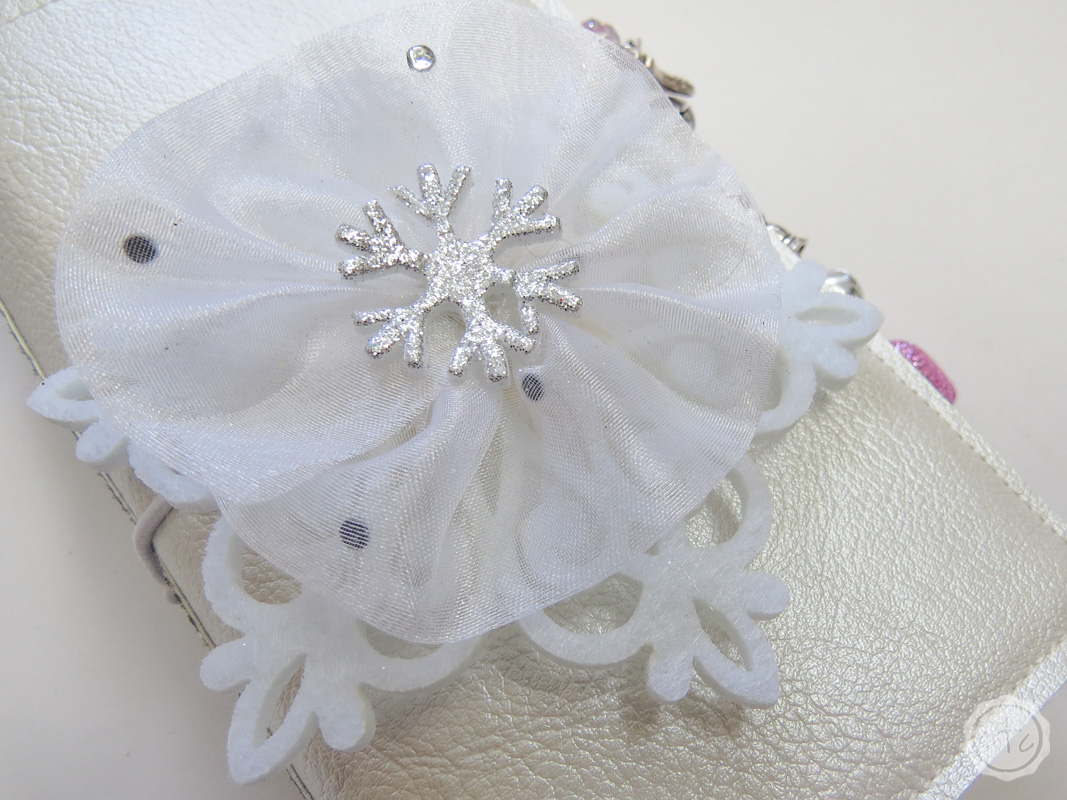
When you’re looking to add a decorative collage to your front pocket think of fun supplies to add: scrapbook papers, doilies, 3-D embellishments, stickers, feathers, paperclips, photos, rhinestones/pearls, bows, journaling cards, die-cuts, etc
Step 6: Add the Fun Interior Embellishments!
Alrighty now it’s time for the fun stuff!
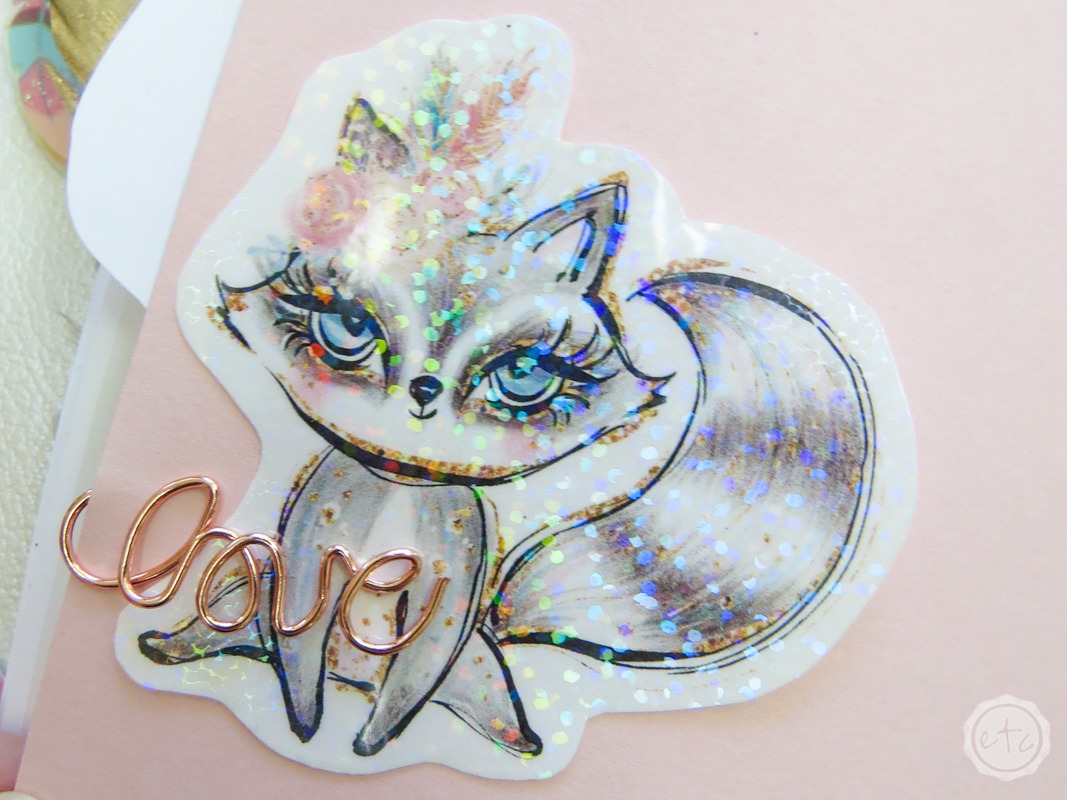
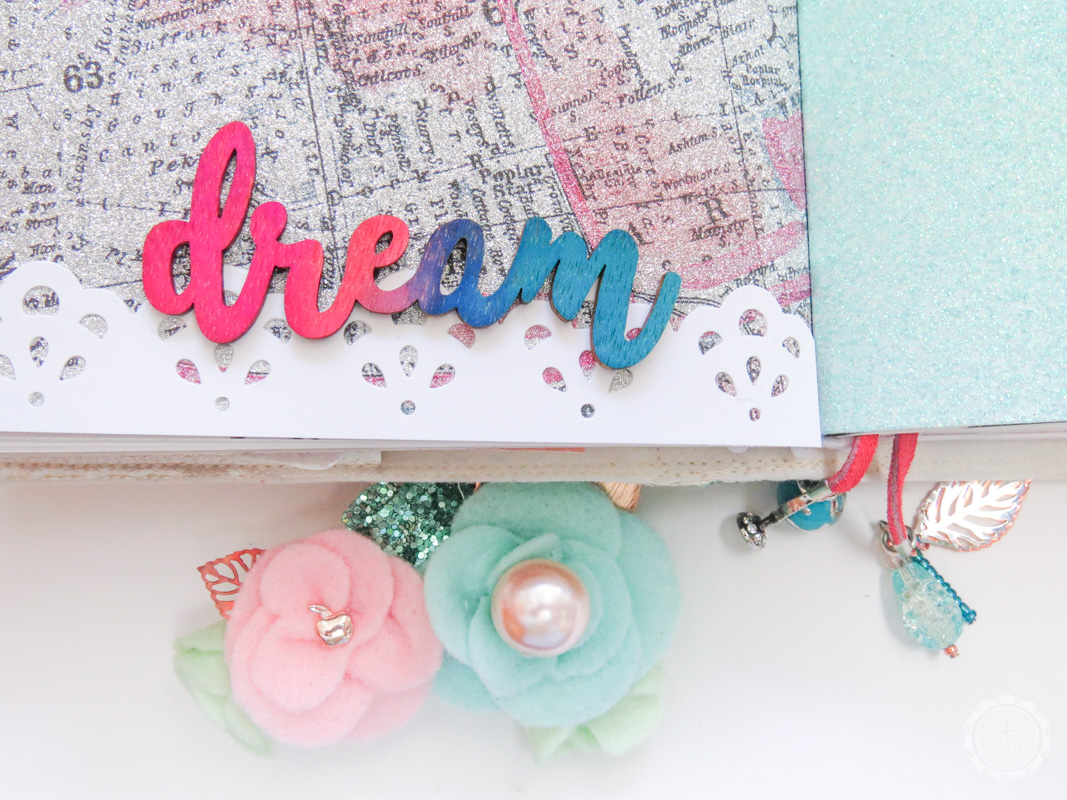
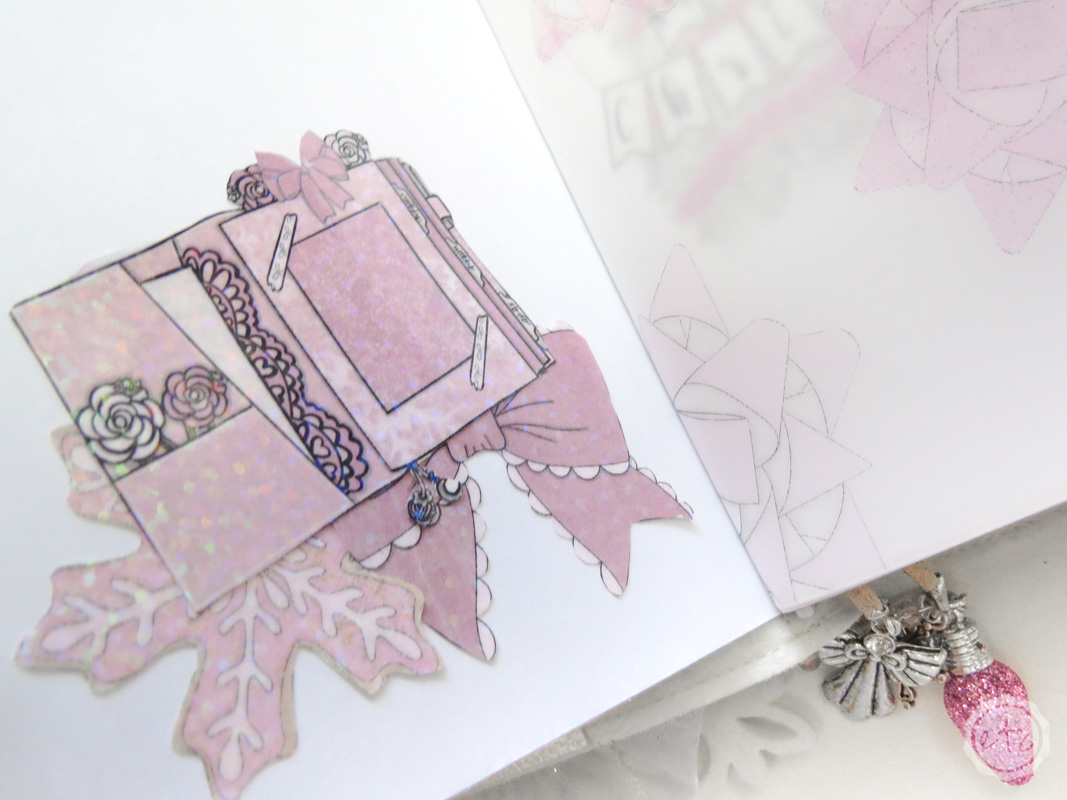
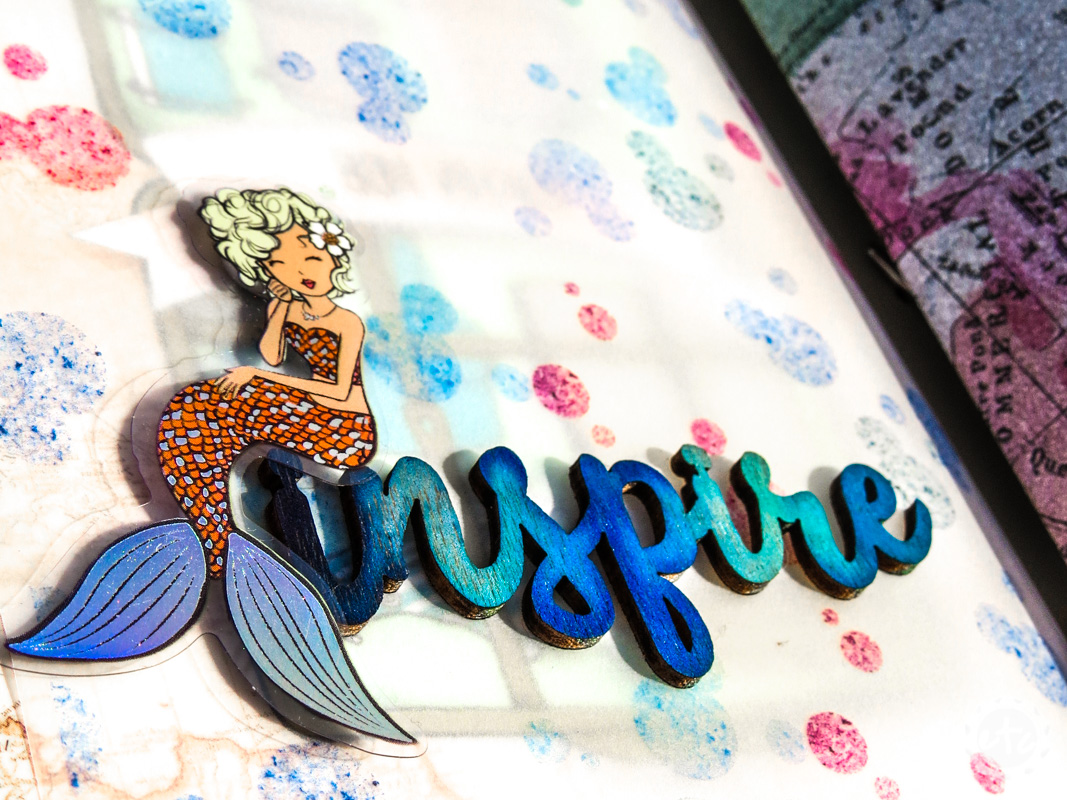
All the stickers, feathers, die cuts, doilies, scrapbook papers, pearls, rhinestones, pictures (ETC) that you’ve seen in the photos up above… if that looked like the bee’s knees then you’re in the right place.
If it looks like waaaaaay too much “stuff” or like “the glitter fairy threw up” (as my Mom likes to say) then you should proabably skip steps 6 and 7… or only perform them in moderation.
I tend to like a little bling with my bling if you know what I’m saying… a side of cheeseburger with my ketchup. It’s possible to have one bow paperclip on a planner… I just prefer 7.
Of course, with a travelers notebook it’s fun to add personal touches over time… things like wedding invitations, photos with friends, christmas cards, movie tickets, ticket stubs for concerts, scraps of paper etc. The more personal you make your planner the more it will reflect you. And that’s what planning is all about isn’t it? Keeping your life in order!
If you have a little stack of fun memorabilia to get started with that’s perfect but I also love to add fun stickers and do-dads that go with the theme of the notebook:
- Stickers
- 3-D Embellishments
- Chipboard Stickers
- Feathers
- Paperclips
- Specialty Paperclips (hearts, unicorns, etc)
- Doilies
- Scrapbook Paper
- Die Cuts
- Bows
- Journaling Cards
In this case a pictures worth a thousand words so here’s a few more examples:
Step 7: Add Paperclips, Swags, Bookmarks and Bows!
Now it’s time for all the little extra bits that really push a travelers notebook over the top! The little paperclips to help you keep your page and bow clips to hold your place.
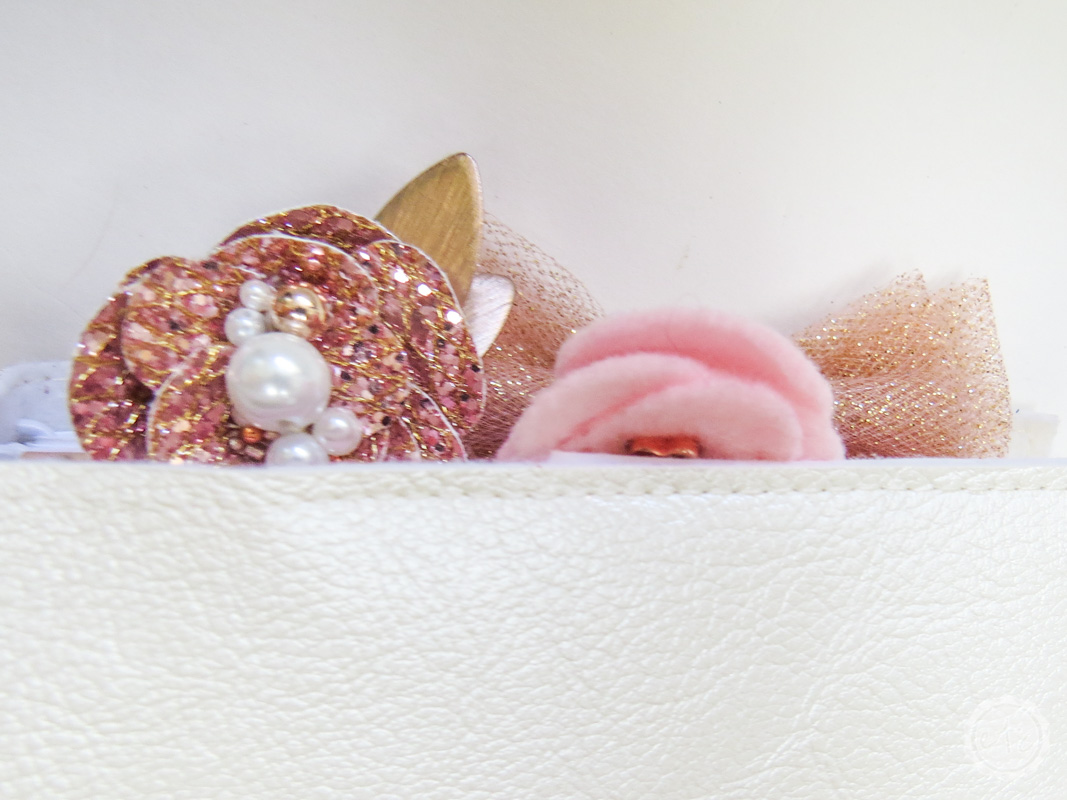
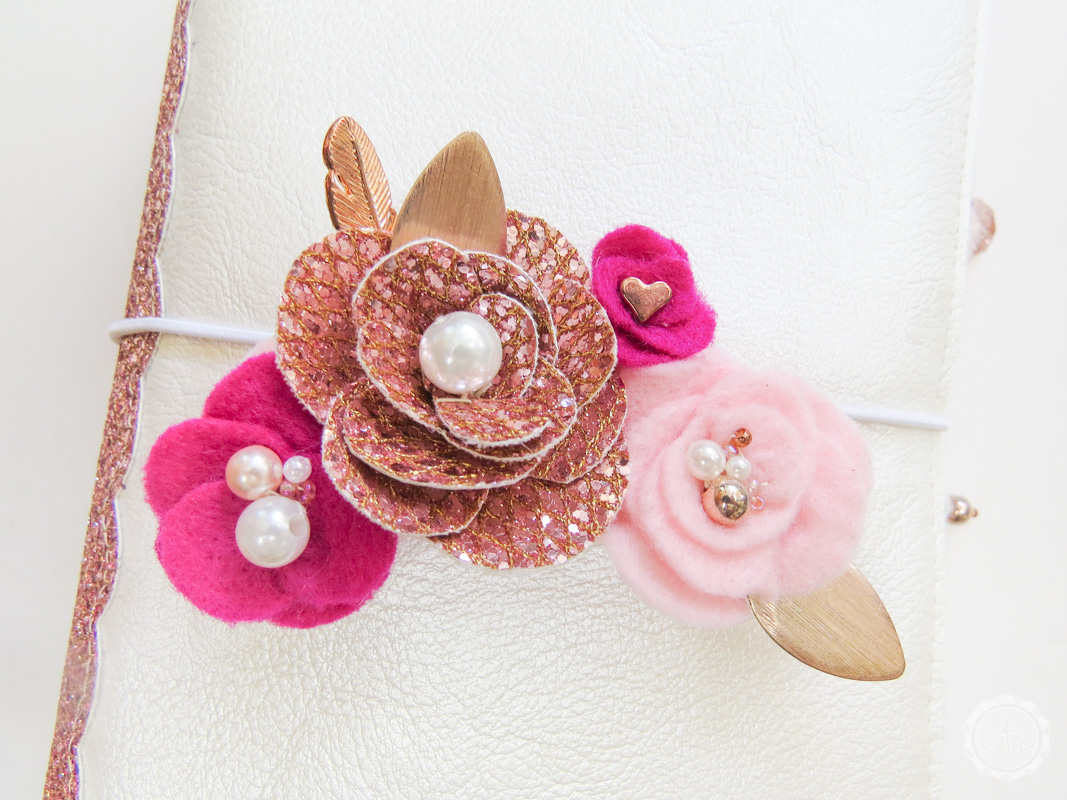
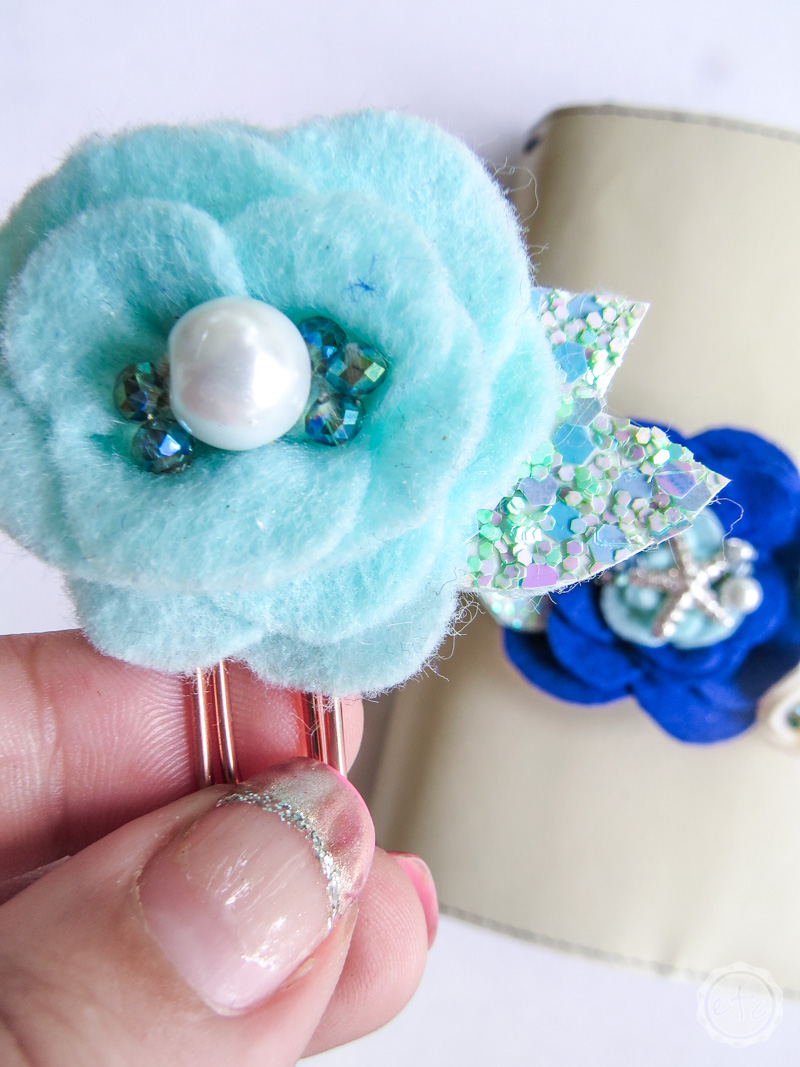
Basically there are a million different ways to mark different spots in your planner… and you have to decide which ones work for you. THEN there are the purely decorative additions like floral swags for the front elastic that really serve no purpose… but they look oh so beautiful!
Here’s a brief run-down of some of the options (I’m sure there are more!):
- Floral Swag
- Floral Paperclip
- Bow Paperflip
- Bow Swag
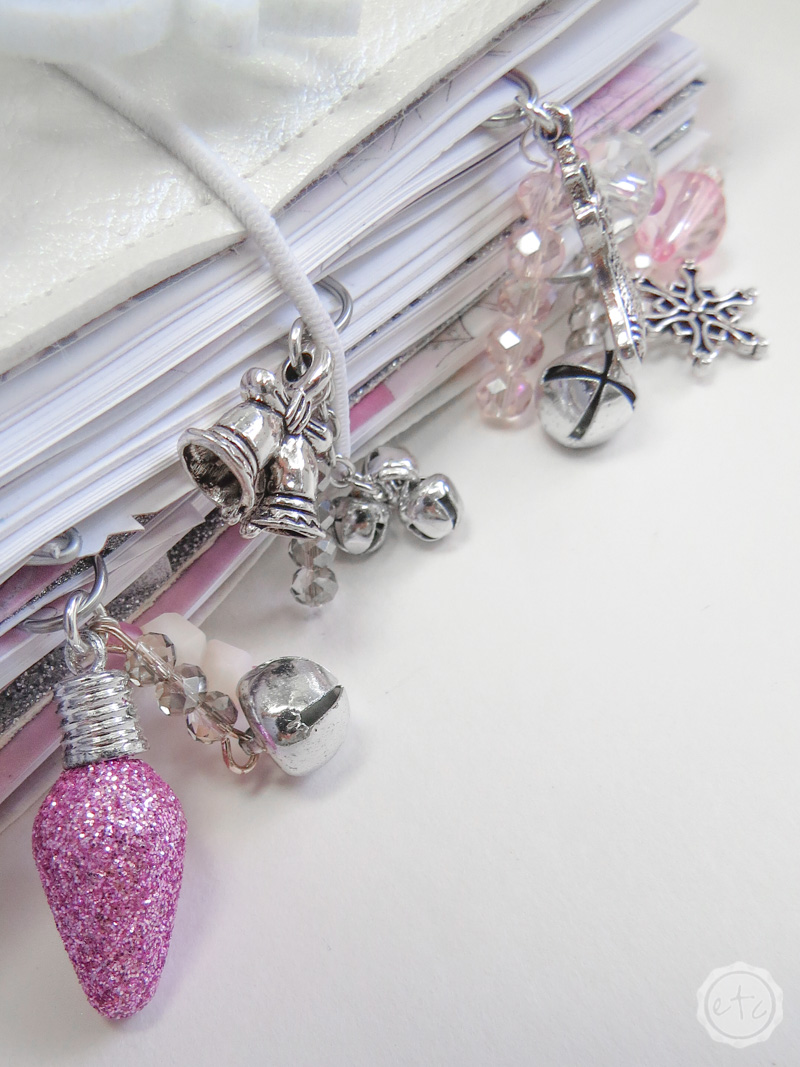
- Dangle Paperclip (for the side)
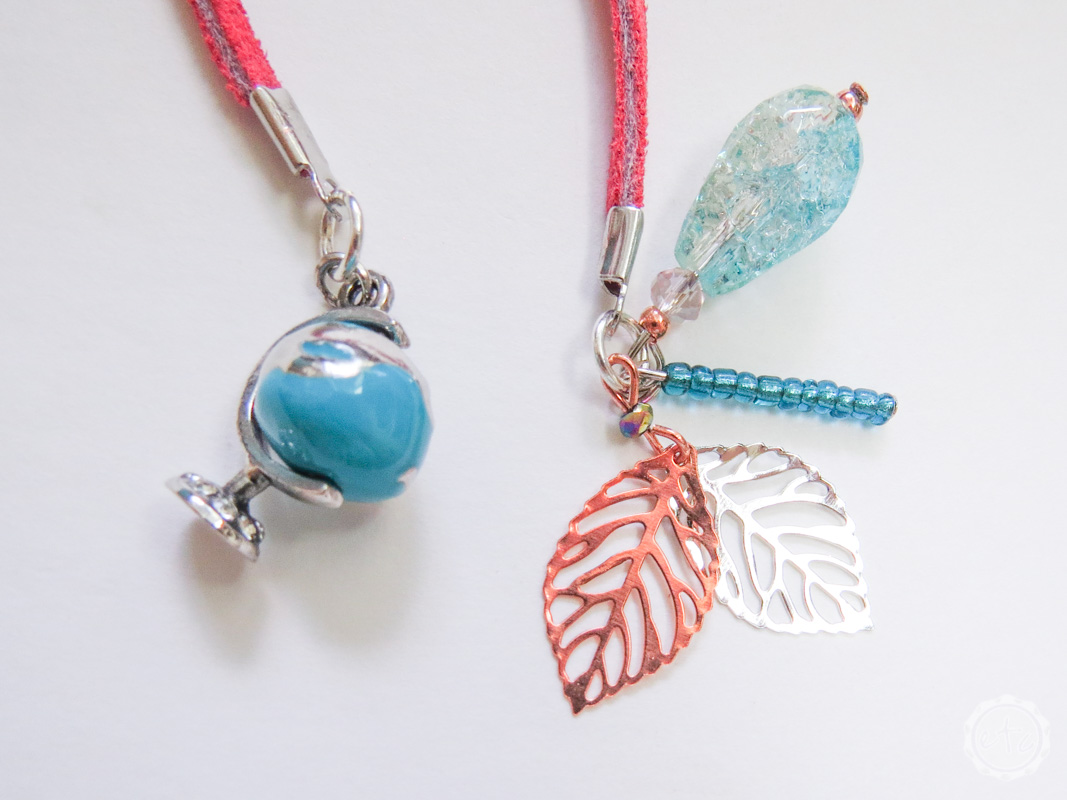
- Leather Bookmark
That’s it! If you made it this far you’re fully prepared for putting together your travelers notebook from front to back, start to finish. Hopefully it works perfectly for you since Travelers Notebooks are all about being custom for the user.
Of course, if you’re looking to get started right away check out the fully loaded travelers notebooks I have for sale in the shop. Or e-mail me at Betsy {at} Happilyeverafteretc {dot} com to ask about ordering a custom notebook just for you.
I can’t wait to see what you come up with!
Get Your FREE Notes Printable

Grab your FREE Notes Printable for your Planner! I've included files for your travelers notebook or happy planner!


