


Travelers Notebooks are perfect for their versatility… you can literally make them anything you want them to be! I first heard about Travelers Notebooks about a year ago and down the rabbit hole I went. If you haven’t heard of the term before a Travelers Notebook is basically a cover with elastic bands in the middle.
You can add notebooks, pockets, card holders… anything that an elastic band can hold in place! It’s wonderful for people who go through notebooks quickly or want to customize their inserts.
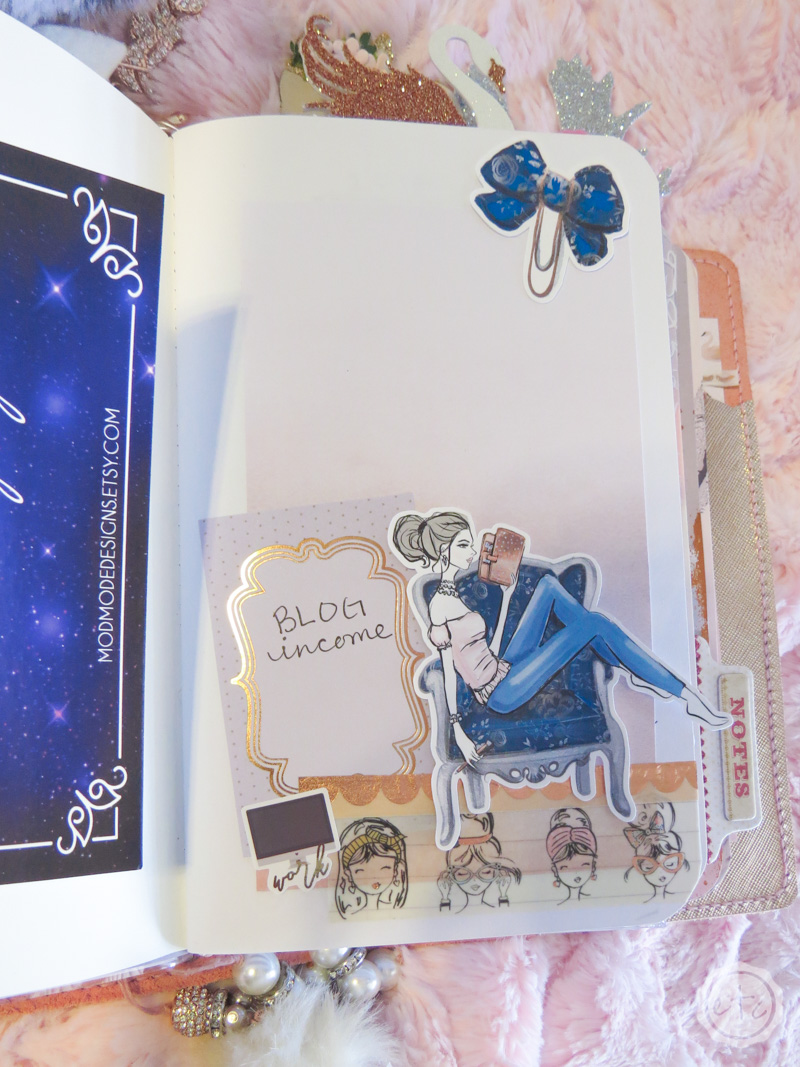
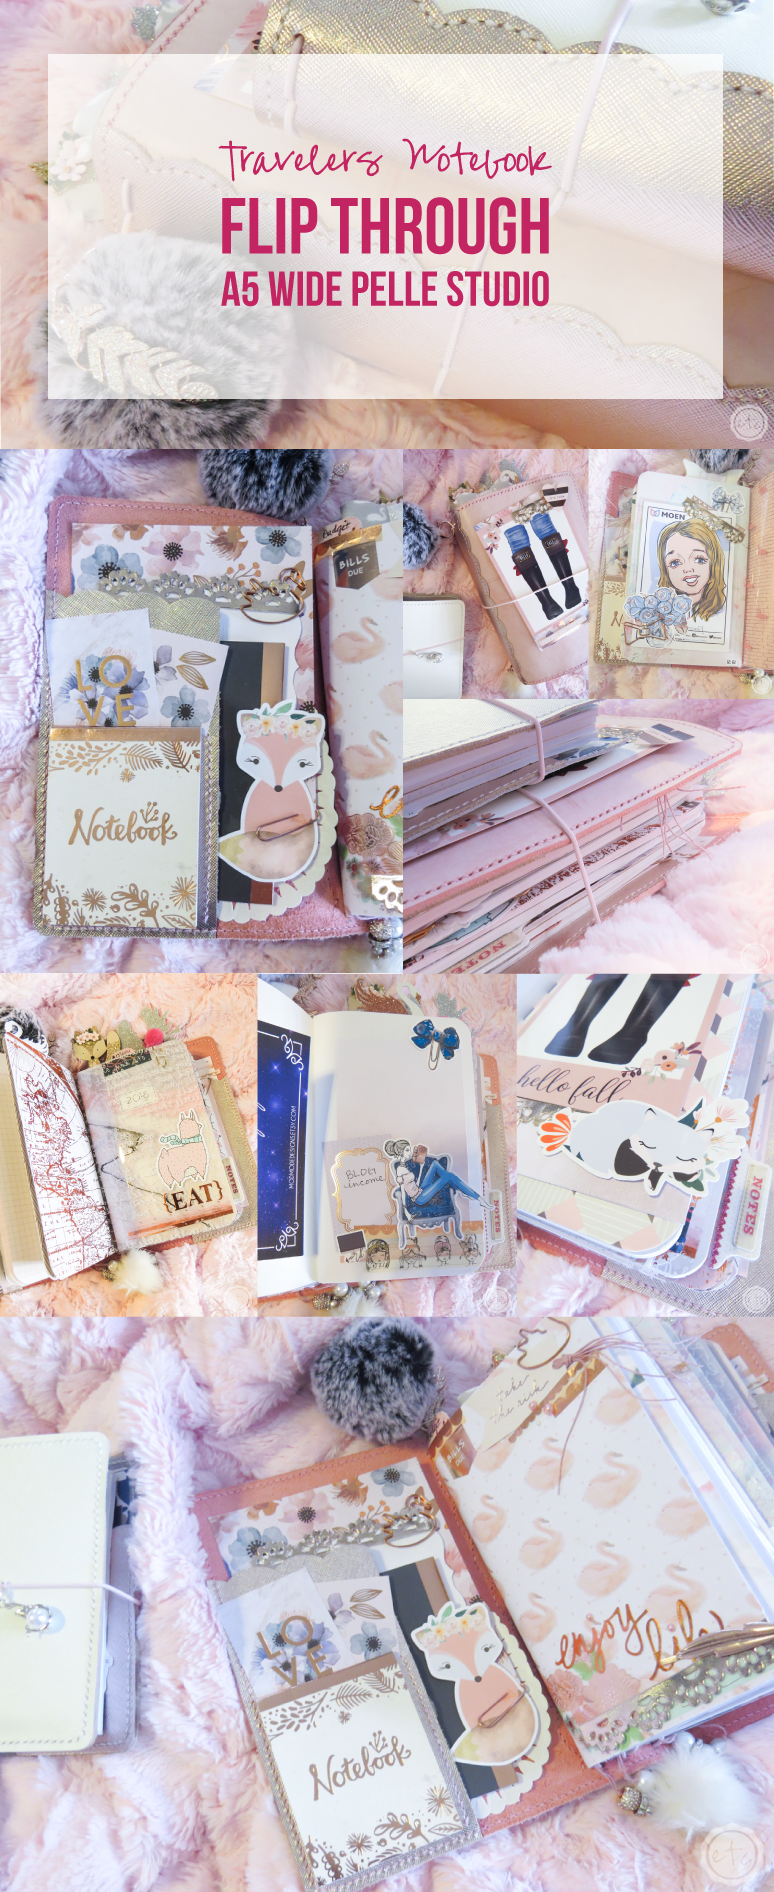
My Travelers Notebook has sections for: Budget, Meal Planning, Blog Post Ideas, To-Do Lists and Misc. Lists. I know several people who keep their schedule in a Travelers Notebook as well but of course, I prefer my Happy Planner for my planner of the week!
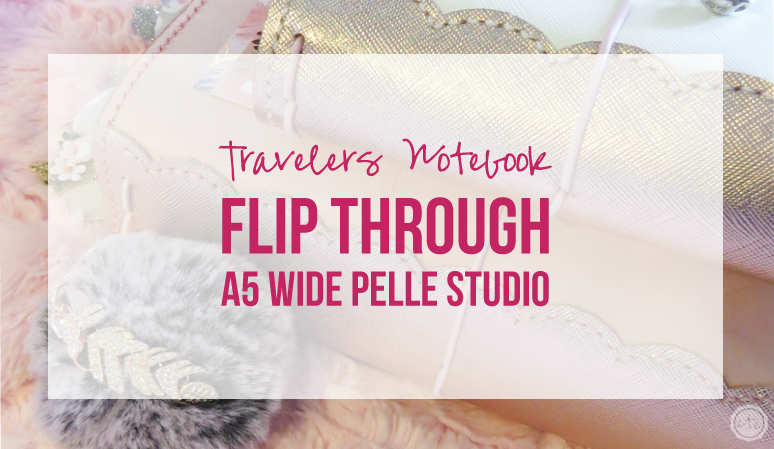
Since y’all have been enjoying looking through my Happy Planner I thought I would give you a little tour of how I set up my new Pelle Studio A5 Wide Travelers Notebook.
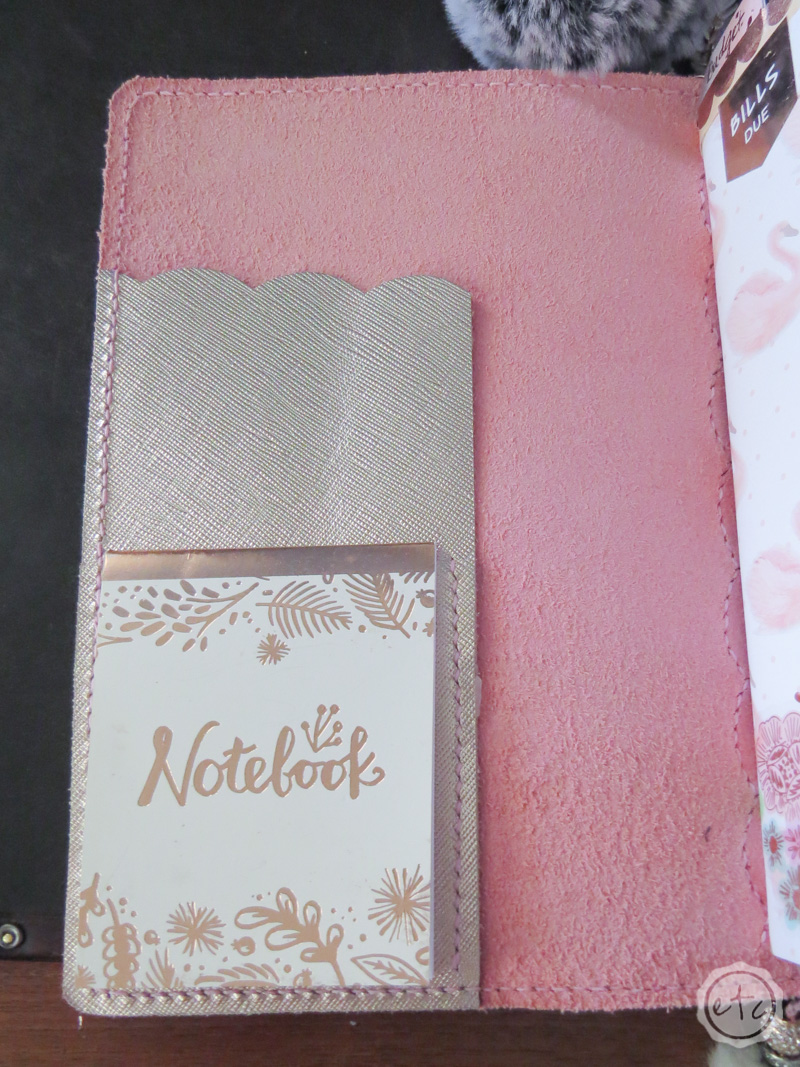
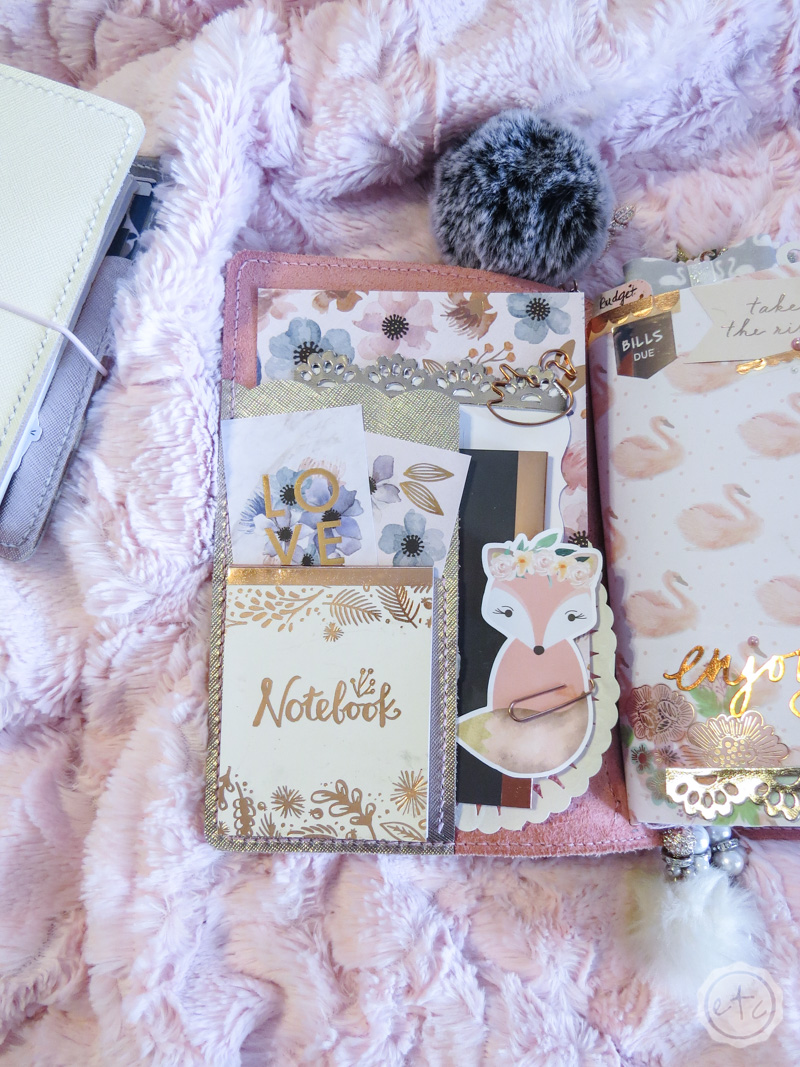
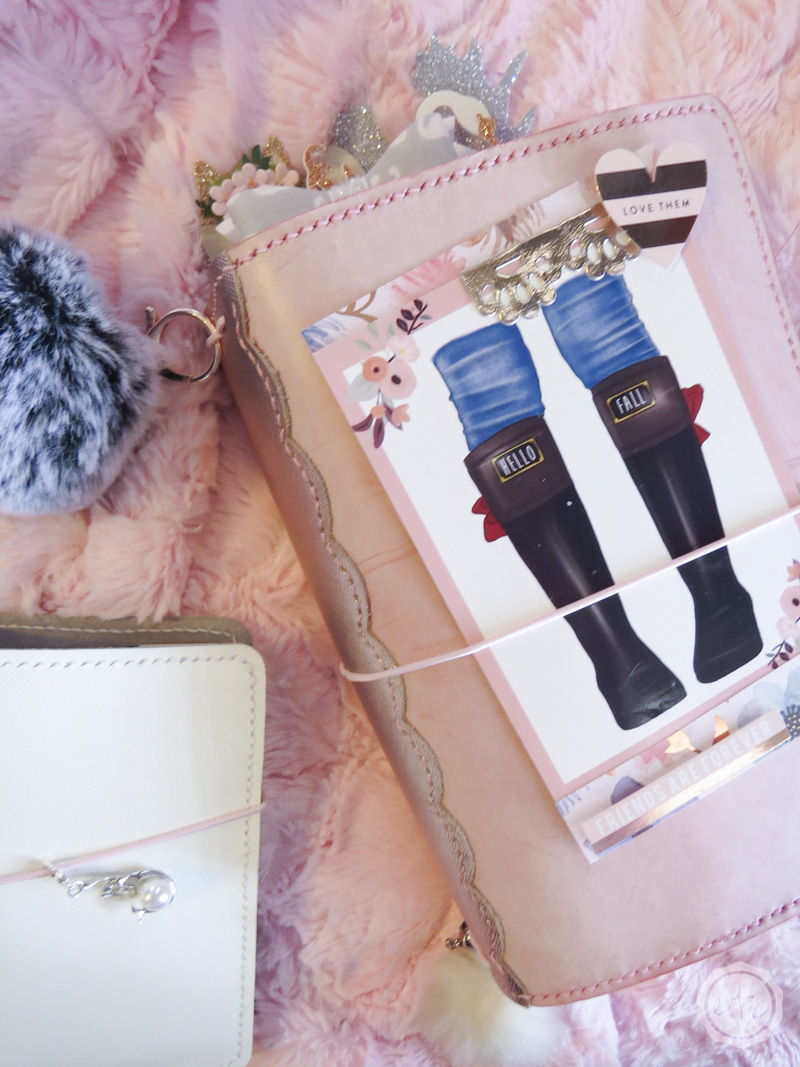
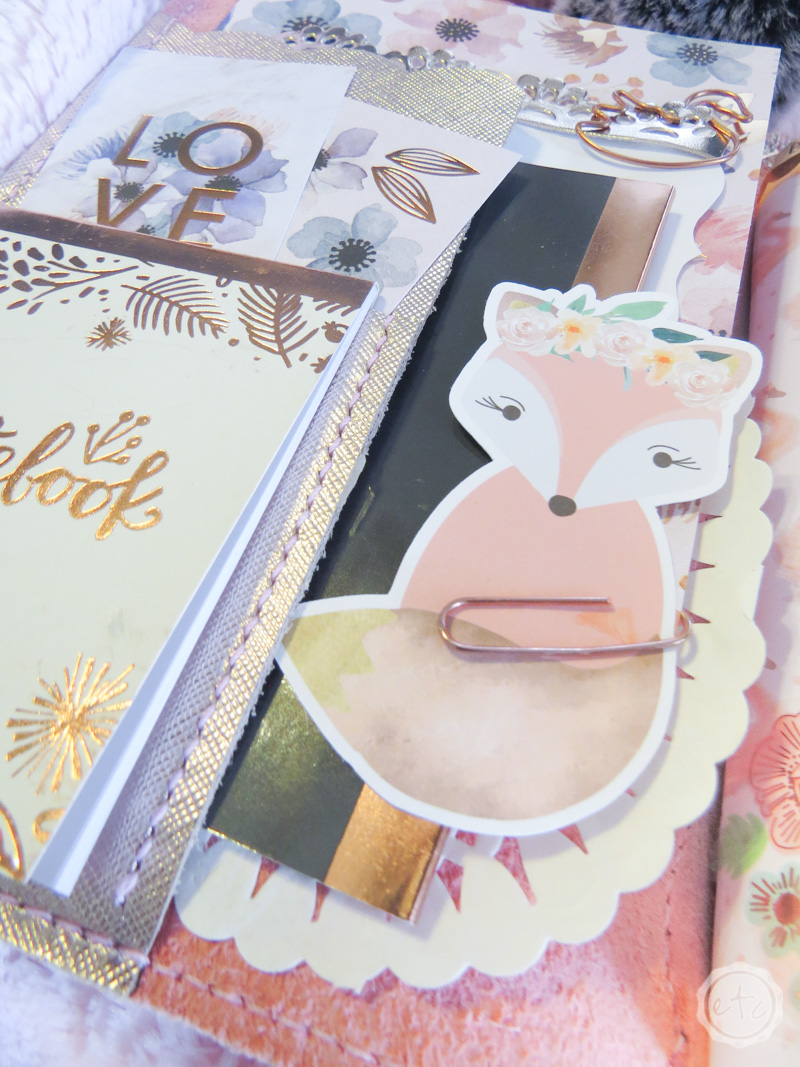
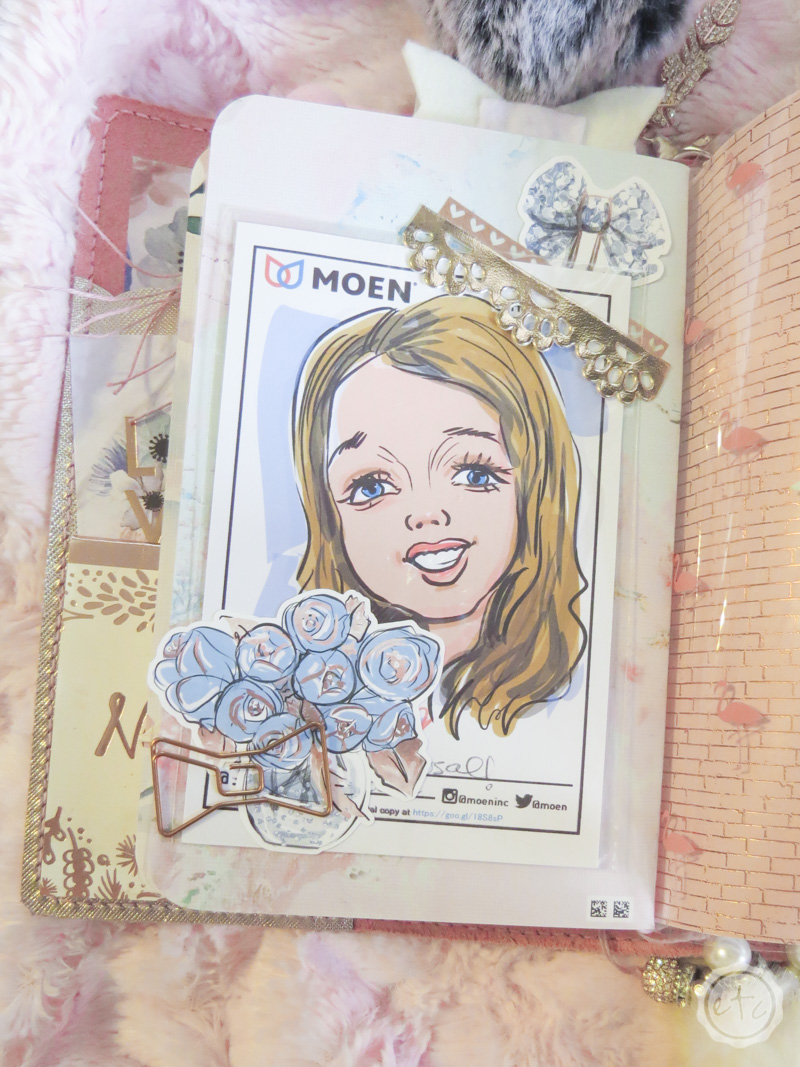
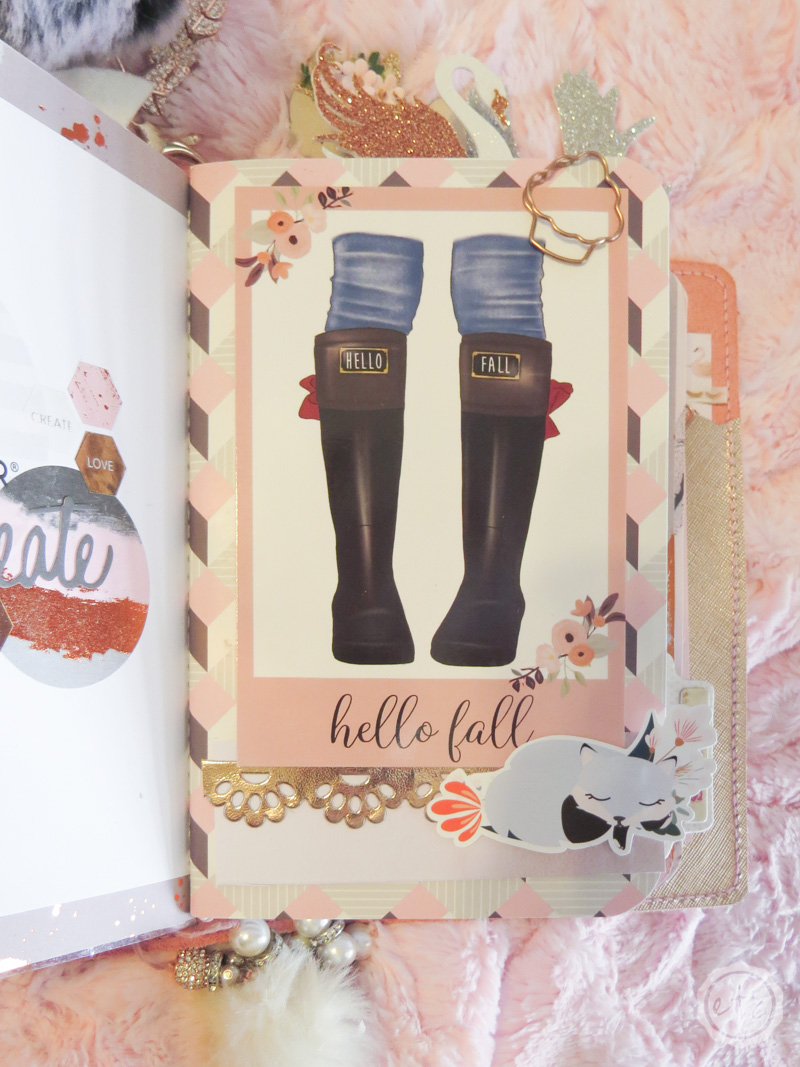
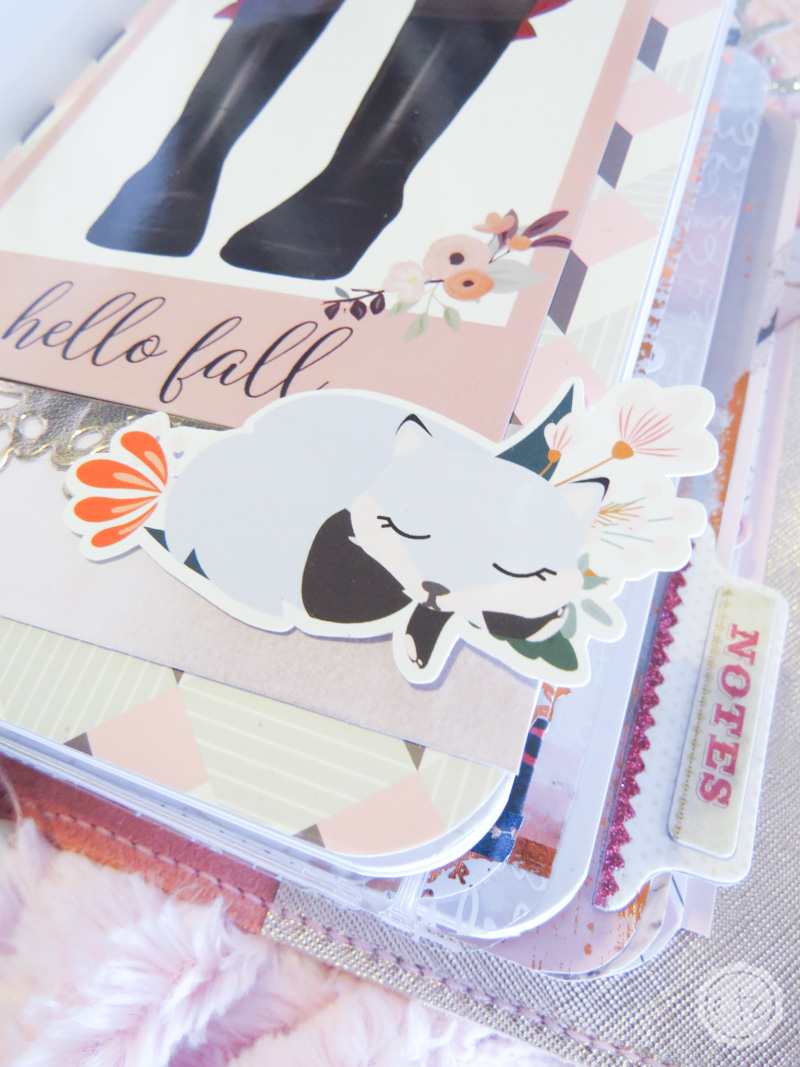
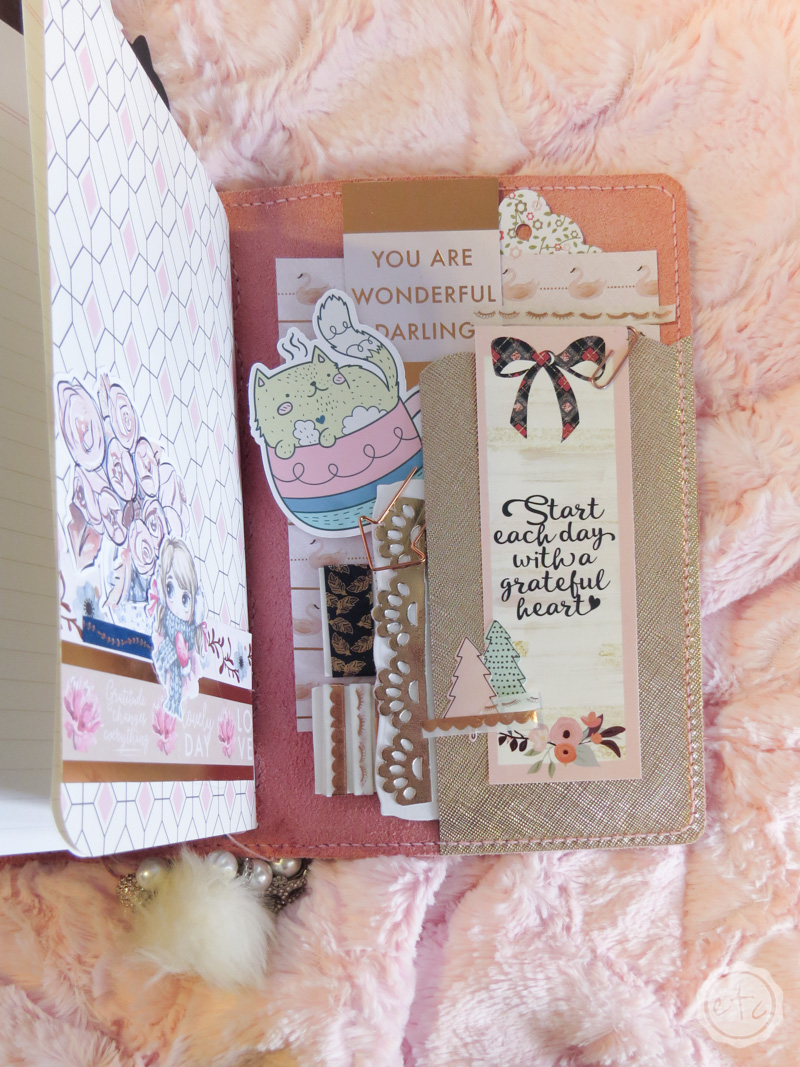
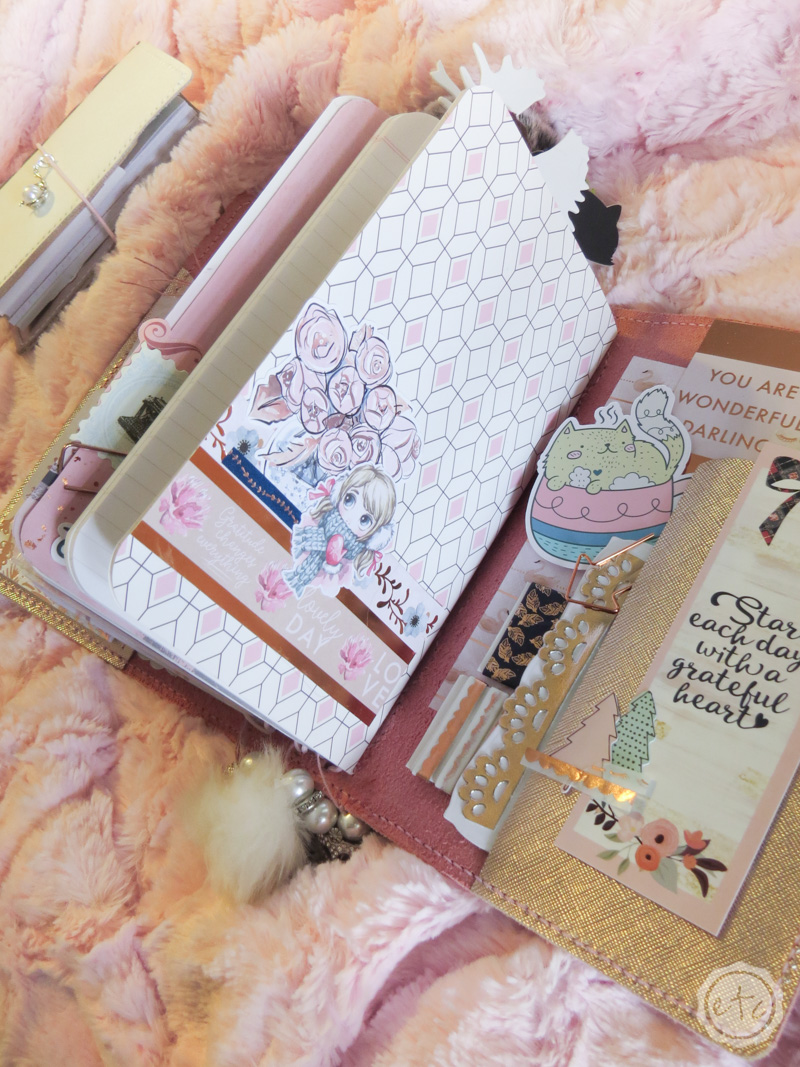
When the Notebook came it was a blank slate… just beautiful leather! I like to add a little bit of cardstock or notecards to the front and back pocket to give them a bit of structure. Then I use paperclips to add little die-cuts and lace doilies and such to the pockets.
First structure… then the pretties!
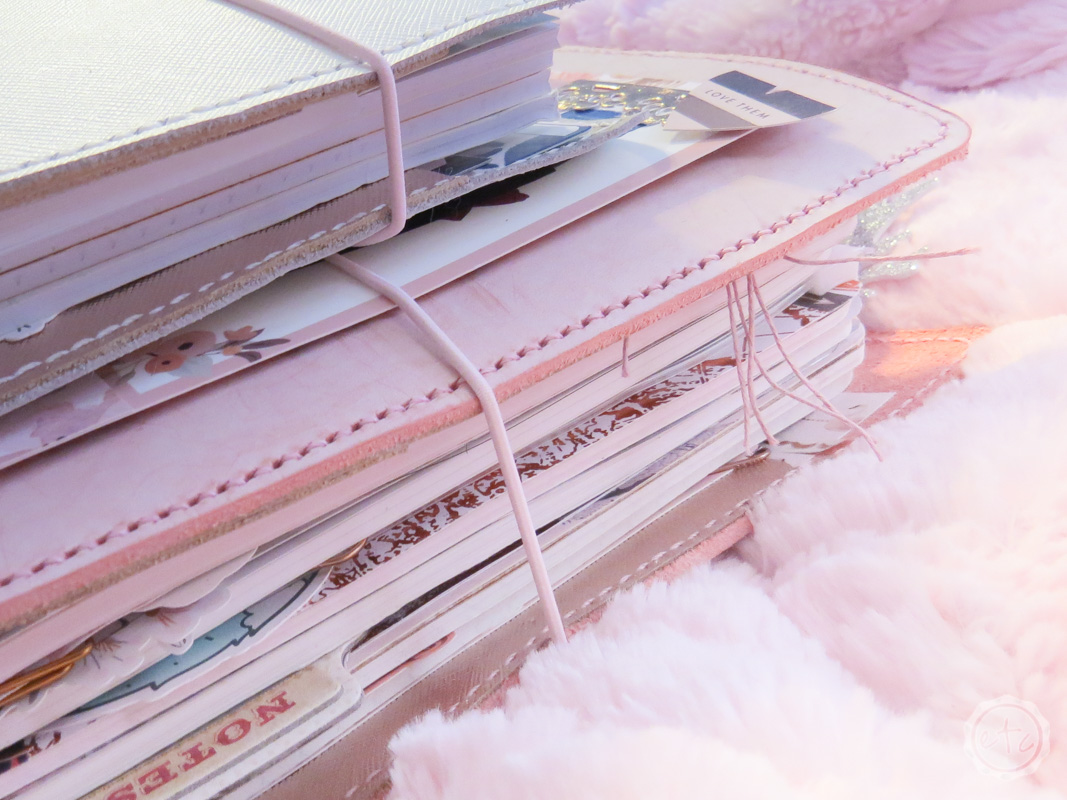
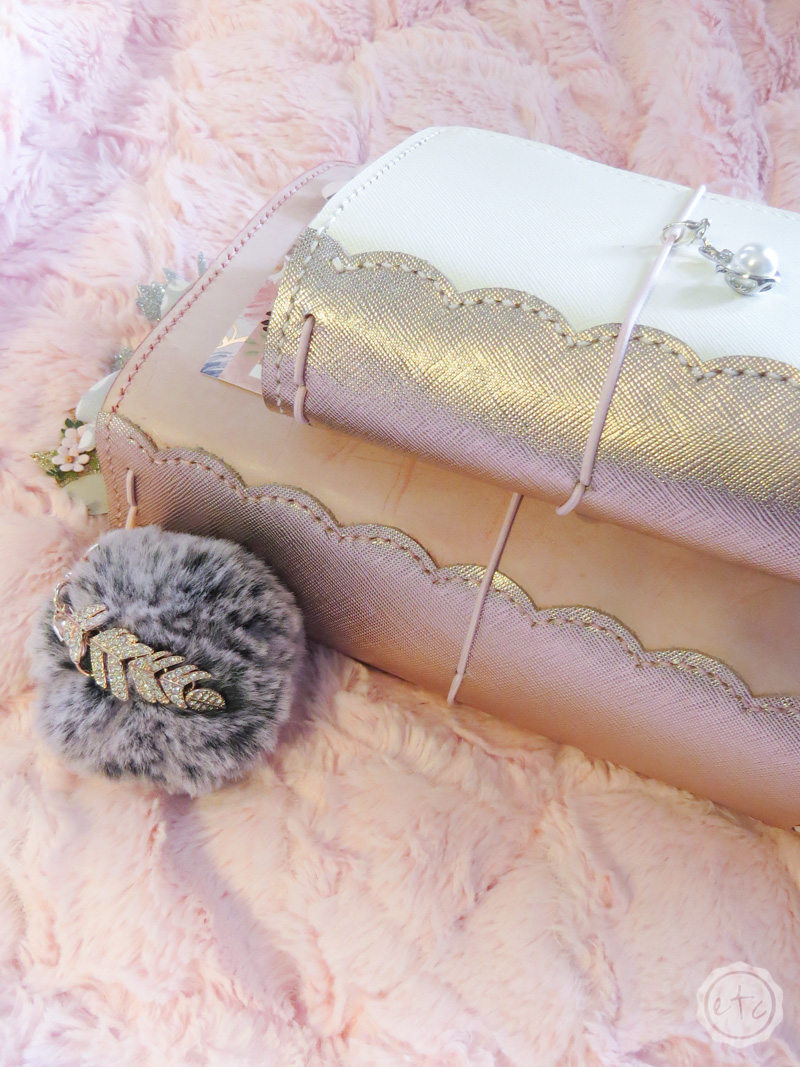
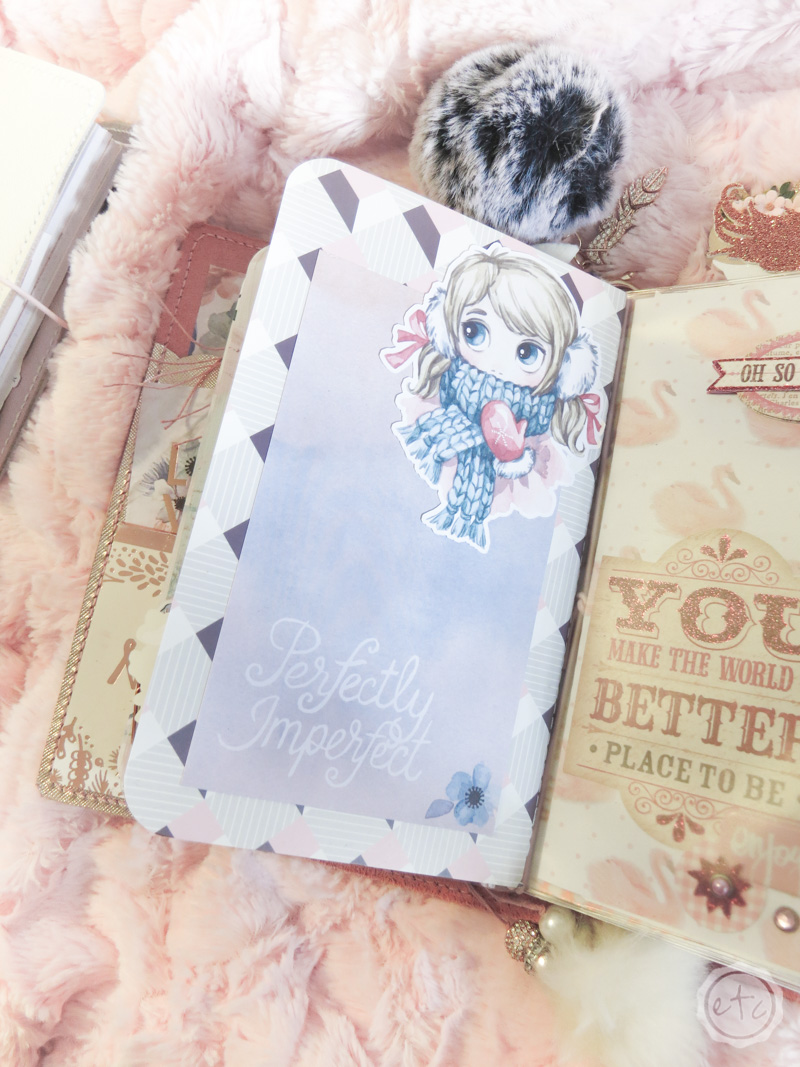
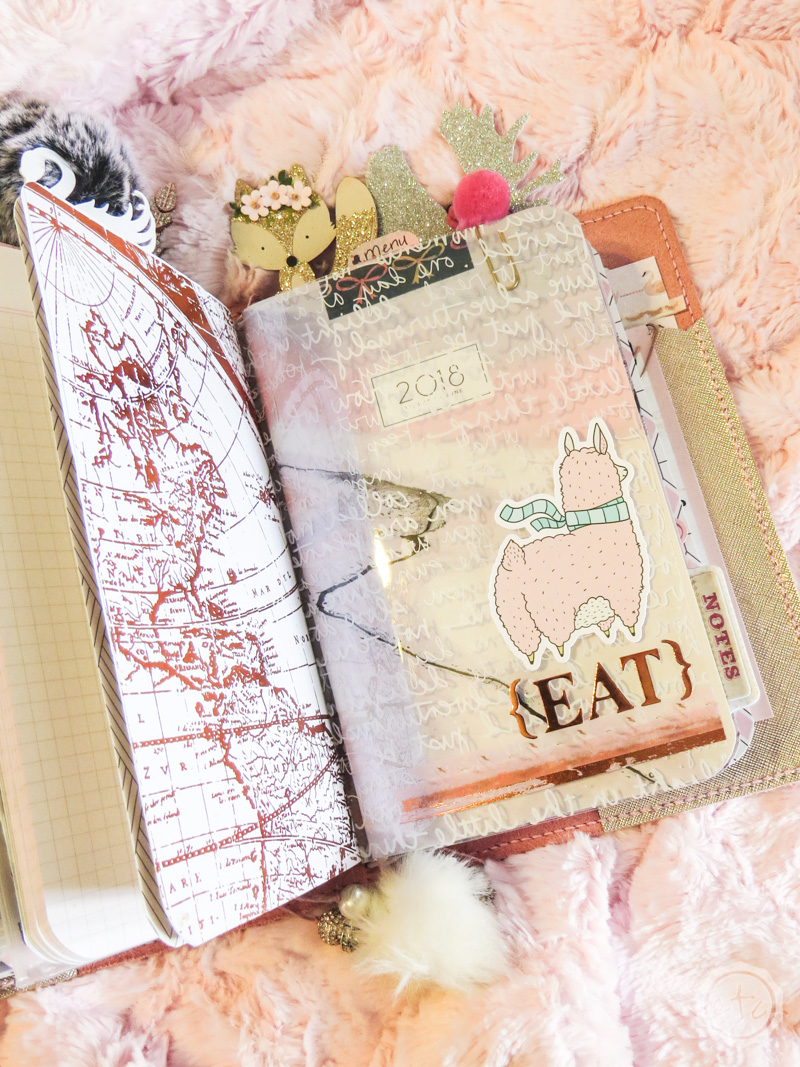
Of course, my favorite part of Travelers Notebooks are the pretties… the paper clips and the pom poms… all the bits and bobs! Look how chunky this little girl is getting!
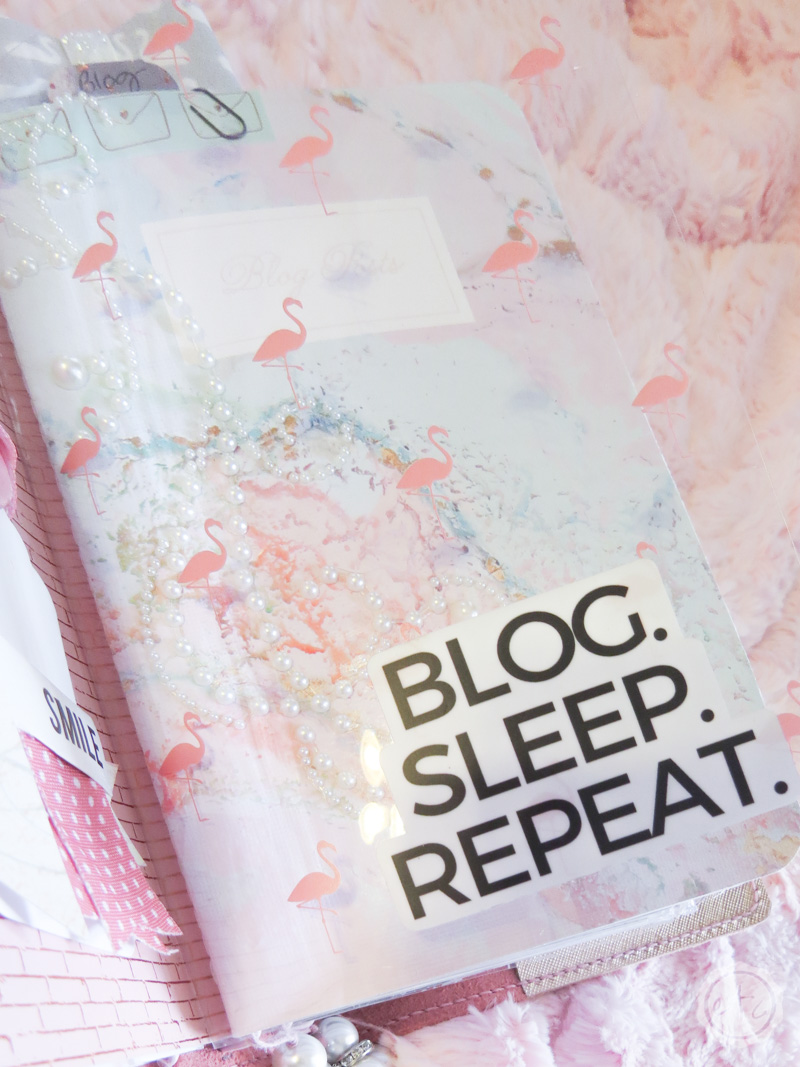
One of my absolute pieces are vellum! They add a little fun transparent punch of fun and are great to add stickers too. Of course, in this case the vellum is actually protecting the little pearls on my blog insert.
Those little pearls are beautiful but they are very sticky and stick to the cardstock dashboard something fierce! Adding the vellum worked like a charm so that the little pearls do not stick to anything.

I am absolutely in love! I hope you enjoyed the flip through and got a few ideas for putting together your own Travelers Notebook.


[…] course, there are so many different ways to make a washi card (you can see a few of mine tucked into the back of my travelers notebook in this flip through) and I typically make mine with bits of cardstock or backing from other […]