


So you finally put up your brand new window boxes… but they’re sitting they’re empty, silently mocking you. Or maybe you just cleaned the plants from last season out of the boxes and you’re itching to plant new beautiful flowers. If you’re like me and you spent all your money on the new window boxes or maybe refreshing the boxes season after season is getting a little pricey you may be looking for a fun arrangement that packs a big punch.
That’s what we’re working with today. A few plants that will grow big and beautiful but aren’t super expensive. Cost effective but still show stoppers. Maybe next season we’ll pick a more dynamic combination but this season the whole point is to fill these babies up without emptying my wallet.
Ready to get started?
Putting up your own window boxes? Check out this post on How to Install a Window Box for easy installation instructions!

Step 1: Pick Budget Friendly Plants
Typically when you’re planting a window box (or any potted arrangement) you want to work with plants in 3 categories. Thrillers, fillers and spillers. That means you want a big showy tall plant or flower for the back or center of the arrangement. This is the tallest piece that stands up and is seen over all the other plants… maybe a tall lily or a group of salvia. Then you have fillers… these babies grow out instead of up. Something like the vinca we’re using today that will have alot of flowers and take up a lot of space. This is the bulk of your arrangement so if you’re feeling fancy you could have 2-3 fillers!
Just remember it really depends on the size of your container and that repetition is key when making a beautiful arrangement. If your window boxes are huge you could have 3 vinca and 3 impatients. Then finish everything off with your spillers… this is the plant that will drape over the side of your container. Typically you’ll see long trailing plants like petunias or ferns here. The photo above are a few fun petunia’s that I picked up for another arrangement… they come in so many colors are varieties!
Since window boxes don’t allow a lot of room for root growth you don’t need to leave a lot of space between plants. You can really pack them in for big, full, beautiful boxes right from the start.
BUT if you’re trying to stick to a budget picking plants like petunias and vincas that grow big quickly will give you a lot of bang for your buck while still leaving space in between plants.
Salvia are also really budget friendly and grow quick if you wanted to add a taller option to the back of this window box.
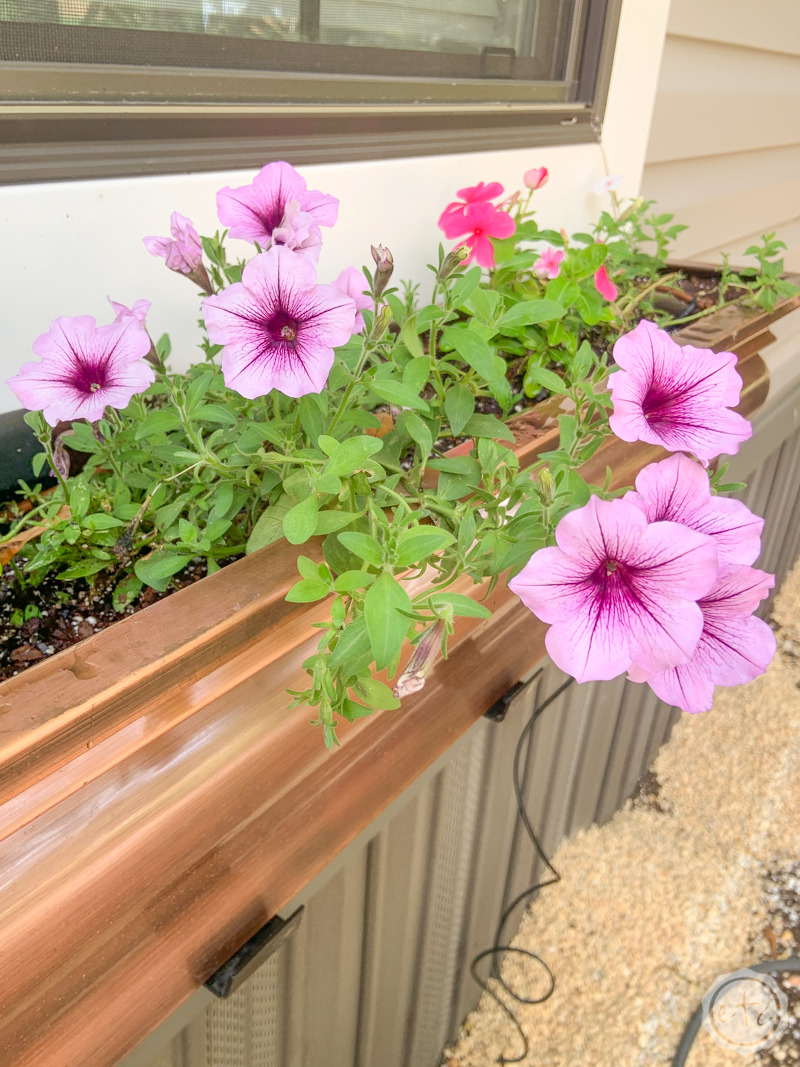
Keep in mind that planting all sun loving plants (like vinca) in a shady spot will not work…. do a bit of research (or hit up your local plant center!) to pick budget friendly plants that like your light. Making sure to pick the right plants is crucial to the success of your window boxes. My spot gets a lot of morning and even afternoon sun so I picked petunia’s and vinca… specifically Proven Winners Supertunia Bordeaux and Supertunia Vista Silverberry. The vinca were simply a hot pink vinca from the local nursery.
Now that we have our plants picked let’s get started!

Fill with Potting Mix
Let’s get started!
When planting anything picking the right plant is half the battle… but for the most part we’ll be working with annuals in containers. That means we can have a bit more fun experimenting!
Either way we’ll plant our flowers the same way regardless of which plants we’re working with.
Start by picking a nutrient rich potting mix and filling your window box half way. This will give you room to add your plants.
Remember that when you put any plant in a container it’s depending solely on you for everything. So it’s important to use high nutrient potting mix (it’s not going to pull any nutrients from the ground after all) and water them frequently. Otherwise your plants will be hungry and thirsty… which means no blooms!
Once you have your potting mix situated we’ll move on to the fun part… adding plants!


Plant your Flowers
Now go ahead and lay out your plants. In most cases you’ll be working with small pots here (like these little 4 inch pots) or perhaps larger plants that you’re going to separate. Either way start by laying your plants out in the exact spot you’re thinking about planting them.
This way you’ll be sure that you like the arrangement before actually planting them!
In my case we’re only doing 3 plants per window box to save on cost but you could really pack quite a few plants in here if you wanted. That’s the fun part about containers!
Once you’re pleased with your arrangement go ahead and remove each plant from it’s container and add it to the planter. Then use one of the containers to add potting soil to your window box until each plant is covered. You don’t want to see any of those roots!
Eventually those roots will disappear… now’s the time to press down firmly around each plant. You’ll want to make sure there aren’t any air bubbles trapped in the soil and that the roots are snug as a bug before moving on.
Just be careful… Mom found this little frog in one of our containers when removing the plant! You never know what you’ll find when working in the garden!


Prune and Water
At this point we’re soooo close to finished!
You could really water everything in and call it a day but with most plants actually planting them stresses them out. They’re going to be tempted to send out lots of roots and lots of blooms at the same time. BUT plants can’t really create blooms until their roots are established.
So go ahead and grab your pruning sheers. Prune each plant back to about 6 inches tall. This seems cruel (and removes any pretty blooms that are currently existing… which sucks) but in the long run it’s so much better for your flowers. Without all that pretty green up top to keep alive the plants can focus on roots for a minute and then when they do start pushing growth up top they’ll push twice as much.
Which means bigger plants with even more blooms.
Perfect!
Of course once you’re done pruning don’t forget that water… lots of it directly to the roots! Then you can start your drip system… delivering water directly to the roots everyday is the perfect solution. Although I still like to add a bit of water soluble fertilizer once a week to all my annuals… it really makes a difference.
Now we’re done! Go inside and take a shower… you probably need one. Then keep checking back… in a few weeks your plants will be taking off. Lots of blooms for your buck.
Goal achieved!

Enjoy!
There are a million different ways to plant your window boxes (and maybe next year we’ll do something different) but between these Supertunia’s and Vinca’s these little window boxes will be full of color in a week or two. Which is exactly what I wanted!
Honestly I can’t wait for the entire garden to fill in… but we’ve come so far in such a short amount of time. Not bad for my first garden!
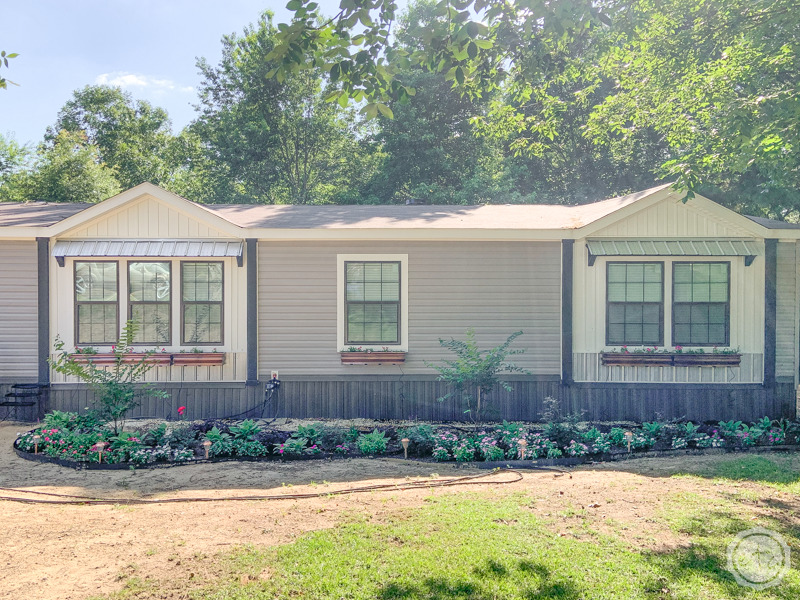

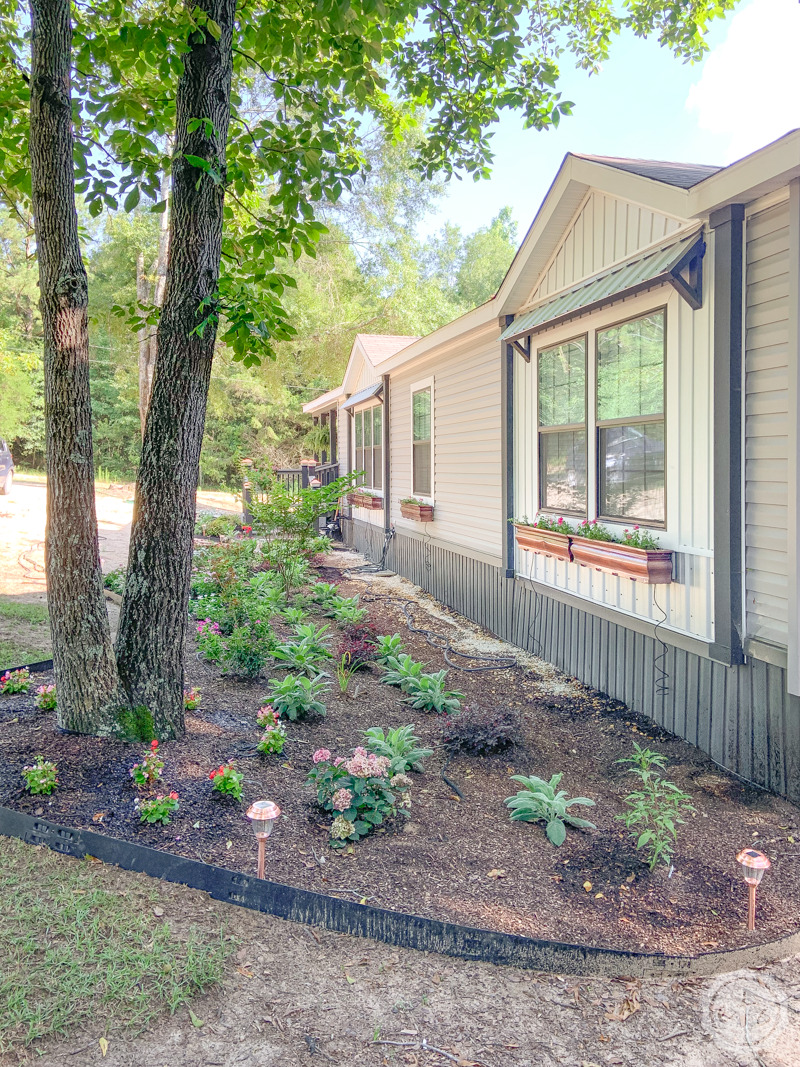
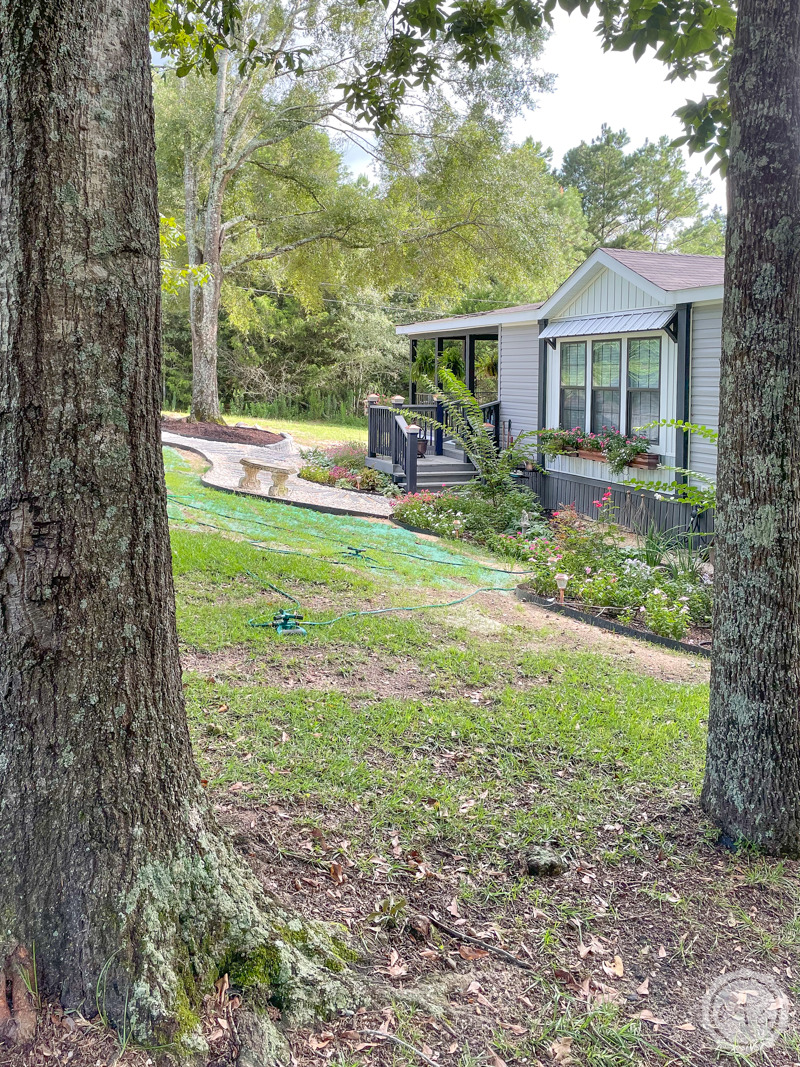
UPDATE: Here’s a few photos of the window boxes after letting them grow for a month. The Supertunia’s are looking A-M-A-ZING! I think I may use them again next year with different thrillers in the back. These photos are from my new DIY Pallet Pathway Post if you want to check out the entire updated front yard.
Enjoy!


Leave a Reply