


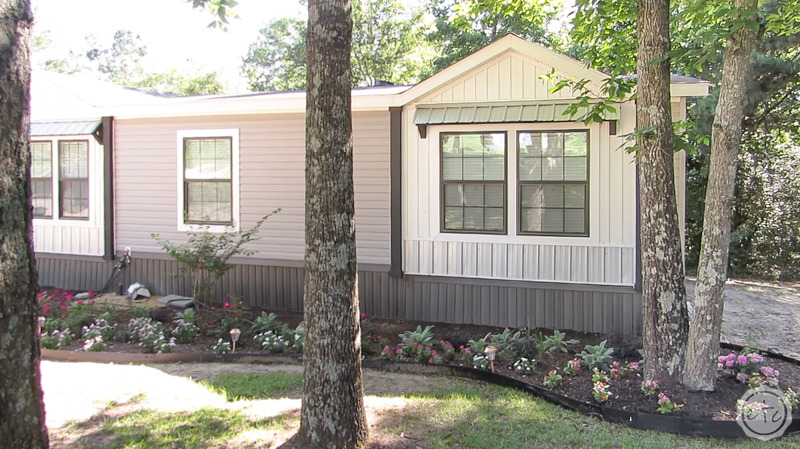
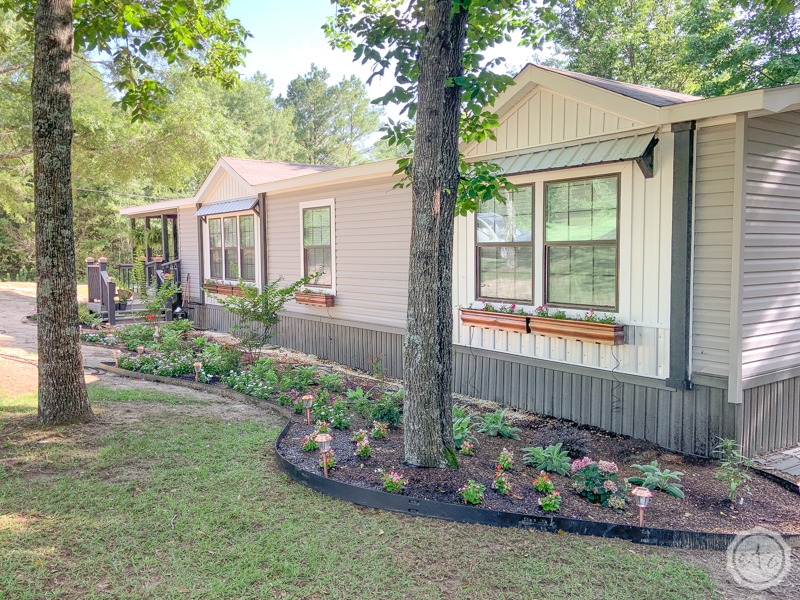
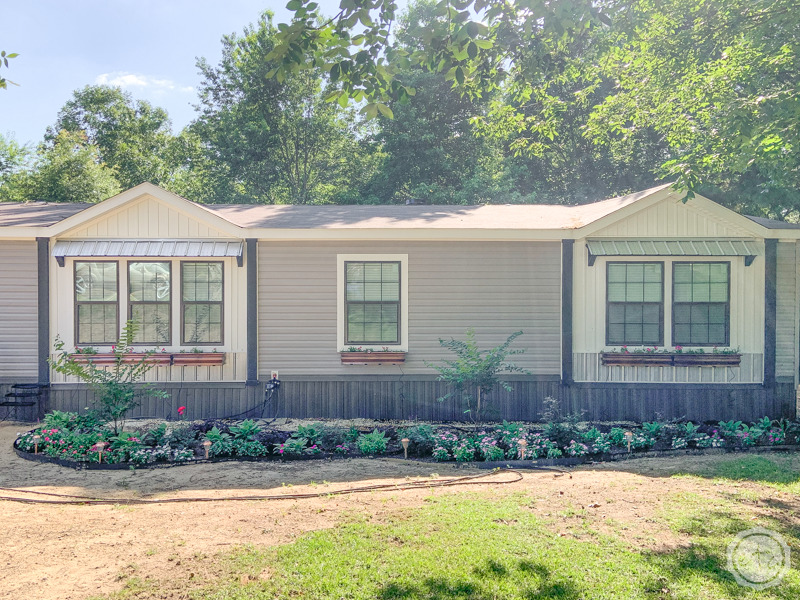
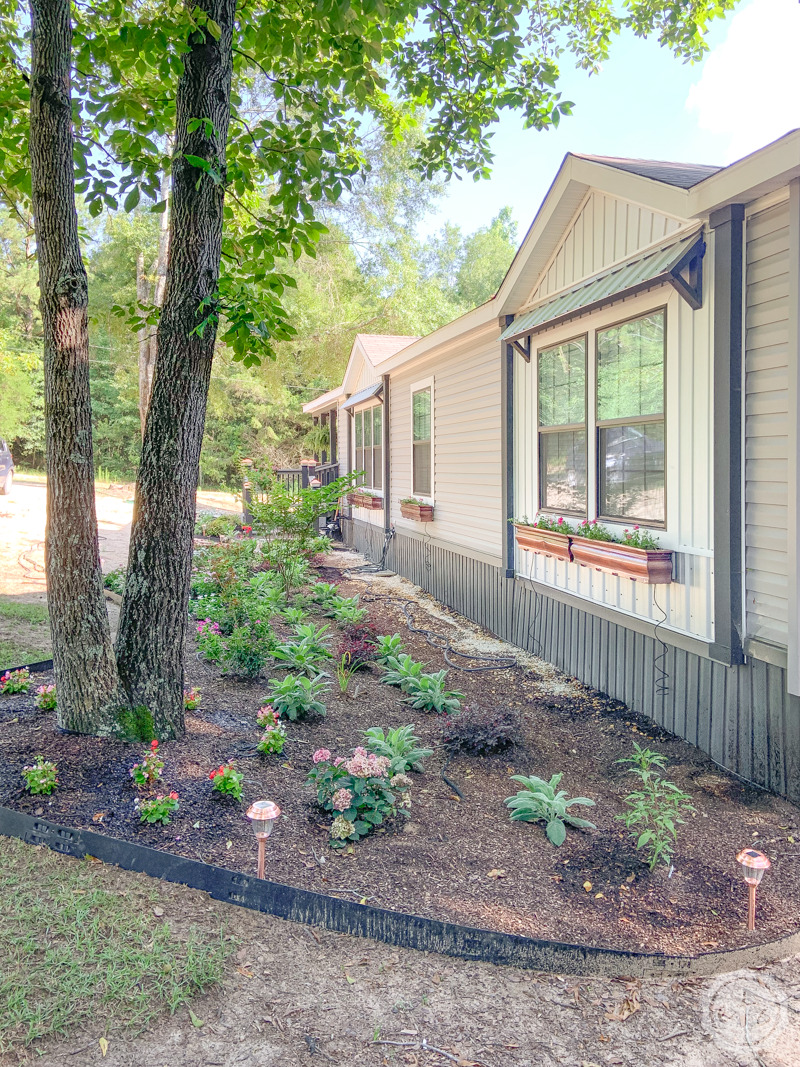
After I purchased my new home I knew I wanted window boxes… pretty flowers for all of my windows? Yes, please! In addition to housing pretty plants adding window boxes (external stairs and a pretty flower garden) would add a bit more dimension to the front of my house. Which I thought would help with the long, flat, straight look of my manufactured home.
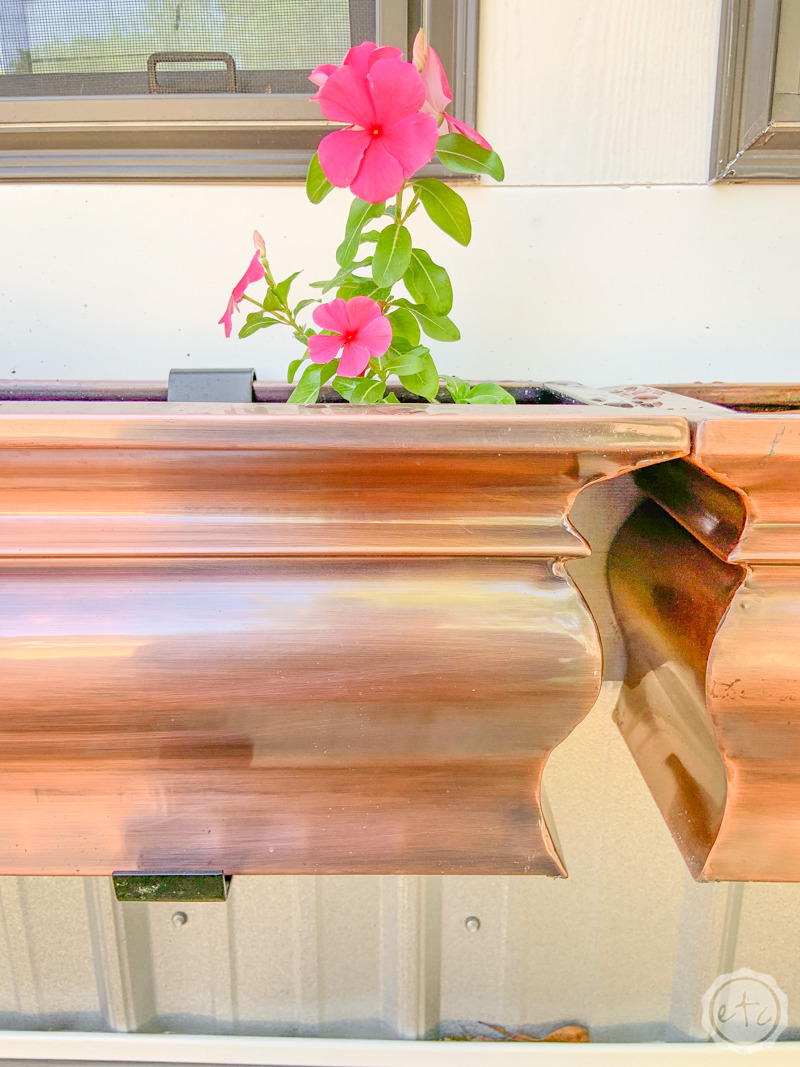
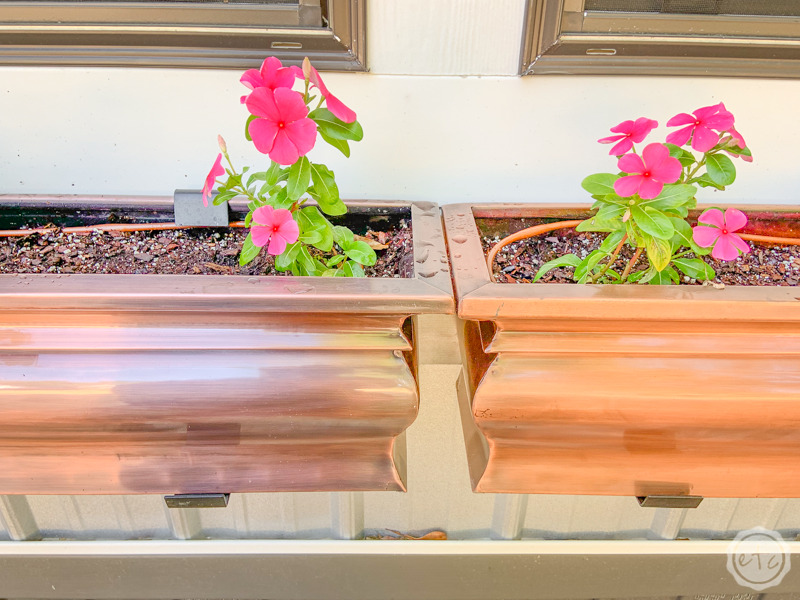
Of course, I couldn’t just go to the first store and grab a window box (well, I could… ) but I wanted a certain look. Something with a bit more dimension that would add a pop of color and interest even in the winter when their wouldn’t be any flowers to cover the boxes. I picked these beautiful (sturdy) copper window boxes with a bit of a curve to the front.
I love them.
They’re so pretty and add a bit of that copper flash to the front of my house (that I was looking for!). Of course, I could have gone the budget route and simply made a few boxes out of wood (nothing wrong with that!) but it wasn’t what I was looking for. And while this post isn’t sponsored (I wish!) these window boxes are definitely on the higher end of my budget. I actually asked for them for my birthday.
Mom bought a large one, Dad bought two medium ones and my brother bought a medium one as well… leaving me to buy two large ones. Which was totally worth it! Especially since we waited for a sale.
Which brings me to my first point: once you’ve decided on style you’ll need to measure your windows to determine what size window boxes you’ll need. I ended up needing 3 medium sized boxes to span the entire 3 pane window in the middle of my house. The two windows on the end needed one large window box each and the single window in the middle also needed a large box.
The window boxes I picked fit standard size windows and my new house has standard size windows (shocker!) but a quick measure will help you determine which sizes to order. Then we can move on to installing them!
Putting up your own window boxes? Check out this post on How to Plant Low Budget Window Boxes for an easy solution to stunning plant combinations!
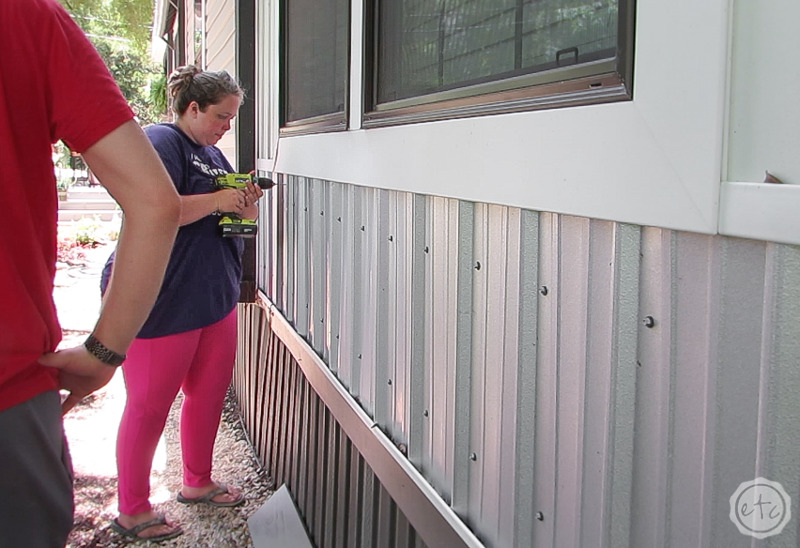
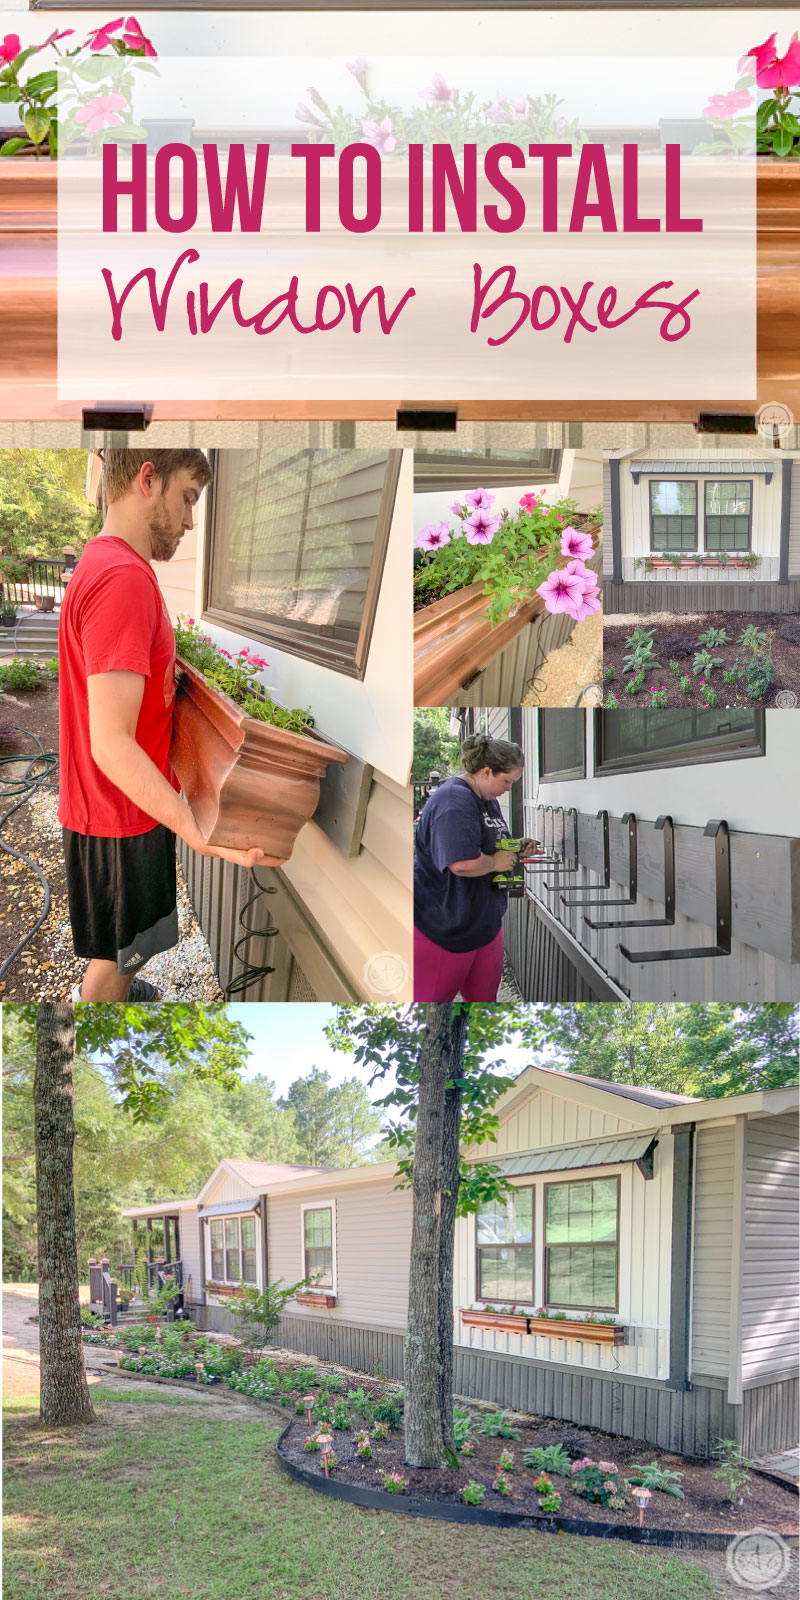
Step 1: Install a Wooden Board (to the Studs!)
These window boxes are heavy… and we’re going to fill them with dirt and flowers which will only make them heavier. They do come with heavy duty brackets to hold them up but the brackets need to be installed directly into the studs. Which may be hard to do depending on your specific window.
So start by measuring how far below your window you want to install the brackets… then determine if there are studs behind the 2 or 3 studs you need to install. If there are then you’re good to go. If there aren’t (or if your house is like mine and there is a stud for one bracket but not the other) we’ll use plan b which is to install a long board that will span the entire distance of the window.
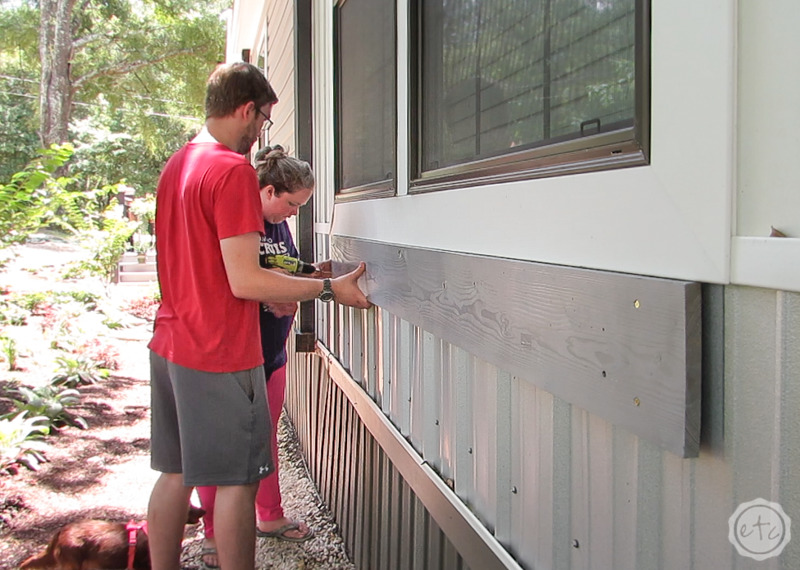
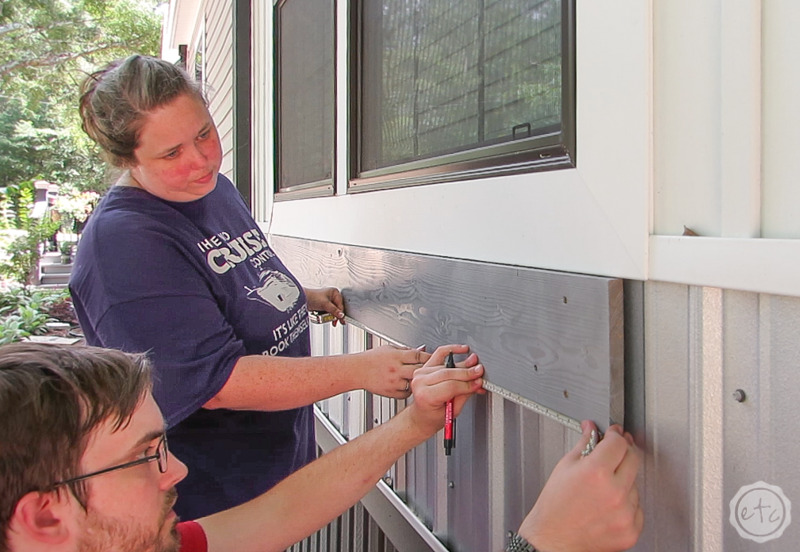
This board can be securely drilled into studs all the way across the window so that you know it’s not going anywhere. Another benefit is for anyone with an uneven surface… like the galvanized metal detail under my window. The board will span all those divits (where the metal goes up and then down) and give you a straight surface to attach your brackets to (instead of all those divits). This makes things easier… and ensures that any rain or moisture will run down behind the board and not behind your window box which is better for your house in the long run.
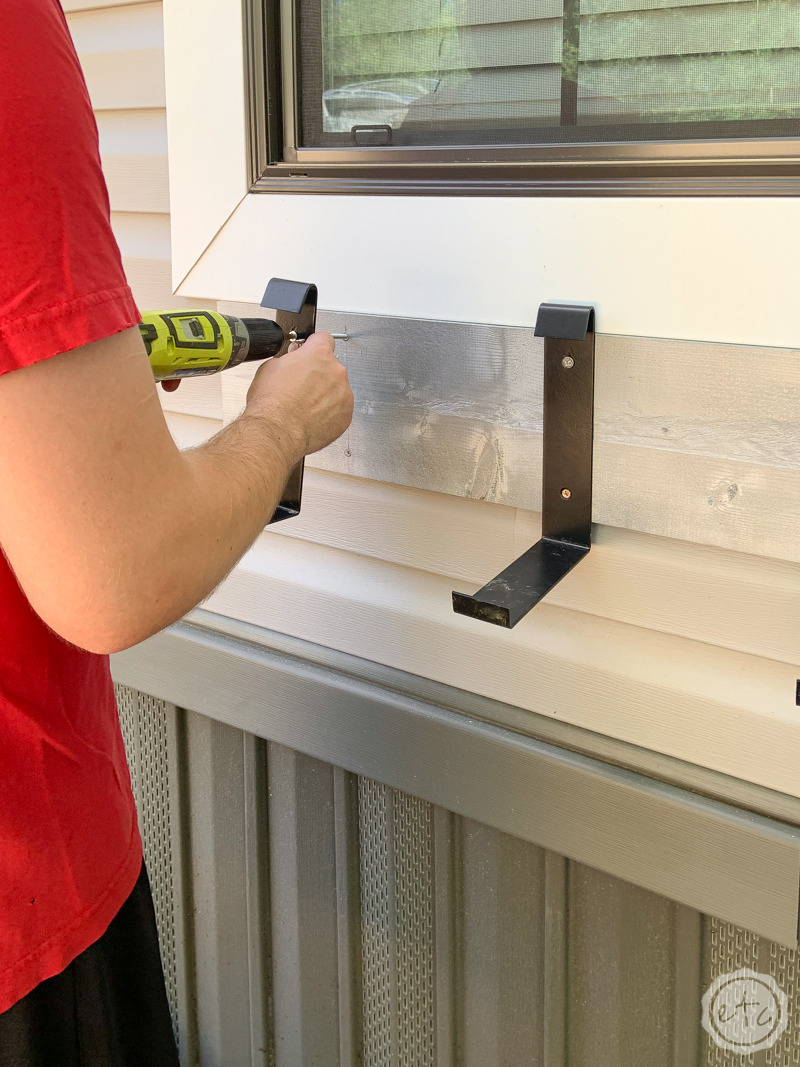
This is a long explanation… let’s go ahead and install our board. I started by spraying mine with a silver metallic metal spray paint (both to seal the board for moisture and help it disappear into the house). Then I used a power drill to pre-drill holes into the house… then used large outdoor screws to secure the board to the house through the studs.

Step 2: Measure the Spacing for the Brackets
Now that our board is in place let’s get our brackets figured out! Depending on the size of your window box you’ll have either 2 brackets per box or 3 brackets per box. Spoiler… the larger boxes require more brackets.
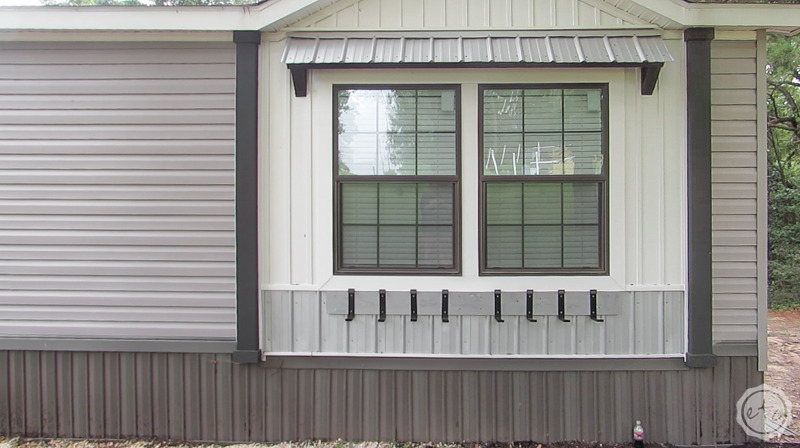
You’ll want the brackets evenly spaced along the bottom of the window box so that the weight is evenly distributed. Depending on the size of your window box you’ll have to install the brackets at different distances. Our larger box is 48 inches long so we divided 48 by 4 and then marked the pre-drill holes for each bracket at exactly 12 inches apart.
Little secret? The middle boxes are 36 inches long… and 36 divided by 3 is also 12. So we’ll need 12 inches between allllll our brackets!
Go ahead and mark 12 inches alllll the way across your board but keep in mind that we’re not necessarily marking 12 inches from the end of our long board. Instead find the center of the window then measure 6 inches on either side of that… and then 12 inches on either side of that. Then repeat for the other windows.
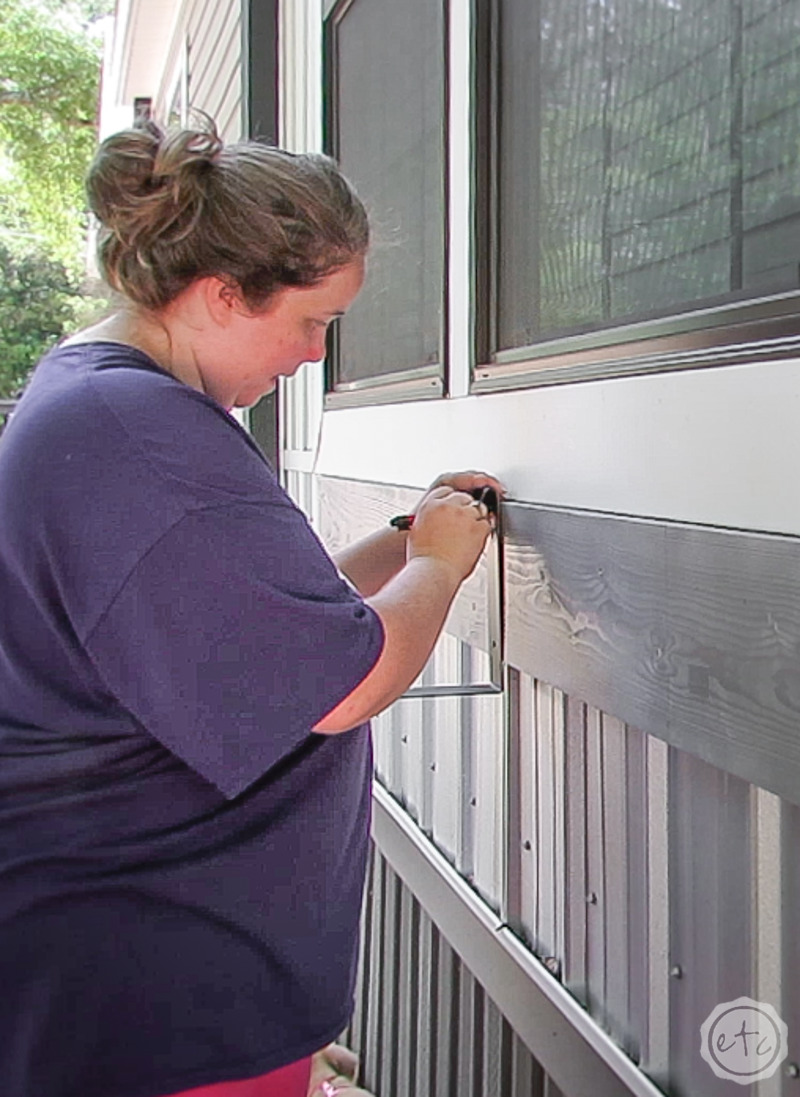
Step 3: Mark the Placement of the Pilot Holes
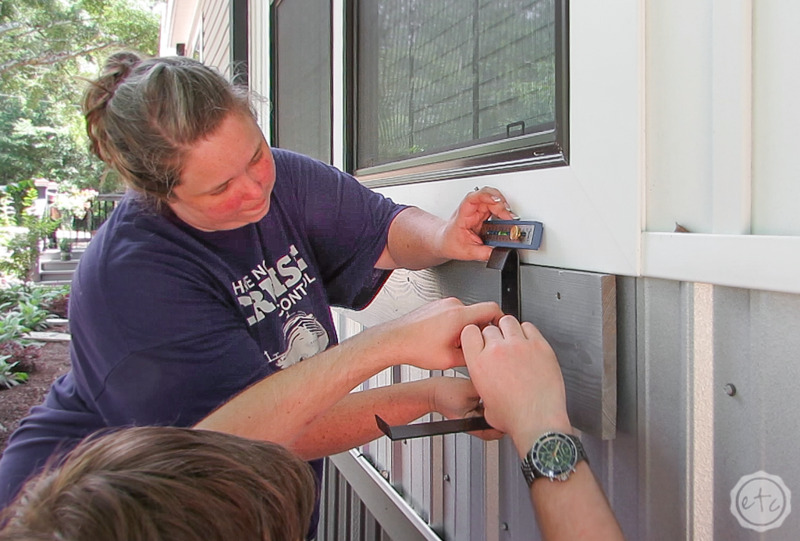
Ready to mark each of the pilot holes? This is pretty easy but does need to be done carefully… so that each bracket is not only exactly 12 inches apart but that the bracket will be level once it’s installed. We don’t want any crooked, leaning window boxes!
Not only will they look janky they won’t be super strong… and we need these brackets to be strong.
Each bracket has 2 screw holes so we drew a vertical line on each of marks we made in the last step. This should give us 3 vertical lines for each of our large boxes. Then place your bracket on this vertical line and use a level to make sure your bracket is level vertically and horizontally. You’ll also want to make sure each bracket is the same distance from the top of the board. You should see that vertical line we drew through each of the bracket’s openings… if you can (and everything is level) use a marker to mark that spot.
These spots are where we’ll drill our pilot holes.
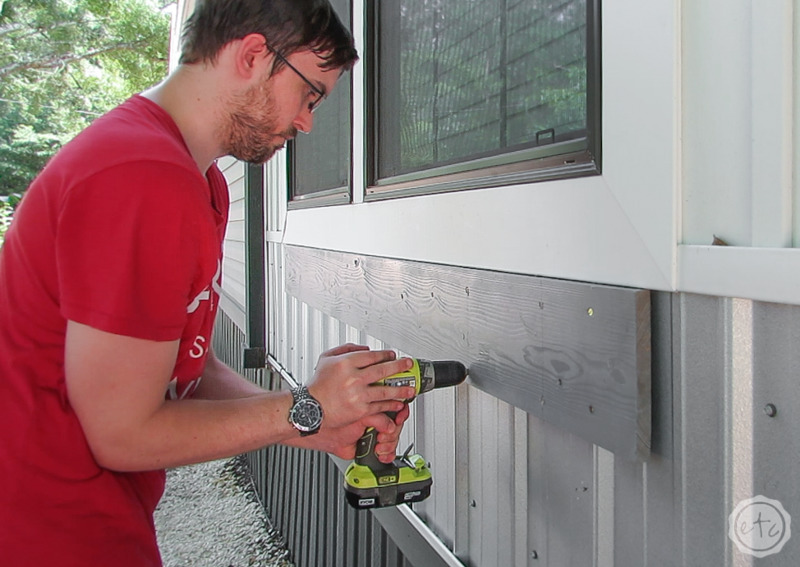
Step 4: Drill the Pilot Holes
I hope you saw “drill alll the pilot holes” as the next step! Seems logical to me!
Now that we have everything marked grab a drill bit that’s only a little smaller than then large anchor screws that were included with our brackets. Then carefully drill each pilot hole allll the way across the board. Hopefully a few of these will sink into studs but if they don’t that’s ok to.
The board is already secure in the studs and the brackets will be secure to the board so everything will be strong.
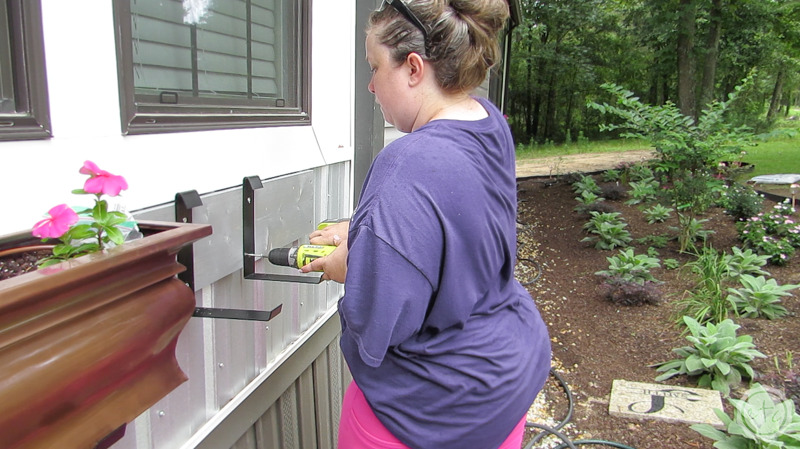
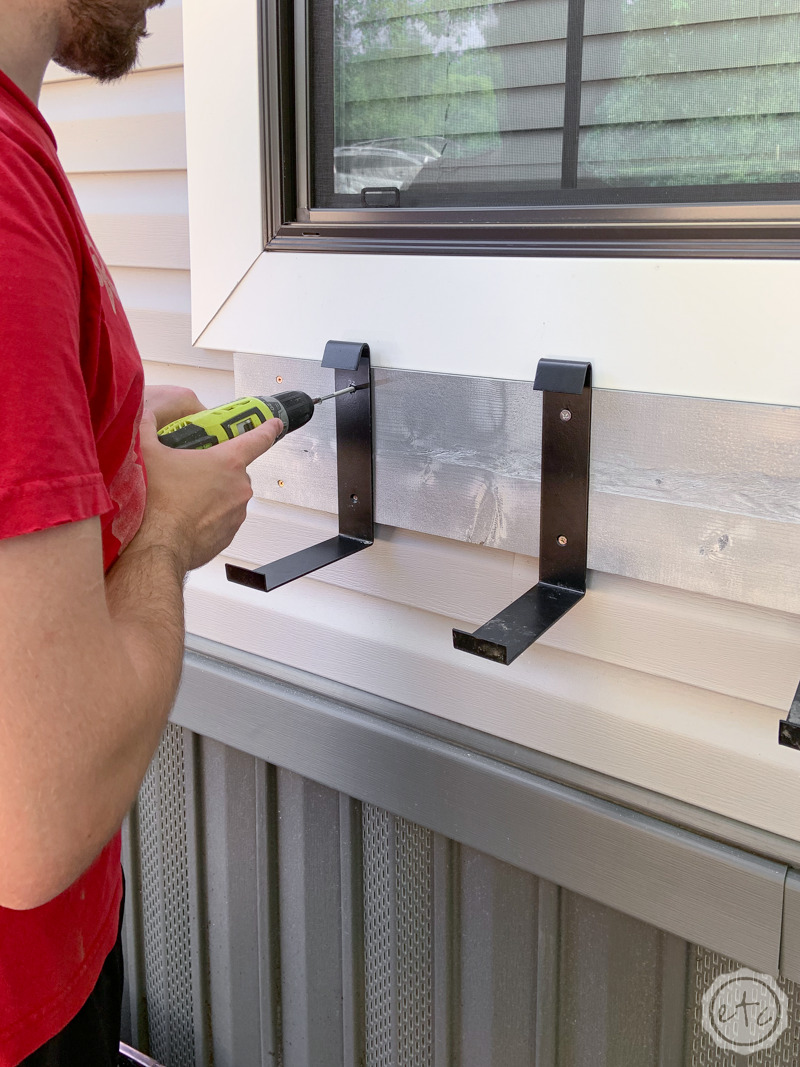
Step 5: Attach the Brackets with the Supplied Screws
We’re cooking with gas now! Once the pilot holes are drilled it’s only a matter of actually attaching the brackets! These screws are quite large so even with the pilot holes I found a few of them difficult… but only a few!
Most of the screws went in just like butter, which is exactly what we wanted. Go ahead and sink a screw into every single pilot hole until all of the brackets are attached.
Then we’ll move onto the best part… installing the actual window boxes!
Step 6: Install the Window Baskets on the Brackets!
Ready?! These little guys pop on sooo easily!
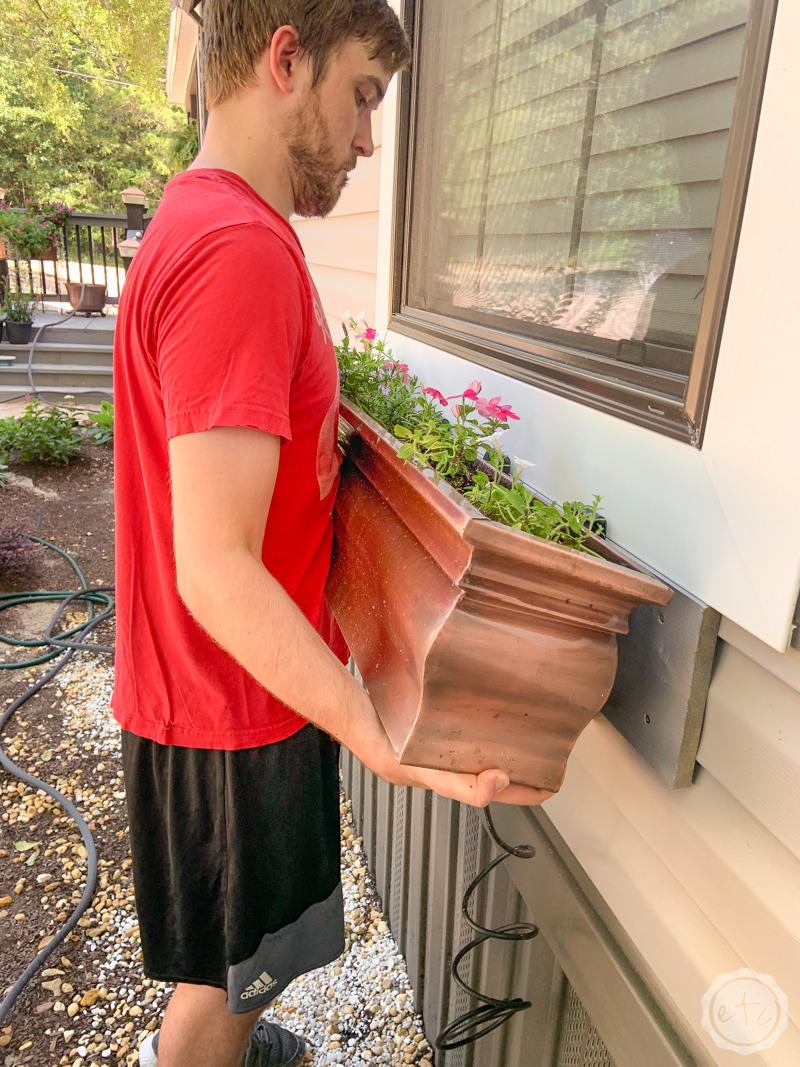
We went ahead and planted them up first (check out my post on how to plant window boxes on a low budget for a high impact here) so that we didn’t have to plant everything while standing. That made everything a little heavy (since they’re full of dirt) but they weren’t bad!
I was able to lift the medium ones on my own and Mom and I could tackle the large ones if needed. Of course, my little brother could probably lift all 6 boxes at once but we’re not talking about him.
Either way back to installing the boxes… they’re very easy to put in place. Start by tilting the box until the lip on the back of the box is under the top of the bracket… then slide the entire box forward and into place.
Perfect!

Step 7: Enjoy!
Now all that’s left is to enjoy! I still have to hook up the entire drip irrigation system for easy watering but in the meantime we’ll hit these babies every day (or every few days) with the hose. Remember that when you put any plant in a container it’s depending solely on you for everything. So it’s important to use high nutrient potting soil (it’s not going to pull any nutrients from the ground after all) and water them frequently.
I even hit them with a water soluble fertilizer once a week.
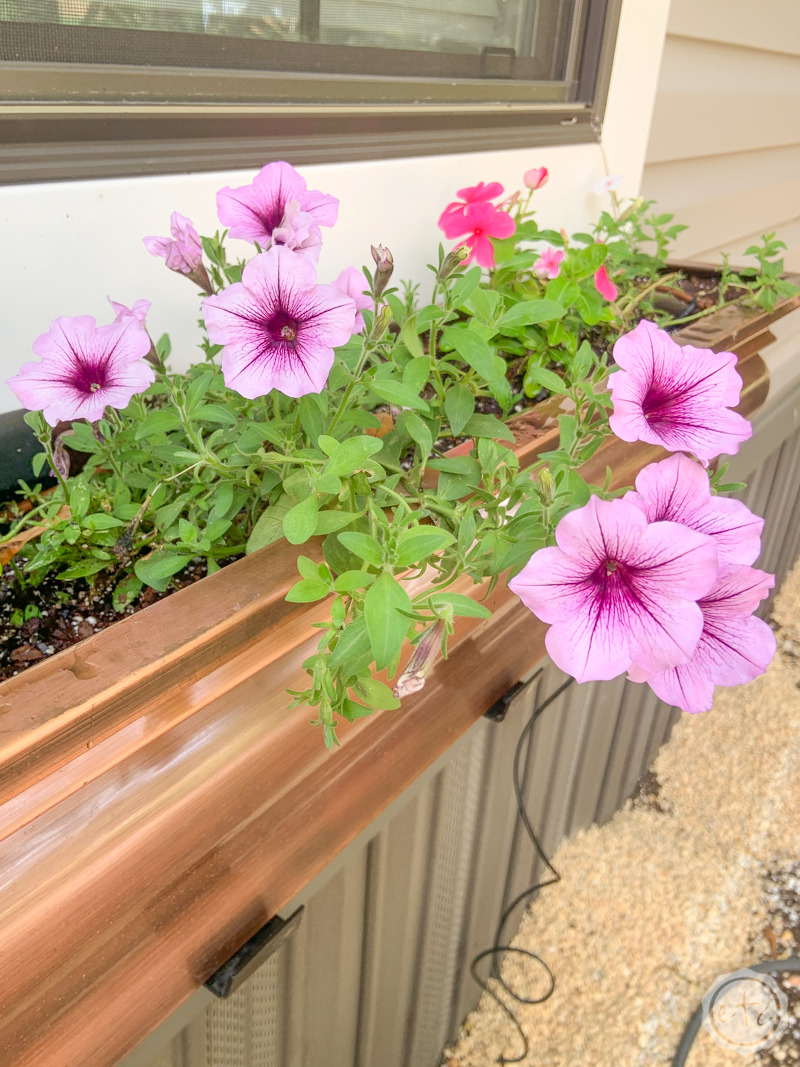
Then they’ll grow big and strong and beautiful! And you can enjoy them all season long.
I love love love how the window boxes turned out… they look soooo good at the front of my house and really add that extra bit of dimension I was looking for. I hope you love it to! The Proven Winners Supertunia Bordeaux and Vista Silverberry look amazing and I already can’t wait to plant new things in them next season!
Check out this post for lots of tips on picking flowers and planting them in your window boxes for the lowest price possible… and the highest impact!


Want an update on how the plants are growing in? Check out a month of grown in the finished photos of this Easy DIY Pallet Pathway Post!


Leave a Reply