


Remember that work conference a while back? Well when you work for Sherwin Williams you can expect at least 4 hours of that conference to be painting something! We had an excellent class full of tips and tricks…. which came in handy when the hubby decided we just had to paint! So here’s my best tips on how to paint like a pro… courtesy of SWU!
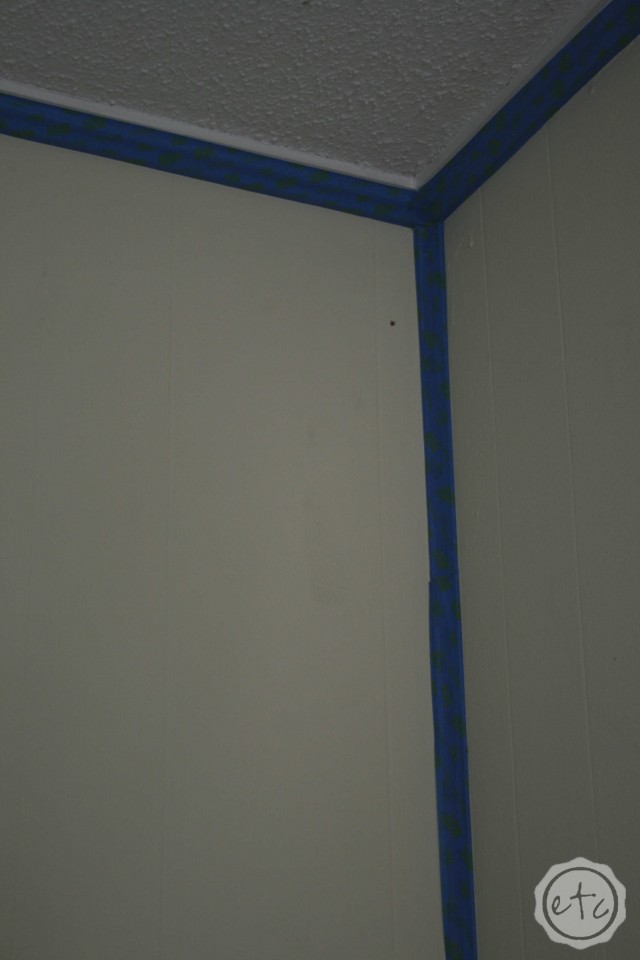
The first step? Prep work! Make sure all of your surfaces are clean, dull and dry. As long as you keep your home fairly clean you should be fine… but if you’re painting the kitchen or bathroom you might want to give certain areas an extra scrub 😉 . If you want to protect your floors and furniture feel free to throw a drop cloth over anything in the splash zone! If you have a steady hand to cut-in your moldings feel free to skip the blue painter’s tape… if however you have itty bitty molding in every single corner like we do TAPE EVERYTHING!
Just make sure that when you tape you are placing your tape as close as you can to the edge… and then pressing it tight! Use a fingernail or straight edge to secure the edge down to the wall. Other wise paint can seep underneath and ruin those beautiful white lines. Yuck!
Looking for a bunch of posts on painting? I’ve got you covered!
Click here to see all of my helpful paint posts in one place!
BONUS: Freebie Alert!
Looking for a little color help? I’ve put together a quick, easy and FREE Printable of my Top 10 Neutral Paint Colors and their coordinating colors. So that you can pick a color with ease. It’s at the bottom of this post so don’t forget to hit download before you go… easy peezy lemon squeezy!
Score!
Once the taping is done we can move on to the second step: Painting! Start by cutting in the edges with a small brush: try a 2″ angled sash brush. They’re small enough to cut in properly and easy to handle. Paint the entire edge of a room first… about 5 inches out from the edge will do. You want an area large enough to roll into without hitting the wall.
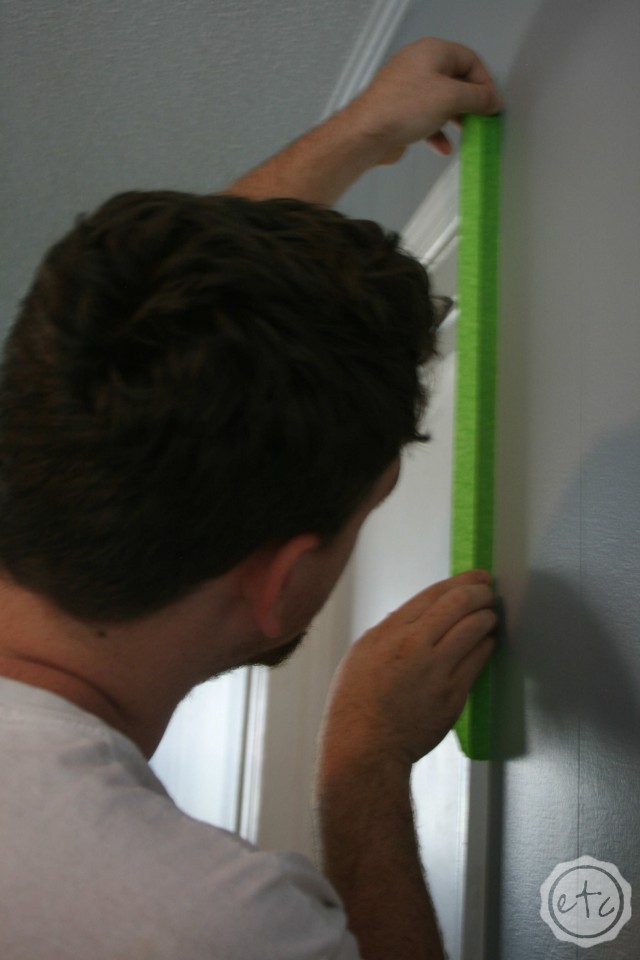
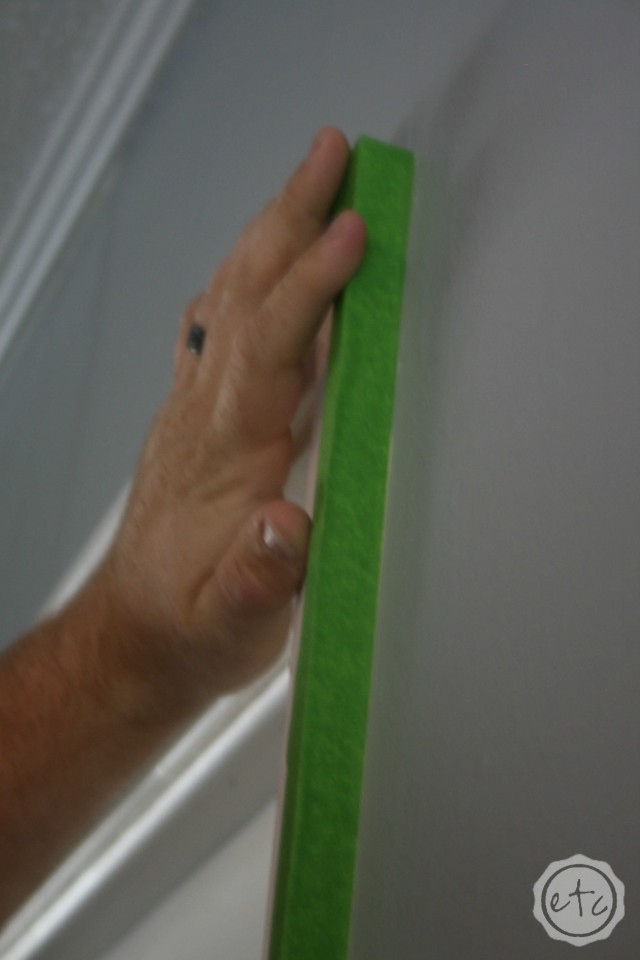
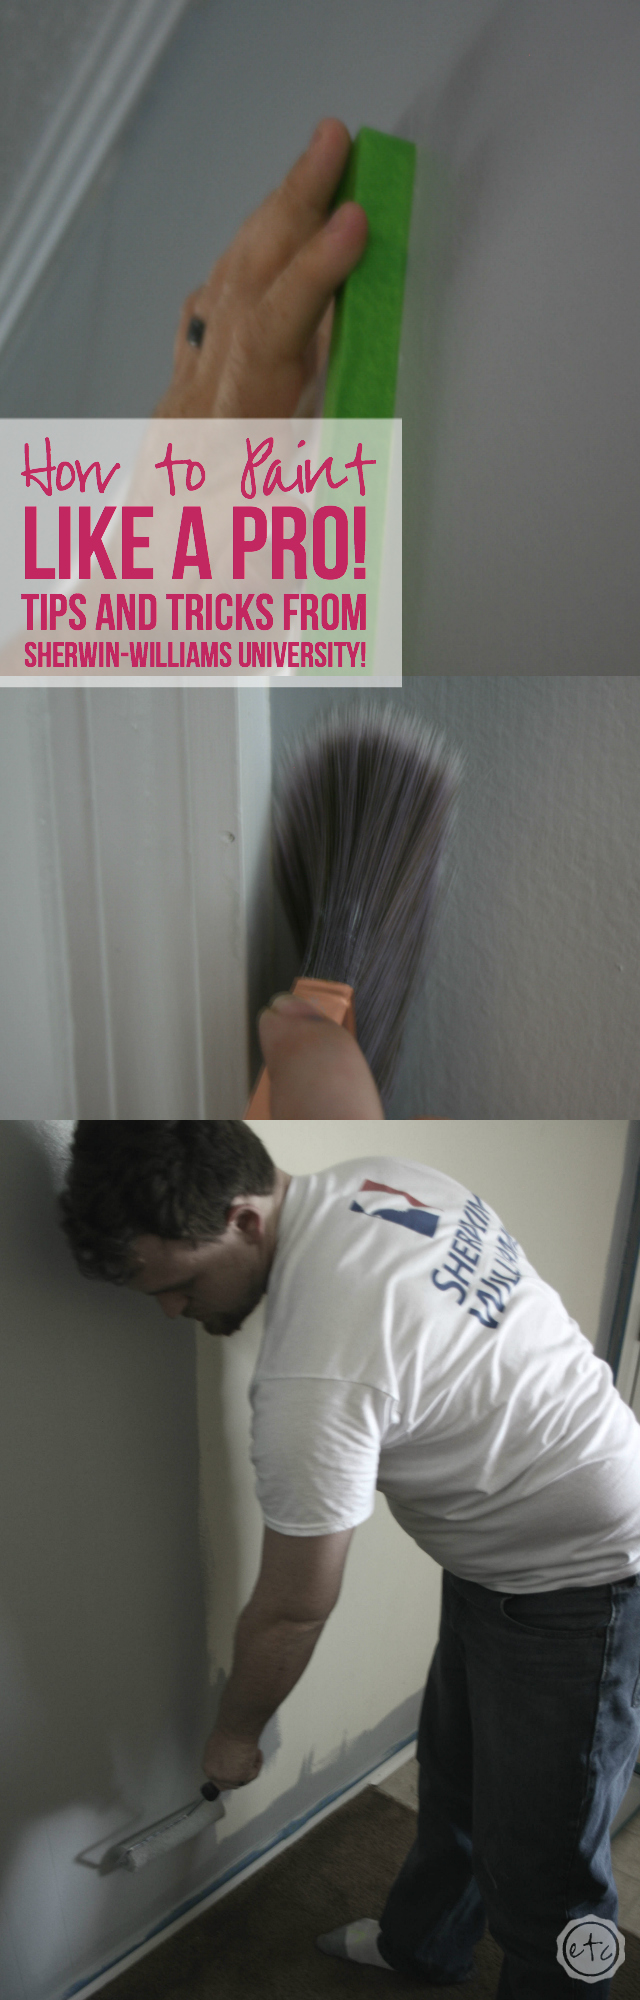
If you aren’t using tape cutting in is mucho important… it makes all the difference between a sharp crisp line and getting kool-aid in your cheerios. At SWU (Sherwin Williams University… duh!) they teach you that brushes are meant to be held vertically to cut in… take a look at the picture below.
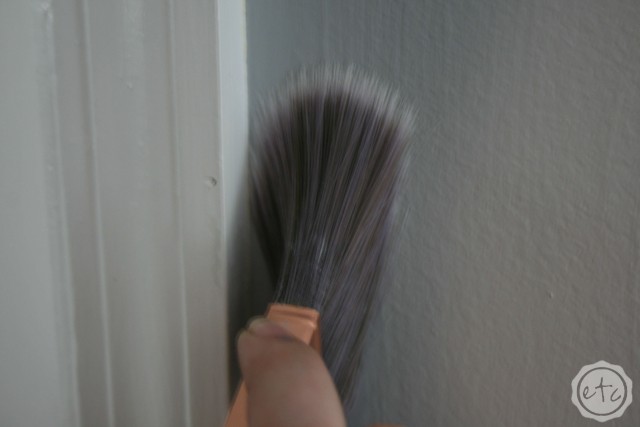
See how the bristles are pressed straight down against the wall? This makes the bottom bristles fan out… so that when you pull the brush down the wall it makes a crisp line. Load your brush up with paint AND DON’T WIPE THE EXCESS PAINT OFF… you want a lot of paint on your brush to cut in. If it starts to drip you can tap the extra back into the can… just don’t wipe. Next tap your brush against the wall to get your bristles to fan out (like the picture above)… then pull! Easy peezy! Haha… okay not easy peezy…. it definitely took a couple try’s to learn how to do this the right way. But once you have it down it works so much better!
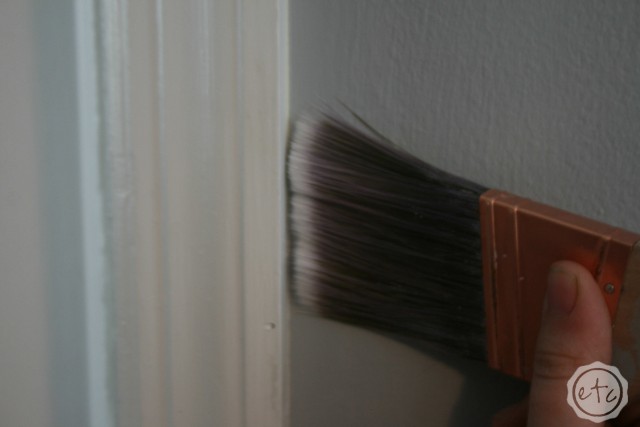
Most people think that to cut in you need to hold you brush sideways… like the bottom picture… and paint in a straight line. Trust me this is way harder because really? Who can paint in a straight line?! No one… especially not for every wall in your house. Try it the right way… it really works!
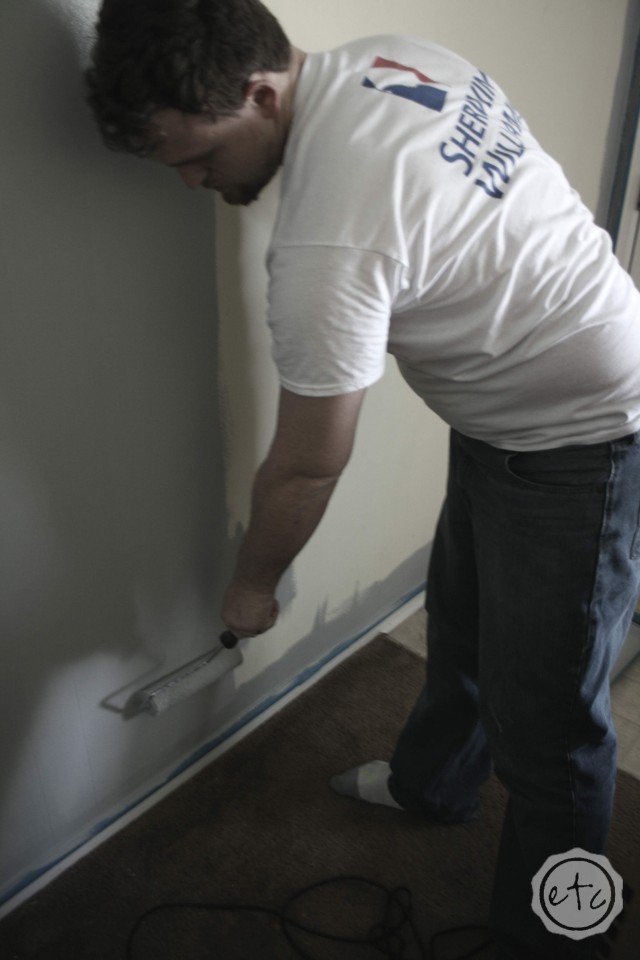
The most important part about painting is keeping the paint wet while you’re painting… so do one wall at a time. Paint the entire wall corner to corner before you move on. Once the edging is painted you can start to roll the wall… making sure to roll all the way into the wet edge of the border! You want to roll as close to the top of the wall (or side) without hitting the ceiling… this blends the brush paint with the roller paint and avoids “hatbanding.” Isn’t that a fun word? It’s the effect that happens when the part of the wall that was cut in with a brush looks completely different than the part of the wall that was rolled! Imagine a border around the edges of your wall… the same color, same paint, but a slightly different texture. No Bueno!
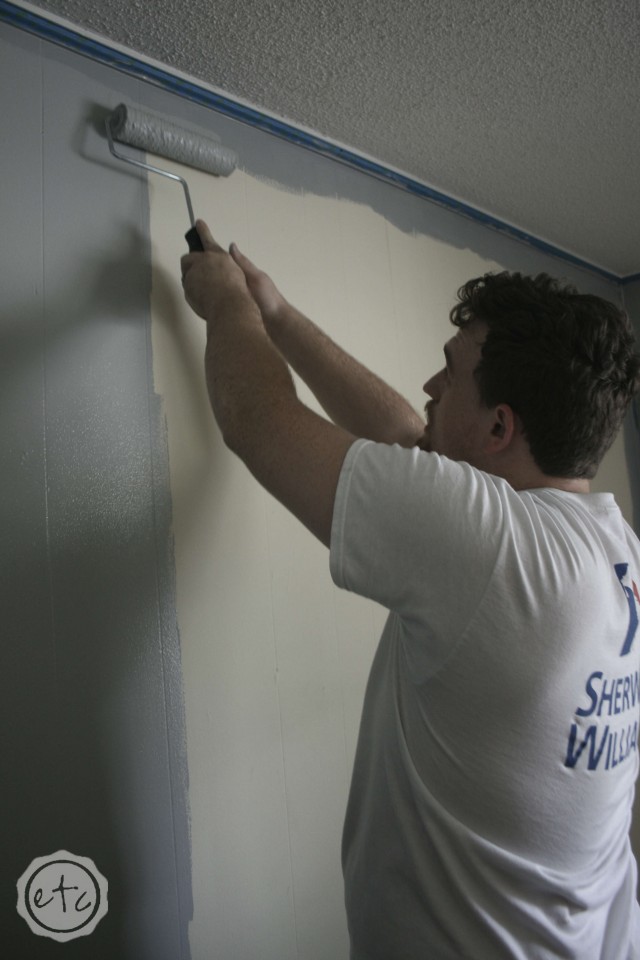
When you’re ready to roll your paint onto the large parts of the wall you’re almost done… this part is as easy as you are tall! You know because a tall person can roll the whole wall in one swipe (aka the hubby) where as the rest of us have to run up and down the ladder to fill the whole wall (and I’m not even short!). Now the folks at SWU completely busted the popular W paint method: you know the one on all the home improvement shows where they teach you to paint a W on your wall and then fill it in? I’ve been doing that for years and it works just fine… but this is so much better.
Start with your roller all the way at the ceiling… and paint straight down to the floor… then straight back up to the ceiling. Yes you’re painting the same line twice… just go with it… You’ve basically painted a line on your wall. A line that is covered really well with paint because you’ve gone over it twice! Now move your brush over just a bit… so that you’re going over about 1/3 of the line you just painted… and do the same thing. Let gravity pull your roller all the way down and then push it all the way up. Then move your roller over until it’s covering about 1/3 of the second line you just painted and keep going… all the way across the wall. The whole point is to keep a wet edge of paint… one edge that is always wet and being painted over. This ensures that when your paint dries it’s all one consistent color and direction… gorgeous!

If you’re working by yourself then cut in all of the edges on one entire wall first… then fill in with a roller! If you’re working with a partner-in-crime pick one person to cut in and one to roll! Now you can do double duty! Twice as fast!
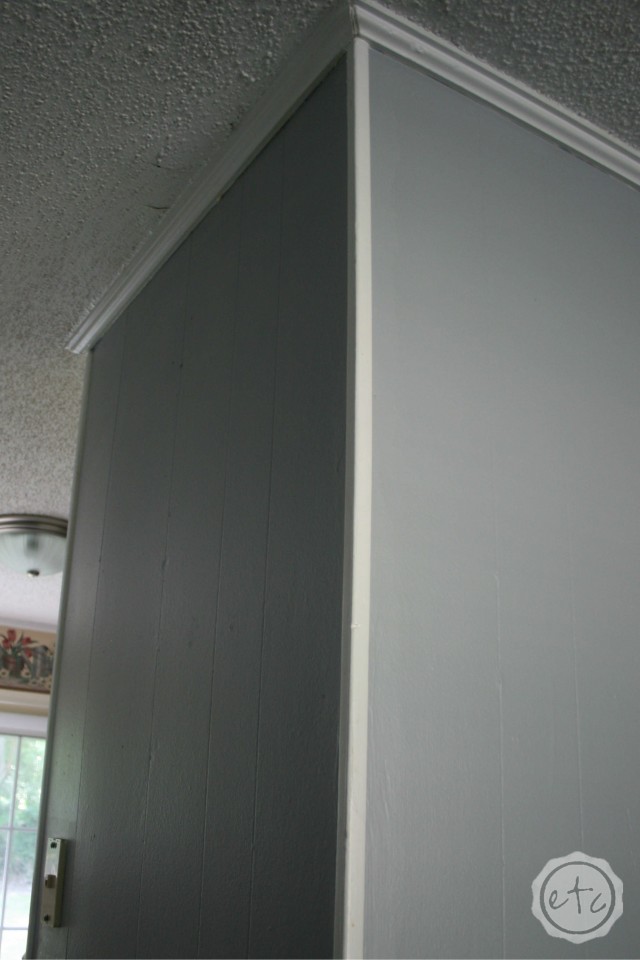
Once you’re done step back and enjoy the beauty of your new paint… trust me the best part is pulling off that tape (once the paint is dry of course) and seeing those crisp lines for the first time. Breathless!
So what do you think? Do these paining tips make you want to paint a room or run for the hills? It’s a lot of information but I promise… after painting our entire house I can attest to how much it’s worth it!
P.S. 3 Quick Tips to Pick the Perfect Paint Color for your Home and How to Keep Track of the Paint Colors in your Home
Get Your FREE PDF Paint Color Swatches!

Ready to paint?
Here's a snapshot of our FAVORITE 10 Neutral Paint Colors... and their coordinating colors.


