


If you’ve been following along with the Thrift Store Swap you already know about my epiphany to apply FREE wallpaper samples on top of my round-bouty thingy (that’s the official description: the roundy-bouty thingy). I spent so long trying to figure out what would pull this whole project together that when I figured it out I may have done a happy dance… a very loud enthusiastic happy dance… at work. I’m that girl. Oh well!
The part I love most about this whole realization? That wallpaper samples (the expired ones) are FREE! That’s right… hundreds of patterns to choose from and most stores have expired books that they’re trying to get rid of! I was so proud of myself for figuring this all out! Haha! I mean it’s so easy! After you pick your pattern all you have to do is apply the sample to your project… and I can help you with that!
Looking for a bunch of posts on painting? I’ve got you covered!
Click here to see all of my helpful paint posts in one place!
Supplies:
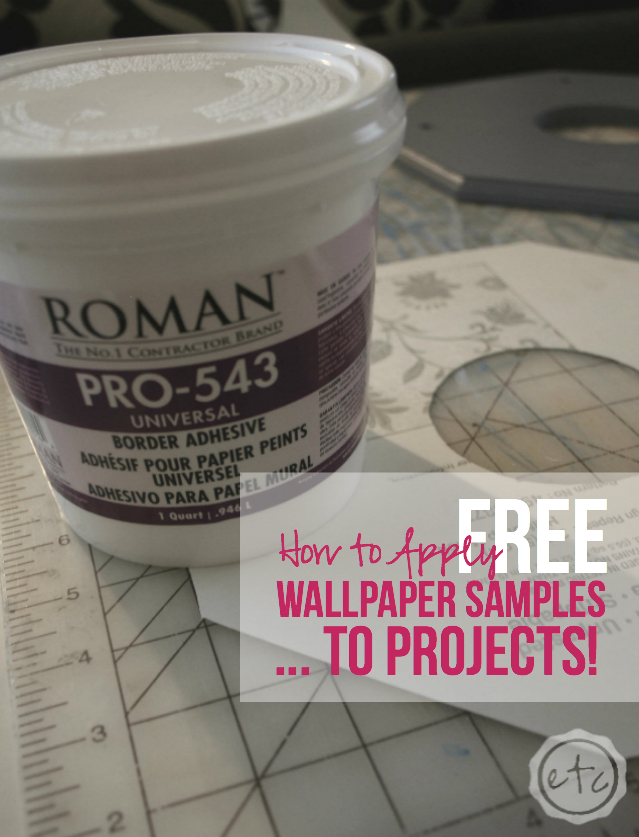
1. Your choice of free wallpaper... make sure to pick a pretty pattern!
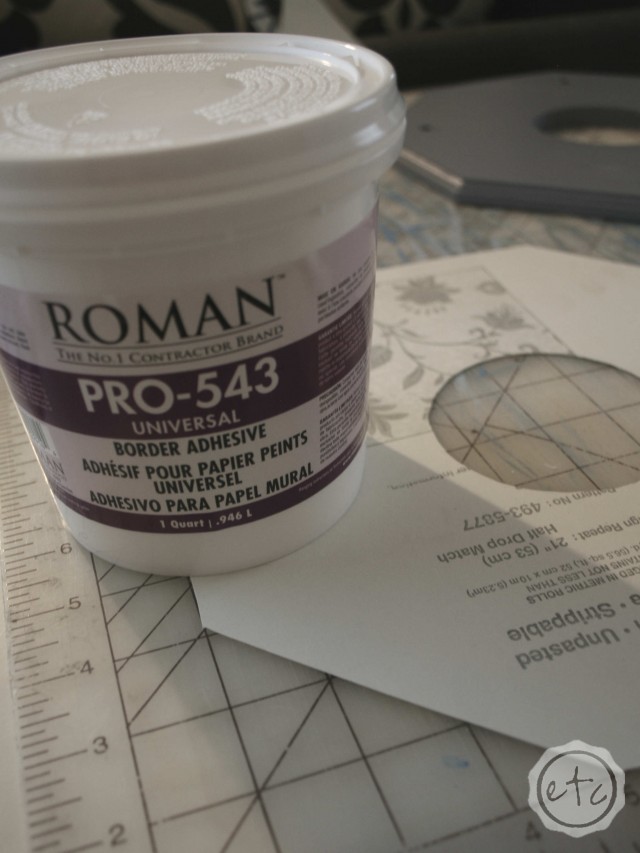
2. Wallpaper adhesive… or glue that will dry clear and stick to both your wallpaper & project piece.3. Scissors and exacto knife… if you need to make detailed cuts.
4. Sand paper… or if you want to be fancy a sanding block! I don’t know why but I feel like those are super fancy. 😉 Maybe it’s all the years spent taping sandpaper to wooden blocks with Daddy… now they come pre-made!
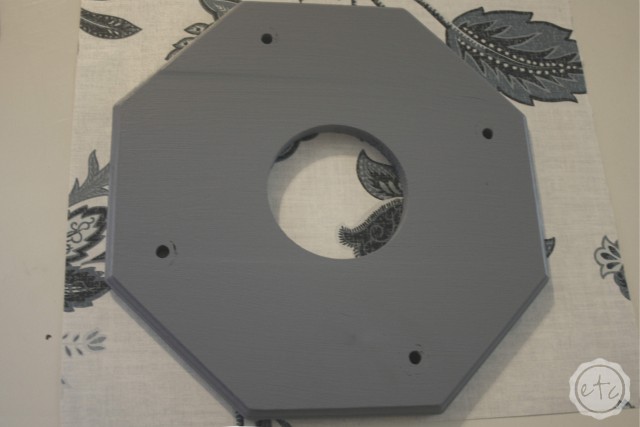
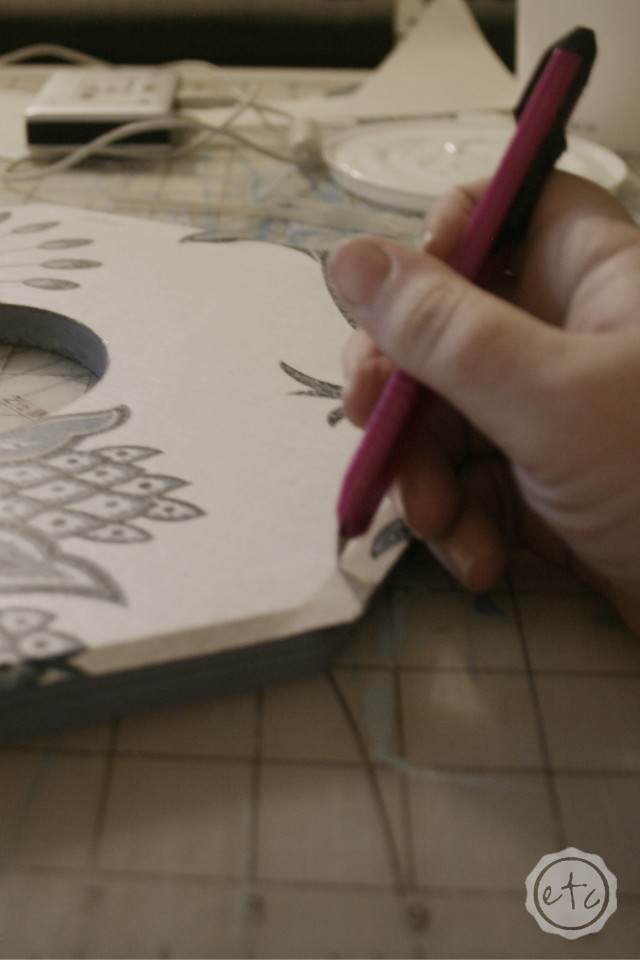
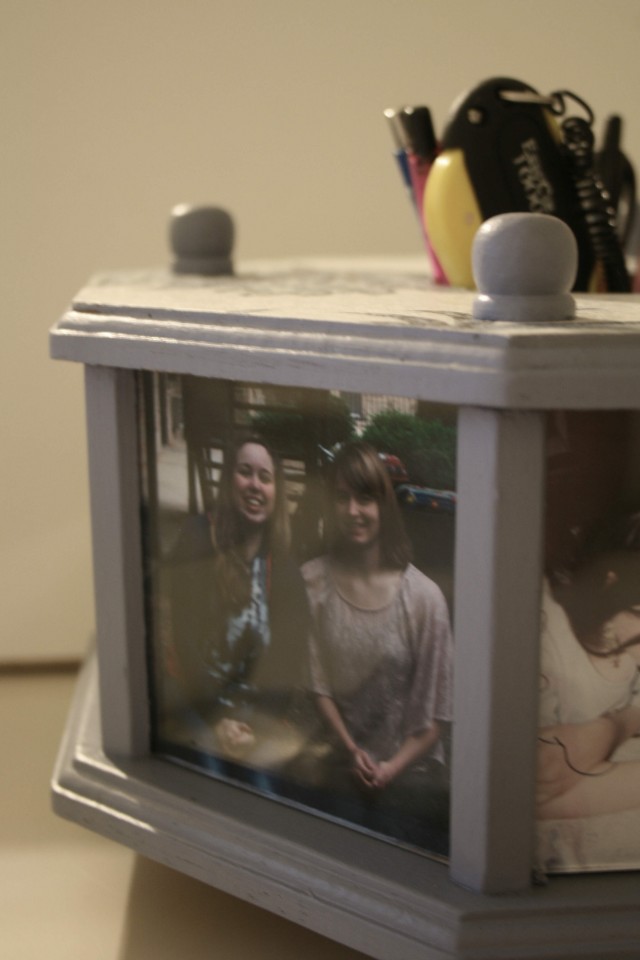
This project is sooo easy!! The first step is to cut out your wallpaper sample… I was lucky because the top of my roundy-bouty thingy comes off and made it super easy to trace a shape onto my wallpaper sample! Once your shape is cut out the next step is to apply your wallpaper adhesive.
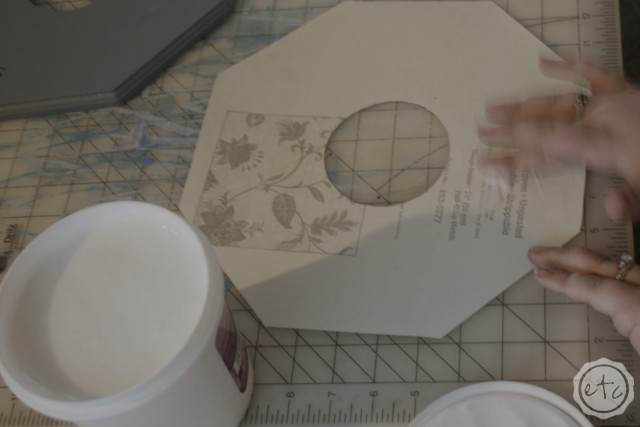
The instructions say to use a brush or roller… but since we’re only doing a wallpaper sample (not a whole kitchen!) I cheated and used my finger! Turns out? Not the end of the world! If you don’t like getting messy (I am so not the right person to ask… I work in a paint store. My hands are always painted) then a small cheap foam brush would totally work. The goal is to cover the entire sample with a light coat of adhesive.

This next step is only for those using wallpaper adhesive.. if you’re using any other type of adhesive skip this step! Once your adhesive is applied fold your wallpaper sample in half… with the sticky parts touching. Wallpaper adhesive needs time to tack up or activate so once you’ve folded your sample like a burrito take a 10 minute break.
Just the right about of time for an actual burrito… unless you’re like me and don’t eat burritos. Then try surfing pinterest or something ;).
Once your glue is activated place the wallpaper sample on your piece…. it will still be a little slippery at this point so make sure it’s exactly where you want it and then let it sit for a while. You want the glue to dry enough that your sample isn’t going to slide around for this next step. What’s a while? It doesn’t need to be long for such a small project… I think I waited another 10 minutes. Pinterest party!
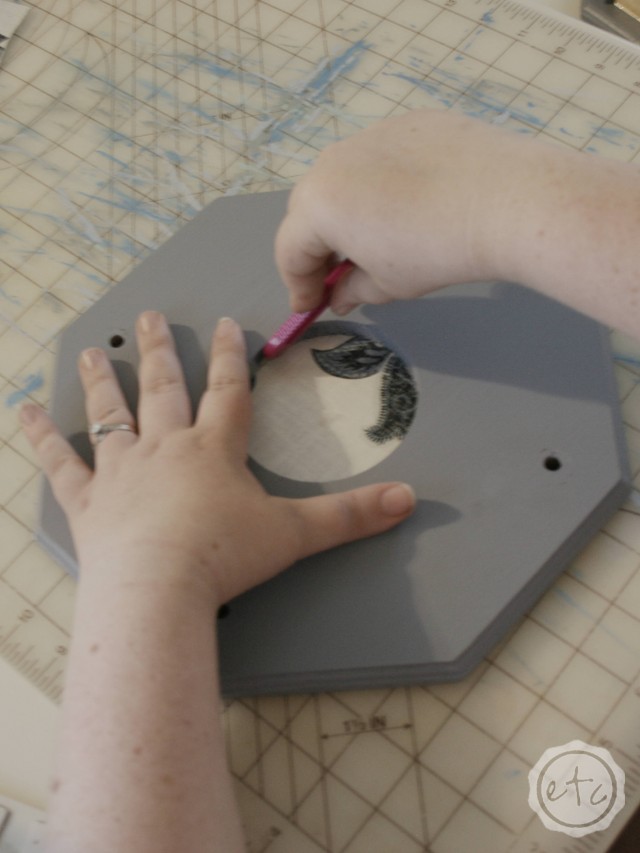
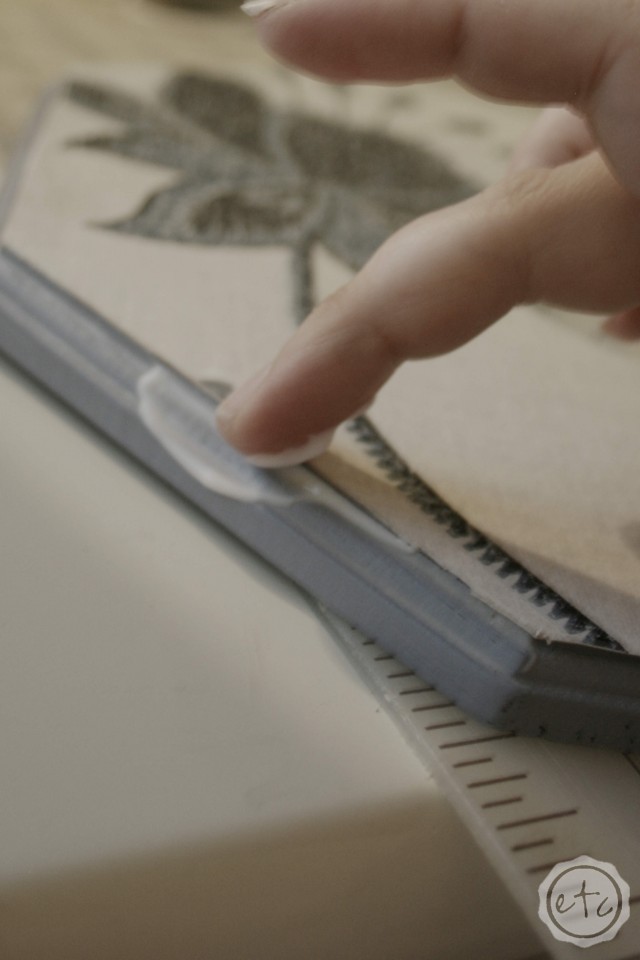
Now you’re ready to trim your edges… if you were able to cut your piece 100% to fit you won’t have as much trimming. That’s ok just move on to the next point: sanding. I used my sanding block to lightly sand all of the edges where wallpaper met wood. This ensured that I had a seamless transition and really helped my piece to look cohesive… not like a decal stuck on top of a roundy-bouty thingy!

Once all of the edges were sanded smooth I used a little bit of wallpaper adhesive to make sure they were stuck down… really good! I basically re-coated all of the edges with adhesive. That way they won’t fly up or rip off when the roundy-bouty thingy is in use! My wallpaper adhesive dries clear so it went right over the sample with no muss no fuss…and that’s it!
I absolutely love how it turned out… go on… take a peek!
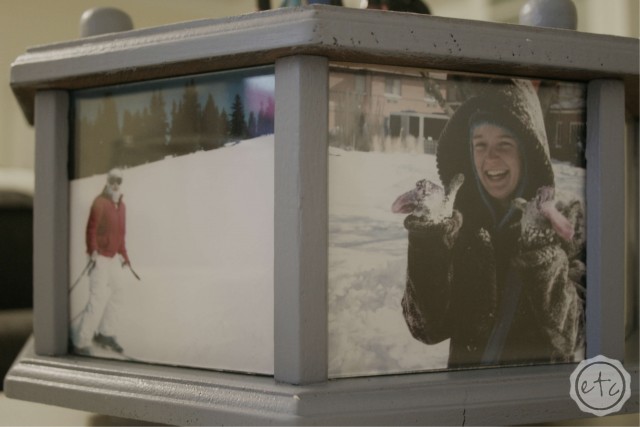
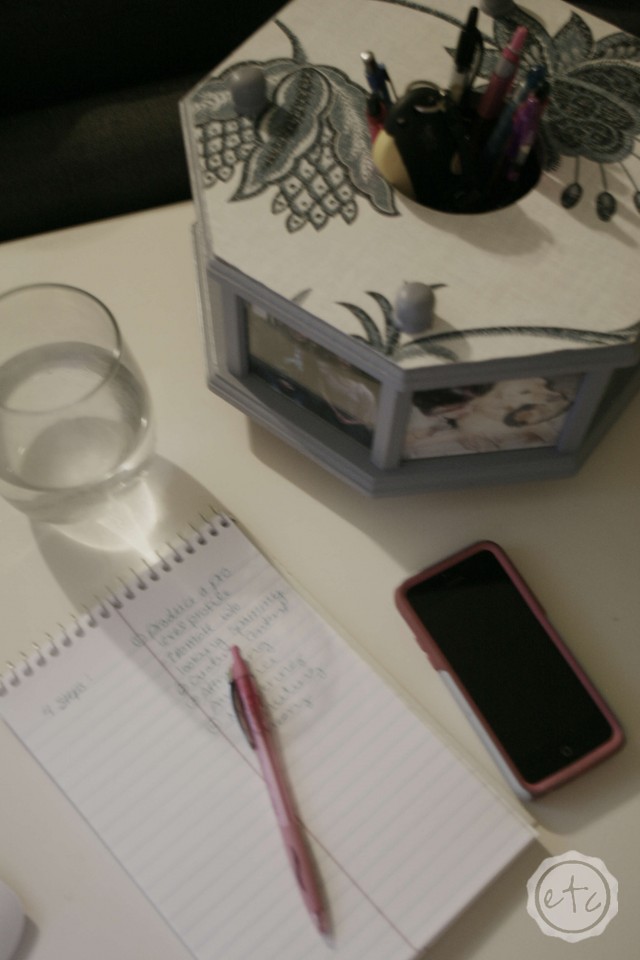
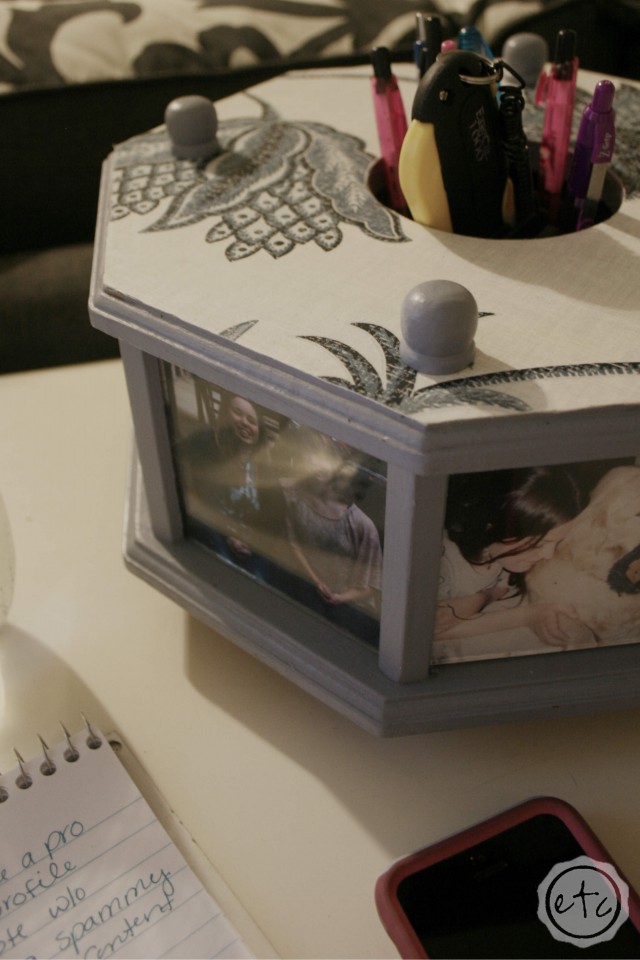
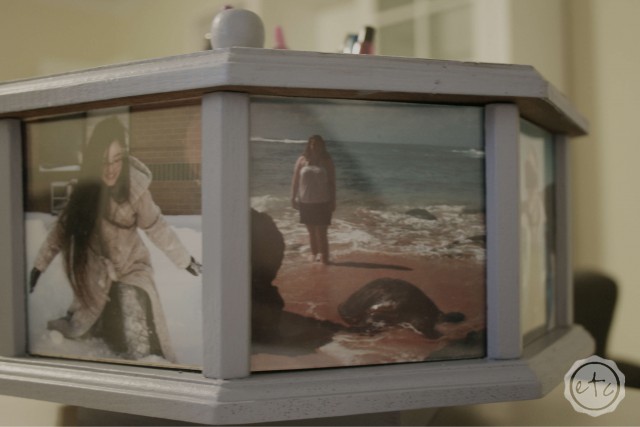

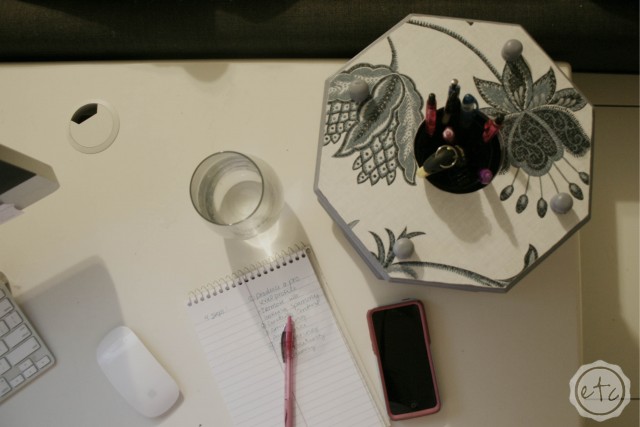
Don’t you just love how it turned out? It might just be my favorite item from the #thriftstoreswap… but I’m definitely biased!! 😉
Want to keep reading?
See where it all began with “Thrift Store Swap!!” or
See the reveal with “The Thrift Store Swap Reveal”


Yet again, I am overwhelmed by your creativity. You really have this DIY thing down. You completely transformed your roundy-bouty thing and I love it. How practical.
Thanks Holly! That is so sweet… I don’t know about having it down but I love when a project comes together! I love having sweet readers like you too!
How pretty! I love the wallpaper you used. This is really creative!
Isn’t it pretty? I always look through the books and think “what a pretty pattern… But I’d never put it on the wall!” Haha! Now I have a whole new arsenal for crafts!
You are so creative, I love it!
Thanks for stopping by Cynthia! You’re so sweet!
That’s cute! Thanks for the idea!
You’re welcome Stephanie!!! Thanks for stopping by! 😉
In love with this idea!!!
Me too! That’s why I did the happy dance at work! 😉 Thanks so much for stopping by Kristen!
I had no idea you could get old samples for free! It does make sense, though! Great idea!
Yup! Once the books expire they have to be thrown away… So most stores give them away to crafters, teachers, churches… Anyone who wants them!
Ha Ha! I feel like I’ve turned the crafting world on it’s end… FREE WALLPAPER SAMPLES! That’s okay though… I love the whole idea! Thanks for stopping by Logan!
That is such a smart idea! I wouldn’t have thought to ask a home improvement store for their old wallpaper samples. And I love that project you made!
Thanks Justine, I love how it turned out to! I never realized people didn’t know about expired wallpaper books being free… Such a good resource!
I love it! I’m totally doing this to something… Anything!
Tell me about it! I feel like now that I’ve thought of this I need to put wallpaper samples on EVERYTHING! Haha! Thanks for stopping by Stacey!
What a creative idea! I wouldn’t have thought to do this.
You’re such a sweetheart! Thanks Brenda!
I am amazed with your creativity! Genius! I’m not crafty but this is something I think i could do! Thanks for the tips!
It’s so easy Holley! You can totally do it… it’s as easy as gluing together a kids craft project. Thanks for stopping by!
You know, I always see so many Pinterest ideas re: the paint color samples and things you can do with them, but I think this is the first idea I’ve ran across for wallpaper samples. And it’s such a good one! SO many times I’ve thought about trying to get contact paper, etc, but that’s hard enough to track down, and I would have never thought of this. Even though now I’m face palming and wondering what fun idea I’m going to tackle first!
I never thought of it like that…. but you’re right I’ve never seen the wallpaper samples either! I’m so glad you liked the idea! It’s so easy to do and I love all the patterns! Hope to see pictures when you wallpaper something of your own!
This is super smart, I never thought of this! I need to write this in my little notebook.
I’m so glad you liked it Nicole! You’re so sweet!
Wow! So simple and elegant! I’ve GOT to try this! Thanks for sharing!
Thanks Dayne… I’m so glad you like it!
Great project!
Thanks Ashley!! You’re so sweet!!
I love this! Now all I need is some wallpaper samples… Thanks for Sharing, Haley
Just stop by your local paint store… I know Sherwin Williams usually has extras!