

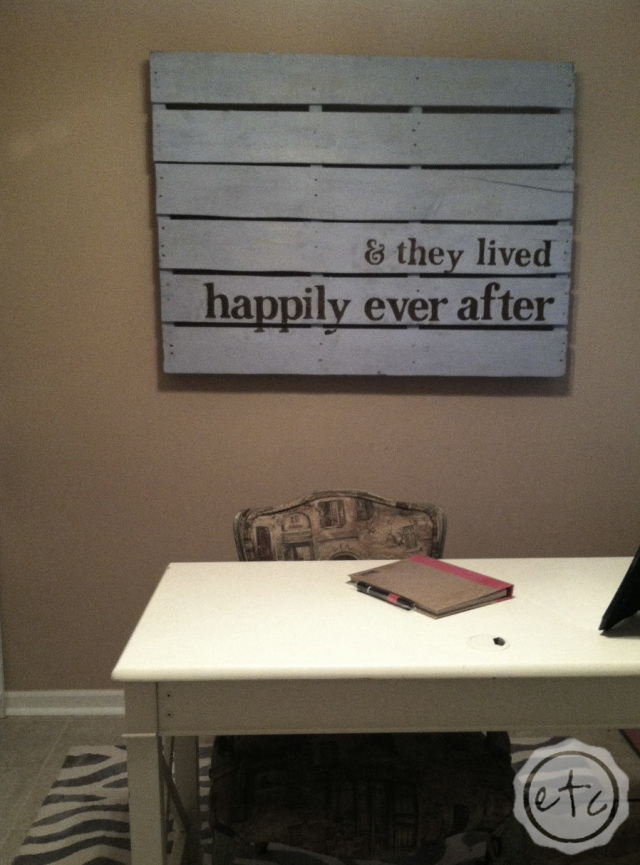
Today we’re going back in time…. back before this blog was started… back before I met my husband… back to when I was a young single gal just renting her first apartment. I had a shoestring budget for art and home décor… but I wasn’t going to let a little thing like money stand in my way! When I couldn’t afford a large piece of art to go over my couch? I made one!
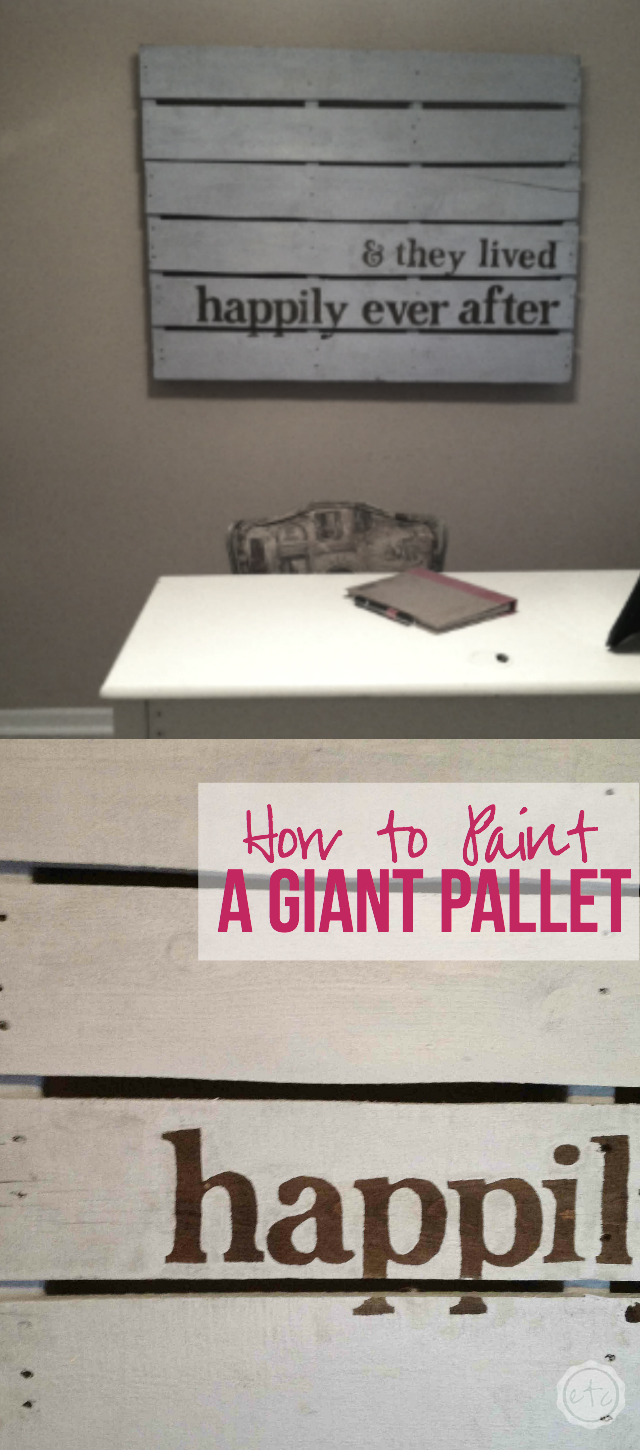
This pallet was so easy to paint… the hardest part? Picking a quote for the front of my pallet!! After that the rest was gravy.
Supplies:
One pallet! (Didn’t see that one coming did you?)
Paint in your favorite color (or whatever color you want your pallet to be!) You won’t need much I used an old quart that had maybe half a can left.
Stain in a contrasting color… I went to Michaels and bought the darkest color stain in their clearance section. You need even less stain![]() then paint!
then paint!
One large paint brush for the pallet and one small paint brush to go around the letters!
An old rag to stain your pallet with.
Letters! You can use a stencil![]() , the old tracing paper trick, wooden letters or even large stickers! I traced my letters but go crazy… use what works for you!
, the old tracing paper trick, wooden letters or even large stickers! I traced my letters but go crazy… use what works for you!

Looking for a bunch of posts on DIY & Crafts? I’ve got you covered!
Click here to see all of my how to DIY & Craft posts in one place!
I started with an average pallet… nothing fancy here! I picked one that was fairly clean with straight boards and few splinters. Daddy thought I was crazy when I told him what I was taking his pallet for (and maybe I am) but all of you are reading this so you must be crazy too!
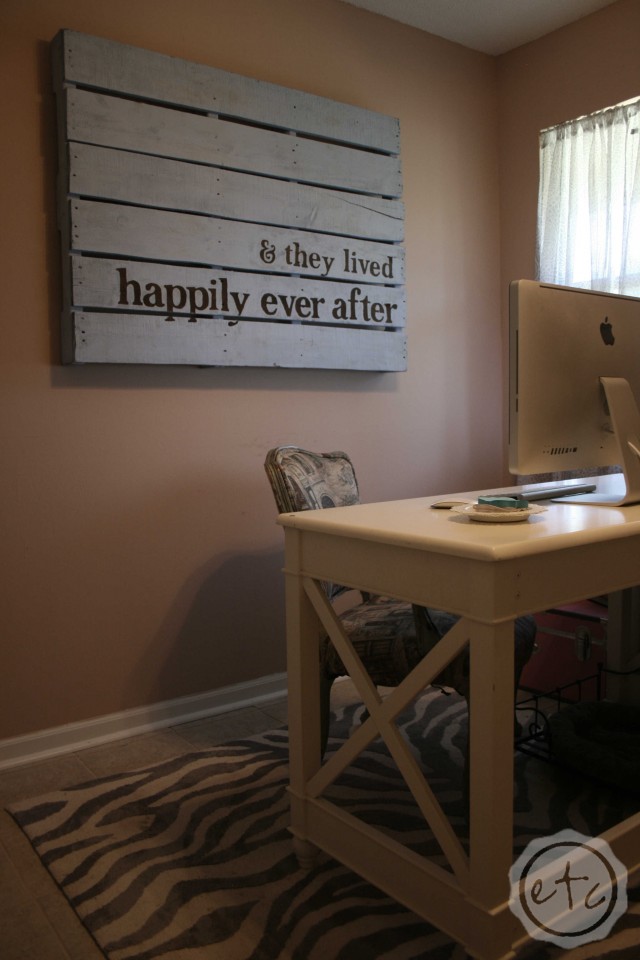
I know a lot of people take their pallets apart and use only the front. It’s lighter and lays flatter on the wall. I wanted to use the entire pallet… back and all. I wanted a piece that was large, 3-dimensional and really read as a pallet. In order to make it just a smidge lighter I did remove several slats from the back side… I simply pried them off with a crowbar. Probably not the best method… but highly effective!
After my pallet was ready (aka I took 4 slats off the back) my next step was to stain![]() my pallet. I knew that I wanted my letters to come through as stained and the top layer to be baby blue. Almost like the stain was peeking through little windows. So I stained the pallet only where my letters would be. I suppose I could have stained the whole pallet but you only see the stain in one section so it didn’t make a difference on my pallet.
my pallet. I knew that I wanted my letters to come through as stained and the top layer to be baby blue. Almost like the stain was peeking through little windows. So I stained the pallet only where my letters would be. I suppose I could have stained the whole pallet but you only see the stain in one section so it didn’t make a difference on my pallet.
In order to stain my pallet I took my old rag and wiped an even coat of stain into the wood. Pallets tend to “drink up” the stain… so wipe enough stain on to saturate the wood and then wipe off the excess. I wanted my stain fairly dark so several coats were necessary to achieve the rich full color I wanted. That’s alright! Just wipe on thin coats and wait for them to dry in between layers. It’s just a small section so it will dry in no time!
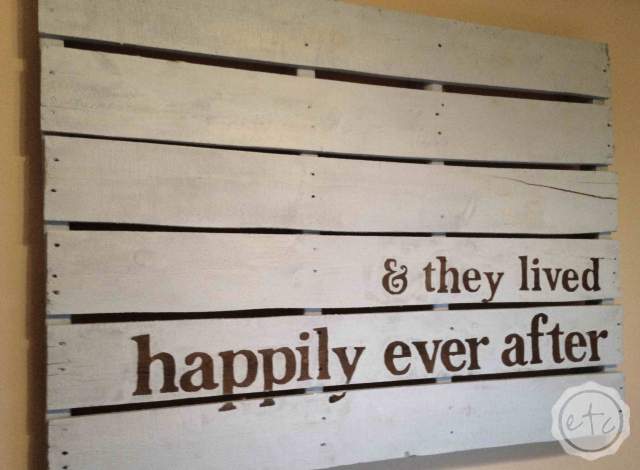
Once the stain was dry I moved on to tracing my letters. I wanted a specific font so I printed my letters on plain computer paper and then used the old tracing trick to transfer them onto my pallet. A stencil![]() would work just as easily! Once the letters were on the pallet (and exactly where I wanted them!) I traced over them with sharpie. This step is probably overkill but I wanted to easily be able to see where the letters started and stopped.
would work just as easily! Once the letters were on the pallet (and exactly where I wanted them!) I traced over them with sharpie. This step is probably overkill but I wanted to easily be able to see where the letters started and stopped.
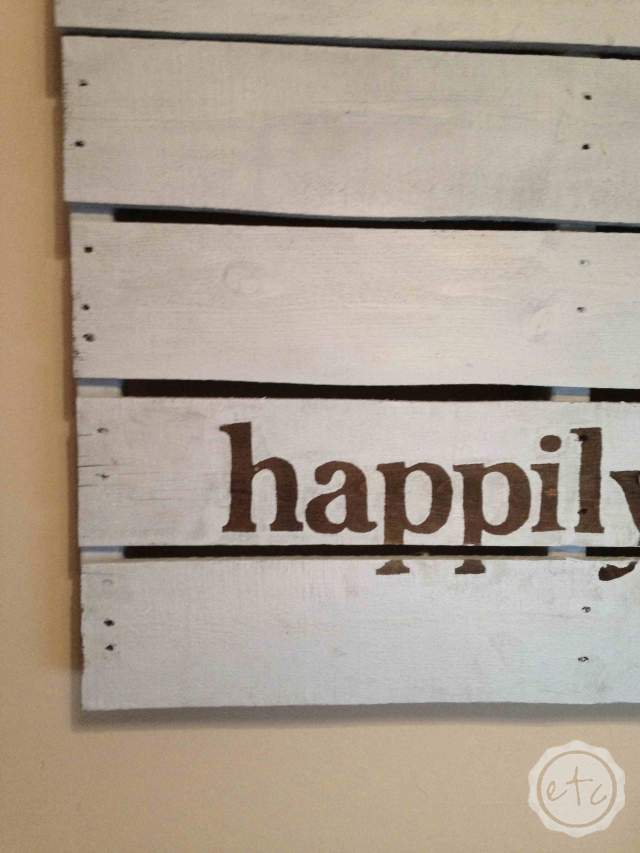
The next step is to paint around your letters. I used a small(ish) paintbrush to paint around every single letter… it definitely took me a minute! The great thing about pallets is how forgiving they are! The rough surface covers up any small imperfections in your paint job… plus the best part about a hand painted piece is the hand painted quality! After my letters were painted around I used my large paint brush to fill in the rest of the pallet… blue everywhere!
After the entire pallet had time to dry the only step left was to attach my picture hanging hardware to the back. I picked up a picture hanging kit![]() that had two small hooks… but would hold a large heavy pallet. I screwed one on either side of my pallet and haven’t had a single problem hanging it ever since! It’s held up beautifully!
that had two small hooks… but would hold a large heavy pallet. I screwed one on either side of my pallet and haven’t had a single problem hanging it ever since! It’s held up beautifully!
This is such an easy project to do… a bit time consuming if you are a perfectionist with your letters, but the results are well worth it! I have had so many comments since this baby was first finished!
See that Dad?
Who’s crazy now!
This post contains affiliate links to help with the creation of this product!
Linking up with: Tatertots & Jello & Little Red Brick House


I love this!! Going to pin it to find in the future.
Awesome!! Thanks for stopping by Jessie!
I love it! Great idea!
Thanks Randi! You’re such a sweetheart!
I love this so much! I am not overly crafty but this I can do. And I have a pallet in my backyard just waiting for inspiration. And I’m moving next week and have fresh walls to decorate 🙂 Thank you! Found you through #ThePeonyProject
I’m moving next week too! It sucks huh? Moving is so stressful! I’m glad you like the pallet… it’s so easy to make! If you make one for your new fresh walls make sure to send a picture! I’d love to see!
This is so cute, I need to do this! Thanks!
I’m glad you like it! I have created a monster… painted pallets everywhere! Haha! I’ve seen imitation pallets for a while now… but why make an imitation when you can have the real thing?!
So cute! I love that you kept the whole pallet intact. I love the words and the colors too!
I loved how it turned out with the whole pallet… mainly I just wanted it to pop off of the wall! Haha! Thanks for stopping by Justine!
It’s really amazing to see how an old pallet can be so beautiful. That’s really a nice Idea and I am going to try something out with some old pallets and some pains. Thanks for sharing.
Ginny
Good luck Ginny! I love working with materials that I already have… the price was definitely right on this one! Thanks for stopping by!