• House Tour
    • Reveals
  • About
    • Smith Life
    • Disclosure and Privacy Policy
      • Terms and Conditions
      • Store Affiliates
  • Contact Me
    • Want a Button?
  • Shop
    • Floral Printable Planners
    • Paint eBooks and Packages
    • Wedding Binders & Extra Printables!
    • Planner Bundles
    • Planner Accessories
    • Home Decor Printables!
  • Cart
    • Bloglovin
    • Facebook
    • Instagram
    • Pinterest
    • Twitter
    • YouTube

Happily Ever After, Etc.

Creating Our Own Fairytale

  • Happily Ever After, Etc.
  • Home
  • Home Decor
    • My Home
    • Paint
    • Before and After
    • Tablescapes
    • Mood Boards
    • Furniture
  • DIY & Crafts
    • New to Cricut – Start Here
    • Cricut Projects
    • Resin
    • Scrapbooking
  • Organization & Planning
    • Cricut
    • Organization
    • Planner
  • Holidays
    • Christmas
    • Halloween
    • Thanksgiving
    • Easter
  • Wedding
    • Cricut Wedding Projects
    • Free Wedding Binder
    • Bride Bag- The Ultimate Wedding Planner

Easy Cricut Wreath for Halloween

Hey y'all,

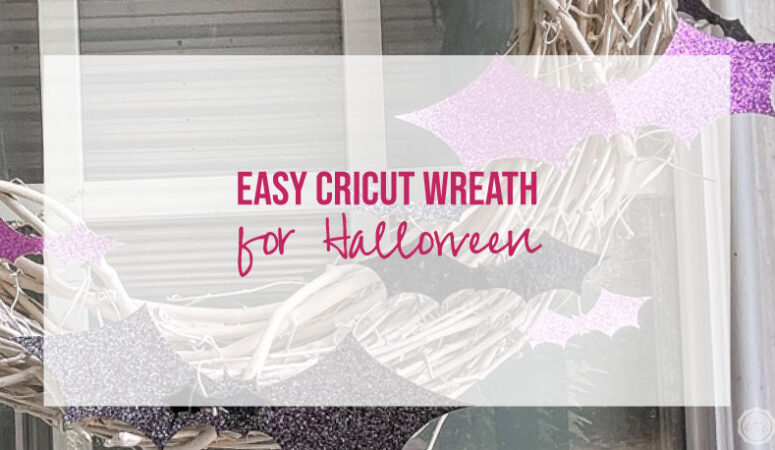
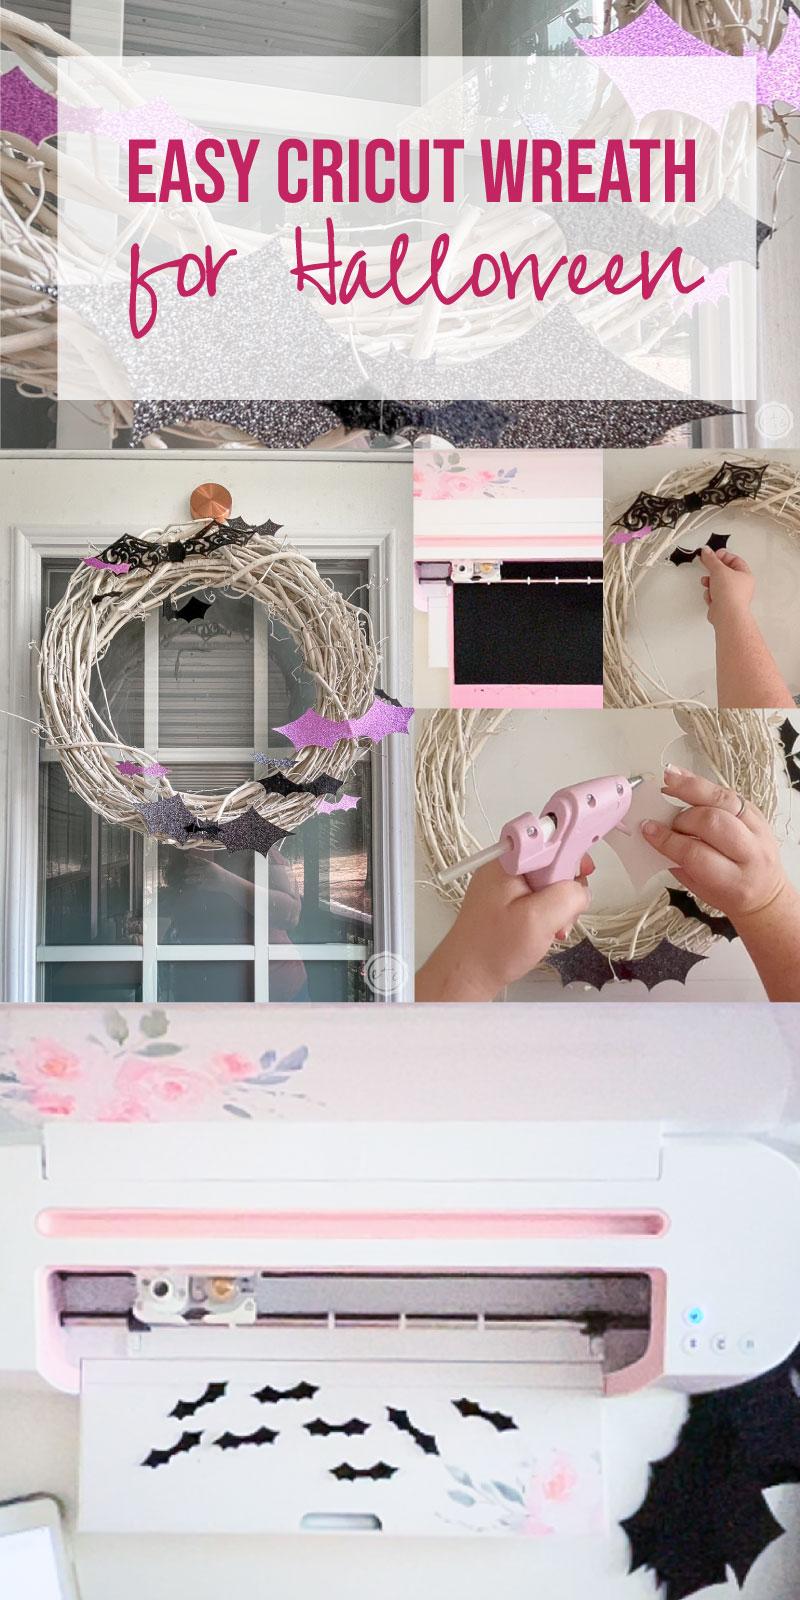
It’s time for fall y’all! And that means colder weather and spooky decor… or maybe spooky sweet decor? A fun and easy wreath for Halloween! We’re going to cut out a few Spooky Felt & Faux Leather Bats with our Cricut and then it’s nothing but wreath!

Easy Peezy!

Let’s get started!

Supplies:

  • Cricut Maker
  • Rotary Blade
  • Felt
  • Faux Leather with Glitter
  • Wreath Form (I found more options here)
  • Hot Glue/Hot Glue Gun
  • Cricut Access

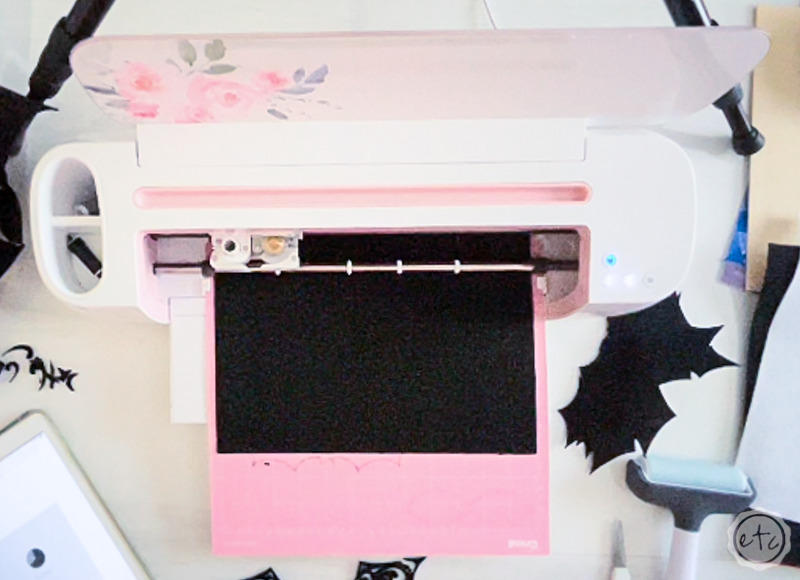
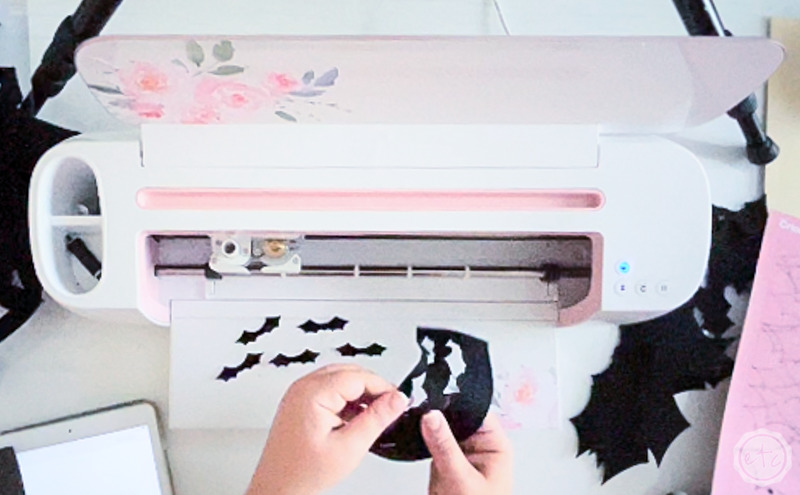
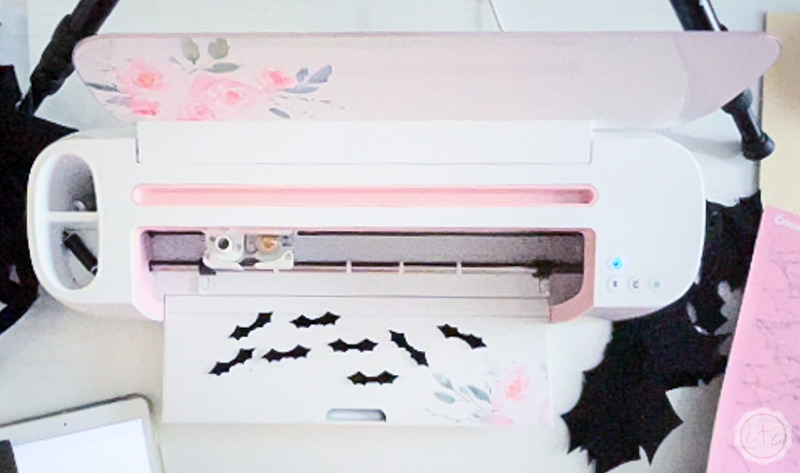
Step 1: Use your Cricut to Cut your Bats

Ready to get started? Let’s start cutting a few of our bats! I grabbed a design file from the Cricut Access Library (The Bat Garland Decor file below) and cut out a few bats of different shapes and sizes. I even cut out one large filigree bat from the cut files but the felt didn’t hold out as well as I would have liked.

So instead of throwing that filigree bat out the window I doctored it back together with a bit of glue and then concentrated on the solid bats.

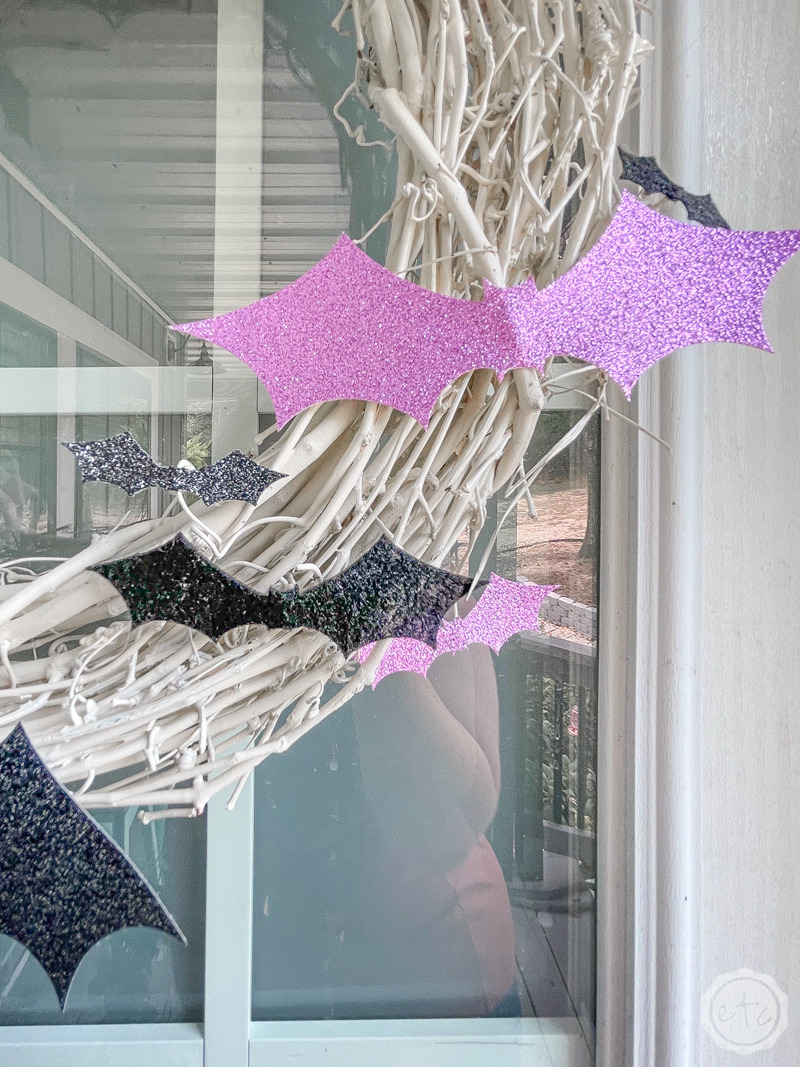
I wasn’t sure how many I needed (especially since I needed to use a few for my Halloween Gnomes) so I cut out a few small black felt bats and a few purple glitter bats. Then a few medium versions and 2 or 3 larger bats as well. Then it’s onto the next step!

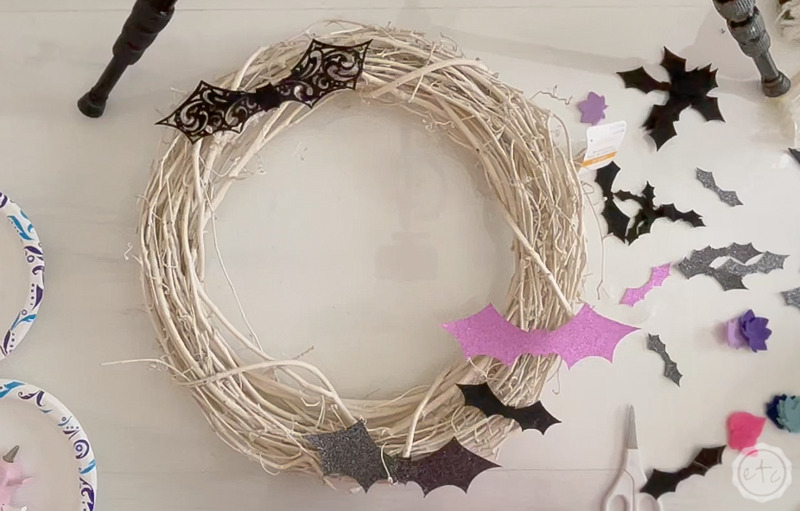
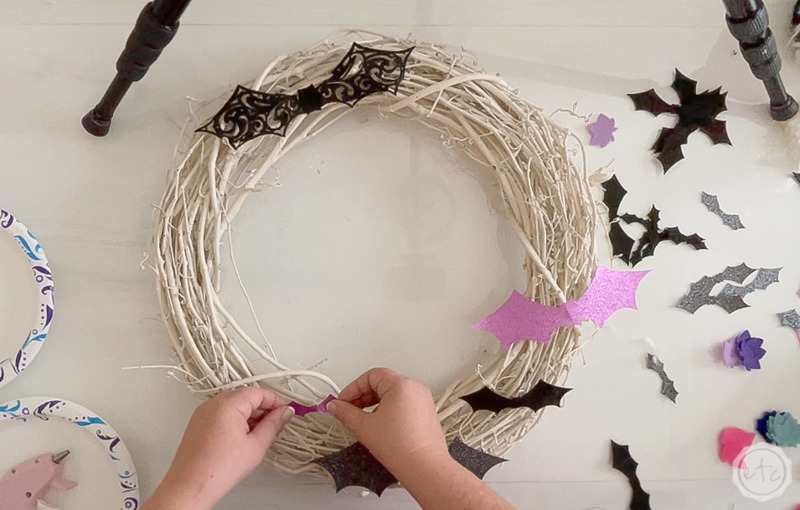
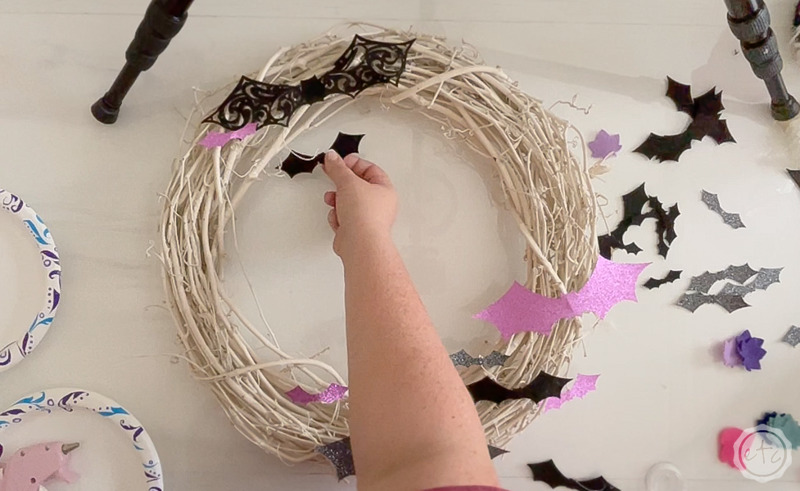
Step 2: Arrange your Bats

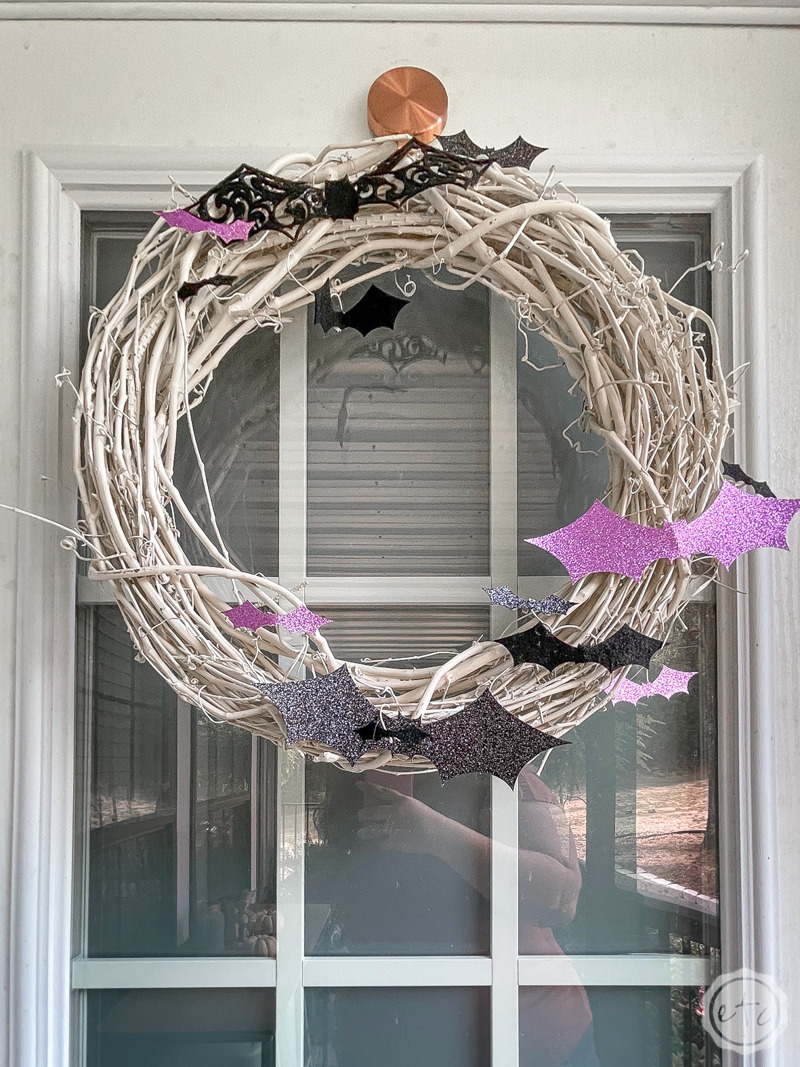
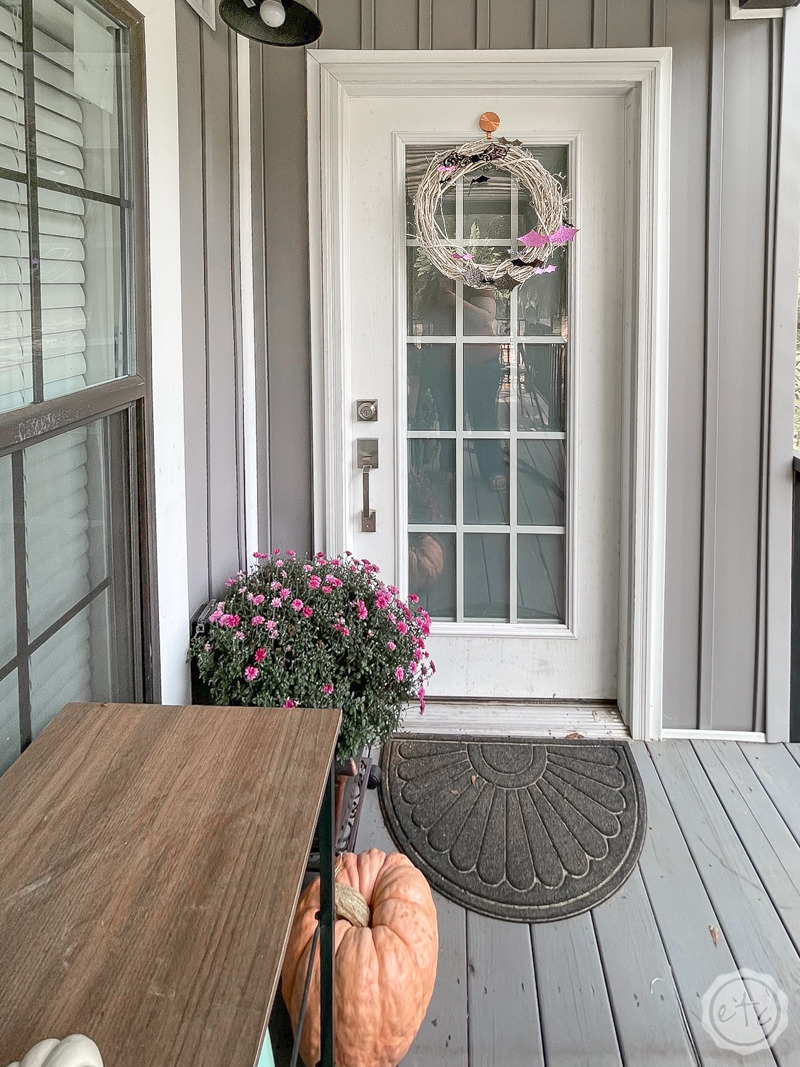
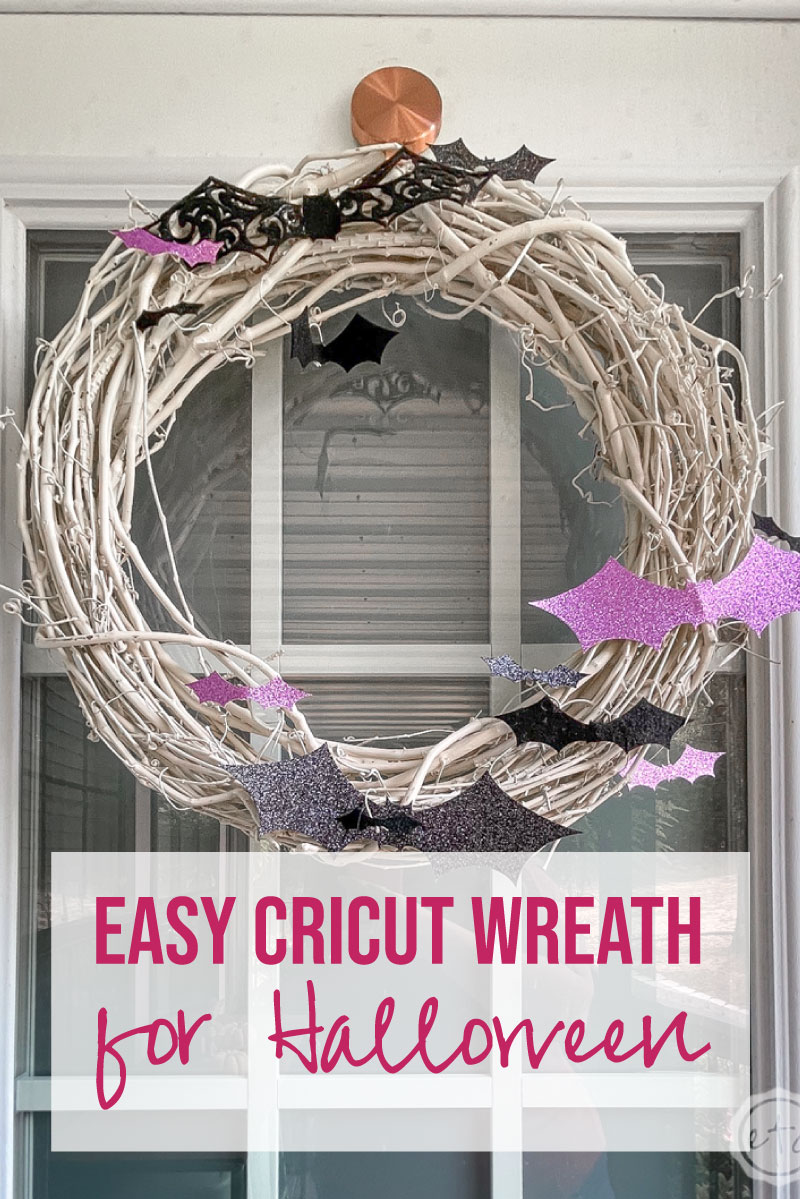
Now that you have all your pieces it’s time to set the stage as they say. Grab your wreath form (I’m using a a cream grapewine wreath) and start to lay out your bats. I knew I wanted my filigree bat at the top but I wasn’t sure on the other bats… so I placed them around the wreath until I liked how they looked.

I wanted the bats to look like they were flying up the side of the wreath… and then off the top.

Once I had each bat in the perfect spot I moved onto the next step… securing the bats to the wreath.

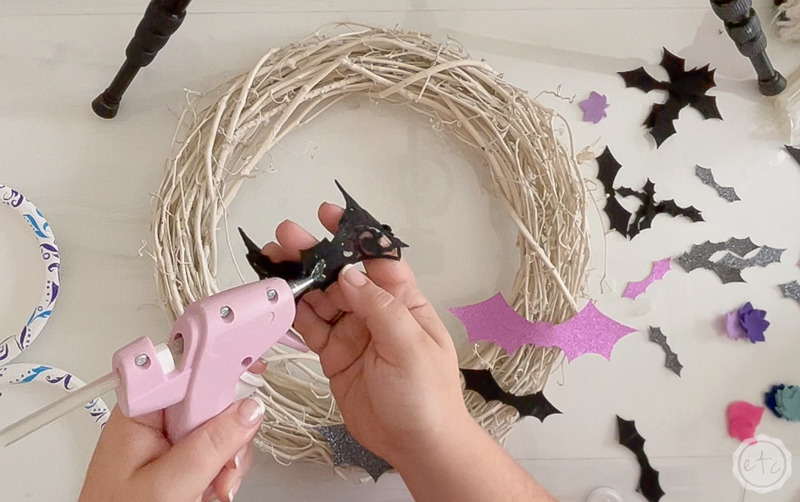
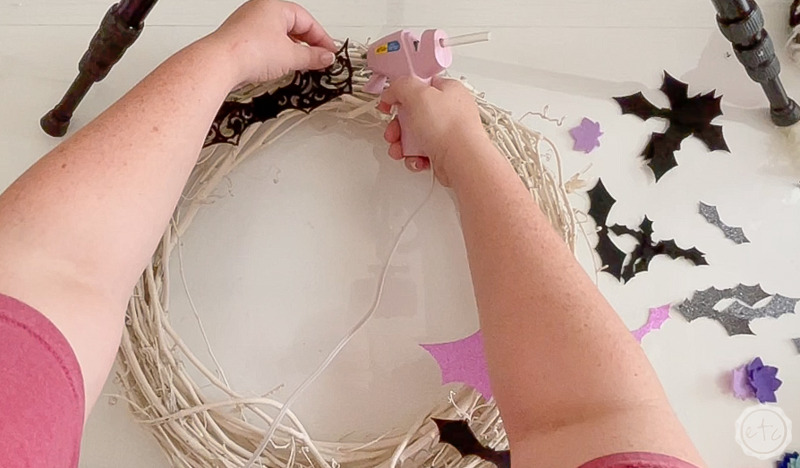
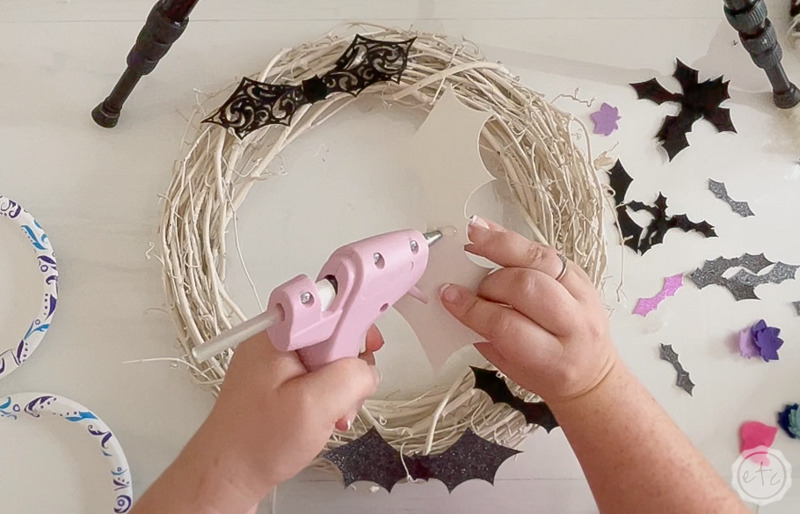
Step 3: Attach your Bats

Now this is NOT rocket science. Once you have your bats in place go ahead and start to hot glue them in place. I like to add a dab of hot glue to the center of the bats but tried to leave the wings glue free so that they could flutter in the wind.

With the exception of the large filigree bat… which needed a bit more glue under the wings to keep it together!

Then just glue, glue, glue!

I even glued a few tiny bats onto the ends of the grapevines so that it looked like the bats were flying around the wreath. Which turned out super cute.

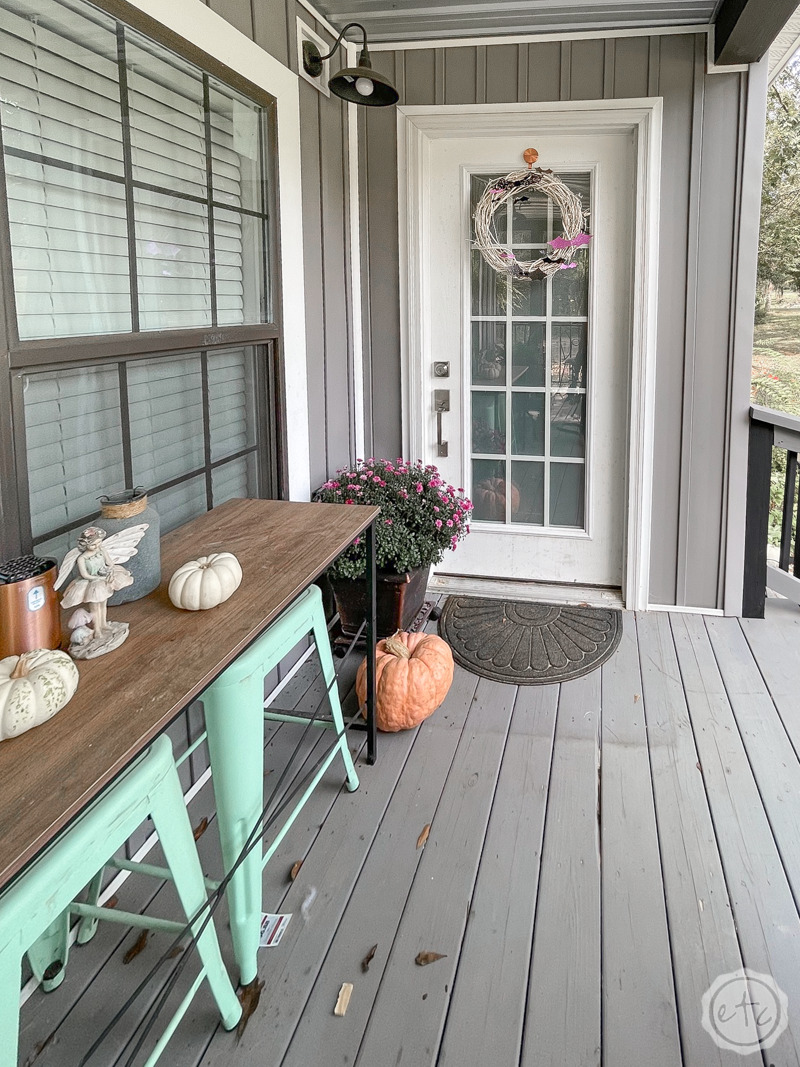
Now that all the bats are assembled you’re good to go! Let’s hang this baby up and see how it looks for fall!

I don’t know about you but I LOVE IT! Plus I love how fast and easy it was to make. Score!

Get Your FREE PDF Guide!

Don't forget to snag your free PDF Guide to buying your first Cricut!

Success! Now check your email to confirm your subscription.

There was an error submitting your subscription. Please try again.

Powered by ConvertKit
You made it through the entire post? That means you're one of my new favorite people! I'd love to be friends and see what else you would like to read about! Leave me a comment and then sign up for your very own FREE paint planner.... so that you can keep track of every single paint color with ease!
Welcome back! I'd love to be friends and see what else you would like to read about! Leave me a comment and then sign up for your very own FREE paint planner.... so that you can keep track of every single paint color with ease!

Show me some LOVE y'all:

  • Facebook
  • Pinterest
  • Twitter
  • Email

Related

«
»

Cricut, Halloween, Holidays 0

Leave a Reply Cancel reply

Your email address will not be published. Required fields are marked *

sidebar betsy I'm Betsy, Home Decor Enthusiast, Yorkie Mama, Crafter, Blogger, Picky Eater, Chief Mess Maker, Antique Hoarder and Graphic Designer. You can generally find me working on (attacking with a paintbrush) the 3 bed, 2 bath home we are currently renting! Our home might not be perfect but it is ours & if you hang out long enough you'll see that what we lack in know-how we make up for in passion!
Shop My Craft Room

Shop My Home

Featured Articles

15 Fabulous Ideas to Organize your Laundry Room
25 FREE Printables For Your Home!
What to do with EXTRA Paint with Happily Ever After Etc
10 Ways to Make Your Bed EXTRA Comfy with Happily Ever After Etc.
Ready to Pick your Perfect Paint Color? We'll help you with our 6 Day FREE E-Course

Hey y’all,

Profile

I'm Betsy, Home Decor Enthusiast, Yorkie Mama, Picky Eater, Chief Mess Maker, & Graphic Designer...

A Little Note!

Many of the links on Happily Ever After, Etc. are affiliate links. If you purchase a product after clicking an affiliate link, I receive a small percentage of the sale for referring you, at zero cost to you! How awesome is that? Purchasing through affiliate links is an easy, painless way to help out your favorite bloggers. Thank you so much for your continued love and support! Read the full disclosure here!

Instagram

Load More... Follow on Instagram

Copyright © 2023 · Darling theme by Restored 316

Copyright © 2023 · Darling Theme on Genesis Framework · WordPress · Log in · Privacy Policy